

Learning how to tie off crochet is one of the first skills you need to master. I remember my first scarf coming apart after hours of work because I didn’t secure the end properly. This guide will show you exactly how to finish your projects so they stay intact for years.
You’ll learn simple methods that work every single time. I’ve been crocheting for over five years and these techniques have never failed me.
We’ll cover basic tie off methods, tools you need, and fixes for common mistakes. By the end, you’ll know how to secure any crochet project with confidence.
What Does It Mean to Tie Off Crochet?
Tying off means securing your last stitch so your work doesn’t come undone. You’re creating a final knot that locks everything in place. This step happens right after you complete your last stitch. Think of it like tying your shoelaces. Without that final knot, everything loosens up.
Tying off and weaving in ends are two separate steps. Tying off creates the knot that stops your work from coming apart.
Weaving in ends hides the leftover yarn tail inside your project. You tie off first, then weave in the ends. Both steps matter for a finished look.
Tools You Need to Tie Off Crochet
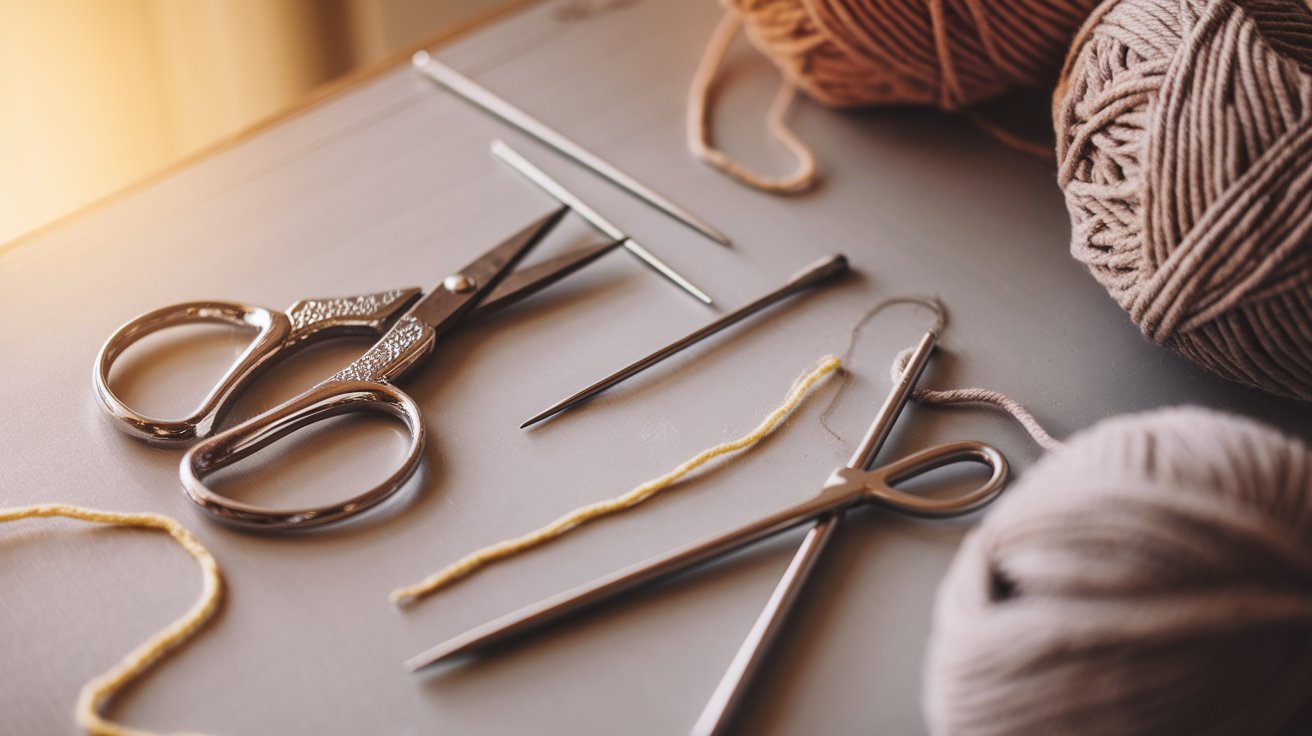
Sharp scissors work best for cutting yarn cleanly. Dull blades create frayed ends that are harder to work with. Small embroidery scissors give you better control. Yarn cutters are compact and safe to carry in your project bag.
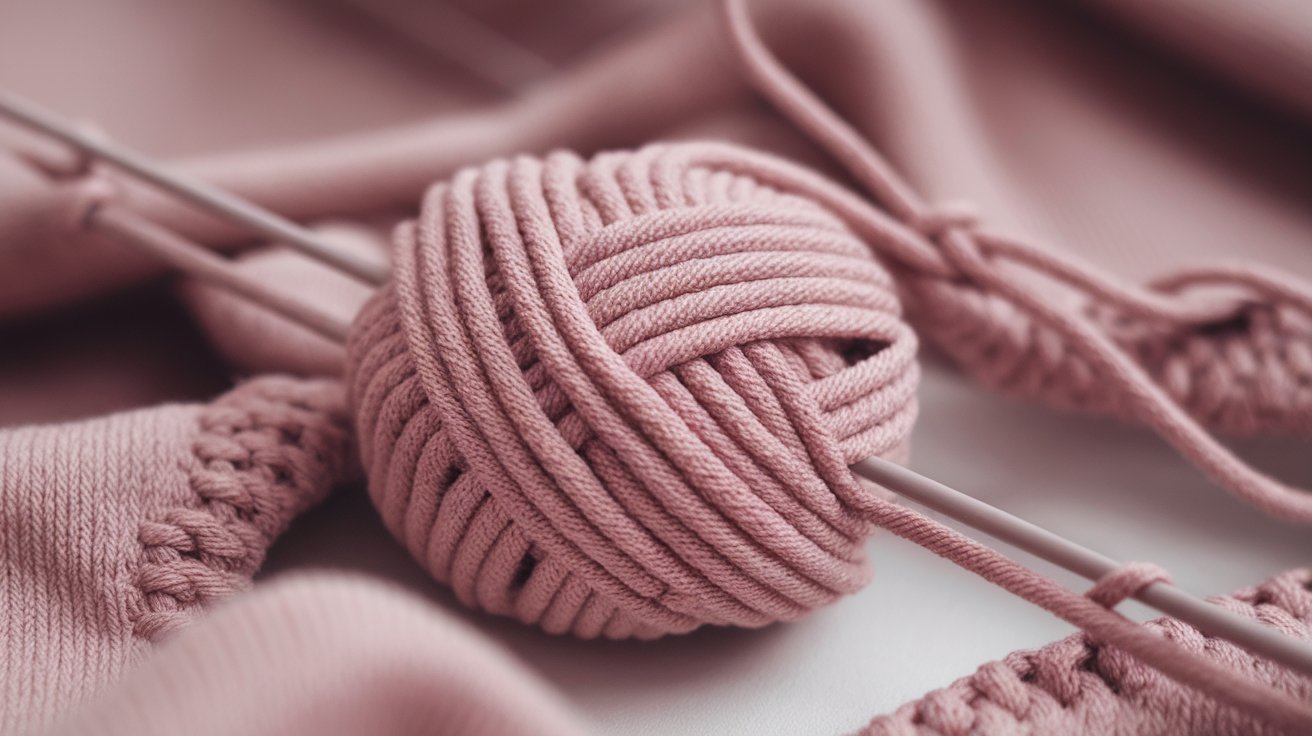
A yarn needle has a blunt tip and large eye for threading yarn. It’s the standard tool for weaving in ends. Most crocheters keep a few different sizes on hand. Your crochet hook can also pull yarn through stitches if you don’t have a needle nearby.
You can use your crochet hook to pull the yarn tail through stitches. Just insert the hook where you’d normally use a needle. Hook the yarn and pull it through. This method works well for thick yarn that won’t fit through a needle’s eye.
How to Tie Off Crochet Step by Step
Follow these simple steps to secure your crochet work perfectly every time.
Completing the Final Crochet Stitch
Finish your last stitch completely before tying off. Don’t leave it halfway done. Make sure you have one loop left on your hook.
This single loop is what you’ll work with next.
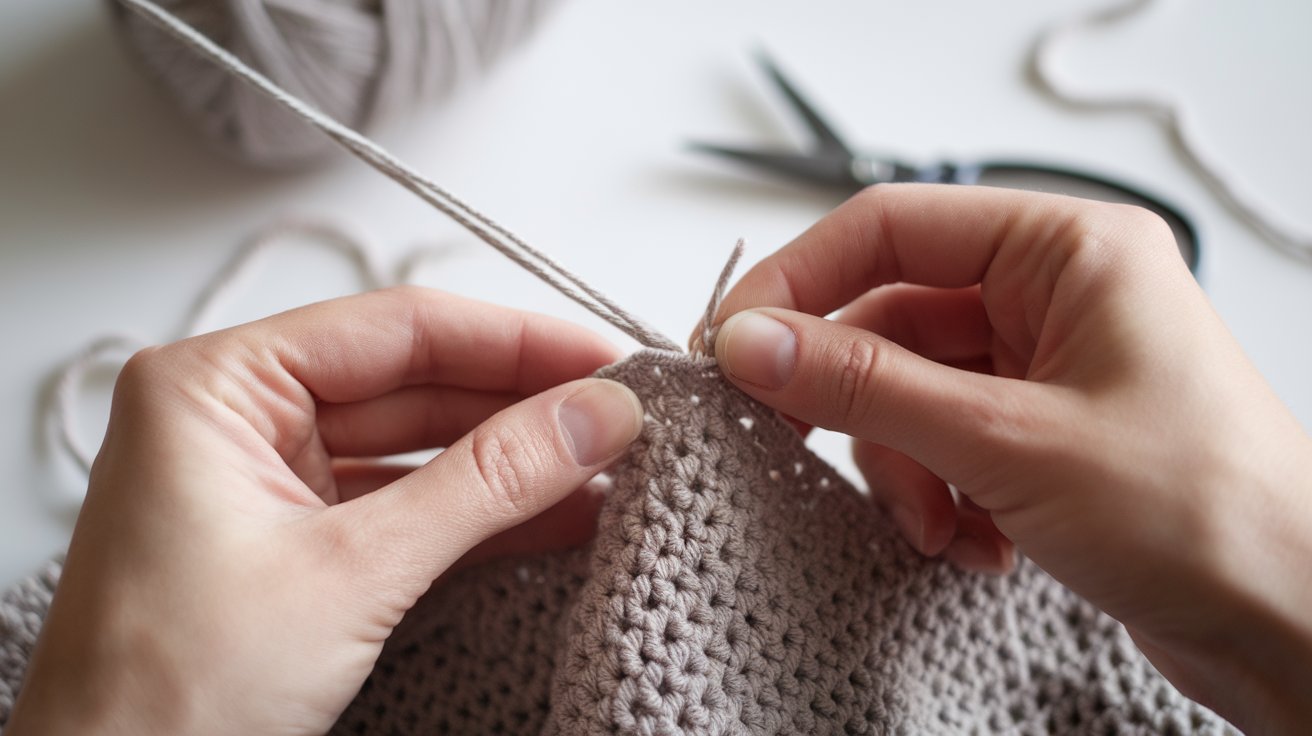
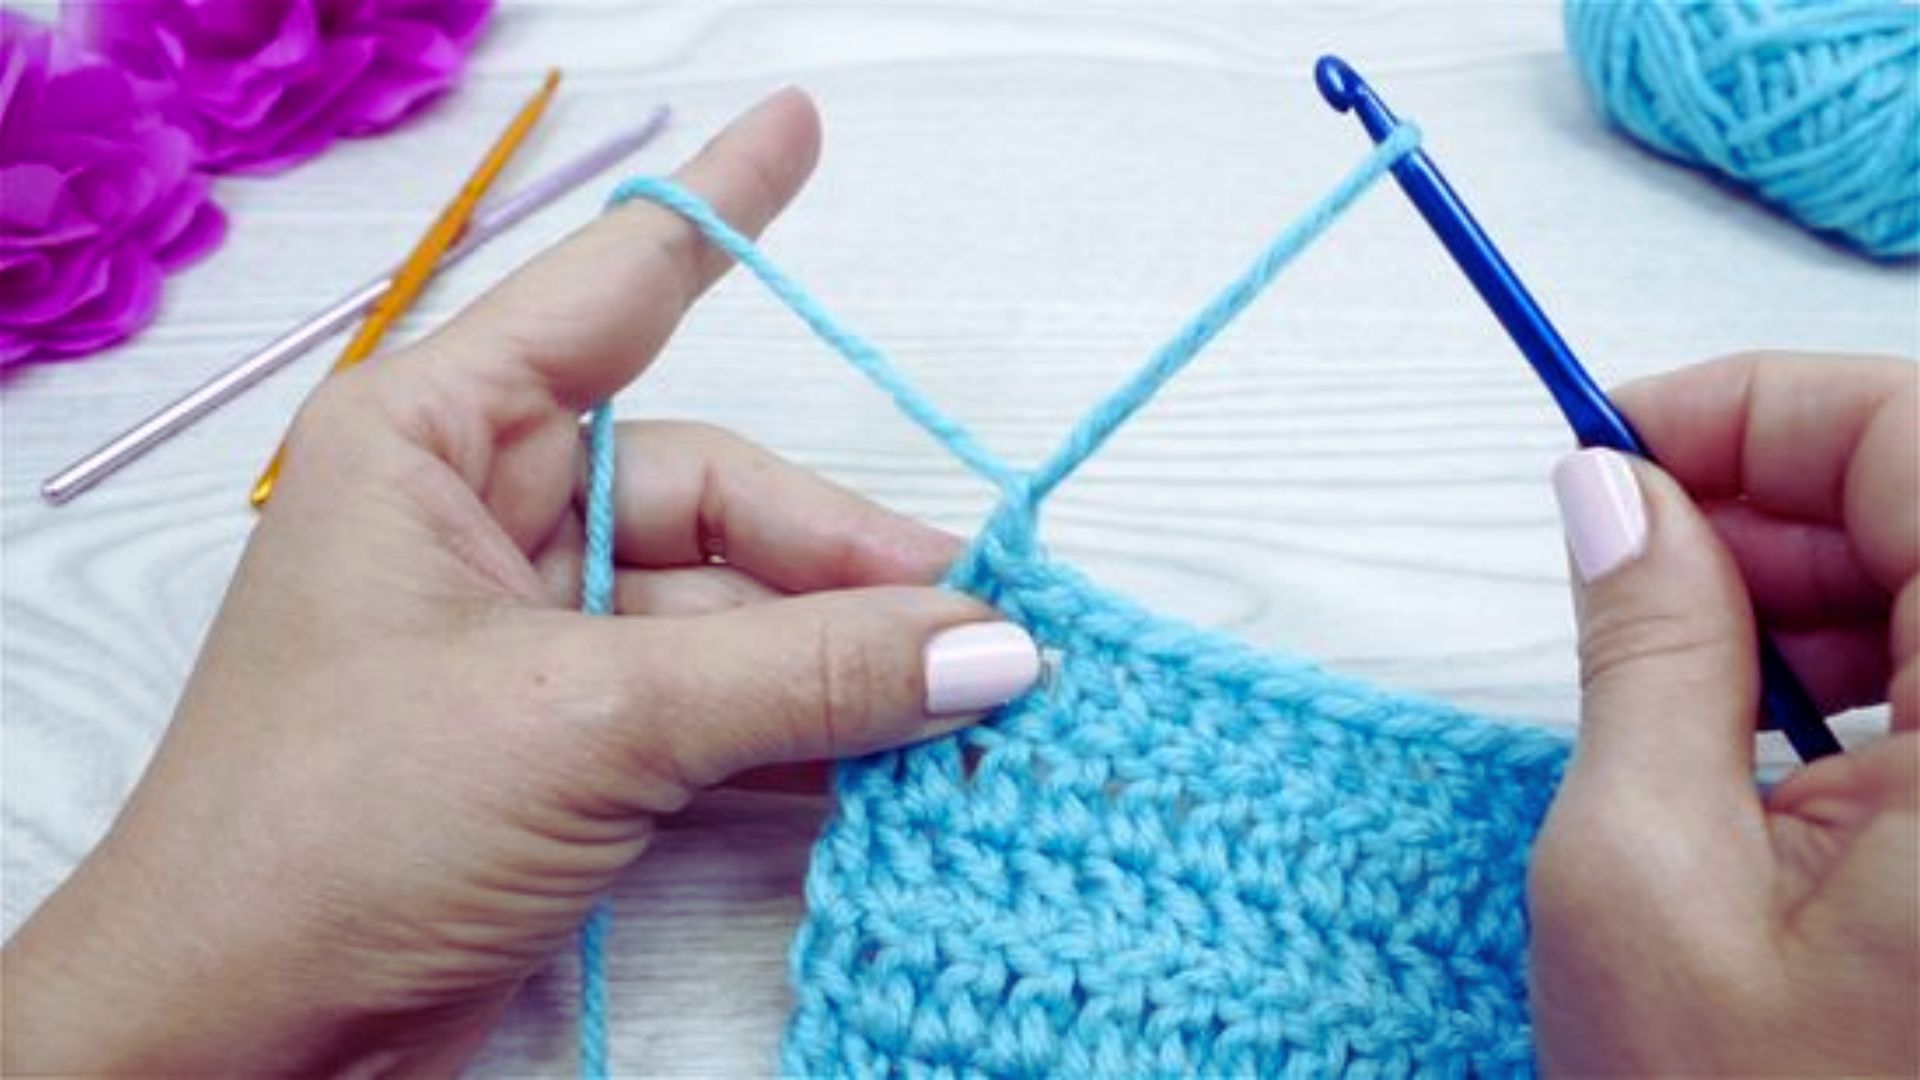
How to Tie Off Crochet Yarn Correctly
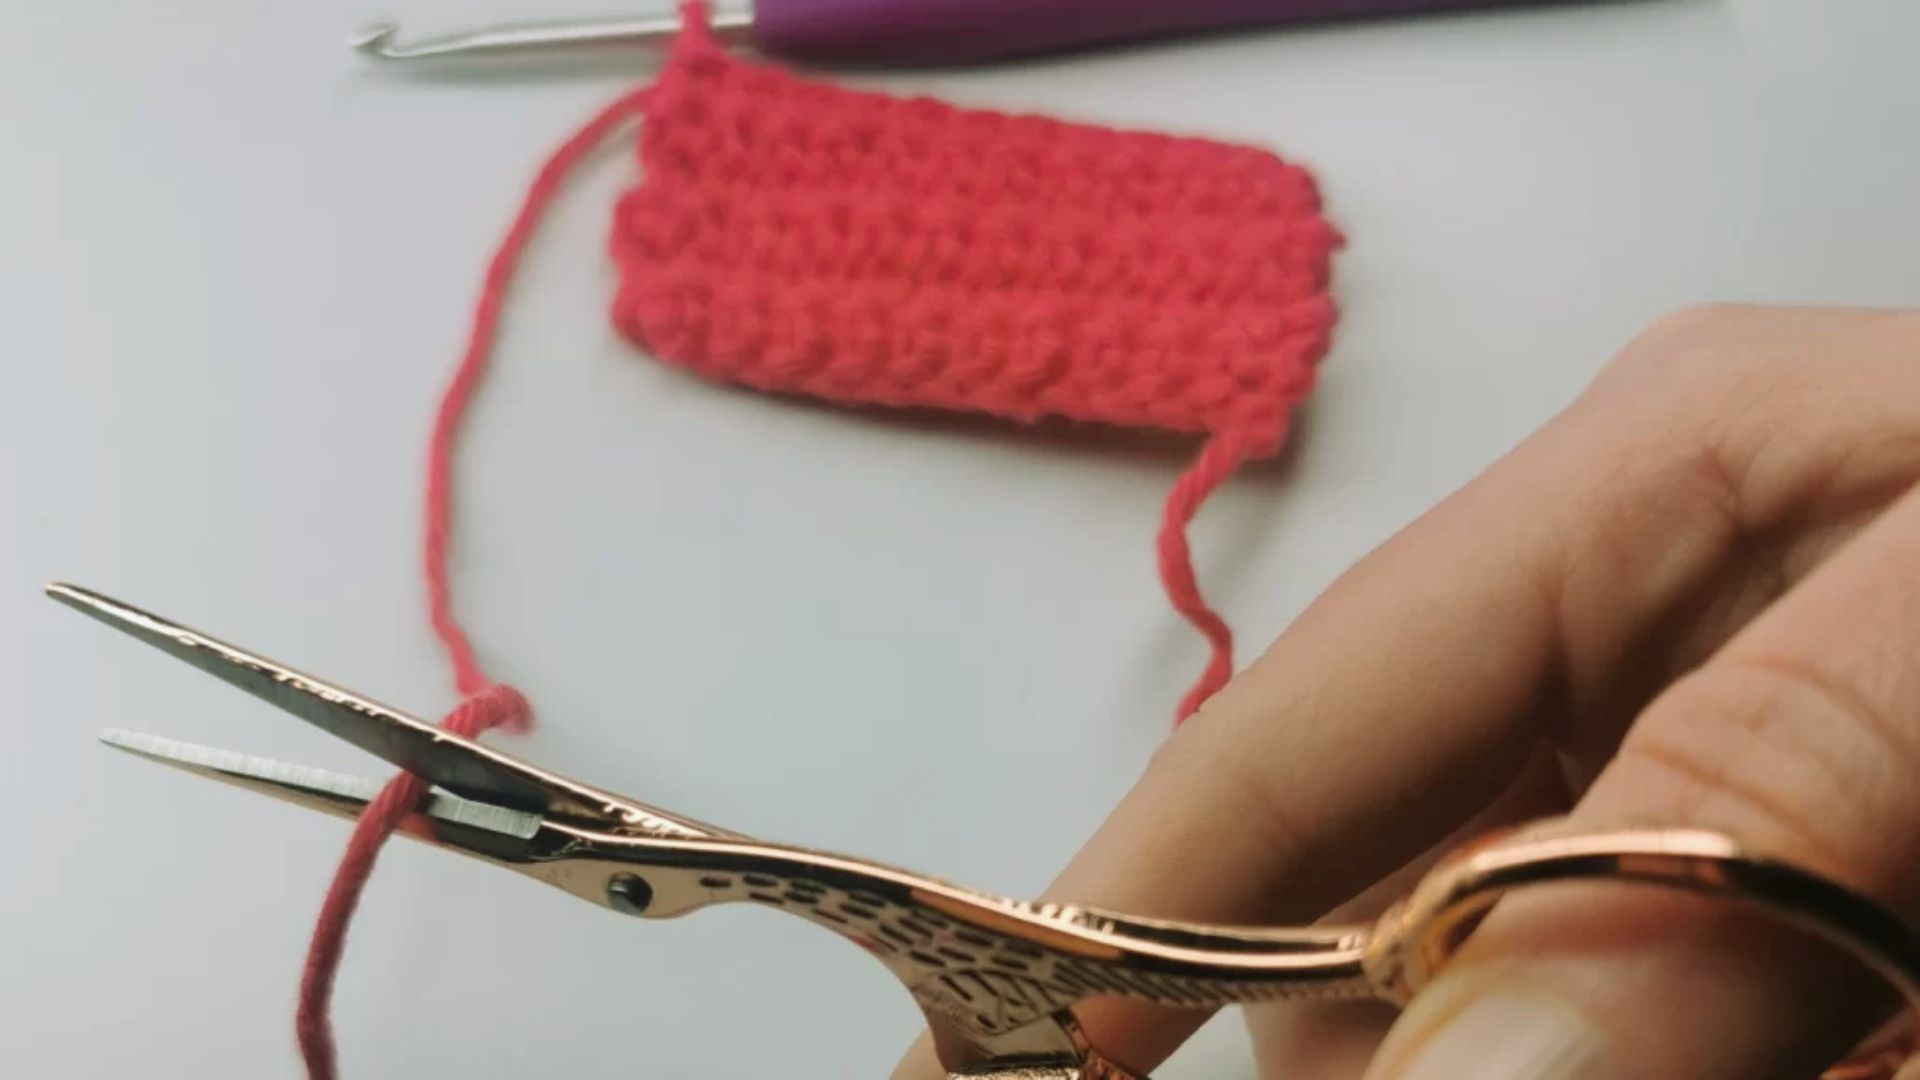
Cut your yarn, leaving a tail about six inches long. Pull gently on your hook to make the loop bigger. Thread the cut end through this loop.
Pull the tail all the way through until the loop closes tight.
Cutting the Yarn to the Right Length
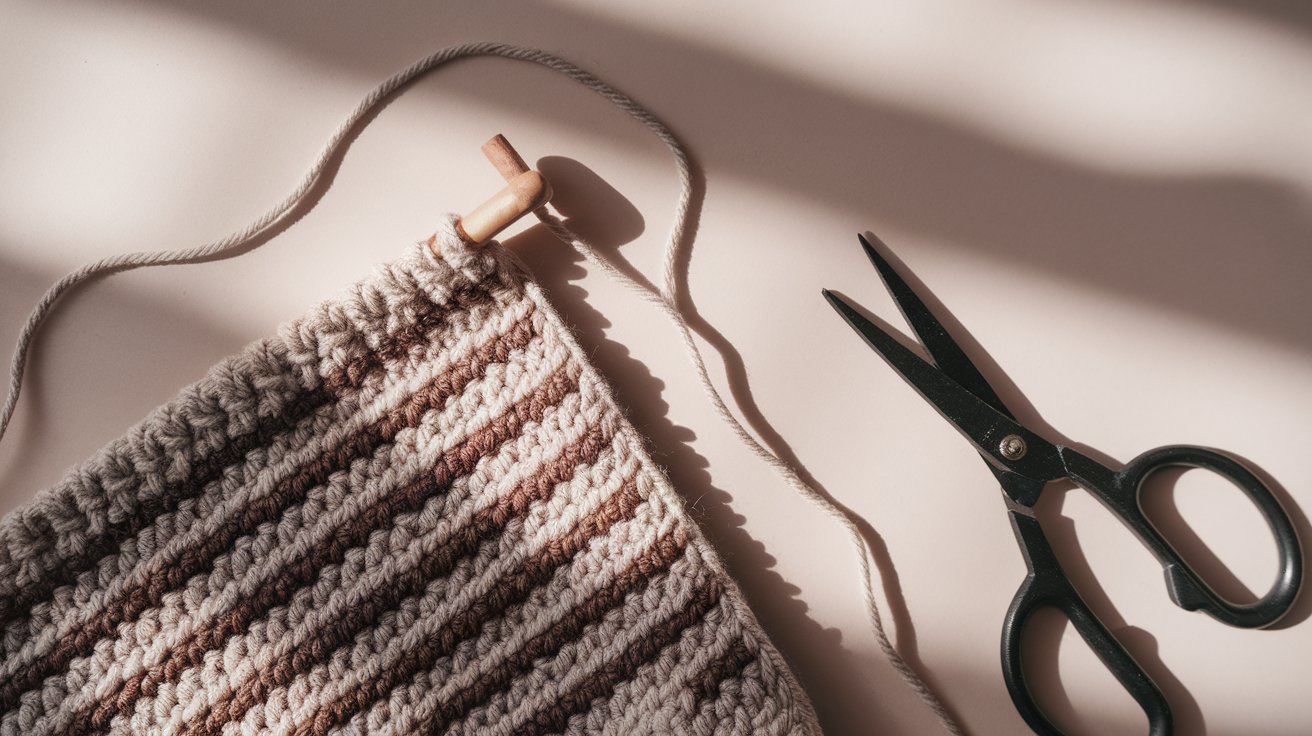
Six inches is the minimum tail length you need. Longer tails are easier to weave in later. For thick projects like blankets, leave eight to ten inches.
Too short and you can’t weave it in properly. Too long and you waste yarn.
Pulling Yarn Through the Loop
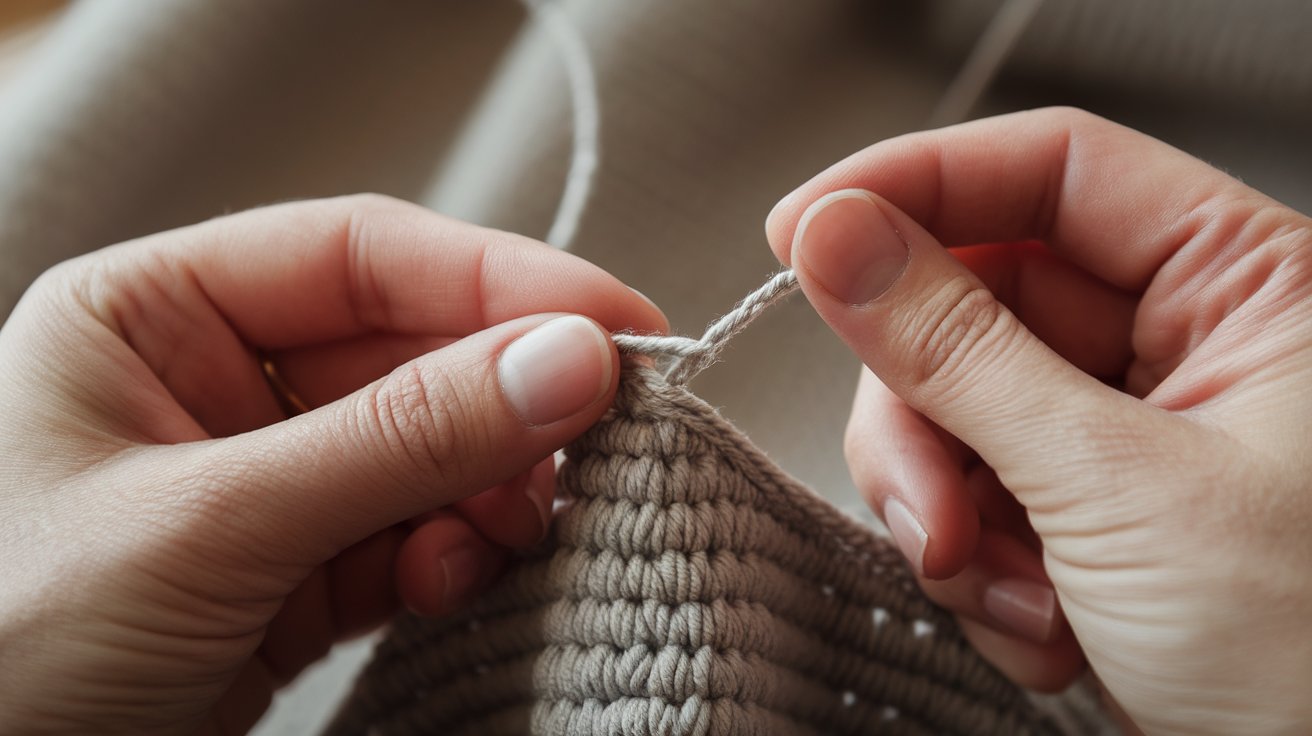
Hold your work steady with one hand. Pull the yarn tail with your other hand. The loop should tighten into a small knot at the base of your last stitch.
Don’t pull so hard that you distort the stitch below it.
Securing the Knot Without Distorting Stitches
A gentle, firm pull creates the best knot. The stitch should look the same as all the others. If it puckers or pulls tight, you’ve yanked too hard.
The knot should sit snug but not tight against your work.
How to Tie Off Crochet Ends Neatly
A secure tie off won’t come loose over time. After pulling the tail through, give it one more gentle tug. Check that the knot sits firmly against your work. Test it by tugging lightly on your project.
Loose ends happen when you don’t pull tight enough. Make sure your final knot has no slack. The yarn should be snug against the last stitch. If you see any looseness, pull the tail again until it tightens.
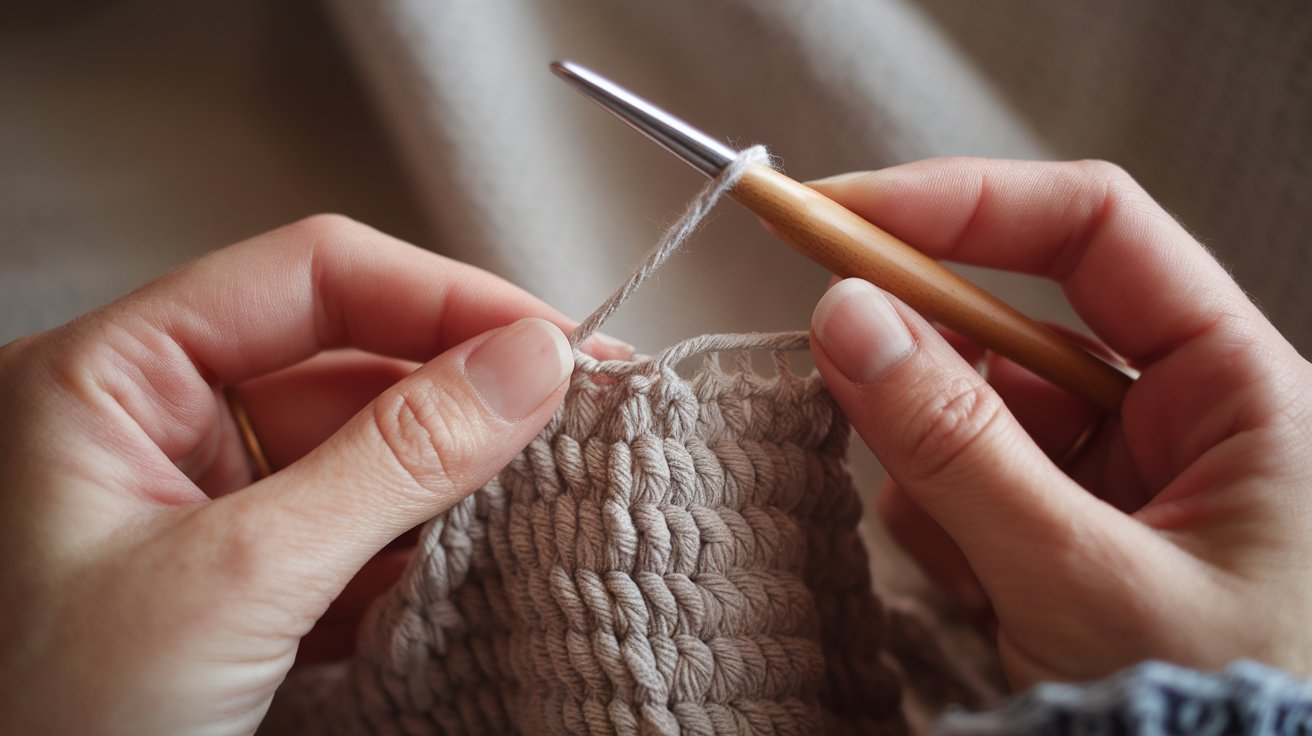
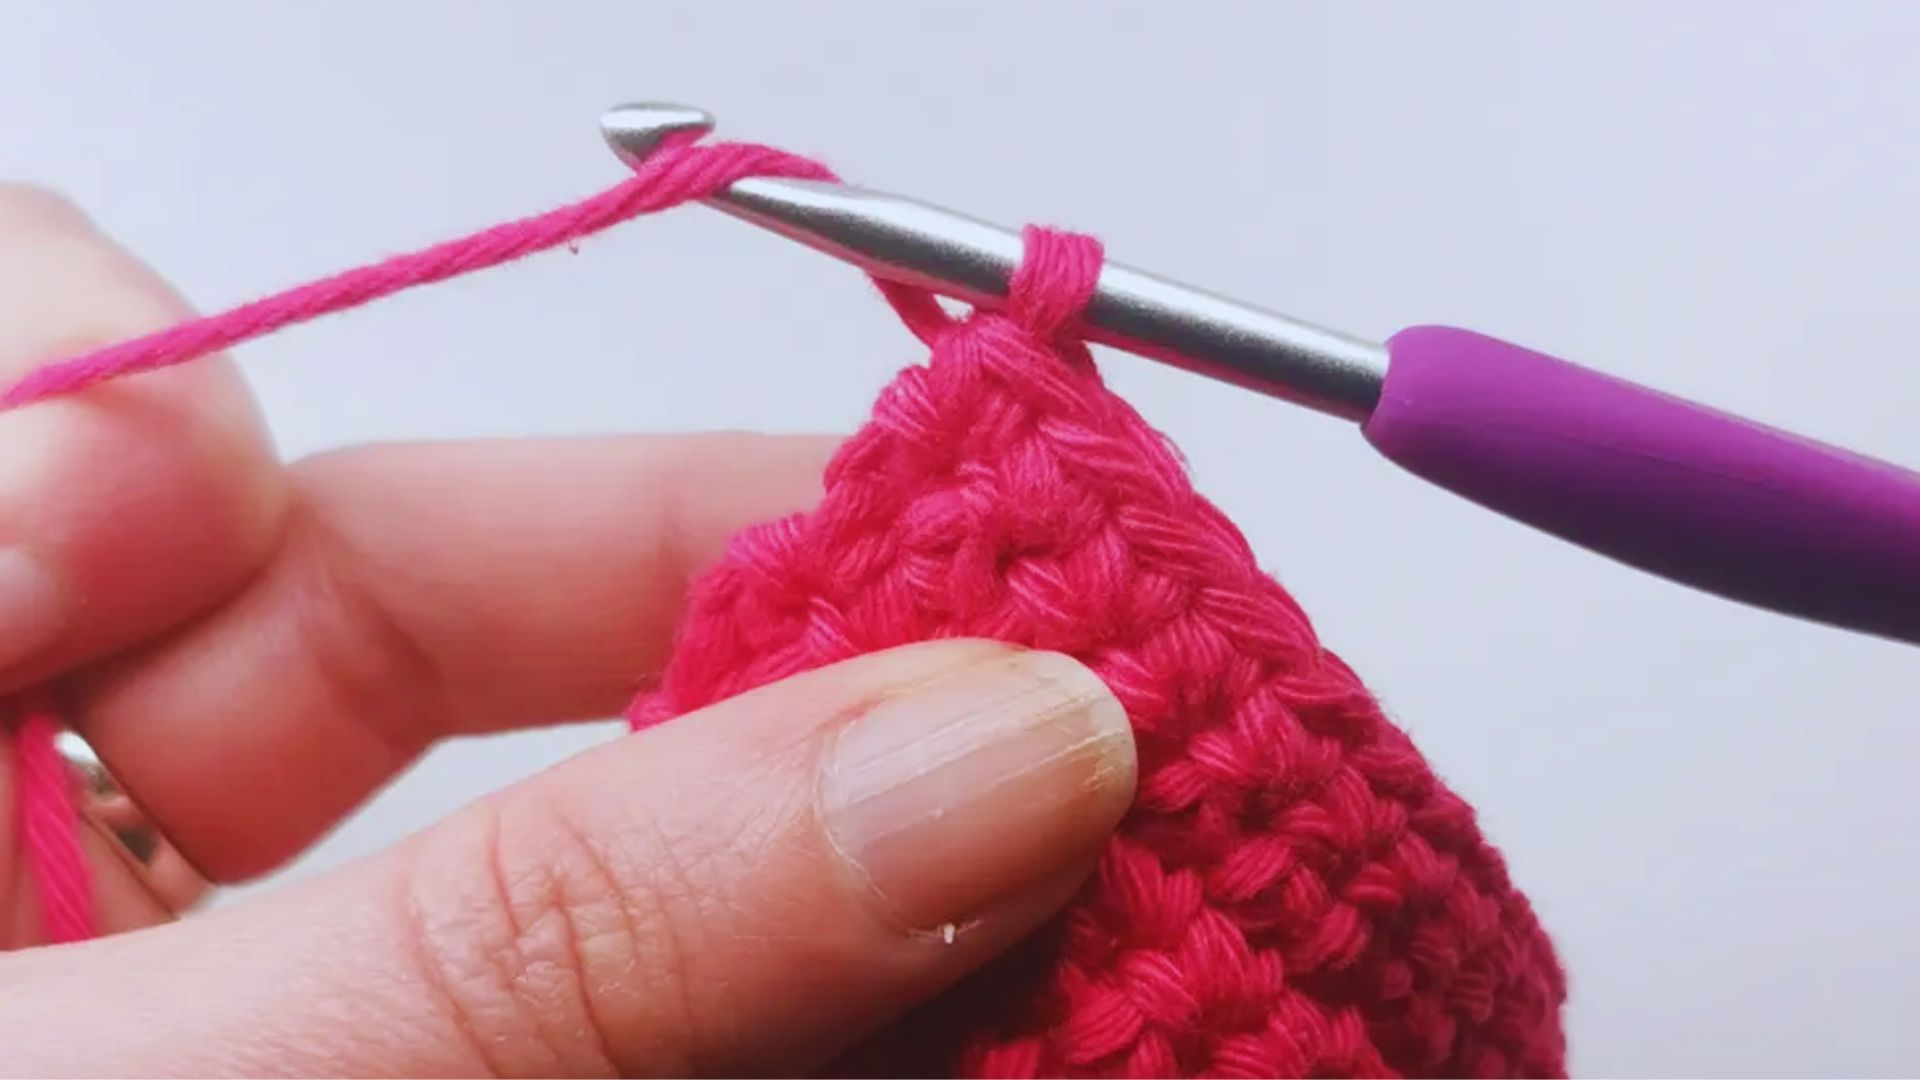
Thread your yarn tail through a needle. Weave it through the backs of stitches in the same row. Go through four or five stitches in one direction.
Then reverse and go back through a few more stitches. This locks the tail in place. Trim any excess close to your work.
How to Tie Off Crochet for Different Stitch Types
The basic tie off method works for all stitches with just minor adjustments.
How to Tie Off Crochet Chain
Chains tie off the same way as regular stitches. Complete your last chain stitch. Cut the yarn and pull the tail through the loop.
The process is identical to other stitches.
How to Tie Off Crochet Stitch
Single crochet, double crochet, and half double crochet all use the same tie off method. Finish the stitch completely first. Then cut and pull through.
The stitch type doesn’t change the basic technique.
How to Tie Off Crochet in the Round
Round projects need a slip stitch to join before tying off. Make your slip stitch to close the round. Then cut the yarn and pull through.
This creates a clean join where the round closes.
Common Problems When You Tie Off Crochet

Here are the most common issues beginners face and how to fix them quickly.
Loose Ends Popping Out
Ends pop out when they’re not woven in far enough. Always weave through at least four stitches. Go back and forth for better hold.
Split yarn while weaving can also cause this problem.
Crochet Work Coming Apart Over Time
Work undone when the tie off knot isn’t tight enough. Always pull firmly on the tail after cutting. The knot should feel snug against your work.
Test it by tugging on the last few rows.
Bulky or Visible Knots
Big knots show through your work and look messy. Don’t tie additional knots after the basic tie off. The single knot from pulling through is enough.
Weaving in properly makes knots unnecessary.
Final Tips for Tying Off Crochet Neatly and Securely
Master these simple tricks to make your crochet finishes look professional every time.
- Slippery yarns like silk need longer tails and more weaving while cotton holds knots well with standard methods
- Always weave ends in two directions for maximum hold and trim tails close but leave about a quarter inch after weaving
- Check your tie off after washing to make sure it held and adjust your technique based on the yarn you’re working with
- Start with small projects like dishcloths and coasters to practice tying off and build your confidence
- Make several practice pieces and compare your tie offs to see improvement as the more you practice the neater your finishes will become
Conclusion
Now you know how to tie off crochet properly and keep your projects intact. I still remember the relief I felt when I learned these techniques and stopped losing hours of work.
Start practicing on small items like washcloths. The method stays the same no matter if you’re making a tiny flower or a king size blanket.
Try it on your next project and see how much better your finished pieces look. Share your results in the comments below or tell me about your first successful tie off.
Frequently Asked Questions
Can I tie off crochet without cutting the yarn?
No, you need to cut the yarn to create the final knot. Leave at least six inches of tail. This length gives you enough yarn to weave in the end and secure your work properly.
What if my tie off knot comes undone?
The knot came undone because it wasn’t pulled tight enough initially. Redo the tie off by pulling the tail firmly through the loop. Then weave the end through several stitches in both directions for added security.
How long should I leave the yarn tail when tying off?
Leave six inches for most projects. Bigger items like blankets need eight to ten inches. Longer tails are easier to work with when weaving in ends and provide better security.
Do I need a special needle to weave in the end?
A blunt yarn needle with a large eye works best. You don’t need anything fancy. Plastic needles work just as well as metal ones and won’t split your yarn.
Why does my last stitch look different after tying off?
You pulled the tail too hard and distorted the stitch. When tying off, pull firmly but gently. The knot should sit snug without changing how the stitch looks compared to the others.