

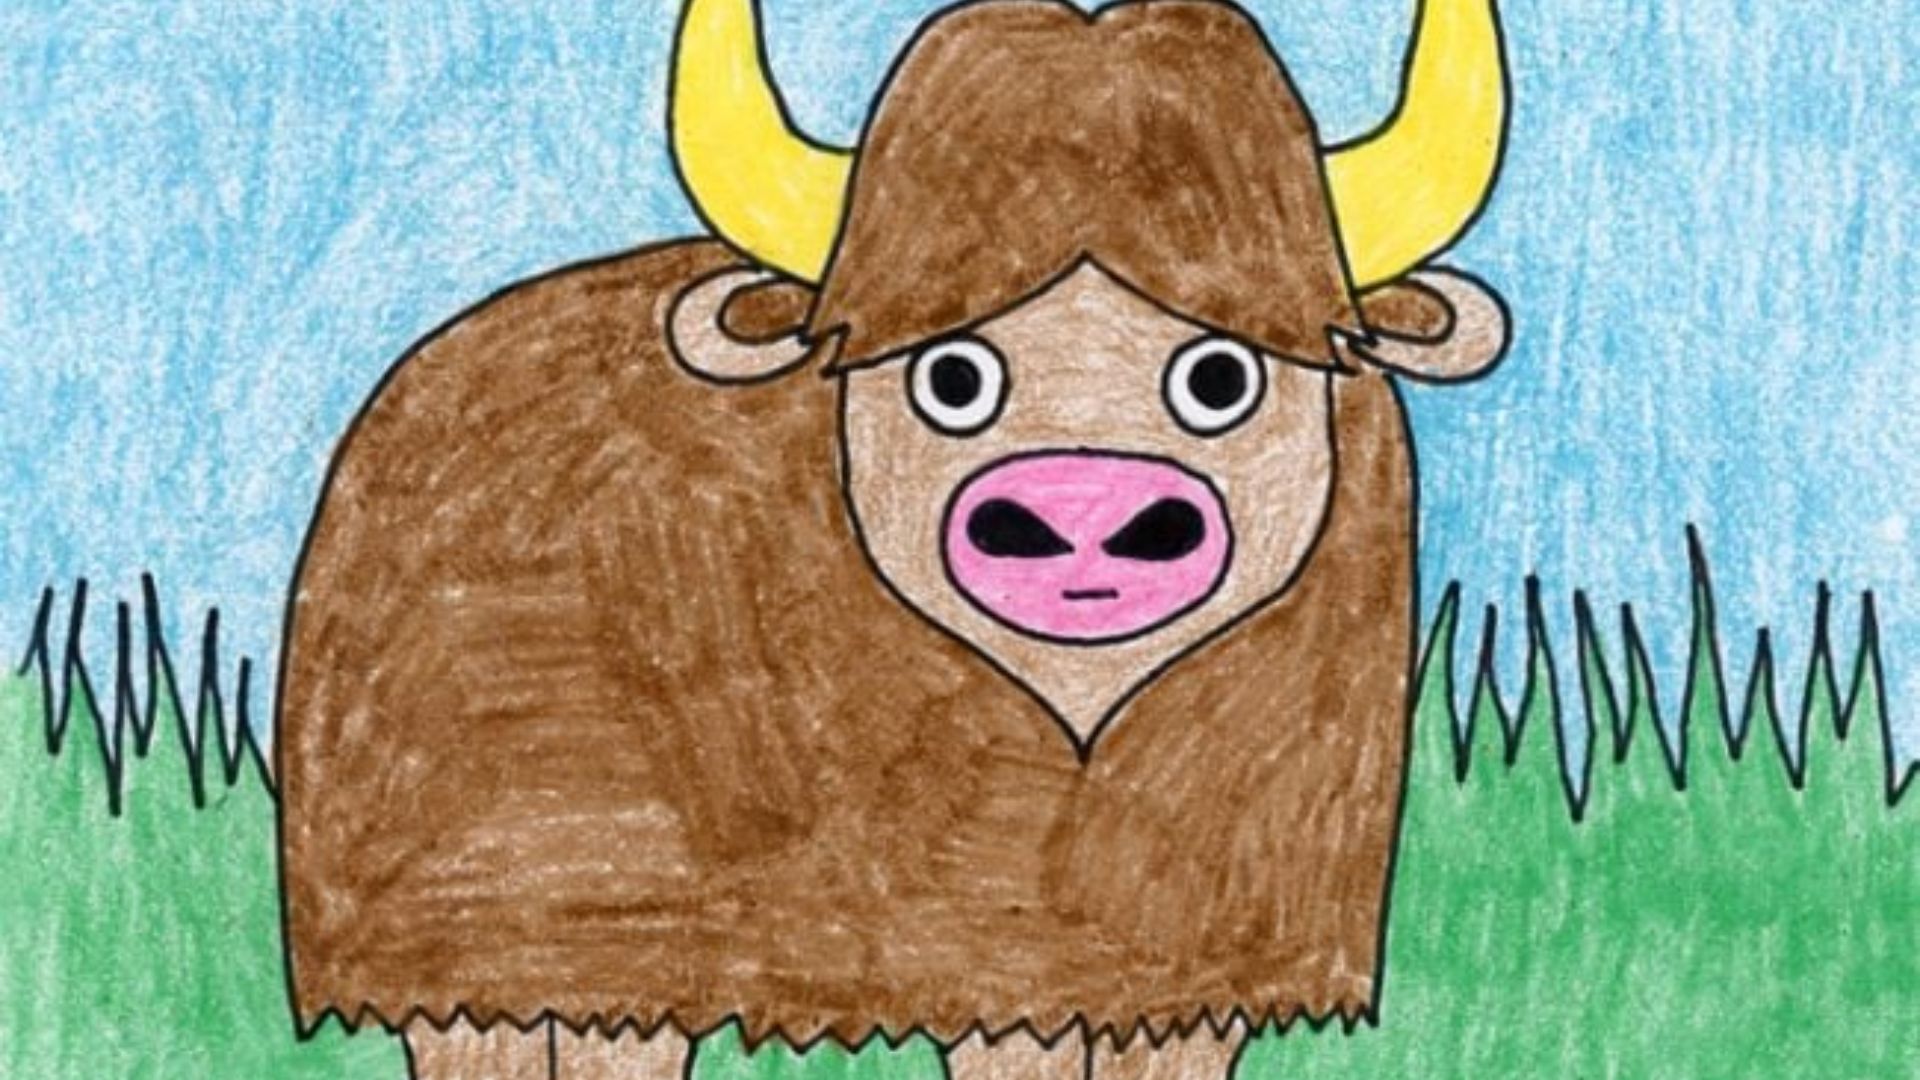
My first buffalo drawing looked nothing like a buffalo.
Honestly, it was embarrassing. The legs were wrong, the head was too small, and the horns pointed in completely different directions.
But I kept going. And after a few tries with the right approach, it finally came together.
That experience taught me that buffalo drawing easy is less about skill and more about knowing where to start.
In this guide, I am sharing the exact steps that worked for me. Whether you are a total beginner or helping a child learn, this process is going to surprise you.
Why Learn Buffalo Drawing Easy?
Drawing a buffalo is not just a fun activity. It actually trains your eye to observe shapes, proportions, and how different body parts connect. Those are skills that help with every animal you draw after this.
It is also a great pick for school projects and art assignments. A well-drawn buffalo stands out, and following a step-by-step process means you can repeat it confidently every time.
For beginners especially, finishing a drawing like this builds real confidence. You start to trust your hand more. You stop second-guessing every line.
And it is especially helpful for making buffalo drawing easy for kids at home or in the classroom. The steps are simple enough that children can follow along with minimal help and still end up with something they are proud of.
Materials You Need for Buffalo Drawing
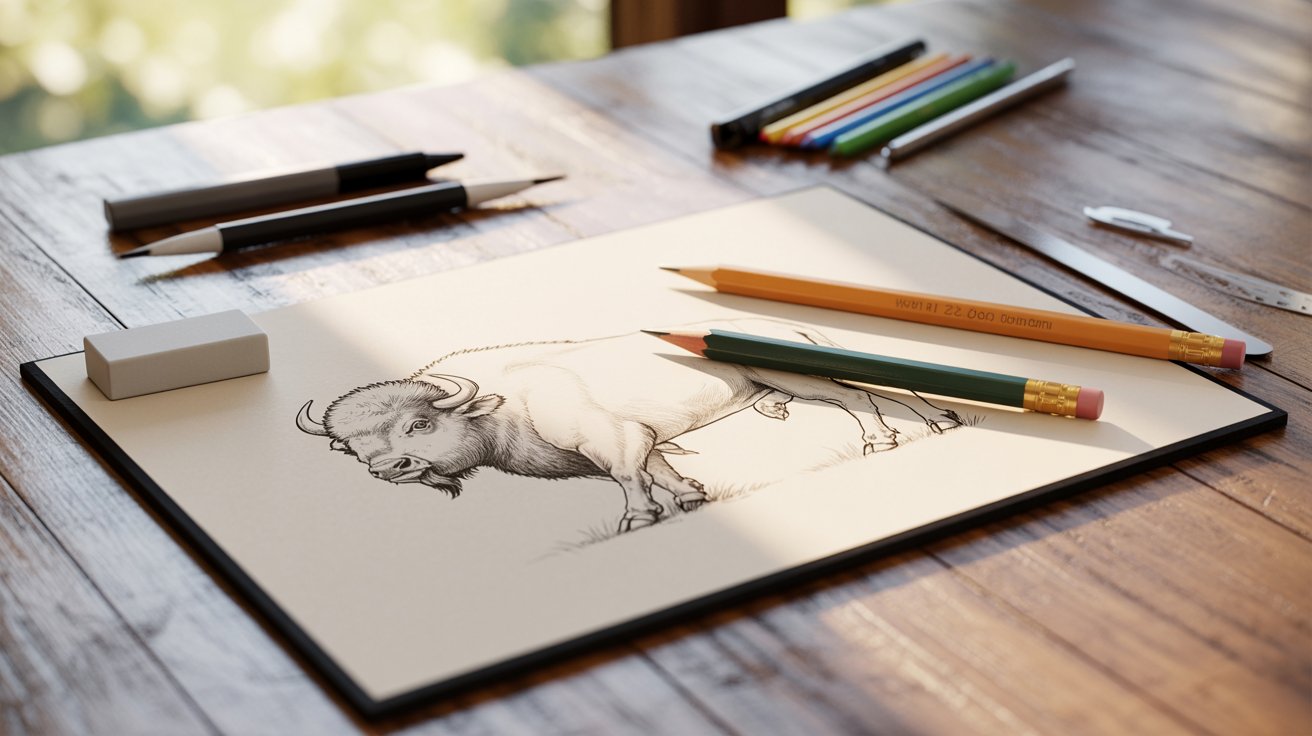
You do not need much to get started. A simple setup is all it takes to follow this guide and practice comfortably.
- HB pencil for light sketching and base shapes
- 2B pencil for darker lines and shading
- Soft eraser for clean corrections without smudging
- Drawing paper or sketchpad for smooth strokes
- Black pen or fineliner (optional) for bold final outlines
- Colored pencils or markers (optional) if you want to add color at the end
Keep your setup minimal. More supplies do not mean better drawings. Focus on getting comfortable with just a pencil and eraser first. Once you have the steps down, adding tools is easy.
Buffalo Drawing Easy: Step-by-Step Guide
Take each step slowly and keep your pencil lines light until the very end. The goal here is to build the buffalo in layers, not rush to a finished drawing all at once.
Step 1 – Draw the Basic Body Shape

Start with a large oval in the center of your paper. This is the body. Keep the lines soft and light so you can adjust easily.
A buffalo has a heavy, wide body. So make your oval bigger than you think you need. It is easier to shrink it later than to redraw it larger.
Do not press hard with your pencil here. These are just guides. Think of this as the skeleton of your buffalo drawing easy process.
Step 2 – Sketch the Head

Draw a smaller oval near the front of the body oval. The head sits lower than the back, so place it slightly downward on the left or right side.
Let the two ovals overlap a little. That overlap is where the neck will connect, so it actually helps you in the next step.
Keep this circle round and compact. A buffalo's head is large but compact compared to its body.
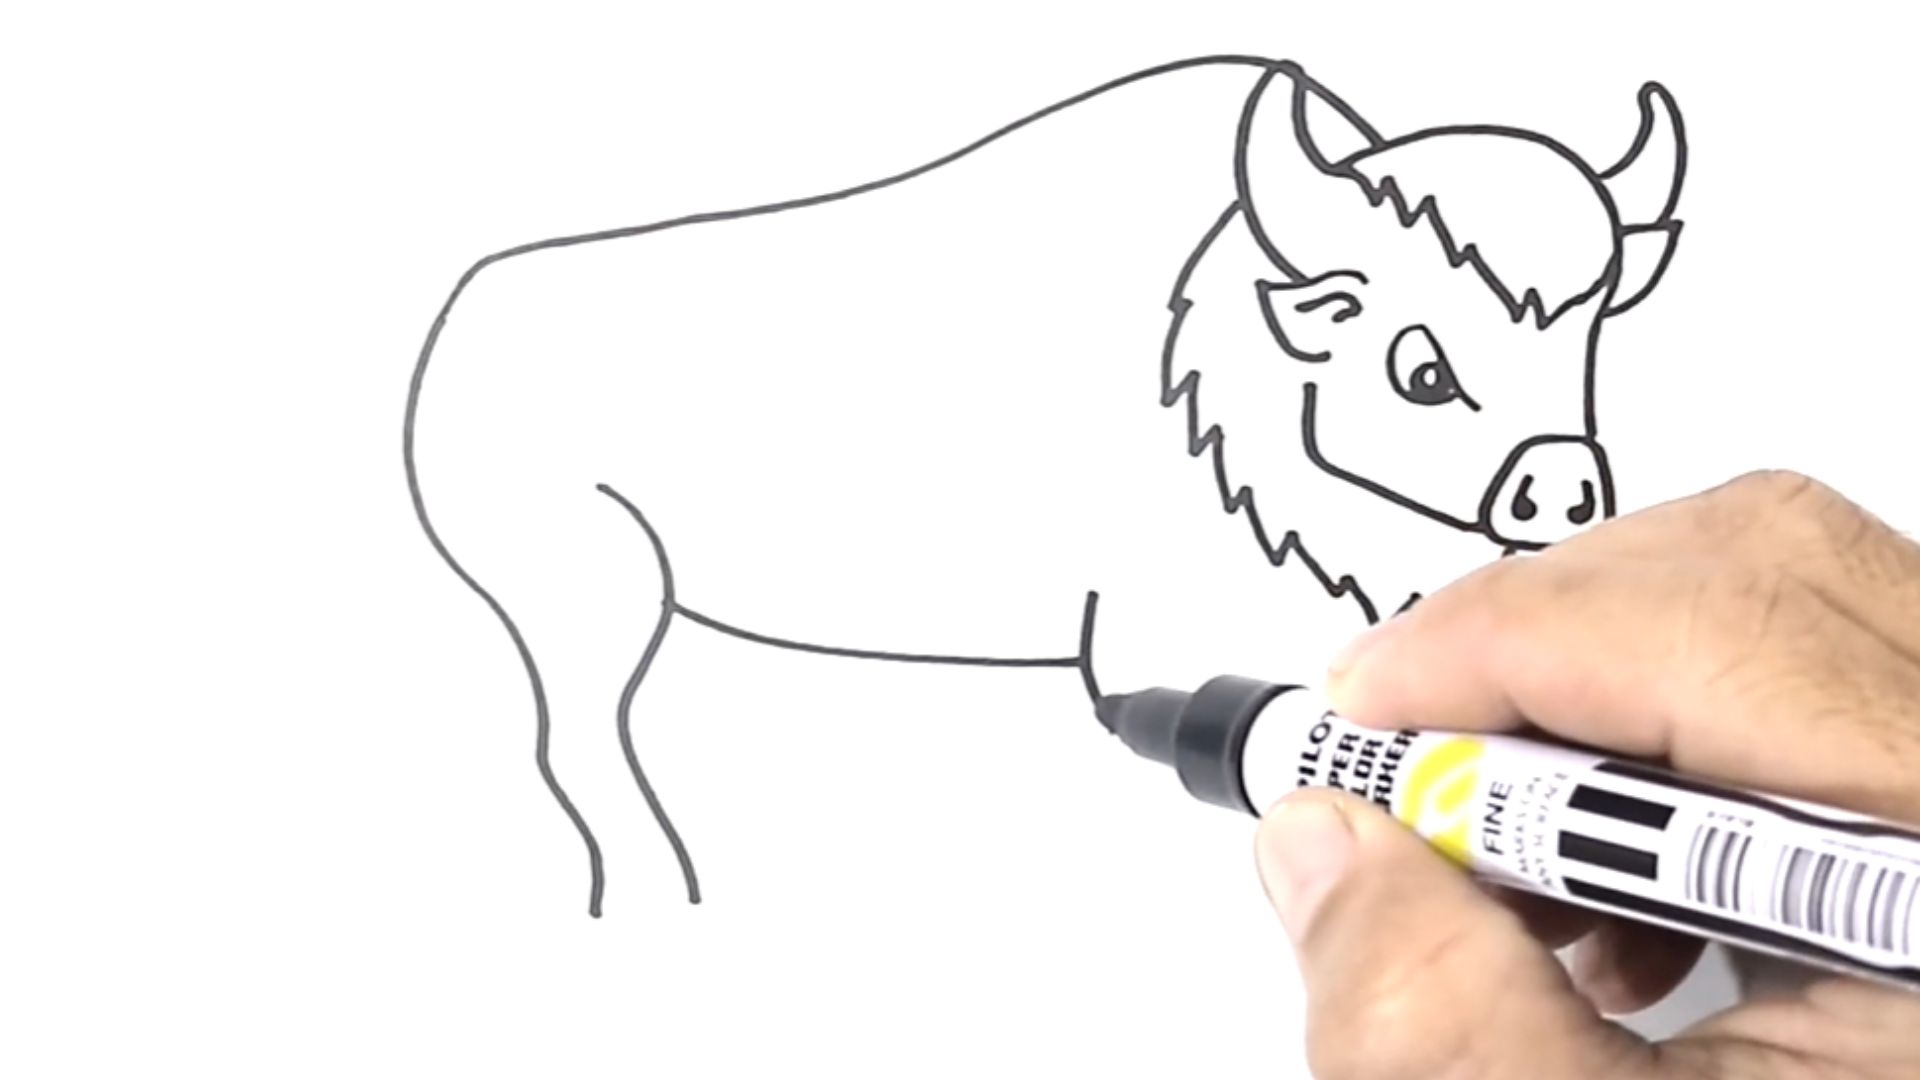
Step 3 – Add the Neck and Backline

Connect the head and body with two short curved lines on either side. This forms the neck. Keep it thick, not thin.
Now draw the backline of the buffalo. It should have a slight rise near the shoulders. This is the signature hump that makes a buffalo look like a buffalo.
That small curve makes a huge difference. Without it, the animal can look flat and generic.
Step 4 – Draw the Legs
Start with four straight lines dropping down from the body. These are your base guides for the legs. Keep them evenly spaced.
Now add thickness to each leg by drawing a second line parallel to the first. Buffalo legs are stocky and short relative to the body size.
Add small hooves at the bottom by drawing a slightly wider base on each leg. Simple rectangles work perfectly at this stage.
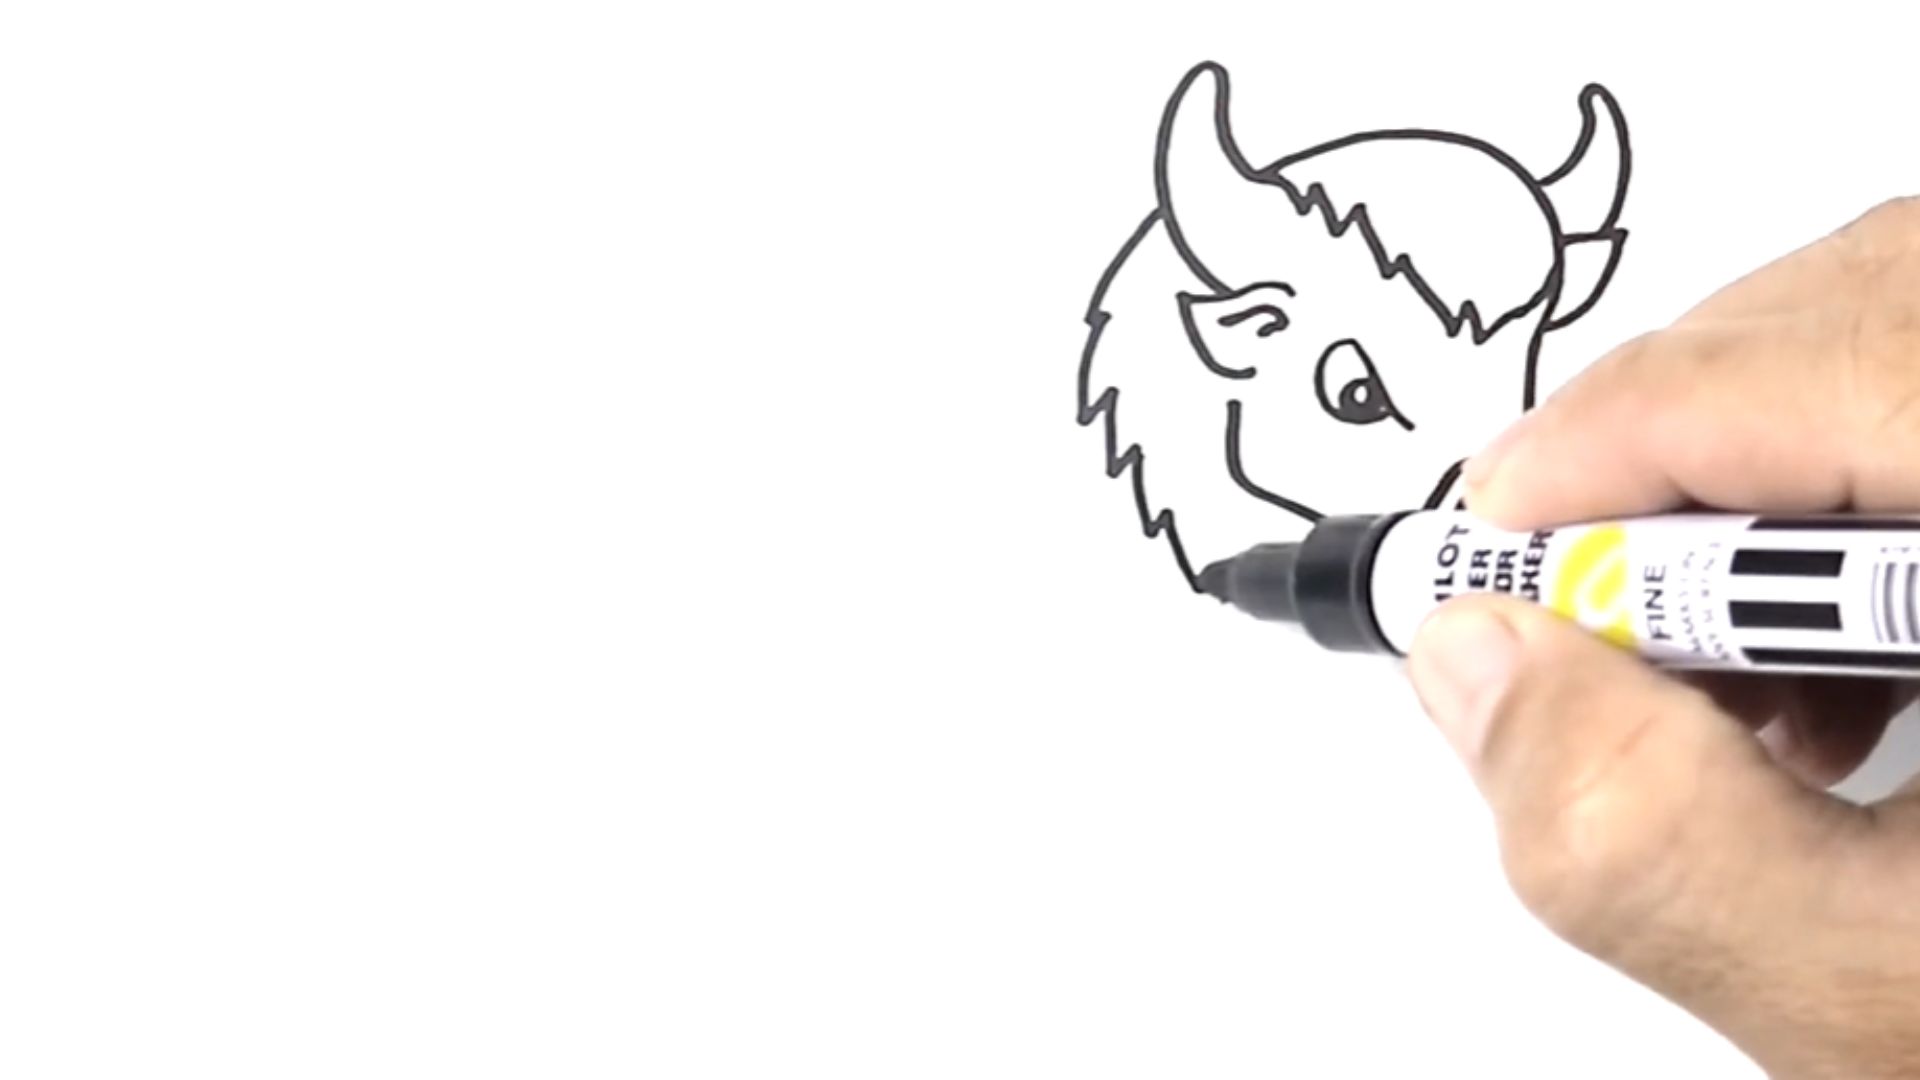
Step 5 – Outline the Horns and Ears

Draw two curved lines coming out from the top sides of the head. Curve them outward and slightly upward. Buffalo horns are wide and bold, so do not make them too thin.
Add small rounded ears just below where the horns start. They sit close to the head and point slightly outward.
Keep both sides symmetrical. Uneven horns are one of the most noticeable mistakes in buffalo drawings, so take an extra second here.
Step 6 – Add Facial Details
Draw a small oval or circle on the head for the eye. Place it roughly in the center of the head shape.
Add two small dots or ovals near the bottom of the head for the nostrils. A short curved line below them works as the mouth.
Keep all facial features simple. You are not going for a portrait. A few clean marks are all you need.
Step 7 – Final Outline and Shading
Now go over your entire drawing with a darker pencil or black pen. Trace only the lines that belong in the final drawing. Skip the overlapping guide lines.
Once outlined, erase all the light pencil marks from earlier. This is where your buffalo drawing easy sketch starts to look clean and finished.
For shading, use the side of your pencil to add light shadow under the belly, along the legs, and under the neck. If you want to add color, dark browns and blacks work best for a realistic look. For a simpler version, a single flat brown with slightly darker edges is more than enough.
Best Tips to Make Buffalo Drawing Easy
These tips seem small but they make a real difference, especially when you are just starting out. I learned most of these the hard way, so you do not have to.
- Always start with shapes, not details. Ovals and lines first, features last.
- Practice proportions slowly. The body should always be bigger than the head. Check this every few steps.
- Do not press the pencil hard. Light strokes are easier to erase and adjust.
- Look at real buffalo photos. Even a quick reference image helps your brain understand the shapes better.
- Keep your strokes loose. Tight, stiff lines make the animal look wooden. Let your hand move naturally.
These tips make the whole process smoother and turn it into buffalo drawing easy for kids and beginners alike. You do not need to be an artist. You just need to be willing to take it one step at a time.
Common Mistakes to Avoid
Even simple drawings go wrong when a few key things get skipped. Here are the most common mistakes beginners make and how to fix them before they become habits.
- Legs too thin or uneven: Buffalo legs are thick and sturdy. Make them wide from the start.
- Skipping the basic shapes: Jumping straight to the outline without guides leads to off-proportion drawings almost every time.
- Horns that are too small or too large: Check the width of your horns against the head. They should spread about as wide as the head itself.
- Over-detailing too early: Adding fur texture or facial details before the base is solid makes the whole drawing look messy.
- Ignoring symmetry: Both sides of the face, horns, and legs should mirror each other. A quick check halfway through saves a lot of fixing later.
Mistakes are part of the process. The key is catching them early so they do not shape the whole drawing.
Conclusion
Here is the thing about buffalo drawing easy. The hardest part is just starting.
Once you put pencil to paper and commit to step one, the rest follows naturally. I have seen total beginners surprise themselves with what they create.
You might too. So do not wait for the "right moment." Open a sketchbook today and give it a real shot.
Then come back and drop your drawing in the comments. I read every one. And if this guide helped you, share it with someone who loves to draw. They will thank you for it.
Frequently Asked Questions
How Do You Draw a Buffalo Easy Step by Step?
Start with a large oval for the body, add a smaller oval for the head, connect them with a thick neck, then build the legs, horns, and facial details one step at a time. Keeping your lines light in the early stages makes the whole process much more manageable.
Is Buffalo Drawing Easy for Beginners?
Yes, absolutely. When you use basic shapes as a starting base and follow a clear step-by-step method, drawing a buffalo becomes very approachable even with no prior art experience.
How Can I Make Buffalo Drawing Easy for Kids?
Simplify the steps by focusing on just the main shapes, the body oval, head, horns, and legs, and skip fine details like shading or texture until the child is comfortable. Fewer steps and lighter pencil pressure make it much more fun and less frustrating for kids.
What Is the Easiest Way to Draw a Buffalo?
Start with two ovals for the body and head, connect them, and gradually add the horns, legs, and details on top of that base. Building the drawing in layers is always easier than trying to draw it all at once.
Which Pencil Is Best for Buffalo Drawing?
An HB pencil works best for the initial light sketch and guidelines, while a 2B pencil is better for darker outlines and shading. Using both gives you more control over the final look of your drawing.