


Learning how to start a crochet chain is your first step into the world of crochet. I’ve been crocheting for years, and I can tell you this foundation skill is what every project needs.
In this guide, I’ll walk you through creating a slip knot, making your first chains, and fixing common problems. You’ll learn about yarn, hooks, tension, and counting stitches.
I’ve taught dozens of beginners, and trust me, you can do this. We’ll cover everything from holding your hook to troubleshooting tight chains.
By the end, you’ll have a strong chain ready for your first project.
Why Learning How to Start a Crochet Chain is Important
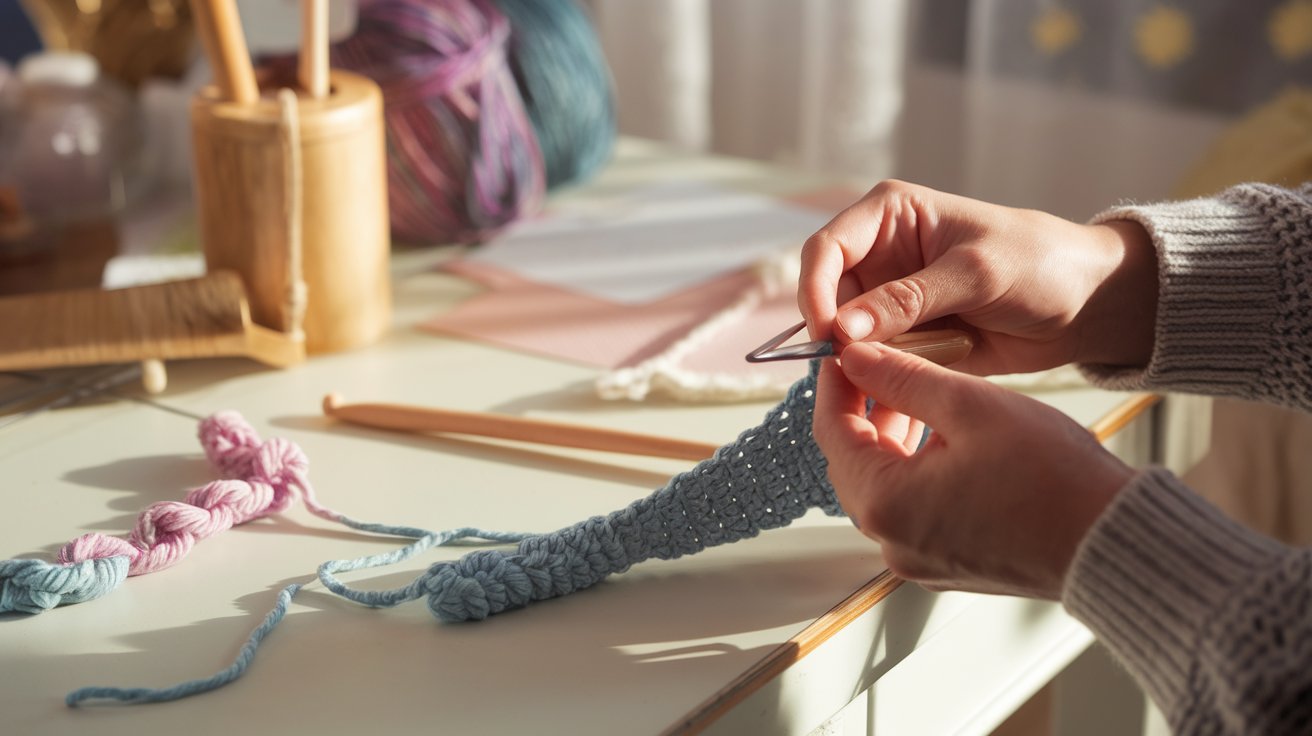
Every crochet project starts with a chain. It’s the base that holds everything together.
A good starting chain makes your stitches even. It keeps your work flat and neat. When your chain is too tight, stitches become hard to work into. When it’s too loose, your project looks messy.
Many beginners rush through their first chain. They don’t count correctly. They skip the slip knot or make it wrong. Some pull their yarn too tight from nerves.
These mistakes create problems later. You might have too few stitches. Your edges might curl. Your tension could be uneven throughout.
Learning the right way from the start saves time. It builds good habits. It makes every future project easier.
Materials You’ll Need to Start a Crochet Chain
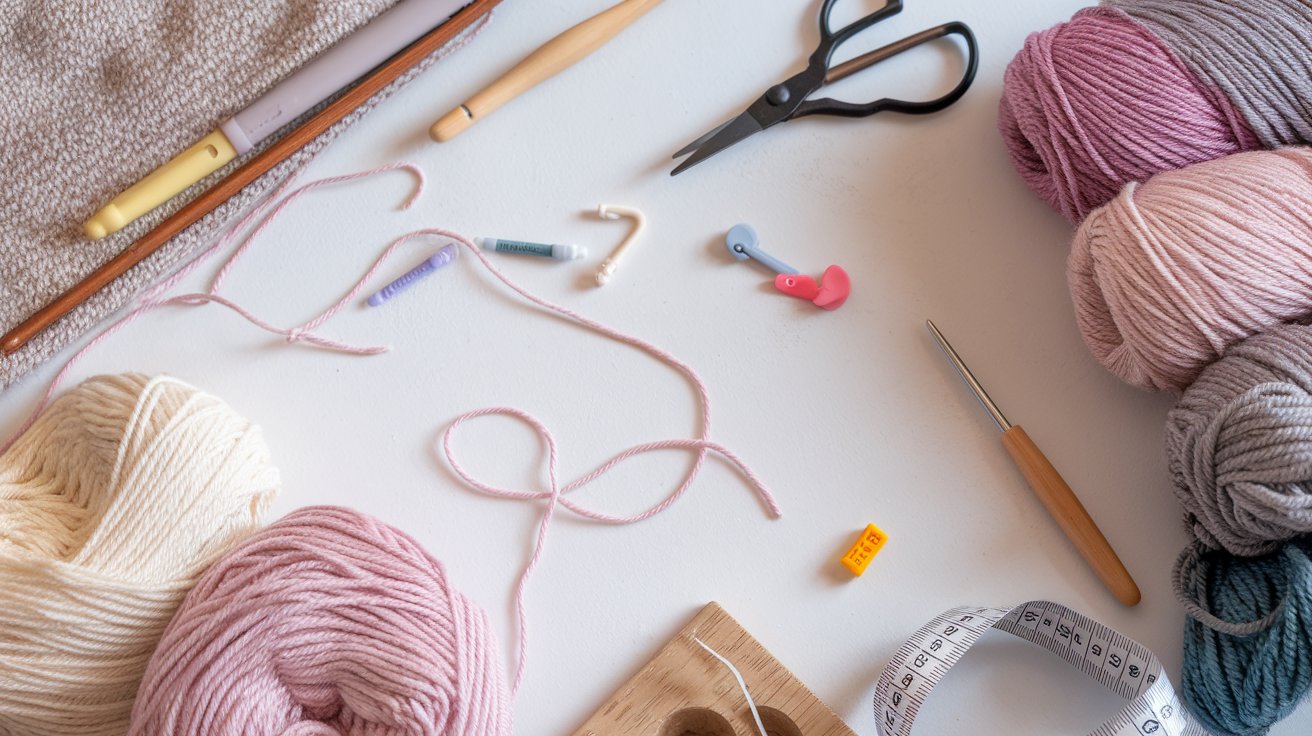
Pick a medium-weight yarn labeled as number 4 or “worsted weight.” Light colors work best because you can see your stitches clearly.
Cotton or acrylic yarn both work well. Get a yarn that feels smooth. Fuzzy or textured yarn hides your stitches.
Match your hook to your yarn. Most medium yarn works with a 5mm or 5.5mm hook. An H/8 (5mm) is a good starting size. Aluminum hooks are affordable and smooth. Plastic hooks work too.
You don’t need many tools to start. Just yarn and a hook will work. Stitch markers help you count chains.
Scissors cut your yarn when you finish. A tape measure helps if you’re following a pattern, but for practice chains, you don’t need one.
How to Hold Your Crochet Hook
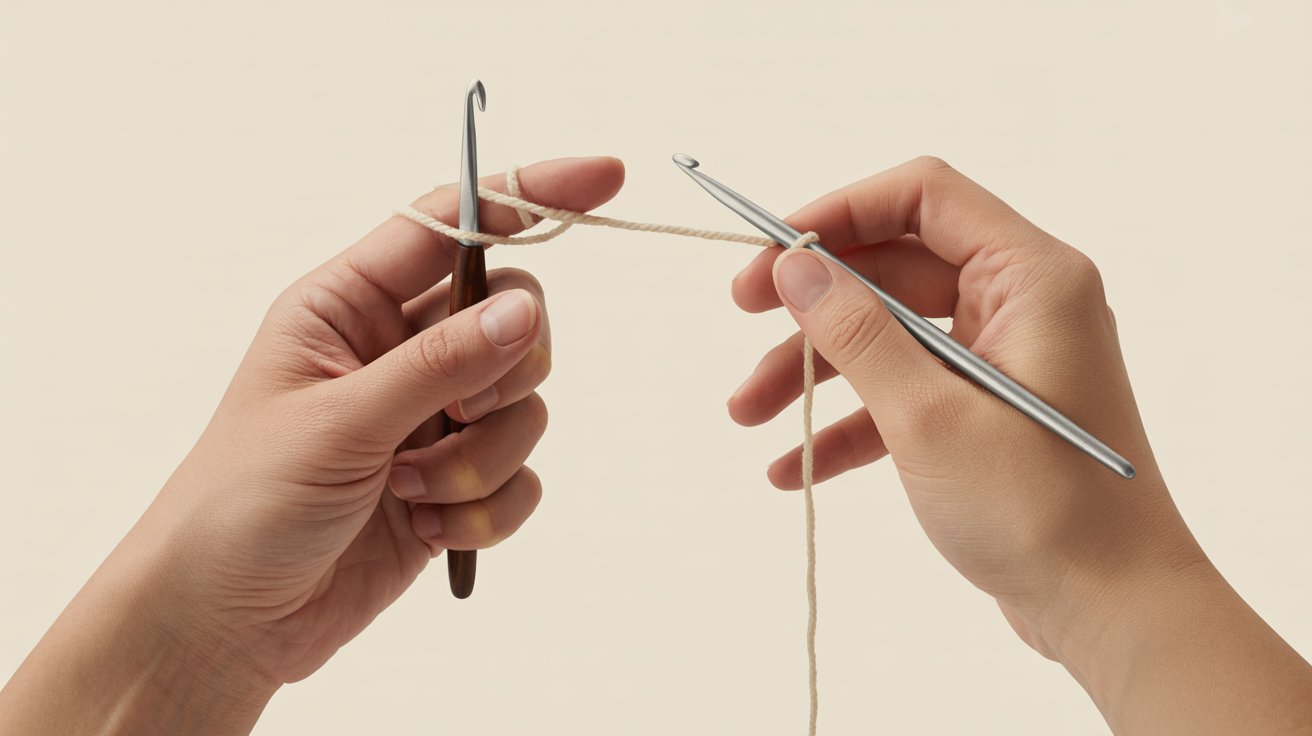
The way you hold your hook affects your comfort and control while crocheting.
Knife Grip vs Pencil Grip
There are two main ways to hold a crochet hook.
The knife grip means holding the hook like you’d hold a knife. Your hand goes over the top. Your thumb and fingers wrap around the handle.
The pencil grip is like holding a pencil. The hook rests between your thumb and first finger. Your hand stays more relaxed.
Try both grips. See which feels natural. I use the knife grip because it gives me more control. My sister uses the pencil grip.
Neither way is wrong. Pick what feels comfortable for your hand.
How Left-Handed Crocheters Can Hold the Hook
Left-handed crocheters can follow the same instructions. Just mirror everything. Hold your hook in your left hand. Use your right hand to control the yarn.
Most crochet instructions are written for right-handed people. Don’t let that confuse you. Just reverse the directions.
Some left-handed crocheters learn right-handed crochet. This makes following patterns easier. But it’s not required.
Creating a Slip Knot to Begin Your Chain

The slip knot is the first step that connects your yarn to the hook.
Step-by-Step Slip Knot Instructions
The slip knot is how you attach yarn to your hook.
Step 1: Make a loop with your yarn. The tail end should cross over the working yarn.
Step 2: Reach through the loop. Grab the working yarn.
Step 3: Pull the working yarn through the loop. This creates a new loop.
Step 4: Put this new loop on your hook. Pull the tail end to tighten slightly.
Your slip knot should slide on the hook. It shouldn’t be tight or stuck.
Tips for a Secure and Consistent Slip Knot
A good slip knot sets the foundation for smooth, even chains.
- Don’t pull the knot too tight. It needs to move freely on your hook.
- Leave a tail about 6 inches long. This keeps the knot secure.
- The loop on your hook should be loose. You should fit the hook through easily.
- Practice making slip knots a few times. Get comfortable with the motion.
- If your knot feels stuck, start over. A good slip knot slides smoothly.
Crocheting Your First Chain
Now comes the fun part where you create your actual chain stitches.
Step 1: Yarn Over
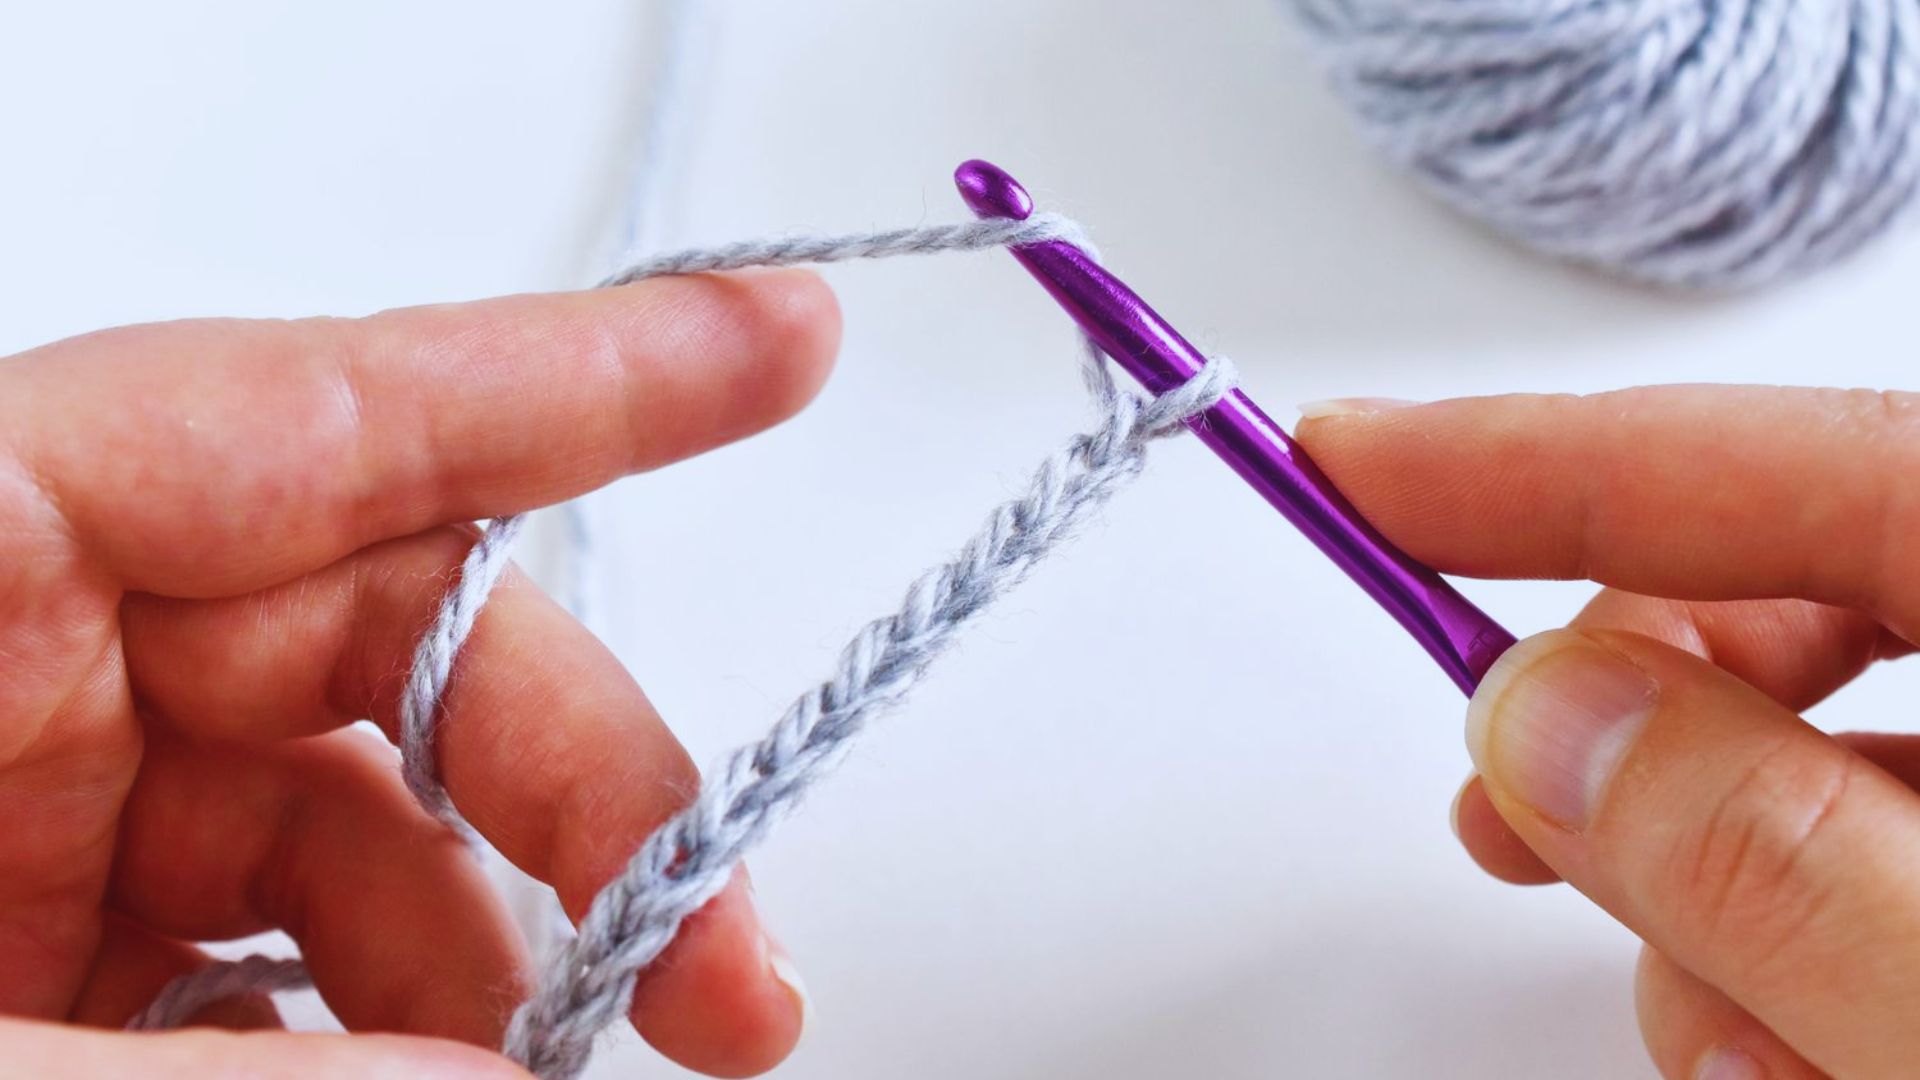
Hold the yarn in your non-hook hand. The yarn goes over your fingers.
Wrap the yarn over your hook from back to front. This is called “yarn over.”
The yarn should catch in the throat of the hook. Don’t let it slip off.
Keep your tension steady. Not too tight, not too loose.
Step 2: Pull Through the Loop
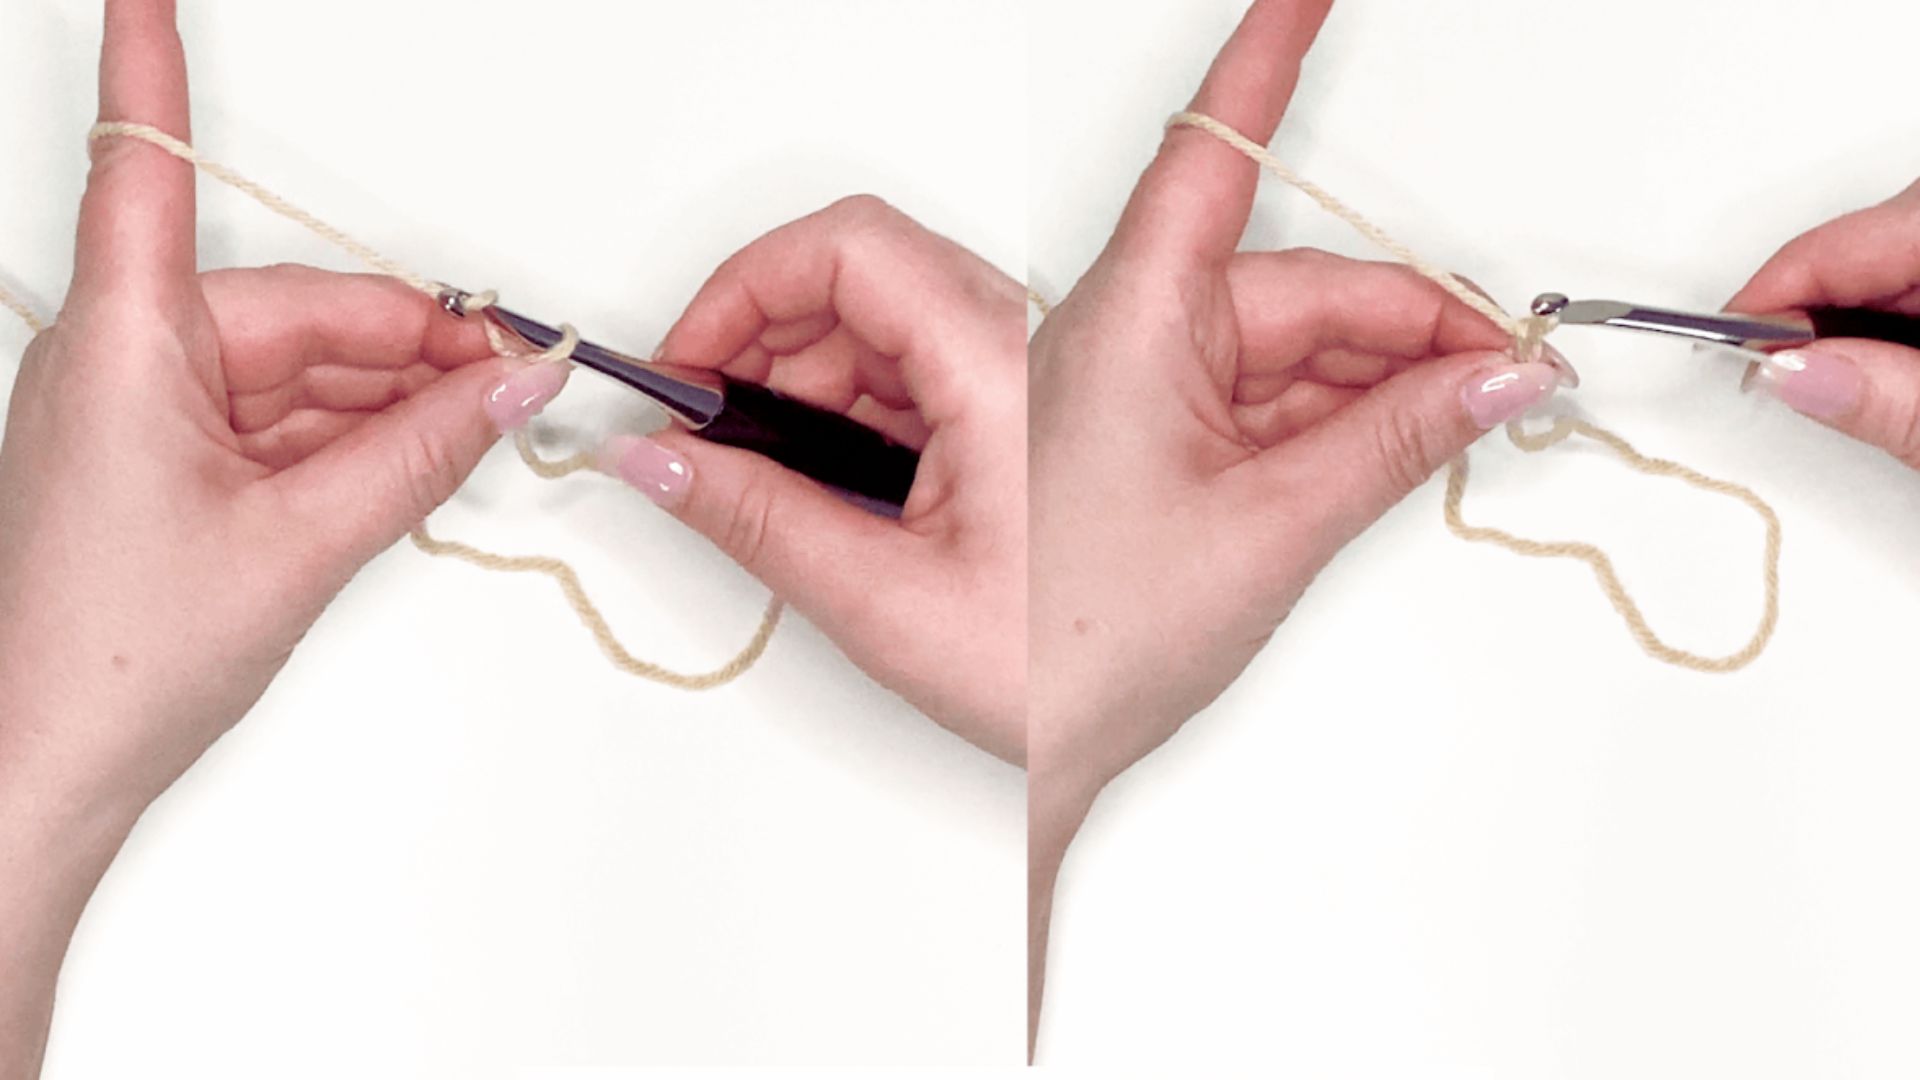
With the yarn caught on your hook, pull it through the loop already on your hook.
You now have a new loop on your hook. The old loop slides off.
This creates one chain stitch.
The motion should feel smooth. If it’s hard to pull through, your tension is too tight.
Step 3: Repeat to Create the Desired Number of Chains
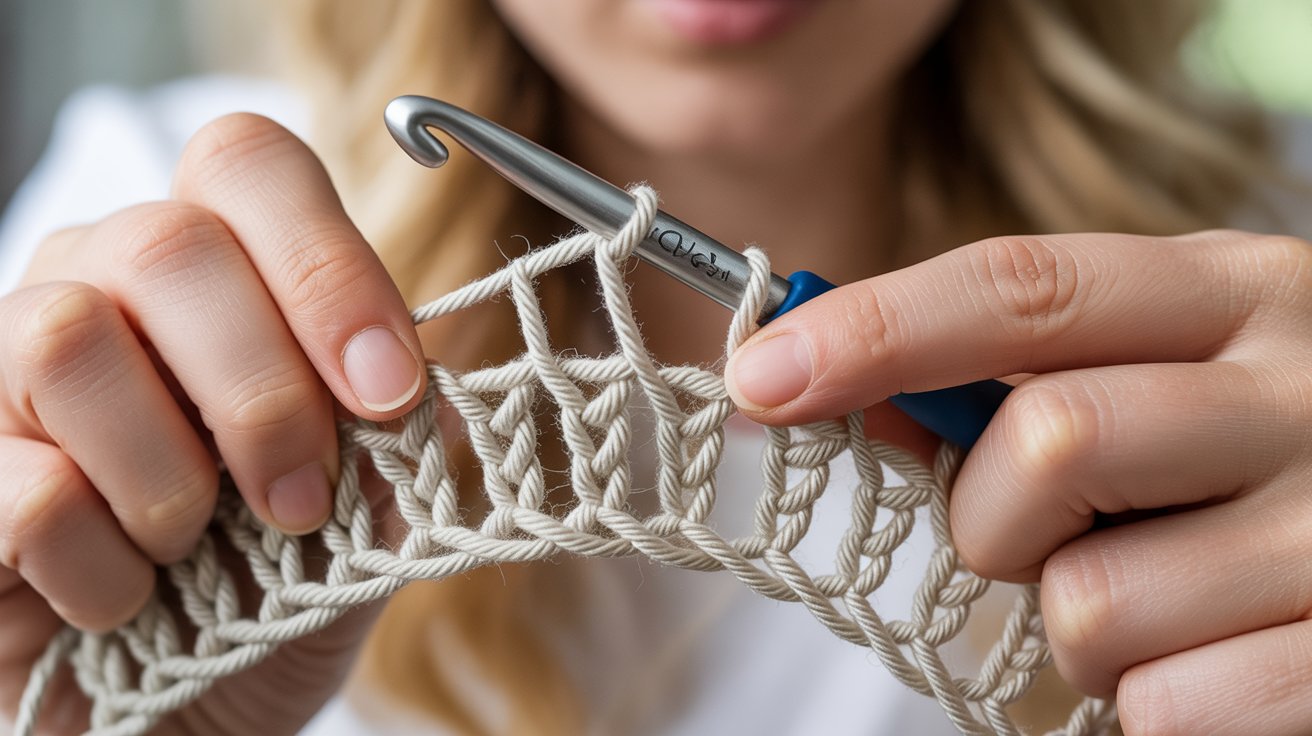
Keep doing yarn over and pull through. Each time makes one chain.
Count as you go. Say the numbers out loud.
Your chains should look like small Vs connected together.
For practice, make a chain of 20 stitches. This helps you get the rhythm.
Counting and Understanding Your Chains
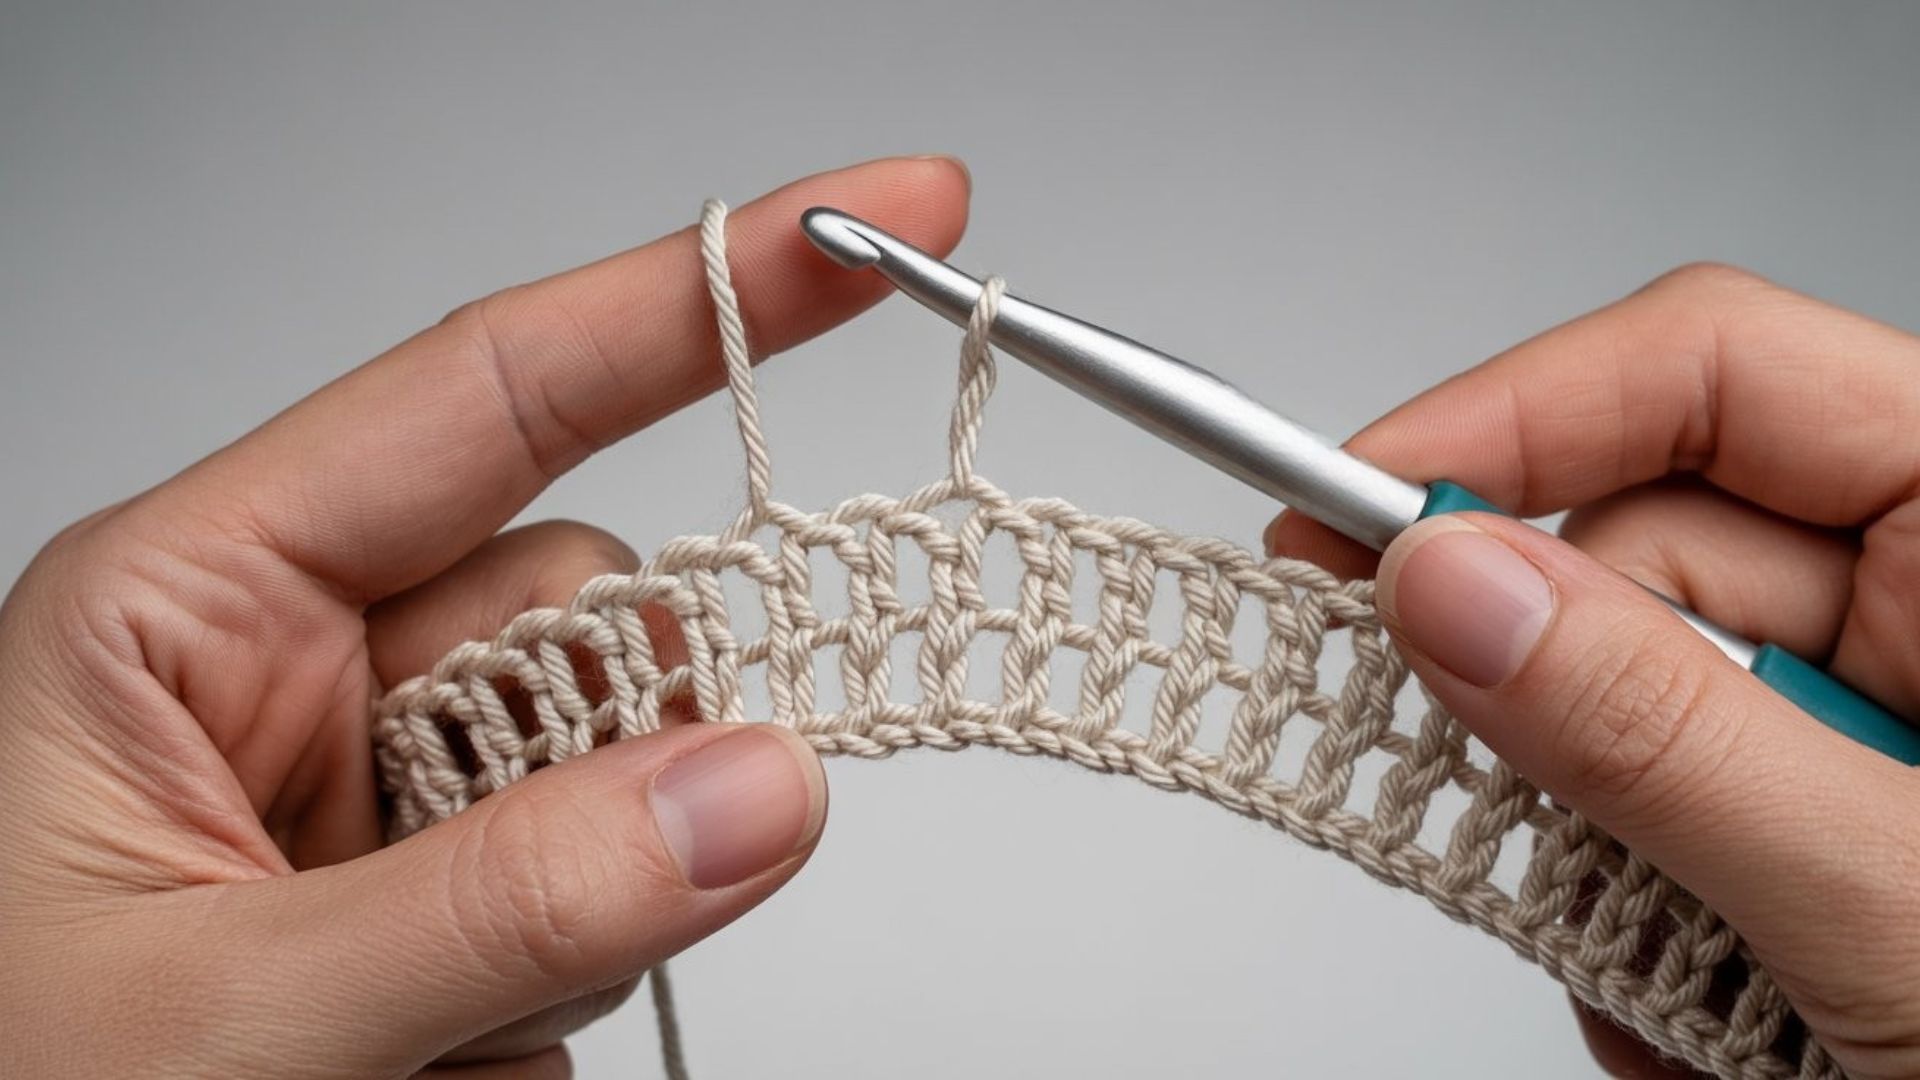
Knowing how to count and recognize chain parts is crucial for following patterns.
How to Count Chains Correctly
Turn your chain so the Vs face you. Each V shape is one chain stitch, and you should start counting from the hook. The loop on your hook doesn’t count, so never count that one.
The slip knot at the bottom doesn’t count either. Count the Vs between the hook and the slip knot to get your chain count. If you have 20 chains, you should see 20 Vs lined up.
Parts of a Chain: Front Loop, Back Loop, Back Bump
Each chain has different parts you’ll use later. The front loop is the top of the V and it’s the part facing you. The back loop is behind the front loop, and you have to lift the chain to see it.
The back bump runs along the back of the chain and looks like small bumps or ridges. For now, just know these exist. You’ll use them when you start making real stitches.
Troubleshooting Common Chain Problems
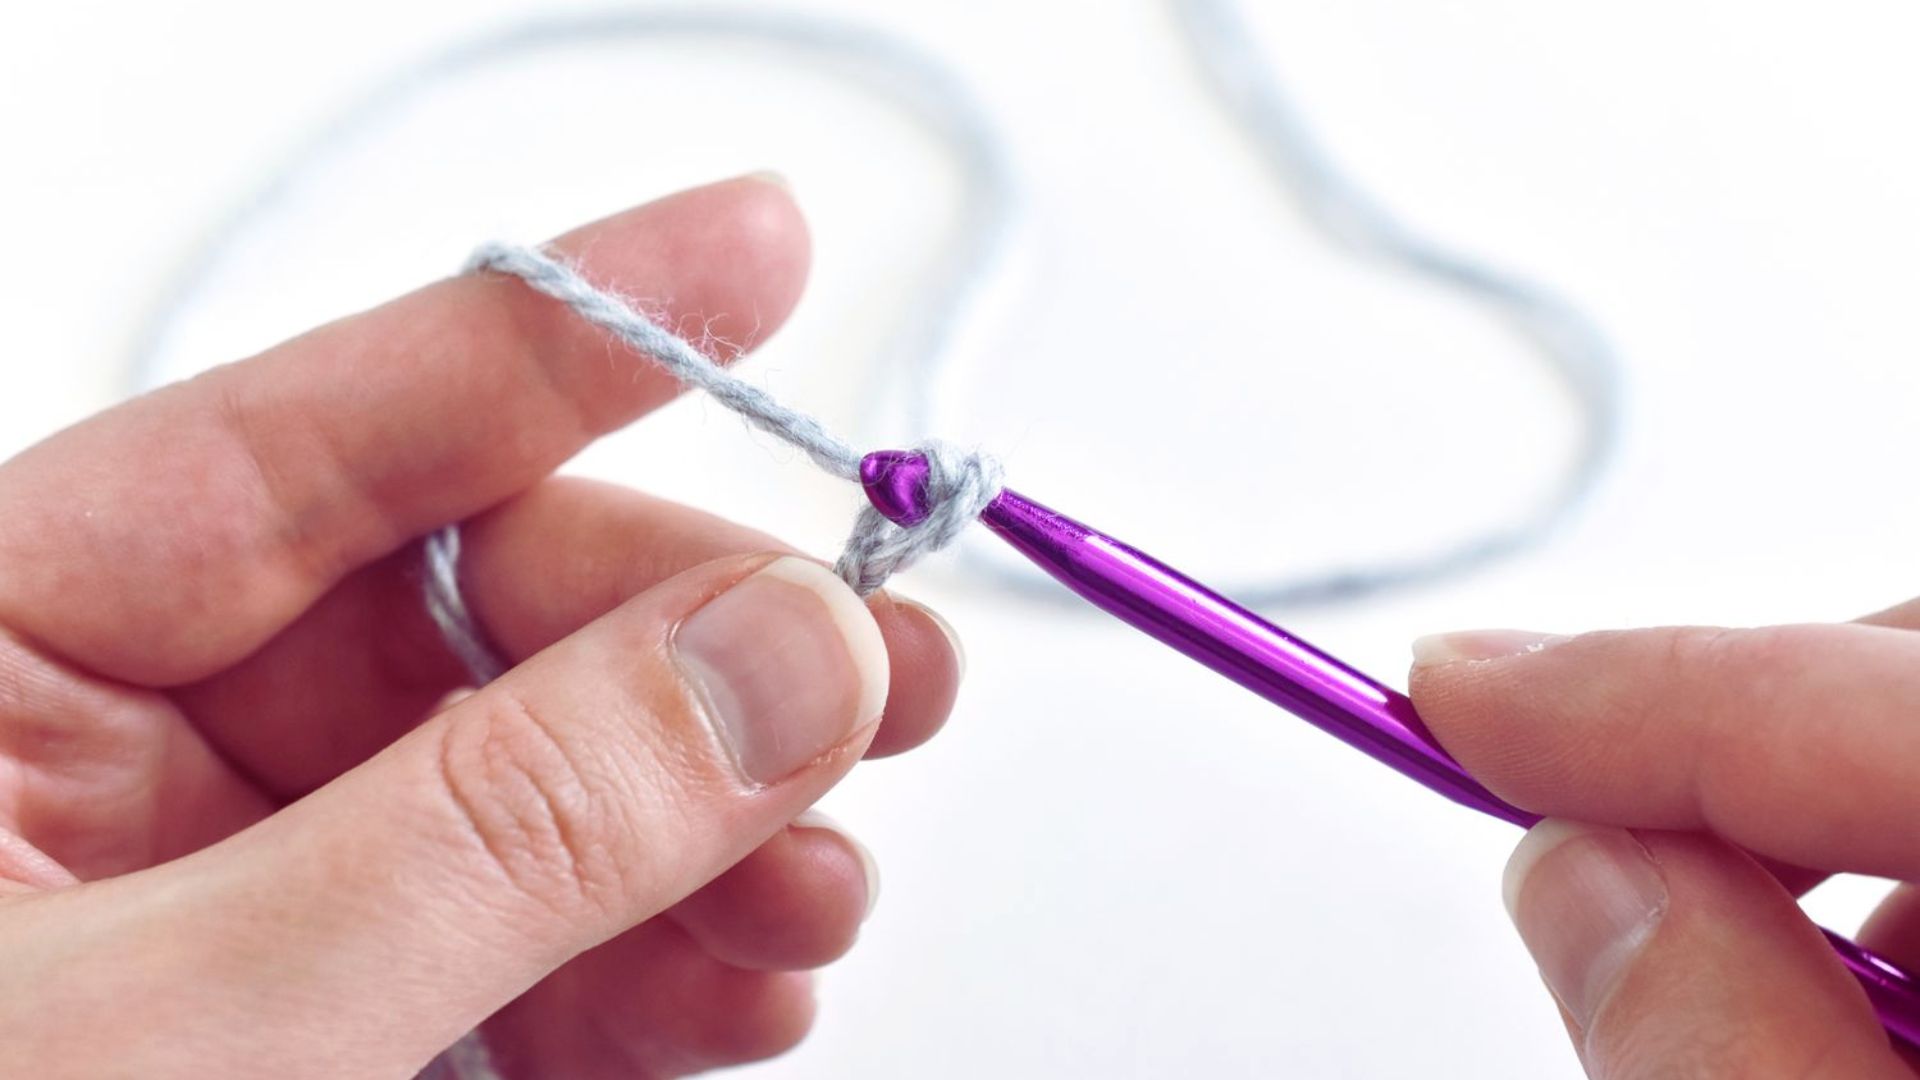
Even experienced crocheters face tension issues, so don’t worry if your first chains aren’t perfect.
Chains Too Tight
Tight chains are the most common beginner problem. Your stitches look small and bunched, and they’re hard to get your hook into. This happens when you pull too hard on the yarn or when you hold the yarn too tightly.
To fix this, relax your hands and hold the yarn more loosely. Make bigger loops on your hook. Practice making chains that feel too loose. This helps you find the middle ground.
Chains Too Loose
Loose chains look floppy and uneven. Big gaps appear between stitches, and the chain stretches out. This happens when you don’t hold the yarn firmly enough.
To fix this, hold the yarn with a bit more tension and make your loops on the hook smaller. Your chains should be even and consistent. Each stitch should match the others.
Adjusting Hook Size and Tension
Sometimes the problem isn’t you but your tools. If your chains stay too tight, try a bigger hook and go up one size. If they’re too loose, try a smaller hook and go down one size.
Hook size affects your work more than you think, and the right size makes everything easier. But work on your tension too. Good tension matters more than the perfect hook.
Tips for Beginners to Master Your Chain
These simple tips will help you improve your chains quickly and avoid frustration.
- Make practice chains every day, even just five minutes. Focus on making each stitch the same size. Your hands will remember the right tension through muscle memory.
- Clip a stitch marker every 10 chains to make counting easier. You won’t have to recount the whole chain. Safety pins work as stitch markers too.
- Never count the loop on your hook. It doesn’t count as a chain stitch. This is the most common counting mistake beginners make.
- Keep your chain flat while working. Chains twist when you rotate your work or hold it at an angle. Hold the bottom of your chain with your non-hook hand.
- Start with medium, smooth yarn in light colors. Fuzzy or textured yarn hides your stitches. Dark yarn makes it hard to see what you’re doing.
Conclusion
You now know how to start a crochet chain from beginning to end. I still remember my first lumpy, uneven chain. It looked terrible, but I kept going. Now I can chain without looking.
You’ll get there too. Practice your slip knot and chain a few rows each day. Your hands will learn the rhythm. Don’t stress about perfect tension right away. It comes with time.
Try making a 20-chain practice piece tonight. Drop a comment below and tell me how your first chain turned out. I’d love to hear about your progress.
Frequently Asked Questions
How many chains should a beginner make to practice?
Make chains of 20 to 30 stitches for practice. This length helps you build muscle memory and consistent tension. Do several practice chains before starting a real project.
Can I start crocheting without making a slip knot?
No, you need a slip knot to attach yarn to your hook. The slip knot is the starting point for all crochet projects. Without it, your yarn won’t stay on the hook properly.
Why do my chains keep twisting while I work?
Chains twist when you rotate your work or hold it at an angle. Keep your chain flat on your lap or table. Hold the bottom of your chain with your non-hook hand to keep it straight.
What’s the best yarn for learning to make chains?
Medium-weight (worsted) yarn in a light color works best for beginners. Light colors let you see each stitch clearly. Smooth yarn is easier to work with than fuzzy or textured types.
How tight should my chain stitches be?
Your chain should be firm but not tight. You should easily fit your hook through each stitch. If you struggle to insert the hook, your chains are too tight. Relax your grip.
