

Learning how to read crochet patterns might feel overwhelming at first. All those abbreviations and symbols can look like a foreign language. But once you understand the basics, patterns become your best friend. They open doors to thousands of projects you can make with confidence.
In this guide, I’ll walk you through key sections, common abbreviations, gauge swatches, and how to follow instructions step by step.
I’ve been crocheting for years, and I remember struggling with my first pattern. I know what beginners need to hear.
Let’s break down the crochet language together.
Understanding the Basics of Crochet Patterns

Reading crochet patterns gets easier once you know what to look for. Every pattern follows a similar structure with specific sections that guide you through the project.
Patterns use abbreviations, punctuation, and shorthand notation. The first time you see “sc2tog” or “(dc, ch 1) 3 times,” it looks complicated. But these are just shortcuts that save space and make instructions clearer once you learn them.
Learning the crochet language takes practice. Give yourself time to get familiar with how patterns are written. The more you read them, the more natural it becomes.
The Key Sections in a Crochet Pattern
Most patterns include these sections:
Title – Tells you what you’re making
Images – Shows the finished project
Materials – LListyarn, hooks, and other supplies
Sizes & Measurements – Gives finished dimensions
Gauge – Tells you how many stitches per inch
Abbreviations & Terms – Defines the shortcuts used
Notes – Provides helpful tips from the designer
Pattern Instructions – The step-by-step directions
Understanding these sections helps you prepare before you start working.
Materials and Tools Section
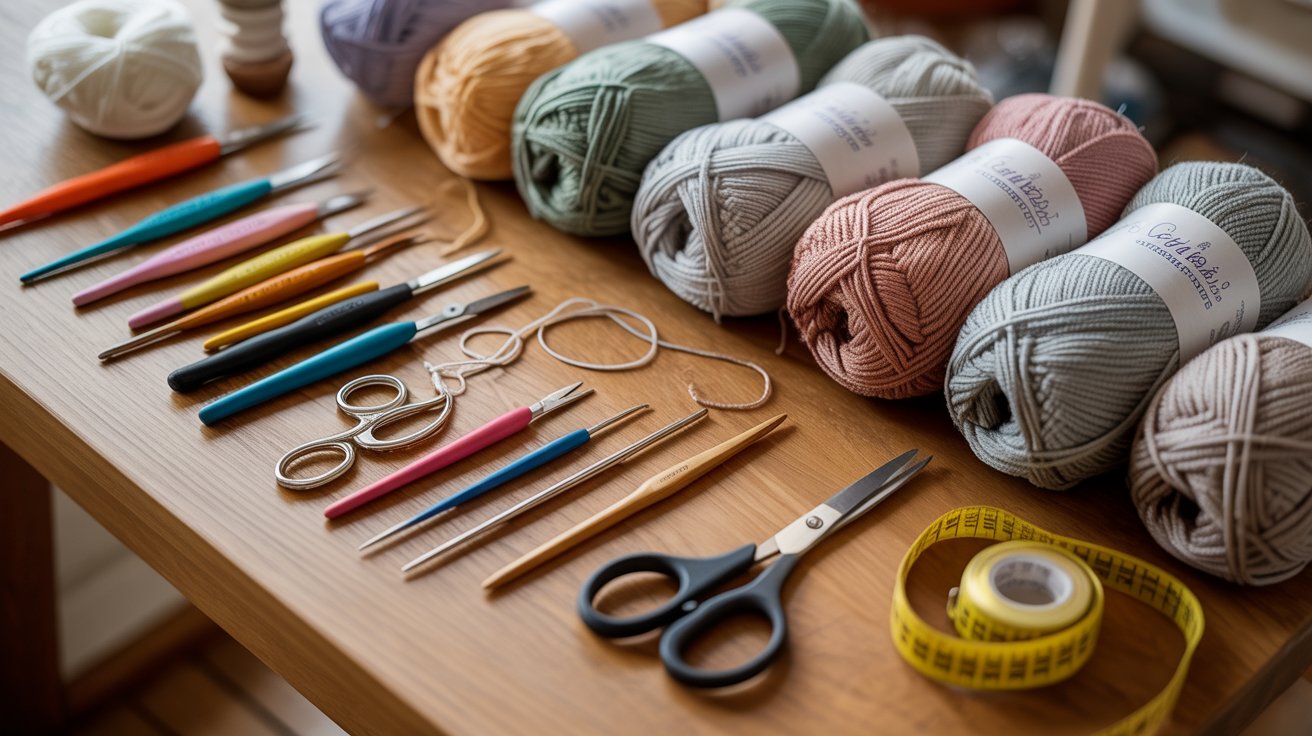
This section tells you what supplies you need before starting. Reading it carefully prevents trips to the craft store halfway through your project.
Patterns specify yarn type, weight, and amount needed. You’ll see details like “worsted weight, 400 yards” or “DK weight acrylic.” The yarn weight matters more than the brand.
You can substitute any yarn by matching the weight category, checking the yardage per skein, and calculating how many skeins you need.
Hook sizes appear in three formats: metric (3.5mm), US number (size 4), and US letter (size E). Most patterns list multiple formats so you can find the right hook.
This section also lists extra tools like tapestry needles, scissors, stitch markers, row counters, and buttons or zippers if needed. Having everything ready makes the process smoother.
Sizes, Measurements, and Gauge
Getting the right size requires attention to both measurements and gauge. This section tells you how big your finished project will be.
Understanding Finished Dimensions
Designers provide measurements for garments, baskets, blankets, and other items.
For a sweater, you might see “bust circumference: 36 inches” or “length from shoulder: 24 inches.”
Positive and negative ease matter for wearable projects. Positive ease means the garment is larger than your body measurements, giving a relaxed fit. Negative ease means it’s smaller, creating a fitted look.
Gauge Swatches
Gauge tells you how many stitches and rows fit in a specific measurement, usually 4 inches square. A typical gauge might read “16 stitches and 20 rows = 4 inches in single crochet.”
Making a gauge swatch is crucial for sized projects. Crochet a square larger than 4 inches using the suggested hook, let it rest for a few hours, then measure the stitches and rows in the center.
If you have too many stitches, use a larger hook. If you have too few, use a smaller hook. Match both stitch count and row count for the best results.
Abbreviations and Terms
Crochet patterns use shortened terms to save space. Once you memorize the common ones, reading patterns become much faster.
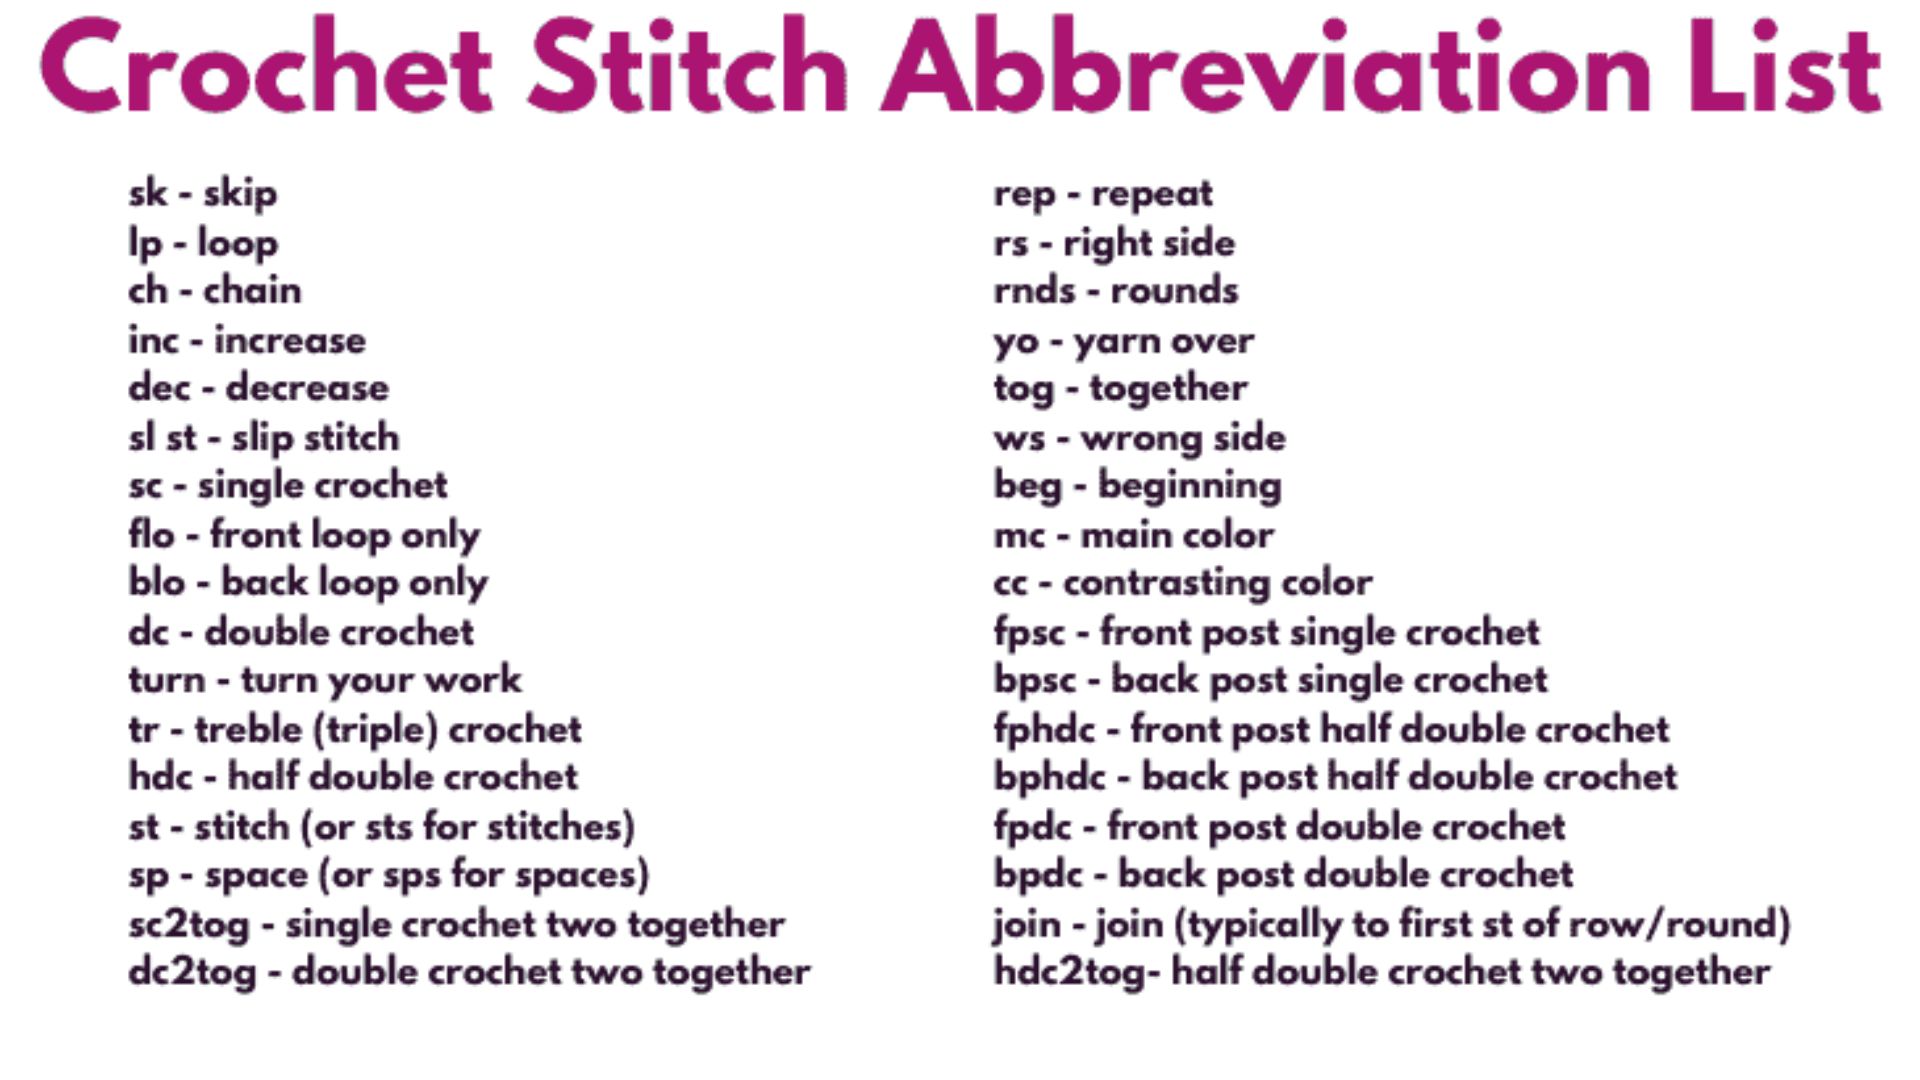
Common Abbreviations
Here are the abbreviations you’ll see most often:
Ch – chain
Sc – single crochet
Dc – double crochet
Hdc – half double crochet
FO – fasten off
MR – magic ring
RS – right side
WS – wrong side
Sl st – slip stitch
Yo – yarn over
Rep – repeat
Sk – skip
Patterns usually include an abbreviation key, but keeping a reference list handy helps when you’re learning.
Special Terms for Beginners
Some terms aren’t stitches but refer to processes or concepts:
CAL – crochet along, a group project where people make the same pattern together
Fsc/fhdc/fdc – foundation single crochet, foundation half double crochet, foundation double crochet
Join – connecting your work in the round
Turn – flipping your work to crochet the next row
T-ch – turning chain
WIP – work in progress
UFO – unfinished object
These terms pop up in pattern notes and online crochet communities.
Where to Learn More?
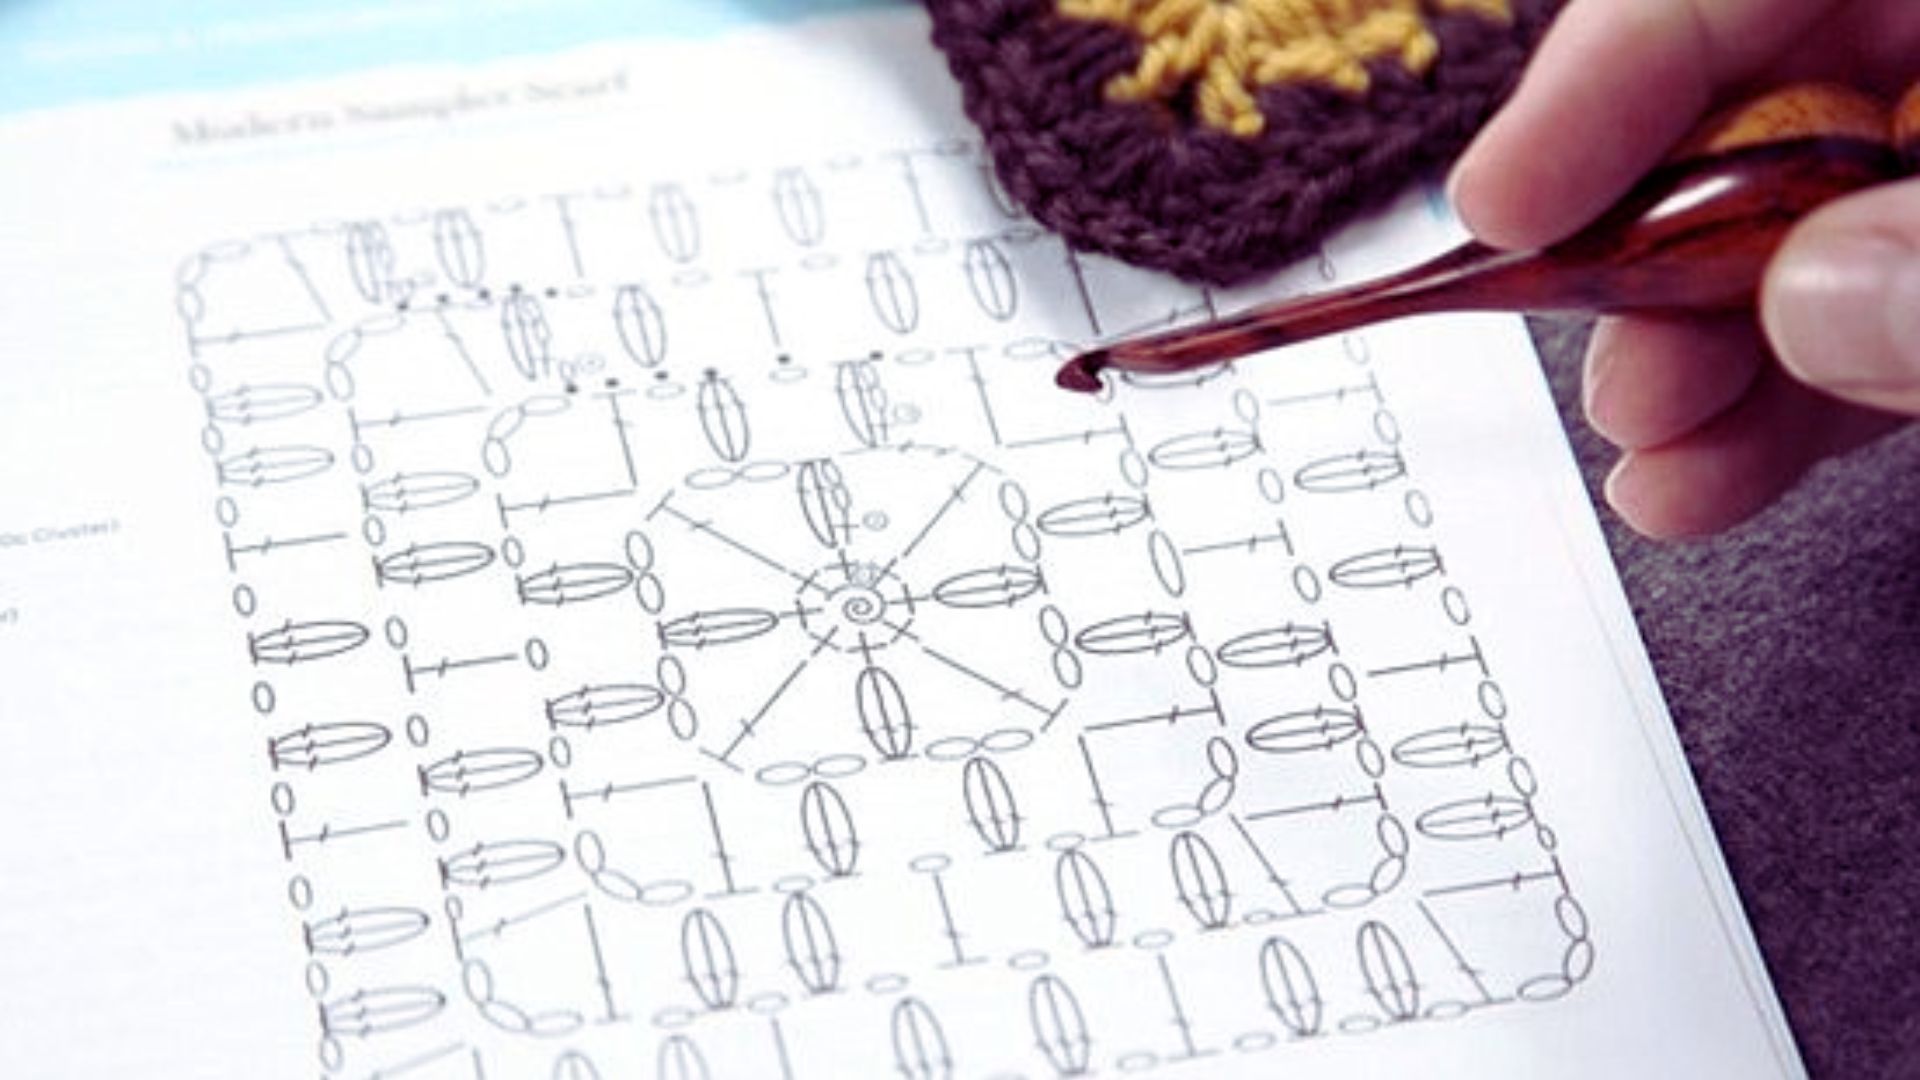
The Craft Yarn Council maintains a standard abbreviation list on its website. This resource shows you what each term means and includes stitch diagrams.
Bookmark this reference so you can look up unfamiliar terms quickly.
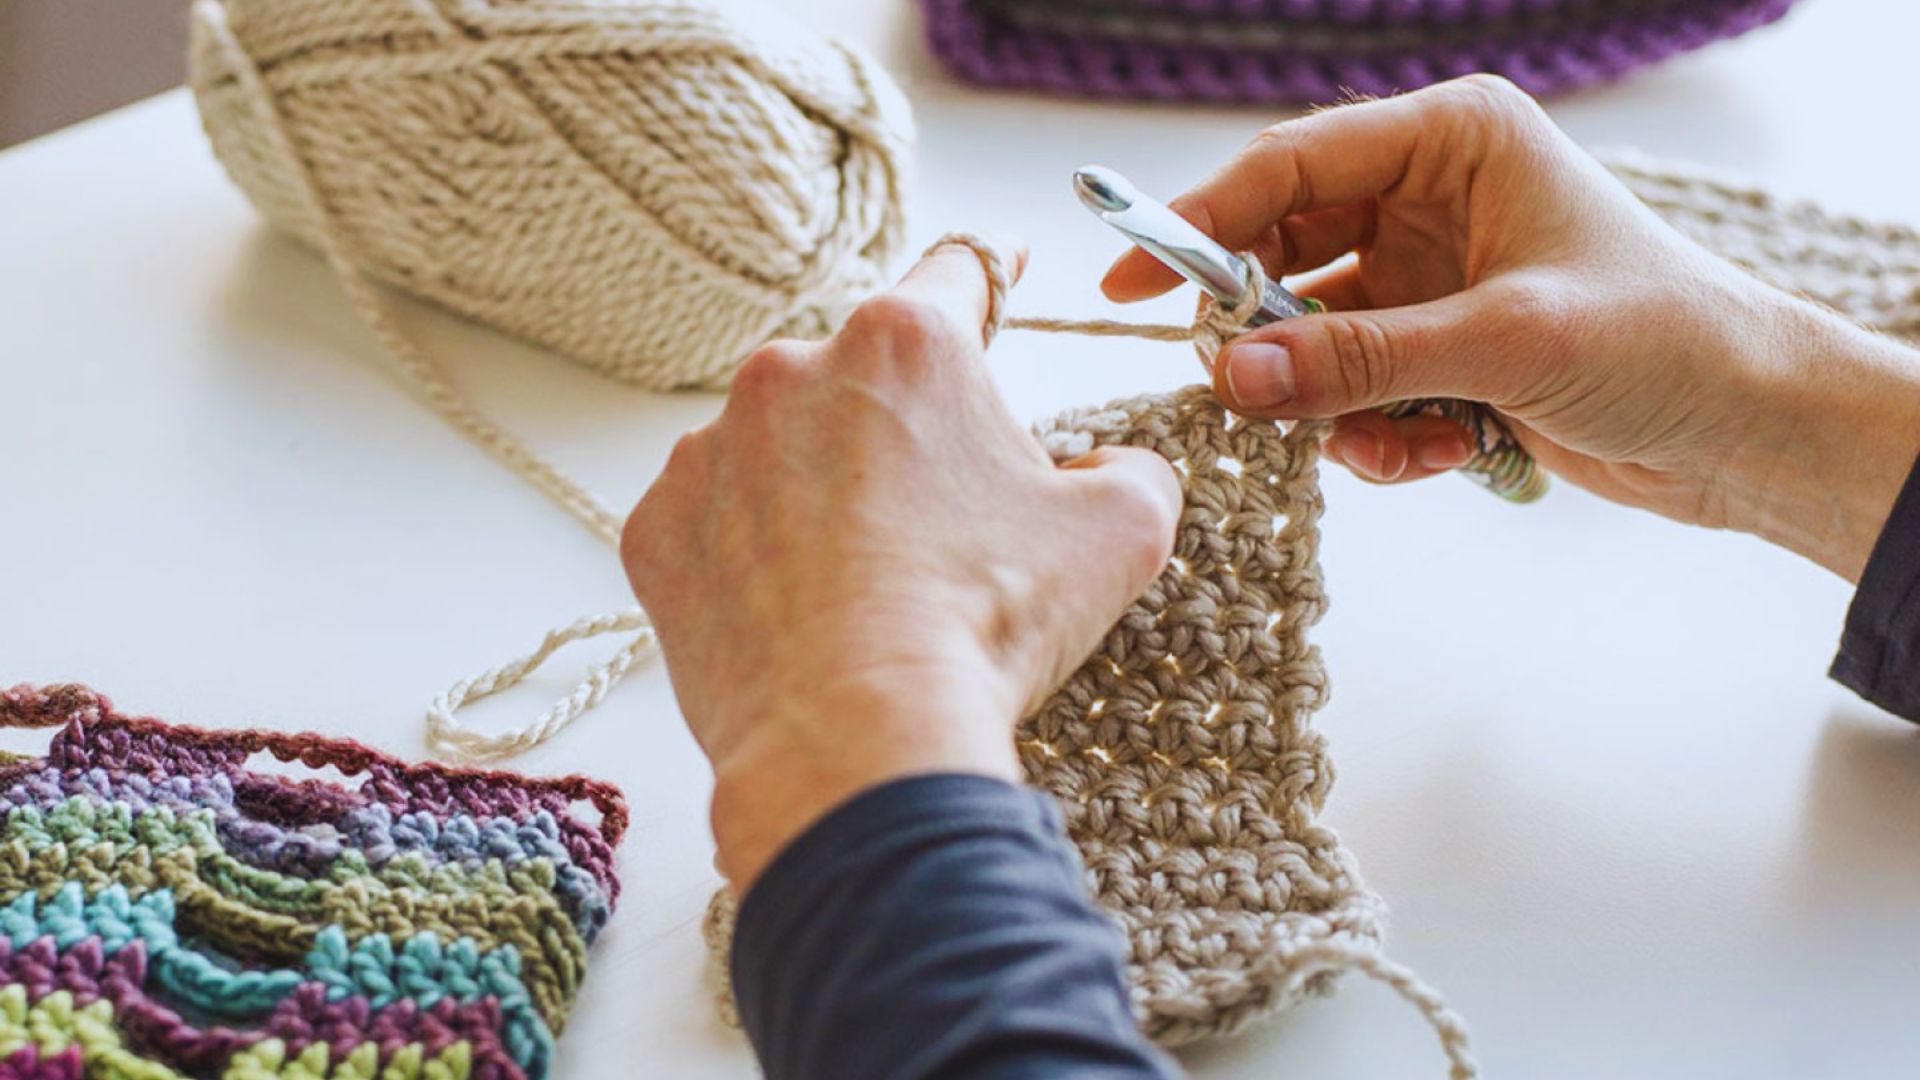
Pattern Instructions and How to Follow Them?
The instruction section is where the actual crocheting happens. Learning to read these directions step by step prevents mistakes and confusion.
Step-by-Step Approach
Read the entire pattern before you start. This gives you an overview of what’s coming and helps you spot any tricky sections.
Work one section at a time. If the pattern has multiple parts like a body, sleeves, and collar, finish each part before moving on.
Rewrite instructions in your own words if needed. Some people find it helpful to translate pattern language into plain English. Instead of “sc in next 2 sts, 2 sc in next st,” you might write “single crochet in two stitches, then put two single crochets in the third stitch.”
This extra step helps you understand exactly what the designer wants you to do.
Understanding Crochet Punctuation
Patterns use specific punctuation marks to organize instructions.
Commas create pauses between separate instructions. “Ch 10, sc in 2nd ch from hook, sc in each ch across” means you do three separate actions.
Asterisks mark sections that repeat. “* Sc 2, dc 1, repeat from * across” means you keep doing those stitches until you reach the end of the row.
Parentheses serve three purposes:
- Showing how many times to repeat something: “Ch 1, sc in same st) 3 times” means you do everything in the parentheses three times
- Indicating stitch counts: “You should have 48 sts” appears in parentheses as a checkpoint
- Working multiple stitches in one space: “(Sc, hdc, dc) in next st” means you put all three stitches in the same spot
Brackets work with parentheses for complex repeats. You might see “[(Dc, ch 1) 3 times, sc] twice” which means you do the whole bracketed section two times.
Understanding these symbols prevents confusion and helps you follow instructions accurately.
Tips for Following Crochet Patterns Successfully
These strategies make pattern reading easier and help you avoid common mistakes.
- Highlight completed rows with colored pencils or markers. Use check marks to track which rows you’ve finished. Print patterns so you can write directly on them.
- Keep a notebook with your project to record any changes you make or problems you solve. This helps if you need to recreate the project later.
- Make practice swatches to test new stitches or techniques. A swatch lets you experiment with gauge and see how the fabric looks before committing to a full project.
- Choose beginner-friendly projects first. Simple patterns with basic stitches build your confidence and skill. A dishcloth or small amigurumi teaches you pattern reading without requiring weeks of work.
- GPermit yourself to go slowly. Everyone makes mistakes when learning. Frogging (ripping out) stitches is part of the learning process, not a sign of failure.
Conclusion
Learning how to read crochet patterns opens up endless possibilities. You can make anything from cozy blankets to fitted sweaters once you understand the language.
Take it one pattern at a time. Start with simple projects and work your way up. Every pattern you complete builds your skills and confidence. I still remember the first time a pattern actually made sense to me. That moment felt like everything clicked into place. You’ll have that moment too.
Grab a pattern that excites you and give it a try. Don’t worry about perfection. Just focus on understanding one row at a time. You’ve got this. What pattern will you tackle first? Share your plans in the comments below.
Frequently Asked Questions
How long does it take to learn to read crochet patterns?
Most beginners can read basic patterns within a few weeks of practice. Complex patterns might take a few months. The more you practice, the faster you’ll improve.
Can I modify a pattern if I want different dimensions?
Yes, you can modify patterns by adjusting stitches or rows. Keep the age consistent and recalculate your counts. Blankets and scarves are easier to resize than fitted garments.
What should I do if a pattern has an error?
Check the designer’s website for corrections. Read other makers’ project notes to see if they found the same issue. Contact the designer if needed.
Do I need to know math to follow crochet patterns?
Basic addition and multiplication help with stitch counts. Most patterns do the math for you. A calculator is useful for adjusting sizes or yarn amounts.
Should I always match the exact yarn in a pattern?
No, you can substitute yarn if you match the weight and gauge. Different fibers behave differently, so make a test swatch with your substitute yarn first.