

Ever wondered why your crochet circles keep turning into hexagons? I’ve been there too, and I know how frustrating it gets. This guide will show you how to crochet a circle that stays round using simple math principles.
We’ll cover the basic formulas, why increases create corners, and how to shift stitches to keep everything smooth. I’ll walk you through step-by-step instructions that work for amigurumi, mandalas, and rugs.
After years of troubleshooting wobbly circles, I finally figured out the pattern. You can trust this method because it’s based on stitch mechanics, not guesswork.
The Basic Math of Crocheting a Circle

A flat crochet circle grows outward from the center, and each round needs more stitches than the one before it. Without increases, your work will cup into a bowl shape.
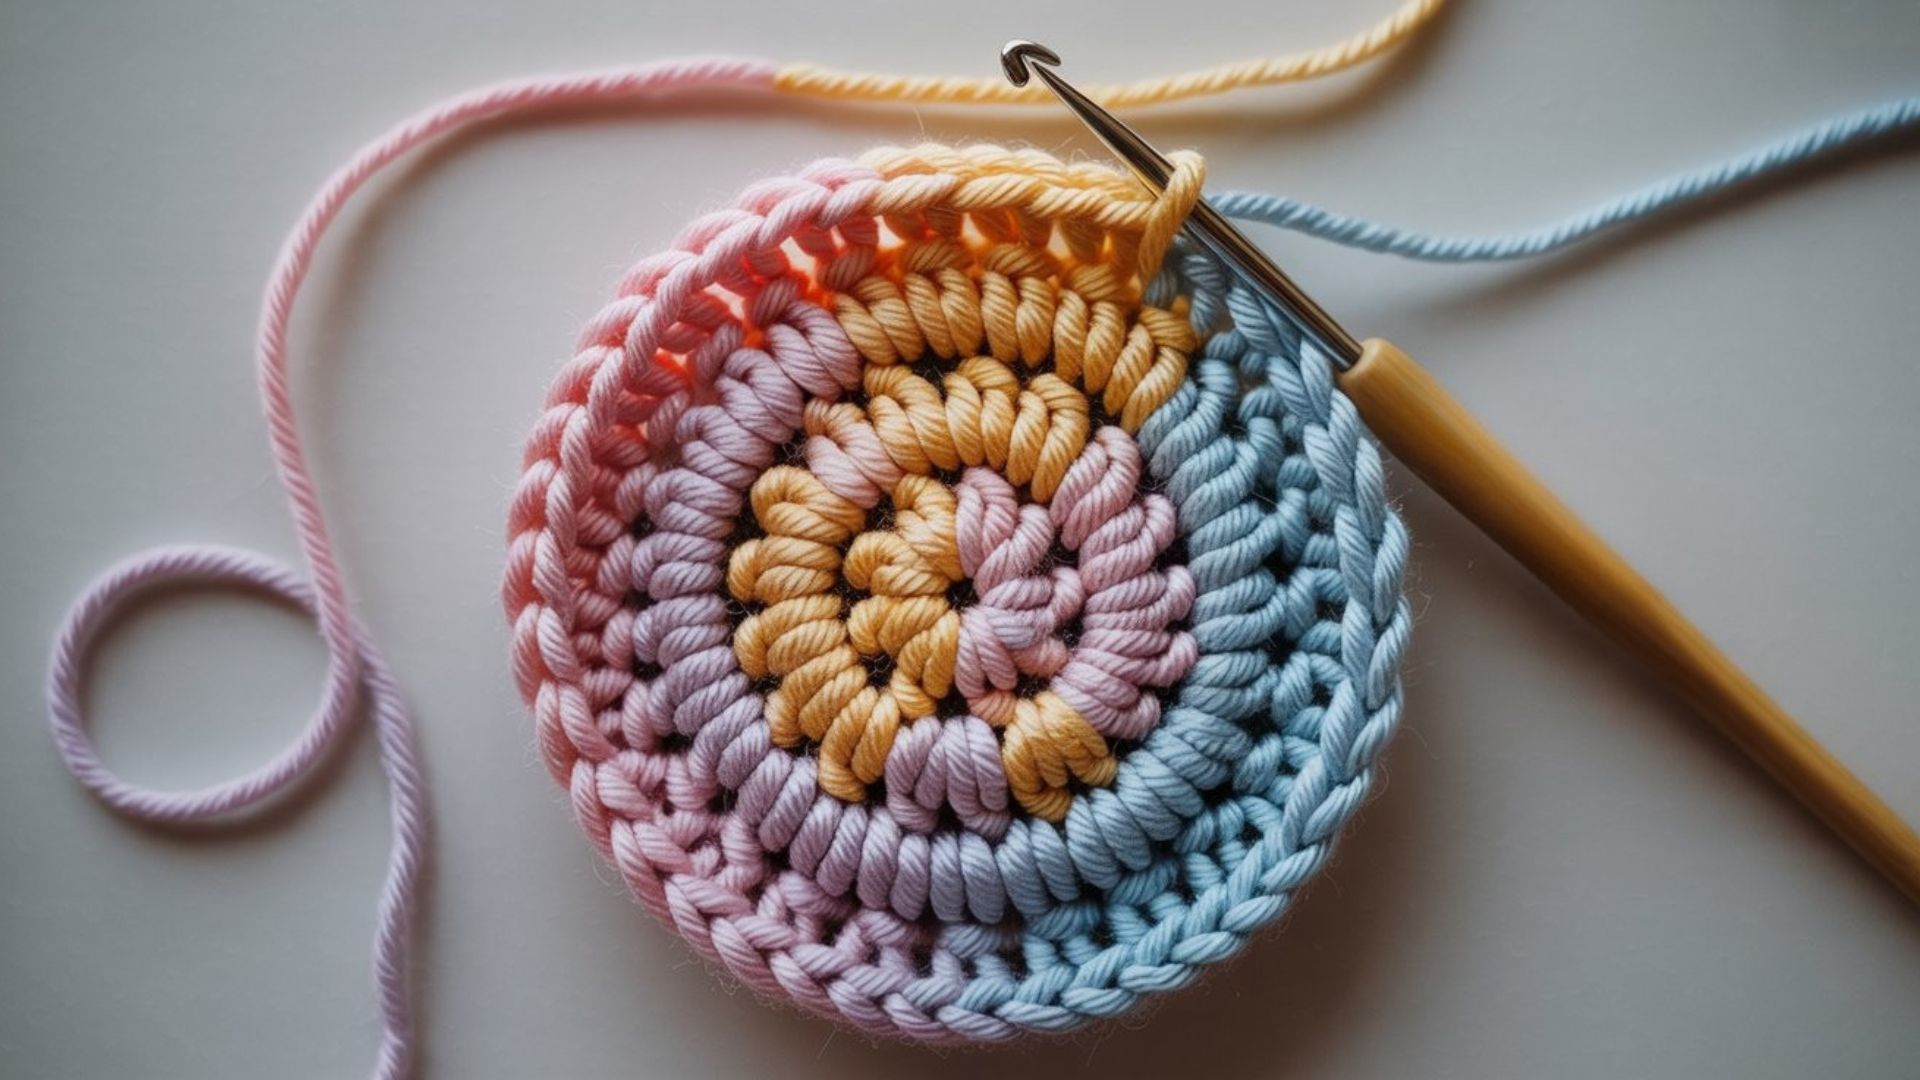
Most circles start with 6 stitches in round one, then double to 12, then 18, 24, 30, and so on. You’re adding 6 stitches each round to keep growth steady.
The increase pattern follows a rhythm. Round two increases in every stitch. Round three increases in every second stitch. Round four increases in every third stitch.
The number of regular stitches between increases grows by one each round, which prevents ruffling or bunching up.
Why Crochet Circles Become Hexagonal?

When you start each round in the same spot, your increases line up vertically. Six increase points create six corners. The fabric pulls tighter at these spots and bulges between them. From above, you’ll see a hexagon instead of a circle.
Putting all your increases directly on top of each other creates anchor points where the fabric doesn’t expand much. The areas between increases have room to spread out.
This creates six distinct sections that push outward, resulting in a shape with visible angles and straight edges instead of a smooth curve.
Standard Crochet Circle Formula

This is the basic pattern most crocheters learn first, and it works well for keeping your circle flat.
Starting With the Right Number of Stitches
Most patterns begin with a magic ring and 6 single crochet stitches. Some use 8 or 12 stitches, depending on the yarn weight. Thicker yarn often needs more starting stitches.
The key is choosing a number that divides evenly for your increases. Six is popular because it works well with most stitch types.
Common Formula for Single Crochet Circles
Here’s the standard pattern:
Round 1: 6 sc in magic ring
Round 2: 2 sc in each stitch (12 stitches)
Round 3: sc, 2 sc in next stitch, repeat (18 stitches)
Round 4: sc in 2 stitches, increase in next, repeat (24 stitches)
Round 5: sc in 3 stitches, increase in next, repeat (30 stitches)
The pattern continues with one more regular stitch before each increase.
How does this method keep circles flat?
The formula adds the right amount of fabric for each round. Too few increases and the circle cups. Too many increases and it ruffles like a lettuce leaf.
The standard formula hits the middle ground. It distributes new stitches evenly around the perimeter. The work stays flat against your table or lap.
Tools That Make the Math Easier
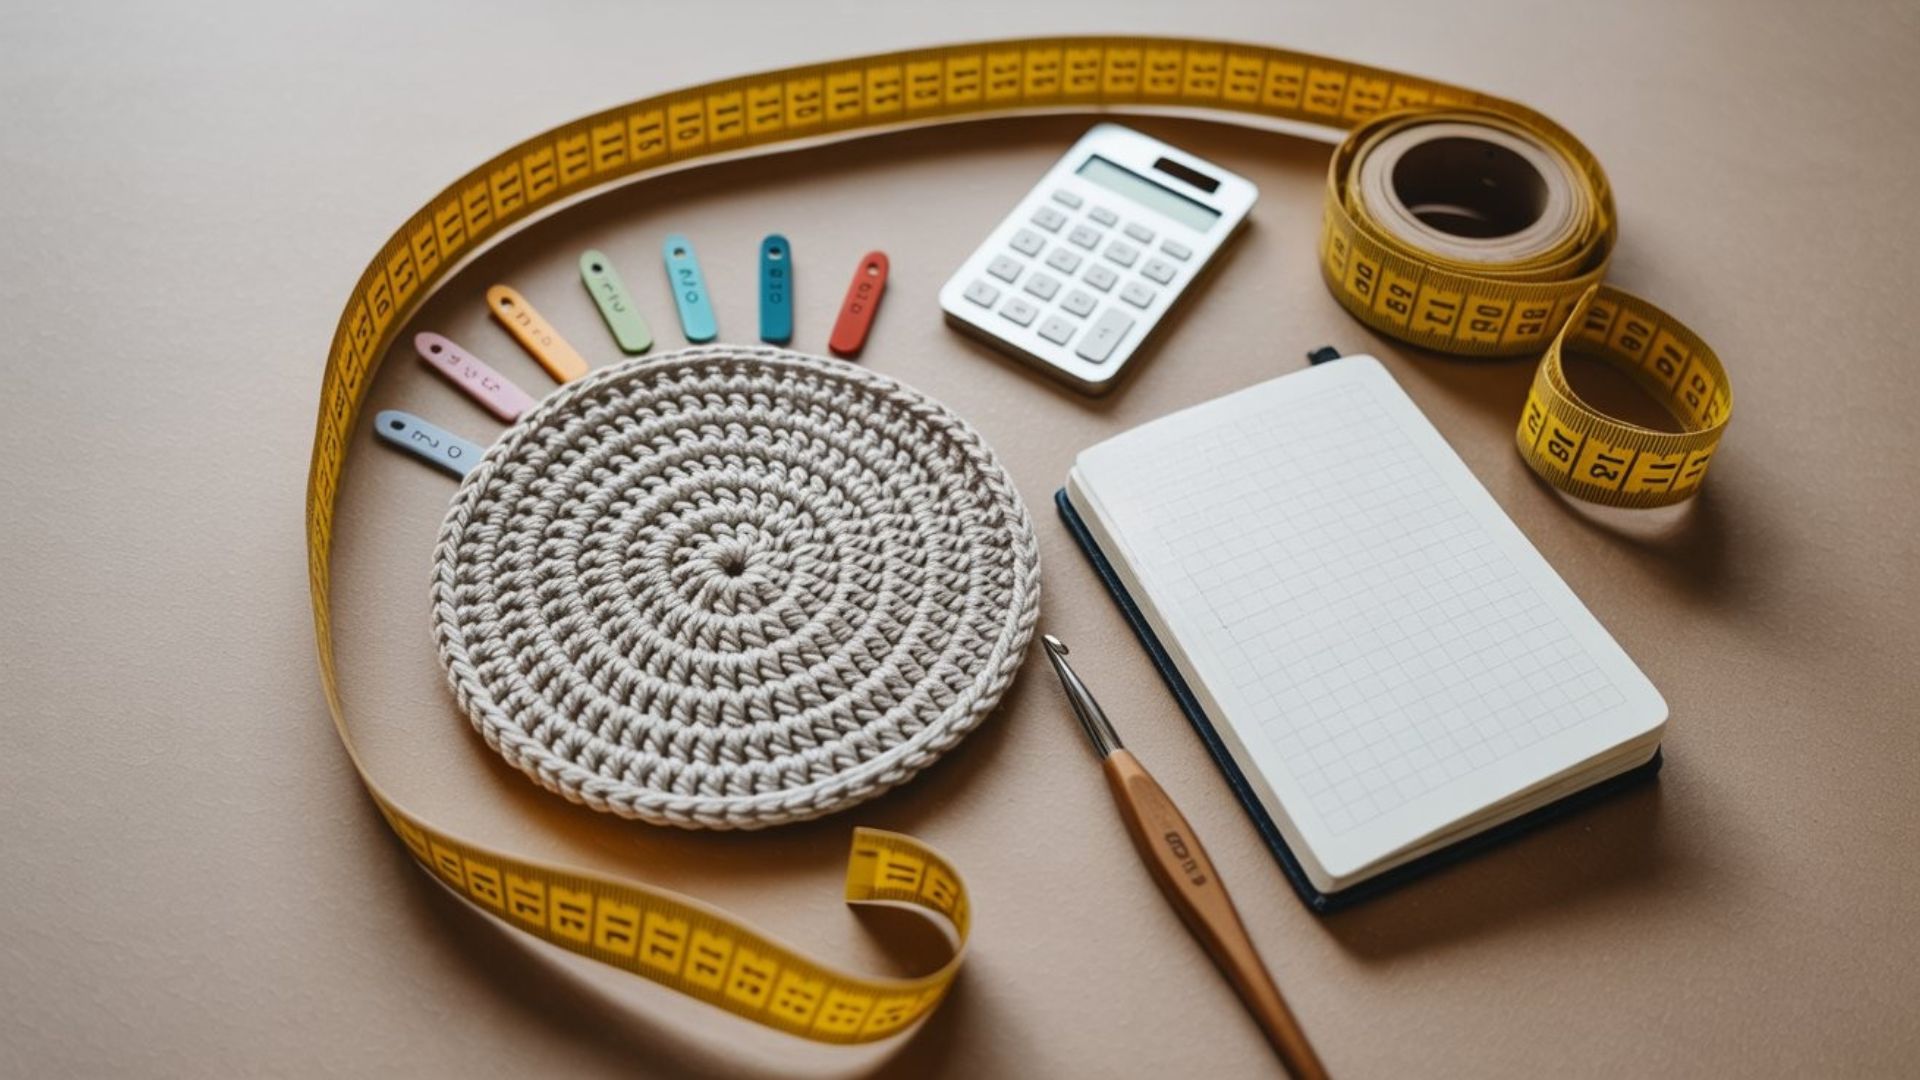
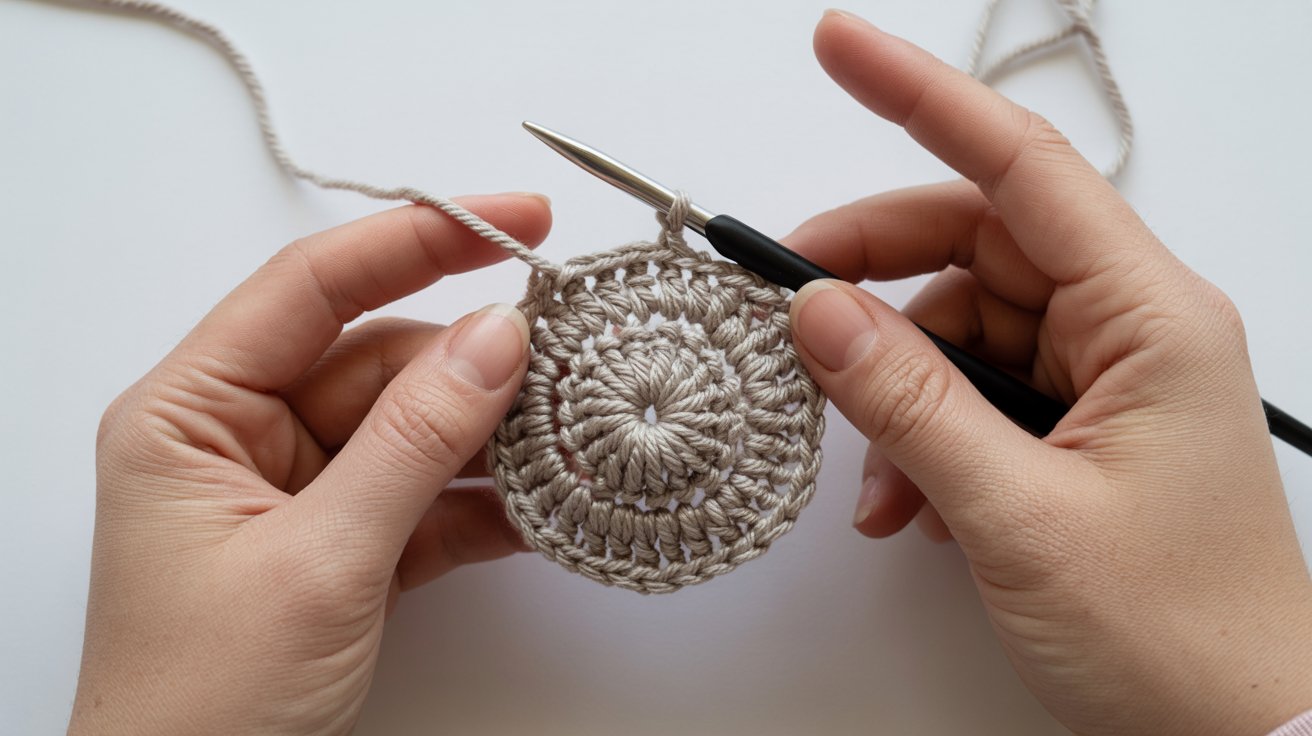
Locking stitch markers clip onto your work and won’t fall out. They mark increased positions and round beginnings. Use different colors to track different things. I keep at least 12 markers on hand for circle projects. They save time and prevent counting errors.
Continuous rounds spiral upward without joining, which is faster but makes offset increases trickier to track. Joined rounds use slip stitches and chains between rounds, creating clear breaks that help you see your increase pattern. Pick the method that matches your comfort level.
Step-by-Step: Applying Offset Increase Math
Here’s how to put the offset method into practice, round by round.
Rounds 1 to 3: Establishing the Base Circle
Start with your foundation rounds using the standard formula. These early rounds are small enough that corners don’t show yet.
Round 1: 6 sc in magic ring
Round 2: 2 sc in each stitch (12 stitches)
Round 3: sc, increase, repeat around (18 stitches)
Mark your starting point with a stitch marker. This helps you track where each round begins.
Rounds 4 to 6: Moving Increase Placement

Now start shifting your increases:
Round 4: sc in 2, increase, repeat (24 stitches)
Round 5: Start one stitch later than round 4. Sc in 3, increase, repeat (30 stitches)
Round 6: Start one stitch later again. Sc in 4, increase, repeat (36 stitches)
Count carefully during these rounds. The offset takes practice but makes a big difference.
Using Stitch Markers to Track Math
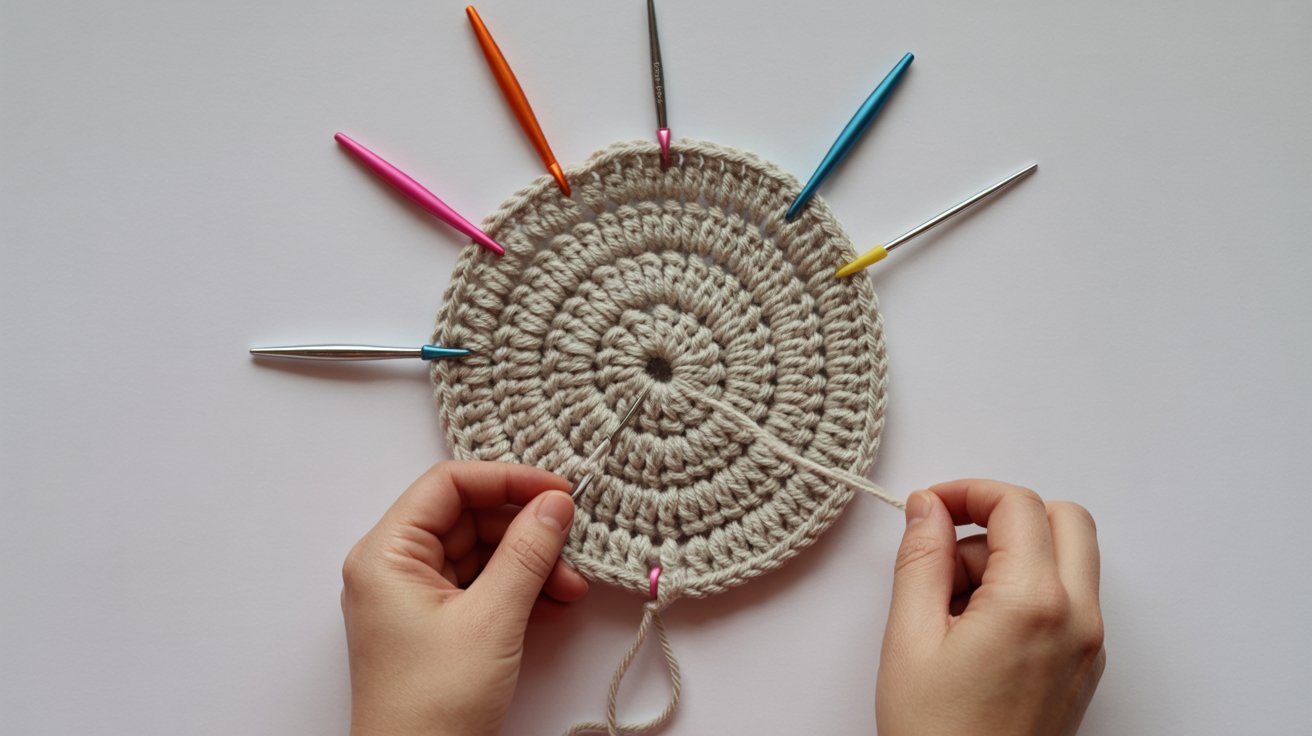
Place markers at each increase point in round 3. In round 4, put your increases one stitch away from these markers.
Move the markers to the new increase spots. Keep shifting them each round. This visual guide prevents mistakes and reduces counting.
Why the Standard Formula Isn’t Always Perfect?
Your circle can be mathematically correct and still look hexagonal. The stitch count is right, and the piece lies flat, but those six points are visible. This matters more for some projects than others.
A coaster might be fine with corners, but an amigurumi face needs true roundness. Patterns tested by experienced crocheters can still produce corners. The issue isn’t wrong numbers. It’s about where those increases land in relation to previous rounds.
A flat hexagon follows the rules but doesn’t meet the goal. You need an extra step to make it visually round.
The Math Behind Perfect Crochet Circles

The secret to smooth circles is all about shifting where you place your increases.
Shifting Increases Between Rounds
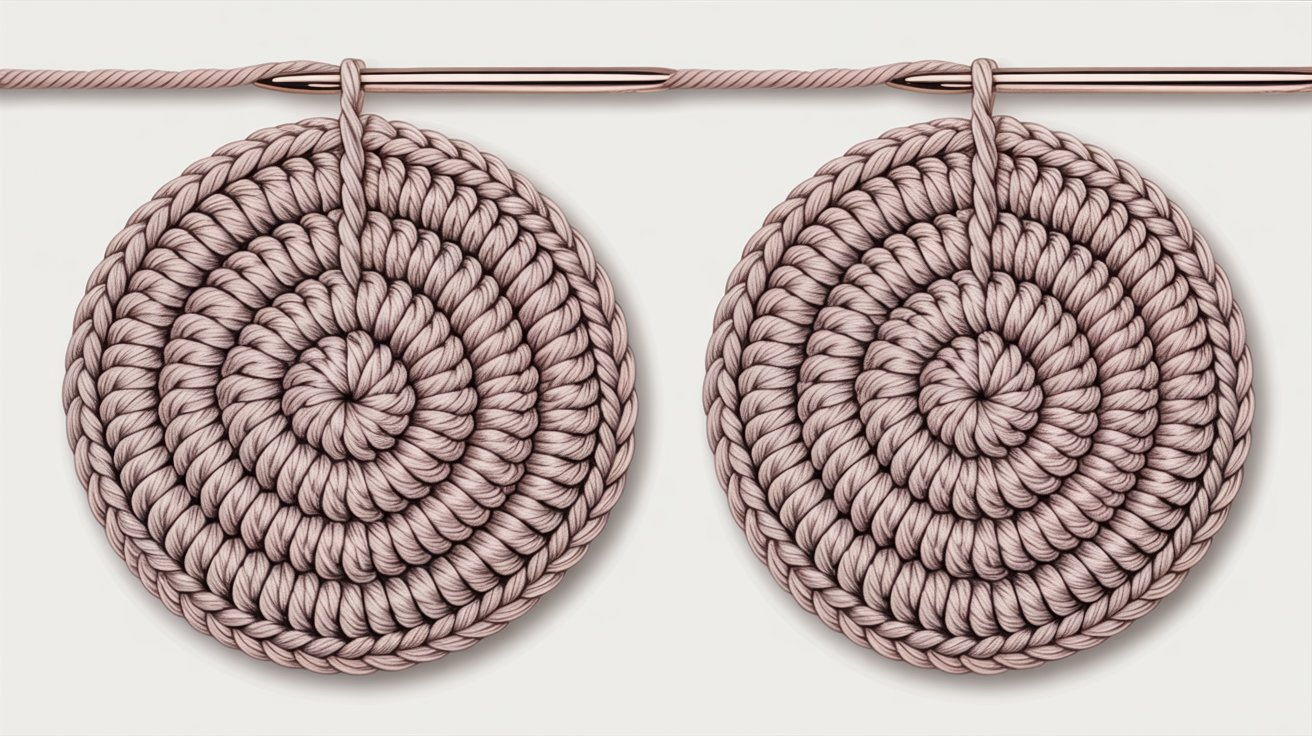
The solution is offset increases. Instead of putting increases in the same positions, you shift them slightly each round. Think of it like staggering bricks in a wall.
This prevents vertical lines from increasing. The corners disappear because no single spot gets multiple increases stacked on it.
Avoiding Increases on Top of Increases
Look at where you increased in the previous round. Place your new increases between those spots, not directly above them.
This spreads the expansion points around the circle. Each section gets its turn to grow. No area gets overloaded with increases while others stay tight.
How Offset Improves Roundness?
By moving increased positions, you eliminate anchor points. The fabric expands more evenly in all directions. Instead of six growth spurts creating corners, you get a smooth gradient.
The circle looks round from every angle. The edges curve naturally instead of forming straight lines.
Finishing a Perfect Crochet Circle
The final round matters just as much as the foundation for creating a polished, professional look.
Keeping the Outer Edge Smooth
Your last round sets the final shape. Place increases carefully, even if the circle is already large. Avoid bunching increases together. Space them out as evenly as possible. This creates a clean perimeter without scalloped edges.
Invisible Joins and Clean Finishes
For joined rounds, use an invisible join instead of a slip stitch. Thread your yarn tail through the top loops of the first stitch. Pull it through the last stitch made.
This blends the seam so you can’t see where rounds start and end. Weave in ends by threading through the back of several stitches.
Conclusion
After making dozens of circles, I’ve learned that how to crochet a circle comes down to smart increase placement. The standard formula gives you the right stitch count, but offsetting those increases creates true roundness.
Start with the basics, then shift your increases each round. Your circles will go from hexagonal to smooth.
Give it a try on your next project and see the difference math makes. Share your results in the comments below. What project will you make first?
Frequently Asked Questions
Why does my crochet circle curl up at the edges?
Your circle curls because you need more increases. Add one or two extra increases per round until it lies flat. Tight tension can also cause this, so loosen your grip a bit.
Can I use this method with double crochet stitches?
Yes, offset increases work with any stitch type. Double crochet circles start with 12 stitches instead of 6. Space your increases between previous round positions just like with single crochet.
How do I know if I’m increasing enough?
Lay your circle flat on a table. If it cups up, add more increases. If edges ruffle, use fewer increases. A perfect circle lies completely flat.
Do I need to count every stitch in large circles?
No, divide your circle into 6 equal sections with markers. Place one increase per section and shift positions each round. This works well after about 10 rounds.
What’s the difference between a magic ring and a chain ring?
A magic ring closes the center hole completely. A chain ring leaves a small visible gap. Magic rings work better for stuffed projects and seamless starts.