

Want to make crochet Easter eggs for spring? I’ll show you how in this simple guide. This free crochet easter egg pattern works great for beginners.
You’ll learn basic steps, get material lists, and find fun ways to decorate your eggs. I’ve been crocheting for years, and these eggs are my go-to quick project.
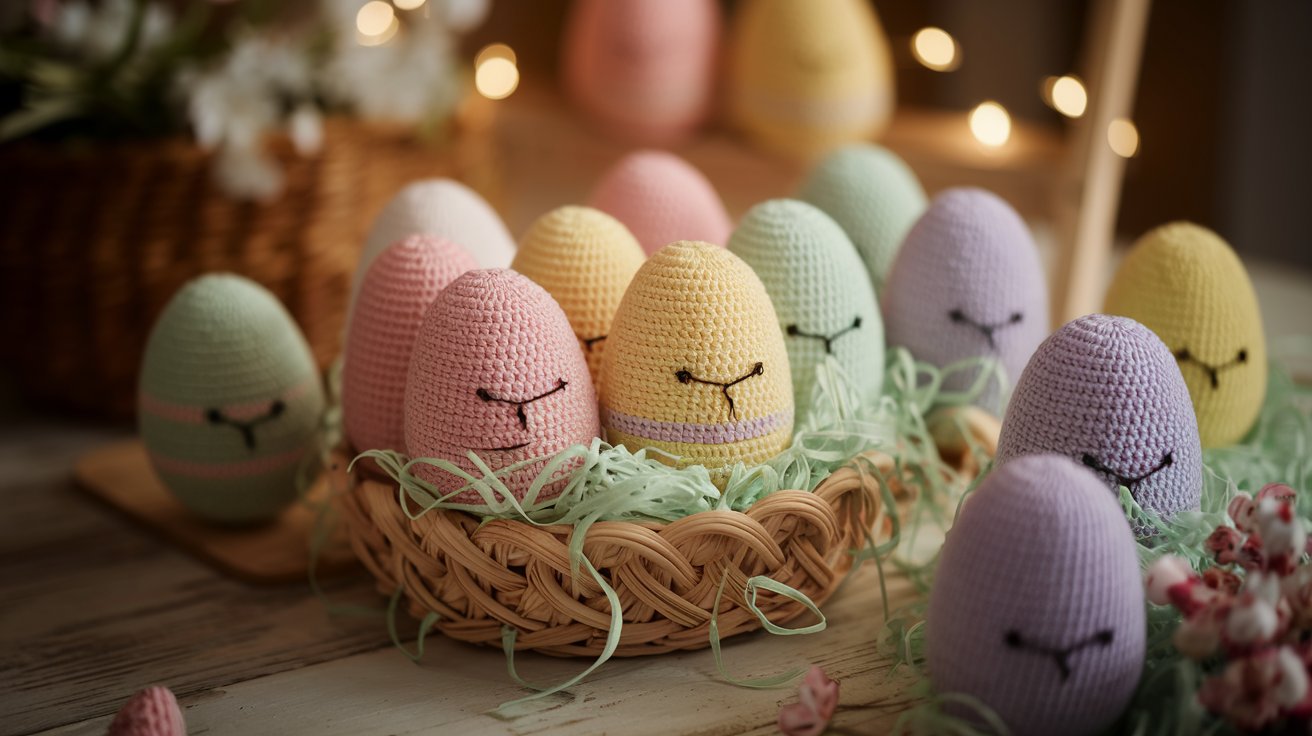
Use any colors you like. Add stripes or bunny faces. Make them for your home, as gifts, or just for fun. The shapes are easy.
The process goes fast. Trust me: if I can do it, you can too.
Why You’ll Love Making a Crochet Easter Egg
Making a crochet Easter egg is quick and simple. Each one takes less than an hour to complete.
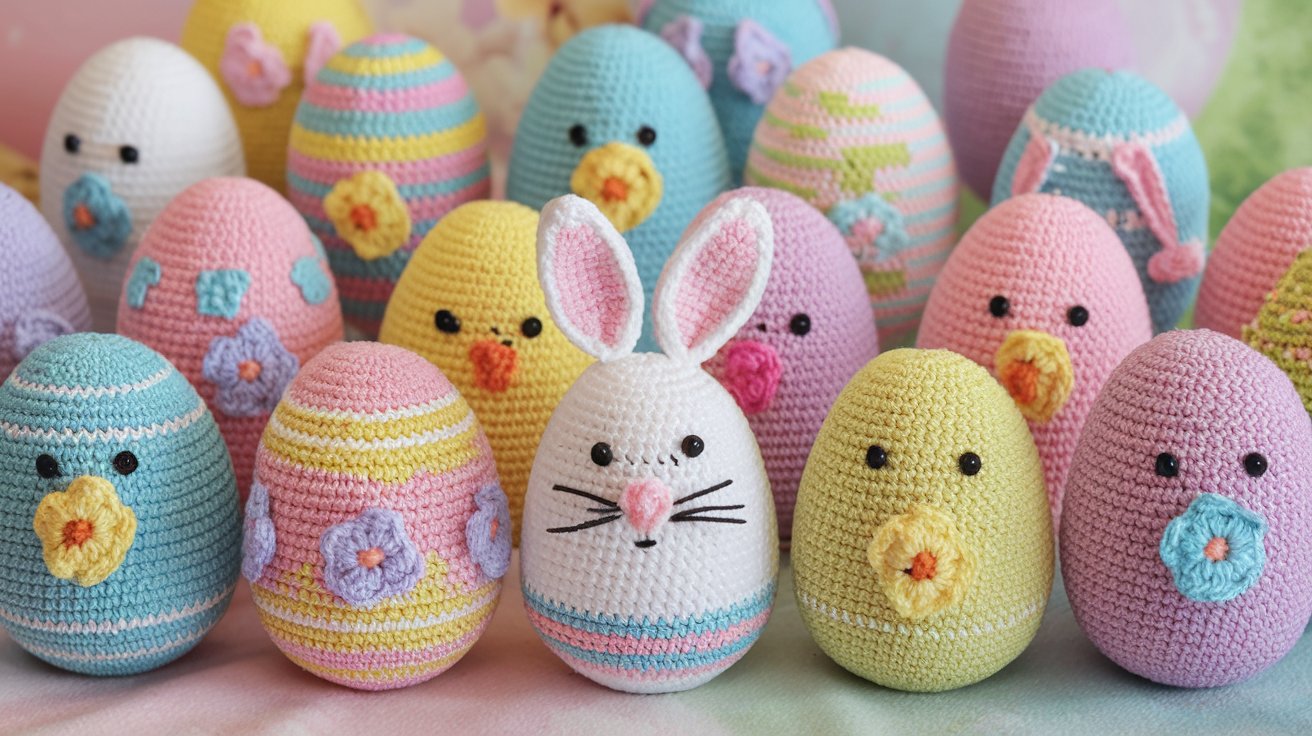
The pattern uses basic stitches with no complicated steps. You can customize each egg with your favorite colors, add stripes, or attach bunny appliques.
These eggs work great as basket fillers, garland decorations, or party favors. Make them tiny or large depending on your needs. Kids enjoy picking colors and helping out.
This free crochet easter egg pattern costs nothing to try. The bright pastels are perfect for spring and Easter tables.
Materials Needed for Your Crochet Easter Egg
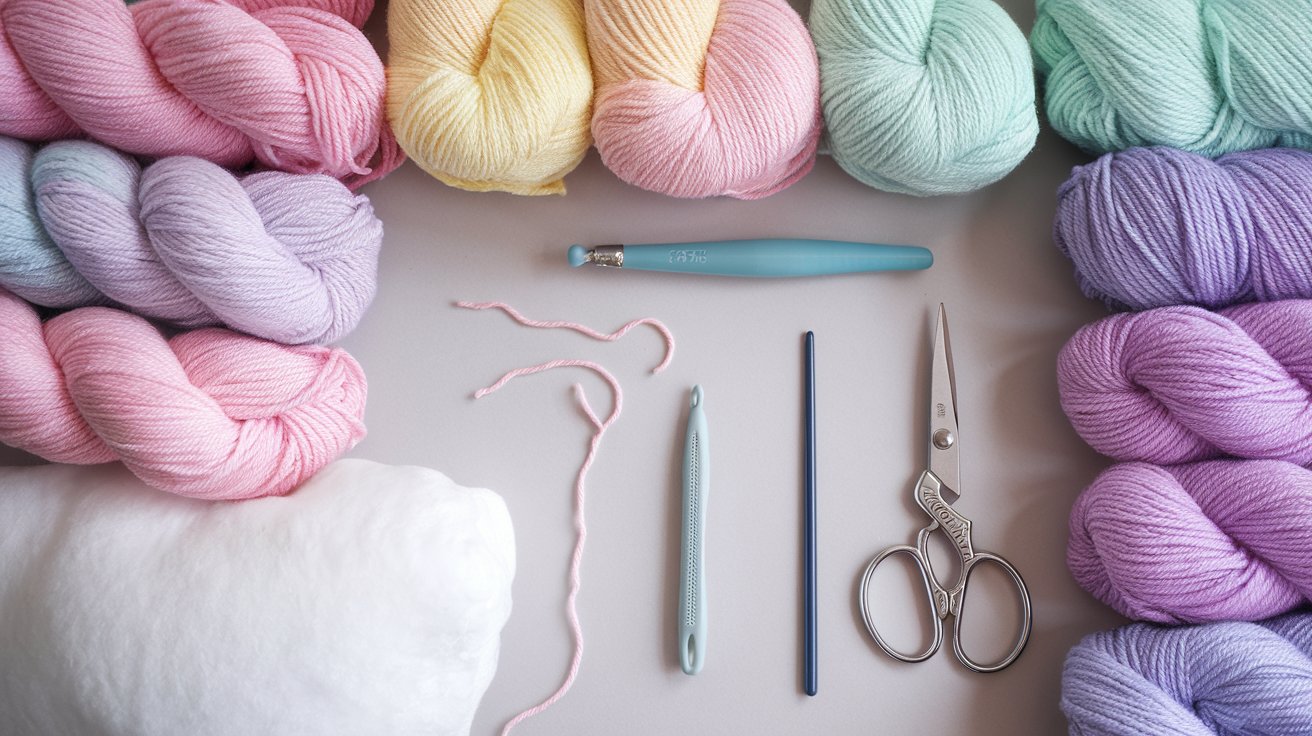
Cotton yarn works best for crochet Easter eggs. Choose pastel colors like pink, yellow, mint green, or lavender for spring. Self-striping yarn creates automatic patterns. Use an F/3.75 mm hook for worsted weight yarn.
You’ll need a stitch marker to track rounds, a yarn needle for weaving ends, sharp scissors, and fiberfill for stuffing. Wool roving or yarn scraps work as stuffing too.
Don’t overstuff or the egg gets lumpy.
Step-by-Step Crochet Easter Egg Pattern
Follow these simple rounds to create your crochet Easter egg pattern free.
Starting the Egg Base
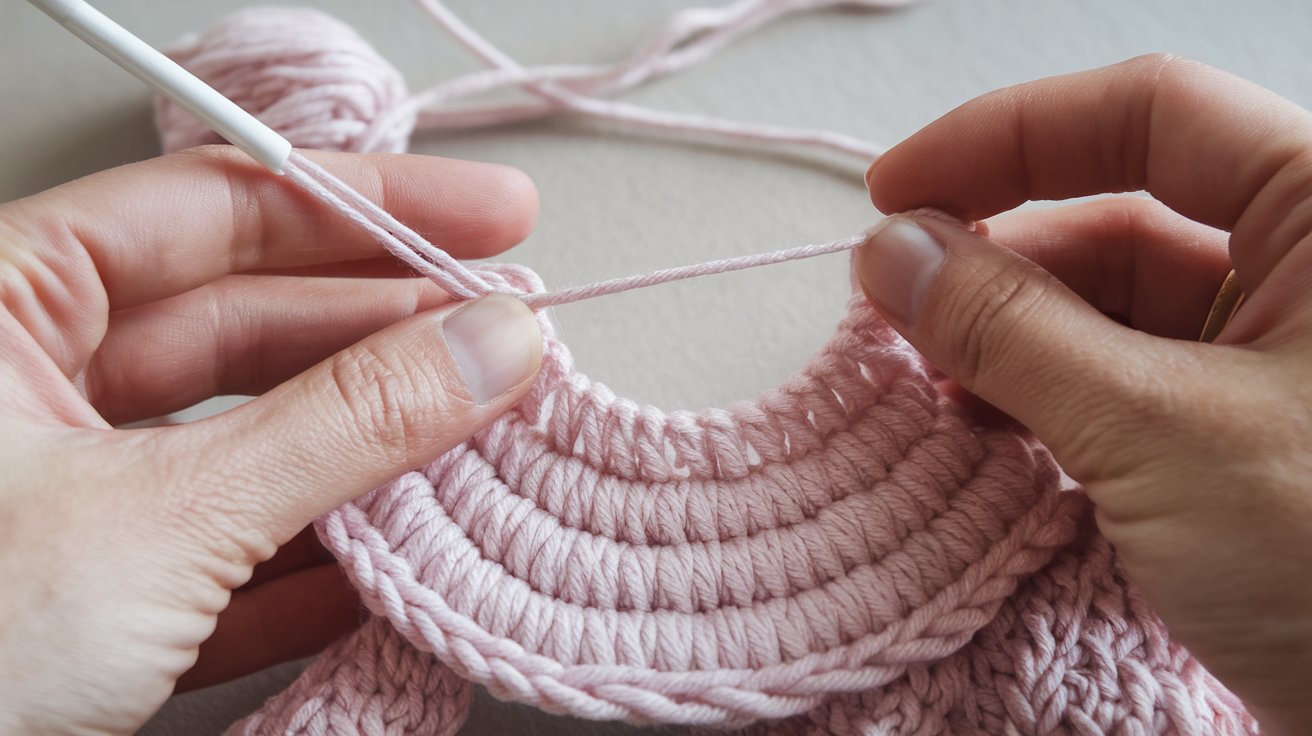
Begin with a magic ring to form the bottom of your egg.
Round 1: Make a magic ring. Chain 1. Work 6 single crochet into the ring. Pull tight. Place your stitch marker.
Round 2: Increase in every stitch. You’ll have 12 stitches total. The circle gets wider.
Round 3: Single crochet in first stitch. Increase in next stitch. Repeat around. Now you have 18 stitches.
This creates a flat circle base. Keep it tight and even.
Building the Body
These rounds create the wide middle section of your egg.
Rounds 4-6: Single crochet in first two stitches. Increase in next. Repeat. Add 6 stitches each round. Round 6 should have 30 stitches.
Rounds 7-12: Single crochet in every stitch. No increases. This builds the wide middle of your egg. The shape starts looking rounded.
Count your stitches each round. Staying on track matters. Move your marker up as you go.
Shaping the Top and Finishing
Now you’ll decrease to form the top and close your egg.
Round 13: Single crochet in 3 stitches. Decrease once. Repeat around. Your stitch count drops to 24.
Round 14: Single crochet in 2 stitches. Decrease once. Now you have 18 stitches.
Start stuffing: Add fiberfill as the opening gets smaller. Easier than stuffing at the end.
Round 15: Single crochet in 1 stitch. Decrease once. Down to 12 stitches.
Round 16: Decrease in every stitch. Just 6 stitches left. Cut your yarn with a long tail. Thread it through the remaining stitches. Pull tight to close. Weave in the end.
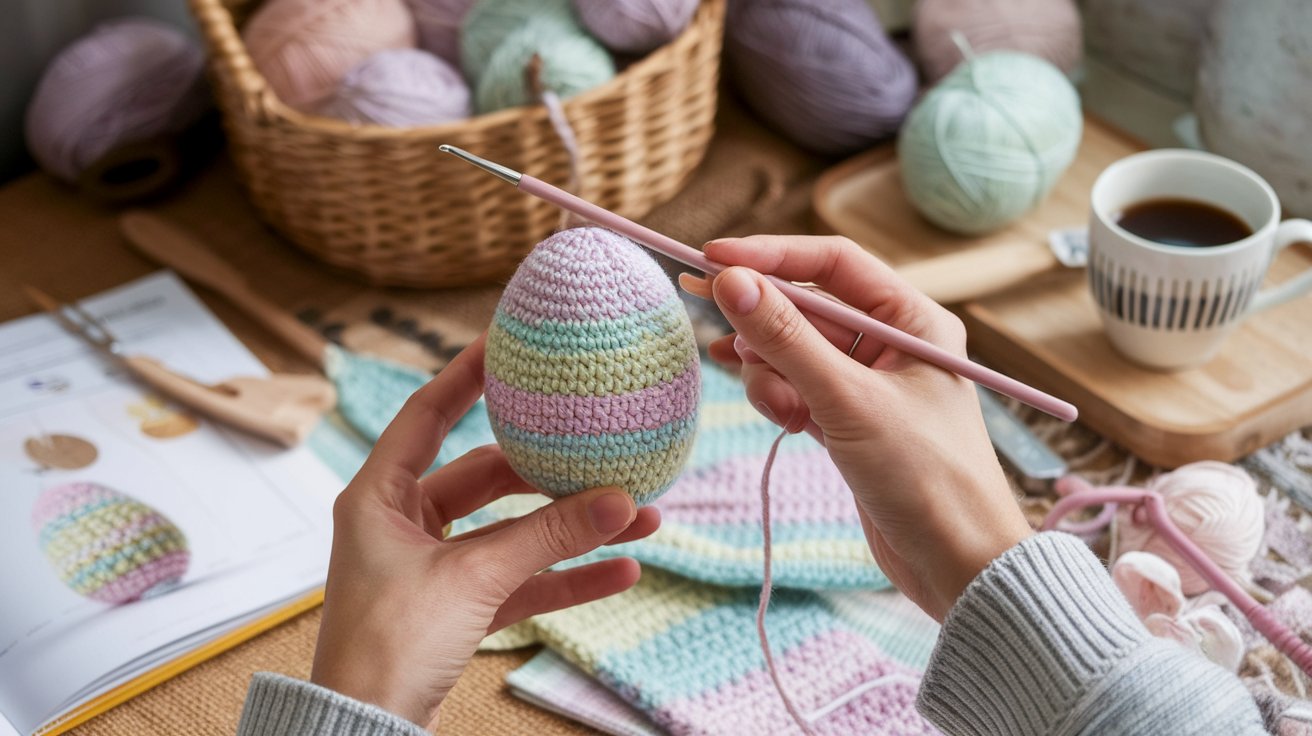
Decorating and Customizing Your Crochet Easter Egg
Make each egg special with colors, patterns, and fun designs.
Color and Stripe Ideas
Solid colors create a clean look for beginners. Self-striping yarn changes colors automatically with no ends to weave.
Change colors every few rounds for DIY stripes and bold patterns. Try an ombre effect by fading from dark pink to light pink to white.
Fun Easter Designs
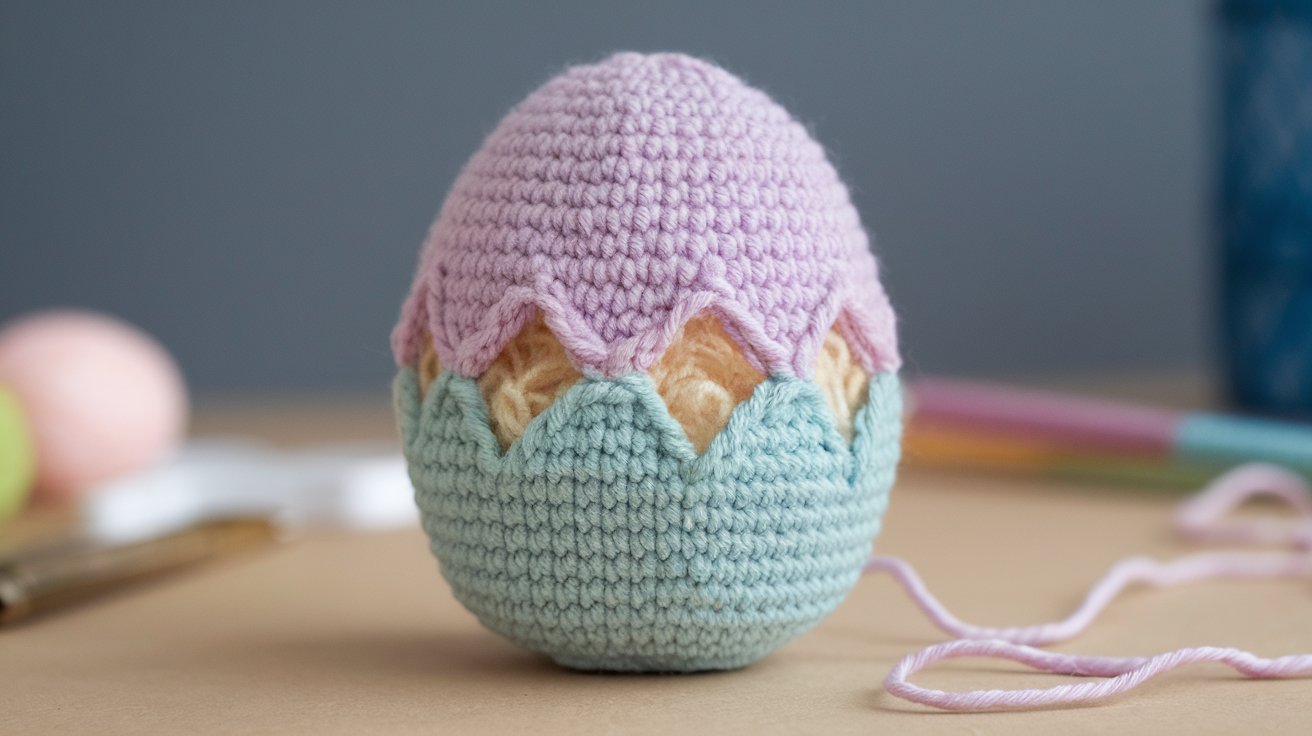
Add bunny faces with small circles for eyes, a pink nose, and tiny ears for a crochet Easter egg bunny look. Make chick features with yellow eggs, orange beaks, and black bead eyes. Attach small crochet flowers in different colors.
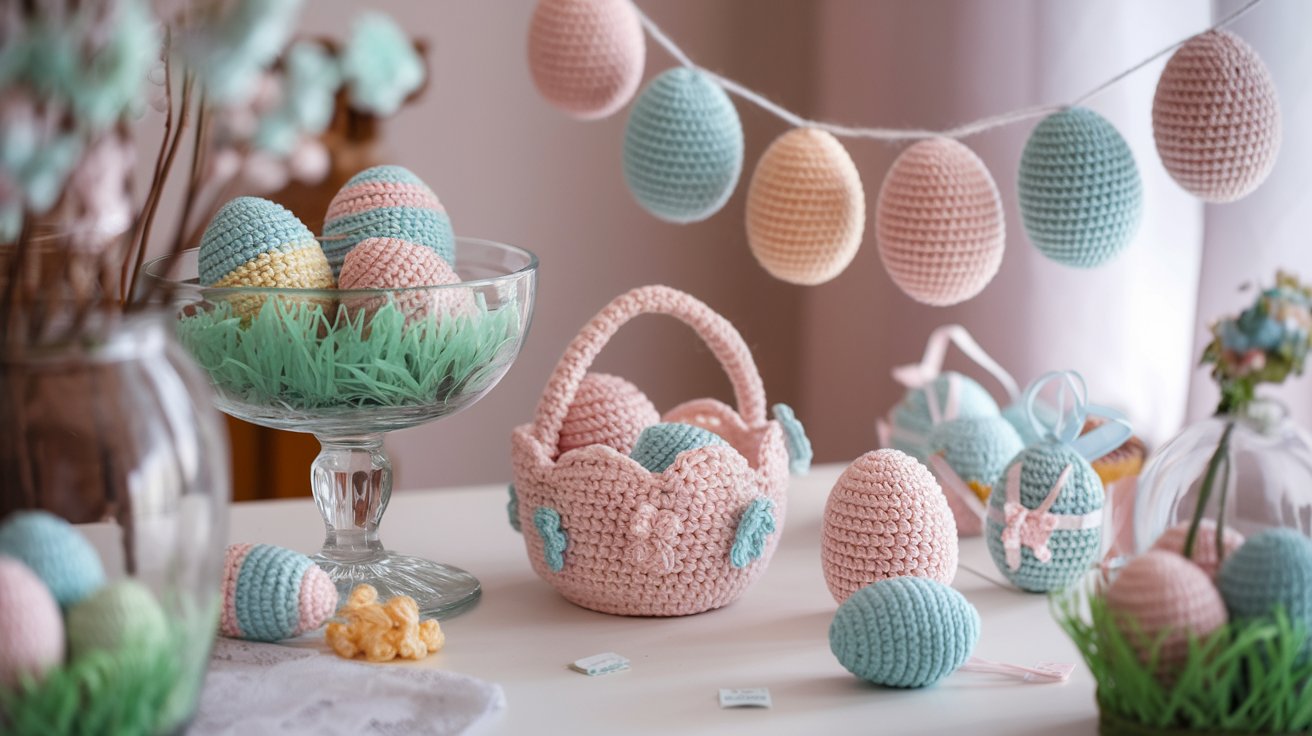
String eggs together for a crochet Easter egg garland pattern. Fill a mini crochet Easter egg basket with tiny eggs or use bulky yarn for a large crochet easter egg pattern.
Creative Uses for Your Crochet Easter Eggs
Turn your handmade eggs into gifts, decorations, and party favorites.
Home Décor Ideas
Fill a glass bowl with eggs and grass for centerpieces. Thread eggs onto ribbon and hang vertically. Make giant egg shapes for a crochet Easter egg pillow.
Create a crochet Easter egg holder pattern free style basket for your entry table. Hang eggs at different heights with a clear fishing line.
Gifts and Party Favors
Tuck chocolate inside before closing and add a ribbon bow. Set up craft stations for kids to make their own.
Mix crochet eggs with candy in Easter baskets. Make eggs in school colors for teacher gifts. Let kids choose colors and attach photos for grandparent presents.
Tips and Tricks for Beginners
Here are some helpful tips to make your crochet eggs turn out great every time.
- Keep your tension even and consistent. Not too tight, not too loose. Practice helps a lot. Your second egg will look better than your first one.
- Use invisible decreases for a cleaner finish. Insert hook through front loops only. This method creates less visible holes than regular decreases.
- Mark your rounds carefully with a stitch marker. Count stitches as you go. Fixing mistakes early saves time later.
- Stuff gradually and evenly as you decrease. Don’t pack it too tight or the shape gets lumpy. Smooth it with your fingers while filling.
- Adjust size with hook and yarn weight. Use thinner yarn and smaller hooks for mini eggs. Pick bulky yarn and bigger hooks for large statement eggs.
Conclusion
Making crochet Easter eggs brings me so much joy each spring. I still remember my first wonky egg with uneven stitches, but I kept going. Now I fill baskets for my whole family.
You’ll get better with each one you make. Start with simple colors, then try stripes or bunny faces.
Share photos of your eggs in the comments below. I’d love to see what colors you choose. Grab your supplies and make your first egg today. Happy crocheting!
Frequently Asked Questions
How long does it take to make one crochet Easter egg?
Most beginners finish one egg in 30 to 60 minutes. As you get faster, you might make one in 20 minutes. Speed comes with practice.
What size should I make my Easter eggs?
A standard egg uses worsted yarn and an F hook, finishing about 3 inches tall. You can adjust by changing yarn weight or hook size.
Can I wash my crochet Easter eggs?
Yes, if you use cotton yarn and polyester stuffing. Hand wash gently in cool water. Let them air dry completely before storing.
Do I need to know advanced stitches?
No, just a basic single crochet works fine. You’ll learn increases and decreases as you go. The pattern guides you through each step.
How many eggs should I make for a basket?
A small basket looks full with 5 to 7 eggs. A large basket needs 12 to 15 eggs. Mix different sizes for variety.