

Have you been staring at crochet patterns that mention back loop only and feeling confused? I get it. I was there too.
This guide will walk you through everything you need to know about back loop only crochet, from understanding what it is to actually doing it yourself.
We’ll cover the basics, compare it to other techniques, and I’ll show you exactly how to work this stitch in rows and rounds. I’ve been crocheting for years, and the back loop only changed how I add texture to my projects.
By the end, you’ll know how to create ridges, add stretch, and make your work look more professional.
Why Use Back-Loop-Only Crochet?

This technique creates visual and structural changes that solve real problems in your projects.
Working into the back loop creates raised ridges across your work. These ridges add texture and dimension. You can use them to make ribbed patterns that look like knitting.
Back loop only helps align stitches in Fair Isle and mosaic crochet. For amigurumi makers, it creates a helpful ridge when joining pieces. The technique also adds stretch to cuffs, waistbands, and any area that needs to flex with your body.
The front loop only creates ridges, too, but they face the opposite direction. Back loop only ridges are more pronounced and create more stretch. Most crocheters prefer the back loop only for ribbing because the stretch works better for garments.
Understanding the Anatomy of a Crochet Stitch

Before you can work into the back loop, you need to know what you’re looking at. Every crochet stitch has a distinct structure that matters.
Front Loop vs Back Loop
When you look at the top of any crochet stitch, you’ll see a V shape. That V is made of two loops. The loop closest to you is the front loop. The loop farthest from you is the back loop. It’s that simple.
To identify them, hold your work with the right side facing you. The front loop sits toward you. The back loop sits away from you. Once you see this V a few times, you’ll spot it instantly.
Standard Crochet vs Back Loop Only
In standard crochet, you insert your hook under both loops of that V. This creates a smooth, flat fabric. When you work into the back loop only, you skip the front loop and go under just the back one. This leaves the front loop standing up, which creates a horizontal ridge across your fabric.
The texture changes completely. Your fabric gets more dimension. It also becomes stretchier, which is great for ribbed edges on hats or sweaters.
Step-by-Step Tutorial: How to Crochet into the Back Loop Only
Let me walk you through this technique with different stitches. We’ll start simple and build up.
Materials Needed
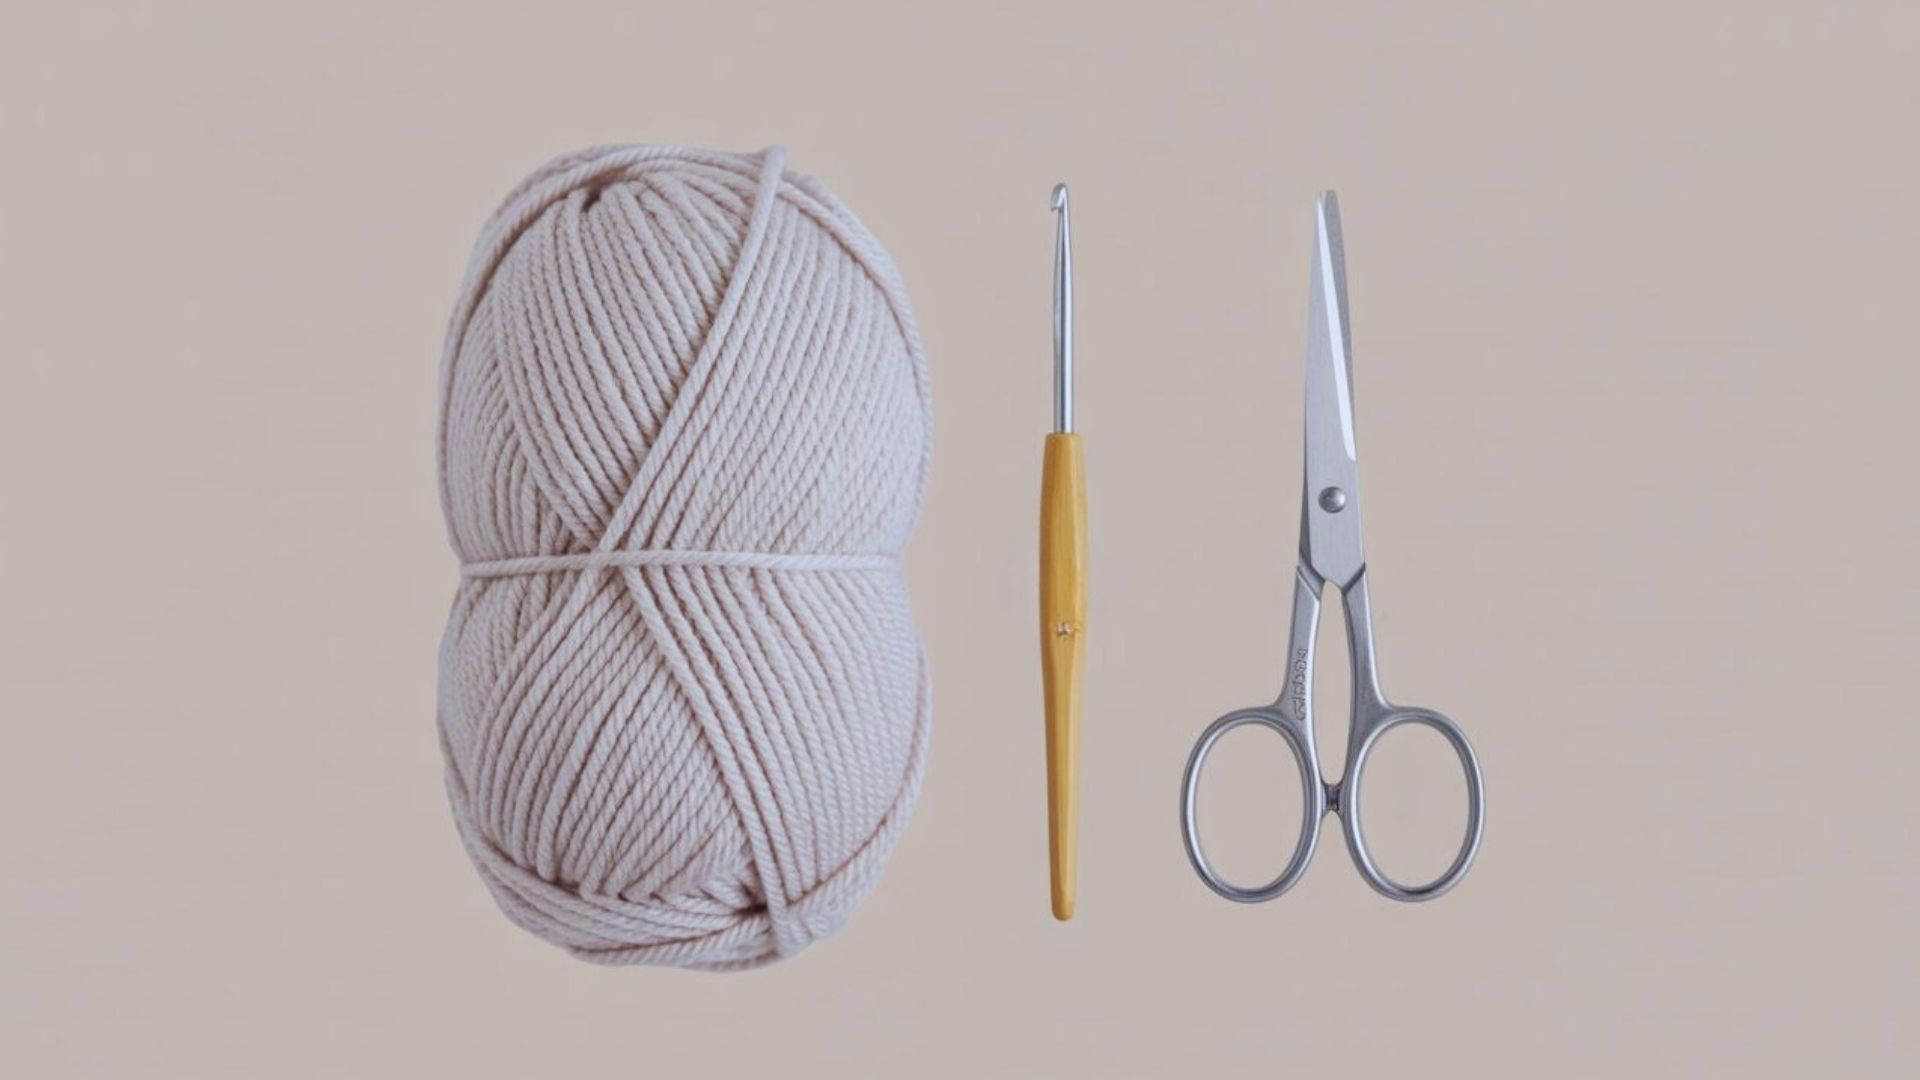
You’ll need yarn in any weight, a hook that matches your yarn, and scissors. That’s it. If you’re new to crochet, grab some smooth worsted-weight yarn in a light color so you can see your stitches clearly.
Back Loop Only in Single Crochet (SC)

Here’s how to work a single crochet stitch using only the back loop.
Step 1: Look at the top of your stitch and find that V. Insert your hook under only the back loop, the one farthest from you.
Step 2: Yarn over your hook and pull the yarn through that back loop. You should have two loops on your hook now.
Step 3: Yarn over again and pull through both loops on your hook. That completes your single crochet stitch. You’ll see a ridge forming where the front loop was left alone.
Back Loop Only in Half Double Crochet (HDC)

Start with a yarn over before inserting your hook. Then insert your hook into the back loop only. Yarn over and pull through the back loop. Now you have three loops on your hook. Yarn over once more and pull through all three loops.
The key here is maintaining your stitch height. Don’t pull too tight, or your half double crochet will look like a single crochet. Keep your tension loose and even.
When working corners, make sure you’re still only going through that back loop, even though it might twist a bit. The ridge should stay consistent around the corner.
Working in Rows vs Rounds
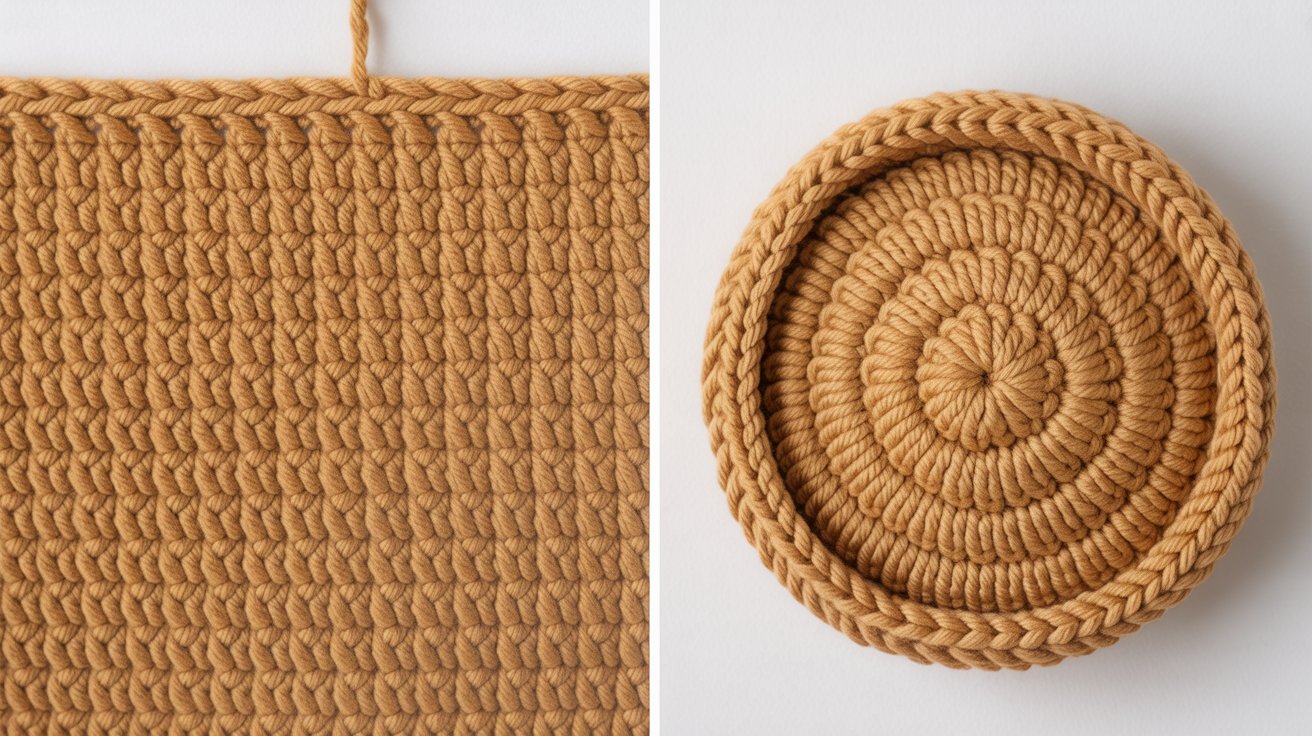
Turned rows: When you work back and forth, the ridges stack on each other. This creates a stretchy, ribbed fabric that’s perfect for scarves and sweater bands.
Rounds: When you work in continuous rounds without turning, the ridges spiral around your work. This looks great for decorative borders on blankets or the brim of a hat.
Tips for Neat Stitches
These simple tips will help you master the back loop only and keep your stitches looking clean.
- Keep your tension consistent throughout. If you pull too tight, your ridges will bunch up. If you’re too loose, they’ll look floppy. Practice on a small swatch first.
- Tilt your work slightly toward you to identify back loops easily. The back loop will be more visible. Some people find it helpful to use a slightly larger hook when learning this technique.
- Make a practice swatch before starting a big project. Work about 20 stitches across and 10 rows up. This lets you see how the ridges form and how the fabric behaves. You’ll also figure out if you need to adjust your tension.
Project Ideas Using Back Loop Only Crochet
Now that you know how to do it, here’s where you can use this technique.
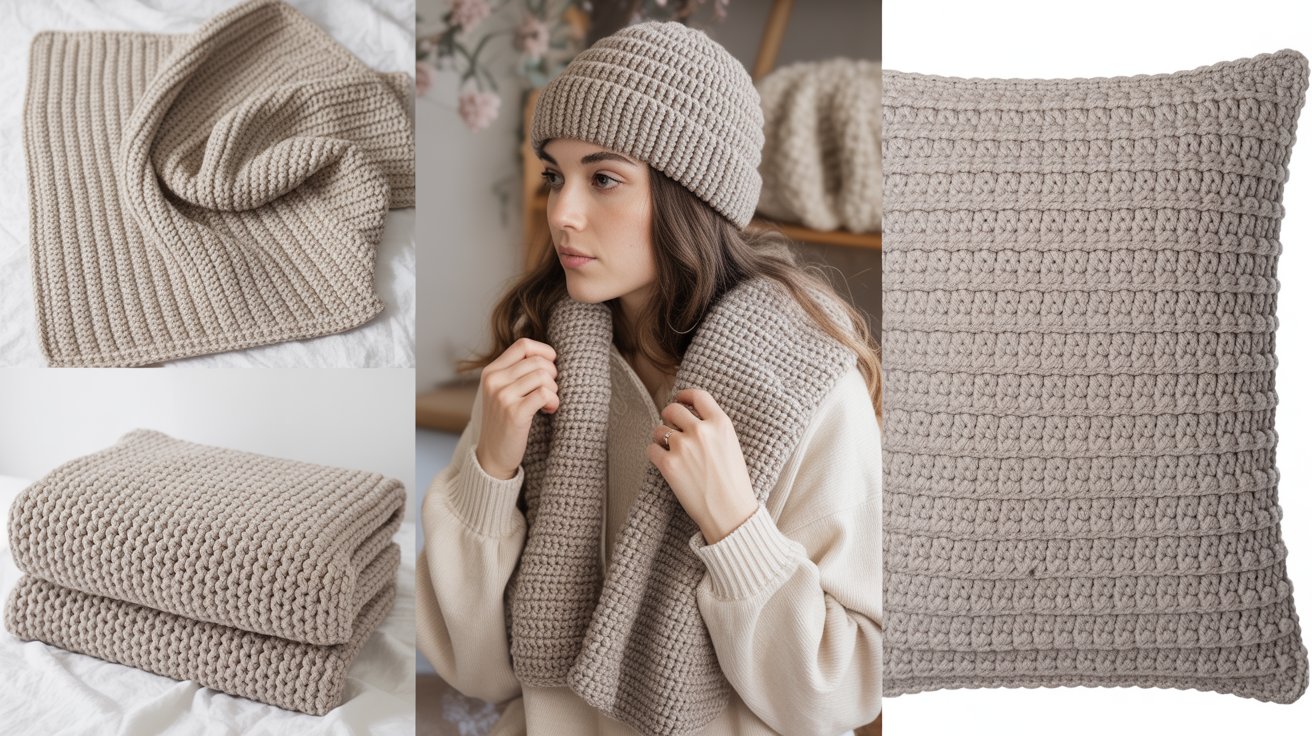
Projects Worked in Rows
Scarves look amazing with the back loop only because the ridges run horizontally across the length. Cowls get that cozy ribbed texture. Sweaters benefit from ribbed edges at the cuffs and hem.
They hug your wrists and waist without being too tight. You can also use this technique for the entire body of a sweater if you want an all-over textured look.
Projects Worked in Rounds
Hats with back loops only, the brims stay on your head better because of the stretch. The technique works well for the entire body of the ha, too.
Afghans and blankets can have back loop-only borders that frame the center pattern. The raised ridges add a finished, professional touch.
Using BLO as an Accent
You don’t have to use the back loop only for an entire project. Try combining it with front loop only in alternating rows for a really pronounced texture. Or work a few rows of back loop only between sections of standard stitches to break up the fabric visually.
Multi-color work with the back loop only creates stripes where the ridges catch one color and the background shows another. The contrast makes patterns pop.
Conclusion
I still remember the first time I worked into the back loop on purpose. It felt like I’d been handed a secret code. Now I use this technique all the time for texture and stretch.
The ridges add so much character to simple projects. Start with a small swatch and see how it feels under your hook. Once you get comfortable, try it on a scarf or hat brim.
I’d love to hear what you make with back loop only crochet. Drop a comment below and tell me about your project, or share a photo if you’re feeling proud of your work.
Frequently Asked Questions
What does BLO mean in crochet patterns?
BLO stands for back loop only. When you see this in a pattern, insert your hook through just the back loop of the stitch instead of both loops.
Does the back loop only make fabric stretchy?
Yes, working in the back loop creates more stretch than standard crochet. This makes it perfect for ribbed edges that need to flex with your body.
Can I use the back loop only with any stitch?
You can use this technique with any crochet stitch. single crochet, double crochet, half double crochet, or treble. The method stays the same across all stitches.
How is the back loop different from the front loop?
Back loop only leaves the front loop standing up, creating ridges that face one direction. The front loop only creates ridges facing the opposite way with less stretch.
Why does my back loop-only crochet look uneven?
Uneven stitches usually come from inconsistent tension. Practice on a swatch and focus on keeping your yarn tension steady throughout each row or round.