

If you want to learn the alpine stitch, you’re in the right place. I’ll show you how to create this textured, raised pattern that works great for blankets, scarves, and cozy garments. This guide includes clear instructions, helpful tips, and everything you need to master this stitch.
I’ve been crocheting for years and love how this stitch adds depth to any project. You’ll learn the materials needed, the basic technique, and how to work it in rows or rounds.
The alpine stitch might look complex, but it’s actually simple once you understand the pattern. Let’s get started.
Why Learn the Alpine Stitch?
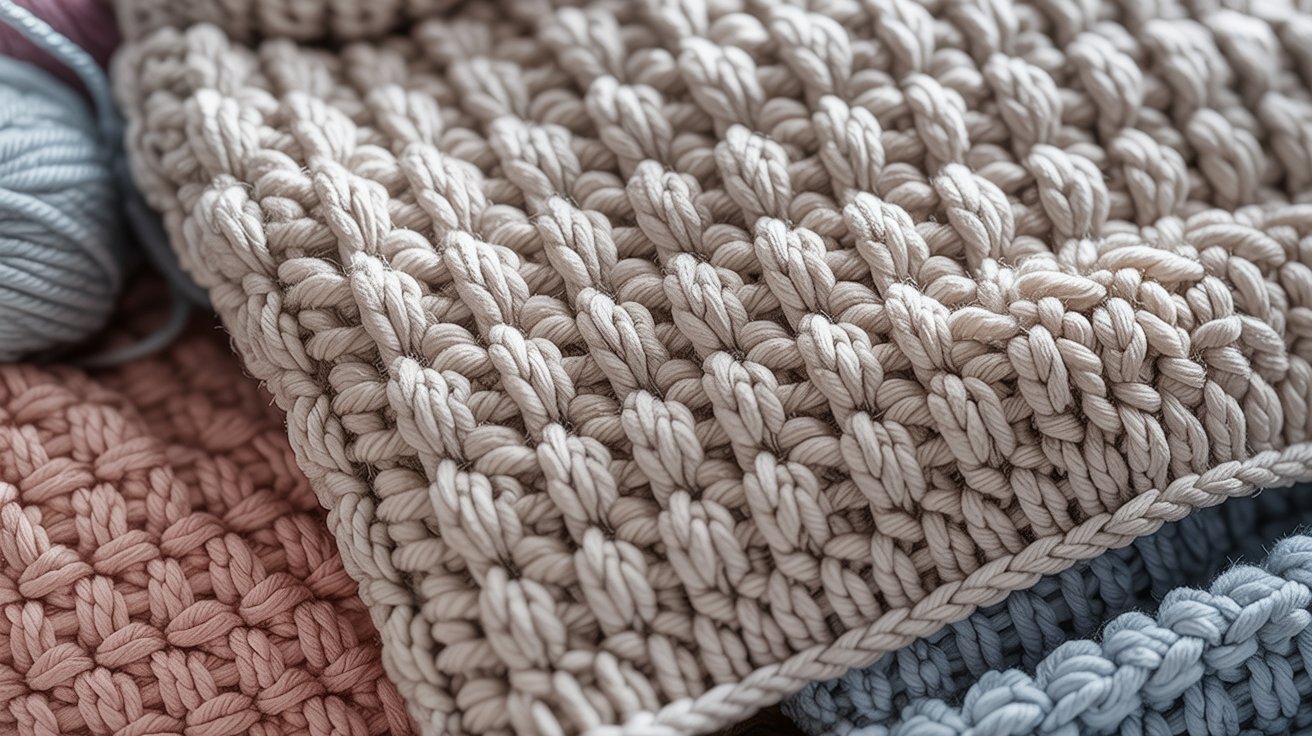
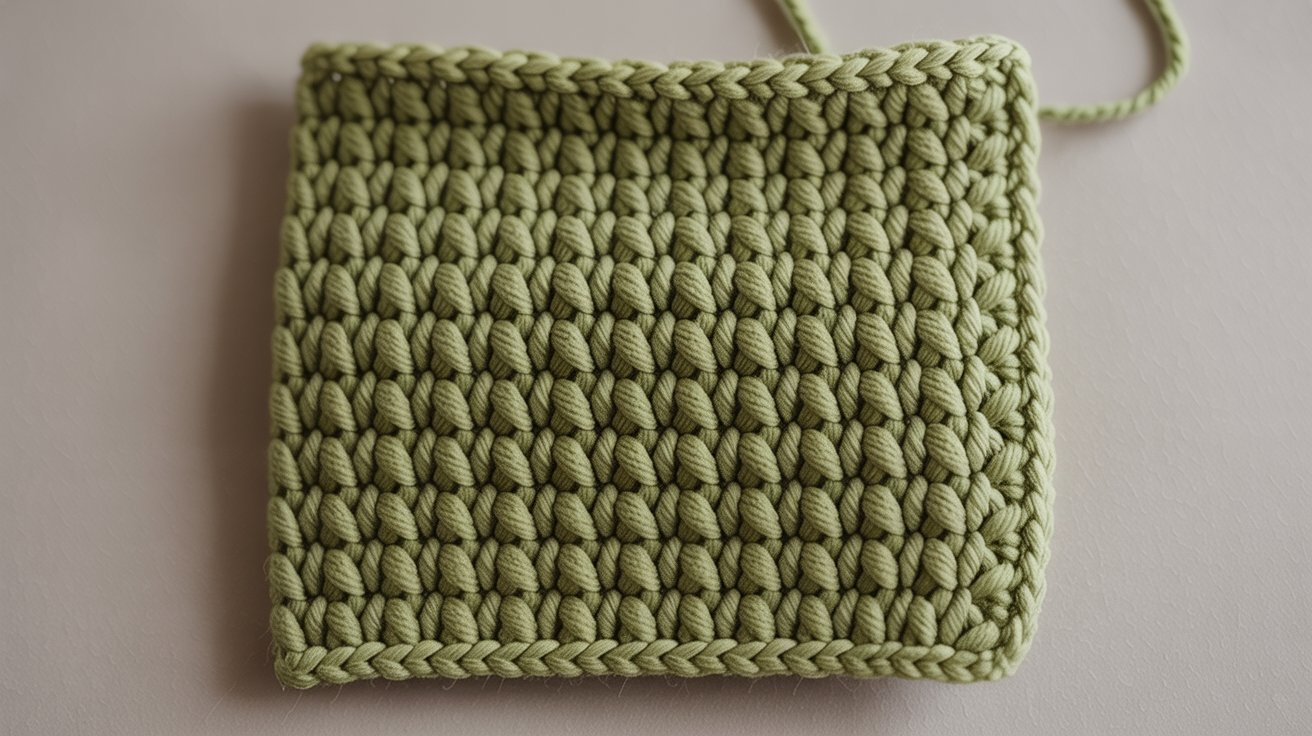
The alpine stitch creates a raised, bumpy texture that makes your projects stand out. This pattern works well for blankets, pillows, bags, and winter accessories like scarves and hats.
The stitch adds visual depth to your work. The raised posts create a dimensional look that catches light and shadow in interesting ways.
If you know basic crochet stitches, you can learn this technique. The alpine stitch uses double crochet and front post double crochet.
New crocheters who’ve practiced basic stitches can try this pattern. More experienced crafters will enjoy adding this texture to their skill set.
The pattern repeats every four rows, which makes it easy to memorize. Once you work through the first few rows, the rest flows naturally.
Materials and Tools Needed
Worsted-weight yarn works best for learning the alpine stitch. Cotton yarn creates defined stitches, while acrylic blends are budget-friendly and soft.
DK weight works for lighter projects like shawls or baby blankets. Use solid colors in light or medium shades to see your stitches clearly while learning.
For worsted-weight yarn, use a 5mm (H-8) hook. For DK weight yarn, use a 4mm (G-6) hook. If your work feels too tight, go up one hook size. If it looks loose, try a smaller hook. Make a small swatch first to check your gauge.
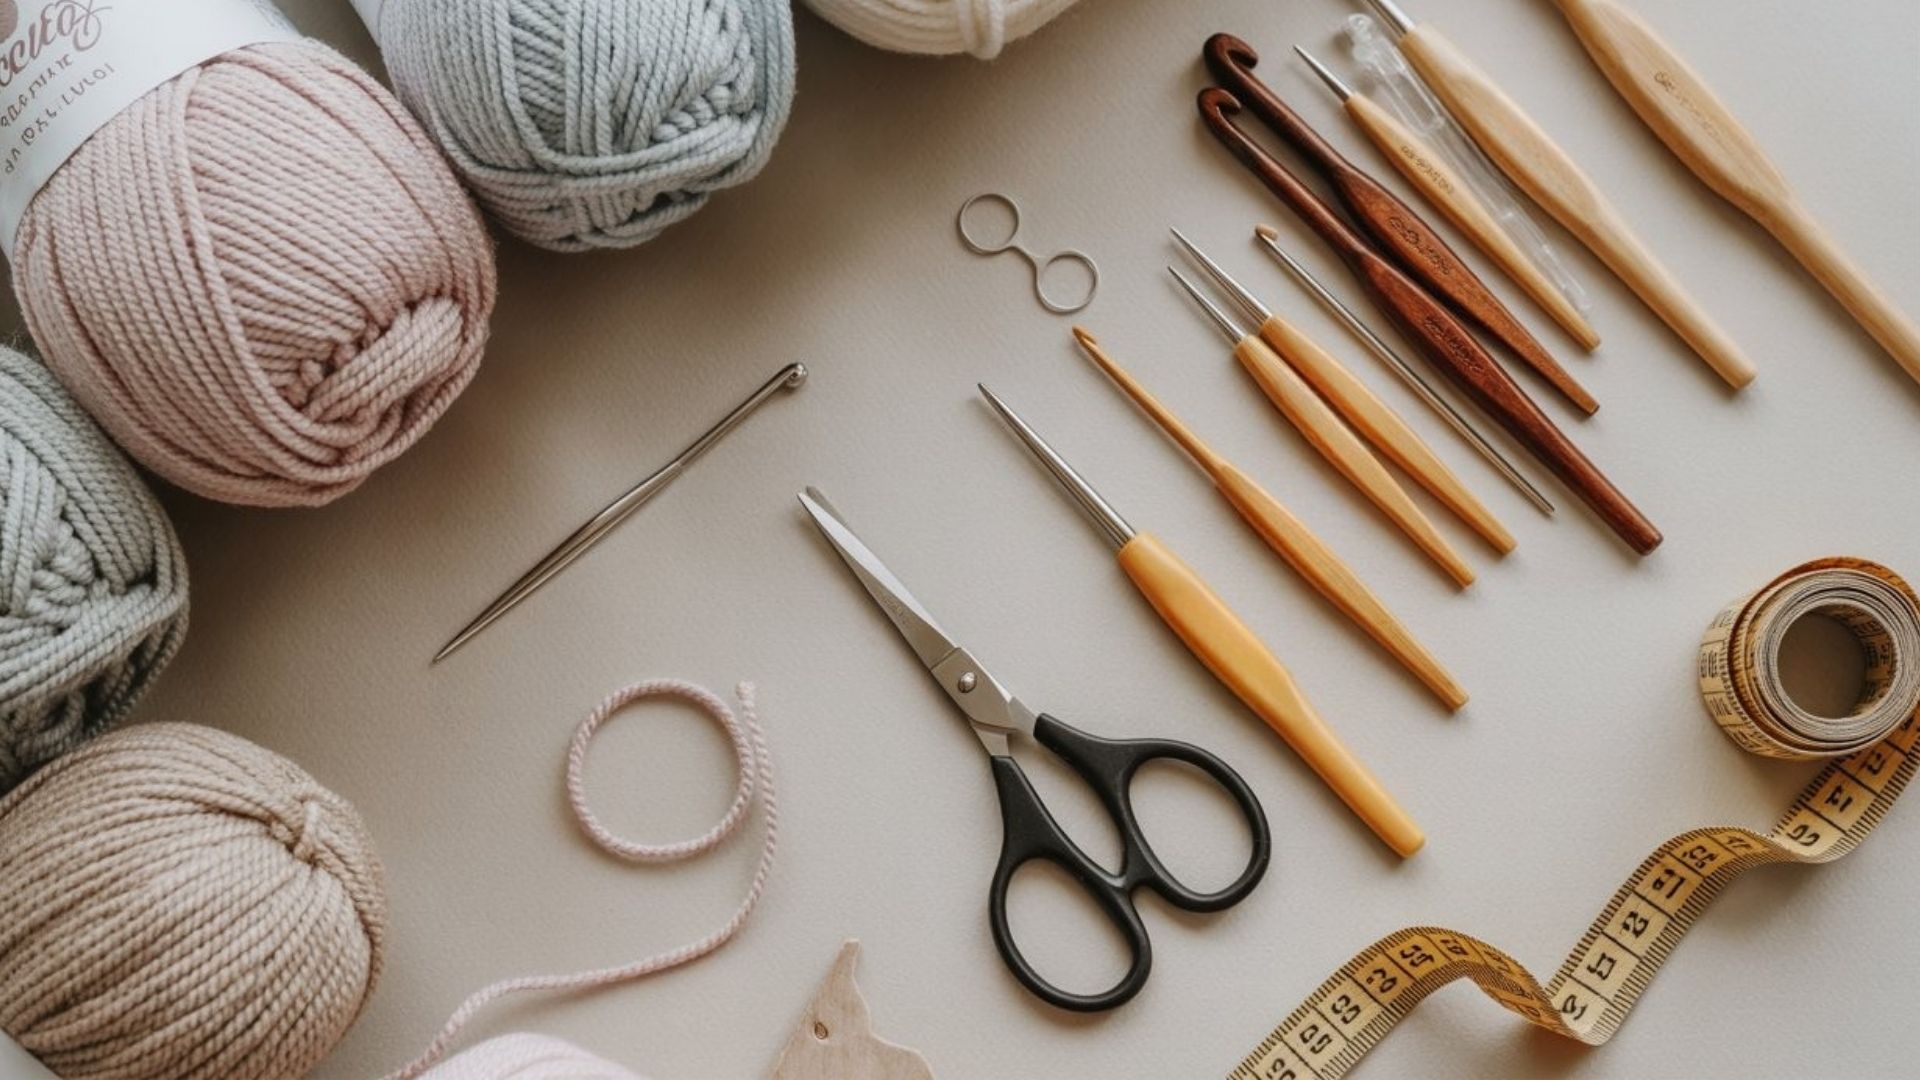
You’ll also need scissors, stitch markers, measuring tape, and a tapestry needle for weaving in ends.
Stitches and Abbreviations Used
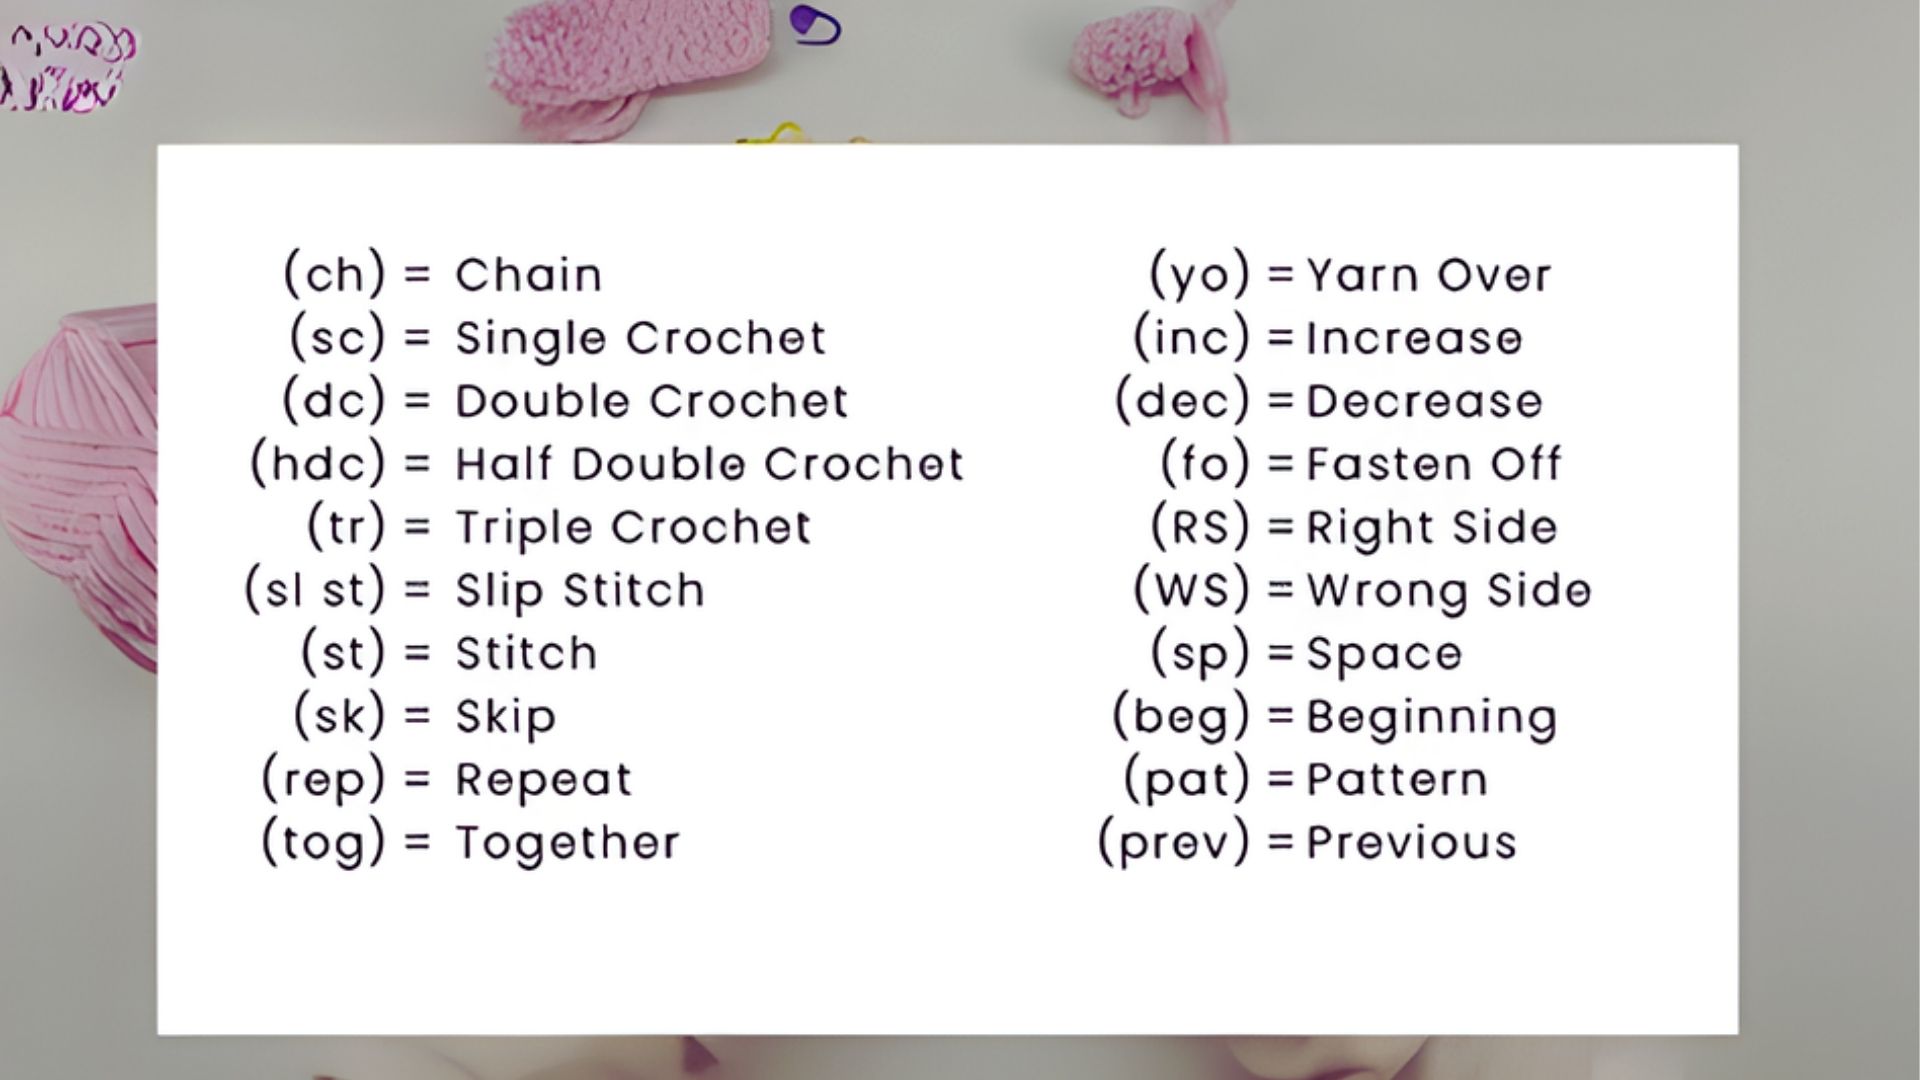
Here are the basic stitches you’ll need to know for the alpine stitch pattern.
Basic Stitches
Chain (ch): Yarn over and pull through the loop on your hook. This creates your foundation.
Single crochet (sc): Insert hook, yarn over, pull through, yarn over, pull through both loops.
Double crochet (dc): Yarn over, insert hook, yarn over, pull through, yarn over, pull through two loops twice.
Specialty Stitch
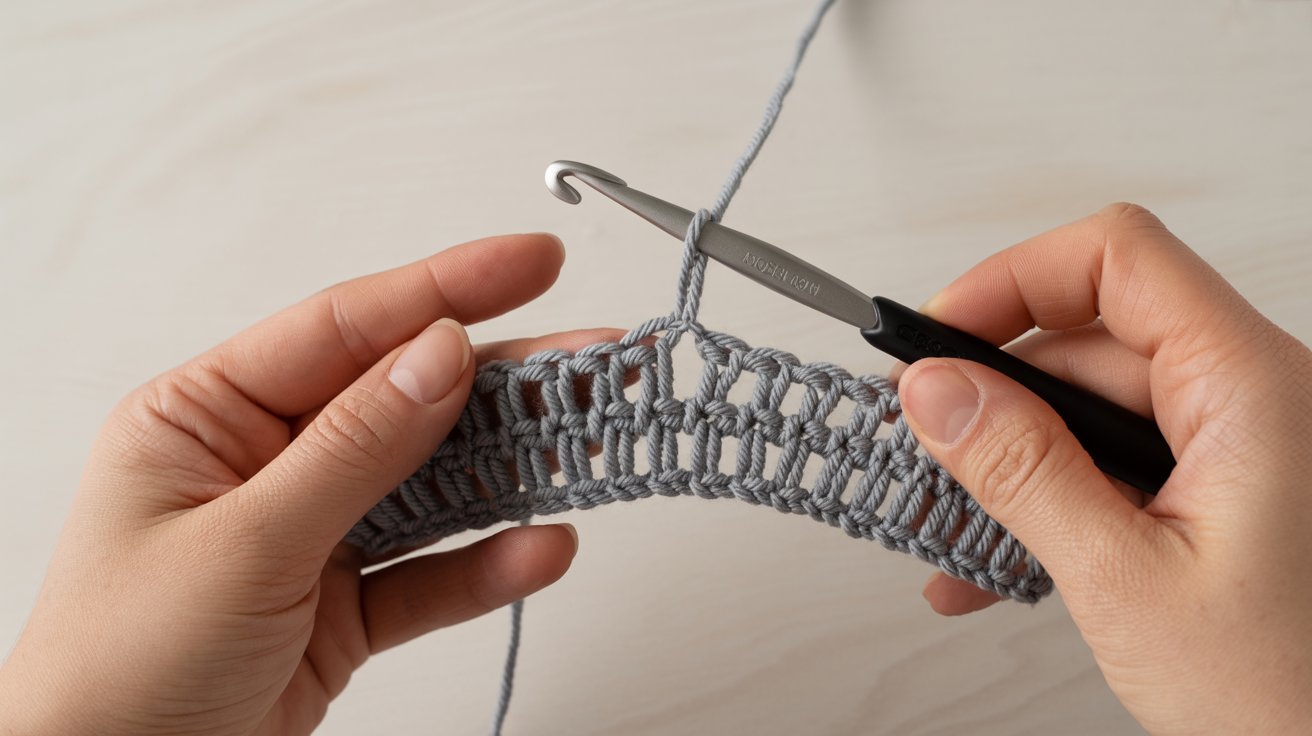
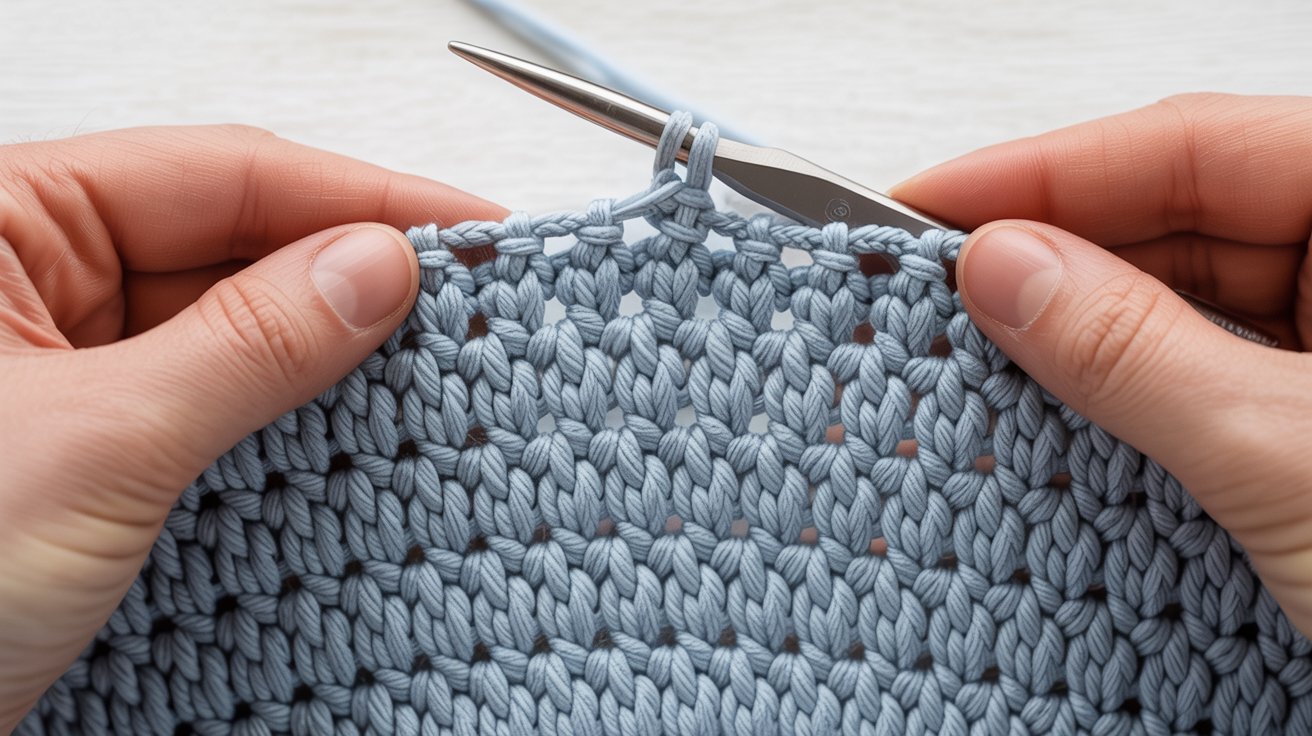
Front post double crochet (FPdc): This creates the raised texture in alpine stitch.
Yarn over your hook. Instead of inserting your hook into the top of the stitch, insert it from front to back around the post of the stitch below. The post is the vertical part of the stitch.
Yarn over and pull up a loop. You’ll have three loops on your hook.
Yarn over and pull through two loops. Two loops remain.
Yarn over and pull through the last two loops.
The stitch will push forward, creating a raised bump on your work. This is what gives alpine stitch its texture.
Step-by-Step Instructions for Alpine Stitch
Follow these steps to create the alpine stitch pattern from start to finish.
Foundation Chain
Start with an even number of chains. For a practice swatch, chain 20.
Add one extra chain for the turning chain. So you’ll actually chain 21 total.
Make sure your chains aren’t too tight. Loose chains are easier to work into for the first row.
Keep your tension consistent across all chains for a neat edge.
Row 1 and Row 2

These first two rows build the base for your textured pattern.
Row 1: Work one double crochet in the fourth chain from your hook. Continue working one double crochet in each chain across. Turn your work.
The skipped three chains count as your first double crochet.
Row 2: Chain one (this doesn’t count as a stitch). Work one single crochet in each stitch across. Include the top of the turning chain from Row 1. Turn your work.
A single crochet creates a flat base for the raised stitches in the next row.
Row 3 and Row 4: First Alpine Rows
Now you’ll create the raised texture that defines the alpine stitch.
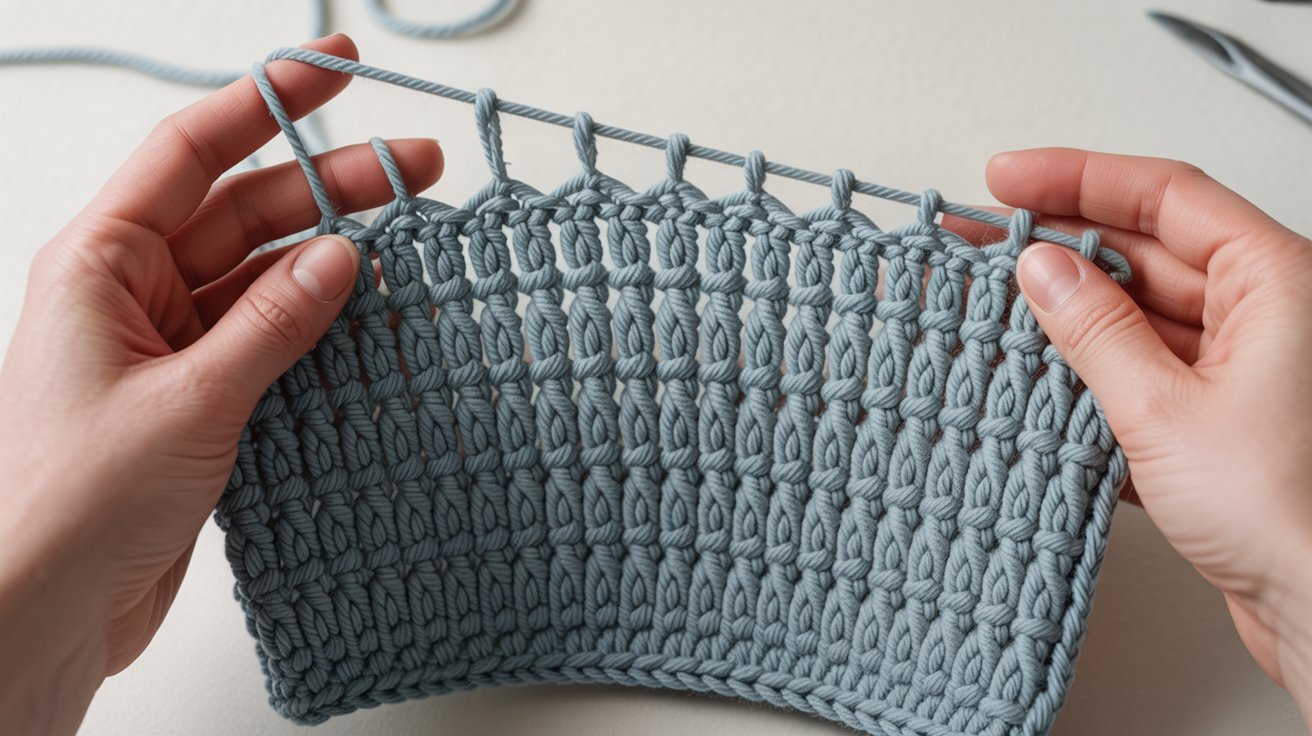
Row 3: Chain three (counts as first dc). Work one FPdc around the next dc from Row 1 (skip the sc in front of it). Work one dc in the next sc. Continue alternating: one FPdc around the dc from Row 1, one dc in the sc from Row 2.
End with a dc in the last stitch. Turn.
The FPdc stitches reach down to Row 1, which creates the raised texture. The single crochet row in between gets hidden behind the posts.
Row 4: Chain one. Work one single crochet in each stitch across, including the top of the turning chain. Turn.
This row sets up the pattern for the next repeat.
Row 5 and Row 6: Continuing the Pattern
Keep building the staggered texture by repeating the alpine technique.
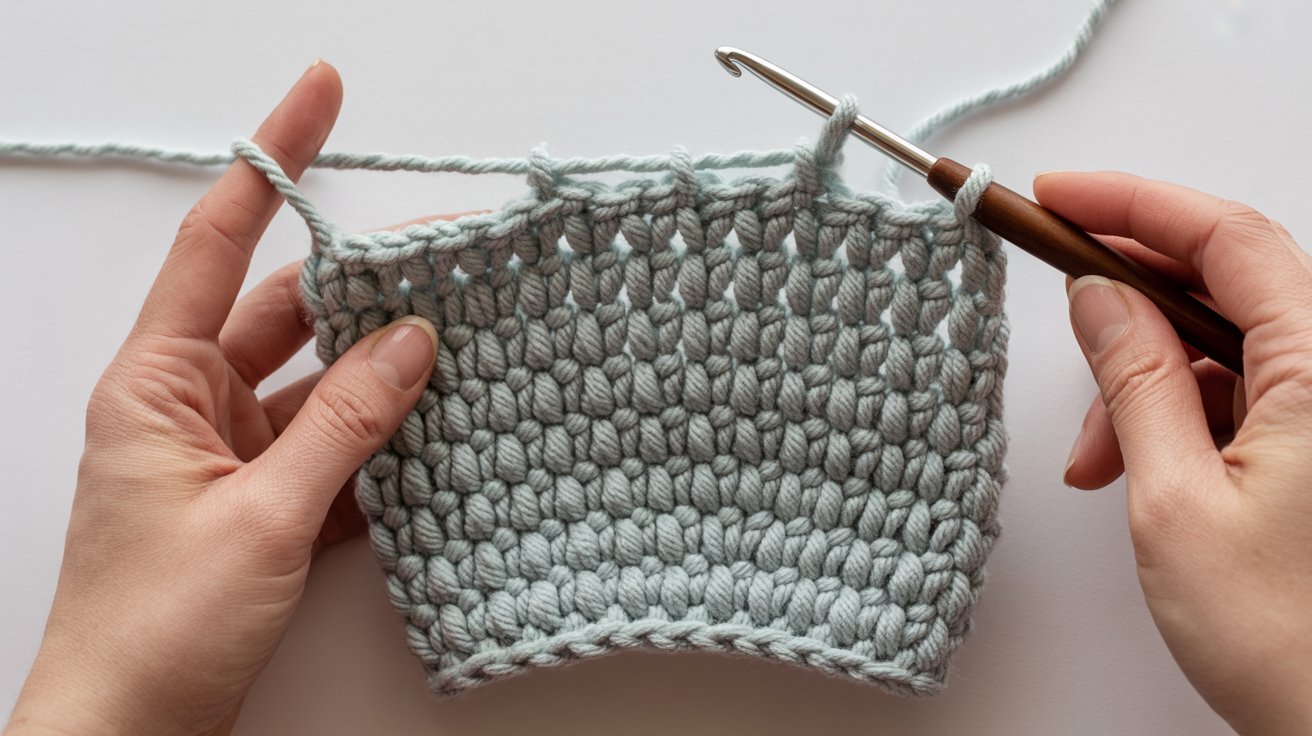
Row 5: Chain three. Now work FPdc around the dc stitches from Row 3 (not the FPdc stitches). Work dc in the sc stitches from Row 4.
This creates the staggered, offset pattern. The raised posts will be in different positions than the previous alpine row.
Row 6: Chain one. Single crochet across all stitches. Turn.
Repeating Rows
Master the four-row pattern to complete your project.
The alpine stitch uses a four-row repeat:
Row 1: All dc (or your alpine row with FPdc and dc)
Row 2: All sc
Row 3: Alpine row with FPdc and dc
Row 4: All sc
Continue repeating Rows 1 through 4 until your project reaches the length you want.
For a neat finish, end after Row 2 (all sc). This creates a flat top edge that matches the bottom.
Bind off and weave in your ends. Block your work if needed to even out the texture and help it lay flat.
Alpine Stitch in the Round
Working the alpine stitch in rounds creates tube shapes for hats, cowls, or poufs.
Start with an even number of stitches in your foundation round. Join with a slip stitch to form a circle.
Round 1: Work all double crochet stitches. Join the top of the first DC.
Round 2: Work all single crochet stitches. Join.
Round 3: This is your alpine round. Chain three. Work FPdc around dc stitches from Round 1. Work dc in sc stitches from Round 2. Alternate around the entire circle. Join to top of the chain three.
Round 4: Work all single crochet. Join.
Repeat these four rounds for your desired height.
When working in the round, the beginning of each round will shift slightly. Use a stitch marker to track where each round starts.
The texture will spiral naturally. This adds to the dimensional look of the finished piece.
Tips and Tricks
Use these helpful hints to improve your alpine stitch technique and results.
- Prevent rolling edges by adding a border of single crochet or half double crochet around your finished piece. Work two or three rounds to help it lay flat.
- Keep consistent tension throughout your work. The FPdc stitches should be the same height as regular dc stitches. Don’t pull them too tight or they’ll scrunch up.
- For color changes, switch colors on Row 2 (the all single crochet row). This keeps the texture pattern consistent. Complete the last stitch of Row 2 with your new color, then continue with Row 3.
- Create stripes by changing colors every four rows. The raised texture shows up nicely in different colors.
- Combine with other stitches by working alpine stitches in panels. Use sections of half double crochet or moss stitch between alpine panels for variety.
- Count your stitches after each row when learning. This helps catch mistakes before they multiply.
- Practice your FPdc on a small swatch before starting a large project. Once you get the feel for going around the post, the rest becomes automatic.
Conclusion
The alpine stitch might feel awkward at first, but stick with it. I remember my first attempt looked uneven and tight. After a few practice rows, everything clicked. Make a small swatch and work through the four-row pattern a couple of times.
You’ll see how the texture builds, and the rhythm becomes natural. This stitch has become one of my favorites for cozy projects.
Try it on a scarf or small blanket and see how you like it. Share your finished work in the comments below. I’d love to see what you create.
Frequently Asked Questions
What makes Alpine stitch different from other textured stitches?
The alpine stitch creates raised, staggered posts that form a bumpy surface. It uses front post double crochet in alternating positions, which creates depth and visual interest.
Can beginners learn the alpine stitch?
Yes, if you know chain, single crochet, and double crochet. The front post technique takes practice, but it’s not difficult once you understand where to insert your hook.
How much yarn do I need for an alpine stitch blanket?
It depends on your blanket size. The alpine stitch uses more yarn because of the raised texture. Plan for about 20 to 30 percent more yarn than a double crochet blanket.
Why does my alpine stitch curl at the edges?
The raised texture can cause curling. Block your finished piece or add a border of single crochet or half double crochet around all edges.
Can I use the alpine stitch for clothing?
Yes, the alpine stitch works well for sweaters, cardigans, and vests. Keep in mind that it creates a thicker, less drapey fabric than smoother stitches.