


I used to stare at Renaissance paintings and feel completely stuck. The detail, the shading, the realism.
It all seemed way out of reach. But then I started breaking it down, and everything changed.
In this guide, I'll show you what makes this style so special, what tools you actually need, and give you beginner-friendly ideas to try today.
I've made everything simple and clear. No overwhelming detail. No confusing terms. Just real, honest steps that work even if you've never drawn before.
Let's get into it.
What Makes Renaissance Art Unique
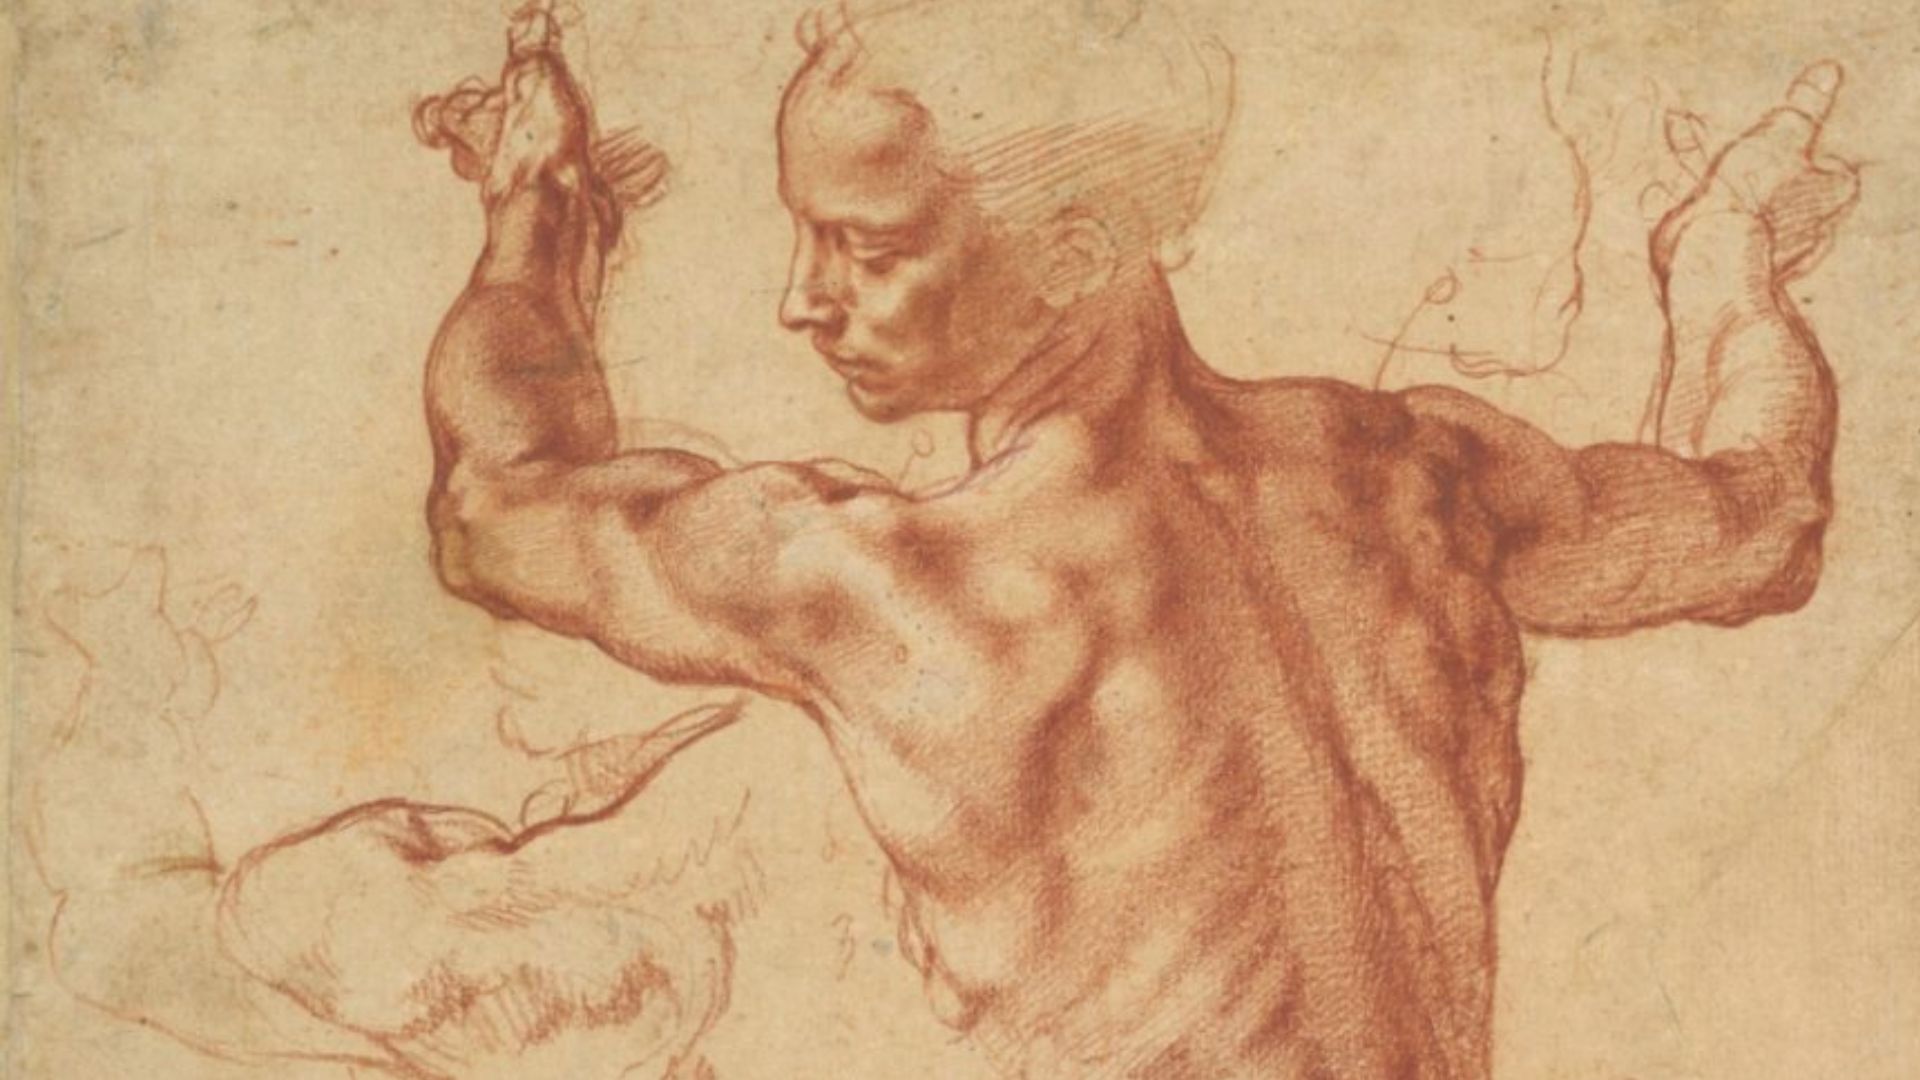
Renaissance art stands out because it focused on real people, real light, and real space.
Artists studied the human body closely and showed it with weight and natural form, not flat or stiff.
They used light and shadow, called chiaroscuro, to give drawings a three-dimensional look. They also figured out perspective, making flat surfaces look deep and spacious.
Objects further away appear smaller, pulling the eye into the background. Their figures stand, sit, and move naturally because artists practiced drawing from life constantly.
This focus on realism, anatomy, and careful observation is what makes this style worth studying even today.
Materials and Tools Required
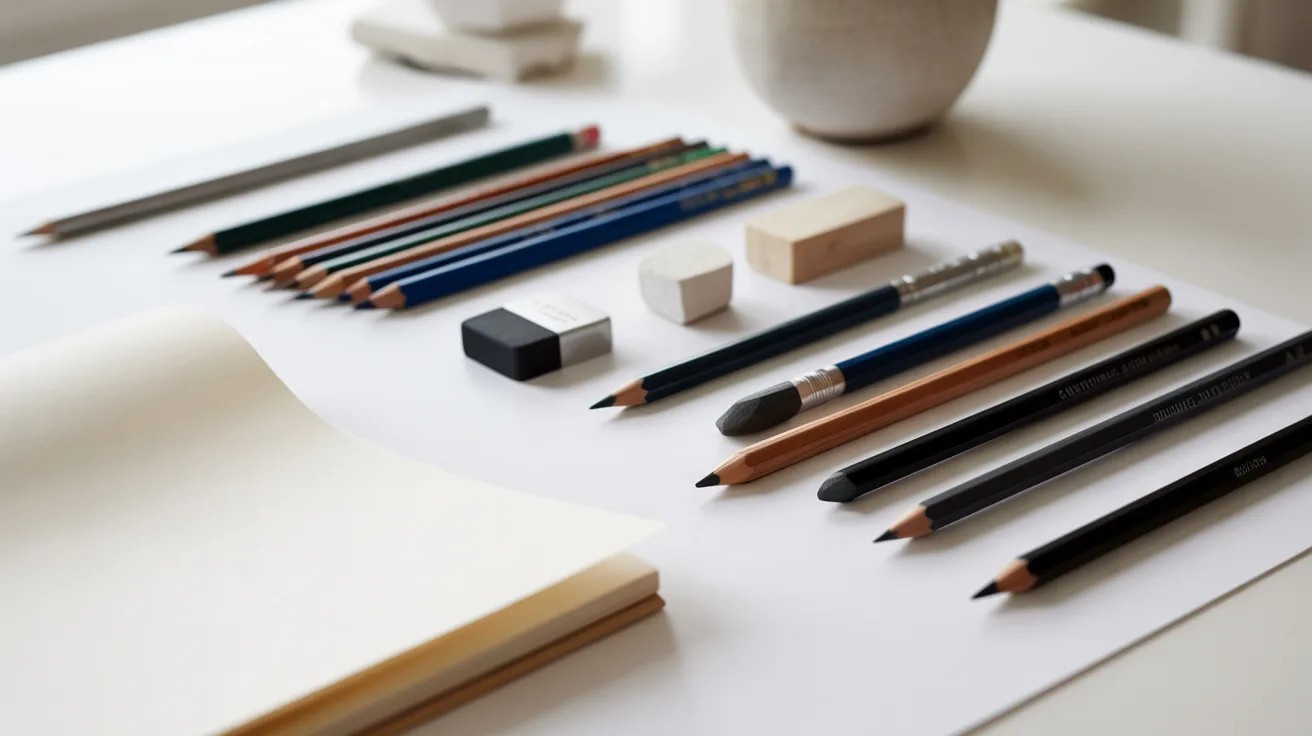
You don't need expensive supplies to get started.
Here's what works well for beginners:
- Sharp Pencil or Chalk: Use this for outlines, guidelines, and fine details.
- Eraser: Cleans up guidelines without damaging the paper.
- Blending Stump or Finger: Smooths out shading for a soft, realistic finish.
- Sketchbook or Drawing Paper: Any smooth paper holds pencil strokes well.
- Charcoal or Dark Pencil (2B or 4B): Great for deep shadows and hair volume.
These five tools are all you need to get started.
Step-by-Step Easy Renaissance Art Tutorials
Before jumping into ideas, here's how I approach every new drawing. Start with light guidelines. Build the basic shapes first. Add shading last. Don't rush the early steps
Step 1: Sketch the Basic Outline

Begin by lightly drawing a curved, vertical outline to define the side profile of the face.
Use a sharp pencil or chalk to create a thin, flowing line from the forehead down to the chin.
Keep your hand relaxed to maintain smoothness, as this initial outline sets the foundation for the entire artwork.
Step 2: Add Facial Guidelines and Features

Lightly sketch horizontal and angled guideline lines to position key facial features like the eyes, nose, and lips.
Begin outlining the eye area with simple shapes and mark the bridge of the nose.
Use loose, rough strokes to map proportions, ensuring everything aligns naturally with the initial profile outline.
Step 3: Define the Nose and Facial Contours
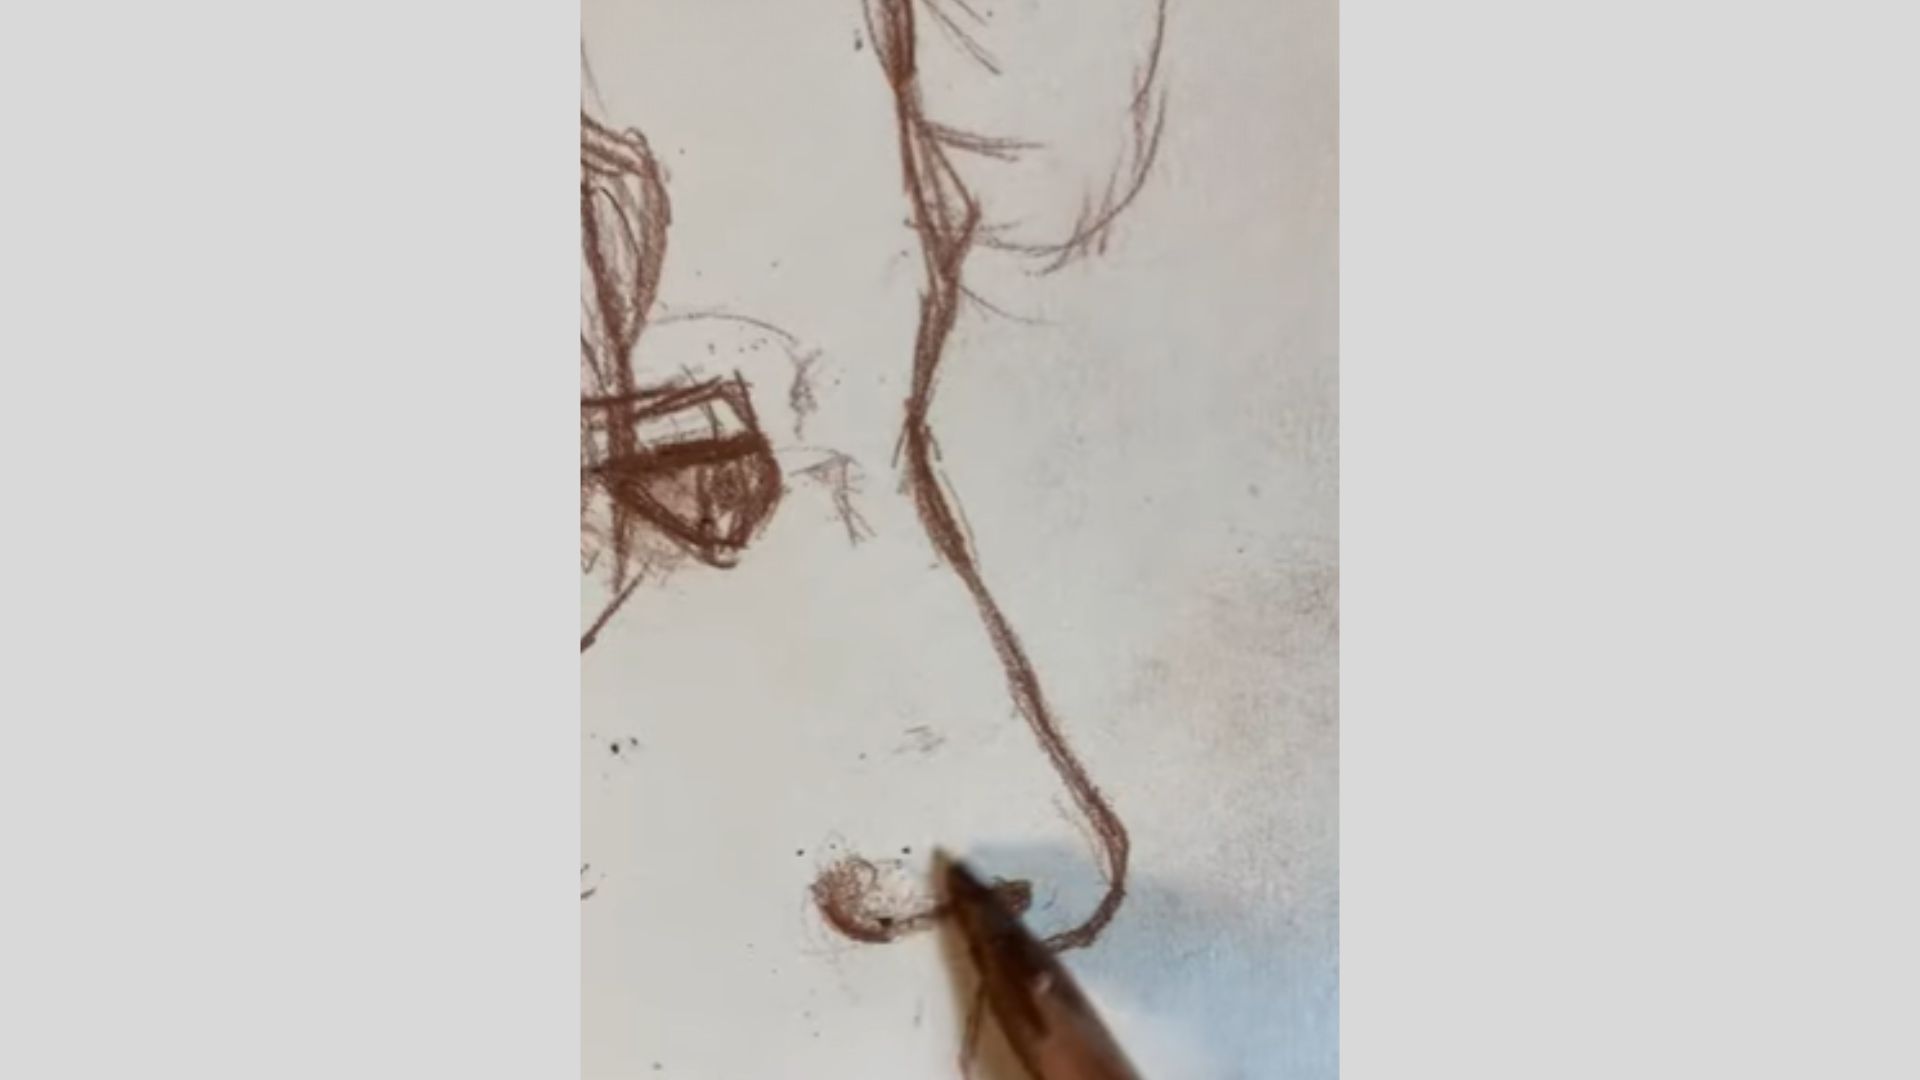
Carefully refine the nose by darkening its outline and shaping the nostril with small, controlled strokes.
Add subtle shading around the nose to create depth and dimension.
At the same time, adjust the facial contour lines, ensuring smooth transitions from the forehead to the lips for a more natural and realistic profile.
Step 4: Refine the Nose and Mouth Contours

Focus on sharpening the profile by darkening the nose bridge, nostril, and tip using confident, controlled strokes.
Strengthen the upper lip edge and define the lower lip shadow to separate forms clearly.
Add subtle shading around the philtrum and chin to enhance depth, contrast, and realistic Renaissance-style facial structure and clarity.
Step 5: Build Mid-Tone Facial Shading

Use soft, layered strokes to fill the cheek, jaw, and lower face with mid-tone shading.
Blend lightly to create smooth transitions from light to shadow. Concentrate on the cheekbone, under-jaw, and side planes of the face.
This stage connects features together and transforms flat outlines into believable three-dimensional form and volume.
Step 6: Develop the Hair Volume and Flow

Sketch loose, curved strokes to map the hair’s direction and movement.
Emphasize large curls and flowing locks instead of individual strands. Darken deeper sections to create contrast and depth.
Layer lines gradually while preserving highlights so the hair appears soft, thick, and naturally dimensional, enhancing the Renaissance character.
Step 7: Add Neck and Background Tone
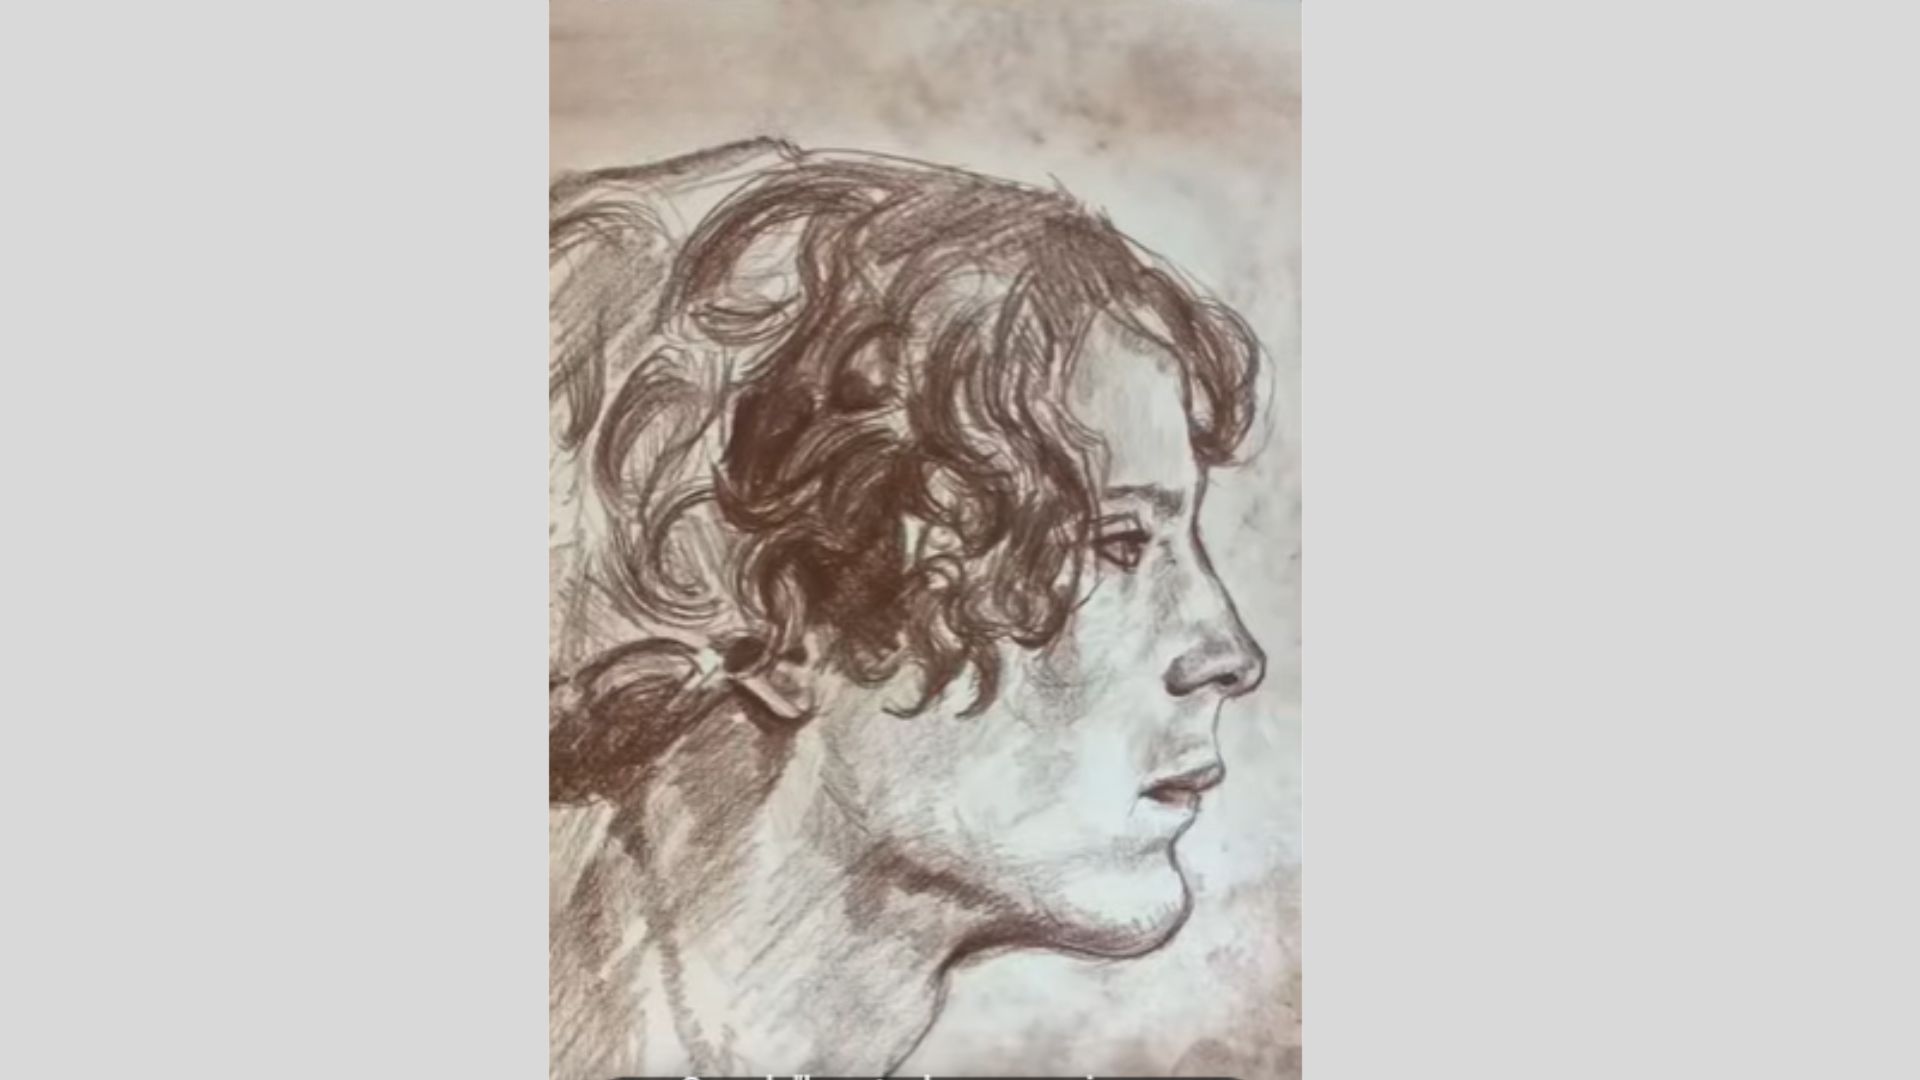
Shade the neck and lower jaw to anchor the head and show the light source clearly.
Darken the space behind the head to create separation from the background. Blend tones gently to avoid harsh edges.
This final tonal balance makes the portrait cohesive, atmospheric, and convincingly Renaissance-inspired overall.
List of 37 Easy Renaissance Art Ideas for Beginners
Here are 37 beginner-friendly ideas to practice Renaissance drawing one step at a time.
1. Simple Renaissance Face Sketch

Draw a basic oval for the head. Add soft guidelines for eyes, nose, and mouth placement. Use light shading along one side to give it depth. Keep the expression calm and relaxed.
2. Side Profile Portrait

A side profile is great for practicing the line of the nose, jaw, and forehead. Draw the outline first, then add soft shading near the eye and under the chin.
3. Renaissance Woman Portrait
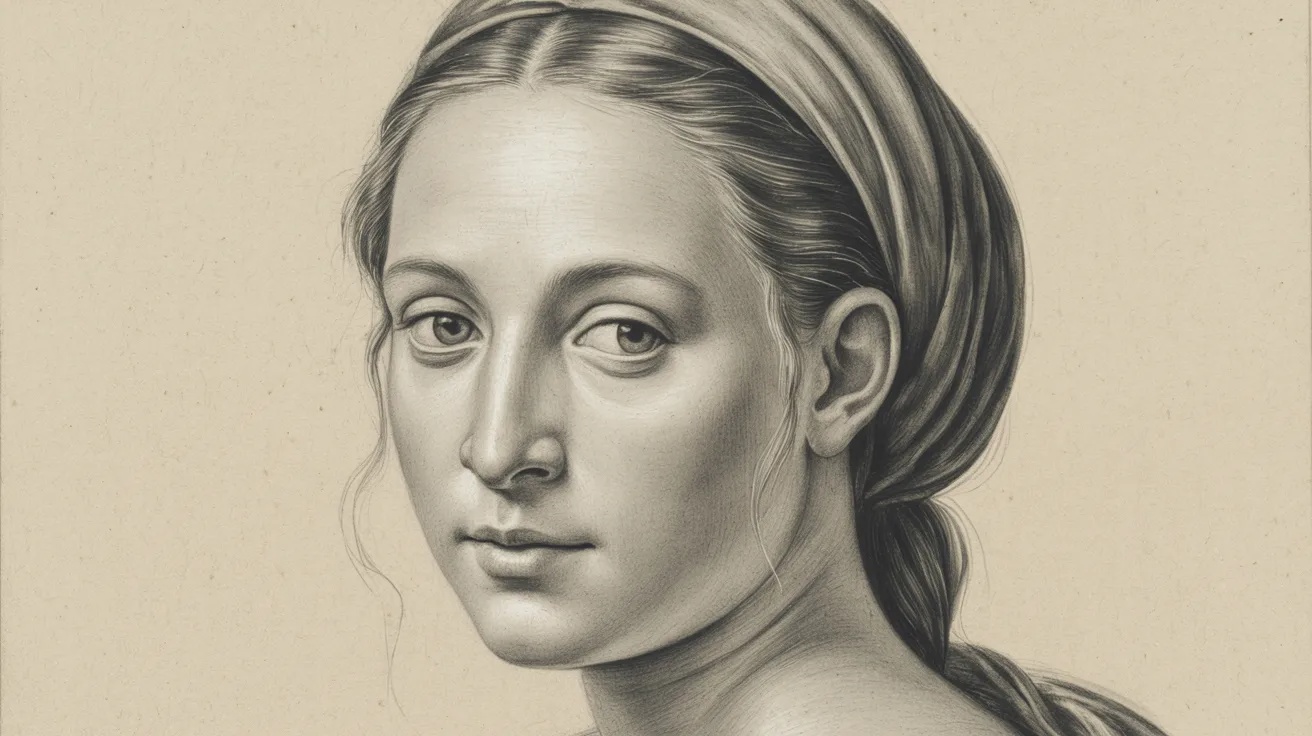
Draw a woman with hair pulled back or braided simply. Focus on soft facial features and a gentle expression. Keep shading light and smooth around the cheeks and forehead.
4. Renaissance Man Portrait
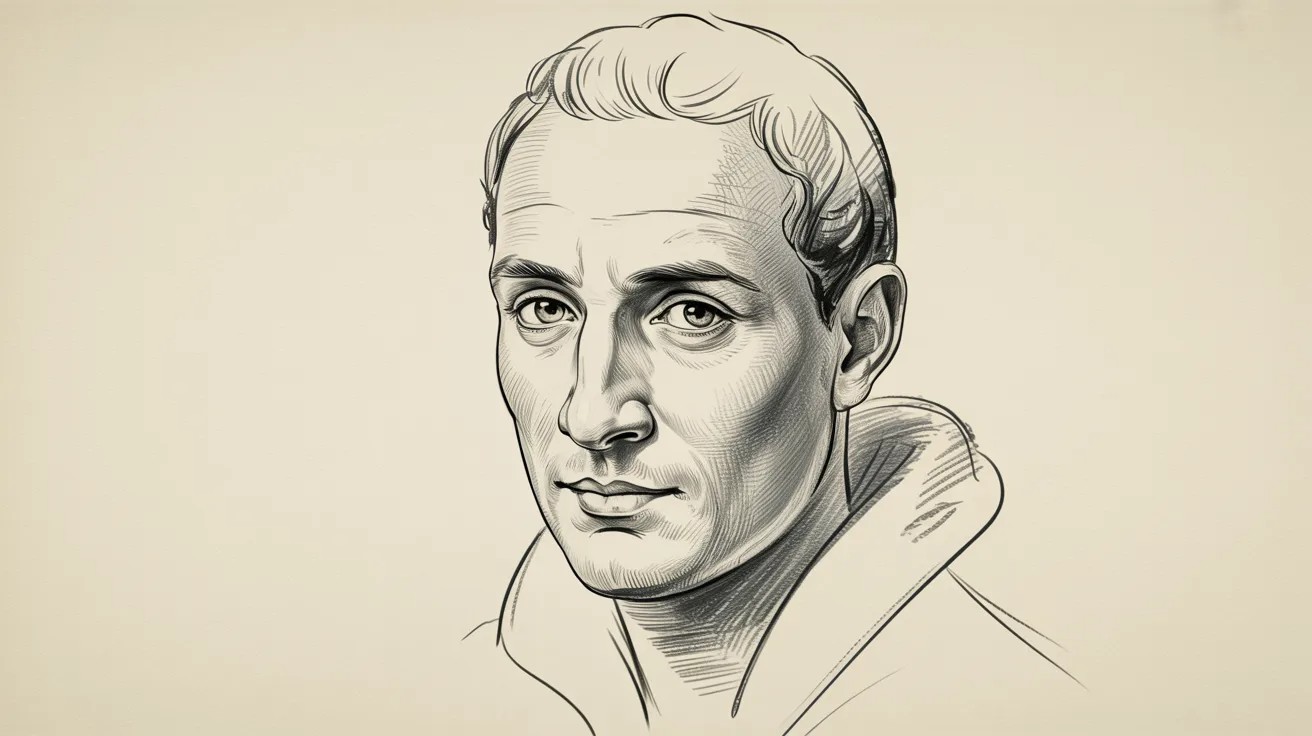
Sketch a male face with realistic proportions. Add light shading along the jaw and brow. Men in Renaissance art often had calm, thoughtful expressions, so keep the face relaxed.
5. Renaissance Child Portrait
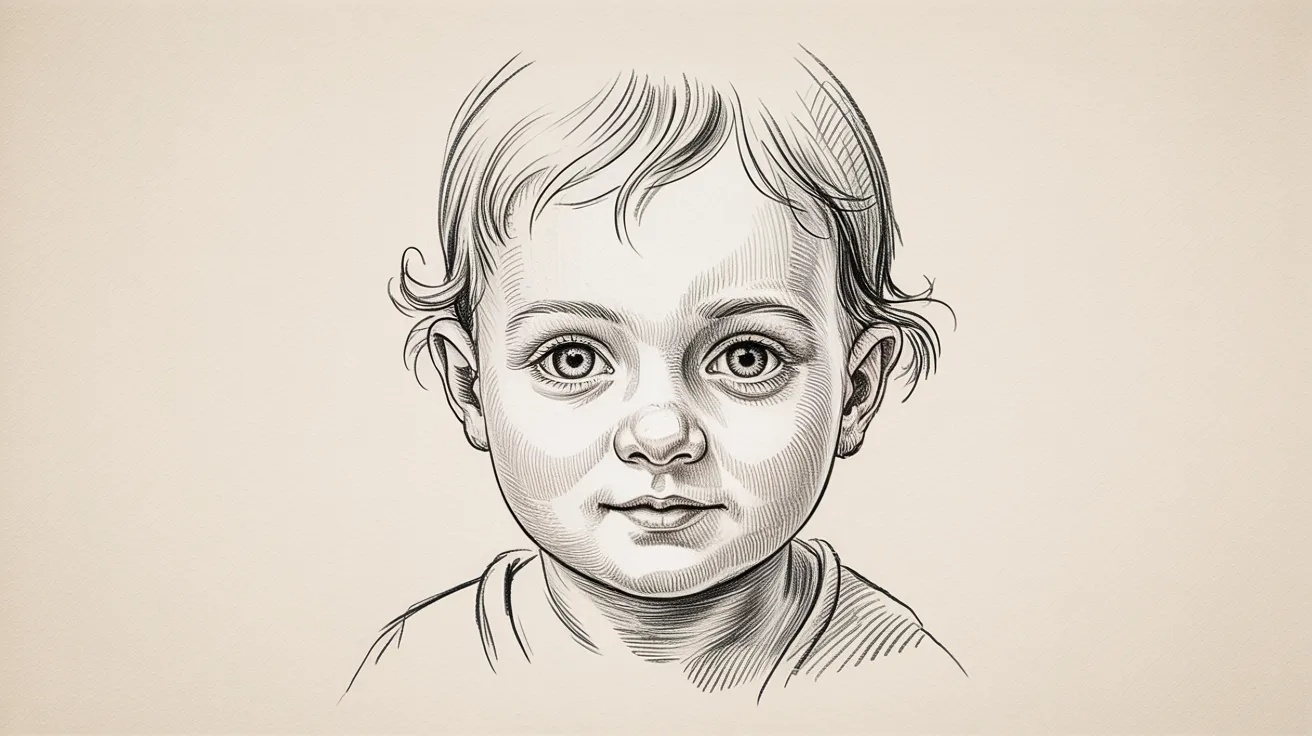
Children in Renaissance art look soft and gentle. Draw rounder facial features, bigger eyes, and less defined jawlines. Use very light shading to keep the sketch looking innocent.
6. Angel Face Drawing


Start with a soft oval face. Add large, calm eyes and a small mouth. Keep the expression peaceful. You can add a faint halo circle behind the head for a classic look.
7. Madonna Style Portrait

Draw a woman looking slightly downward with a calm, caring expression. This pose is a classic in Renaissance religious art. Keep the features soft and the shading gentle.
Easy Renaissance Hands & Body Studies
Hands and figures were a major focus for Renaissance artists. These studies help you build confidence with the human form step by step.
8. Simple Hand Study
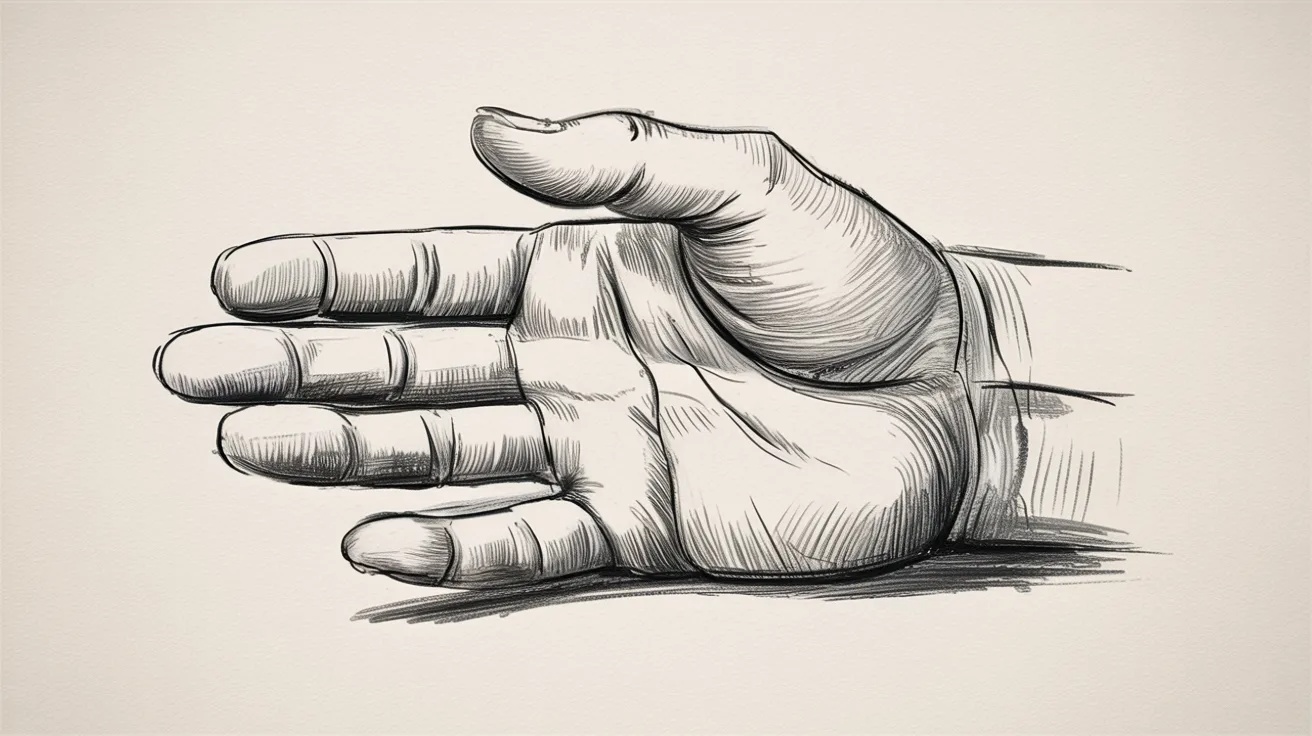
Start with a flat palm shape. Add four fingers and a thumb using simple rectangular forms. Soften the edges and add light shading along the joints and knuckles.
9. Praying Hands

Draw two hands pressed together, fingers pointing upward. This is one of the most practiced poses in Renaissance art. Focus on making both hands look balanced and natural.
10. Gesture Figure Drawing

Sketch a standing figure using a simple line down the spine and lines for the arms and legs. This is called a gesture drawing. It captures movement without getting stuck on detail.
11. Seated Figure Sketch

Draw a figure sitting with relaxed posture. Start with a rough shape for the torso and legs. Sitting poses are great for practicing how the body folds at the hips and knees.
12. Simple Shoulder Study
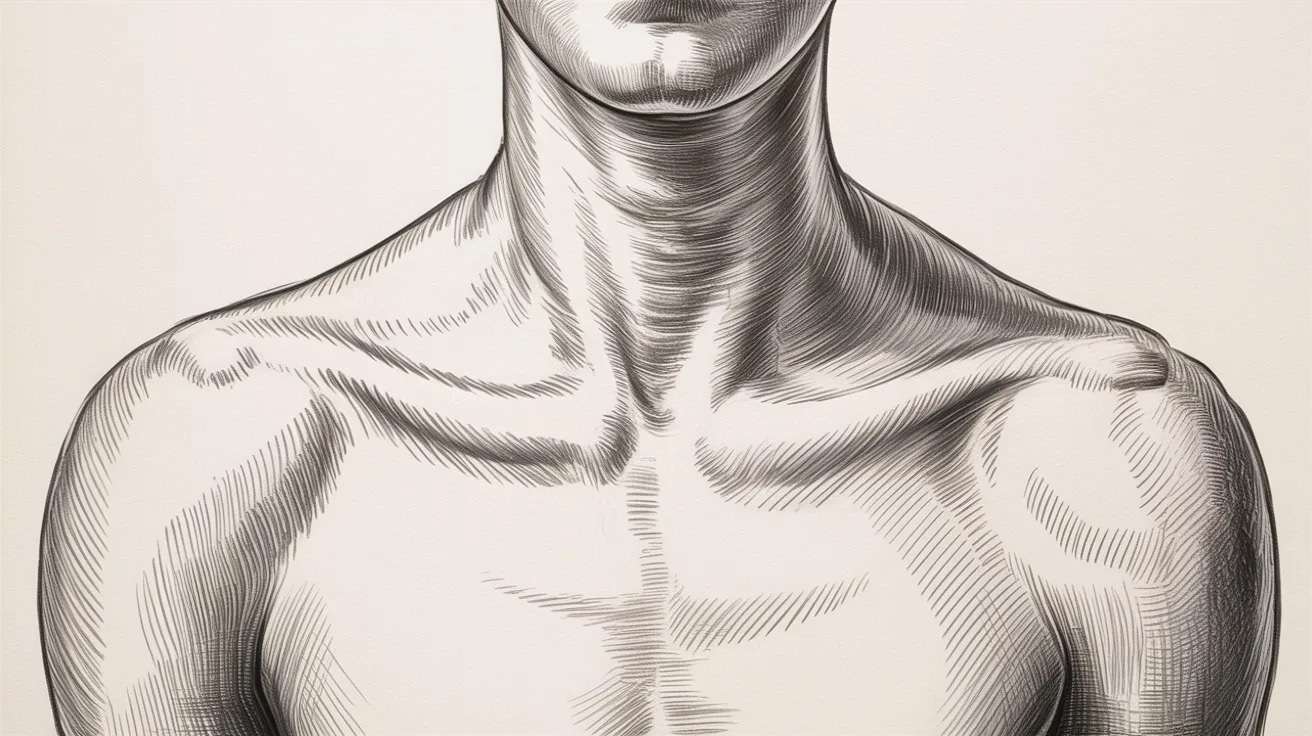
Focus just on the shoulders and upper chest. Draw the curve of the neck flowing into the shoulders. Add soft shading below the collarbone. This small study builds confidence fast.
Easy Renaissance Drapery Ideas
Fabric folds were a key skill for Renaissance artists. These exercises help you understand how cloth moves, falls, and creates shadow.
13. Simple Fabric Folds

Draw three or four curved lines close together. These represent folds in cloth. Add shading on one side of each fold to show depth. Even simple folds look great with good shading.
14. Drapery Over Shoulder

Sketch a shoulder and drape a cloth over it. Show how the fabric falls on both sides. Add fold lines where the cloth bends. This is a great practice piece for beginners.
15. Hanging Fabric Study
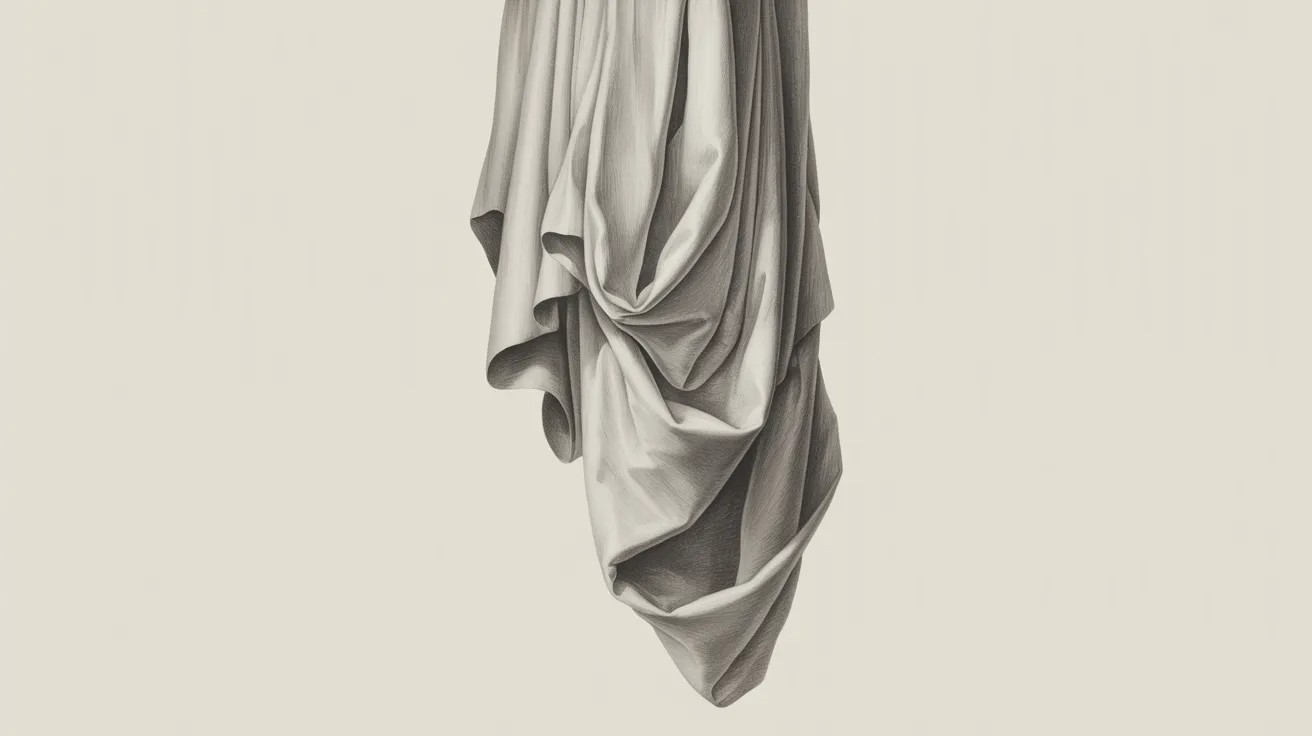
Draw fabric hanging from a single point. The folds will spread out as they fall. This is a simple but helpful exercise for understanding how gravity affects cloth.
16. Renaissance Dress Sketch
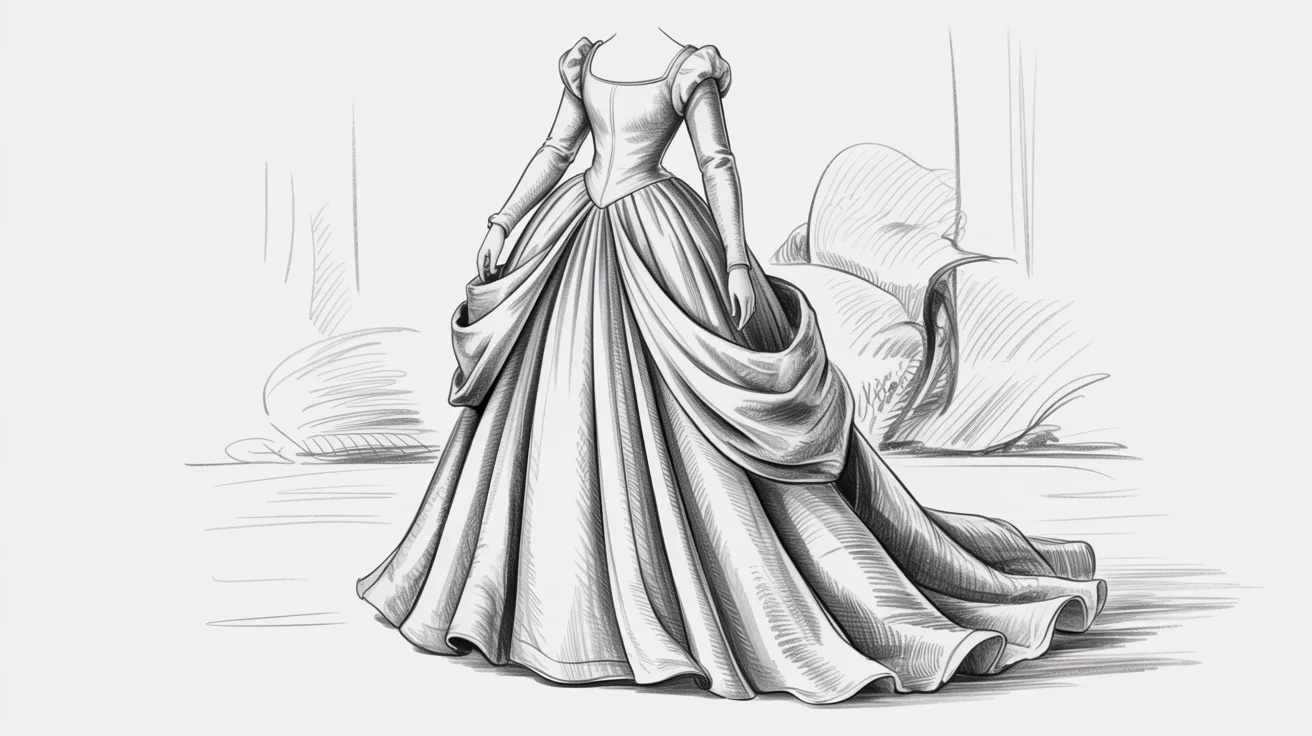
Draw a simple full-length dress with loose, flowing lines. Add fold details at the waist and hem. Renaissance dresses were usually loose and full, so the folds will be big and open.
17. Flowing Robe Drawing

A robe is a great beginner project. Start with the shoulders and let the fabric flow down loosely. Add vertical folds along the body and horizontal ones where the fabric bunches.
Easy Renaissance Religious Art Ideas
Religious themes were common in Renaissance art. These ideas let you practice the classic subjects without needing advanced skills.
18. Simple Angel Drawing

Draw a standing figure with large, soft wings behind it. Keep the face calm and the pose simple. You don't need to make it complex. A clean, gentle figure is more than enough.
19. Madonna and Child Sketch

Draw a woman holding a small child close to her chest. Focus on the connection between the two figures. Keep expressions soft and the composition simple and centered.
20. Halo Portrait

Draw any face and add a thin circle behind the head. This halo effect is easy but makes the drawing feel very classic. You can also add soft light shading around the halo.
21. Praying Figure

Draw a figure with hands pressed together and head slightly bowed. The pose is simple but carries a lot of feeling. Focus on getting the hand position and the slight curve of the spine right.
22. Saint Portrait
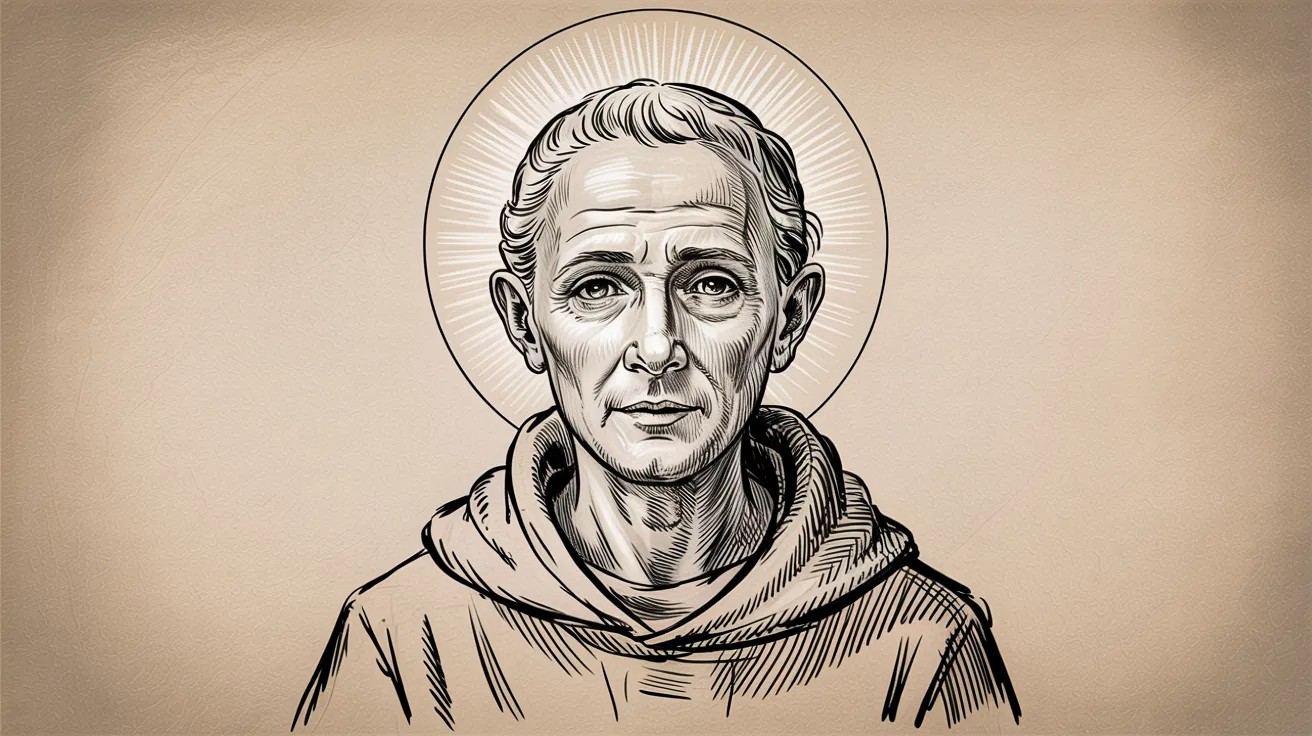
Draw a calm, older face with a simple halo and plain clothing. Saint portraits in Renaissance art are usually quiet and still. Focus on realistic facial features and soft shading.
Easy Renaissance Architecture Ideas
Buildings, arches, and structures gave Renaissance paintings their setting. These ideas let you practice the classic architectural elements step by step.
23. Archway Drawing

Draw two vertical columns with a curved arch connecting them at the top. Add some depth by drawing a second set of lines slightly inside the first. Simple shading adds weight.
24. Window with Curtains
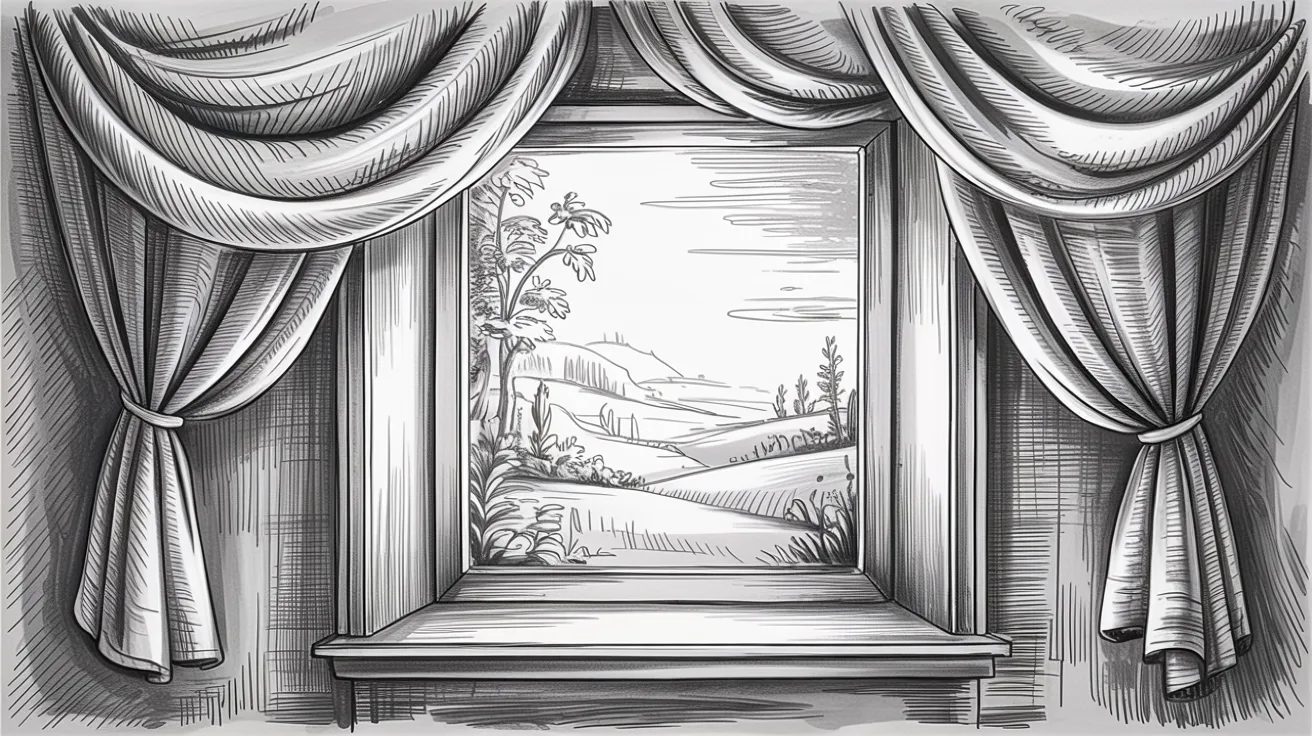
Sketch a rectangular window frame. Add two soft curtains falling on each side. You can draw a distant landscape through the window for a classic Renaissance background feel.
25. Dome Structure
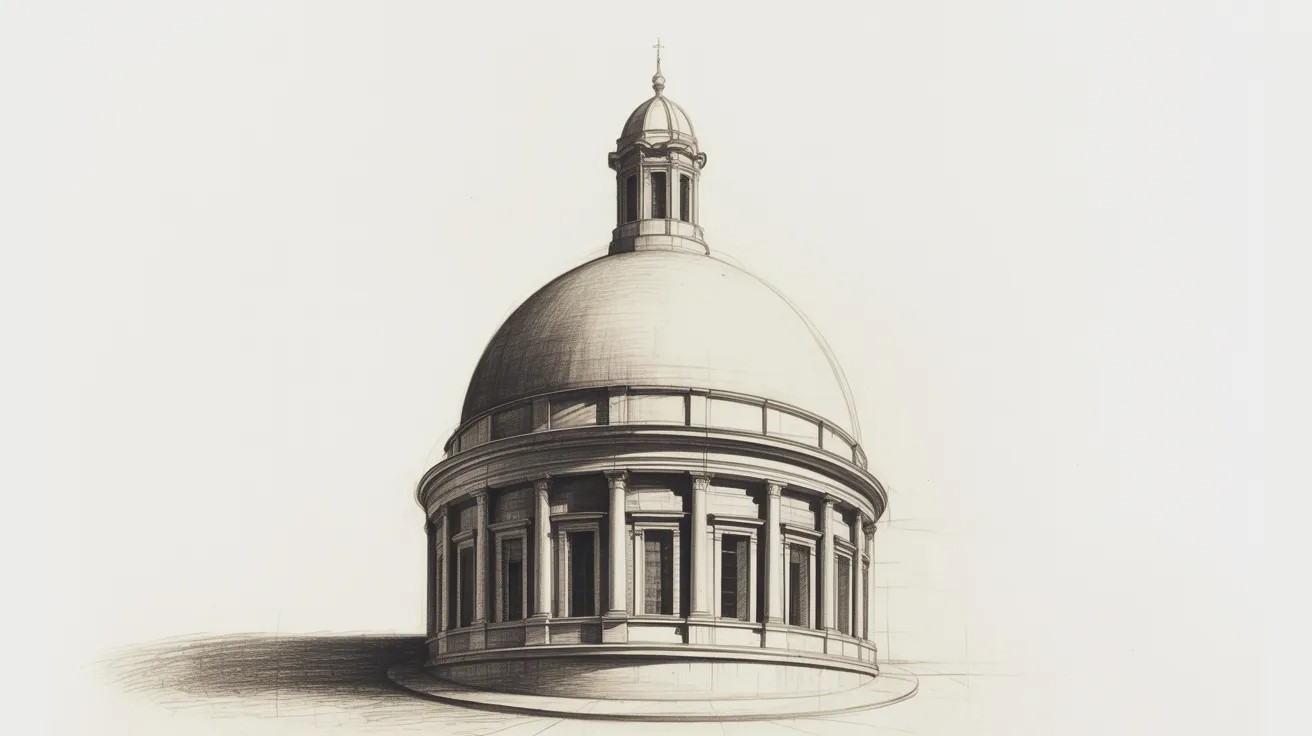
Draw a wide base with a rounded dome shape sitting on top. Add a small point or lantern at the very top. This simple shape captures the feel of Renaissance church architecture quickly.
26. Column Study
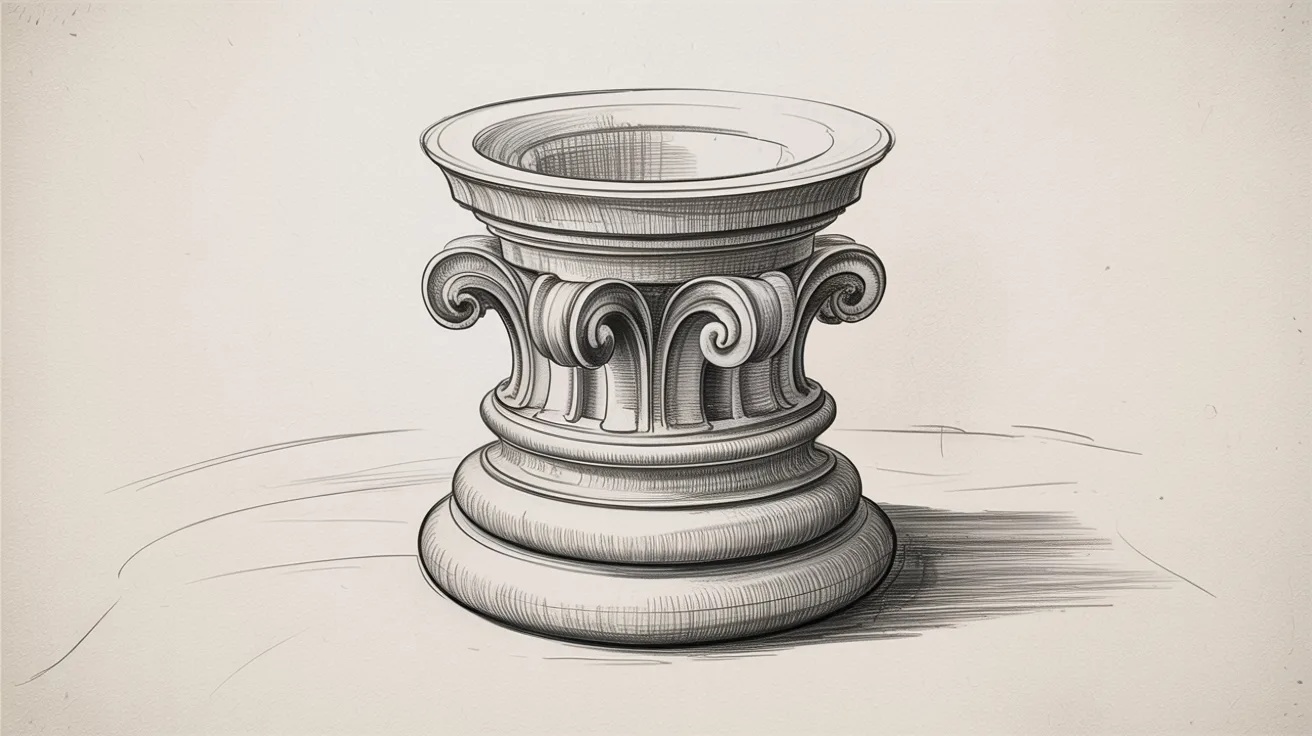
Draw a tall, slightly tapered rectangle for the column body. Add a flat cap at the top and a base at the bottom. Columns in Renaissance art are usually round, so practice curved lines here.
27. Simple Renaissance Building
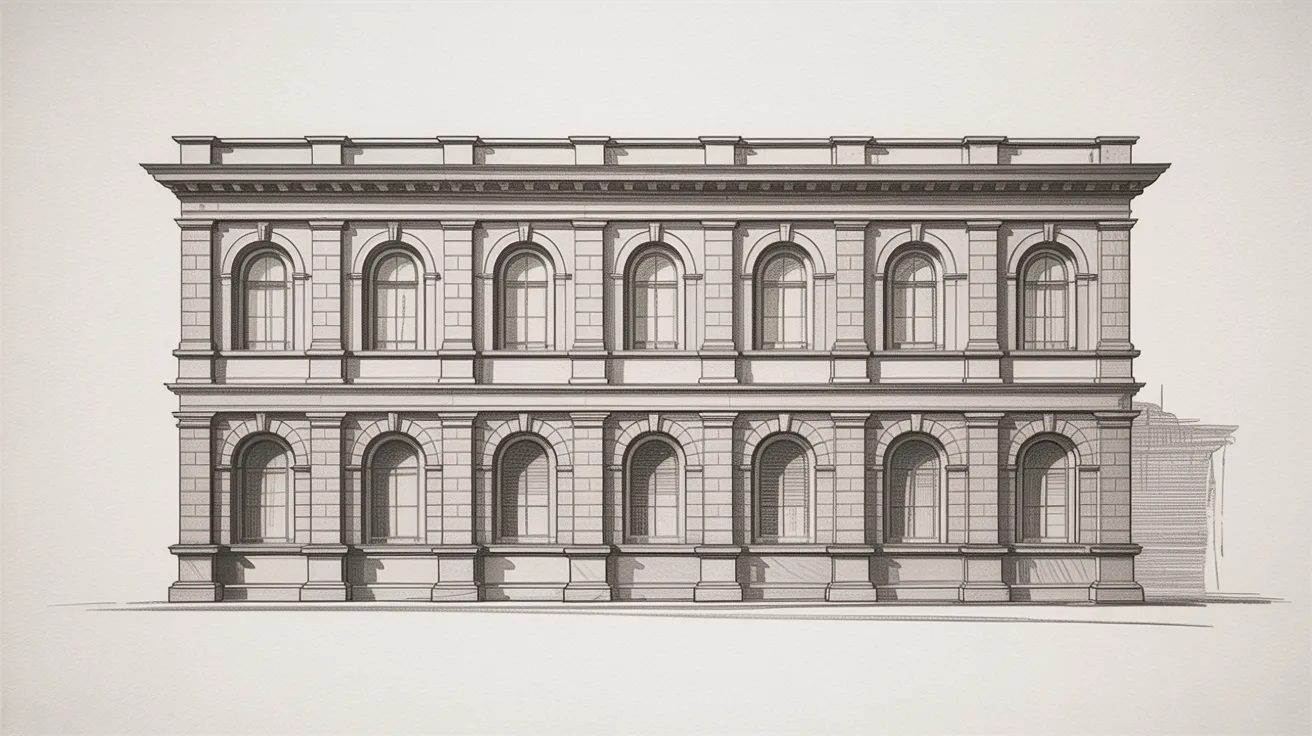
Sketch a two-story building with arched windows and a flat roofline. Renaissance buildings are balanced and symmetrical. Focus on making both sides of the building look even.
Easy Renaissance Nature Ideas
Nature in Renaissance art was calm, soft, and carefully observed. These ideas help you practice landscapes and outdoor scenes in the classic style.
28. Soft Landscape Drawing

Draw a wide, open scene with a flat horizon line. Add distant hills, a few soft trees, and a calm sky. Renaissance landscapes are peaceful, so keep the shapes gentle and rounded.
29. Hills and Background
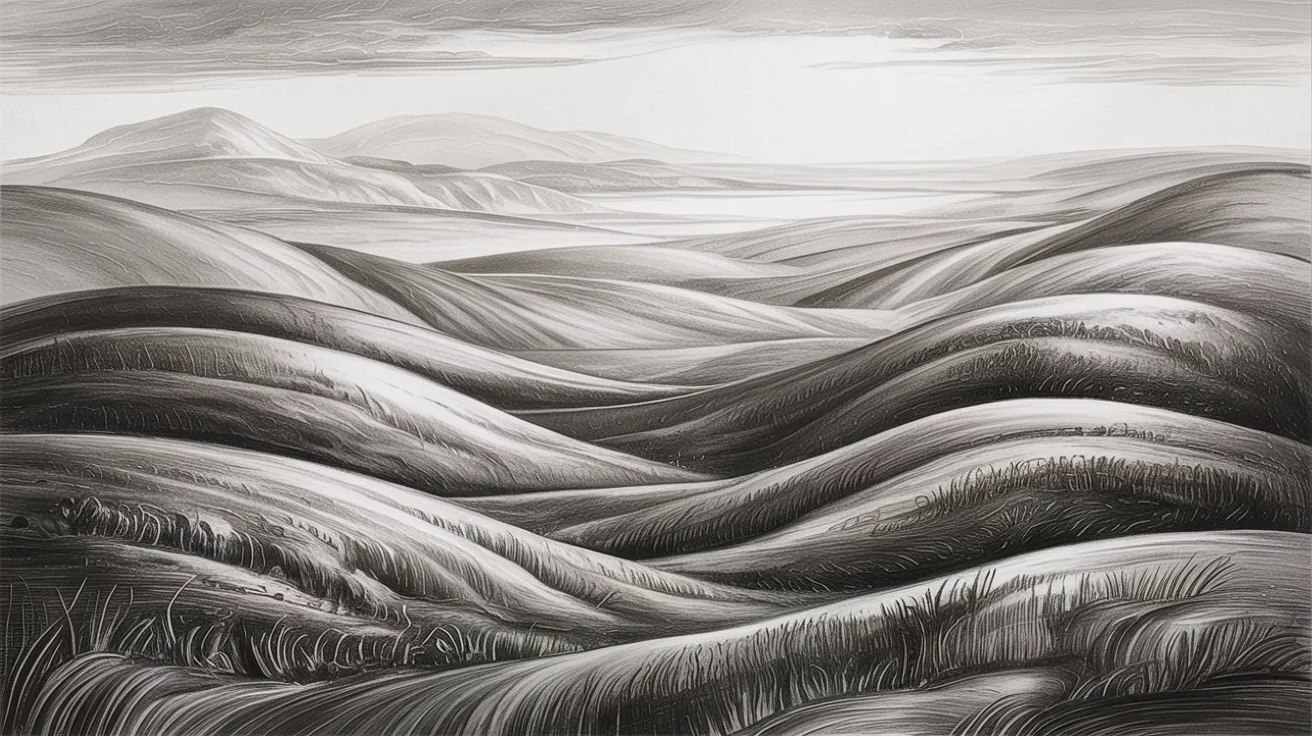
Sketch overlapping hills getting smaller as they go further back. Use lighter shading for distant hills and darker shading for closer ones. This technique shows depth without being complicated.
30. Tree Study

Draw a simple tree with a straight trunk and a full, rounded canopy. Add some soft shading on one side to show where the light hits. Keep it calm and natural-looking.
31. Clouds Study

Draw soft, rounded cloud shapes with gentle curves. Add shading along the bottom edges of each cloud. Renaissance skies are never harsh, so keep all lines smooth and soft.
32. Garden Scene
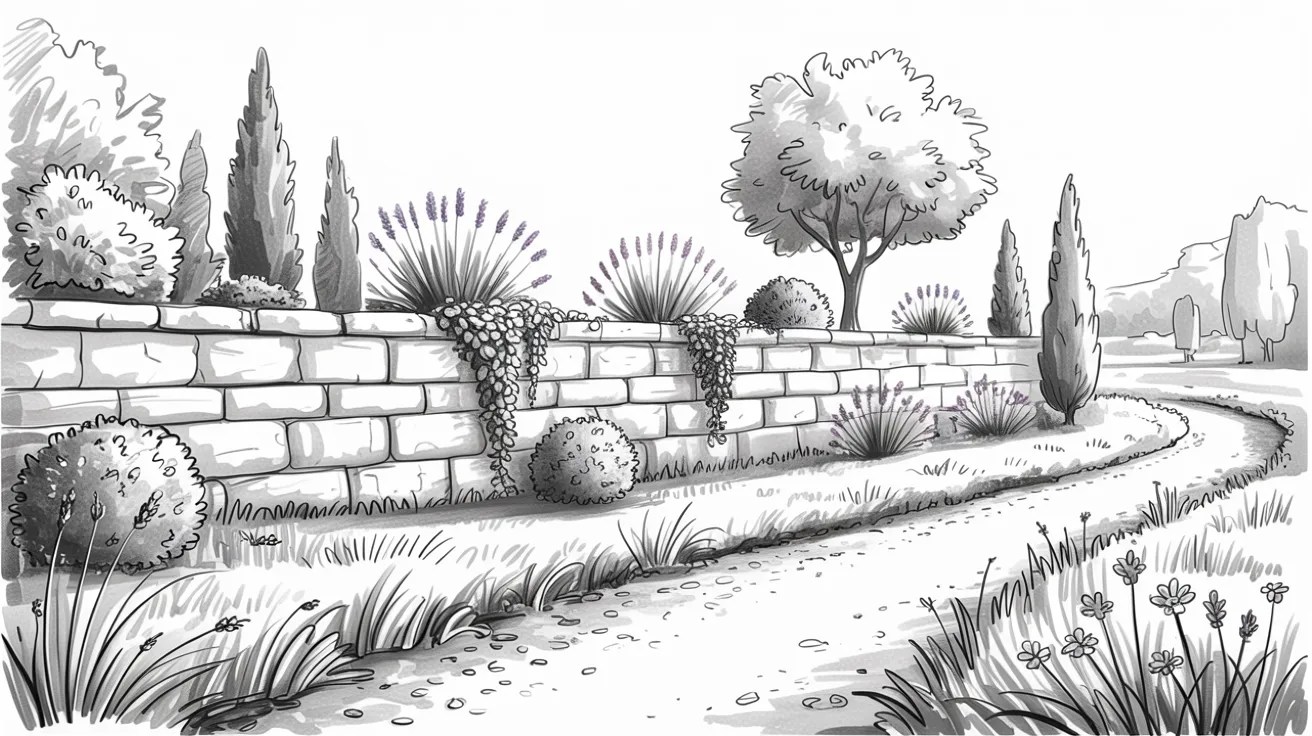
Sketch a simple garden with a low stone wall, a few plants, and a path leading into the background. This type of setting appeared often in Renaissance backgrounds. Keep it simple and spacious.
Easy Renaissance Object Ideas
Still life objects like books, candles, and fruit appeared in Renaissance paintings as symbols. These simple objects are great for practicing shading and form.
33. Old Book Sketch

Draw a thick rectangle for the book body. Add curved lines on the open pages and a worn spine. Add soft shading along the edges to give it an aged, heavy look.
34. Candle Drawing

Sketch a tall, thin cylinder for the candle. Add a small flame at the top and soft shading along the body. You can add a faint glow around the flame using very light pencil strokes.
35. Vase Study

Draw a simple symmetrical vase shape. Add a rim at the top and a base at the bottom. Shading along one side of the vase will give it a round, three-dimensional look.
36. Fruit Still Life
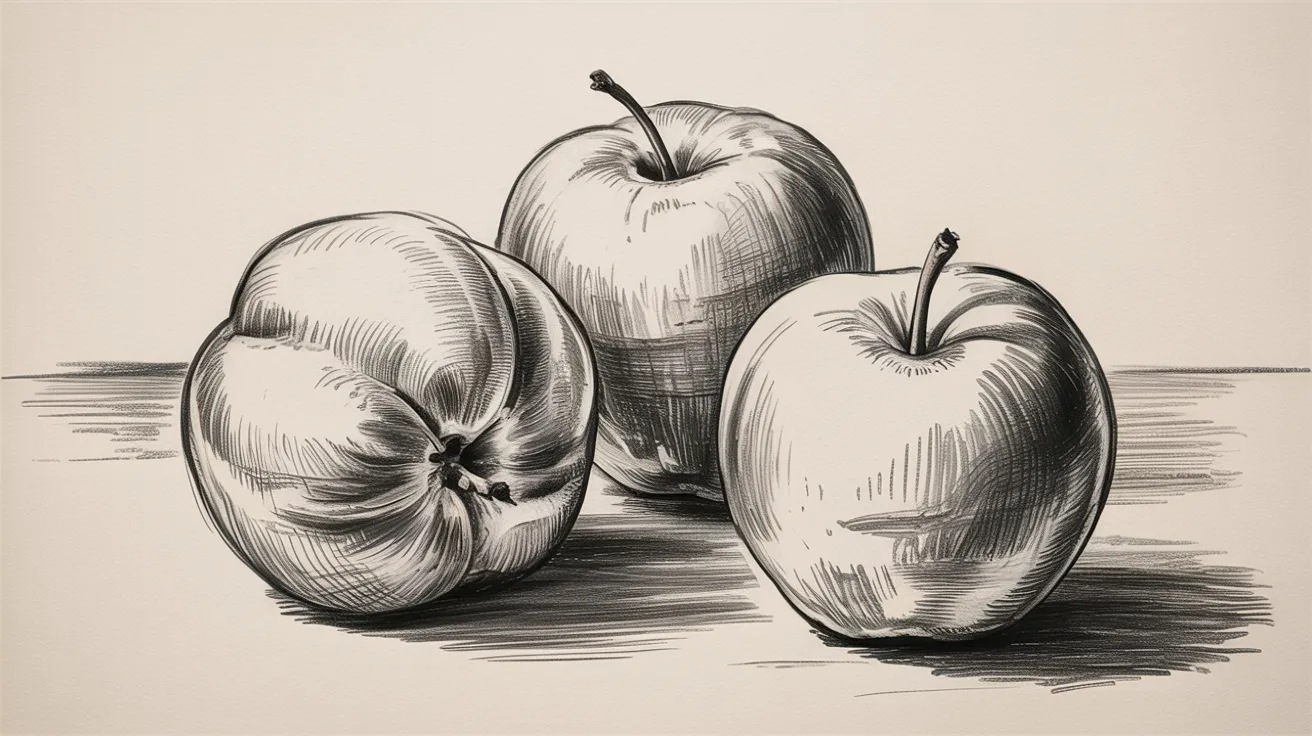
Sketch two or three pieces of fruit grouped together. Focus on the round shapes and soft shading on each piece. This is a classic exercise that builds your understanding of light and form fast.
37. Simple Sculpture Sketch

Draw a figure that looks carved rather than soft. Use sharper, more defined lines. Add strong shading to show the hard edges of stone. This type of sketch teaches you to think about form differently.
Common Mistakes Beginners Should Avoid
Most beginners make the same mistakes early on. Here's what to watch for.
- Over-dark Shading: Start light. You can always add more shadow later.
- Ignoring Proportions: Check each part as you draw. Size matters.
- Skipping Guidelines: Always lay down light guidelines before adding detail.
- Too Much Detail Too Early: Build big shapes first, then add fine detail.
- Rushing the Shading Stage: Take your time. Layer it slowly for best results.
Fix these early and your drawings will improve faster than you think.
Conclusion
My first Renaissance sketch looked nothing like I planned. But I kept going, and that made all the difference.
You don't need to be great. You just need to start.Pick one idea from this list, grab a pencil, and see what happens.
Drop a comment below and tell me which idea you tried.
If this helped you, share it with someone who wants to start drawing too.
Frequently Asked Questions
What is the easiest Renaissance art style for beginners?
Portrait sketching with soft shading is the easiest start. You only need a pencil and paper.
Do I need art training to draw in Renaissance style?
No. Basic pencil skills and regular practice are enough to get started.
What pencil is best for Renaissance-style drawing?
A 2B pencil works great for smooth shading and light guidelines.
How long does it take to learn Renaissance drawing basics?
Most beginners see real improvement within a few weeks of consistent practice.
Can I practice Renaissance art digitally?
Yes. Any drawing app with a pencil brush works great for this style.
