

I’ve spent years working with clay, and I’m here to show you how to make pottery at home without expensive equipment or complicated techniques.
You’ll learn basic hand-building methods, proper glazing techniques, and affordable firing options. I’ll cover wedging, shaping, drying, and the complete firing process so you can create functional bowls, mugs, and decorative pieces right in your own space.
The steps I’m sharing come from real experience making mistakes and finding what actually works. No fancy studio needed. Just simple tools, the right clay, and a willingness to get your hands dirty.
Let’s get started with the fundamentals that will have you creating your first pottery piece within days.
Understanding Pottery at Home
Before you begin, understand the basics: clay types, tools, and the complete process from preparation through firing.
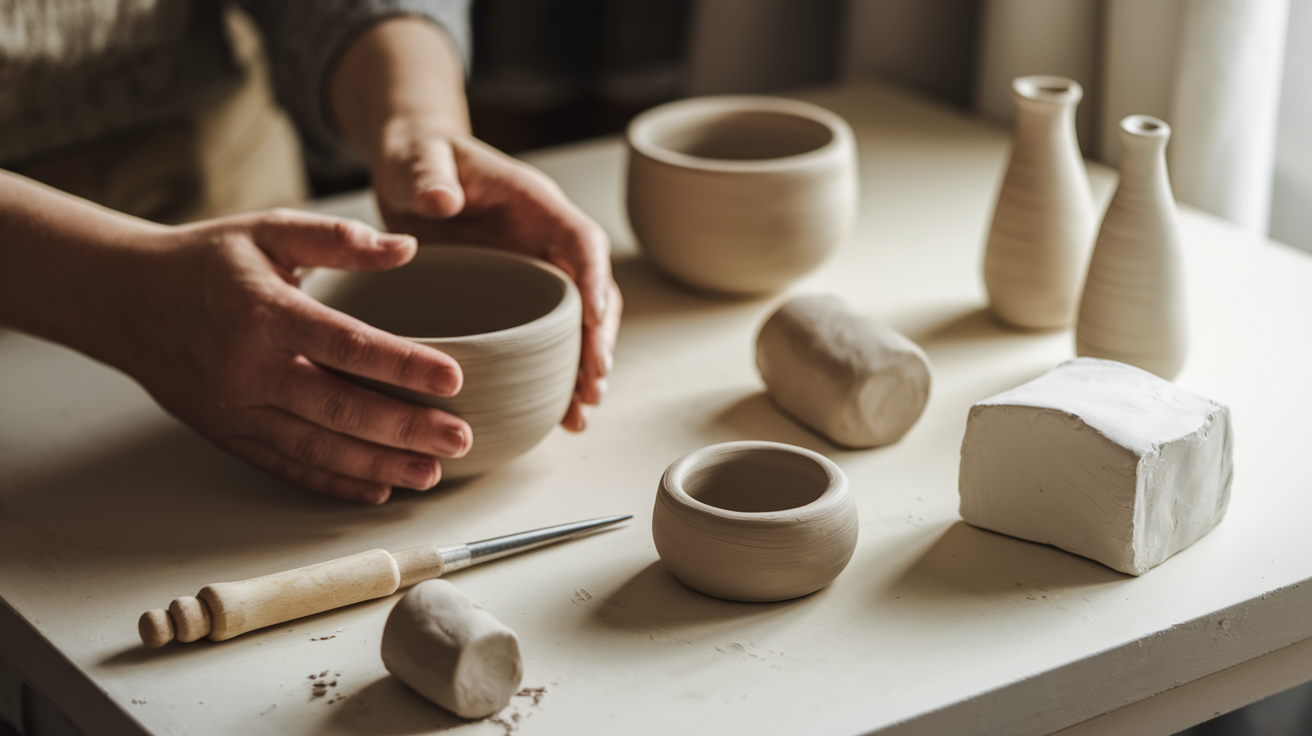
Clay options include: Stoneware is best for beginners due to its forgiving nature and durability, perfect for bowls and mugs. Porcelain offers smooth, delicate results but needs more skill. Air-dry clay hardens without a kiln, ideal for decorative items. High-grog clay reduces shrinkage and works well for larger pieces.
Basic tools needed: wire cutters, ribs for smoothing, needle tools, wooden modeling tools, and a plaster bat or canvas board for wedging. Store clay in plastic containers with damp sponges to maintain moisture.
The pottery process: Wedging removes air bubbles, forming uses hand-building methods like pinch pots and coiling, controlled drying prevents cracking, firing hardens the clay at high temperatures, and glazing adds color and waterproofing.
Step-by-Step Guide to Making Pottery at Home
This guide walks you through creating pottery at home, from selecting clay to achieving finished pieces. Each step builds your knowledge and confidence to create ceramic artwork.
Step 1: Choosing Your Clay
Selecting the appropriate clay depends on your experience level and intended project. Beginners should start with stoneware clay, which offers excellent workability and forgiveness for mistakes. This clay type handles well during shaping and produces durable results.
For decorative pieces that won’t require firing, air-dry clay provides an accessible option. Advanced potters may prefer porcelain for its refined finish, though it requires more skill to handle effectively.
Consider your project’s purpose when selecting clay. Functional items like bowls and mugs benefit from stoneware’s strength, while sculptural pieces can utilize various clay types based on desired texture and appearance.
Step 2: Preparing Your Clay (Wedging)
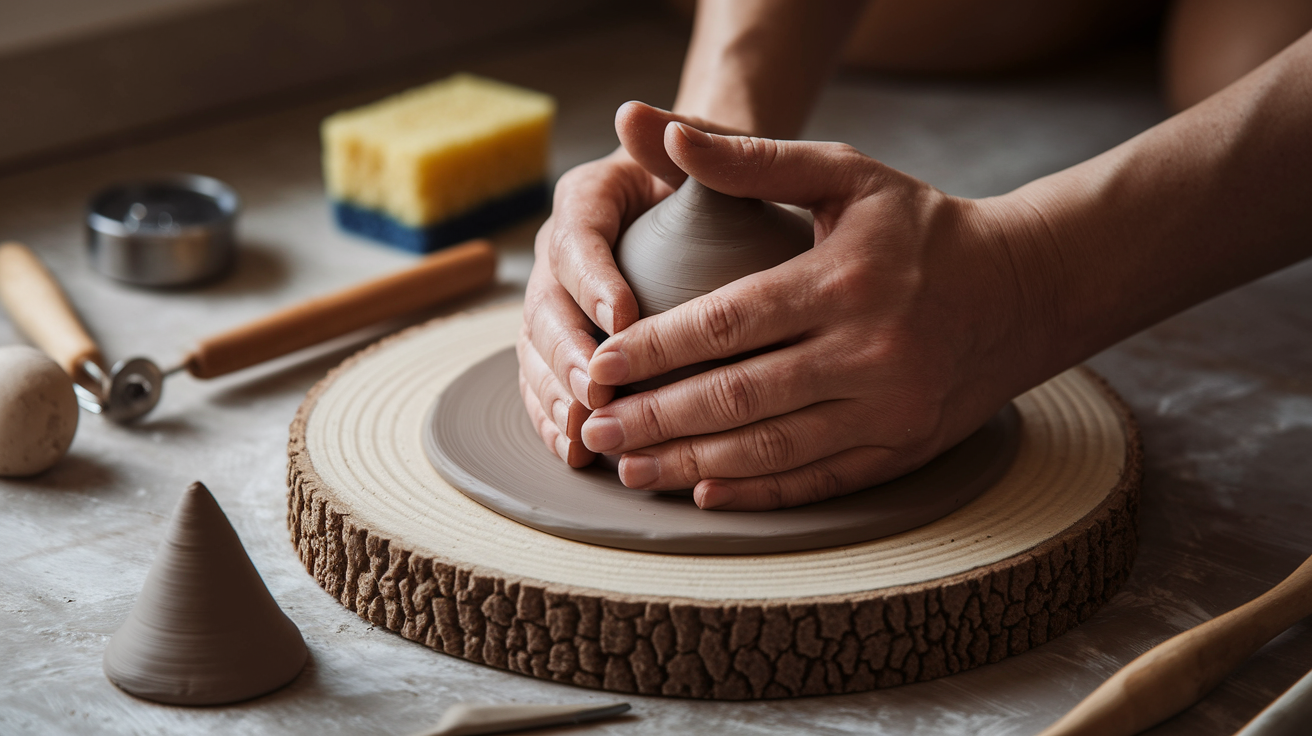
Wedging removes air bubbles and creates uniform consistency throughout your clay. This preparation prevents cracking and ensures even drying. The process involves kneading clay similar to bread dough.
Place your clay on a sturdy surface and push it away from you with the heel of your hand. Fold the clay back over itself and repeat this motion 15-20 times. The clay should feel smooth and uniform when properly wedged.
Spiral wedging offers an alternative method where you form the clay into a cone shape and press down while rotating. This technique effectively removes air bubbles while creating consistent texture.
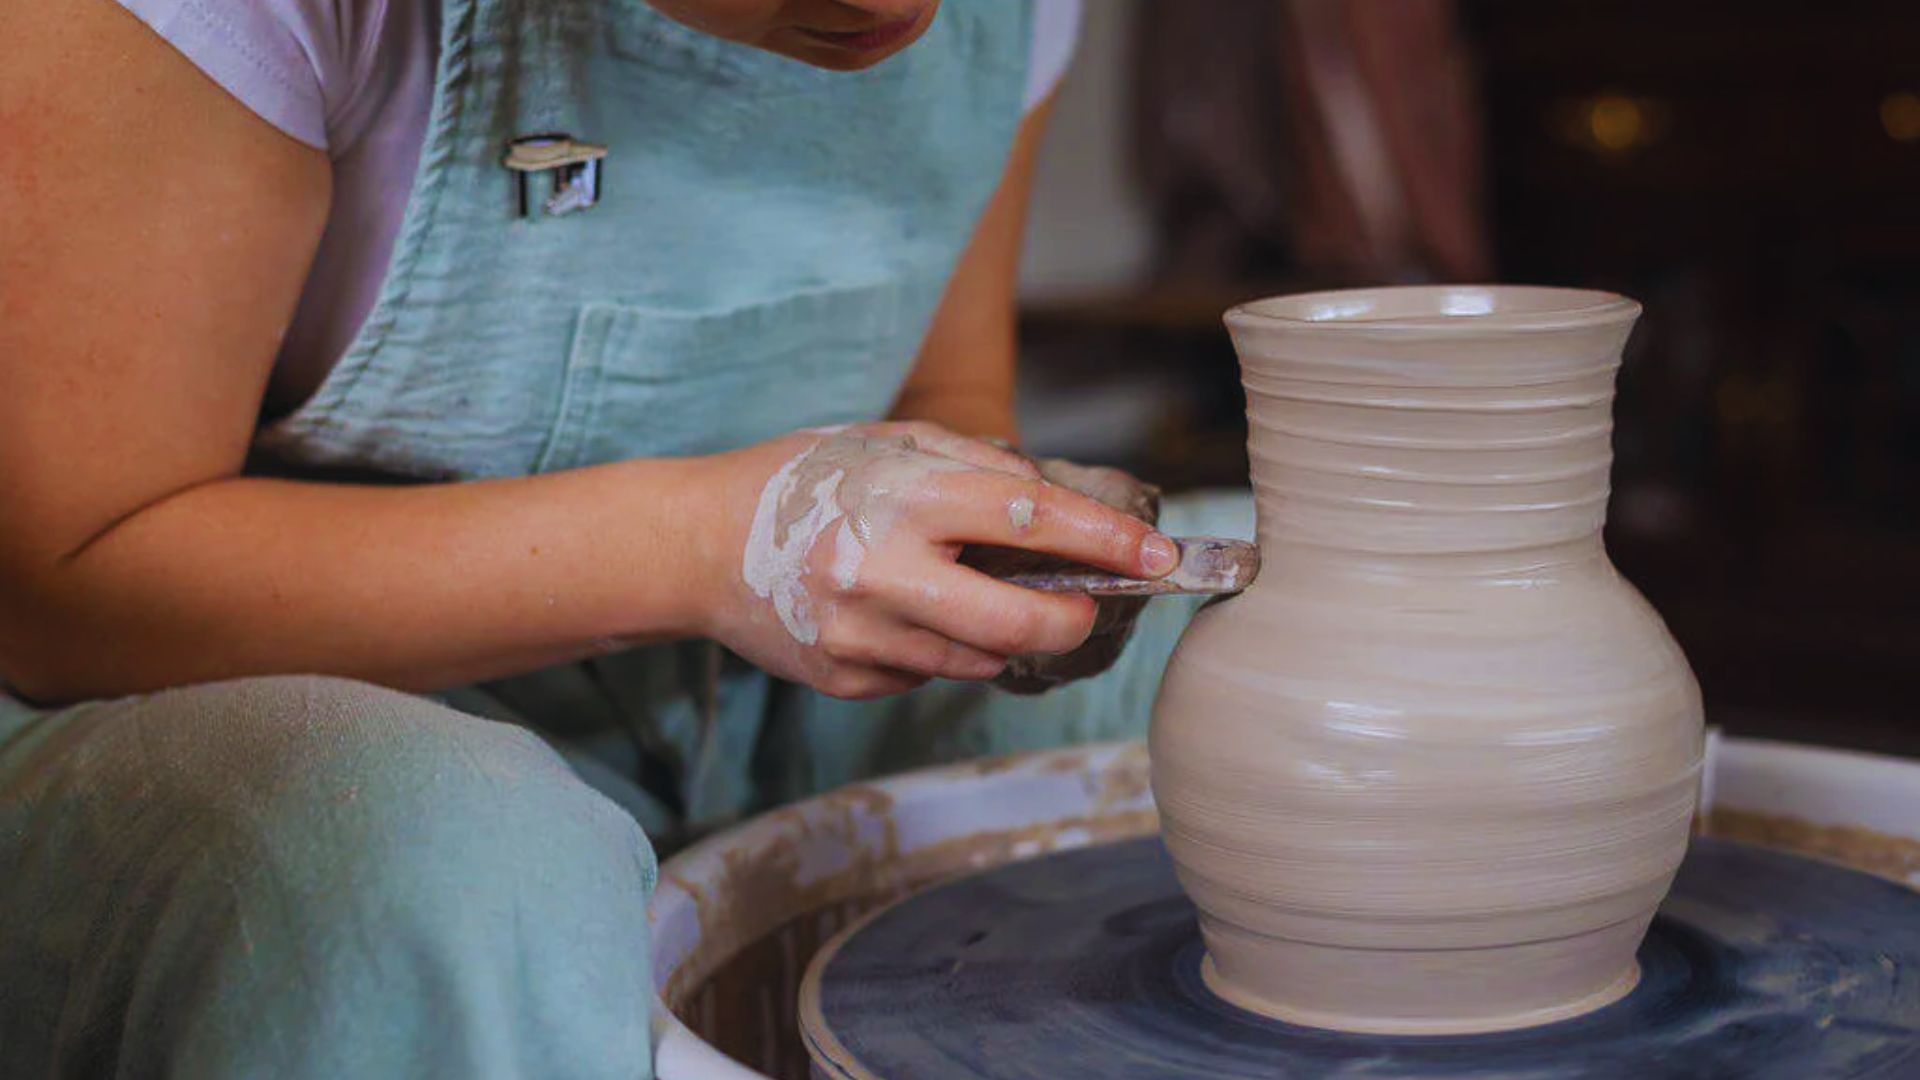
Step 3: Shaping Your Pottery
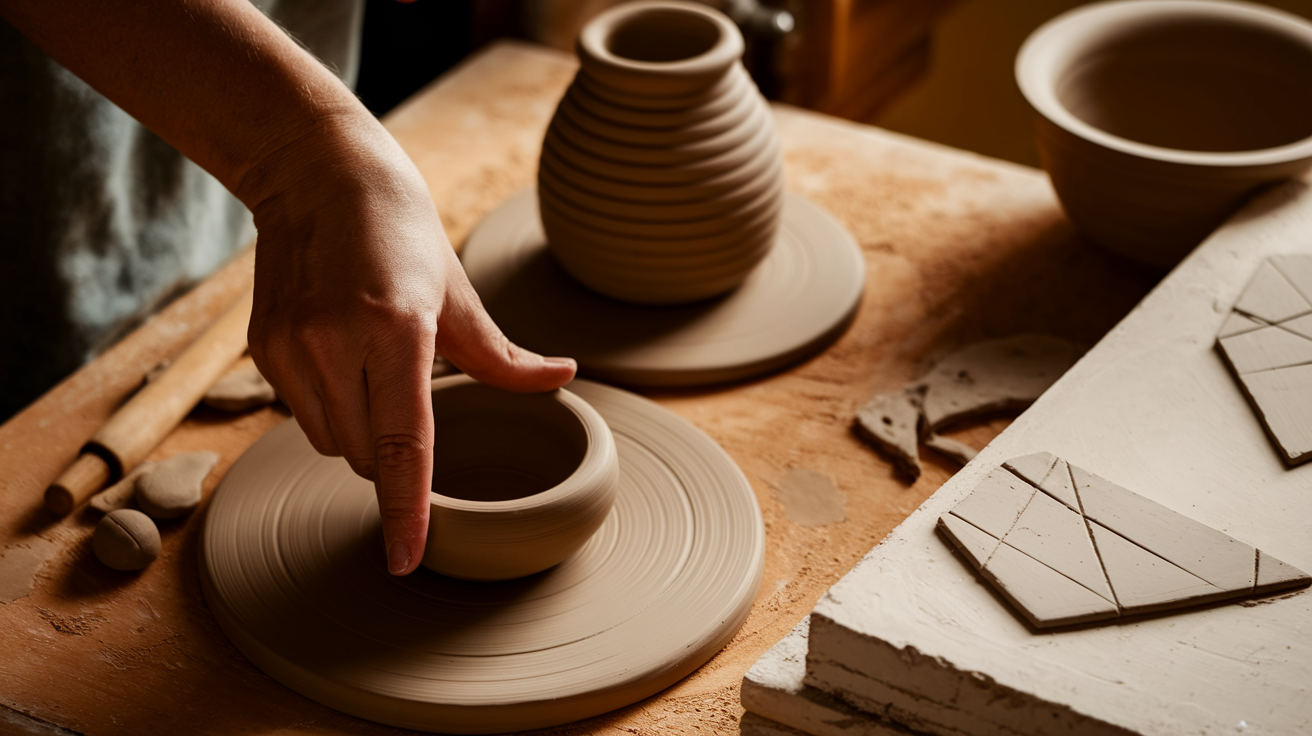
Hand-building techniques provide the foundation for home pottery creation. Pinching involves forming clay by pressing your thumb into a ball and gradually pinching the walls outward. This method works well for small bowls and cups.
Coiling creates vessels by rolling clay into long ropes and stacking them to build walls. Score and slip each coil before adding the next layer to ensure proper adhesion. Smooth the interior and exterior surfaces once complete.
Slab building uses flat clay sheets to construct geometric forms. Roll clay to uniform thickness, cut shapes as needed, and join pieces using score and slip techniques.
Step 4: Drying Your Pottery
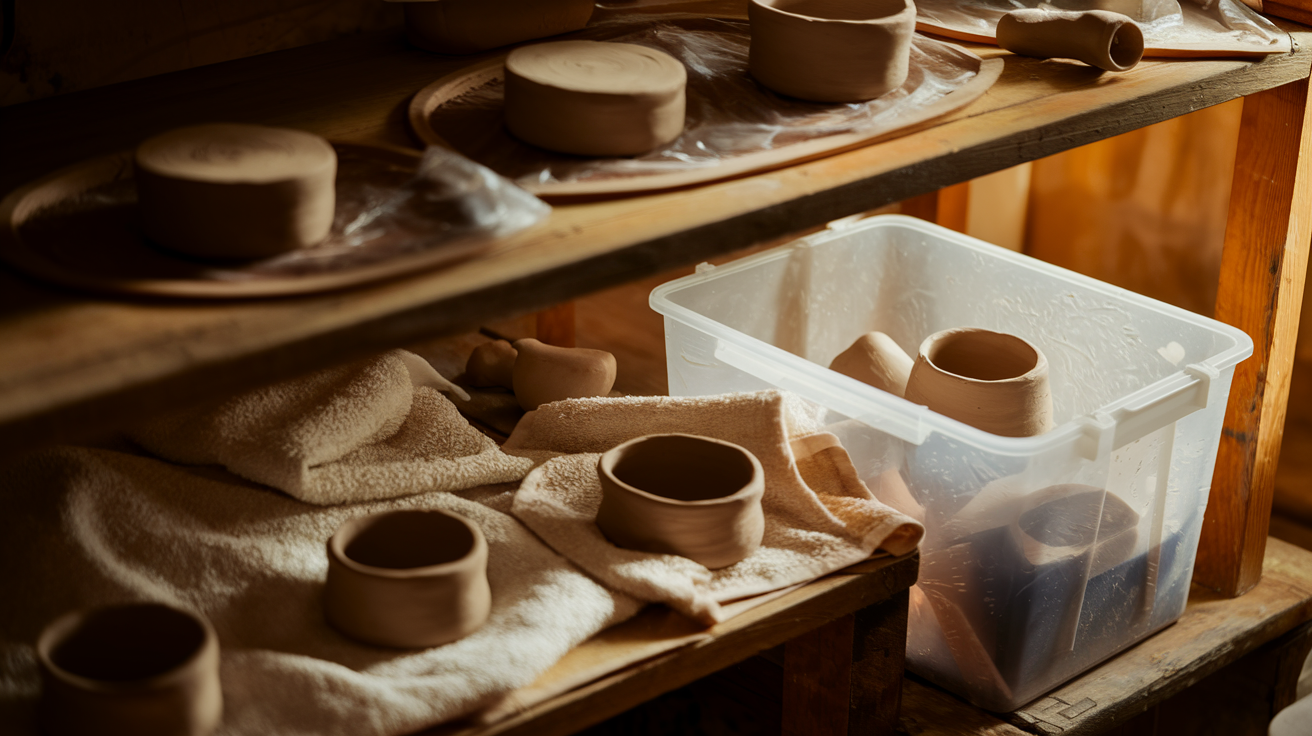
Proper drying prevents cracking and warping in your finished pieces. Cover your work with plastic bags or damp cloths to slow initial drying, allowing moisture to escape gradually from thick areas.
Rotate pieces periodically to ensure even drying on all surfaces. Avoid placing pottery near heat sources or in direct sunlight, which can cause rapid moisture loss and cracking.
Use damp boxes between work sessions to maintain clay moisture. Place pieces on shelves inside plastic containers with damp sponges. This storage method keeps clay workable for several days.
Step 5: Firing Your Pottery
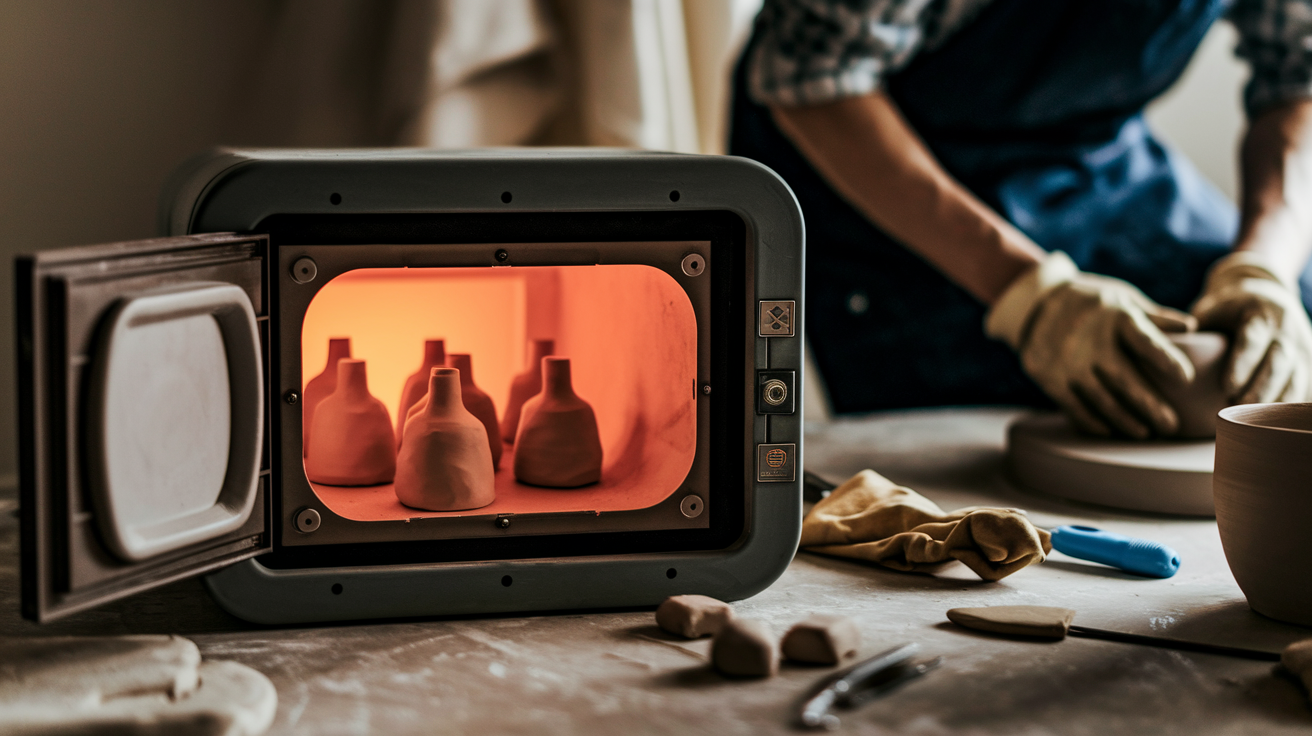
Bisque firing converts clay into ceramic through high-temperature treatment. This initial firing removes all moisture and makes pieces ready for glazing. Temperatures typically range from 1800-1900°F depending on clay type.
Many home potters use kiln firing services rather than purchasing expensive equipment. Local pottery studios, community colleges, and art centers often provide firing services for a fee.
Load pieces carefully in the kiln, ensuring they don’t touch each other or kiln walls. The firing process takes 8-12 hours including heating and cooling time.
Step 6: Glazing Your Pottery

Glazing adds color, texture, and waterproofing to bisque-fired pieces. Brushing offers precise control for detailed work and allows layering of different colors. Apply thin, even coats to achieve smooth coverage.
Dipping provides quick, uniform coverage for entire pieces. Hold the item with tongs and quickly submerge in glaze, allowing excess to drip off before setting aside to dry.
Clean the bottom of pieces before firing to prevent them from sticking to kiln shelves. Most glazes require specific thickness for proper results, so follow manufacturer recommendations carefully.
Step 7: Final Firing (Glaze Fire)
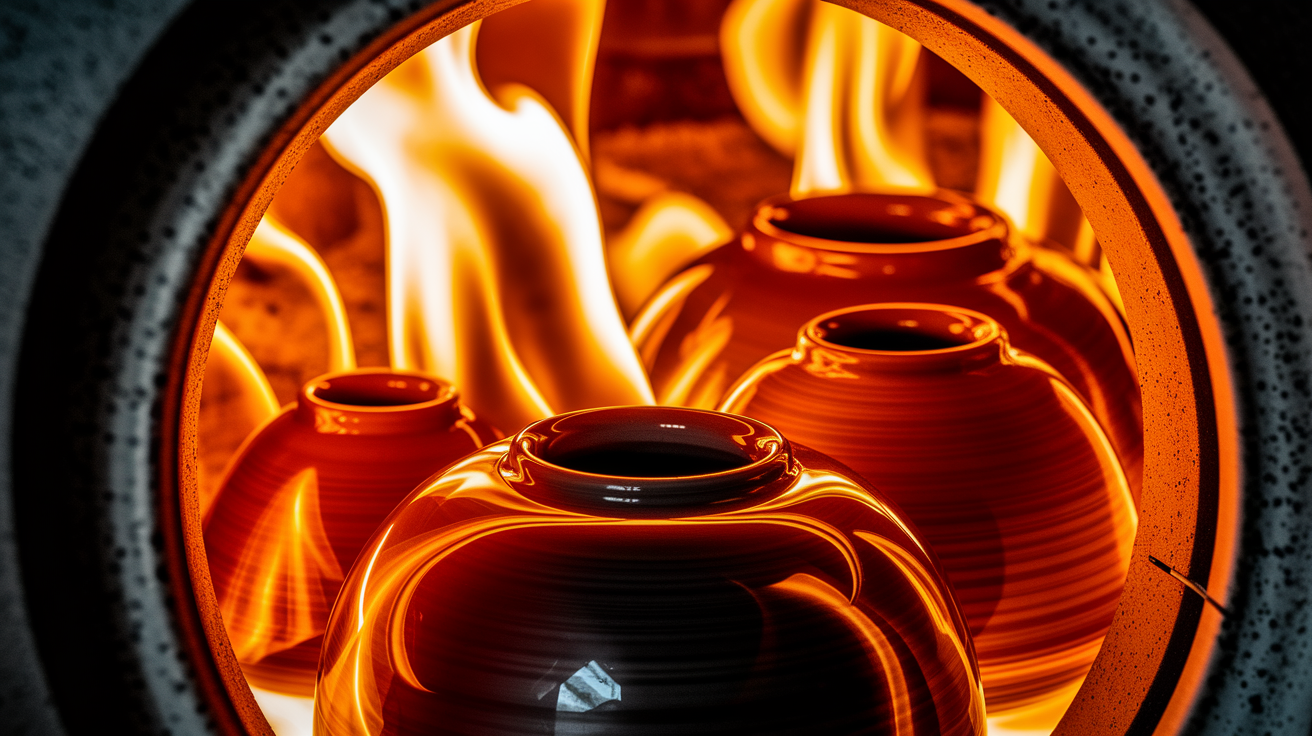
Glaze firing melts the glaze coating into a glass-like surface that bonds permanently with the ceramic. This second firing typically occurs at temperatures between 1800-2100°F depending on glaze formulation.
During firing, glazes undergo chemical changes that create their final colors and textures. Some glazes produce dramatic changes from their unfired appearance.
The completed firing process creates durable, waterproof pottery suitable for functional use. Properly fired pieces can withstand daily use and washing while maintaining their beauty for years to come.
Beginner Tips for Making Pottery at Home
Starting your pottery practice requires some preparation and realistic expectations.
- Dress appropriately. Wear old cotton clothing and an apron. Remove jewelry before working. Wipe surfaces with damp cloths to prevent clay dust from spreading.
- Protect your plumbing. Install a sink trap and let clay water settle in containers before disposing of sediment in trash, not down the drain.
- Start simple. Begin with pinch pots or basic coil bowls to build foundational skills and confidence.
- Be patient. Early pieces may not meet expectations. Clay work requires practice to develop proper technique.
- Learn from others. Use online tutorials, take local classes, and join pottery communities for guidance, feedback, and support.
Conclusion
Creating pottery at home has been one of my most rewarding hobbies, and I know it can be for you too. You now have the knowledge to begin, from selecting clay to firing your pieces.
Start with simple projects and don’t worry about perfection. My first bowl was lopsided, but it taught me more than any tutorial could. Set up your workspace, gather your materials, and get your hands dirty.
Ready to make your first piece? Share your creations or questions in the comments below. I’d love to see what you create!
Frequently Asked Questions
What type of clay should I use as a beginner?
Stoneware clay is the best choice for beginners due to its forgiving nature and durability. It handles well during shaping and creates strong, functional pieces perfect for learning basic techniques.
Do I need a kiln to make pottery at home?
You can start with air-dry clay that hardens naturally without firing. For ceramic pottery, you can use local kiln firing services at pottery studios or community centers instead of buying your own kiln.
How long does it take to complete a pottery piece?
A simple piece takes several days to weeks, including drying time between stages. The actual working time might be a few hours, but drying, firing, and glazing processes require patience and proper timing.
What basic tools do I need to start making pottery?
Essential tools include wire cutting tools, wooden ribs for smoothing, needle tools for detail work, and a wedging surface. You can start with just a few basic tools and add more as your skills develop.
How do I prevent my pottery from cracking while drying?
Cover your pieces with plastic bags or damp cloths to slow the drying process and rotate them periodically for even moisture loss. Avoid placing pottery near heat sources or in direct sunlight during the drying phase.