

I still remember the first time I joined two pinch pots together and watched a lump of clay turn into something that actually looked like an animal.
It clicked right away. In this post, I’ll walk you through 13 double pinch pot ideas that are fun, doable, and genuinely satisfying to make.
I’ll cover everything from animal figures to seasonal designs so you always know what to make next. With years of hands-on clay experience.
I can help you skip the guesswork and get straight to creating.
What Is a Double Pinch Pot?
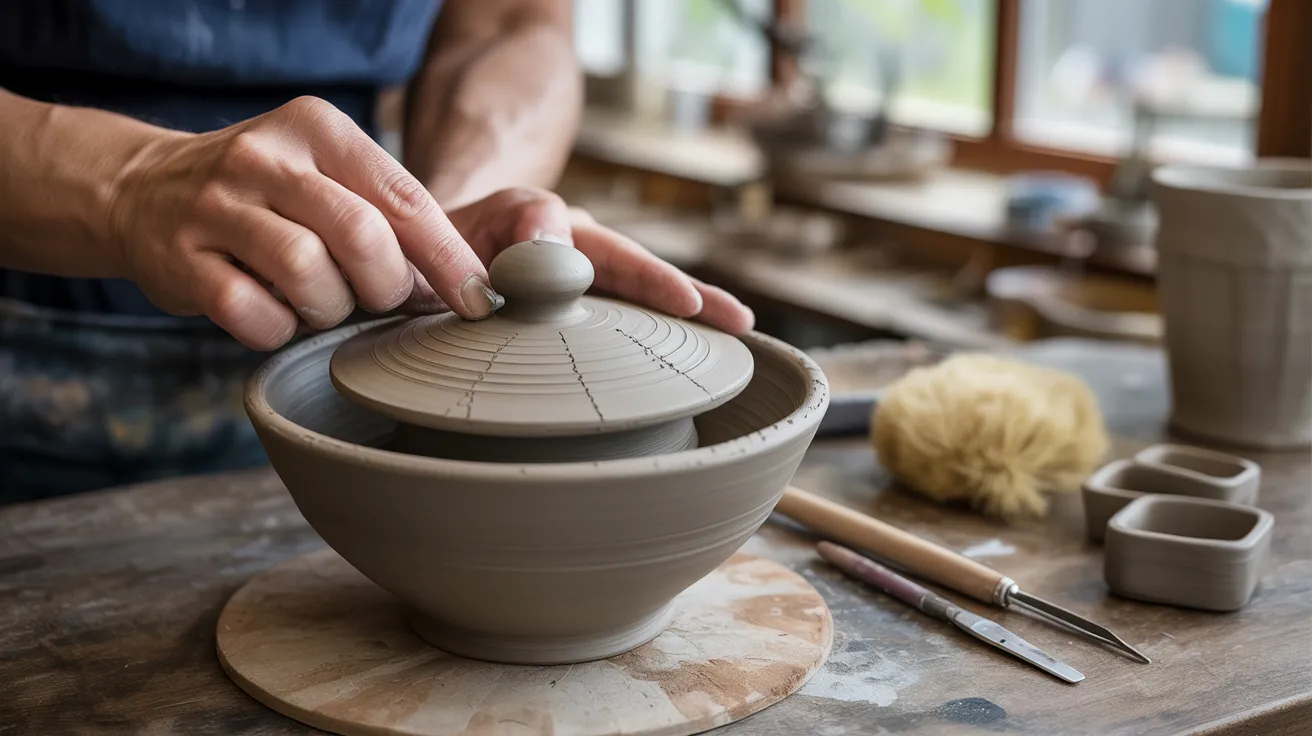
A double pinch pot is made by forming two bowl-shaped pieces of clay and pressing them together at the rim.
This creates a hollow, round shape that works as the base for animals, containers, sculptures, and more.
You start by pinching one ball of clay into a small bowl, then repeat the same process with a second piece.
Once both halves match in size, you score the edges, apply slip, and press them together. It is one of the simplest hand-building methods in pottery and a great starting point for beginners.
List of 13 Creative Double Pinch Pot Ideas
From simple animals to tiny fantasy worlds, these ideas work for classrooms, home studios, and beginners of all ages.
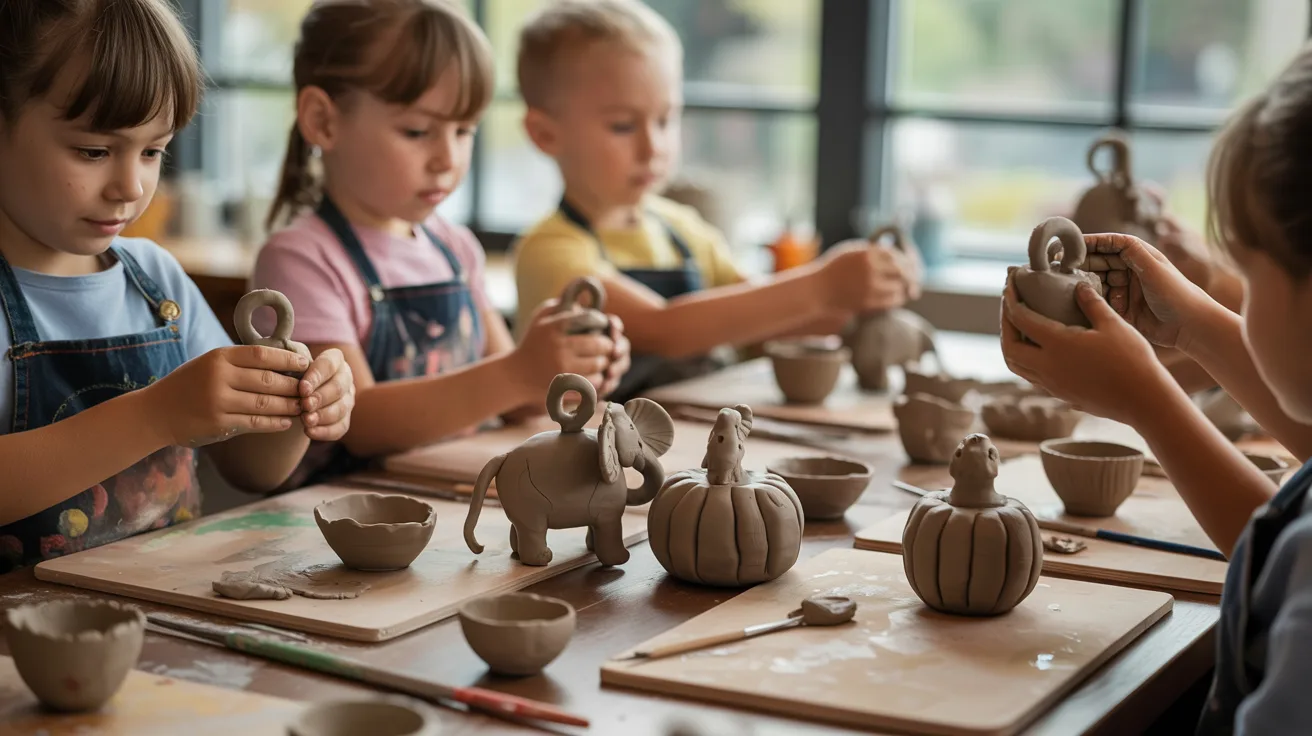
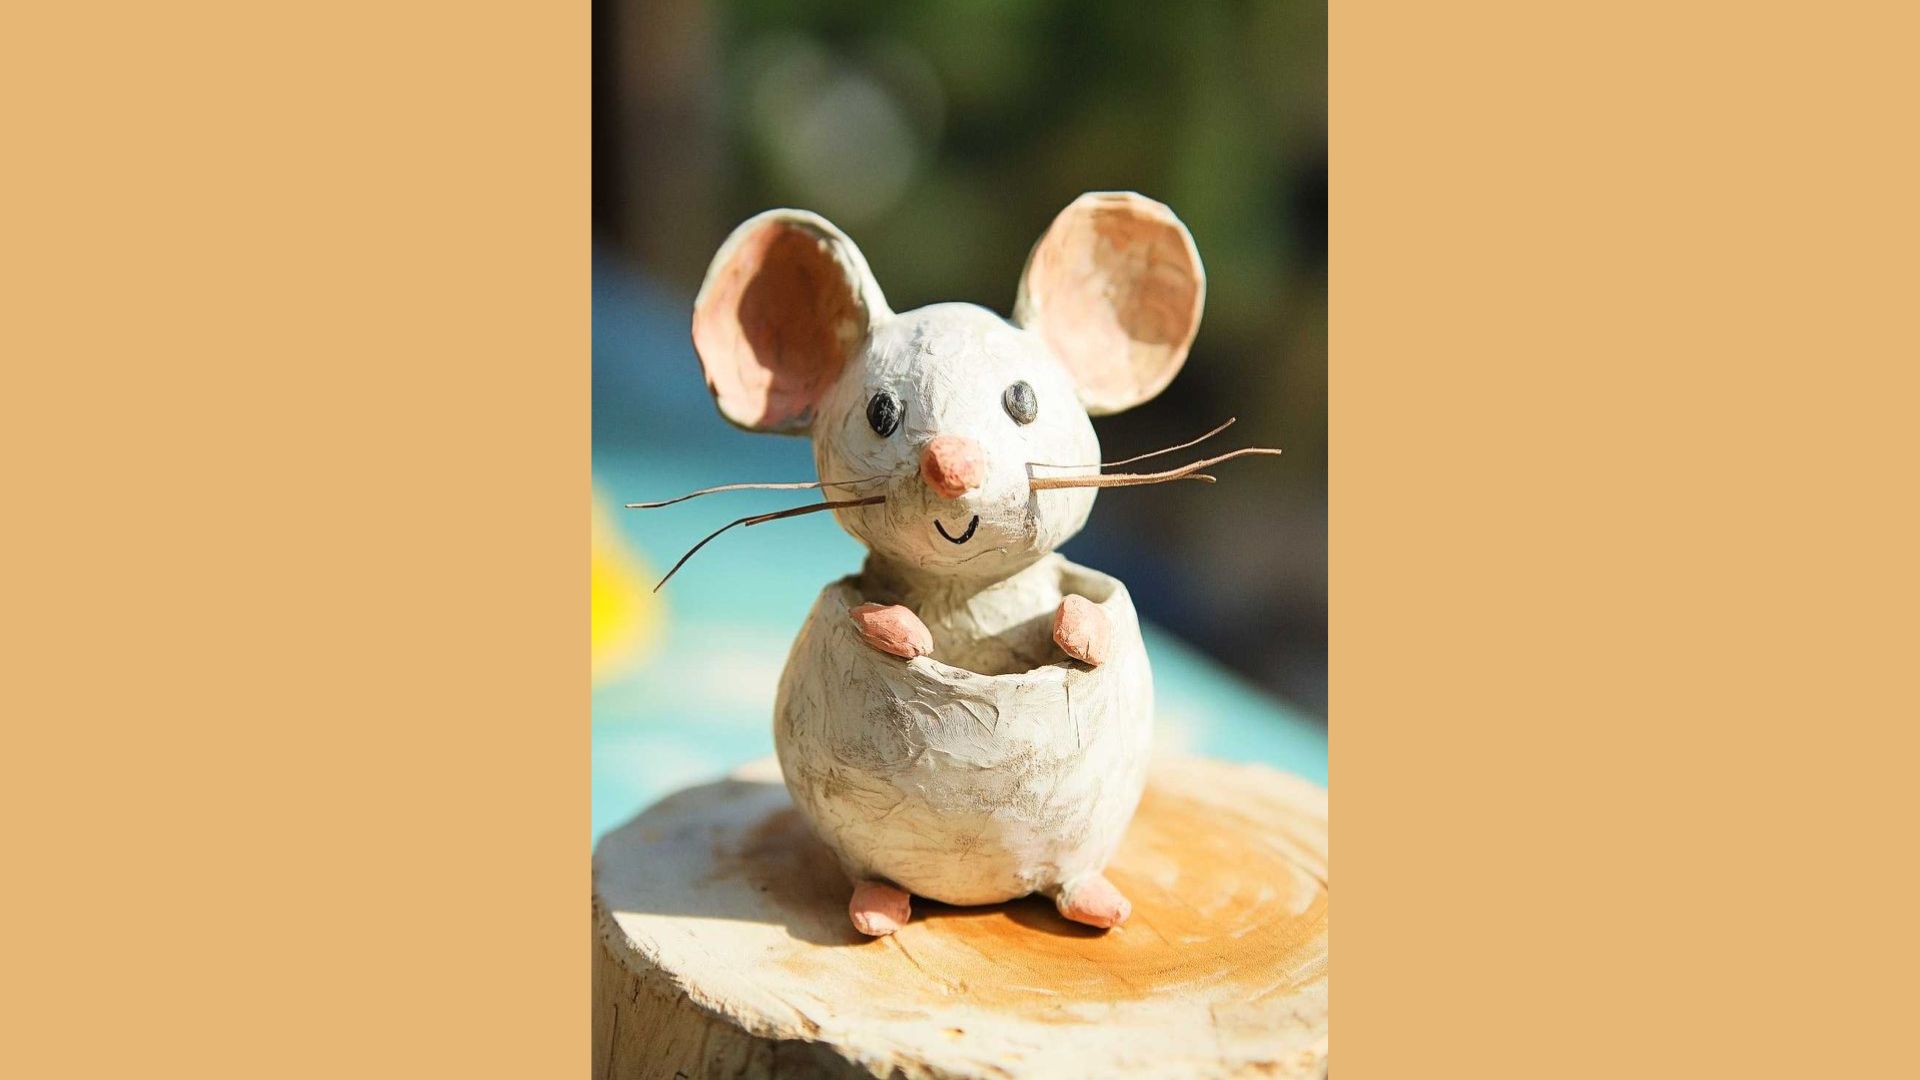
1. Animal Figures
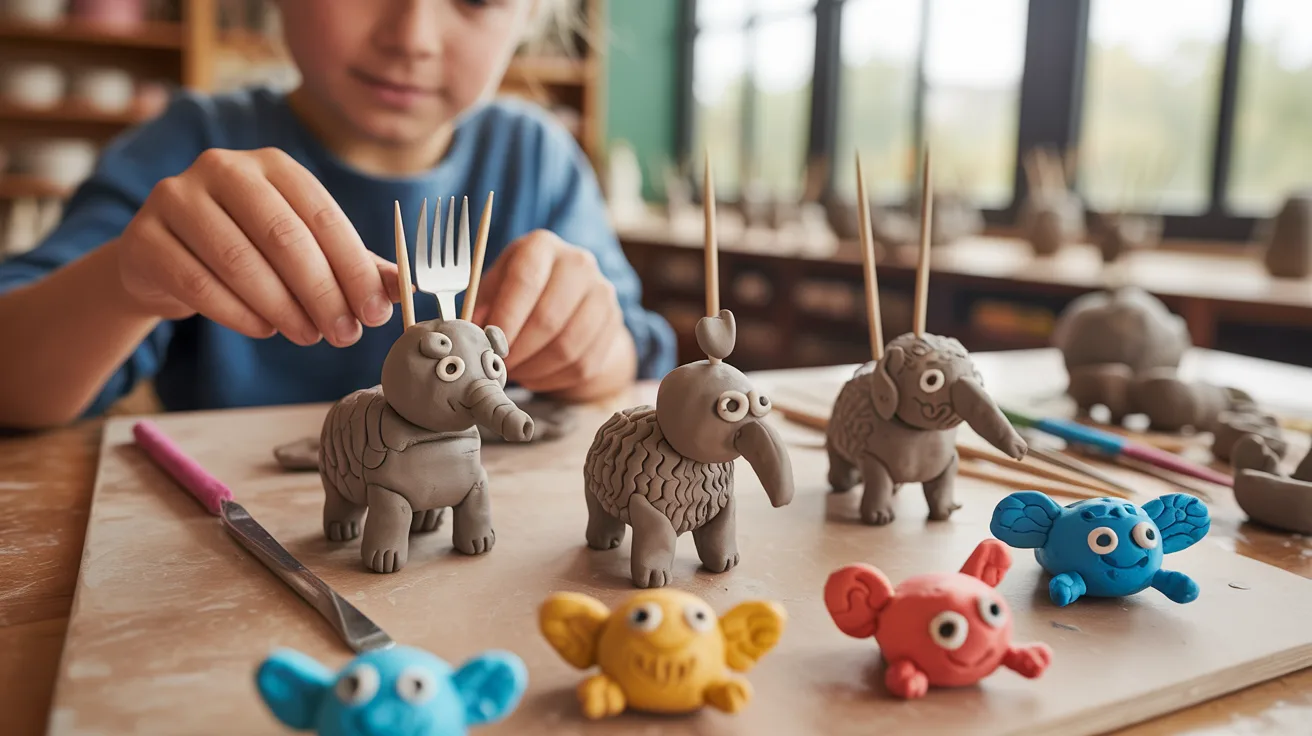
Join two pinch pots, then add wings, shells, fins, or trunks with small clay pieces. Kids love adding personality through textures and painted details.
You can press a toothpick or fork into the surface to create fur, scales, or feather effects. Once dry, acrylic paints bring the whole creature to life in just a few coats.
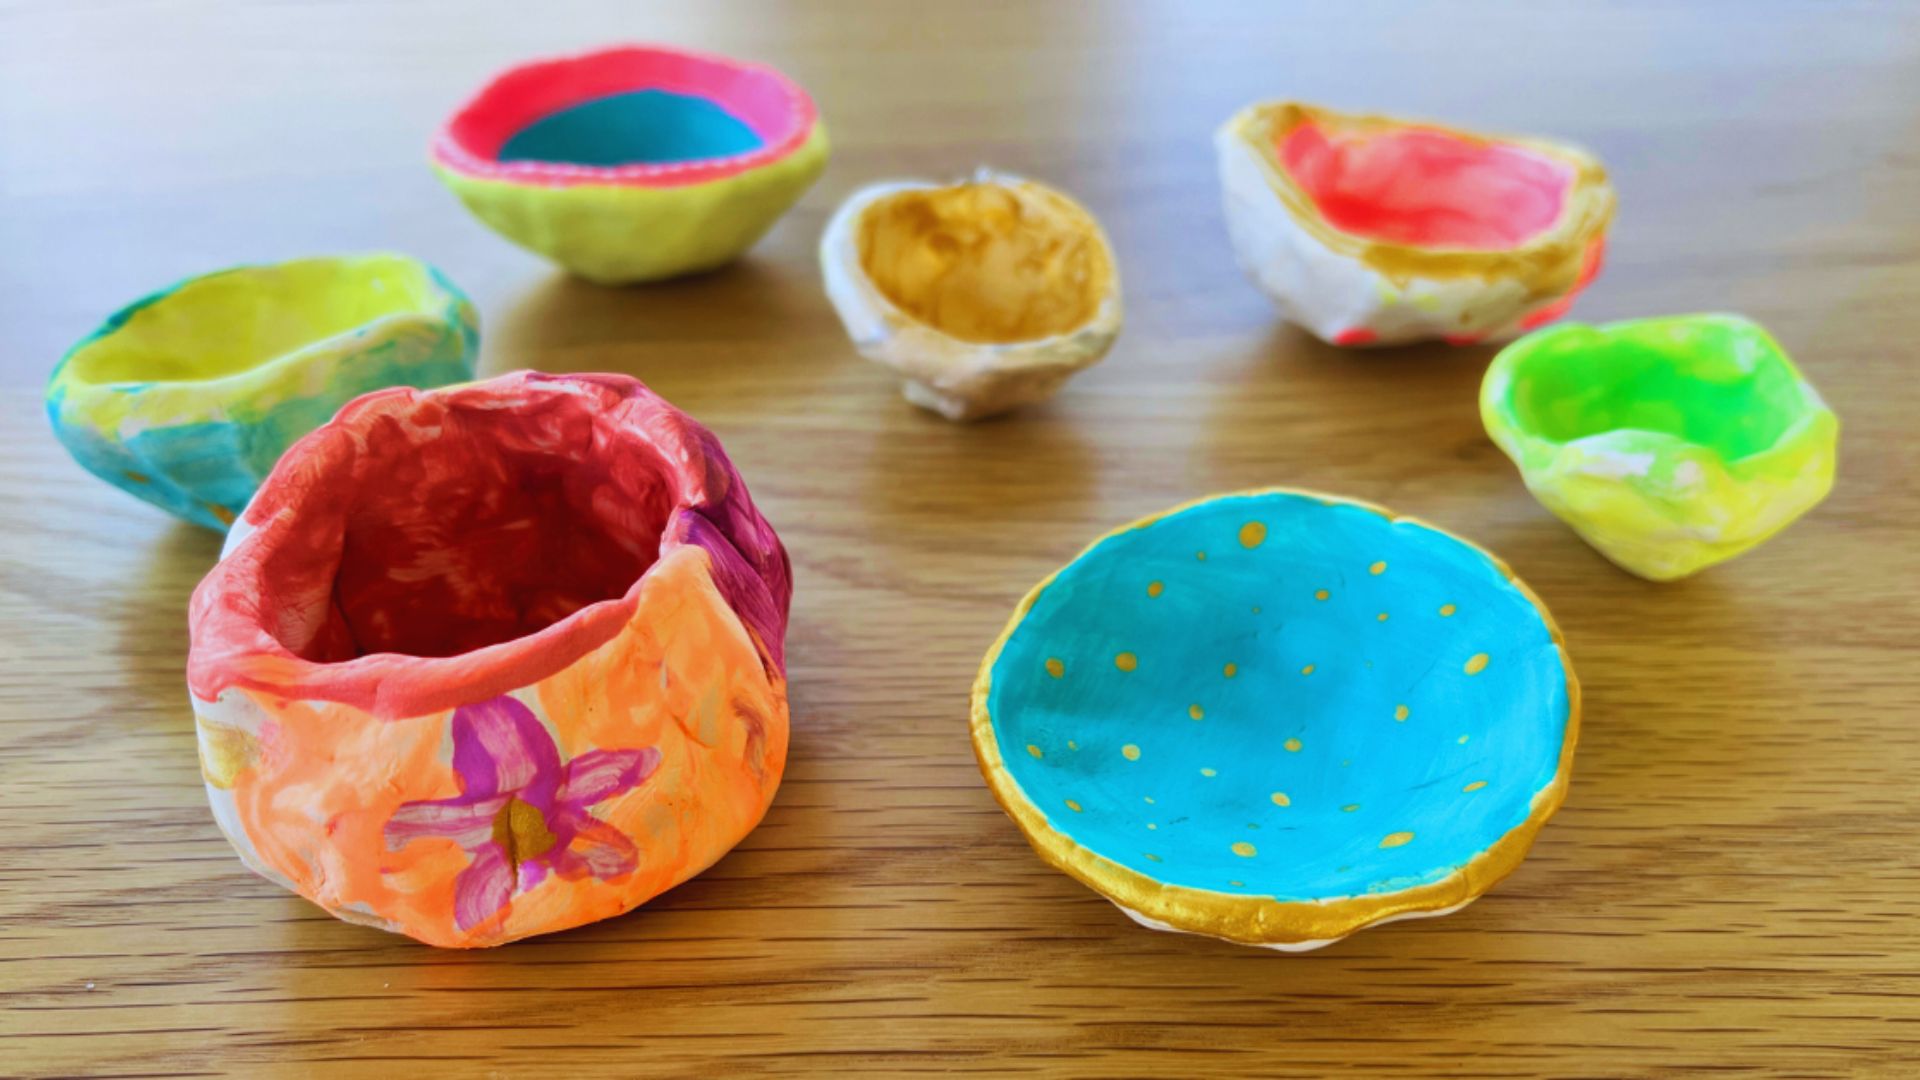
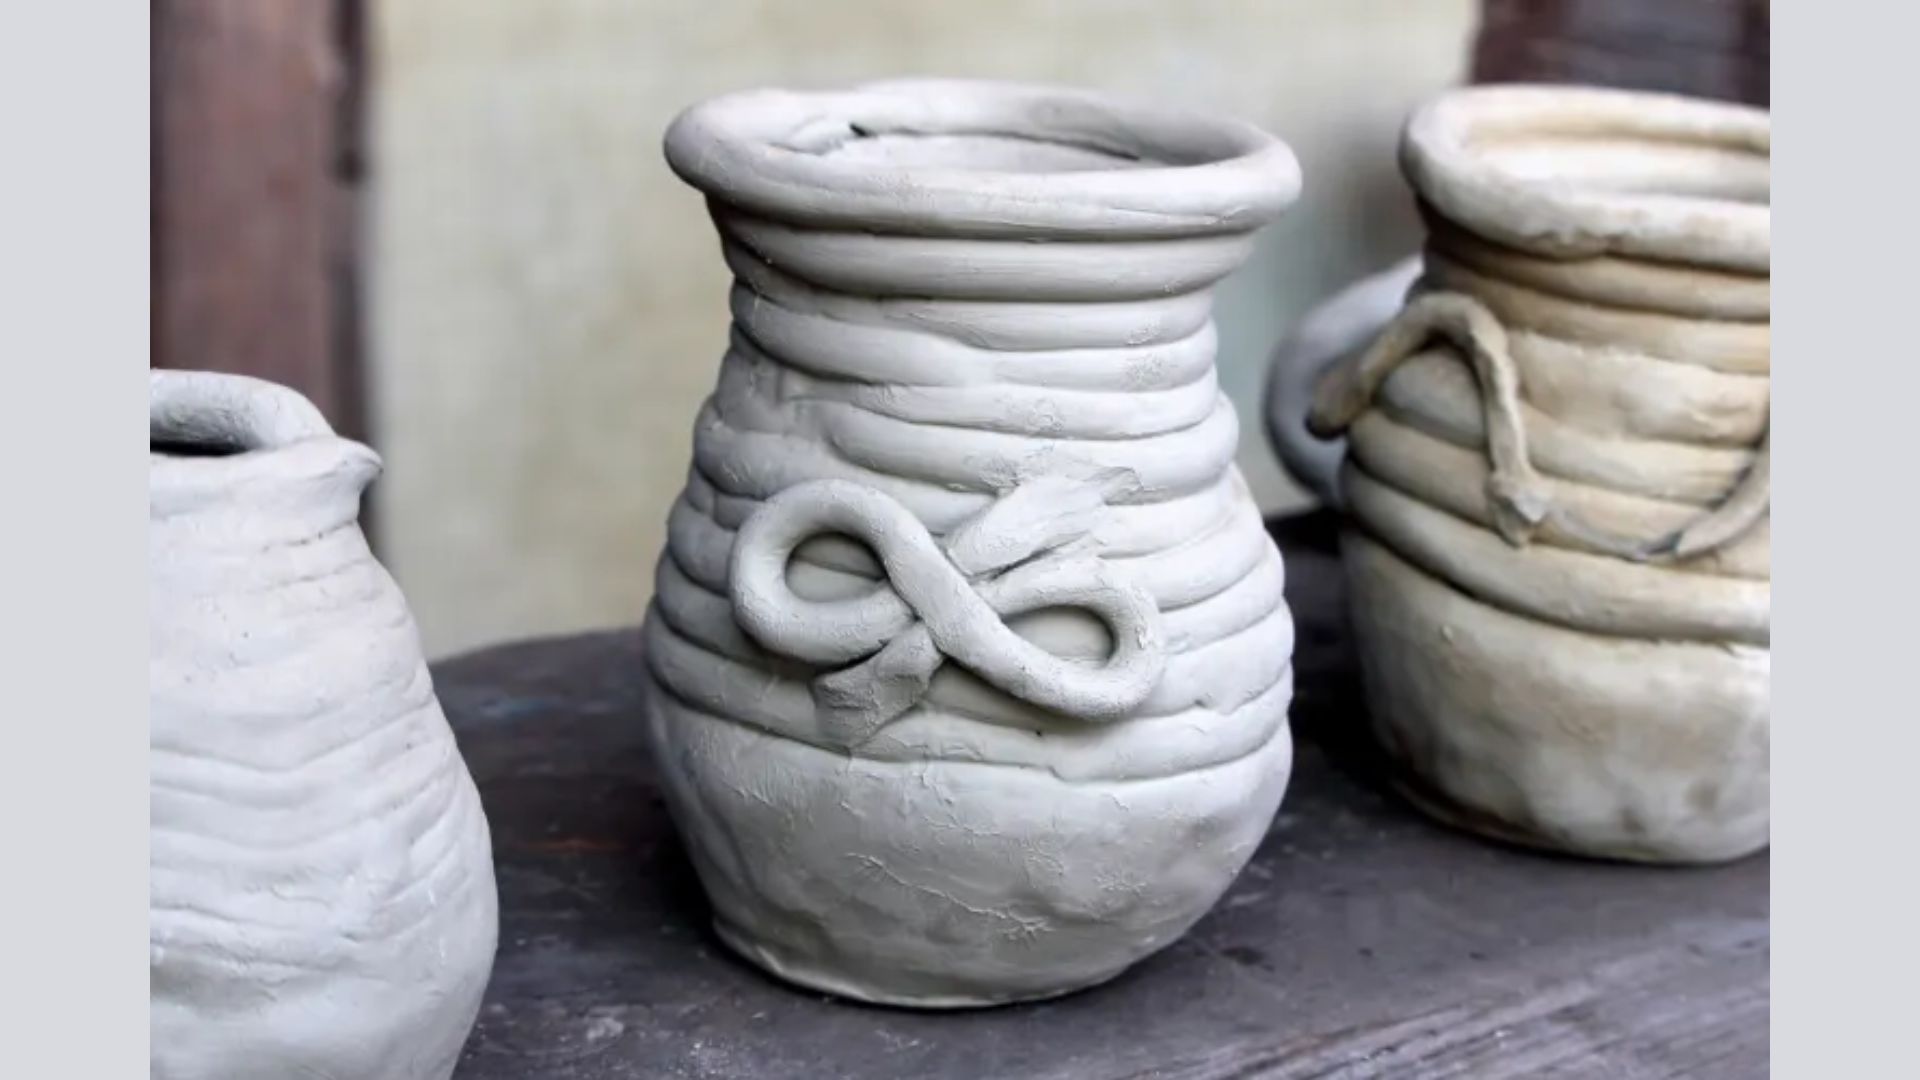
2. Decorative Bowls and Vases

Split the joined pot slightly at the top to create an opening. Shape the rim, smooth the sides, and paint or glaze in natural tones for a clean, finished look.
Try pinching the rim into a wavy or ruffled edge for extra character. A coat of clear sealant at the end gives it a polished, finished appearance.
3. Heart-Shaped or Gift Designs
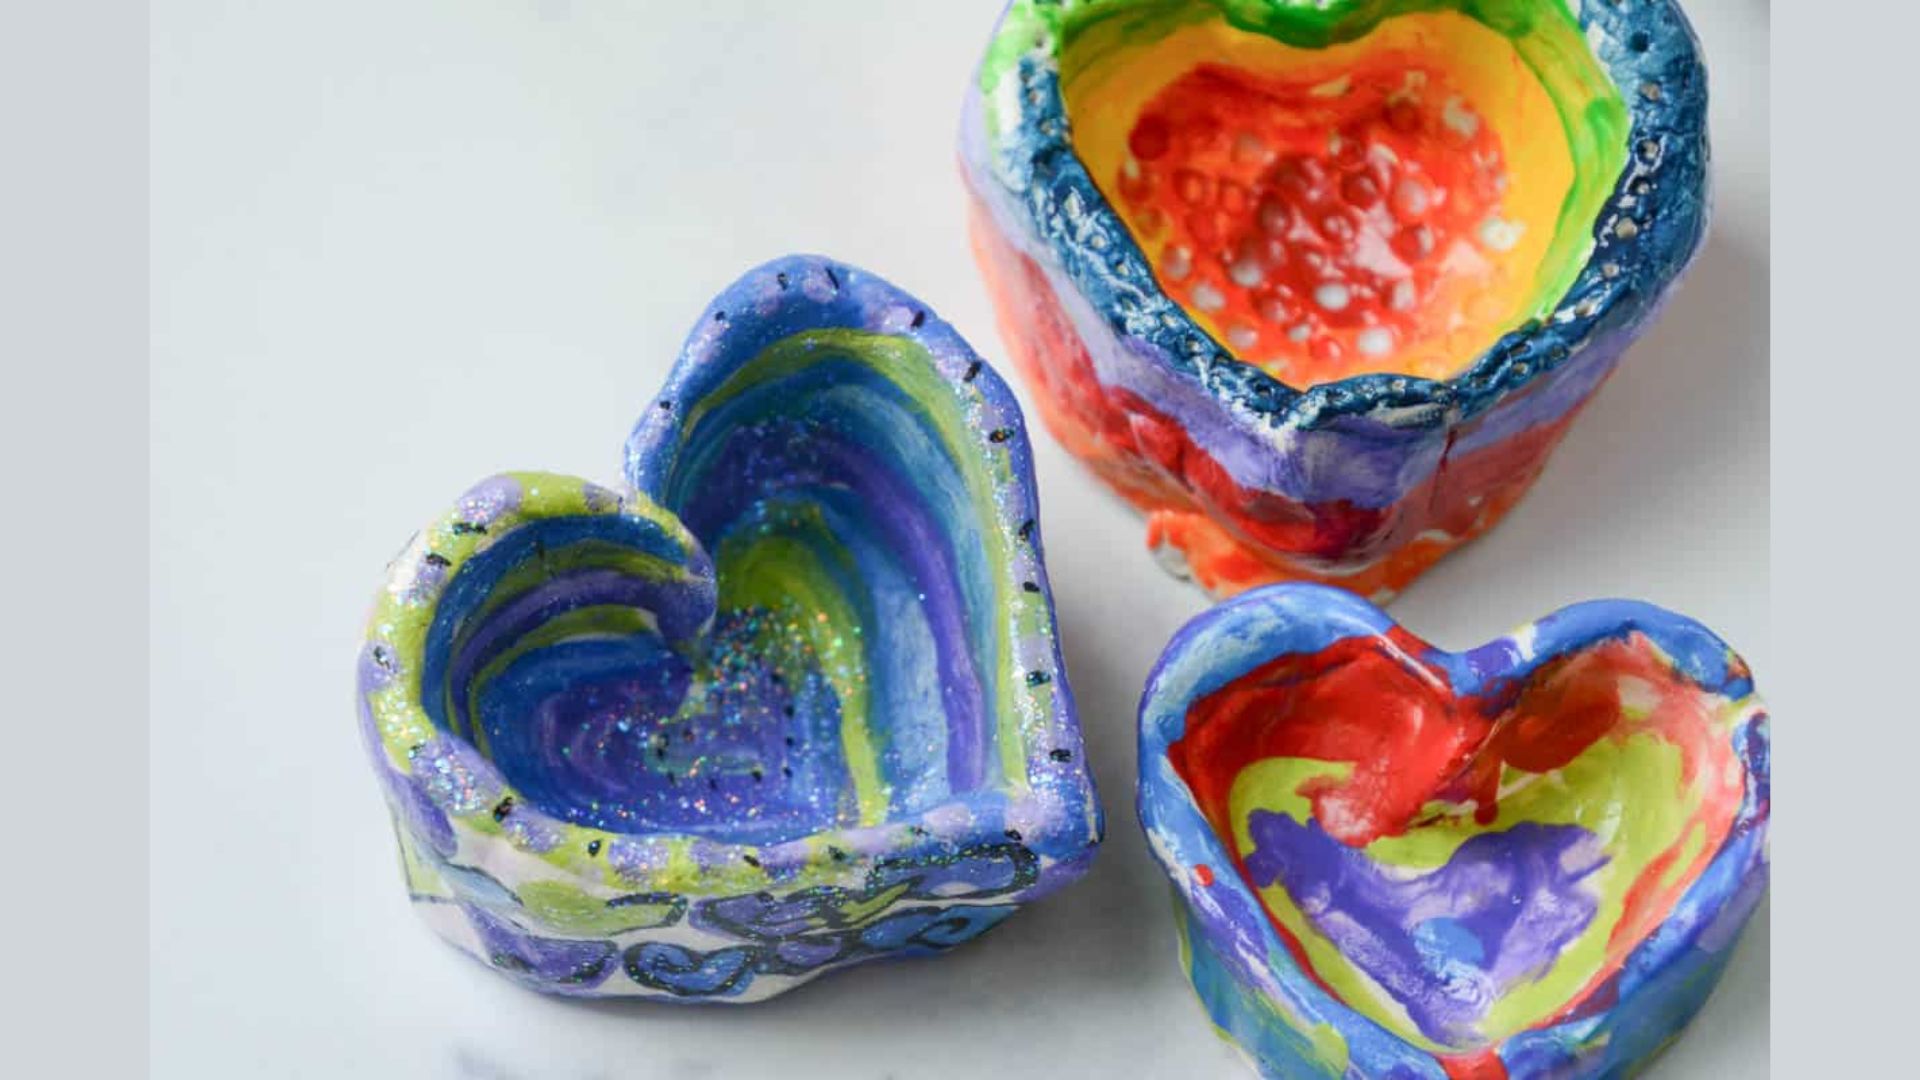
Press the joined pot into a heart shape before the clay firms up. Add a ribbon loop at the top and you have a ready-to-gift piece for holidays or birthdays.
These make thoughtful, handmade gifts that feel far more personal than anything store-bought.
4. Fantasy or Mythical Creatures
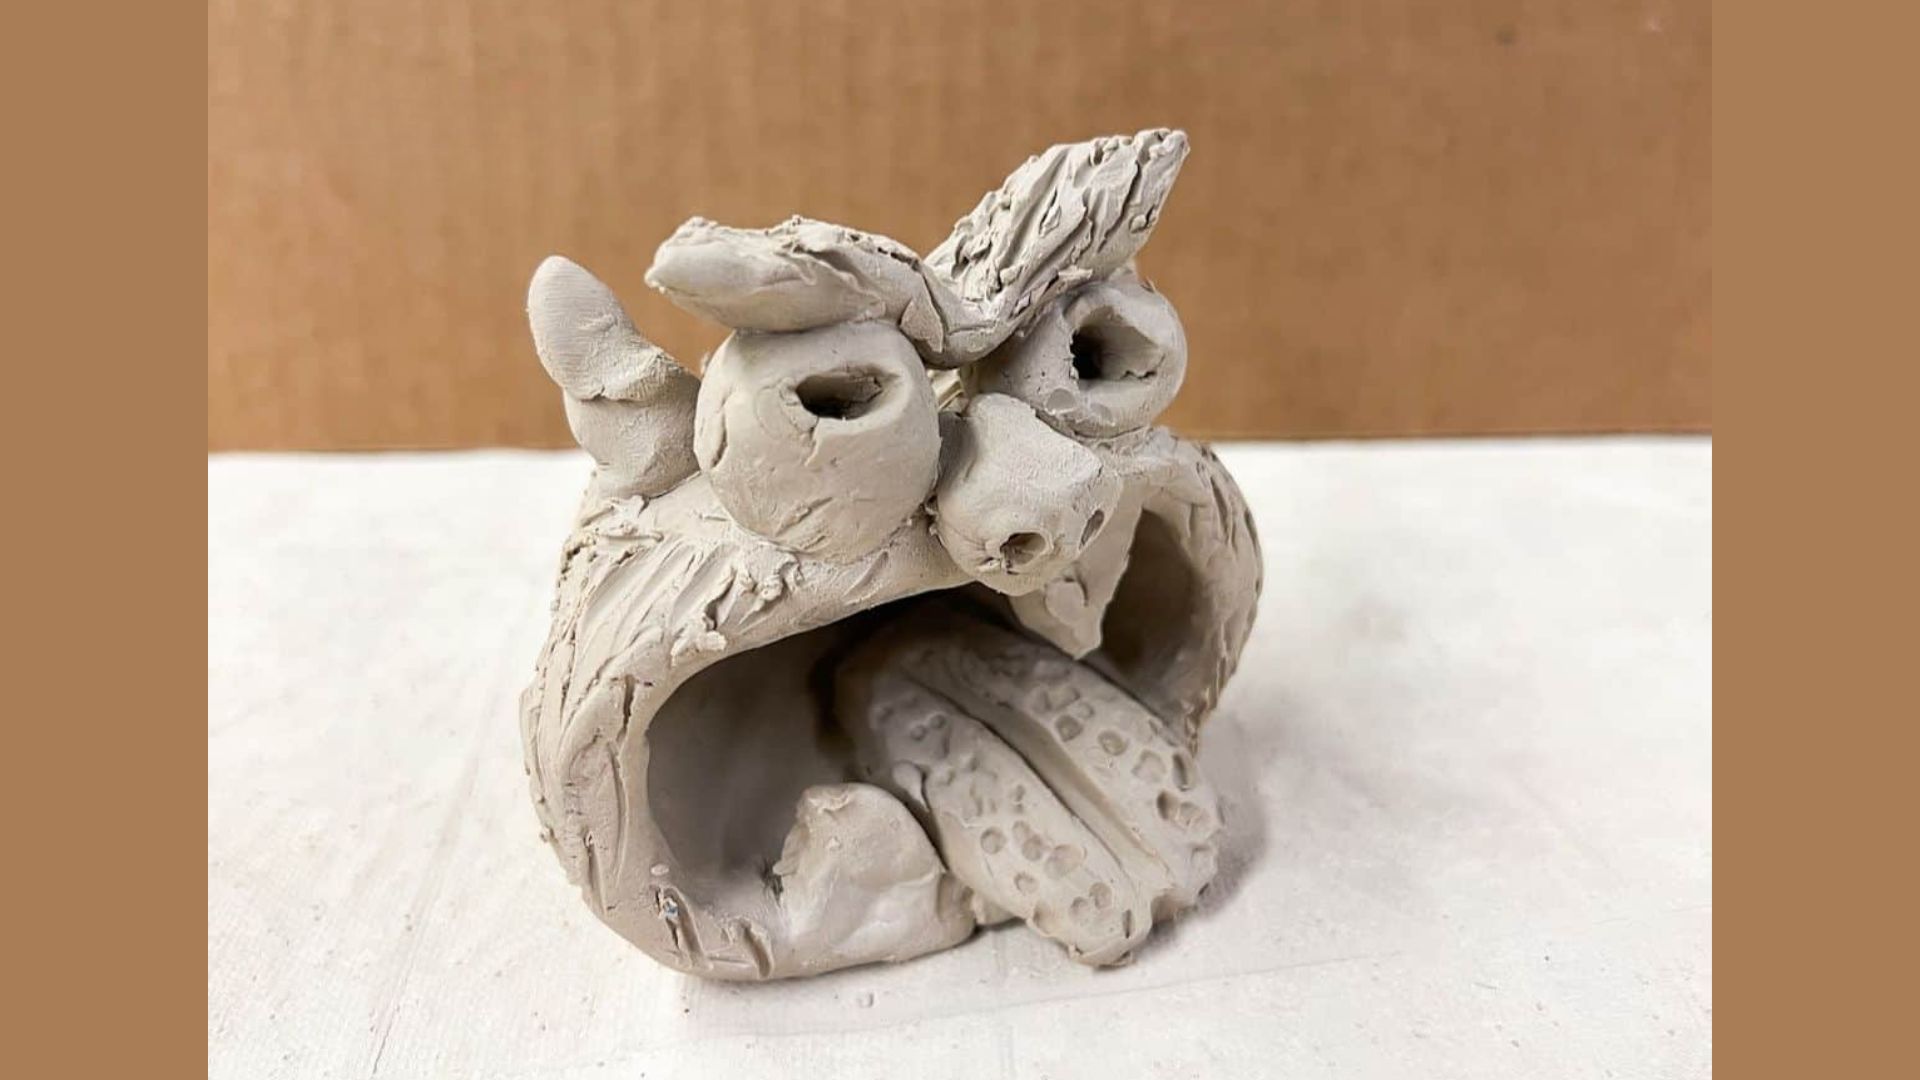
Use the round body as a base for dragons, griffins, or sea monsters. Add horns, tails, and wings. This is where imagination leads and the clay simply follows.
Score all attachment points well so the wings and tails stay in place as the piece dries. Metallic paint in gold or silver works really well on these once they are fully dry.
5. DIY Lidded Boxes
Make one pot slightly larger for the base and one smaller as the lid. Score and blend the edges carefully. These work well as jewelry holders or small desk storage pieces.
Add a small clay knob or loop on top of the lid so it is easy to lift off. Smooth the inside walls with a damp finger so items do not snag on rough spots.
6. Personalized Character Pots
Let kids draw their character first, then build it in clay. Use the sketch as a guide for shape, colors, and features. This gives them ownership of the project from start to finish.
Encourage kids to add small details like tiny hats, bags, or shoes using leftover clay scraps. Seeing their drawings come to life in three dimensions is a genuinely exciting moment for them.
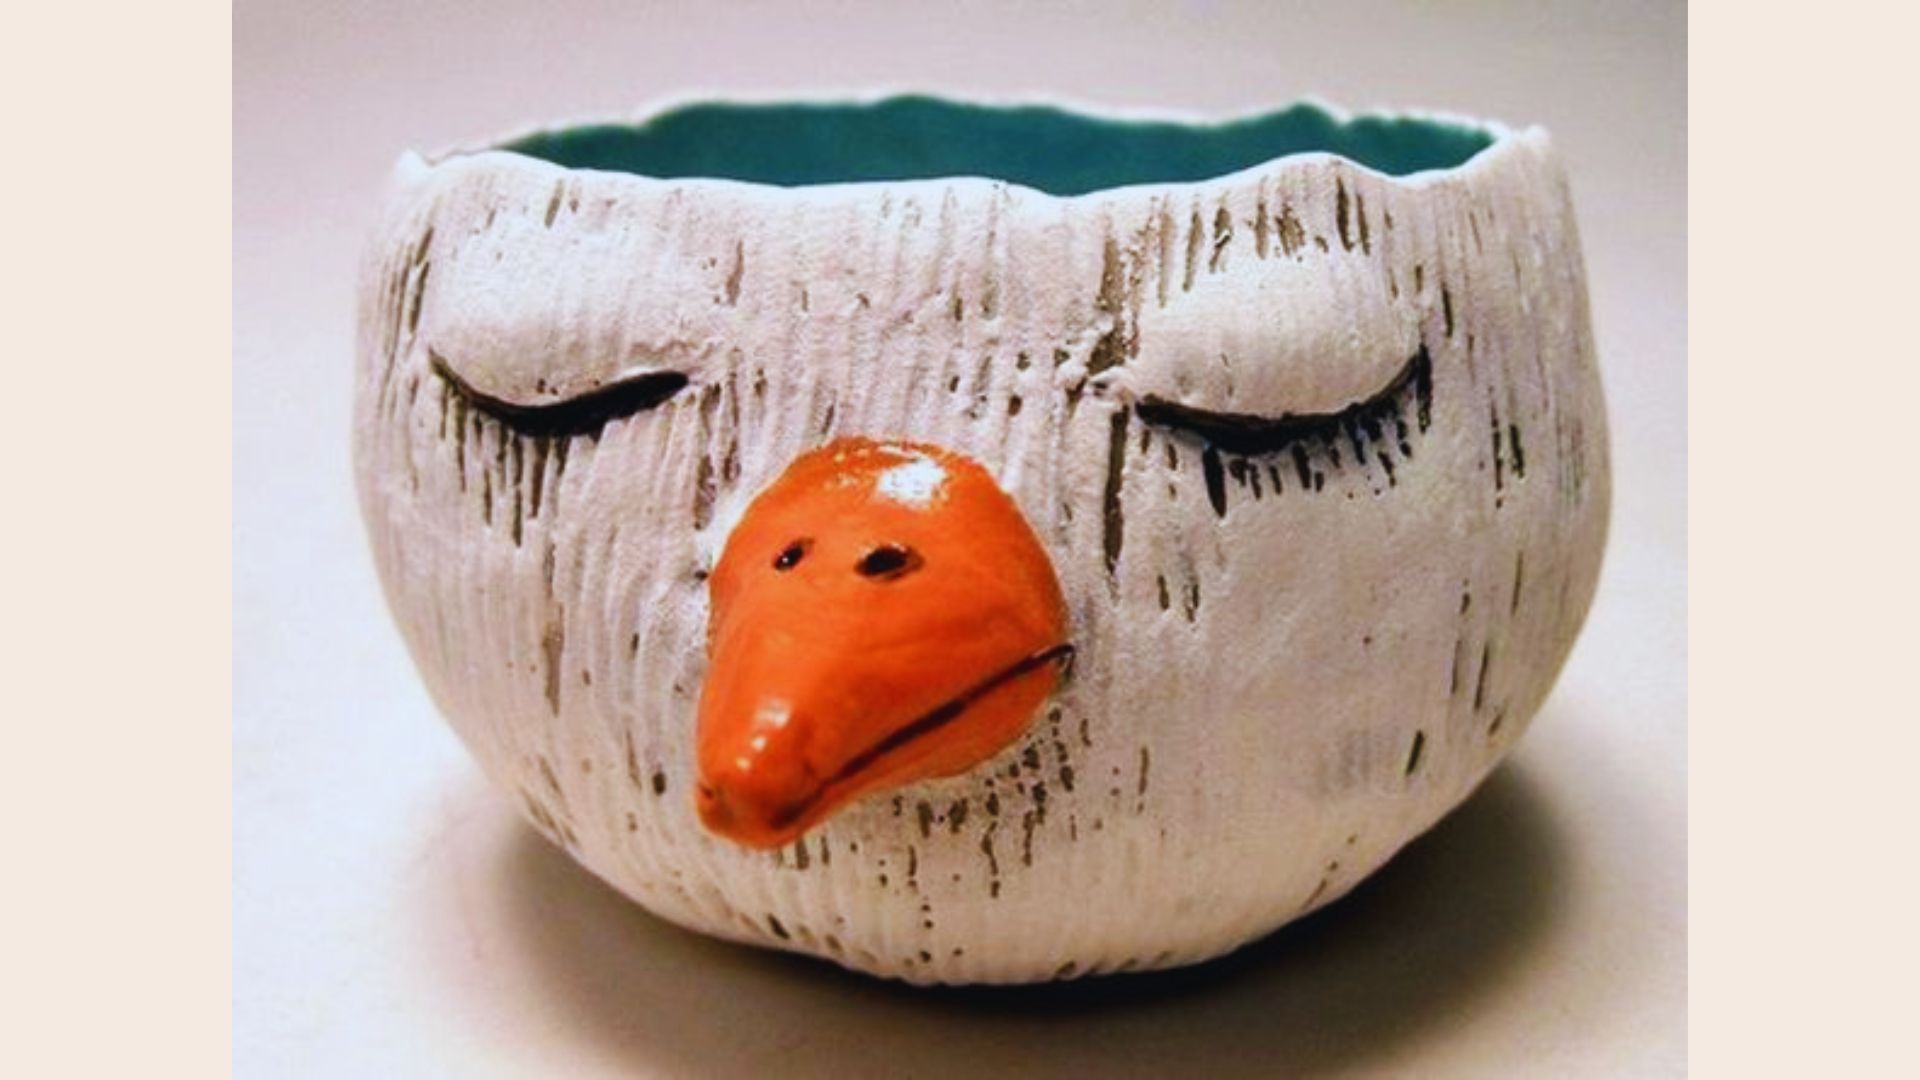
7. Pinch Pot Planters with Faces
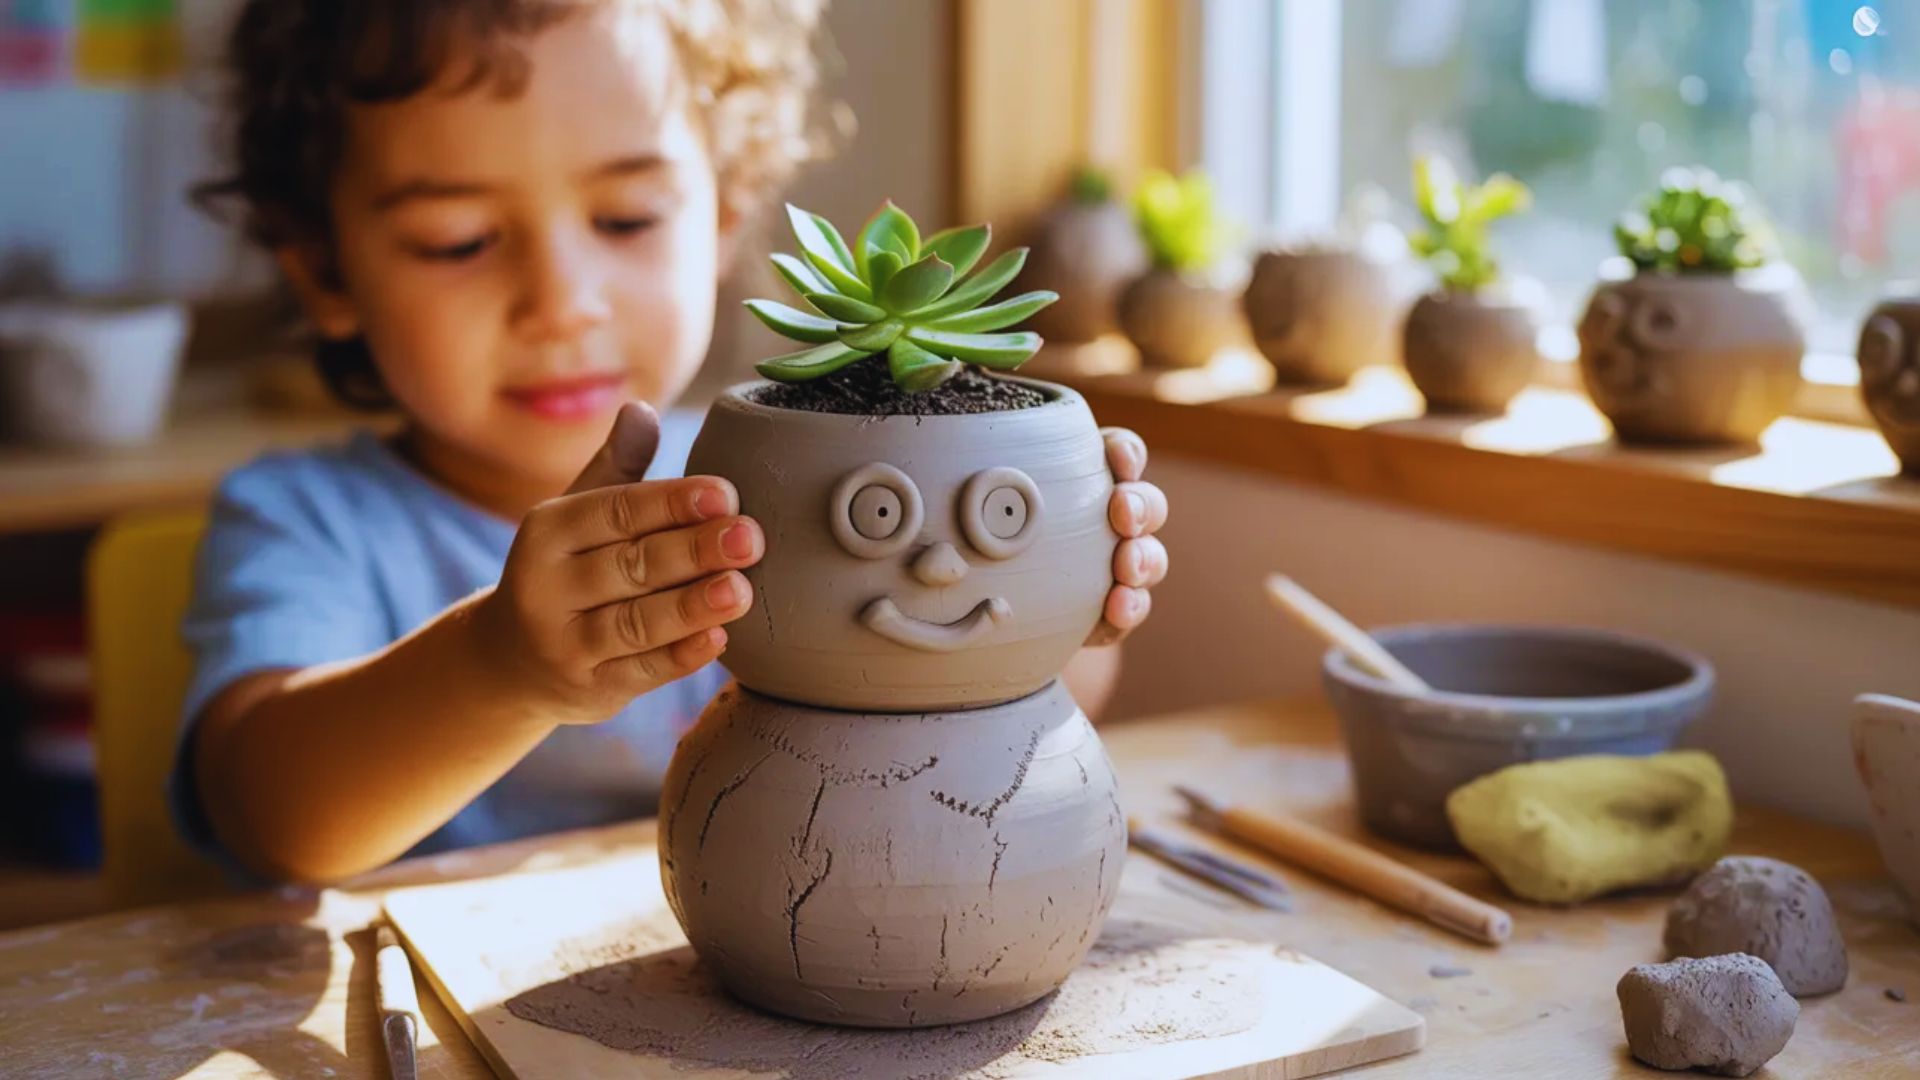
Add eyes, a nose, and a mouth to the outside of the joined pot. Cut a hole at the top for a small succulent or air plant. These are cheerful on any windowsill.
Make sure the hole at the top is wide enough to allow for watering without spilling. Air-dry clay works fine here as long as you seal the inside with waterproof varnish before adding soil.
8.Mixed-Media Projects
After air drying, layer tissue paper, acrylic paint, or fabric onto the surface. Mixed-media finishes add depth and color without needing a kiln glaze. Great for school projects.
Mod Podge works well as both a glue and a sealant when applying tissue paper over the clay surface. Let each layer dry fully before adding the next one so the colors stay clean and bright.
9. Seasonal or Holiday-Themed Pots

Shape the pot into a pumpkin, add a stem. Stack two for a snowman. Poke a hole at the top for a hanging string to make ornaments. These are crowd favorites every time.
Press vertical lines down the sides of the pumpkin shape using a pencil while the clay is still soft.
Orange, white, and green paint finishes these off quickly and makes them ready to display in minutes.
10. Coil-Enhanced Sculptures
Roll thin coils and attach them to the outside of the joined pot for texture or raised designs. Coils can also build up necks, legs, or decorative borders on top of the base shape.
Keep your coils even in thickness by rolling them slowly on a flat surface with light, steady pressure.
Wetting the coil slightly before attaching it helps it bond to the base without cracking later.
11. Animal-Inspired Containers
Use the hollow body as the main torso. Add a head, tail, ears, and legs from extra clay. Cut an opening at the top or back to store small items like paper clips or candy.
A cat body works especially well because the round shape of the joined pot already looks like a sitting cat. Sand the inside of the opening lightly once dry so it feels smooth to the touch.
12. Miniature Worlds or Dioramas
Cut the joined pot in half horizontally. Use the inside as a stage. Add tiny trees, figures, or furniture made from clay. Seal with a clear coat once painted for a great display piece.
Use the curved inside wall as a backdrop and paint it like a sky, forest, or room scene. These make wonderful display pieces on shelves and are always a great conversation starter.
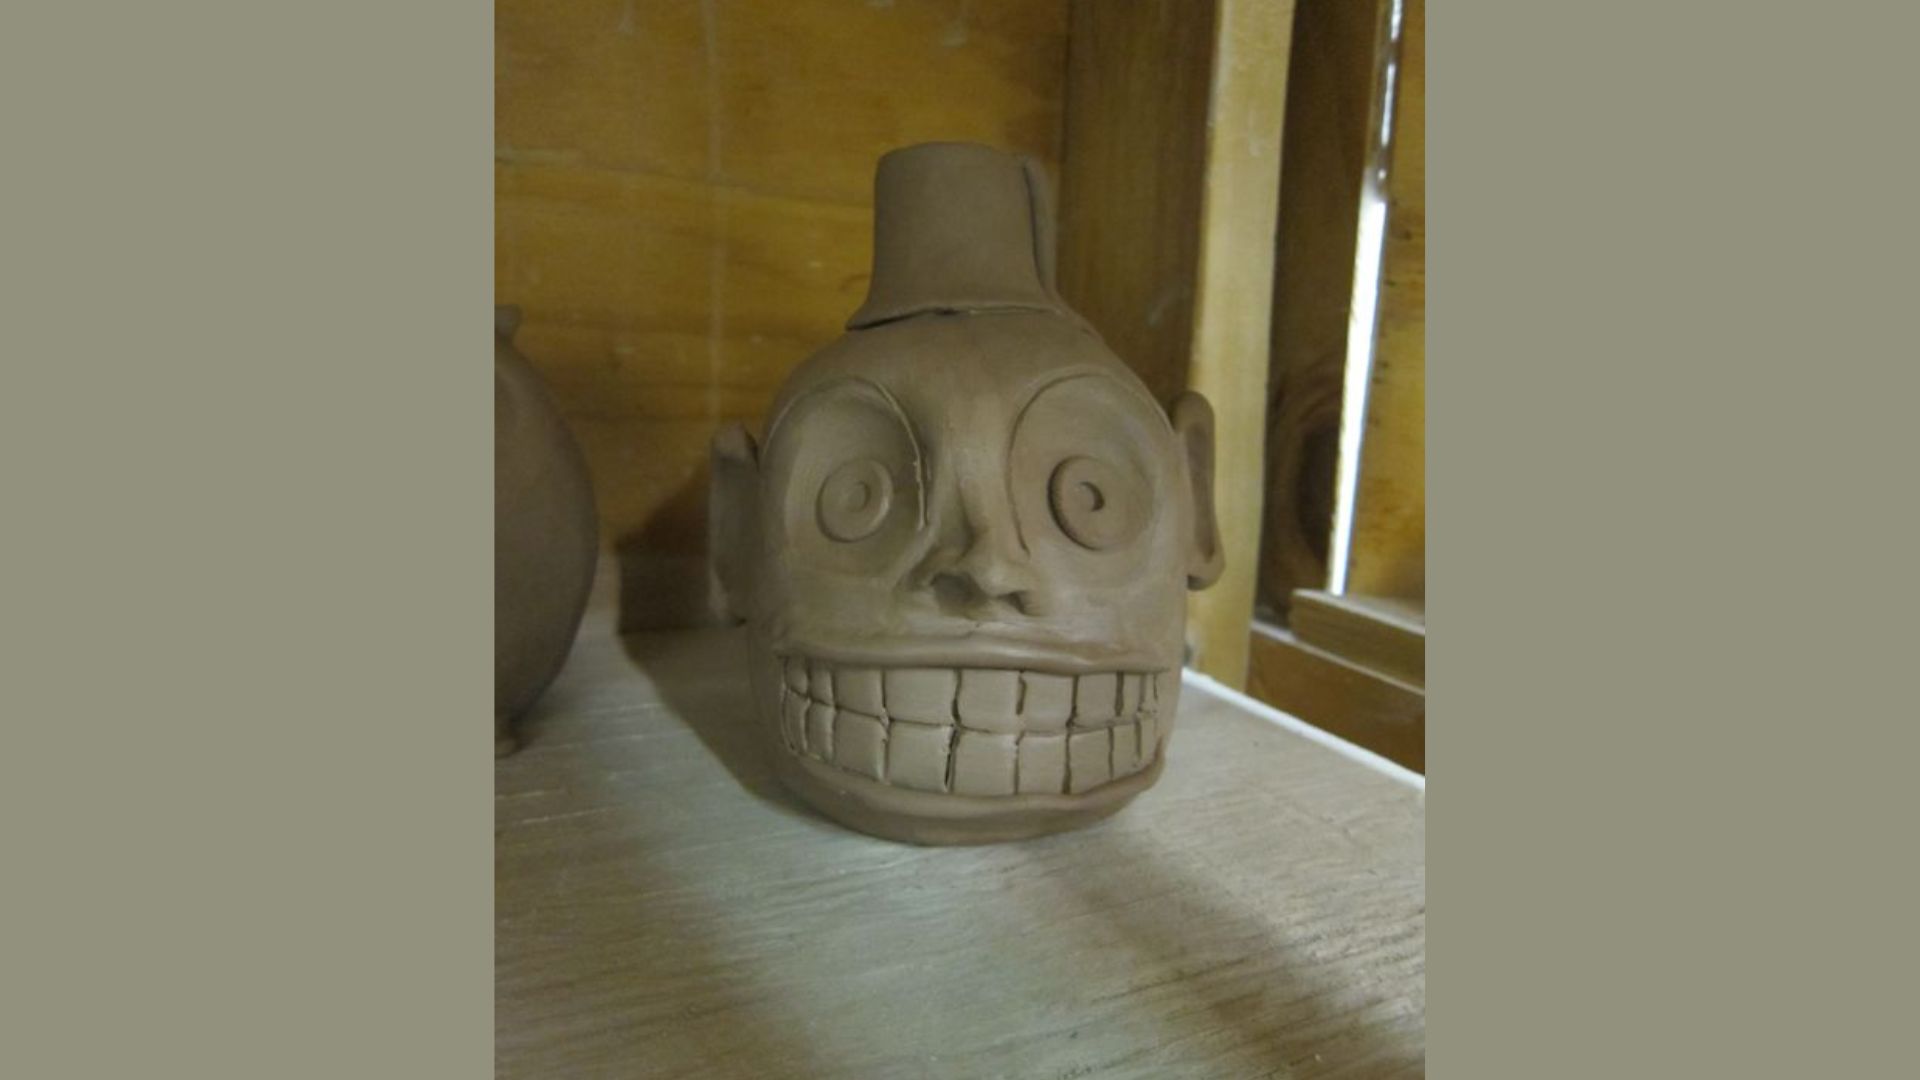
13. Storybook or Cartoon Characters

Shape the double pinch pot body to match a favorite character from a book or cartoon. Add hats, capes, or accessories, then paint carefully once dry for a fun, recognizable result.
Reference images of the character while building so the proportions feel right and recognizable. Thin brushes work best for painting facial details, especially small eyes and mouths on rounded clay surfaces.
Common Mistakes to Avoid
Knowing what goes wrong early saves you a lot of frustration at the clay table.
- Keep walls thin or they will crack during drying.
- Poke an air hole in every hollow piece before it dries.
- Score both rims and use slip before joining the two halves.
- Press evenly around the seam and smooth it from the inside.
- Dry slowly under a damp cloth to prevent cracks at the join.
Rush these steps and your piece will not survive the drying process.
Conclusion
Making double pinch pot projects has been one of my favorite things to recommend to beginners because the results feel so rewarding for the effort put in.
You do not need fancy tools or a studio to make something worth keeping. Start with a simple animal or a seasonal pot and go from there.
I think you’ll surprise yourself with what your hands can do. Try one of these double pinch pot ideas this week and drop a comment below telling me what you made. I’d love to see it!
Frequently Asked Questions
What clay is best for double pinch pot projects?
Air-dry clay is the best starting point as it needs no kiln and is easy to find.
How do I keep my double pinch pot from cracking while it dries?
Cover it loosely with a damp cloth and keep it away from heat or direct sunlight.
Can kids make double pinch pots without adult help?
Yes, kids six and older can manage it with light guidance during the joining step.
Do I need a kiln to finish a double pinch pot project?
No, air-dry clay hardens on its own and can be painted with acrylics once dry.
How do I attach legs or ears without them falling off?
Score the surface, apply slip to both pieces, press firmly, and smooth the edges together.