

Welcome to the world of clay!
Pottery is one of those hobbies that feels both calming and genuinely satisfying. There is something special about shaping something beautiful with your own hands.
You do not need a fancy studio to get started. You can work with a wheel, try hand-building, or simply pick up some air-dry clay at home.
In this guide, you will find 27 simple pottery projects made specifically for beginners. Each one is fun, approachable, and a great way to build your skills from scratch.
Let’s get started.
What You Need to Get Started with Pottery
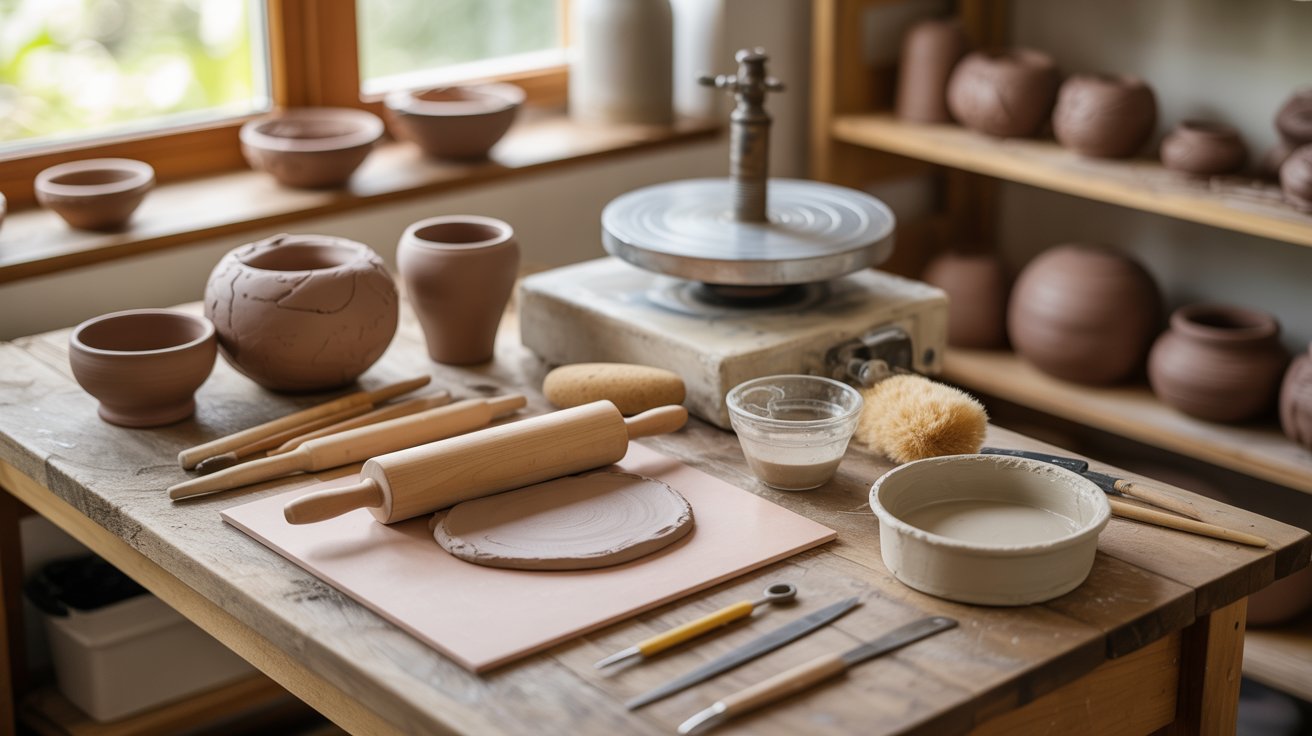
Getting started with pottery does not require a lot of equipment. A few basic tools and the right type of clay are all you need to begin.
Basic Pottery Tools for Beginners
Here are the essentials to have on hand before you start your first project:
- Clay: Earthenware, stoneware, and air-dry clay are the most common choices for beginners. Each has its own feel and finish.
- Rolling pin: Helps flatten clay evenly when you are building flat pieces or slabs.
- Sponge and water: Keep your clay moist while you work. Dry clay cracks, so keeping it damp is important.
- Needle tool or knife: Helps you cut shapes, score surfaces, and add fine details to your work.
- Slip: A mixture of clay and water used to join two pieces together. Think of it as a natural glue for pottery.
No Kiln? Try These Alternatives
Not having a kiln should not stop you from making pottery. There are simple ways around it.
- Air-dry clay: Hardens on its own without any heat, making it perfect for home projects.
- Community pottery studios: Often give you access to a kiln along with workspace and tools for a small fee.
- Local kiln firing services: Many pottery shops will fire your pieces for you at a reasonable cost.
27 Easy Pottery Ideas for Beginners
These 27 projects cover everything from simple hand-building to wheel throwing, giving beginners a great place to start.
1. Pinch Pot Bowl
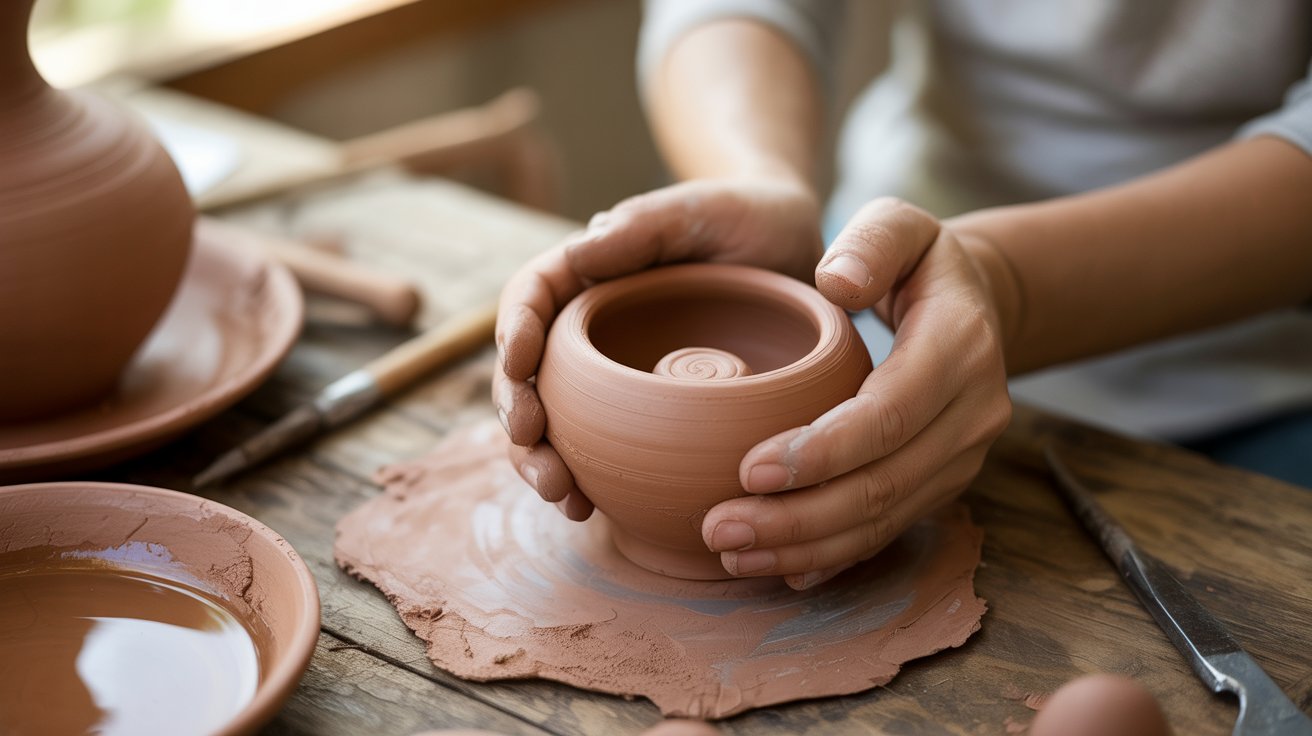
The pinch pot bowl is the most classic beginner project in pottery. You only need your hands to shape it.
Push your thumb into a ball of clay and pinch the walls outward slowly. It is simple, quick, and a great way to get comfortable working with clay for the first time.
2. Coil Pot Vase

Coil building is a fun way to create height without a wheel. Roll long, even ropes of clay and stack them one on top of another.
Smooth the coils together on the inside to strengthen the walls. This technique gives your vase a natural, handmade texture that looks great when finished.
3. Slab-Built Trinket Dish
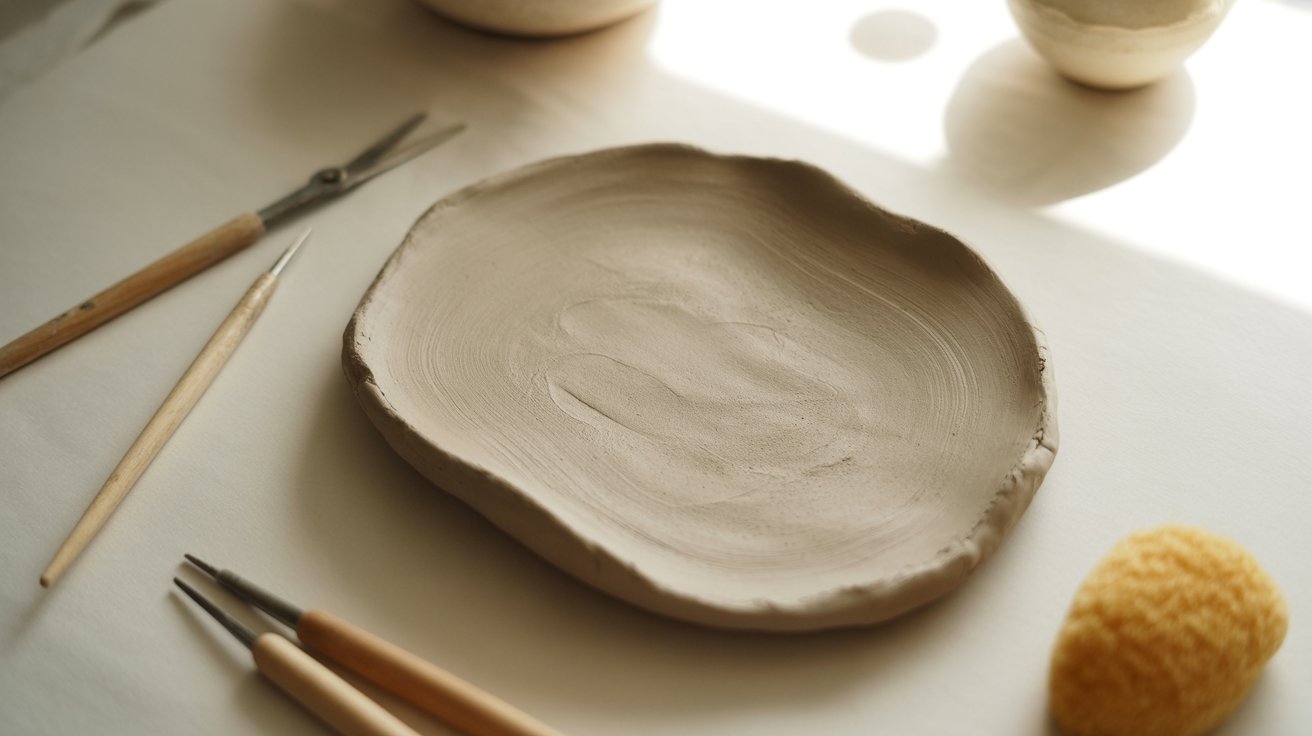
Roll out a flat slab of clay to an even thickness. Cut it into your chosen shape, then gently curve the edges upward while the clay is still soft.
Let it firm up slightly before finishing. This little dish is perfect for holding rings, clips, or small everyday items.
4. Simple Mug
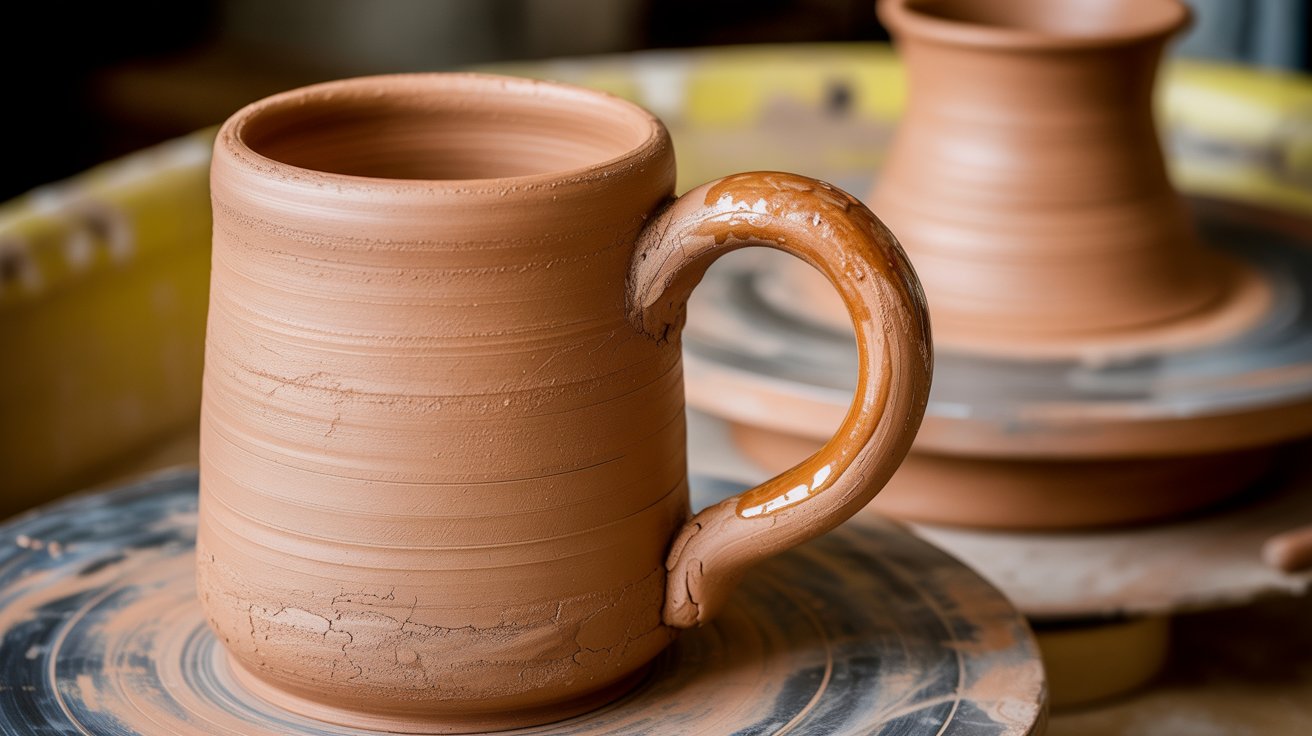
A basic mug starts with a cylinder shape. You can build it by hand or on a wheel. Once the walls are set, attach a handle using slip and scoring.
Getting the handle placement right takes a little practice, but this project teaches you some of the most useful pottery skills early on.
5. Mini Bud Vase
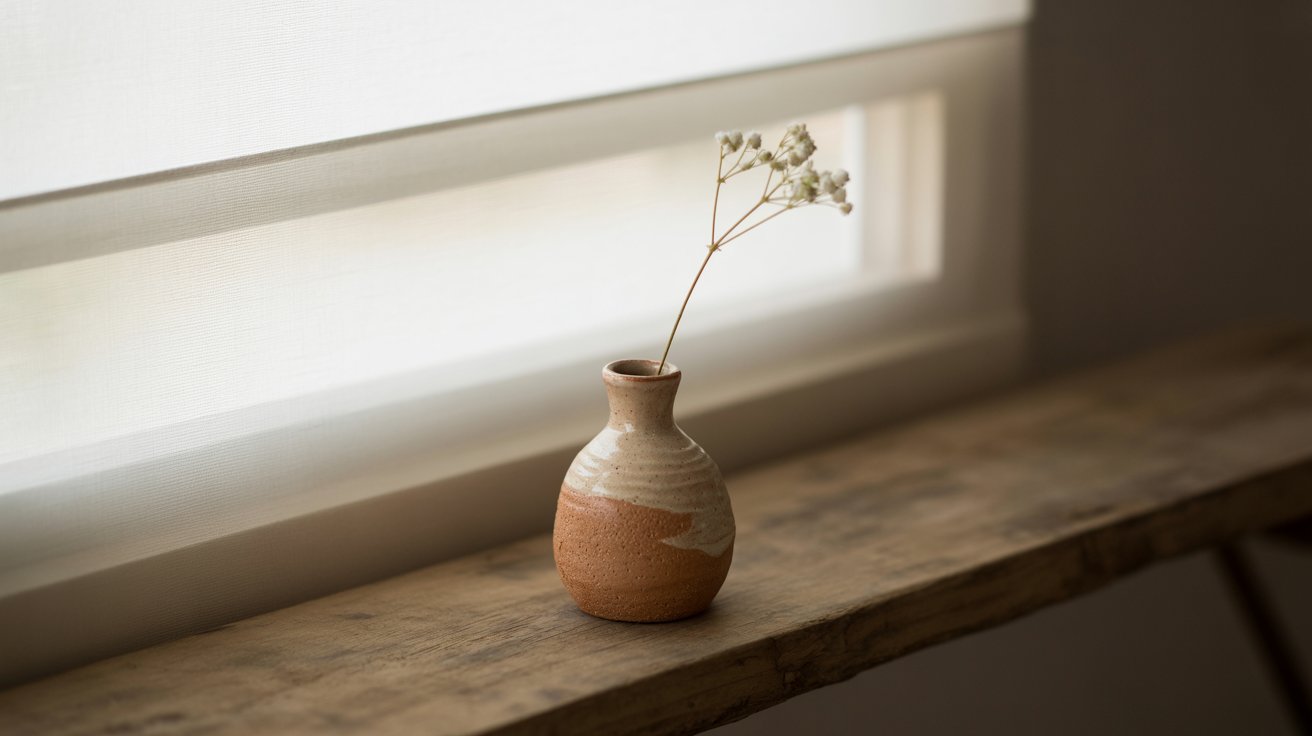
A mini bud vase is small, quick to make, and looks lovely on any shelf. Use the coil or slab method to build a narrow, upright shape with a small opening at the top.
It holds one or two stems perfectly. This is a great confidence-building project for any new potter.
6. Jewellery Ring Holder
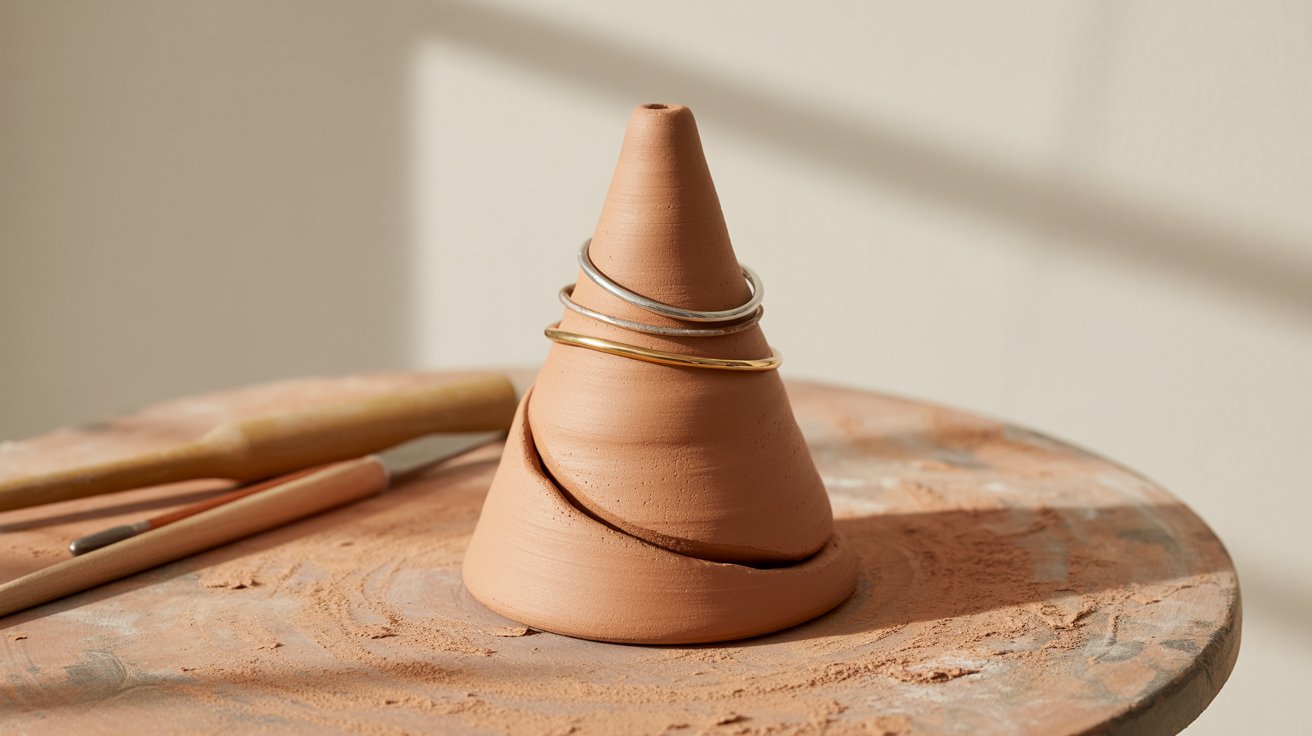
This project is both practical and fun to make. Shape a cone from a ball of clay by pulling it upward and narrowing the top.
Let it dry fully before using. Rings slide right onto the cone for easy storage. You can add small details or keep it clean and simple.
7. Tea Light Candle Holder
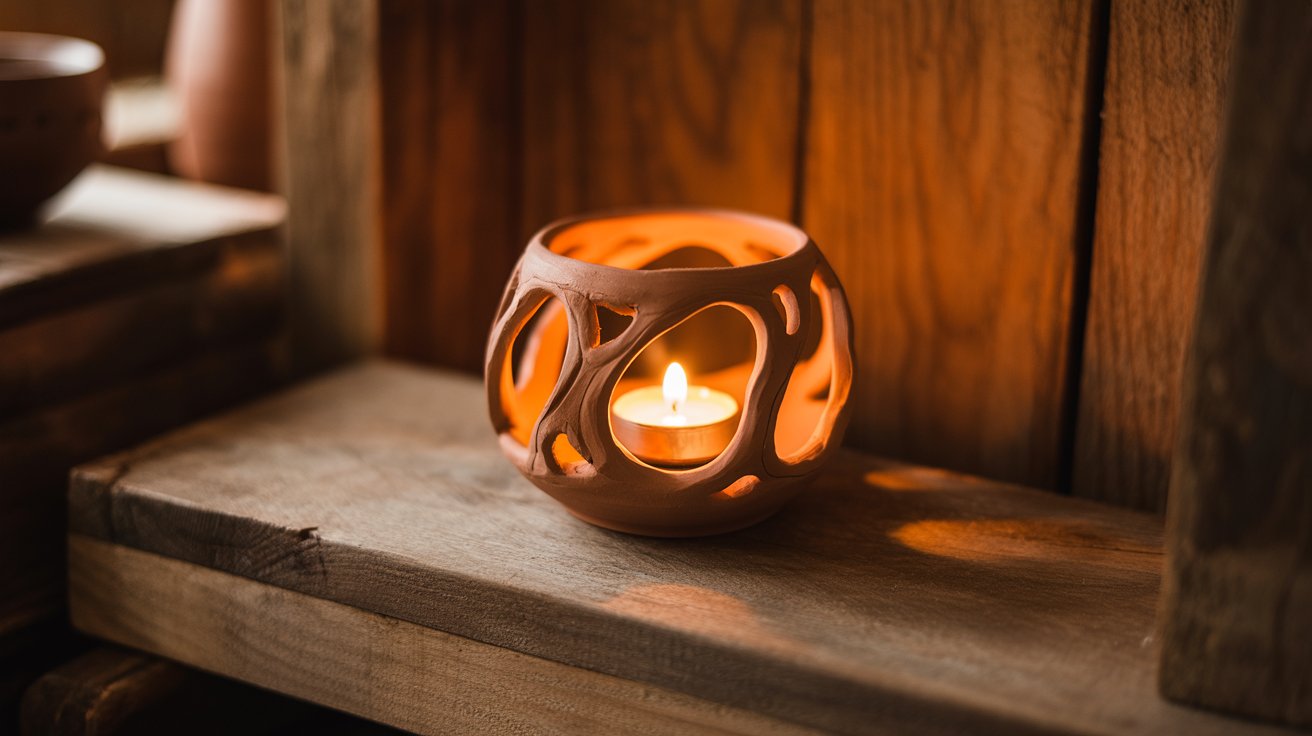
Build a small, thick-walled cylinder or pinch pot shape. While the clay is leather-hard, use a needle tool to carve small cut-outs around the sides.
When a tea light sits inside, the light glows through the holes and creates a warm, soft pattern on the surrounding surface.
8. Soap Dish

A soap dish is a simple slab project with a practical purpose. Roll out your clay, cut it to size, and use a needle tool or straw to add small drainage holes across the base.
These holes let water run off so your soap stays dry. Curve the edges slightly for a finished look.
9. Spoon Rest
Roll out a slab and cut an oval or elongated shape. Press a small notch into one end where the spoon handle will rest.
Curve the slab slightly so it sits flat on a surface. This is a quick and useful kitchen project that beginners can complete in a single session.
10. Clay Coasters

Cut flat, round pieces of clay from a rolled slab. While the clay is still soft, press leaves, stamps, or textured fabric into the surface to create a pattern.
Let them dry slowly to avoid warping. These coasters are easy to make and work well as handmade gifts too.
11. Decorative Wall Tile

Roll out a smooth, flat slab and cut it into a square or rectangle. Use carving tools, stamps, or everyday objects to press patterns into the surface.
Add a small hole at the top before it dries so you can hang it later. This project is great for practising surface decoration.
12. Egg Cup
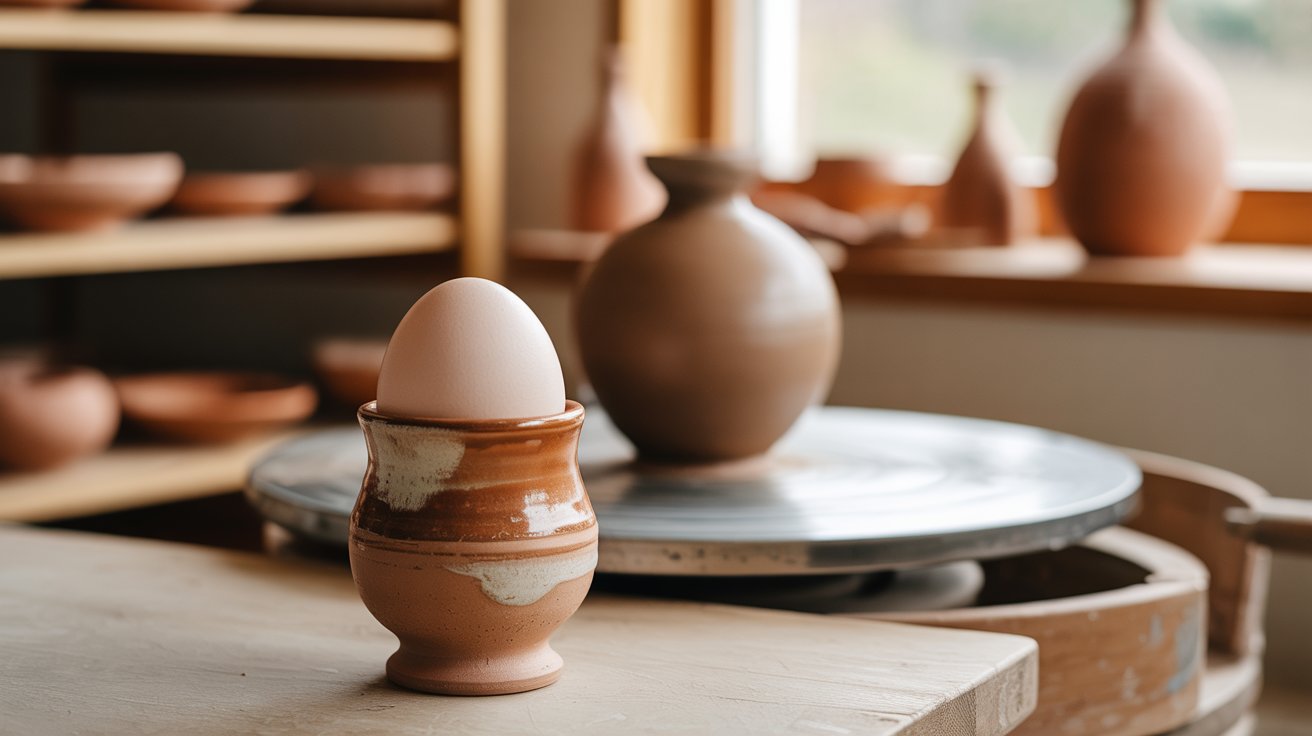
An egg cup is one of the smallest and most manageable wheel-throwing projects for beginners.
It requires only a small amount of clay and teaches you how to control the opening and base at the same time. Hand-building works just as well if you are not yet using a wheel.
13. Salt & Pepper Pinch Bowls
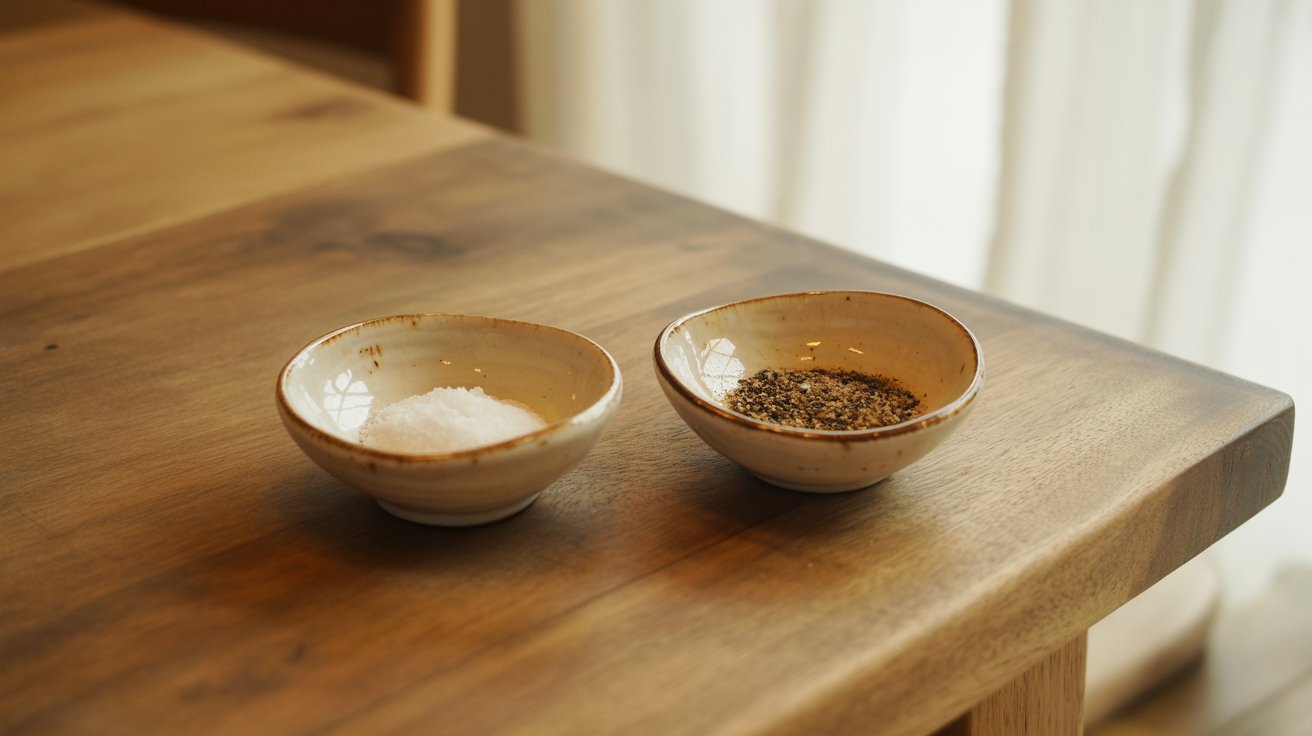
Make two small pinch pots of matching size and shape. Keep the openings wide enough to pinch a small amount of seasoning.
These tiny bowls sit neatly on a dining table and add a handmade touch to any meal. They are quick to make and easy to repeat for practice.
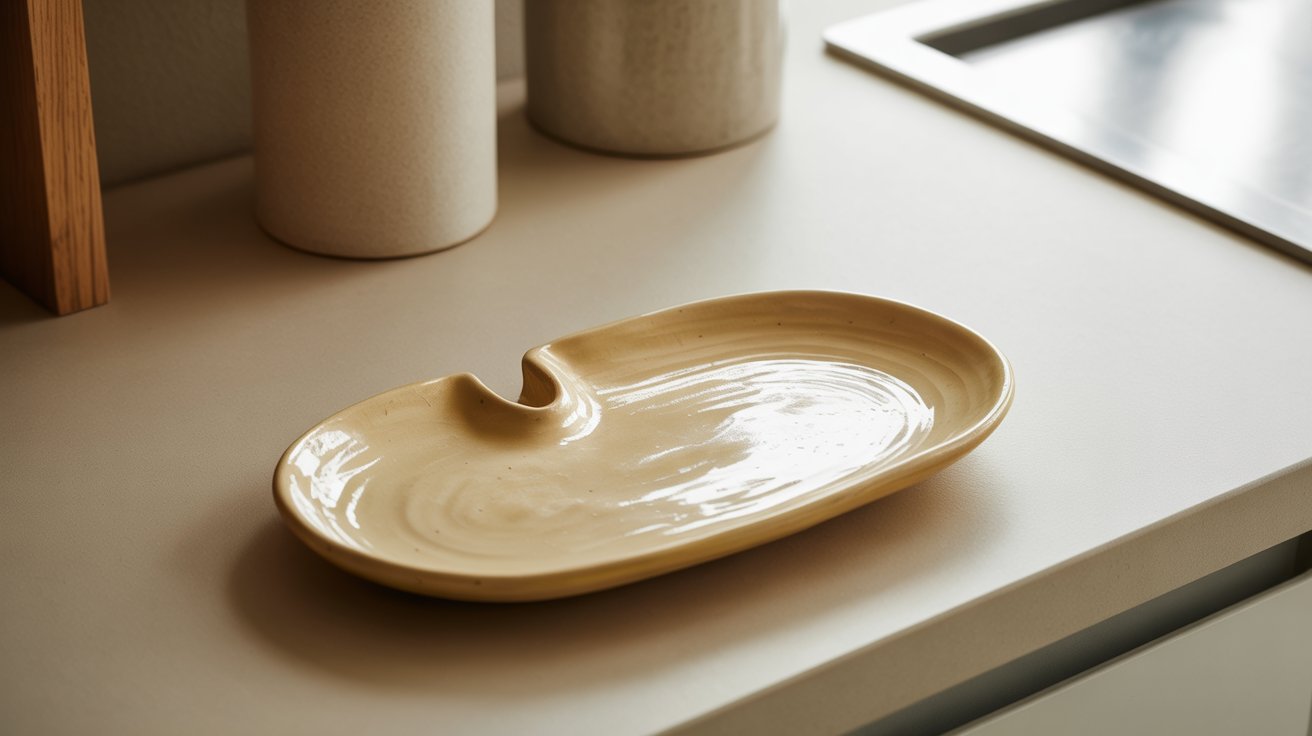
14. Paint Palette
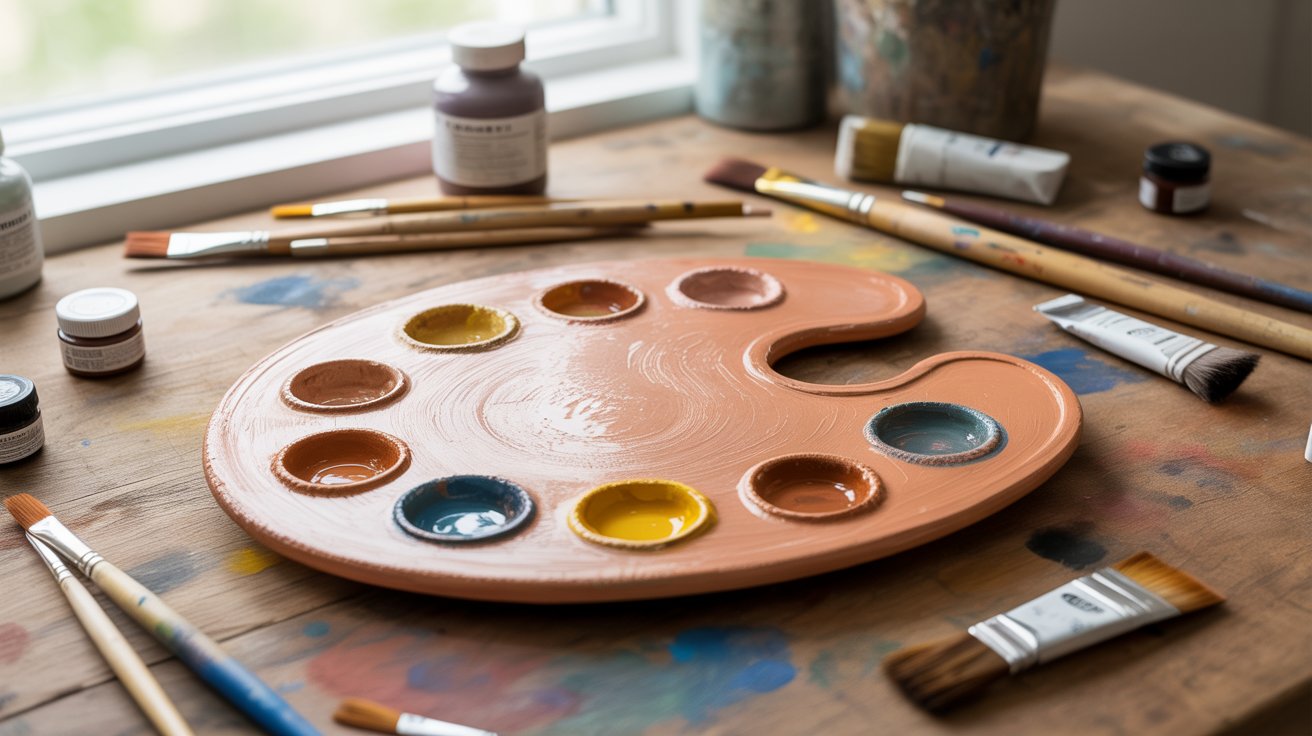
Flatten a slab of clay into a hand-held shape. Press a thumb hole into one side so it sits comfortably in your hand.
Then use a rounded tool to press small, shallow wells across the surface for holding paint. This is a creative and functional project that artists will genuinely enjoy making.
15. Clay Beads

Roll small pieces of clay into balls, cylinders, or any shape you like. Use a needle tool to pierce a hole through the centre of each one before they dry.
Once fired or fully dried, you can string them together to make bracelets or necklaces. A simple and enjoyable beginner project.
16. Milk Jug
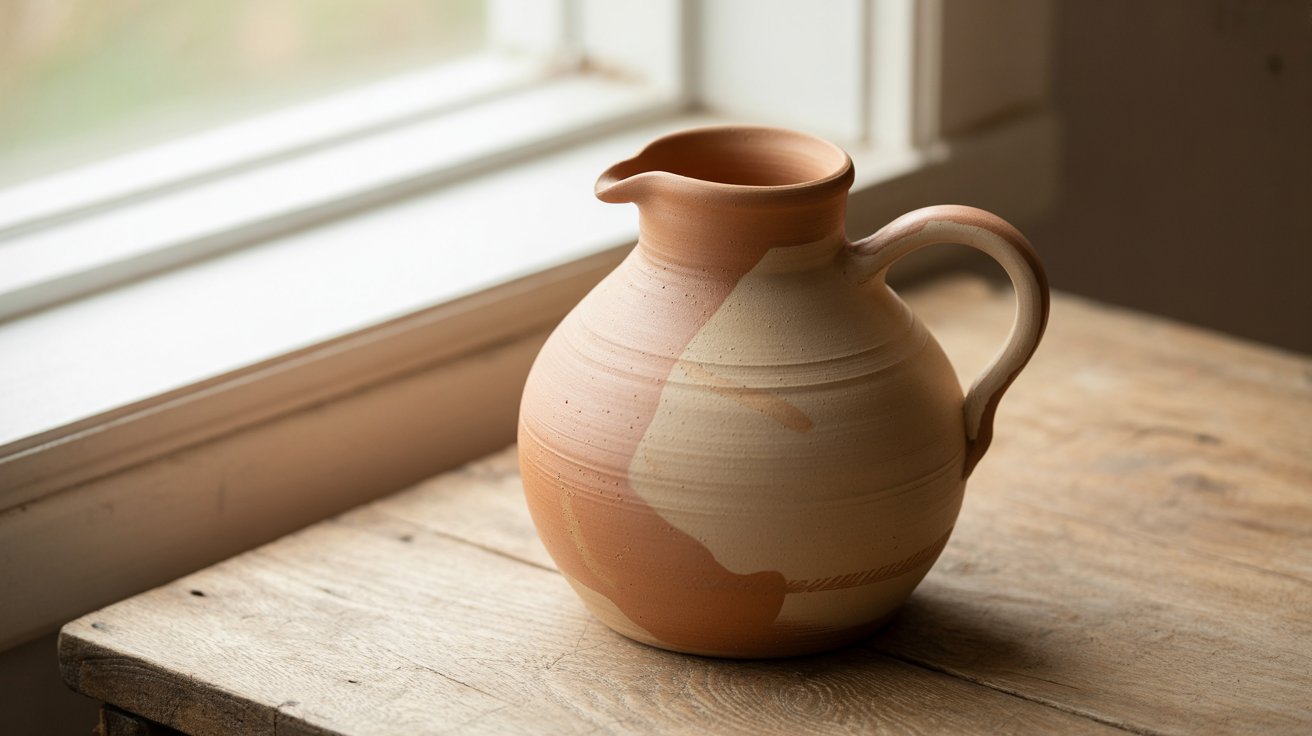
Start with a basic cylinder shape for the body of the jug. Once the walls are even, pinch one side of the rim outward to form a small pouring lip.
Attach a handle on the opposite side using slip. This project helps you practice shaping, attaching parts, and thinking about function while building.
17. Small Planter

Build a small, open-topped pot using the pinch or coil method. Make sure the walls are thick enough to hold soil without cracking.
Add a small drainage hole at the base using a needle tool. Succulents sit perfectly in these little planters, and the handmade look adds charm to any windowsill.
18. Decorative Clay Mushrooms
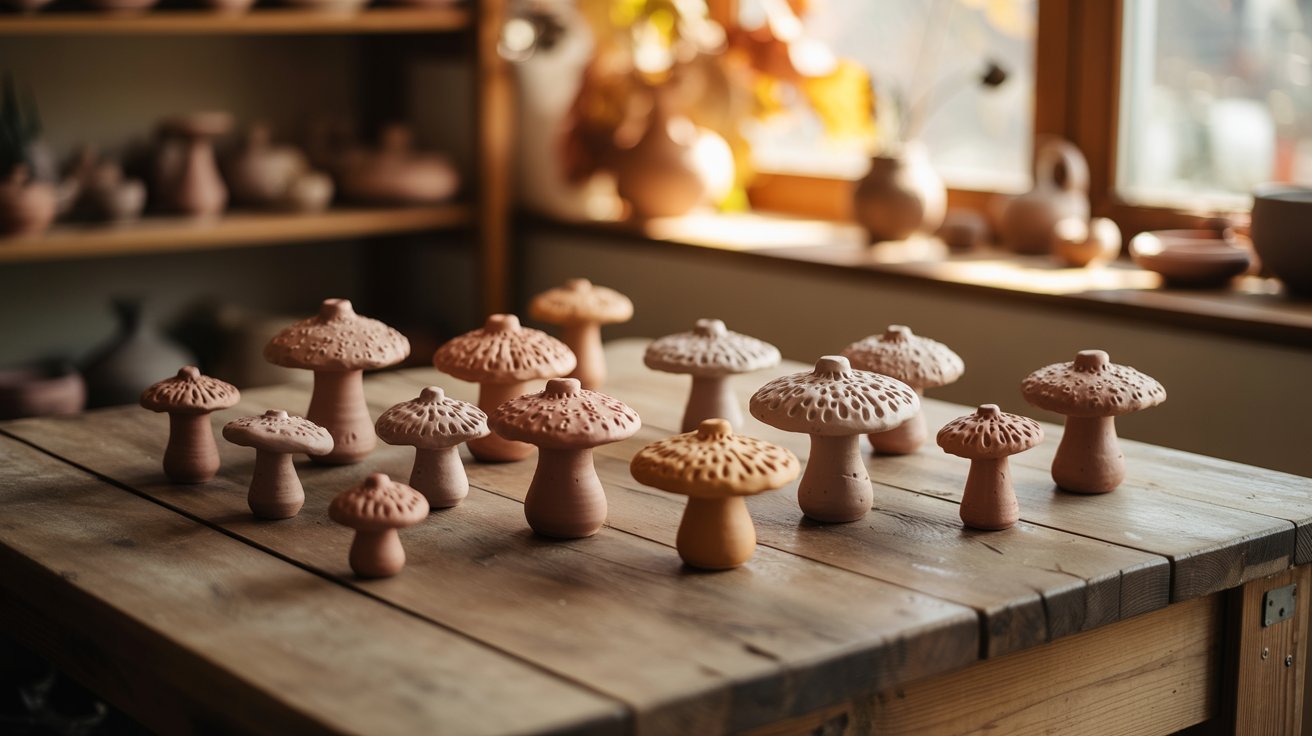
Shape a ball of clay into a rounded cap and a short cylinder for the stem. Join the two parts together with slip.
You can add texture to the cap using a tool or your fingertip. These little mushrooms make sweet autumn decorations and are a light, playful project for beginners to try.
19. Butter Dish

A butter dish is made in two parts: a flat base and a dome-shaped lid. This project teaches you how to build two separate pieces that fit together properly.
Measure carefully so the lid sits well on the base. It is a great way to practice structure and precision in your clay work.
20. Lidded Box
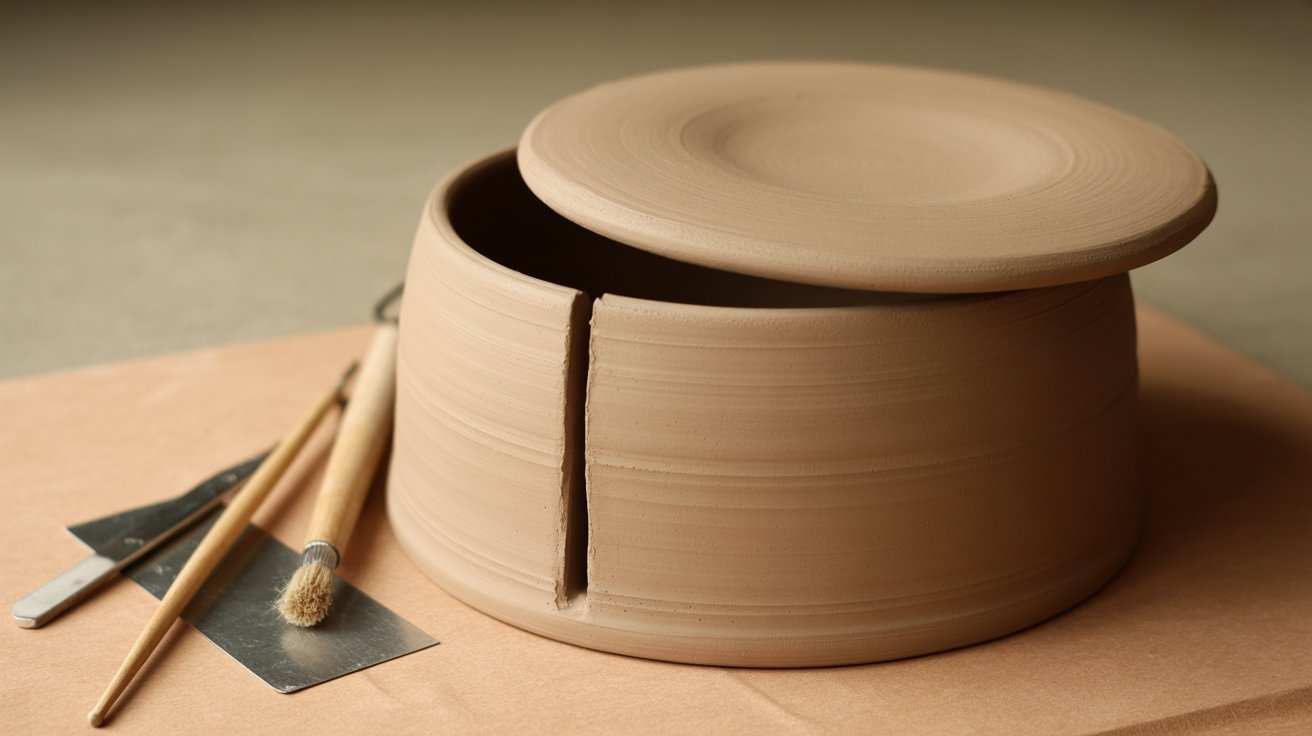
Build a box with straight slab walls and a flat base. Then make a lid that fits snugly on top. The key is measuring both pieces while the clay is still soft so they match once dry.
This project builds your understanding of fitting and proportion, two important skills in functional pottery.
21. Christmas Ornaments
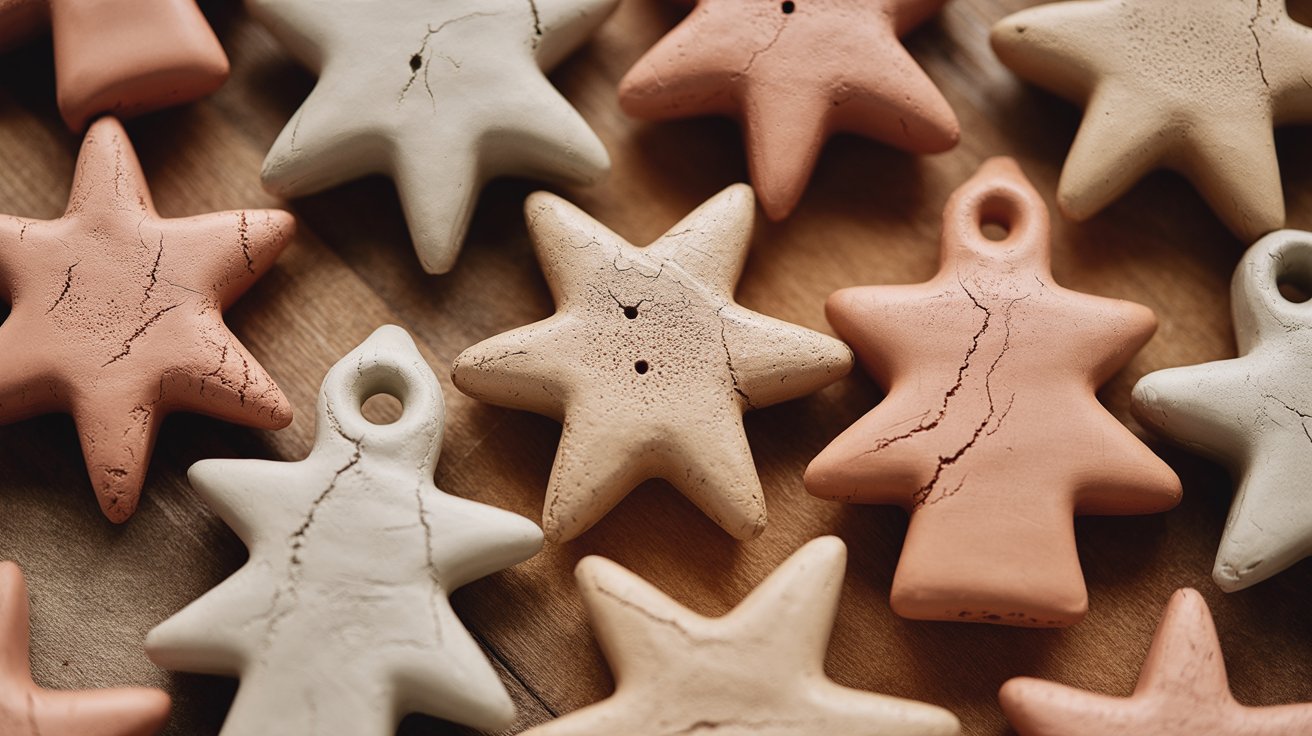
Roll out a flat slab and use cookie cutters to cut festive shapes like stars, trees, or bells. Add a small hole near the top with a straw before drying.
Once finished, you can paint or glaze them. These ornaments make lovely handmade decorations and thoughtful gifts during the holiday season.
22. Clay Key Dish
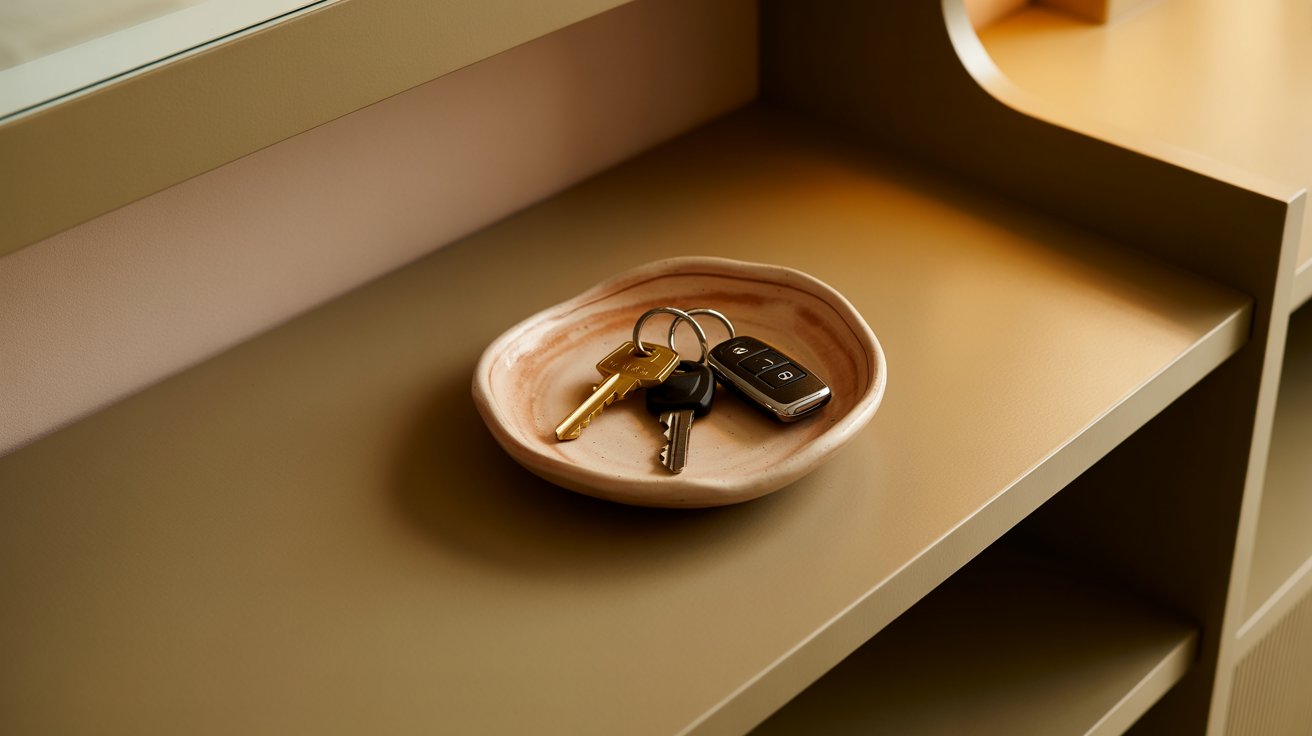
A key dish is a small, flat tray kept near the front door for everyday items. Roll out a slab, cut it into a simple shape, and curl the edges up slightly.
Press a simple pattern into the surface if you like. It is one of the most practical beginner projects you can make.
23. Incense Holder

Keep this one simple. Roll a small slab into a rectangular or oval shape. Use a needle tool to make a tiny hole near one end where the incense stick will sit.
The design does not need to be complex. A clean, minimal shape works best and looks great on any surface.
24. Clay Spoon

Shape a small oval bowl at one end of a rolled piece of clay, then pull and thin the other end into a handle.
Smooth the surface gently with your fingers or a damp sponge. This spoon works best as a decorative or display piece. It is a fun way to practise sculpting small forms.
25. Ring Dish with Impressed Flowers
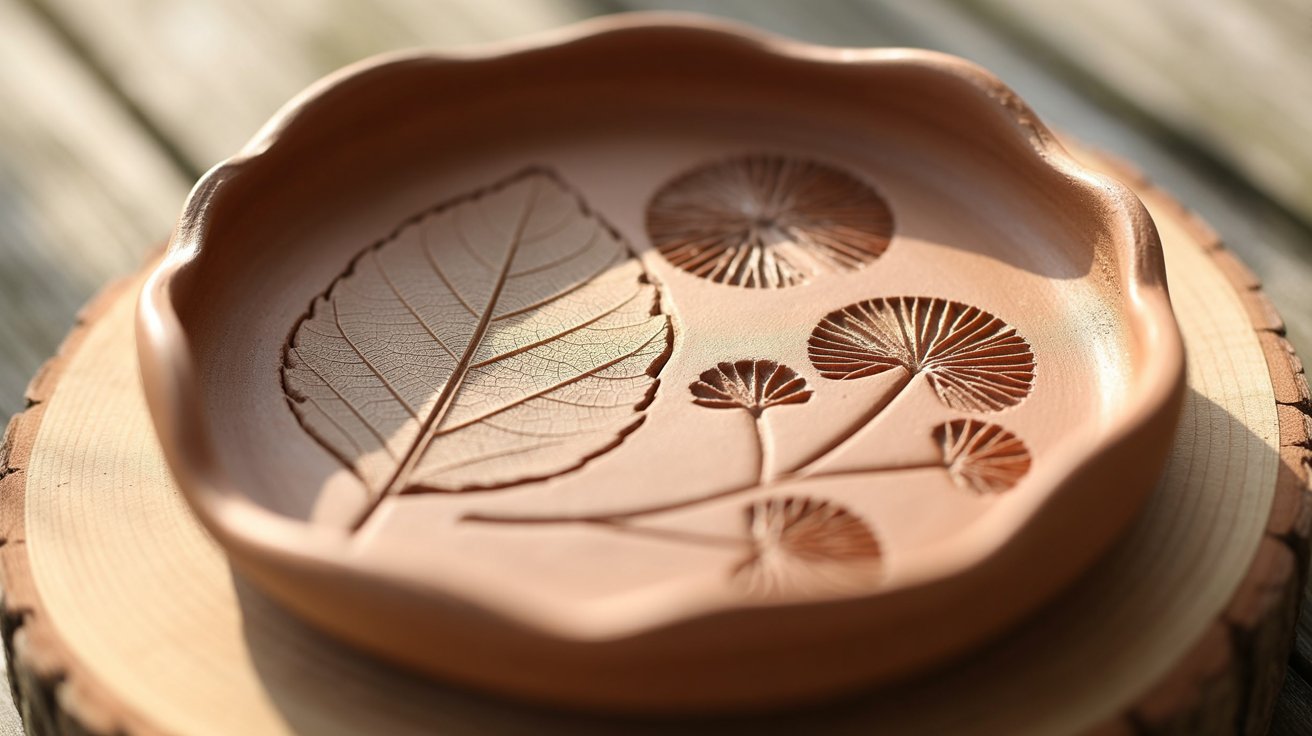
Roll out a small slab and cut it into a circle or soft shape. Press real leaves, flowers, or a textured stamp into the surface before the clay firms up.
Then curl the edges upward slightly to form a shallow dish. The natural impressions left behind give this piece a really personal, handcrafted feel.
26. Mini Sculpture
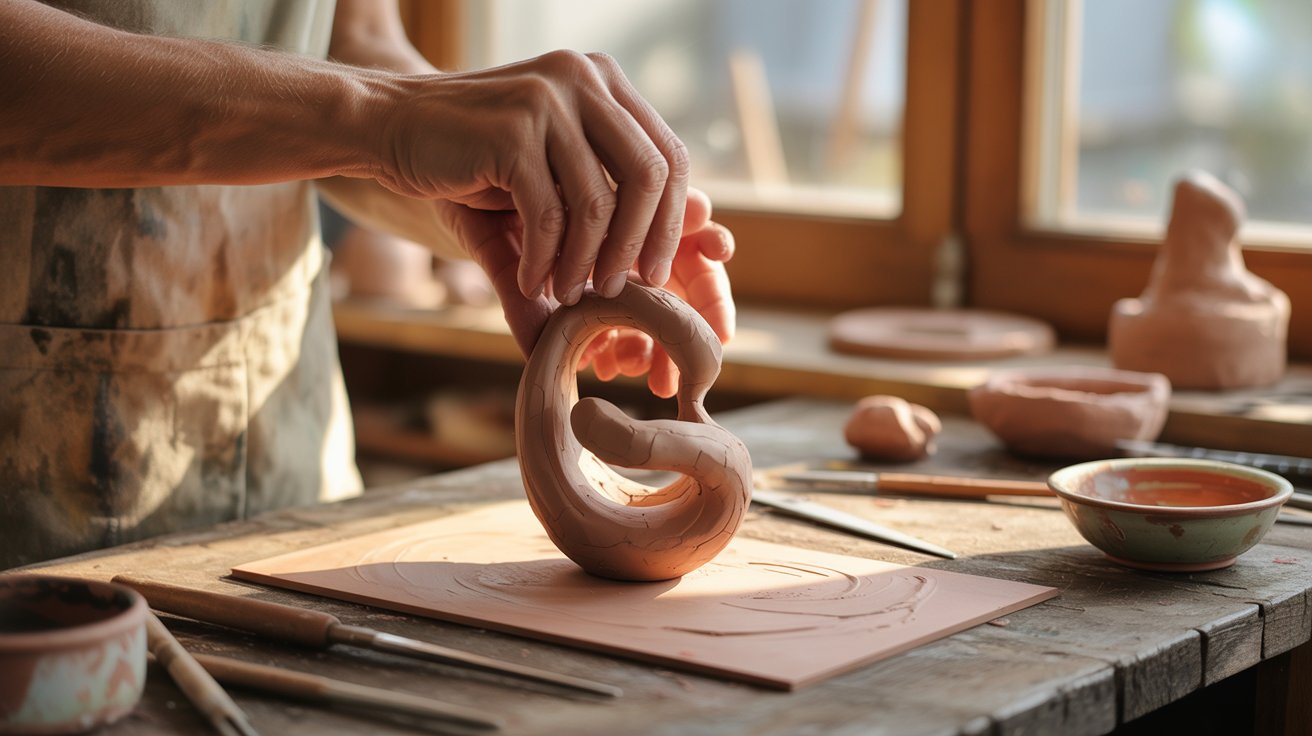
This project has no rules. Use leftover clay to shape abstract forms, small animals, or simple figures. Focus on building solid shapes and joining parts securely with slip.
Mini sculptures are a great way to loosen up, play with clay freely, and build your confidence without worrying about function or measurement.
27. Beginner Practice Cylinder

The cylinder is the foundation of wheel throwing. Learning to centre clay, open the base, and pull the walls upward evenly takes time and repetition.
Do not worry about making it perfect. Each attempt teaches you something new about how clay behaves on the wheel, and that experience adds up quickly over time.
Easy Pottery Tips for Success
- Keep your clay at an even thickness throughout your piece. Uneven walls crack or warp during drying and firing.
- Always score the surface and apply slip before joining two pieces of clay. This keeps the bond strong and prevents them from separating later.
- Let your clay dry slowly at room temperature. Drying too fast causes cracks, especially at the edges and joins.
- Start with small, simple projects before moving on to larger ones. Small pieces are easier to control and help you build the right habits early.
- Do not rush the process. Pottery rewards patience, and taking your time at each step gives you a much better result in the end.
Final Thoughts on Easy Pottery Ideas
Pottery is one of those skills that grows with you.
Do not worry if your first few pieces do not turn out the way you hoped. That is completely normal. Every potter has been right where you are now.
Try different techniques, play with different clay types, and see what feels right for you. The more you make, the more your own style will come through naturally.
Check out our other beginner pottery guides to keep building your skills. Pick up some clay and start making today!
Frequently Asked Questions
What type of clay is best for beginners?
Air-dry clay is the easiest option for beginners since it requires no kiln. Earthenware is also a great choice if you have access to a studio.
Do I need a pottery wheel to get started?
No, you do not need a wheel at all. Hand-building techniques like pinching, coiling, and slab work are perfect for beginners and require very little equipment.
How long does it take for clay to dry completely?
Air-dry clay usually takes 24 to 72 hours to dry fully depending on the size of your piece. Thicker pieces always take longer, so be patient and let them dry naturally.
Can I make pottery at home without a kiln?
Yes, you can. Air-dry clay hardens without any heat, making it ideal for home use. You can also use local pottery studios or kiln firing services for other clay types.
How do I keep my clay from cracking while it dries?
Dry your pieces slowly at room temperature and keep the thickness as even as possible. Covering your work loosely with plastic wrap slows the drying process and helps prevent cracks from forming.