

Stuck choosing between polymer clay and air-dry clay? I was too when I first started.
These two materials look similar but feel different and work completely differently. I’ve spent years working with both clays, making countless projects and learning from every mistake.
In this guide, I’m sharing everything I wish someone told me from the start. The complete comparison of both clay types, which clay works best for your specific projects, step-by-step tips for success, cost breakdown, and safety considerations you need to know.
By the end, you’ll know exactly which clay to buy. No more guessing or wasted money on the wrong materials like I did.
I’ll give you honest facts based on real experience, not marketing fluff. Your clay confusion ends here.
What Is Polymer Clay?
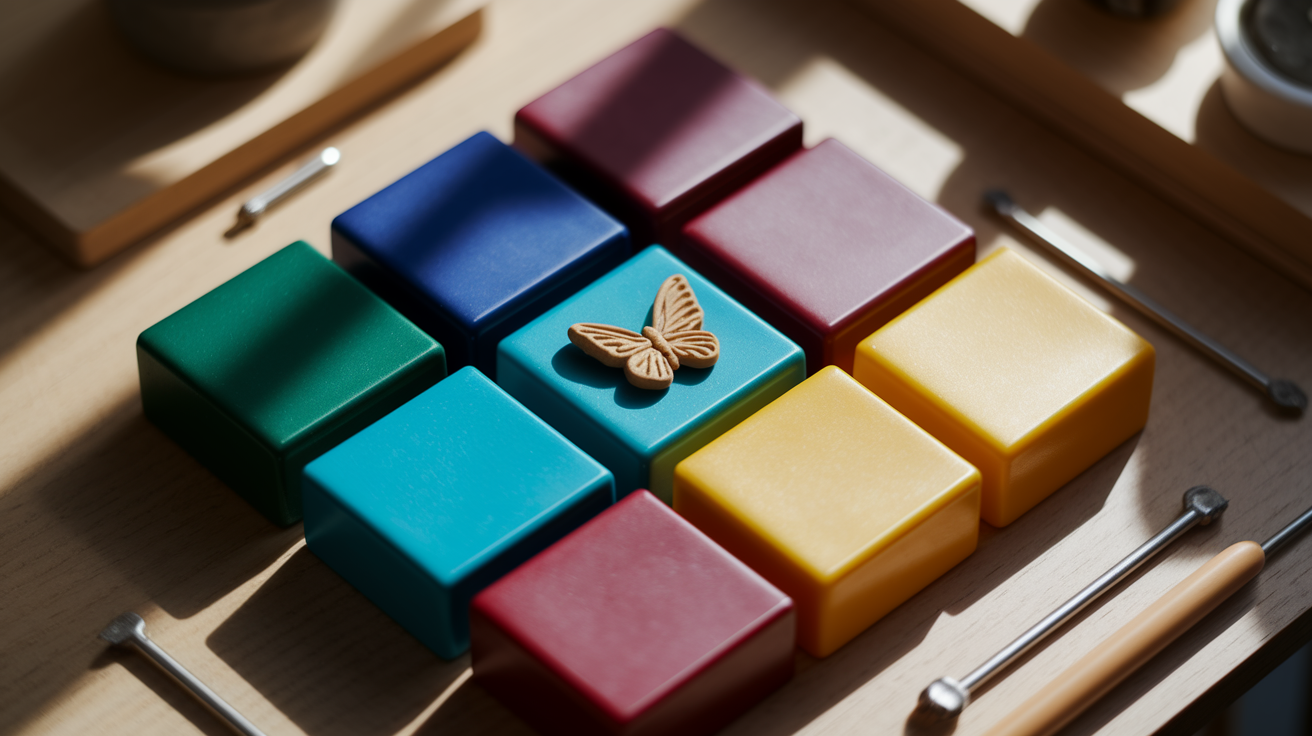
Polymer clay isn’t actually clay at all. It’s a plastic modeling compound made from PVC particles. When you bake it in your home oven at 275°F (135°C), the particles fuse together creating a permanent, durable material.
Popular brands include Sculpey, Fimo, and Premo. The clay stays soft and workable until you heat it, then it becomes hard as plastic.
Key fact: Once baked, polymer clay won’t soften again. Ever. This permanence makes it perfect for lasting projects but means you can’t fix mistakes after baking.
What Is Air Dry Clay?
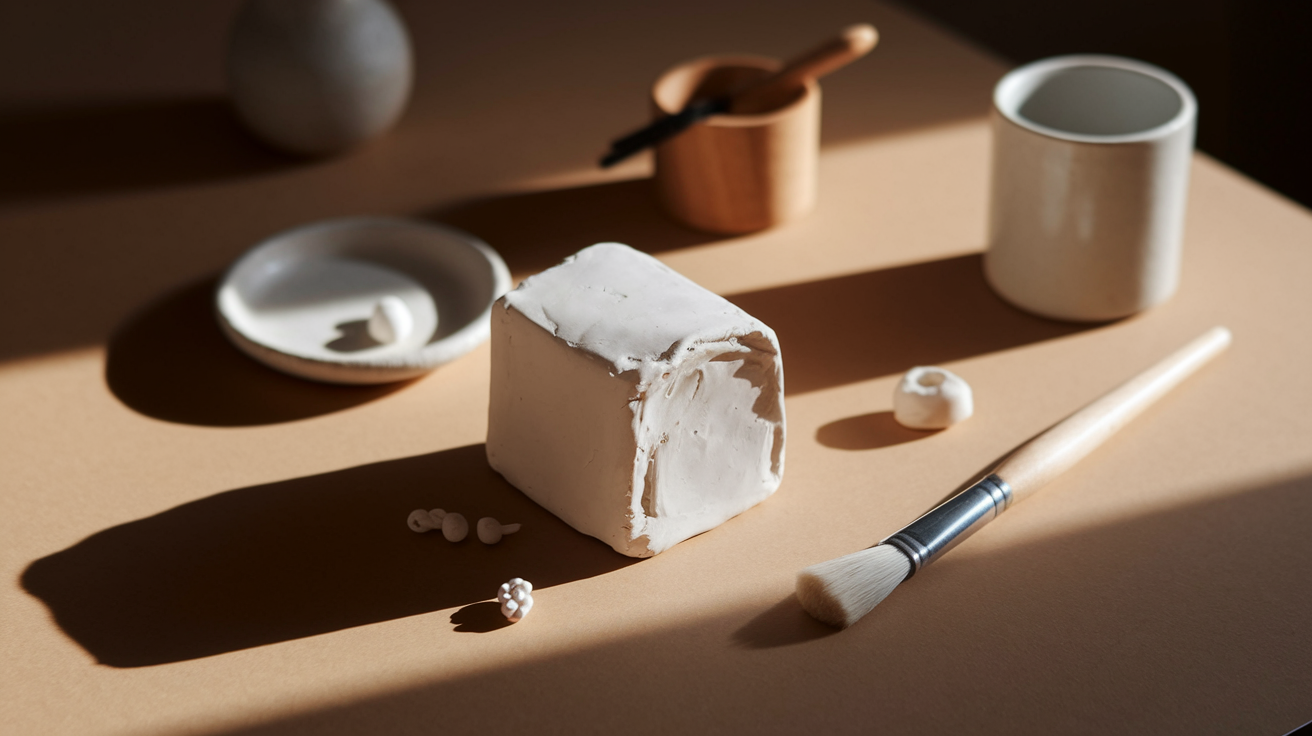
Air-dry clay is the low-maintenance option. This clay contains water and natural or synthetic materials. As the water evaporates, the clay hardens without any oven required.
You simply shape your project and wait, usually 24-72 hours, depending on thickness. Common types include paper clay, epoxy clay, and natural air-dry clay.
The downside? It’s never as strong as polymer clay. Air-dry clay can crack during drying if your piece is too thick or dries unevenly. But it’s much easier to work with for beginners.
Polymer Clay vs Air Dry Clay: Quick Comparison Chart
| Feature | Polymer Clay | Air Dry Clay |
|---|---|---|
| Curing Method | Oven baking (275°F) | Air drying (24-72 hours) |
| Durability | Very high | Medium to low |
| Cost per Project | Higher upfront | Lower upfront |
| Shelf Life | Years if stored properly | Weeks to months |
| Detail Level | Excellent for fine details | Good for simple shapes |
| Flexibility | Slight flex when thin | Brittle when dry |
| Water Resistance | Fully waterproof | Not waterproof |
| Paint Adhesion | Requires primer | Paints stick easily |
Project Suitability: What Clay Is Best for What?
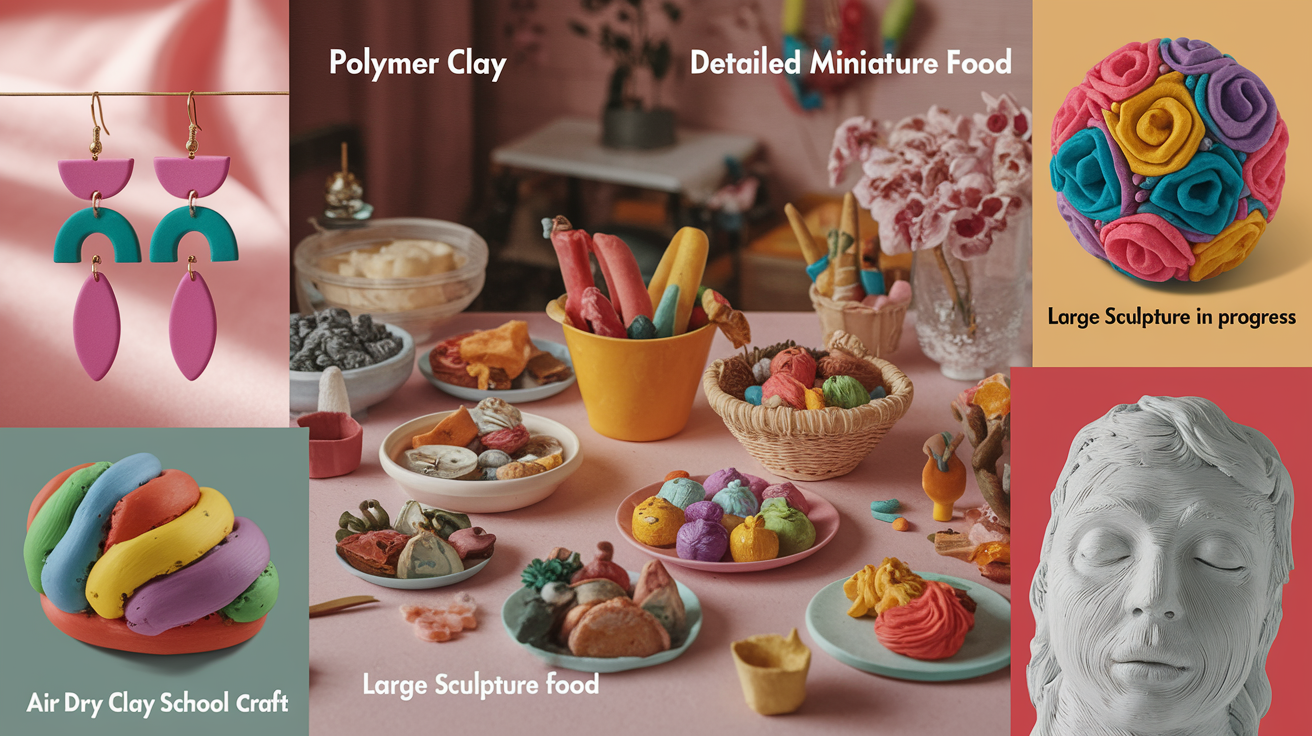
Choose Polymer Clay For:
- Jewelry making (earrings, pendants, charms)
- Miniature food and dollhouse items
- Detailed sculptures
- Items that need to last years
- Projects requiring precision
- Outdoor decorations
Choose Air Dry Clay For:
- Kids’ crafts (safer, no oven needed)
- Large sculptures (cheaper for big projects)
- Temporary decorations
- Practice projects
- School art classes
- Budget-friendly experiments
Here’s something interesting: Many artists use both clays in the same project.
Texture, Flexibility, and Finish: The Artistic Experience
Working With Polymer Clay
Polymer clay feels smooth and consistent. It never dries out while you work. You can leave a project for weeks and come back to it. The clay holds fine details beautifully. Think tiny rose petals or intricate patterns.
After baking, it has a slight flexibility. Thin pieces can bend without breaking.
Working With Air Dry Clay
Air dry clay feels more like traditional pottery clay. It’s often grittier in texture. Time pressure is real. Once you open the package, you’re racing against drying time.
The finished surface is usually more porous. This makes it perfect for painting but terrible for outdoor use.
Drying Time and Curing: What to Expect
Polymer Clay Timeline:
- Working time: Unlimited (until you bake it)
- Baking time: 15-30 minutes per ¼ inch thickness
- Cool down: 30 minutes
- Ready to use: Immediately after cooling
Air Dry Clay Timeline:
- Working time: 2-6 hours (varies by brand)
- Drying time: 24-72 hours
- Fully cured: 5-7 days for maximum strength
Pro tip: You can speed up air dry clay with a fan or dehydrator.
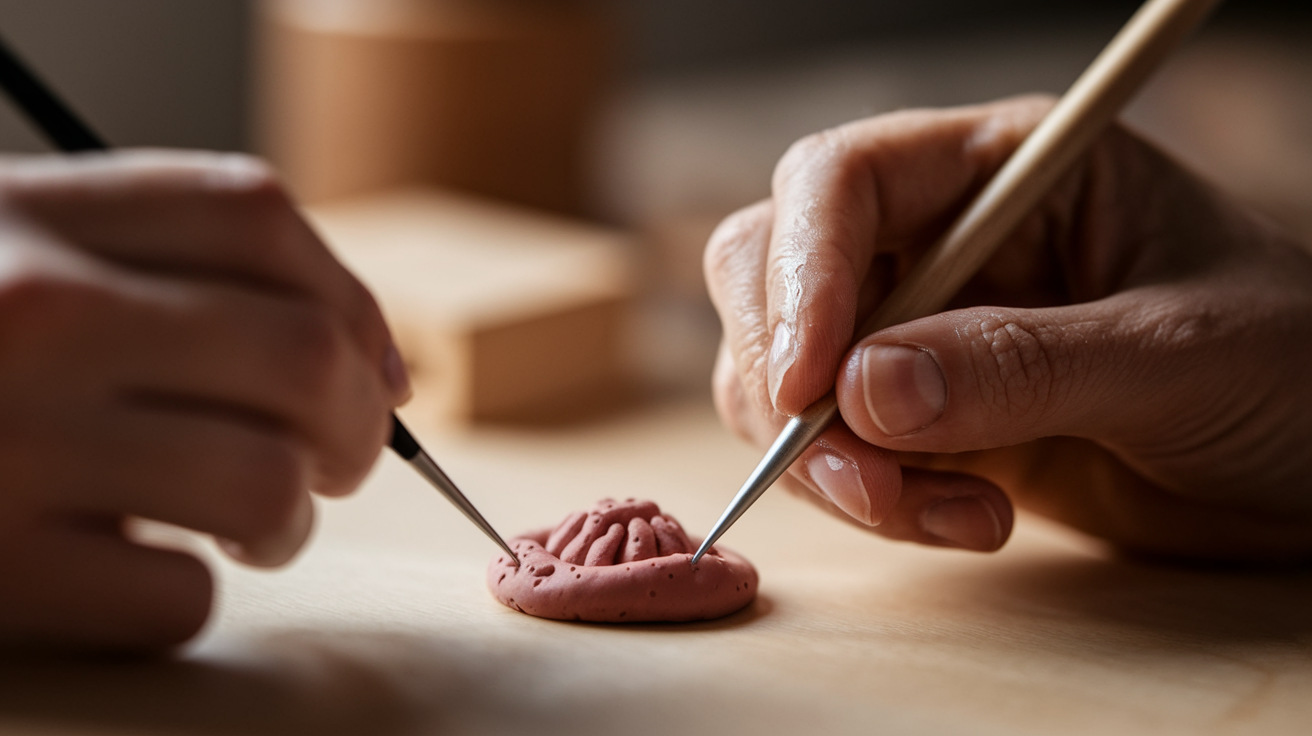
Tips for Working With Polymer Clay
Before You Start:
- Condition your clay by kneading it warm
- Use clean hands and tools
- Work on parchment paper
During Your Project:
- Keep unused clay covered
- Use pasta machines for even sheets
- Test bake scraps first
Baking Success:
- Use an oven thermometer (built-in gauges lie)
- Tent with aluminum foil to prevent scorching
- Bake longer rather than hotter
After Baking:
- Let it cool completely before handling
- Sand lightly for smooth finish
- Prime before painting
Tips for Working With Air Dry Clay
| Stage | Key Tips |
|---|---|
| Setup Right | Work in a humid-free environment. Have all tools ready before opening clay. Cover unused portions with damp cloth |
| While Creating | Work from thick to thin sections. Smooth cracks with water while wet. Score surfaces for better joining |
| Drying Smart | Turn pieces regularly for even drying Avoid direct sunlight (causes cracking)Use newspaper to absorb moisture |
| Finishing Touches | Sand gently when bone dry Seal before painting for best results Apply multiple thin paint coats |
Sustainability and Safety: What’s Better for the Planet and Your Health?
Both clays have environmental and health considerations worth knowing. Understanding the differences helps you make informed choices for your workspace and the planet.
Environmental Impact
Polymer clay is made from petroleum-based materials and isn’t biodegradable. It requires electricity for curing in your oven. However, polymer clay projects last much longer, which means less replacement over time.
Air dry clay often contains natural materials, and some types are biodegradable. It needs no energy for curing since it hardens naturally. The downside is that air dry clay projects may need replacing sooner due to lower durability.
Safety Considerations
Polymer clay is non-toxic when used properly but requires ventilation during baking. Don’t use food ovens for large projects to avoid any contamination concerns. It’s safe for ages 8 and up with proper supervision.
Air-dry clay is generally safer for young children since there’s no heating or fumes involved. Some brands contain preservatives, so always check labels. It’s the better choice for classroom settings where oven access isn’t available.
The winner for families with small kids? Air-dry clay takes this round.
Mistakes to Avoid When Using Either Clay
- Overbaking polymer clay causes brittleness and discoloration, while under-conditioning leads to cracking. Always condition properly and follow exact baking temperatures and times.
- Using food tools for polymer clay is a safety risk. Keep separate tools for clay work and never mix them with kitchen utensils.
- Working too slowly with air dry clay means it dries out before you finish. Keep unused portions wrapped in plastic and work efficiently to maintain workability.
- Making air dry clay pieces too thick prevents proper drying and causes cracking. Keep pieces under 1 inch thick or hollow out larger sculptures.
- Expecting air dry clay to be as strong as fired pottery sets you up for disappointment. It’s not pottery-level durable and will always be more fragile than polymer clay or kiln-fired ceramics.
Cost Breakdown: Which Clay Offers More Value Over Time?
Initial Investment
| Cost Item | Polymer Clay | Air Dry Clay |
|---|---|---|
| Clay Material | $2-4 per 2 oz block | $1-3 per pound |
| Basic Tools | $20-30 | $10-20 |
| Equipment | Minimal electricity cost | No additional equipment needed |
| Total Starter Cost | $40-60 | $15-30 |
Long-Term Value
Polymer clay wins the durability contest. Your projects last for decades. Air dry clay projects might need replacing in 1-2 years, especially if handled frequently.
The math: Polymer clay costs more upfront but saves money over time for permanent projects.
Final Verdict: Which Clay Should You Use?
Choose polymer clay if you want projects that last forever and detail work matters. It’s perfect for jewelry or miniatures where precision counts most.
Choose air dry clay if you’re working with children or budget is your main concern. It’s ideal when you need large quantities or oven access is limited. Great for beginners who want to experiment without commitment.
The honest truth? Most serious clay artists end up using both. They’re tools for different jobs. Each clay serves its purpose in the creative toolkit, and you’ll likely find uses for both as you grow.
Conclusion
You now have everything you need to choose the right clay. The bottom line: polymer clay for permanent projects, air dry clay for practice and kids’ crafts.
My recommendation? Start with a small amount of each. Test them on simple projects first. Match the clay to your project needs, consider your skill level, think about your budget, and factor in time constraints.
Pick one clay and start creating. You’ll learn more from making one project than reading ten articles. Stop researching. Start making. Every expert was once a beginner. Your clay journey starts with that first purchase.
Frequently Asked Questions
Can You Reuse Polymer Clay After It Gets Hard?
No, polymer clay becomes permanently hard after baking at 275°F. Once it’s cured, you cannot soften it again or reuse the material for new projects.
Does Air Dry Clay Shrink When It Dries?
Yes, most air dry clays shrink 5-10% as water evaporates during the drying process. Plan your projects slightly larger than your desired final size to account for this shrinkage.
Which Clay Type Holds Fine Details Better?
Polymer clay excels at holding intricate details because it doesn’t dry out while you work. Air dry clay can lose fine details as it starts hardening, making detailed work more challenging.
Can You Speed Up Air Dry Clay Drying Time?
Yes, you can use a fan, dehydrator, or warm (not hot) environment to speed drying. Avoid direct heat or sunlight as these can cause cracking and uneven drying.
Is It Safe to Bake Polymer Clay in Your Kitchen Oven?
Yes, but ensure good ventilation and use an oven thermometer for accuracy. Many crafters prefer using a dedicated toaster oven to avoid any potential food contamination concerns.