

A simple skull drawing looks hard at first, but trust me, it is not.
I remember sitting with a blank page, thinking I could never pull it off. Once I broke it down into basic shapes, everything clicked.
In this guide, I will show you why skull drawing is easier than it looks, what materials you need, and a full step-by-step breakdown from the basic outline to the final details.
This tutorial is made for beginners, kids, hobby artists, and DIY creators. I have helped many beginners get started, and I know what works.
By the end, you will have a complete skull drawing and the confidence to try it again.
Understanding the Basics of a Simple Skull Drawing
Every skull has the same basic parts:a large round cranium at the top, two eye sockets, a small nose opening, cheekbones, a jawline, and teeth.
Knowing these parts makes the whole process easier because you are placing familiar shapes, not guessing. Most beginners make one common mistake.
They try to draw the final result right away. Starting with simple circles and ovals gives you a solid base to build on, step by step.
This removes guesswork and builds real confidence. For tools, you do not need anything fancy. A pencil, an eraser, plain white paper, and a black marker for the final outline are all you need.
Simple Skull Drawing Step by Step
Follow each step slowly and you will have a great skull drawing before you know it.
Step 1: Draw the Basic Skull Outline
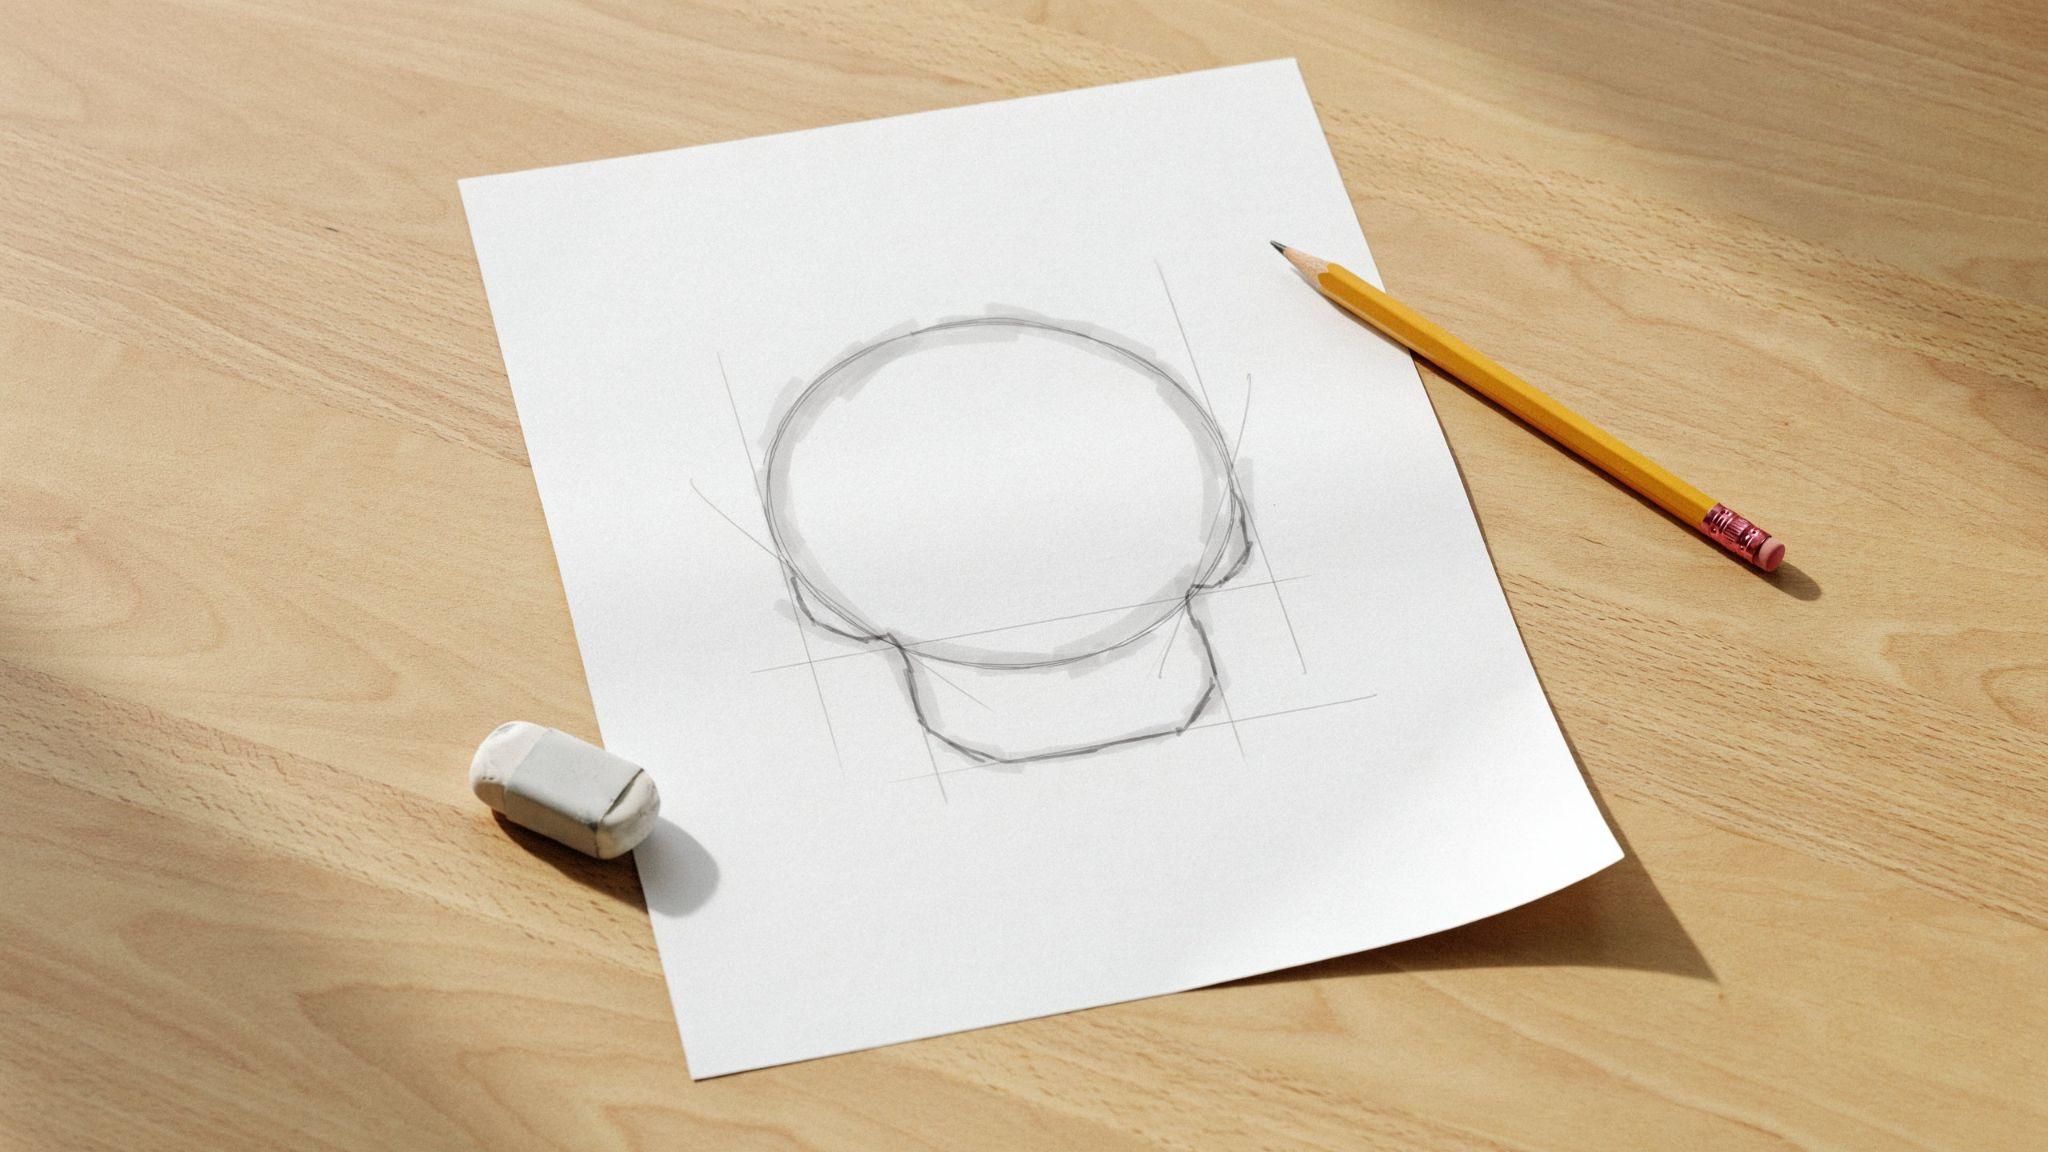
Start by drawing a large circle in the center of your paper. This will be the top part of the skull, also called the cranium.
Below the circle, add a slightly smaller rounded rectangle shape. This will become the jaw area. Do not press too hard with your pencil. These are just guide shapes.
Step 2: Add the Eye Sockets
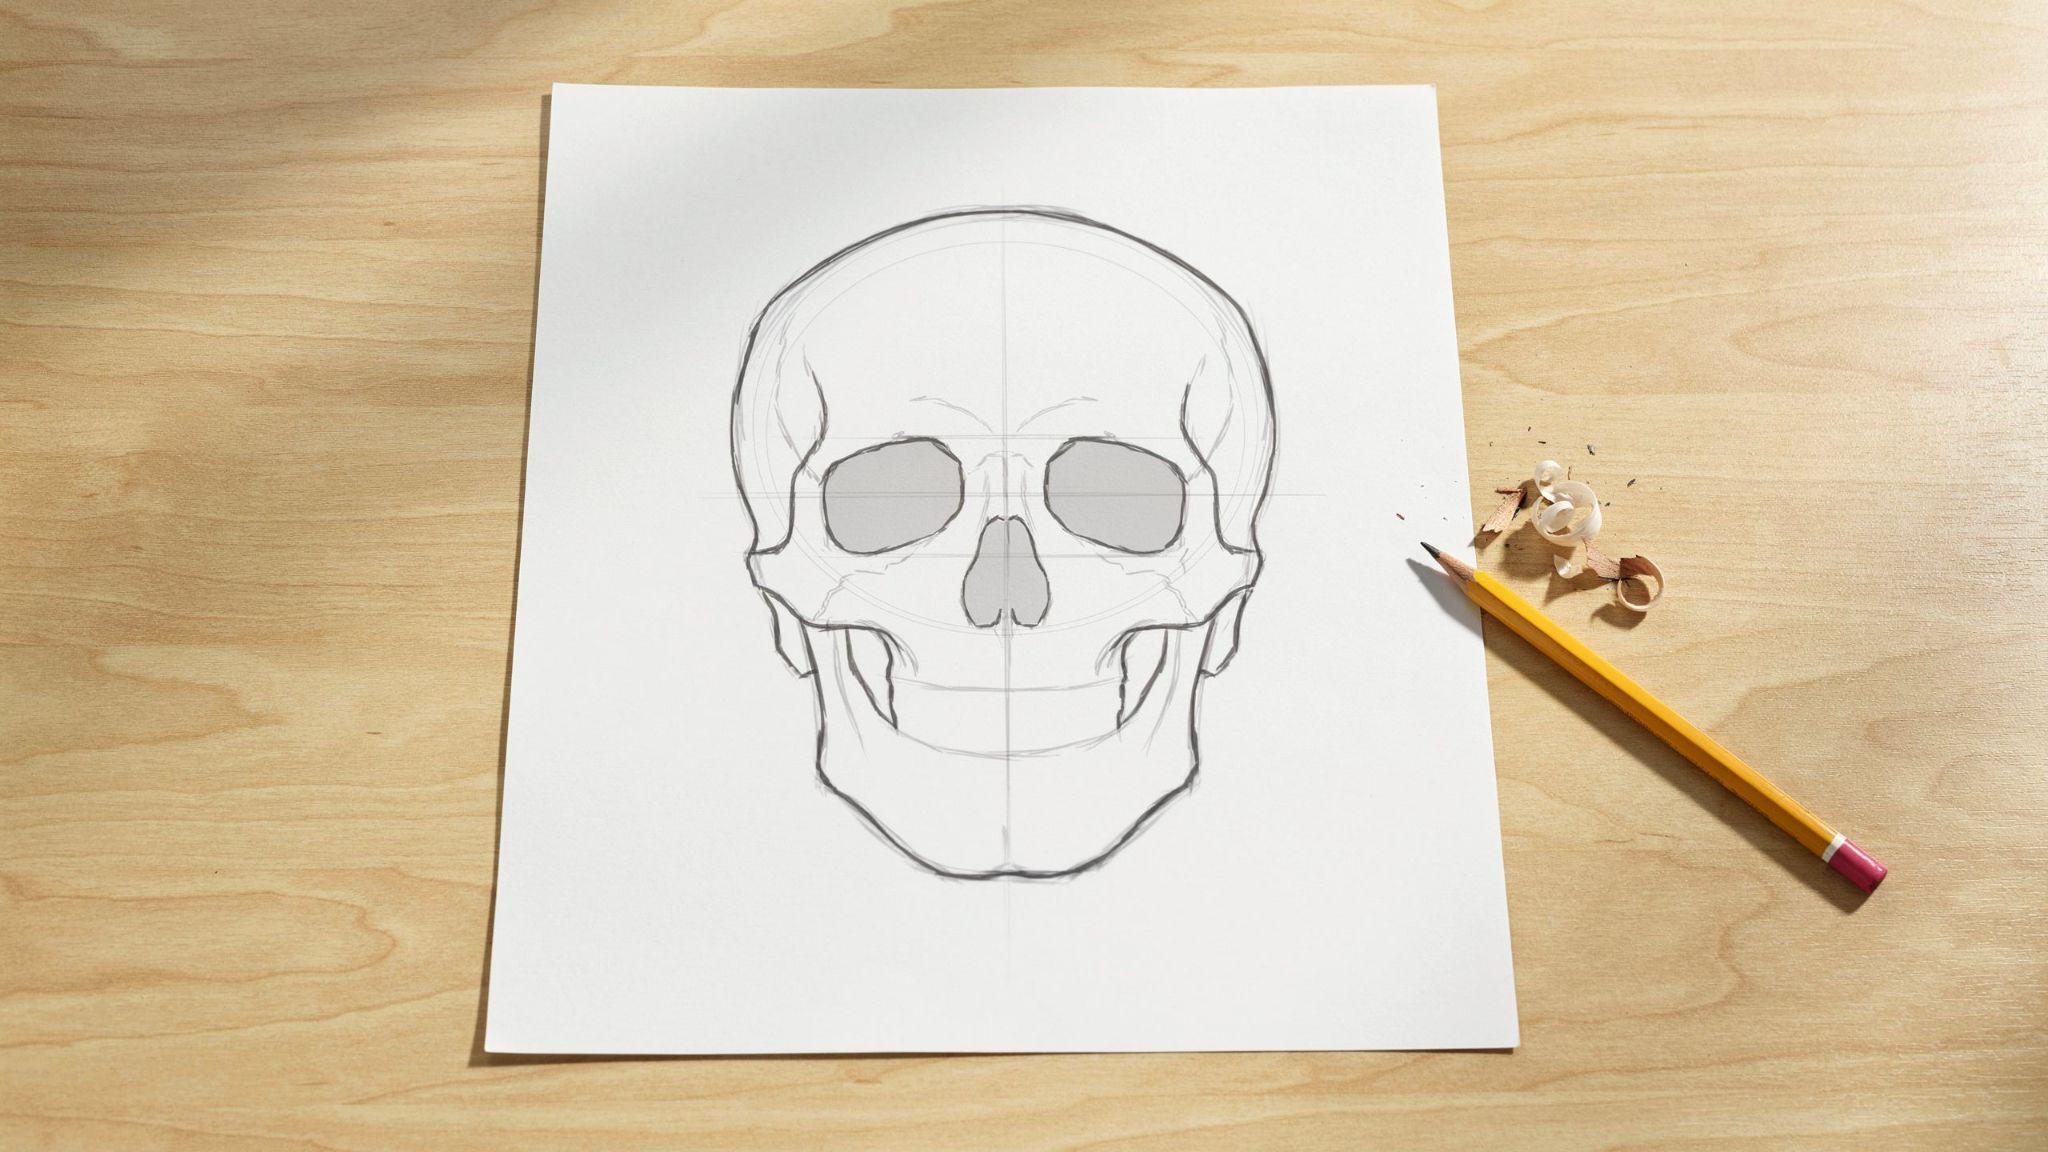
Draw two oval or rounded square shapes in the middle section of your skull. Place them evenly on both sides.
Leave a small gap between them in the center. Eye sockets do not need to be perfect. Slightly imperfect shapes actually look more natural.
Step 3: Sketch the Nose Opening

Below the eye sockets and in the center, draw a small heart shape upside down. This creates the nose cavity. Keep it small and simple. It should not be bigger than one eye socket.
Step 4: Shape the Cheekbones and Jawline
Now refine the lower part of your skull. Use curved lines to bring in the sides slightly to form cheekbones.
Then bring the shape down into a rounded jawline. The jaw should not be too narrow. Keep it wide enough to look natural.
Step 5: Draw the Teeth and Mouth
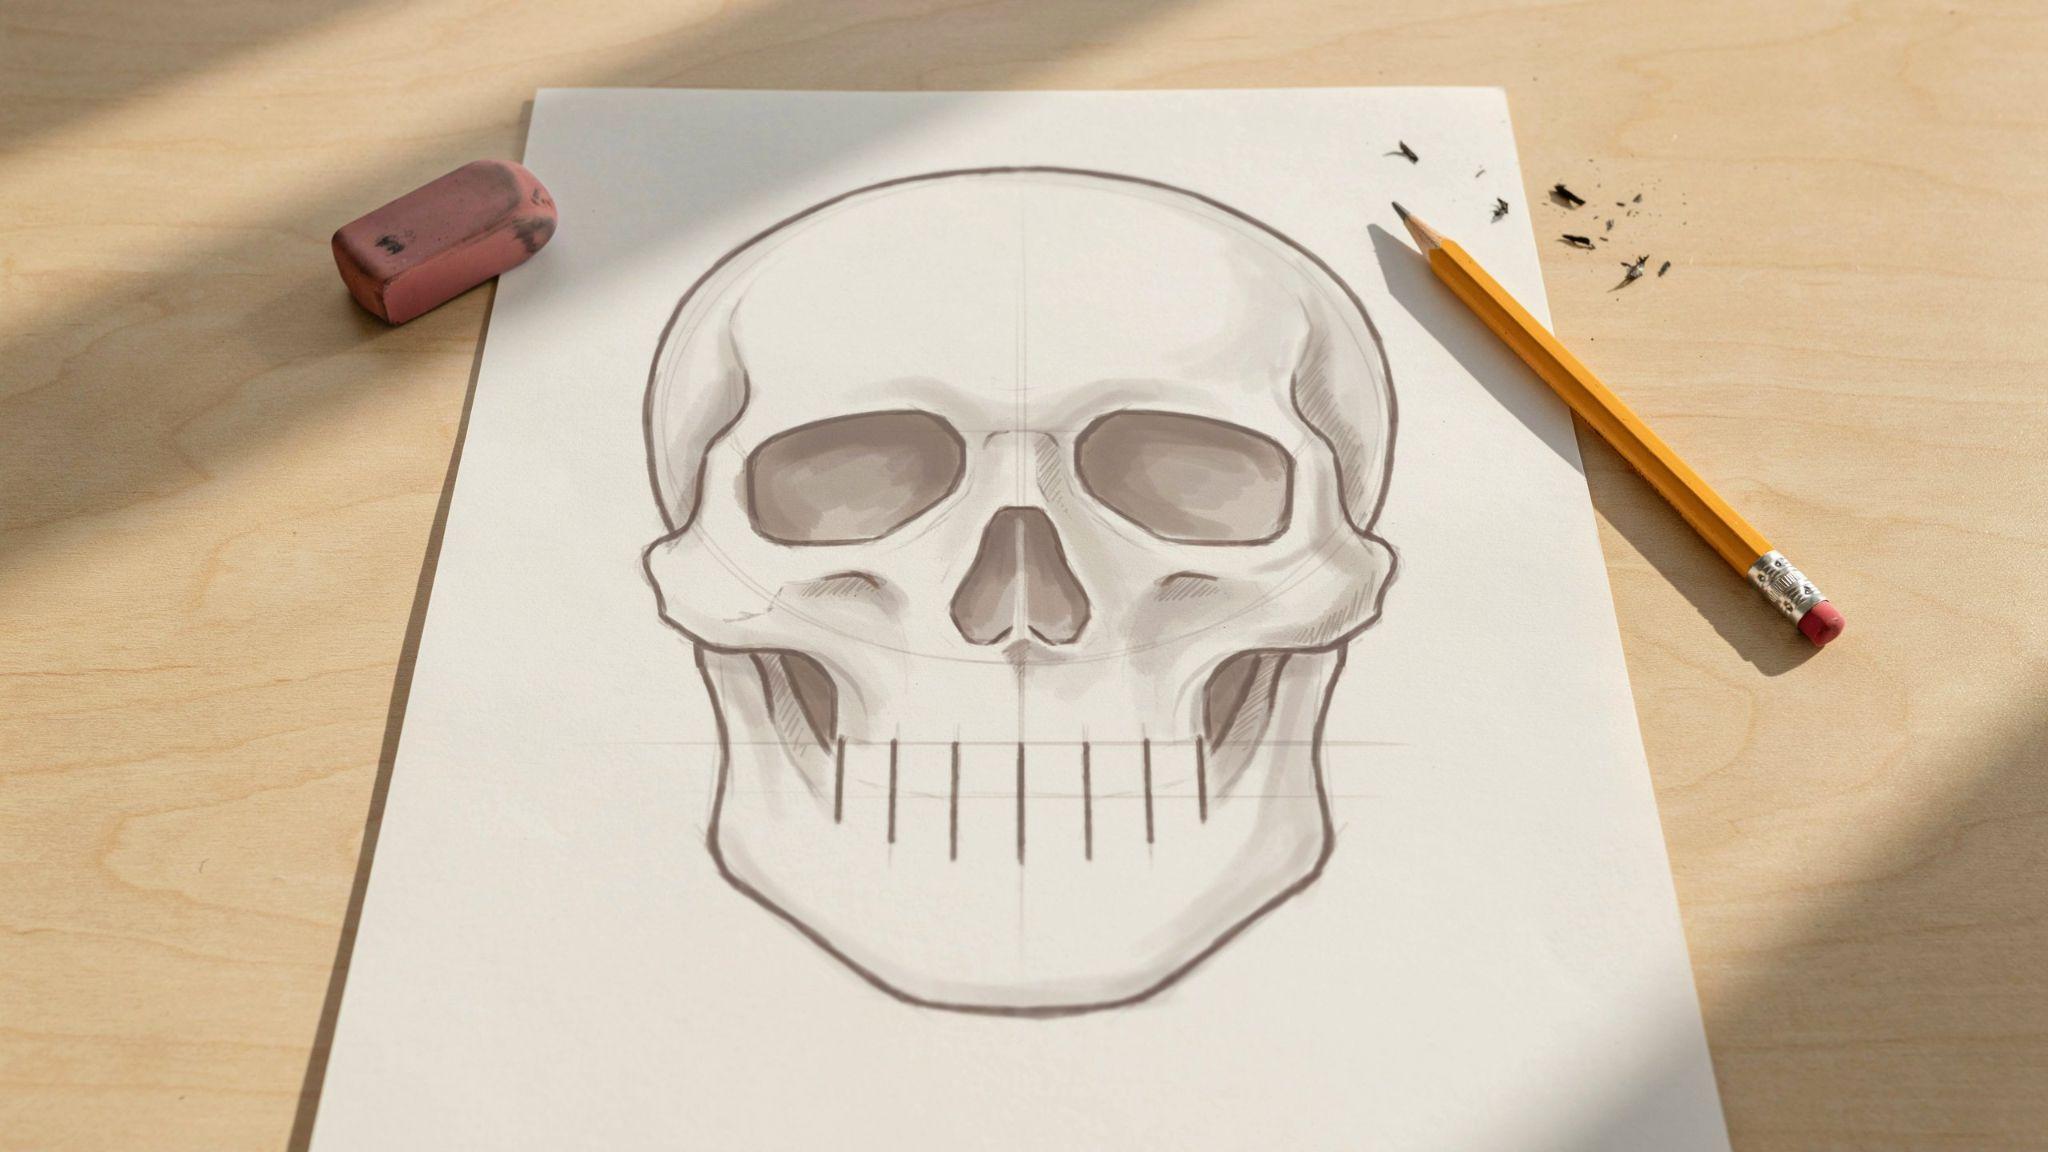
Draw a horizontal line across the lower jaw area. Then add vertical lines going down from it to form the teeth. Keep the teeth even in size.
You can draw between five and eight teeth depending on how wide your jaw is. Do not overthink this part.
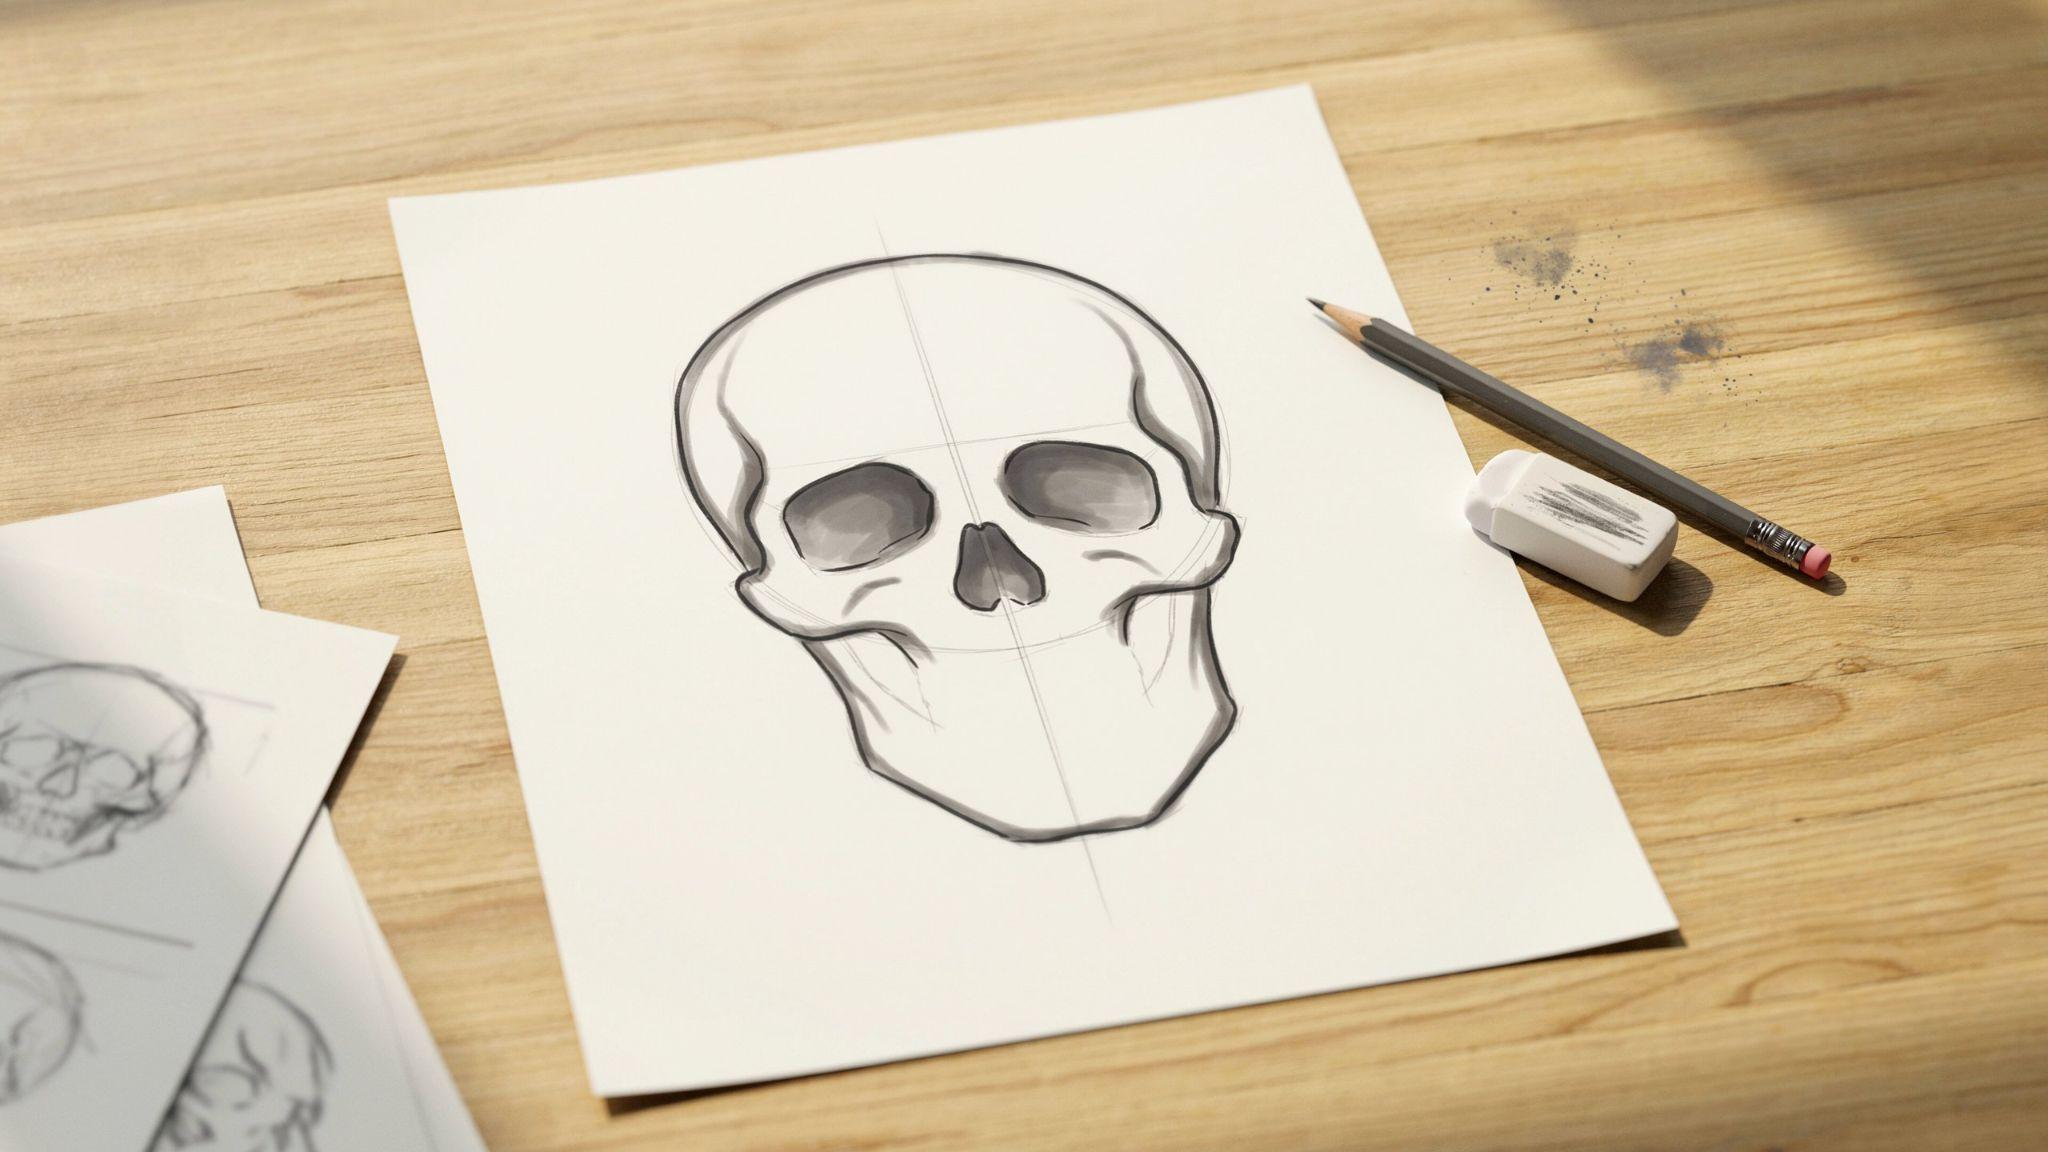
Step 6: Add Final Details and Complete Your Drawing
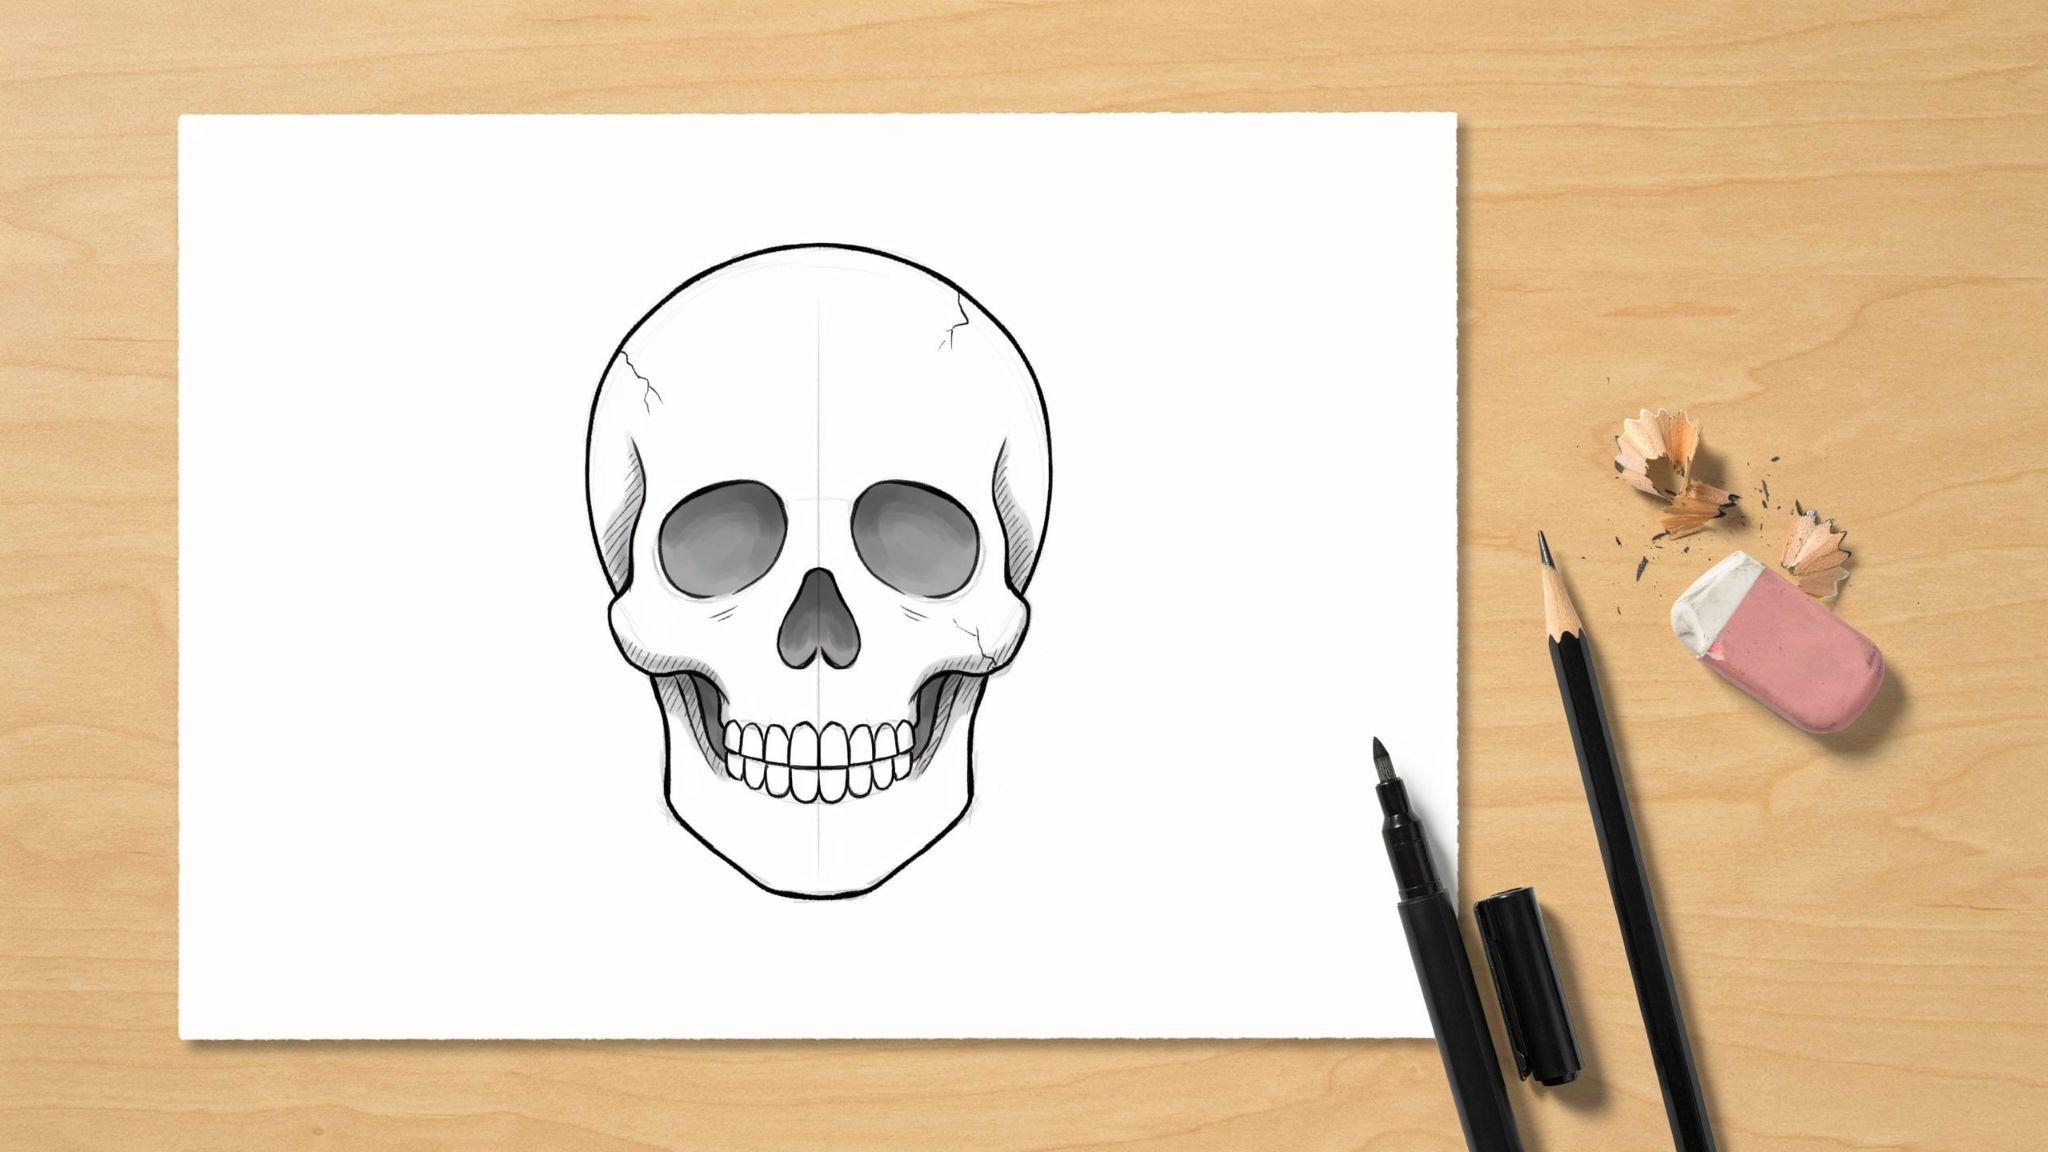
Go over your lines with a black pen once you are happy with the sketch. Erase your guide lines.
You can add small cracks, shading, or texture to make it look more detailed.
Shade lightly inside the eye sockets and nose to add depth. Your simple skull drawing is now complete.
Common Mistakes to Avoid in Simple Skull Drawing
Avoiding these common errors will save you time and frustration.
- Place eye sockets in the middle of the skull, not near the top. Use a light horizontal guideline to keep them even.
- Keep the teeth simple. Use straight lines and even spacing. Too much detail makes them look messy.
- Avoid a narrow jawline. Keep it wide and rounded. You can always refine it, but starting too narrow is hard to fix.
- Never skip guide shapes. Light circles and ovals keep your drawing balanced and save you from starting over.
- Rushing through basic steps leads to lopsided results. Go slow, build the structure first, then add details.
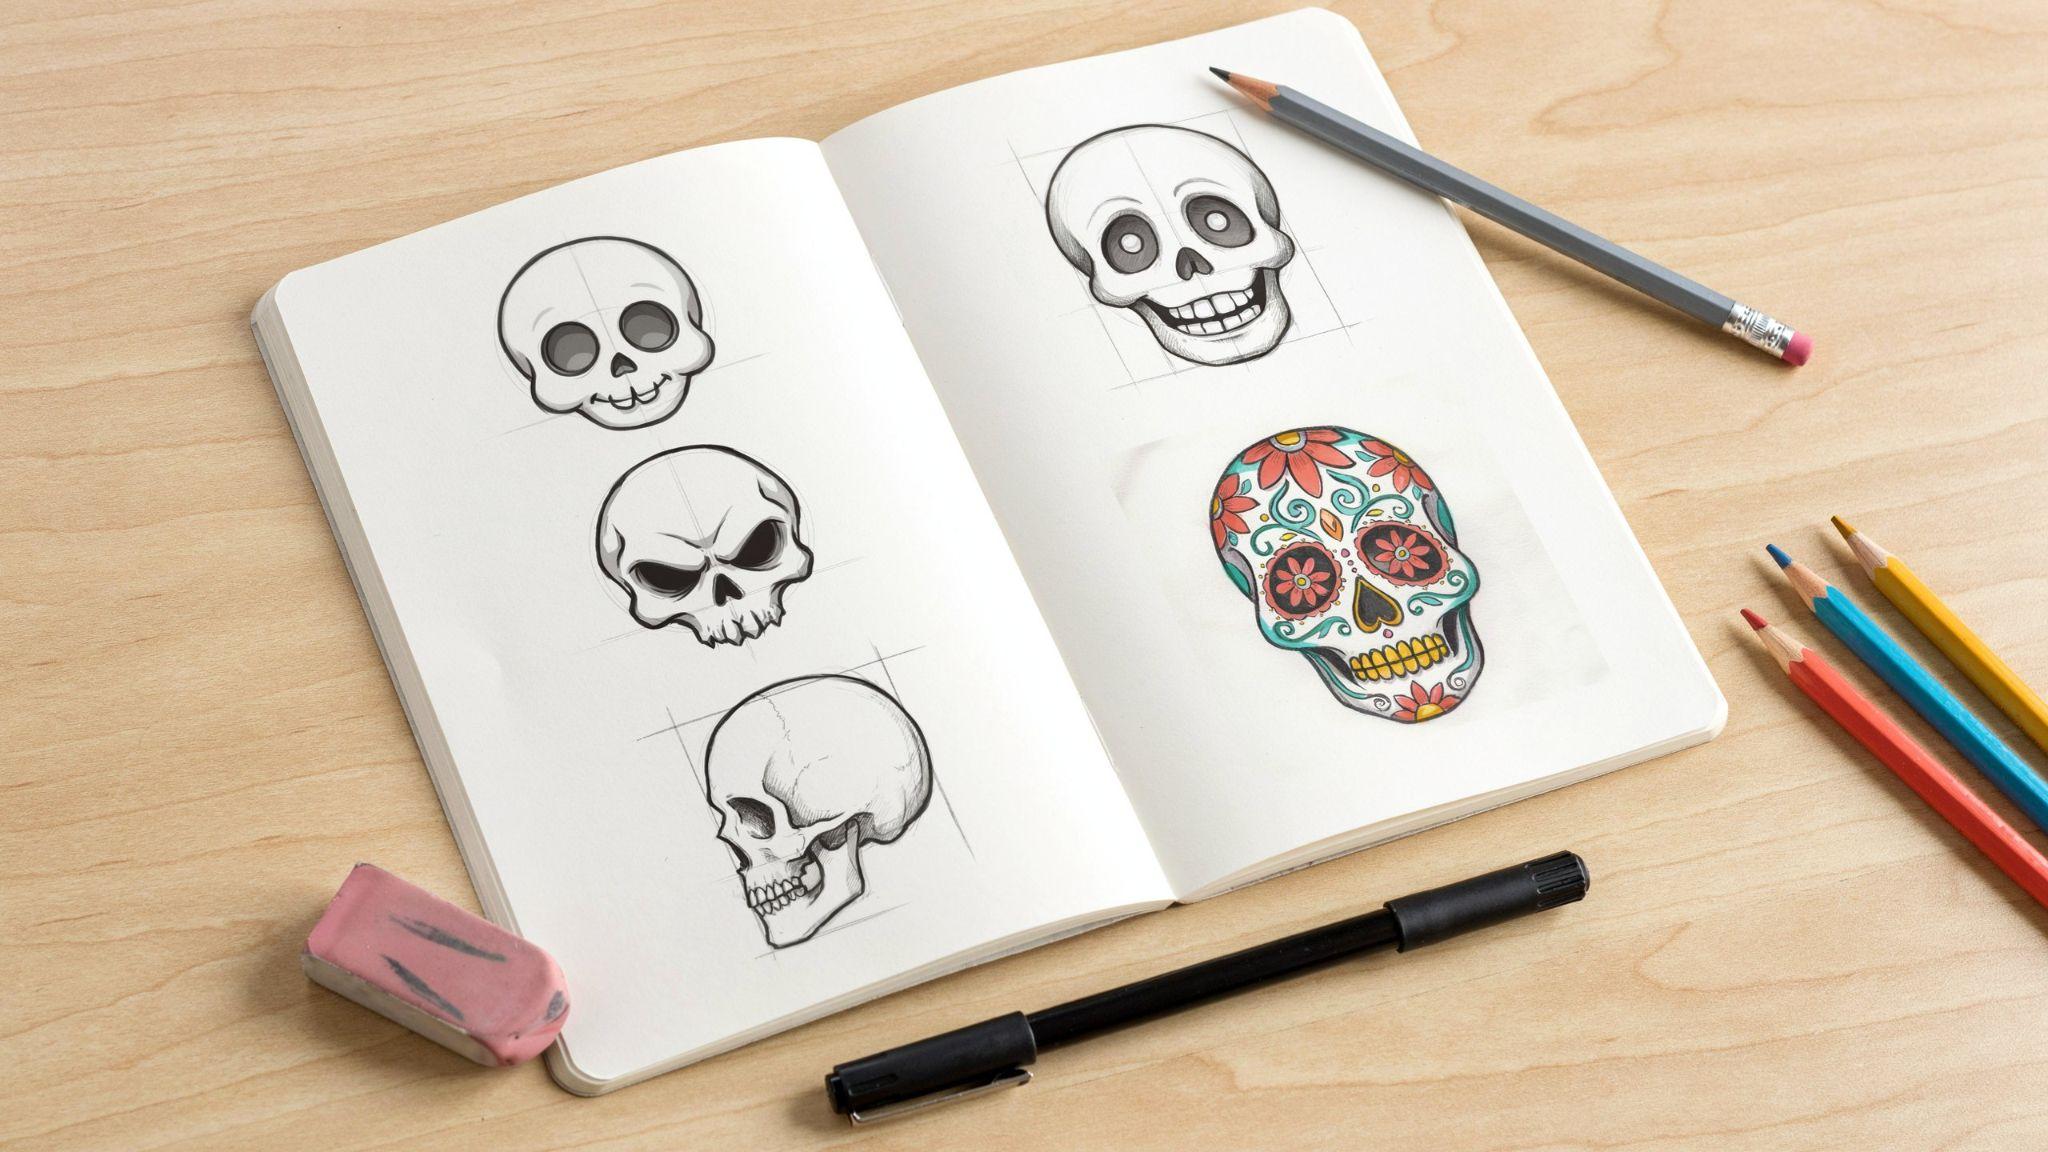
Easy Simple Skull Drawing Styles to Try
Once you know the basics, experimenting with different skull styles keeps things fresh and fun.
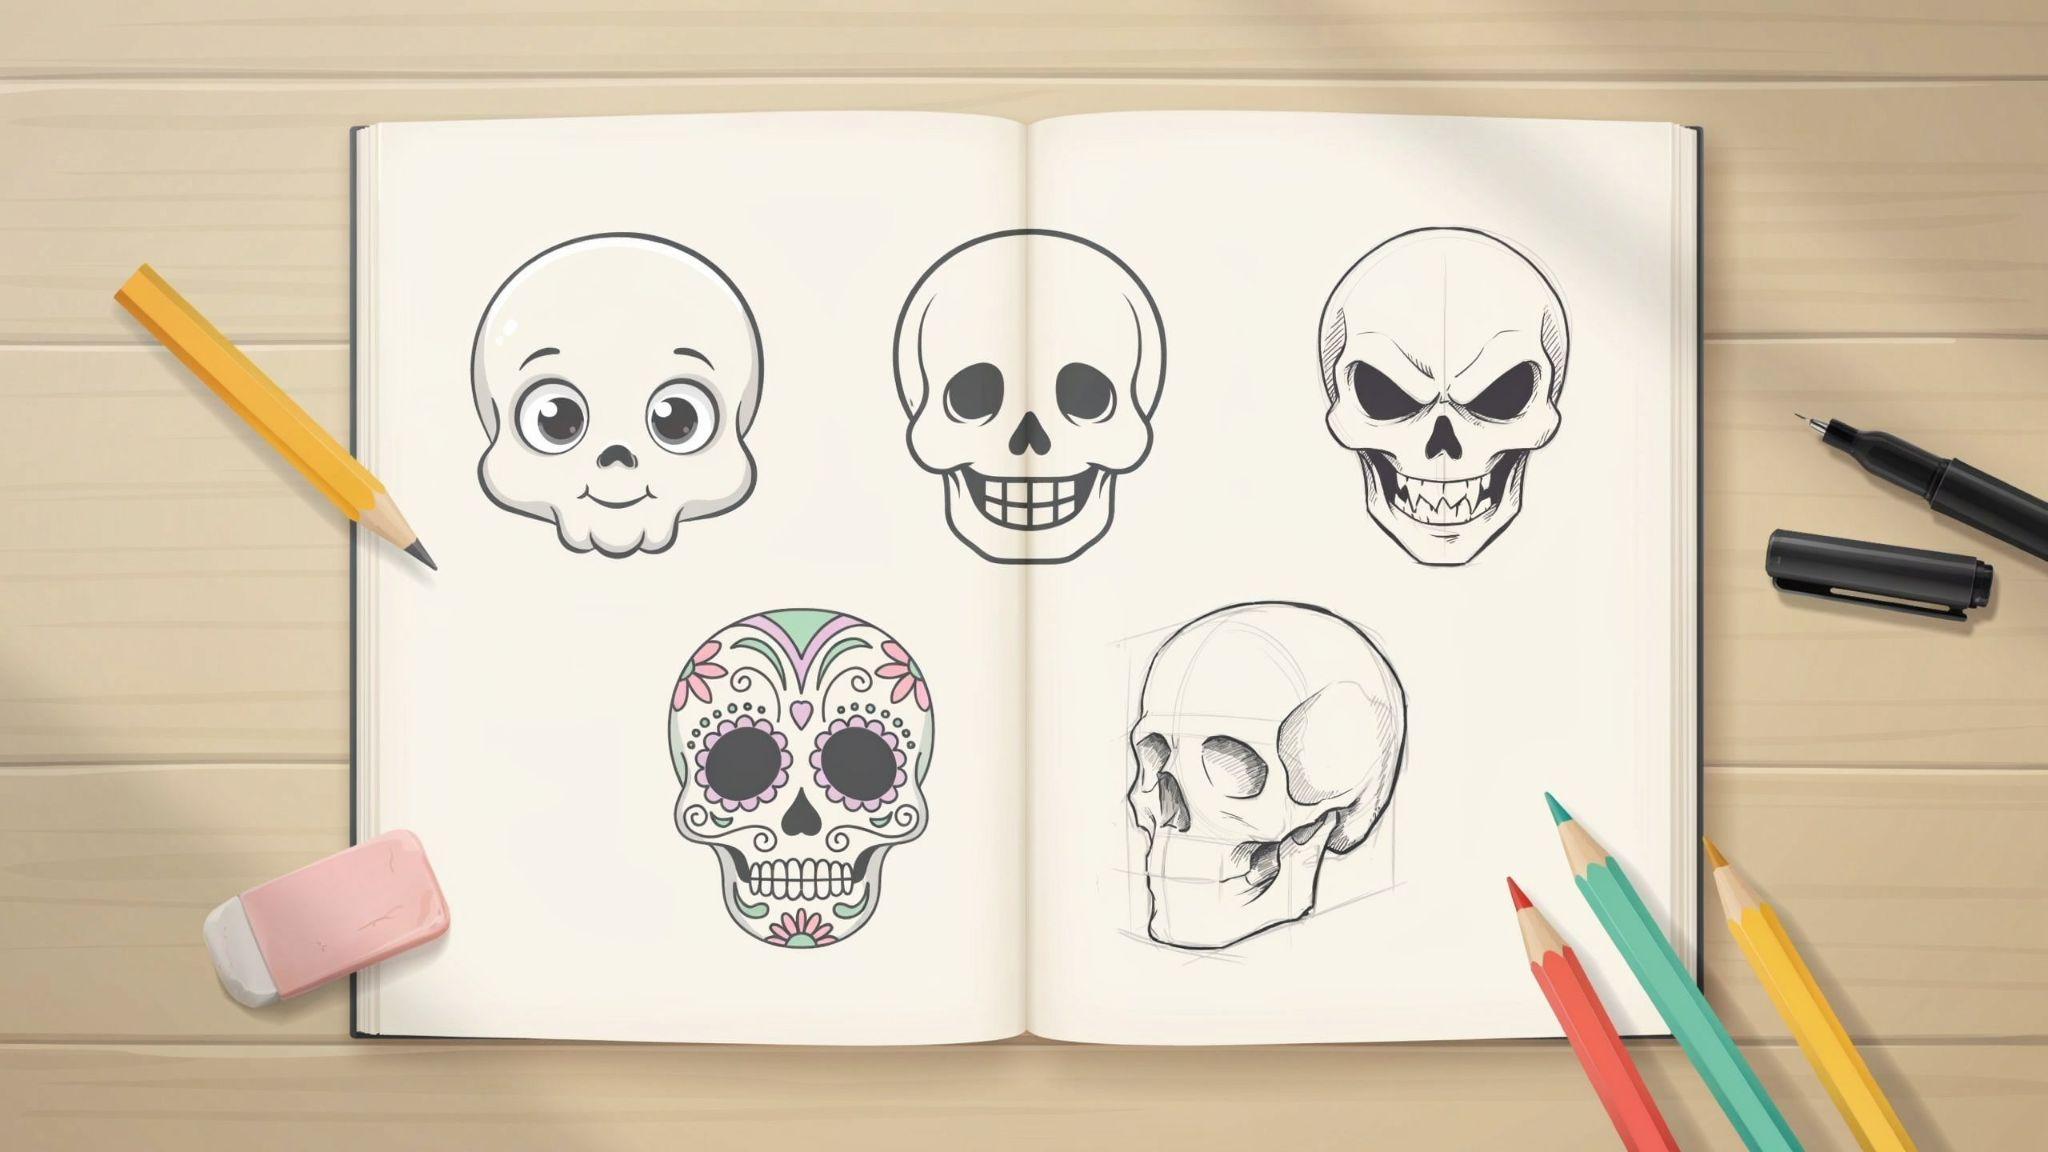
Cute Cartoon Skull Drawing
This style uses big round eyes, a small smile, and a chubby shape. It looks friendly rather than scary. Great for kids and beginners who want something light and fun to draw.
Smiling Skull Design
Add a wide grin with large visible teeth. Keep the eye sockets simple and round. This is a classic Halloween-style skull that looks great on cards, notebooks, or costumes.
Evil Skull Sketch
Use sharper angles for the eye sockets and jaw. Add cracks and dark shading. Tilt the eye sockets slightly downward toward the center to give it an angry look.
This style takes a bit more practice but is very rewarding.
Simple Sugar Skull Drawing
The sugar skull comes from Mexican folk art. Add flower patterns around the eyes, small dots on the forehead, and decorative lines on the jaw.
You can color it in bright shades or keep it in black and white.
Three-Quarter View Skull Drawing
Instead of drawing the skull straight on, turn it slightly to one side. This adds depth and dimension.
Use lighter guide lines to map out the angle before you start adding details.
Tips to Improve Your Simple Skull Drawing Skills
Small daily habits can make a big difference in how fast you improve.
- Practice one simple skull drawing step by step every day.
- Use light pencil strokes before outlining.
- Study different skull styles for inspiration.
- Experiment with shading and color.
- Focus on progress rather than perfection.
Conclusion
You did it. A simple skull drawing is now within your reach.
I still remember my first skull sketch. It was messy, slightly lopsided, and I loved it. Because it was mine.
Start with the basic shapes. Work through each step. Do not worry about making it perfect. Every great artist started exactly where you are right now.
Try this simple skull drawing today and share your result in the comments. I would love to see it.
If this helped you, share it with a friend who wants to learn to draw too.
Frequently Asked Questions
What is the easiest way to make a simple skull drawing?
Start with a large circle for the cranium and build down from there. Use basic shapes as guides and add details last. This method keeps the process simple and manageable.
Is this simple skull drawing easy for beginners?
Yes. This tutorial is made for people with little to no drawing experience. Each step is short, clear, and easy to follow at your own pace.
How long does an easy simple skull drawing take?
Most beginners finish a basic skull in fifteen to thirty minutes. With practice, you can do it in under ten minutes. Speed comes naturally as you get comfortable with the shapes.
Can children follow this simple skull drawing step by step tutorial?
Yes. Kids aged eight and above can follow this guide easily. The steps are short and the shapes are basic. A parent or teacher can guide younger children through the steps.
What drawing tools work best for skull sketches?
A regular HB pencil, an eraser, and a black pen are all you need. These tools are affordable and available at any stationery store. No special equipment is required.