

Boots drawing can feel tricky at first. The shape is odd, the heel throws you off, and the details pile up fast. I've been there staring at a blank page, unsure where to even begin.
This guide breaks it all down for you. You will learn how to draw boots from scratch, step by step. No complicated terms. No confusing instructions.
In this blog, I'll cover, starting with basic shapes Adding heels, soles, and details Choosing the right angles. Using reference images the smart way. Avoiding common beginner mistakes.
I've spent time practicing and studying boot shapes, so everything here is tested and practical. Let's get into it.
Understanding the Basics of Boots Drawing
Every boot shares the same core parts, the toe box at the front, the shaft that covers the ankle or calf, the heel at the back, and the sole along the bottom.
Knowing these helps you draw with intention, not guesswork. For styles, start simple. Ankle boots teach proportions.
Chelsea boots build smooth curves. Cowboy boots train you on dramatic shapes. Rain boots are great for basic forms.
As for tools, keep it simple. A pencil, eraser, and paper are all you need. The practice matters far more than the supplies.
Boots Drawing Step-by-Step for Beginners
Follow these four steps to build a clean boot drawing from scratch, even if you are just starting out.
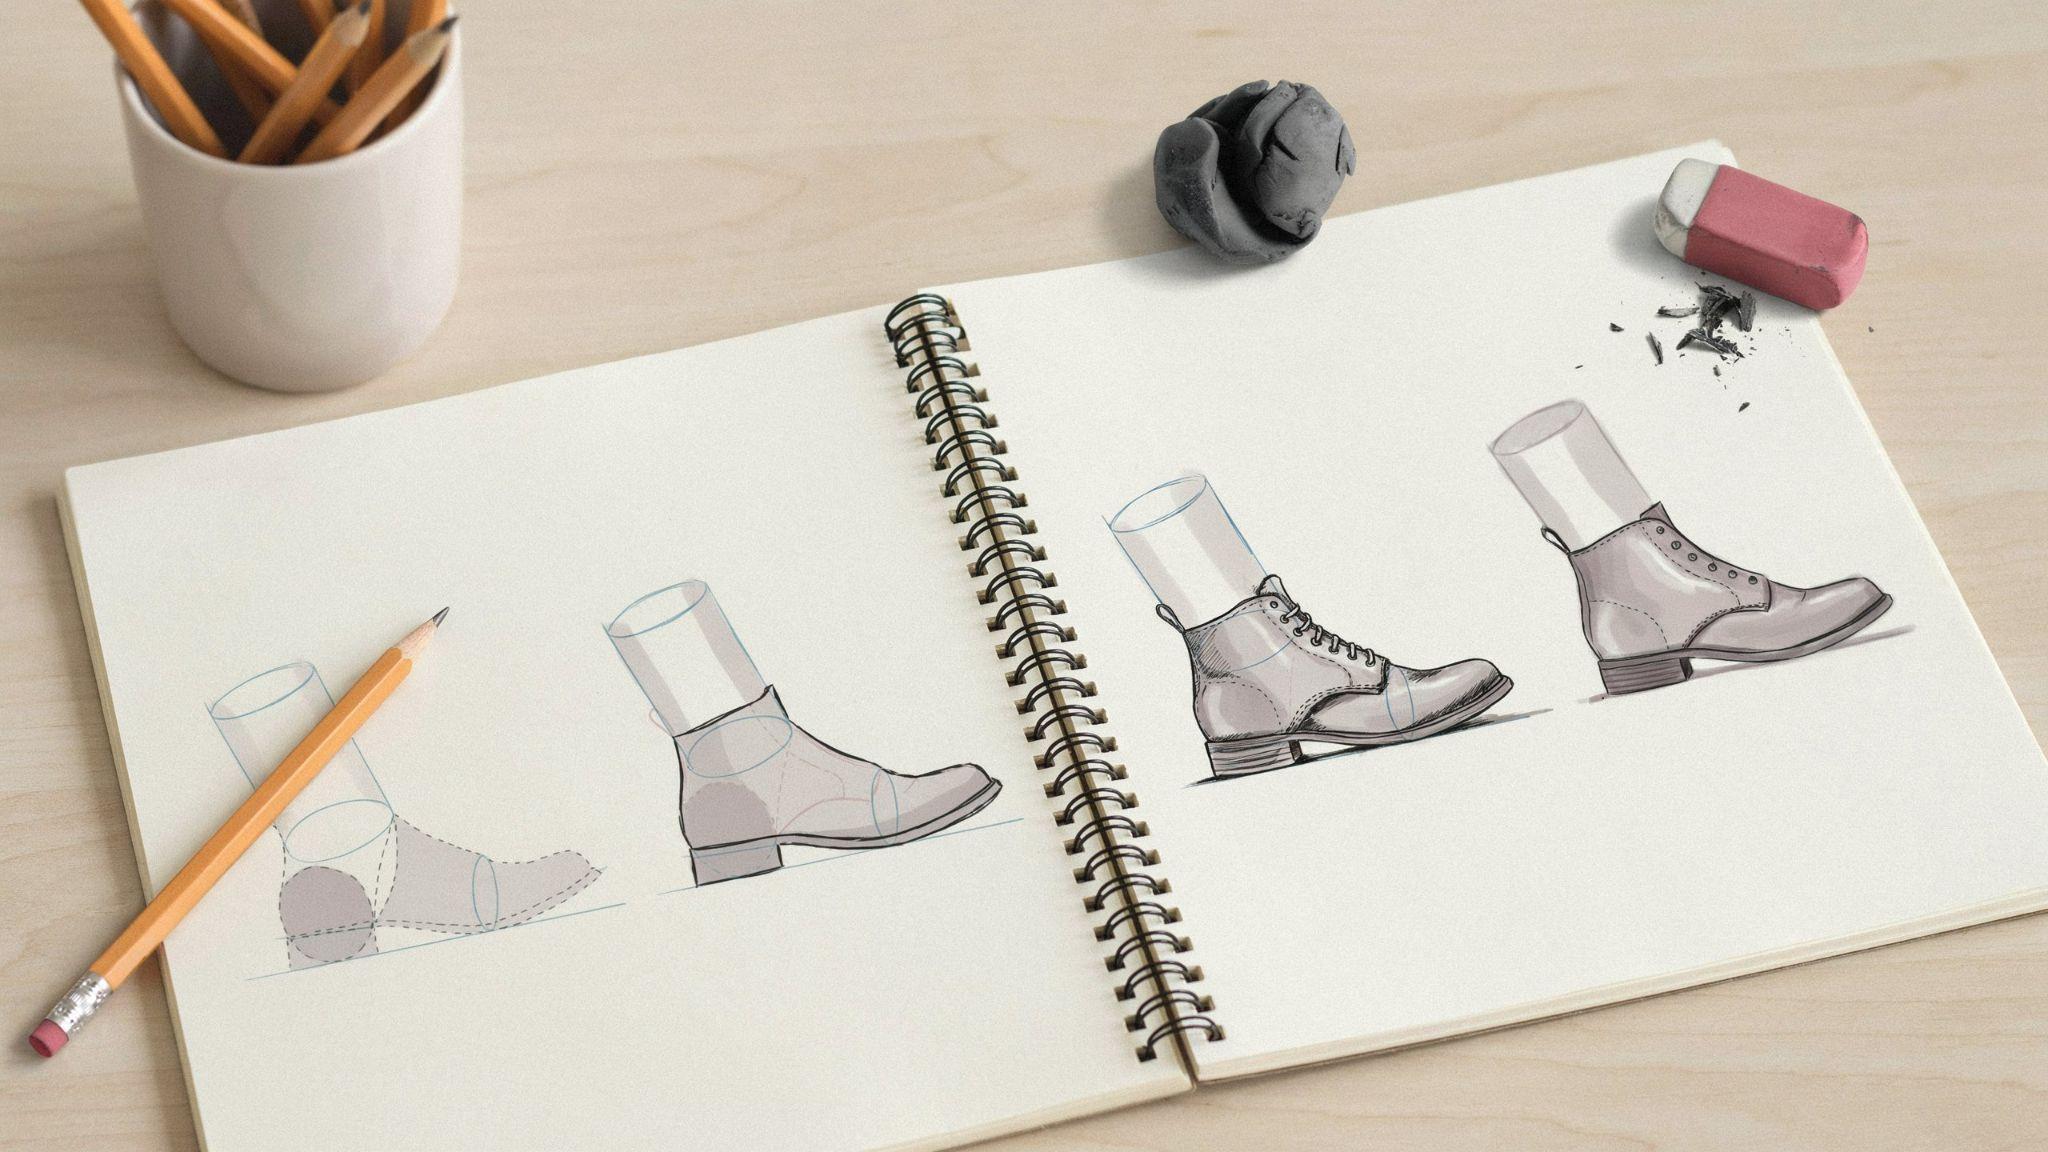
Step 1: Sketch the Basic Foot and Boot Shape
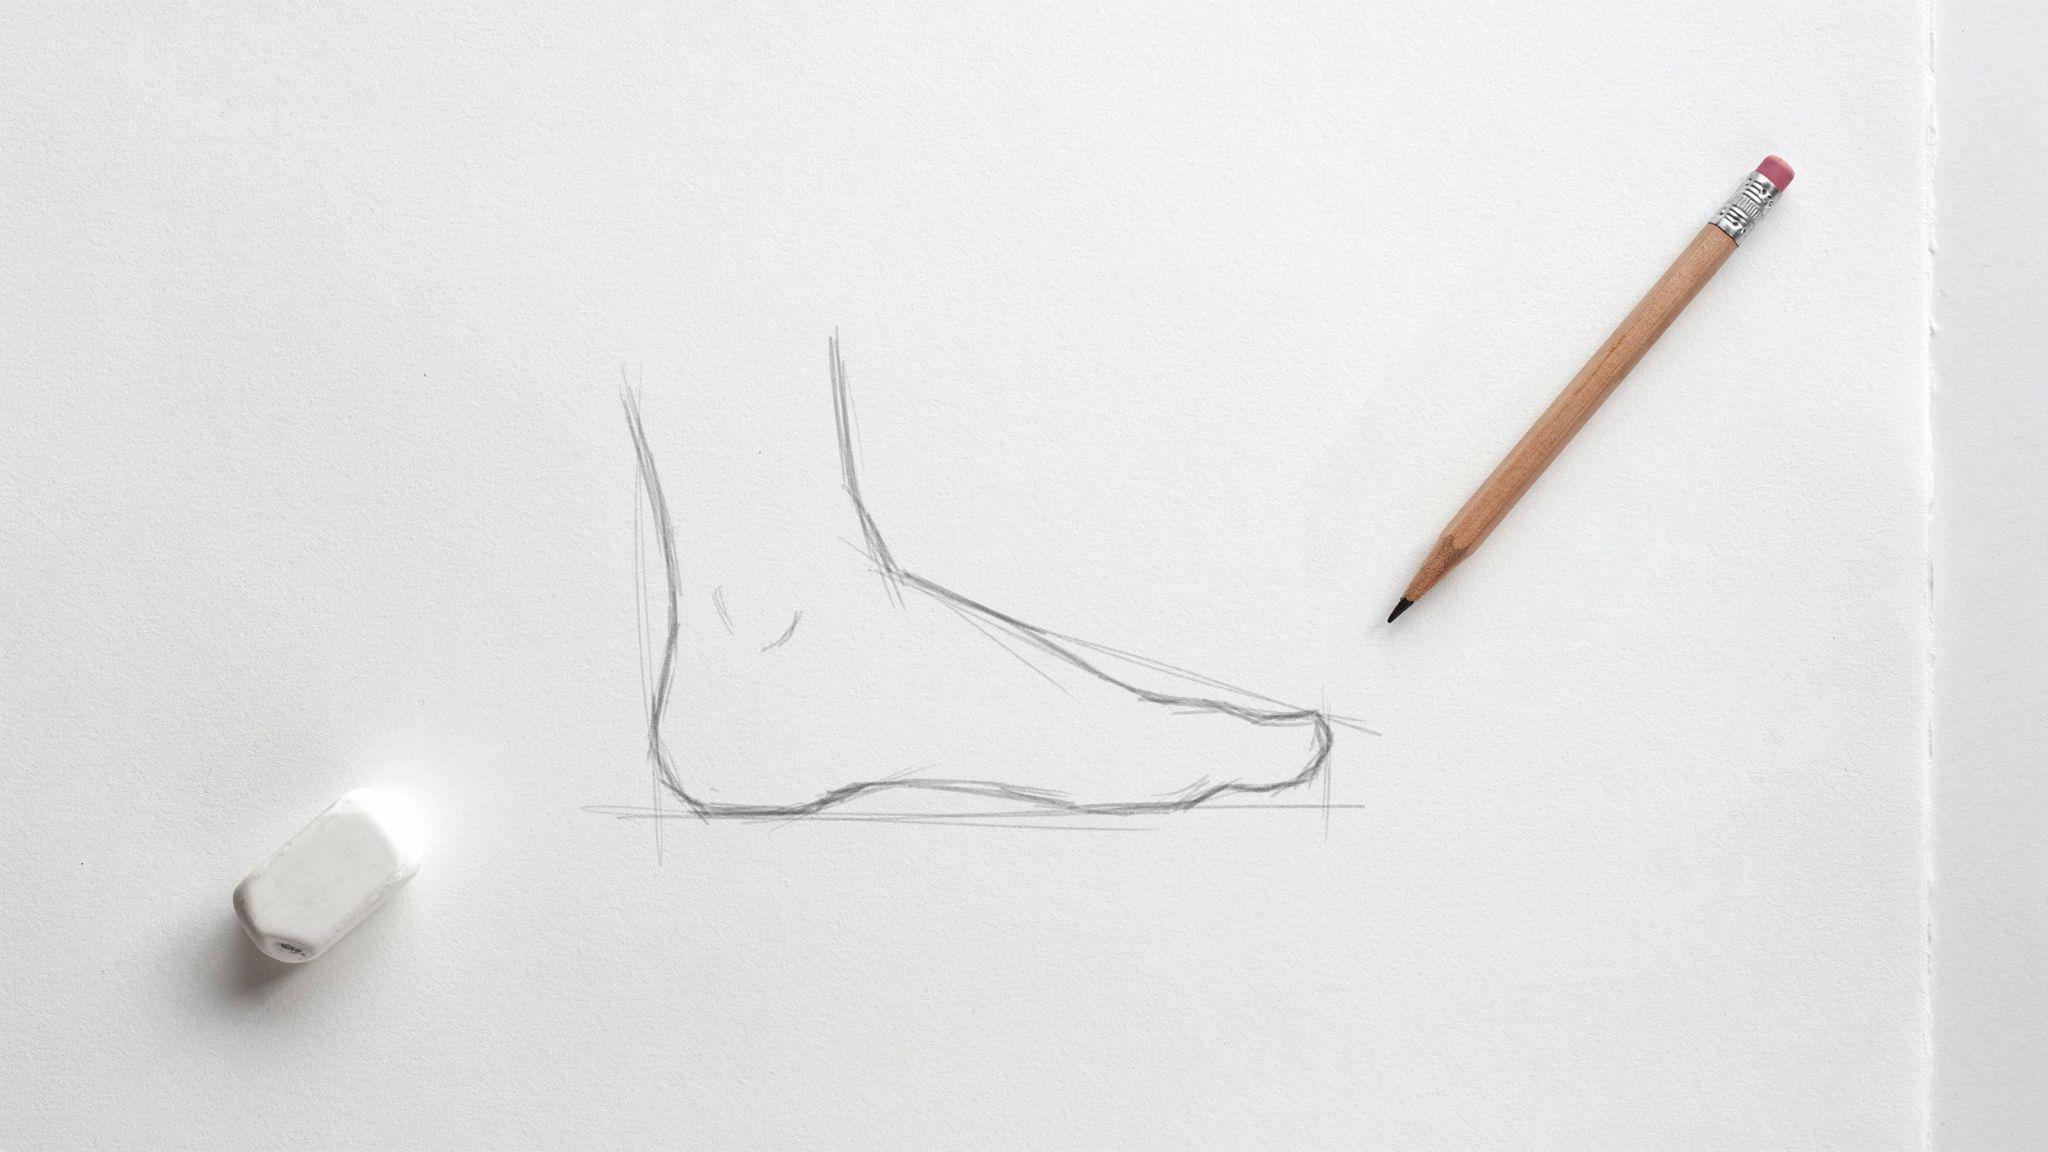
Start with a simple foot shape. Draw a flat rectangle that angles slightly at the toe. This is your base.
Boots follow the shape of the foot, so getting this right sets the tone for everything else. Keep your lines light. You will fix them later.
Step 2: Draw the Heel, Sole, and Toe Structure
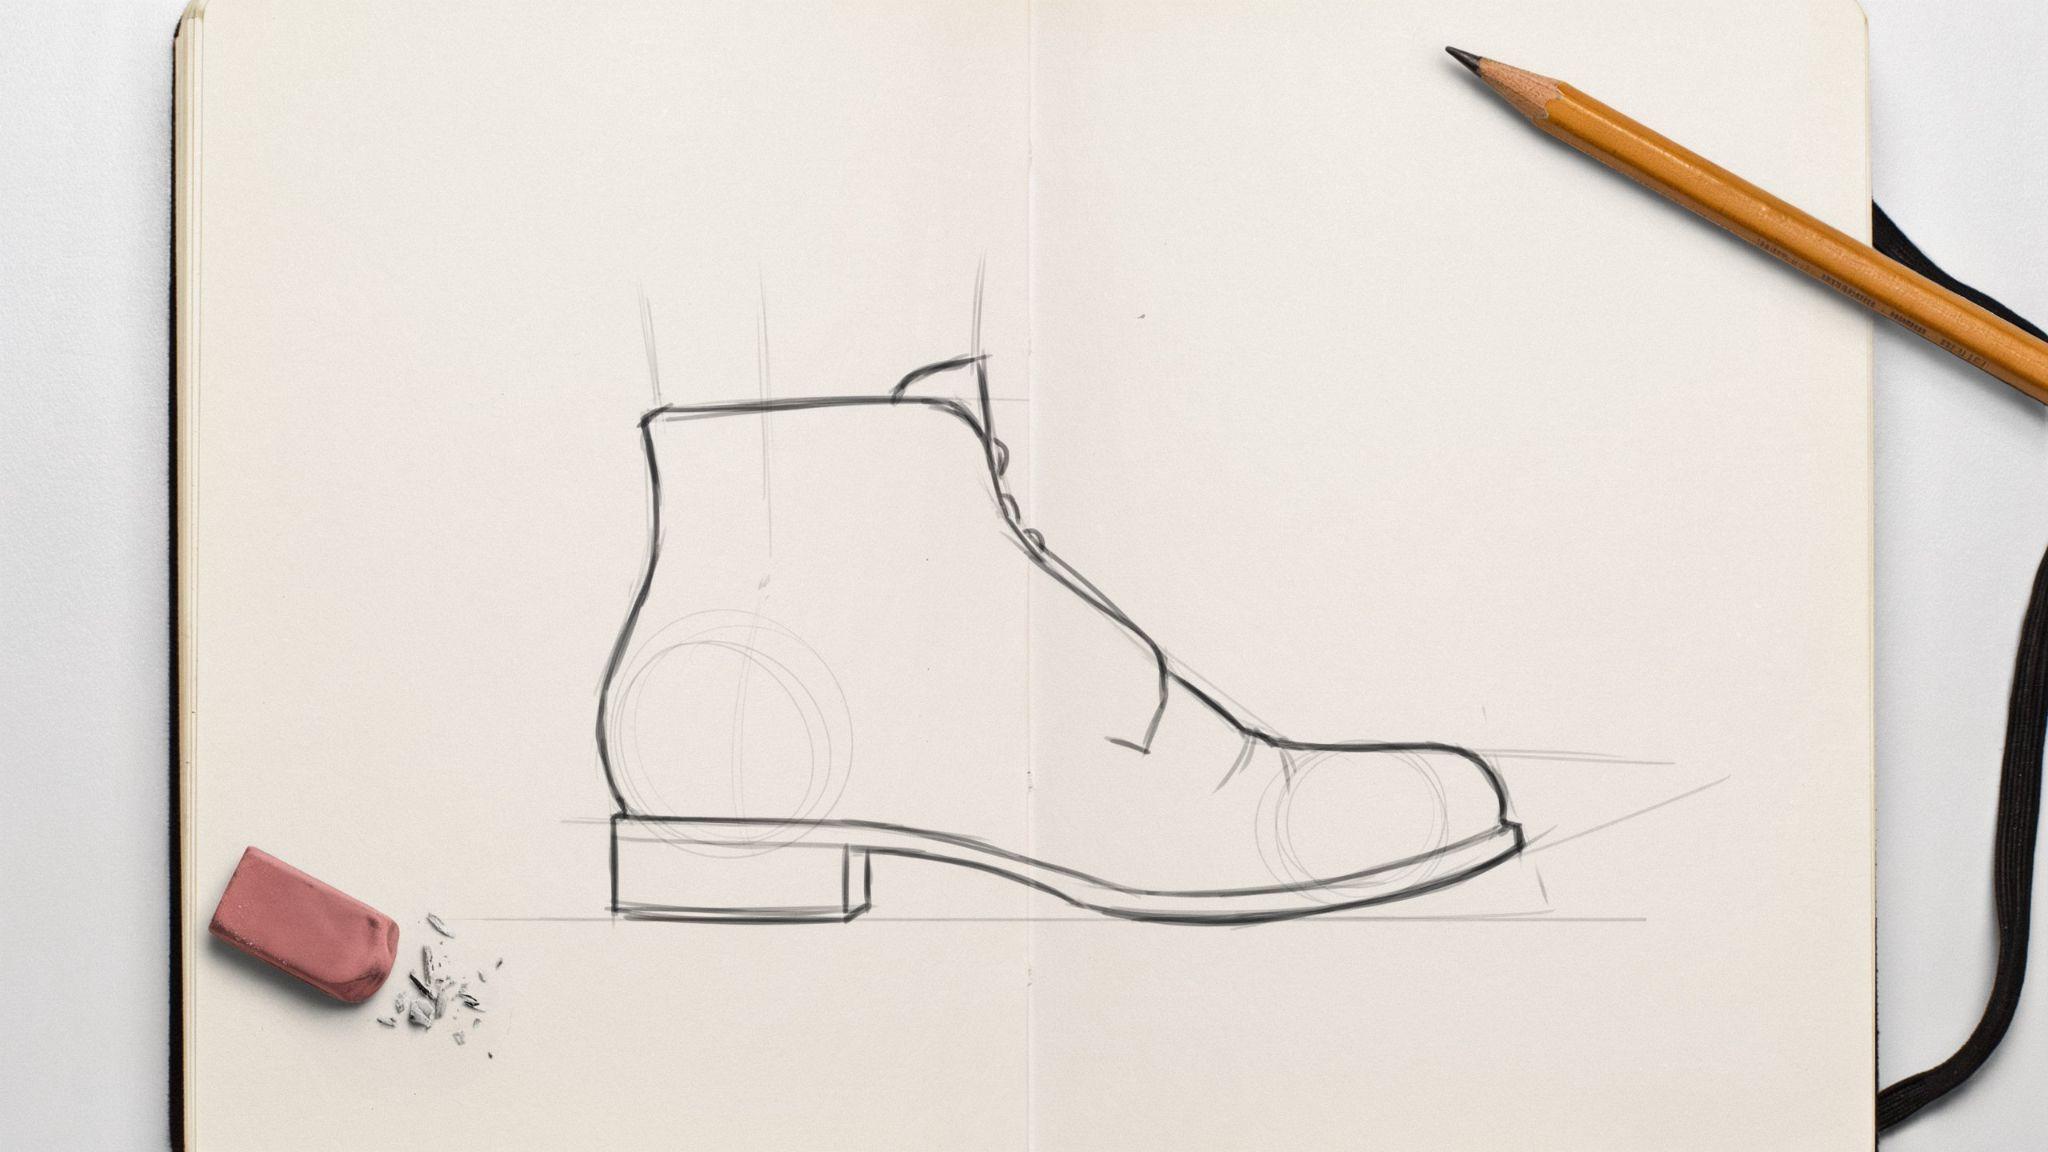
Add the sole along the bottom of the foot shape. Then draw the heel at the back. The heel should be thicker and lower than you think.
The toe area should be slightly wider. Do not try to make it perfect yet. Focus on placement.
Step 3: Define the Ankle and Upper Part of the Boot
Now draw the upper shaft. For an ankle boot, this is short. For a knee boot, it is tall. Use two slightly curved lines going up from either side of the foot.
Add a curved line at the top to close it off. This defines where the boot ends and the leg begins.
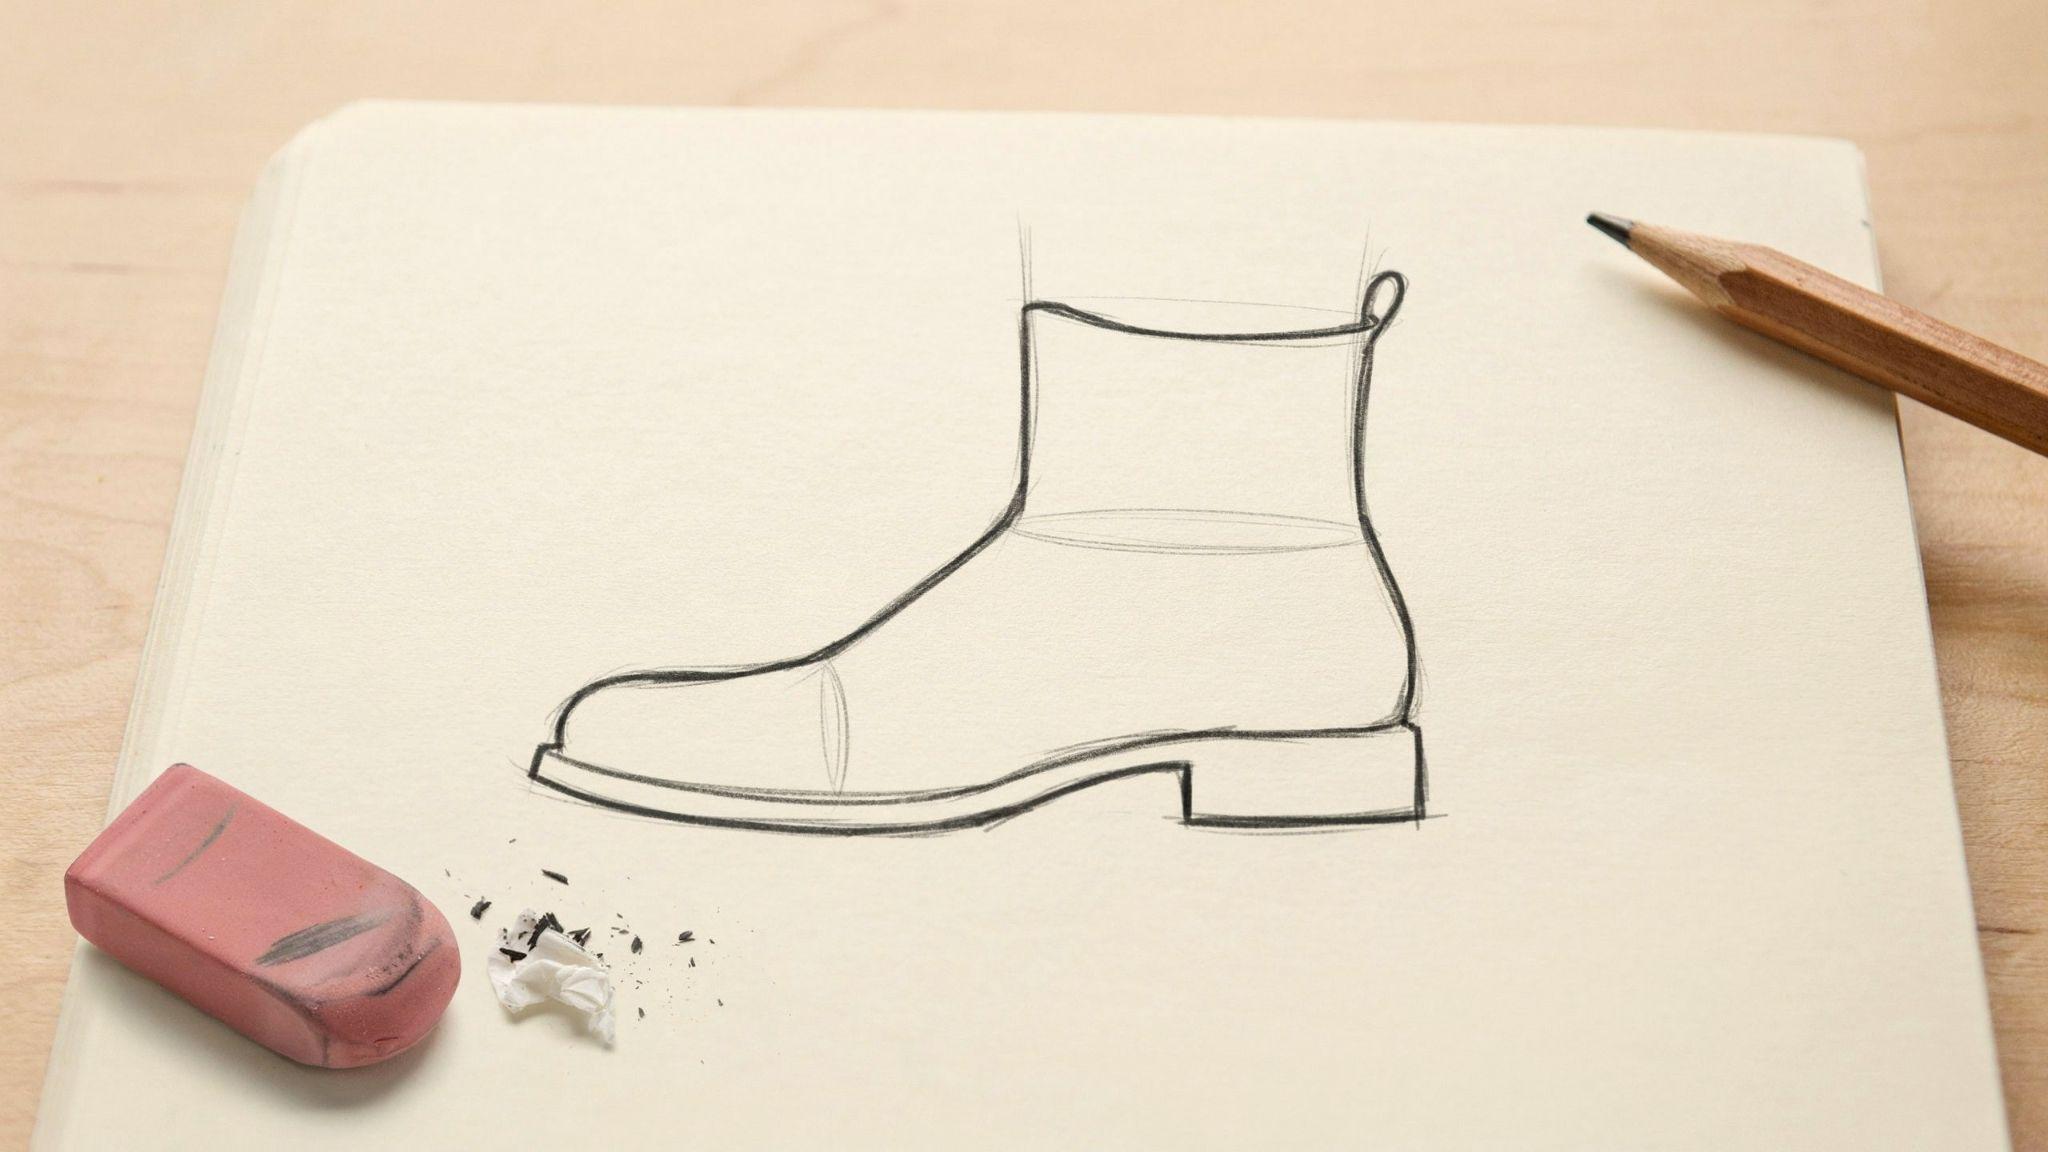
Step 4: Add Details, Texture, and Final Touches
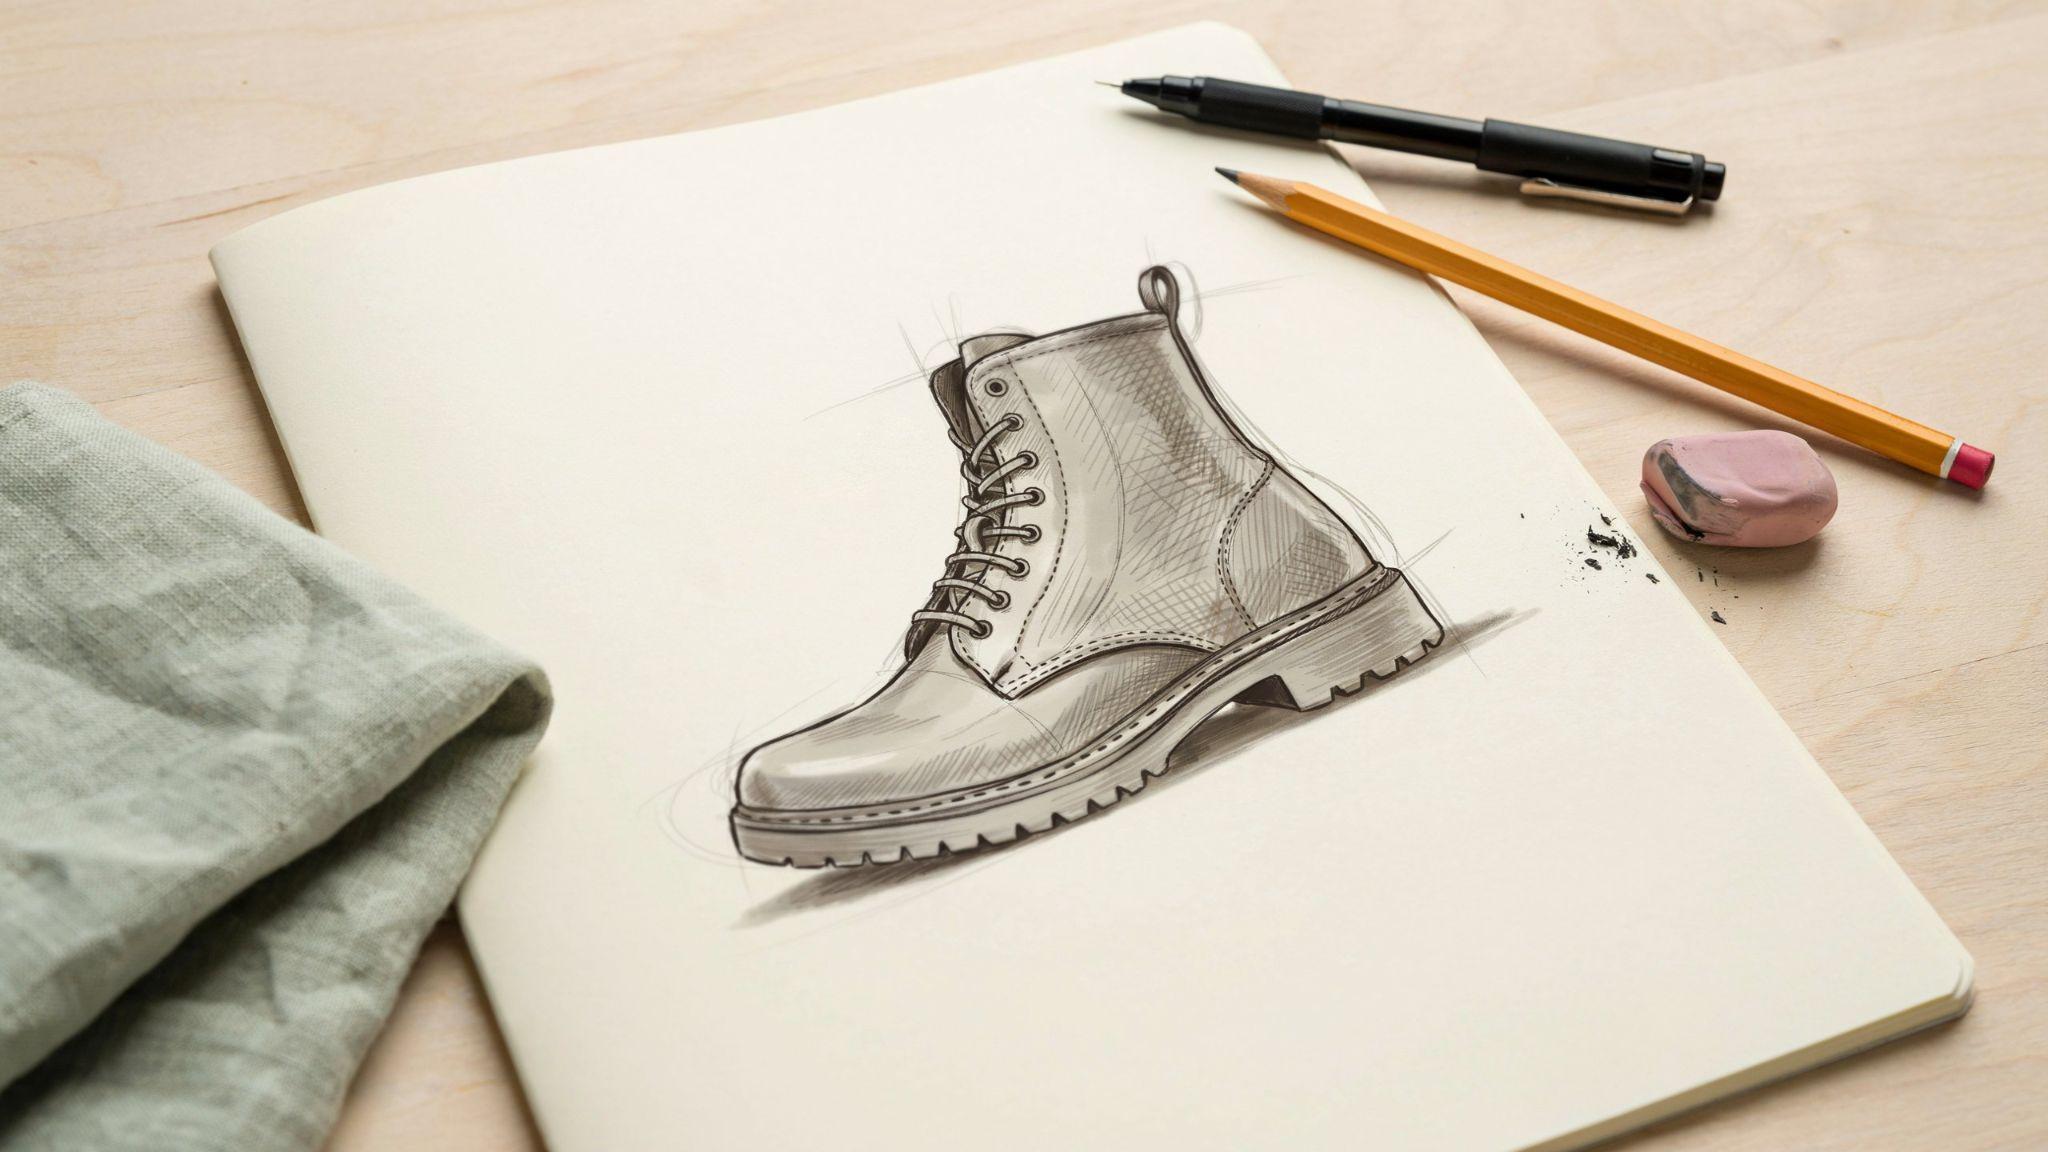
Now add the details. Draw lace holes or a zipper line. Add stitching along the sole. Sketch light texture on the shaft if needed.
Then go over your sketch with darker, cleaner lines. Erase your guidelines. Your boot drawing is now complete.
Choose the Best Angles for More Dynamic Boots
The angle you pick changes how the whole drawing feels. Some angles are harder, but they make the result far more interesting.
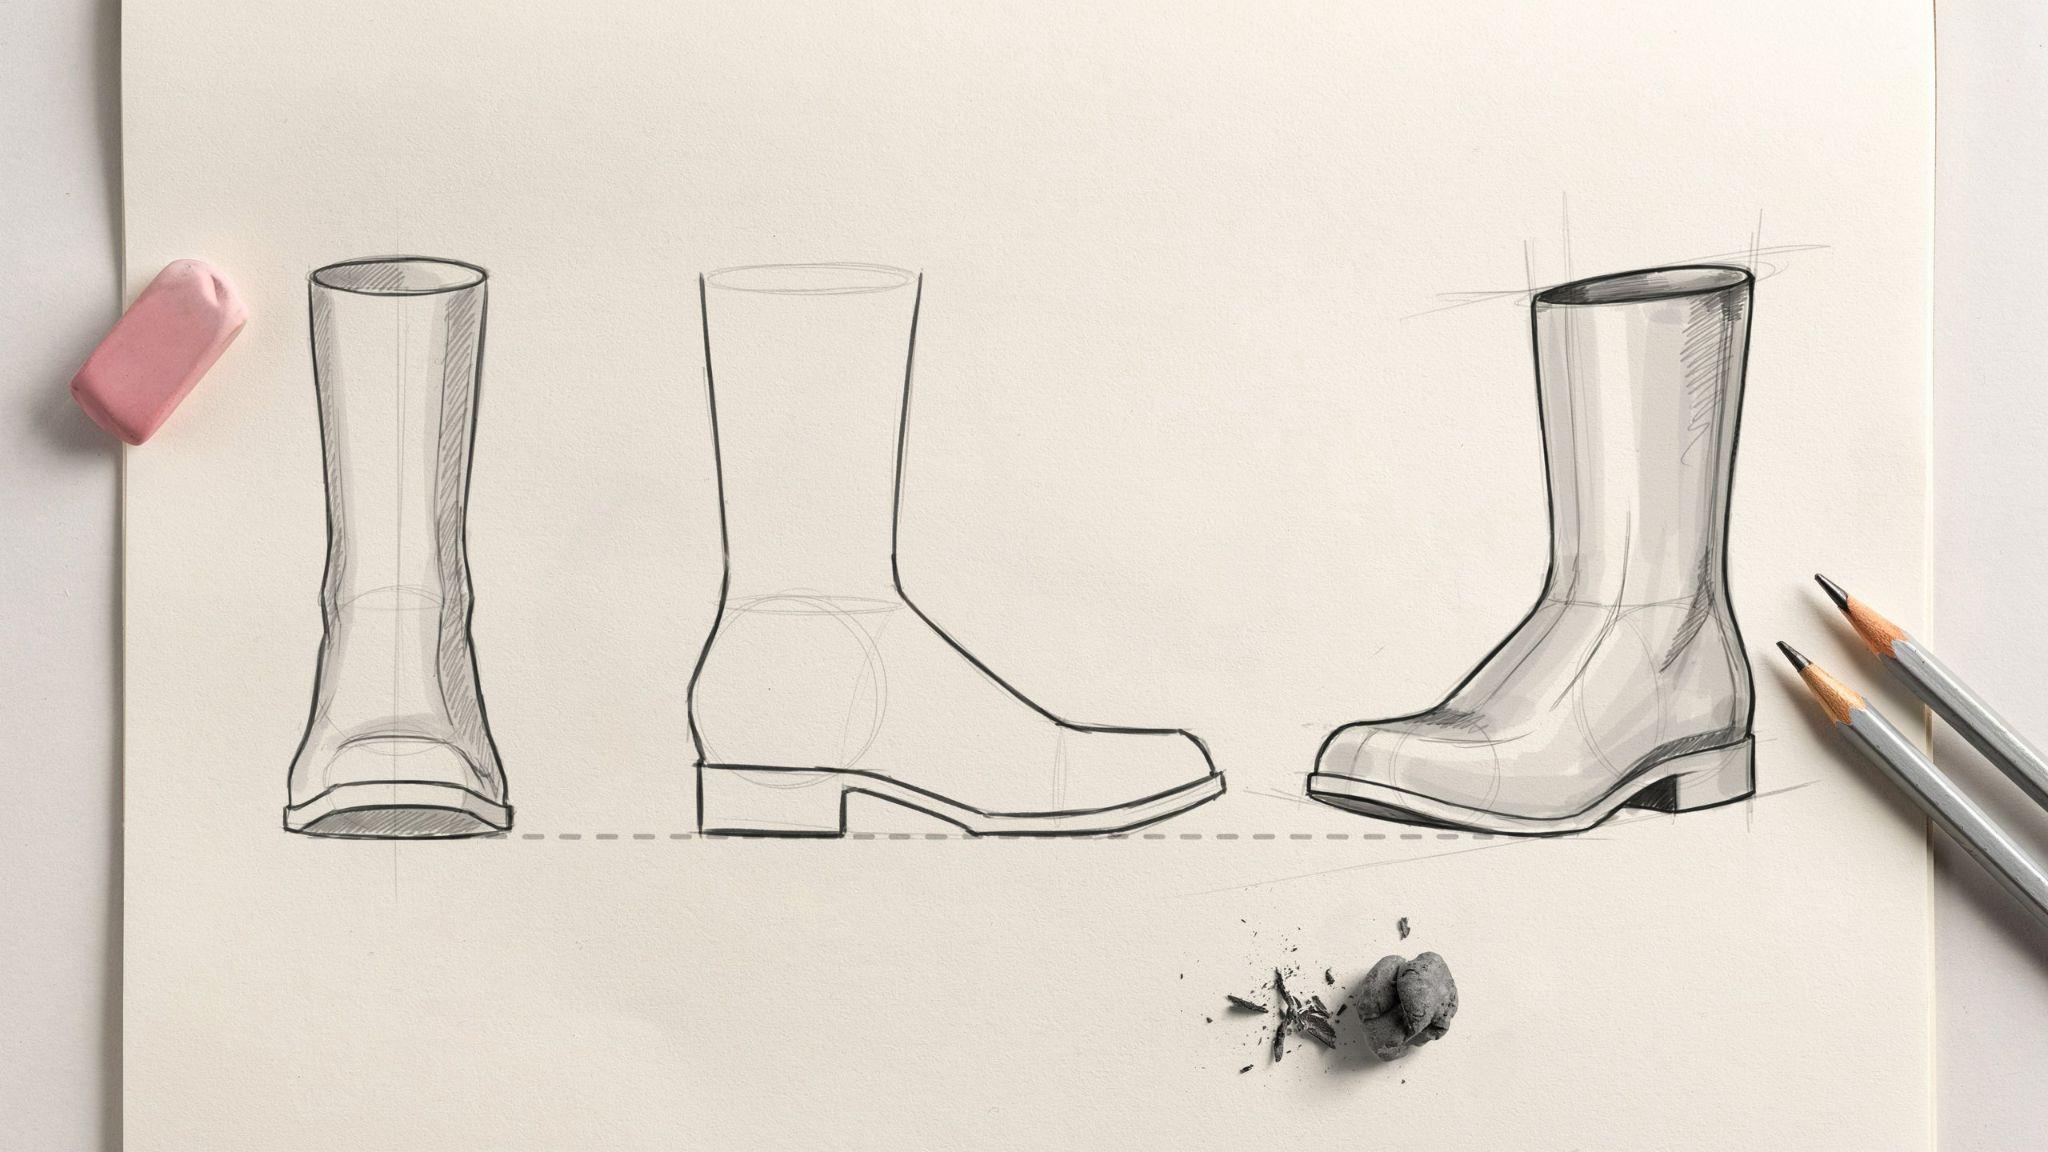
Why Front Views Can Be Difficult
A straight front view of a boot flattens everything out. You lose the depth of the heel and the shape of the sole.
It is the hardest angle for a beginner because there is no room for error. The proportions have to be exact or it looks off. Start with other angles first.
Using a 45-Degree Angle to Add Depth
A slight turn about 45 degrees makes a boot look three-dimensional. You can see both the front and the side at once.
This angle also lets you show the heel and sole without much difficulty. It is the most beginner-friendly angle for realistic-looking boots.
Positioning the Feet Naturally
Feet are not stiff. They shift weight, point inward, or angle slightly. When drawing boots, think about where the weight sits.
A boot that carries weight looks grounded. A boot that does not feel like it is floating. Study how people stand or walk to understand natural foot positions.
Common Boots Drawing Mistakes Beginners Should Avoid
Small mistakes are easy to repeat, spotting them early helps you grow much faster as an artist.
- Always draw the ground line first so the boot looks like it is actually touching the floor, not floating in the air.
- Build the full boot shape before adding any details like laces or stitching, structure always comes before surface.
- Add a slight angle or tilt to the foot to make the pose feel natural and alive instead of stiff.
- Use reference images without guilt as even skilled artists rely on them to get proportions and shapes right.
- Skipping these basics does not save time, it just makes the drawing harder to fix later.
How to Use Boots Drawing Reference Effectively
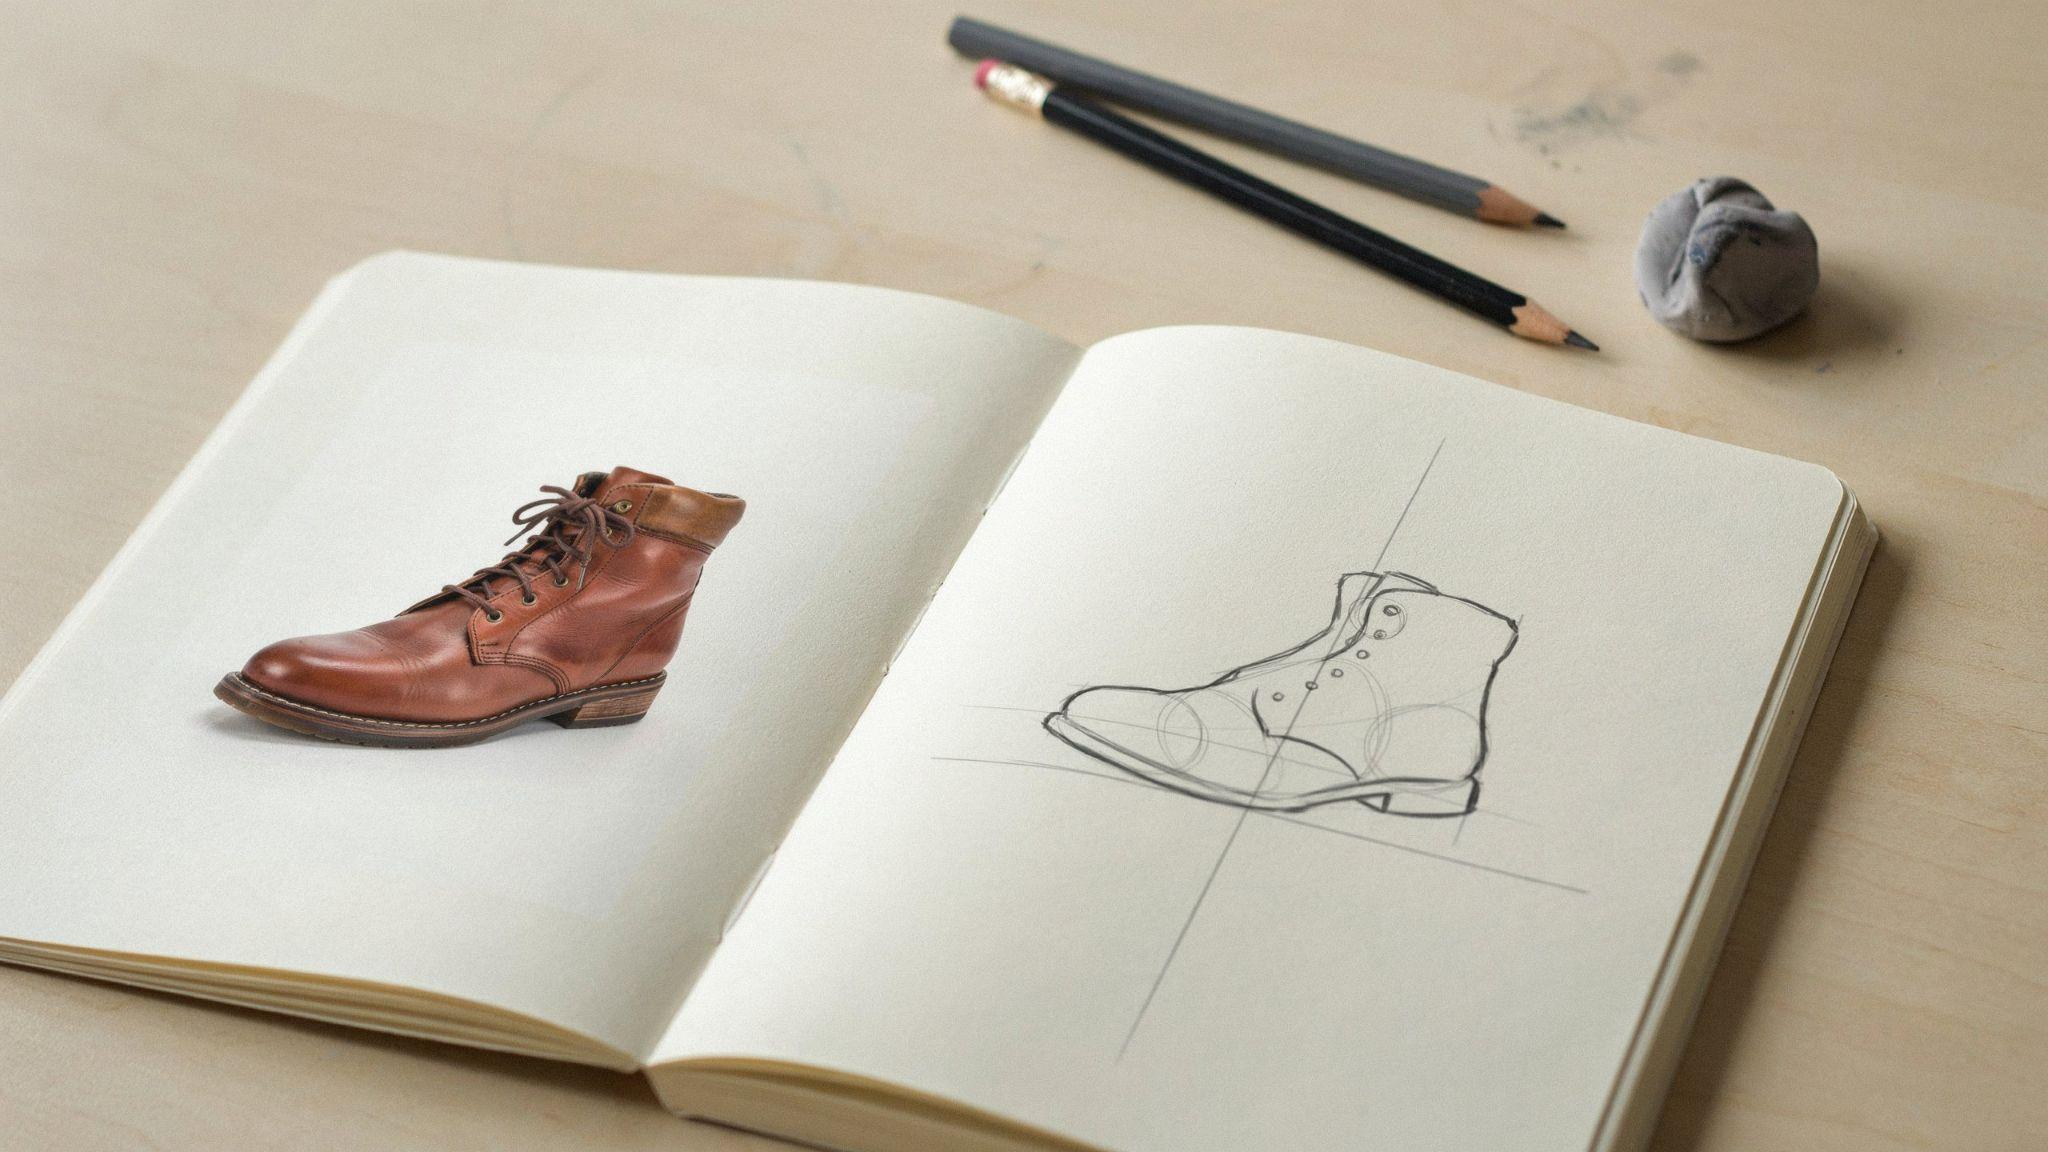
A good reference does not limit you, it teaches you how to see shapes, proportions, and details more clearly.
Why Reference Images Improve Your Skills
Using reference is not cheating. It trains your eye. You notice how the leather creases around the ankle. You see how the heel casts a small shadow.
Drawing from memory alone leads to the same repeated mistakes. Reference breaks that cycle.
Finding Quality Boots Drawing Reference Photos
Look for clear, well-lit photos. Avoid cluttered backgrounds that distract from the boot shape. Free stock photo sites and art reference apps work well.
Search for specific styles like "leather ankle boot side view" or "rubber boot front angle."
Drawing From Reference Without Copying Exactly
Do not trace. Use the reference to understand the shape, then put it aside and draw. This builds memory and skill. If you trace, you learn the lines but not the logic behind them.
Turning Real-Life Observations Into Your Own Style
Over time, you will stop needing reference for every detail. You will have built a mental library of shapes and structures.
That is when your own style starts to come out naturally. Keep drawing from real life as much as you can.
Tips to Improve Your Boots Drawing Skills Faster
Small daily habits build big results. These simple tips will move your progress forward steadily.
- Set a timer for five minutes and sketch one boot shape daily. Speed sketching builds hand confidence over time.
- Study different boot styles like sneakers, heeled boots, and work boots. Each style teaches new shapes and proportions.
- Hold your sketch next to a reference photo and spot what does not match. Self-correction speeds up learning fast.
- Do not aim for perfection. Aim for consistent progress with every sketch you make.
- Try drawing the same boot in both realistic and cartoon styles. You will learn something new from each approach.
Conclusion
Boots drawing gets easier once you stop rushing past the basics. Start with simple shapes, use reference images often, and pick angles that show depth.
I struggled with proportions for a long time before I realized I was skipping the foot structure entirely.
That one fix changed everything. You will find your own small breakthrough too. Just keep showing up and sketching.
Drop a comment below and share where you are in your boots drawing practice. I would love to hear from you.
Frequently Asked Questions
How do I start boots drawing as a complete beginner?
Begin with a simple foot outline using light pencil strokes. Build the heel, sole, and shaft on top of that base before adding any detail.
What angle is best for drawing boots?
A 45-degree angle works best for beginners. It shows depth without being as complex as a front or back view.
Should I use reference images for boots drawing?
Yes, always. Reference images help you see accurate proportions and real details. They train your eye and speed up your improvement.
How long does it take to get good at boots drawing?
With daily five to ten minute practice sessions, most beginners see clear improvement within four to six weeks.
What are the most common boots drawing mistakes?
The most common mistakes are skipping the base foot shape, adding details too early, and not using reference images to check proportions.