

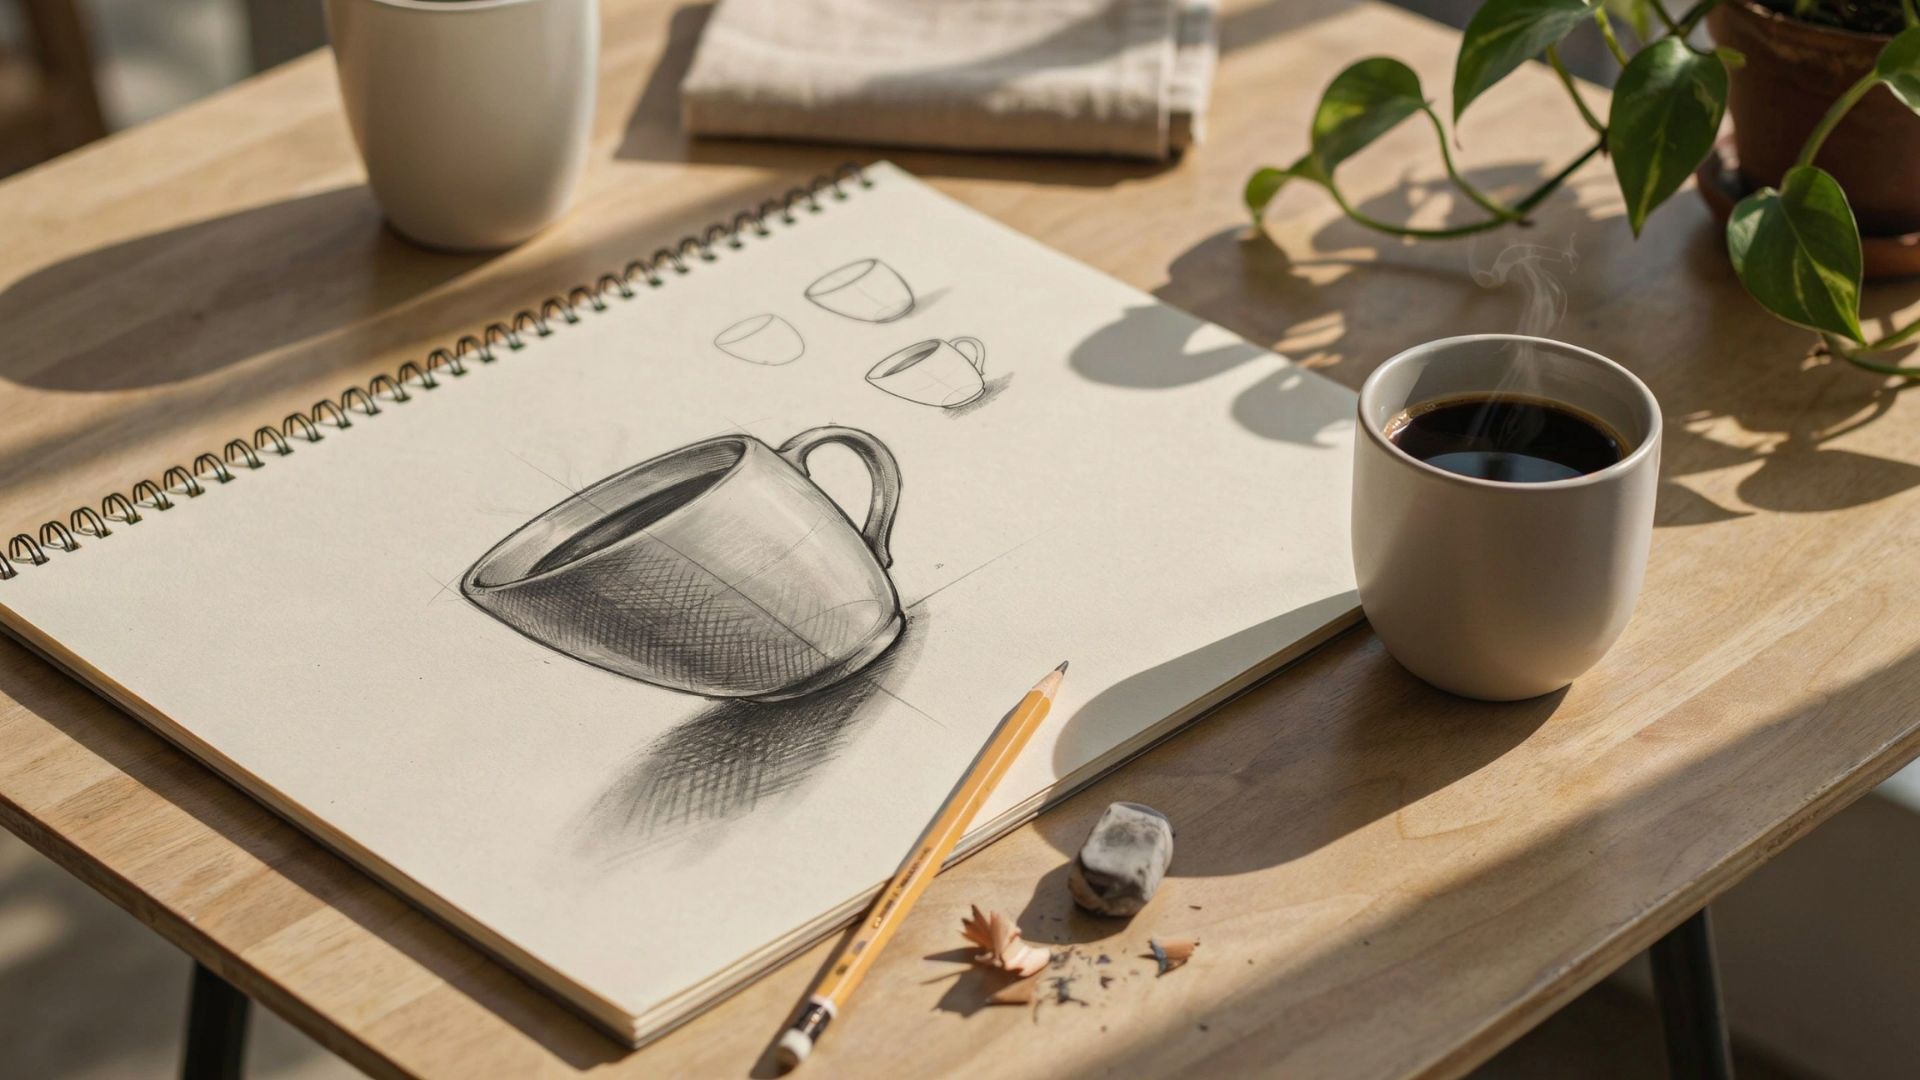
Drawing a coffee cup is one of the best ways to start your art practice. It teaches you shape, proportion, shading, and observation all in one simple object.
In this guide, I'll walk you through every step of coffee cup drawing, from the first rough sketch to the final shaded result. I've taught beginner drawing for years, and this is one exercise I always recommend first.
You'll learn how to set up your materials, build the shape correctly, and add light and shadow that makes it look real. No prior drawing experience needed. Just grab a pencil and let's get started.
Why Draw a Coffee Cup?
A coffee cup is one of the easiest everyday objects to sketch. Its simple shapes help beginners practice proportions, curves, and perspective while creating a recognizable drawing.
Whether you want to improve your sketching skills, create cafe-themed artwork, or learn basic object drawing techniques, a coffee cup is a great subject to start with.
Drawing a coffee cup also helps you understand light, shadow, and form in a practical way. By observing how highlights reflect off the surface and how shadows wrap around the cup, you can develop essential shading skills that apply to many other drawing subjects.
Since coffee cups come in different sizes, styles, and designs, they also provide plenty of opportunities to experiment and build confidence as an artist.
Materials Needed for Coffee Cup Drawing

Gathering a few basic drawing supplies before you begin will make the sketching process easier and help you achieve better results.
Important Supplies
Getting the right tools makes the process smoother.
Here's what you need:
- Pencil A standard HB works well for sketching
- Paper Plain drawing paper or a sketchbook
- Kneaded eraser Great for lifting graphite without damaging paper
- A real coffee cup or mug Drawing from life gives the best results
Optional Drawing Tools
These aren't required, but they help:
- Blending tools Blending stumps or tissue for smooth shading
- Ruler Useful for checking proportions early on
- Additional pencils A 2B or 4B for darker shadows, a 2H for light areas
How to Draw a Coffee Cup Step by Step
Follow these simple steps to sketch, shade, and refine a realistic coffee cup drawing from start to finish.
Step 1: Draw the Basic Shape
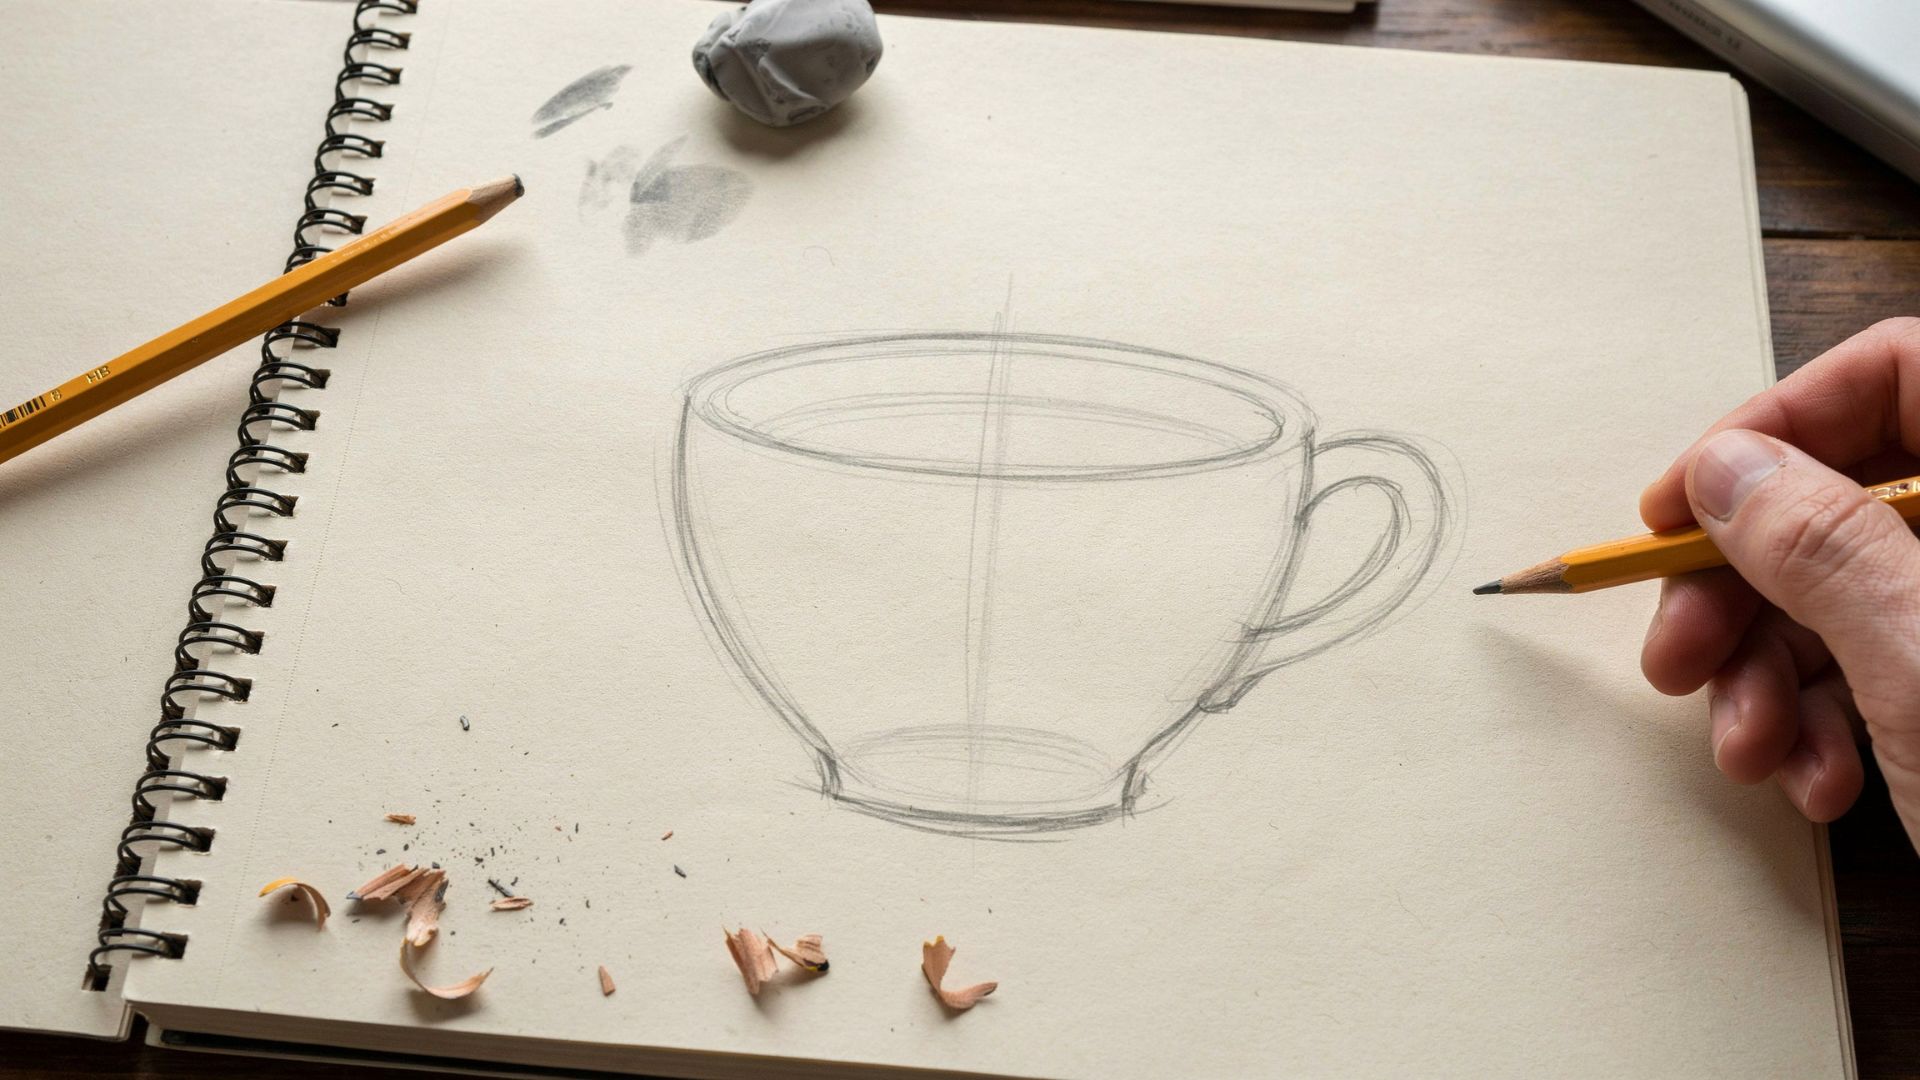
Start loose. Don't rush into detail.
Place your mug in front of you and observe it carefully before touching the paper. Notice the overall height versus width. Is it taller or wider?
Sketch light guidelines a vertical center line and a rough rectangle to block in the overall form. These are just guides. Keep your hand relaxed and your lines light.
Step 2: Refine the Outline
Now start defining the actual shape.
Draw the sides of the cup using your guidelines. Most mugs taper slightly wider at the top than the bottom. Add the rim as a flat ellipse at the top and a similar ellipse at the base.
Place the handle on the side. Check that it sits at the right height usually centered between the rim and the bottom. The handle is a common trouble spot, so look at your mug closely before drawing it.
Step 3: Clean Up the Sketch
Your drawing has a lot of construction lines now. It's time to clean it up.
Use your kneaded eraser to lighten the guidelines without removing them completely. Then go over your final outline with a slightly firmer, more confident line. Don't press too hard you still want flexibility for shading.
At this point, your cup should look clean and clear. This is your foundation.
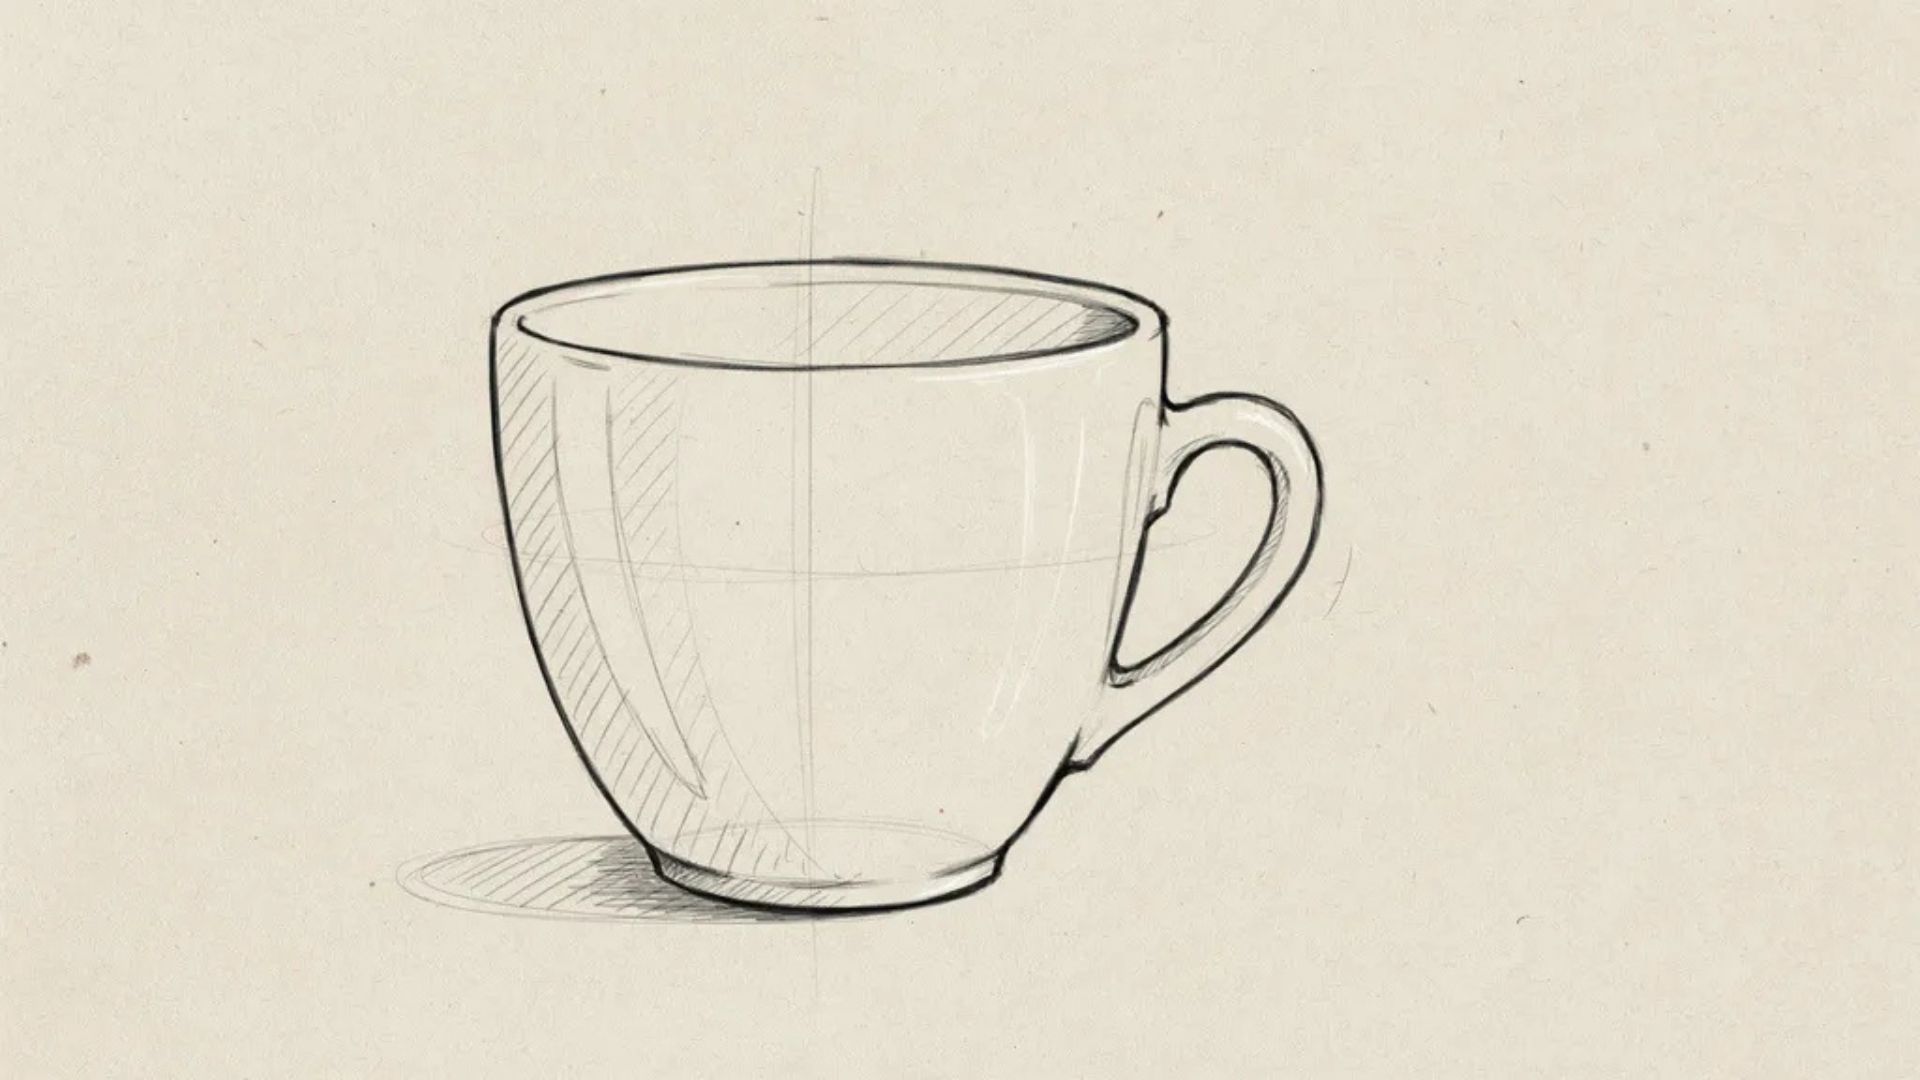
Step 4: Add a Base Layer of Shading
Shading is where the cup starts to feel real.
Start with a mid-tone value across the whole surface of the cup not too dark, not too light. Use smooth hatching strokes that follow the curve of the cylinder. Keep the pressure even.
This base layer sets the tone for everything else. Think of it as the starting point, not the finish line.
Step 5: Draw the Main Shadows and Highlights
Look at your mug again. Where is the light coming from?
Mark the highlight area (the brightest spot) and leave it mostly untouched. Then add shadows around the handle, under the rim, and on the side of the cup away from the light.
Shadows around the handle are often deeper than you expect. Don't be shy with the pencil in those areas. Preserving the highlight does a lot of work in making the cup look three-dimensional.
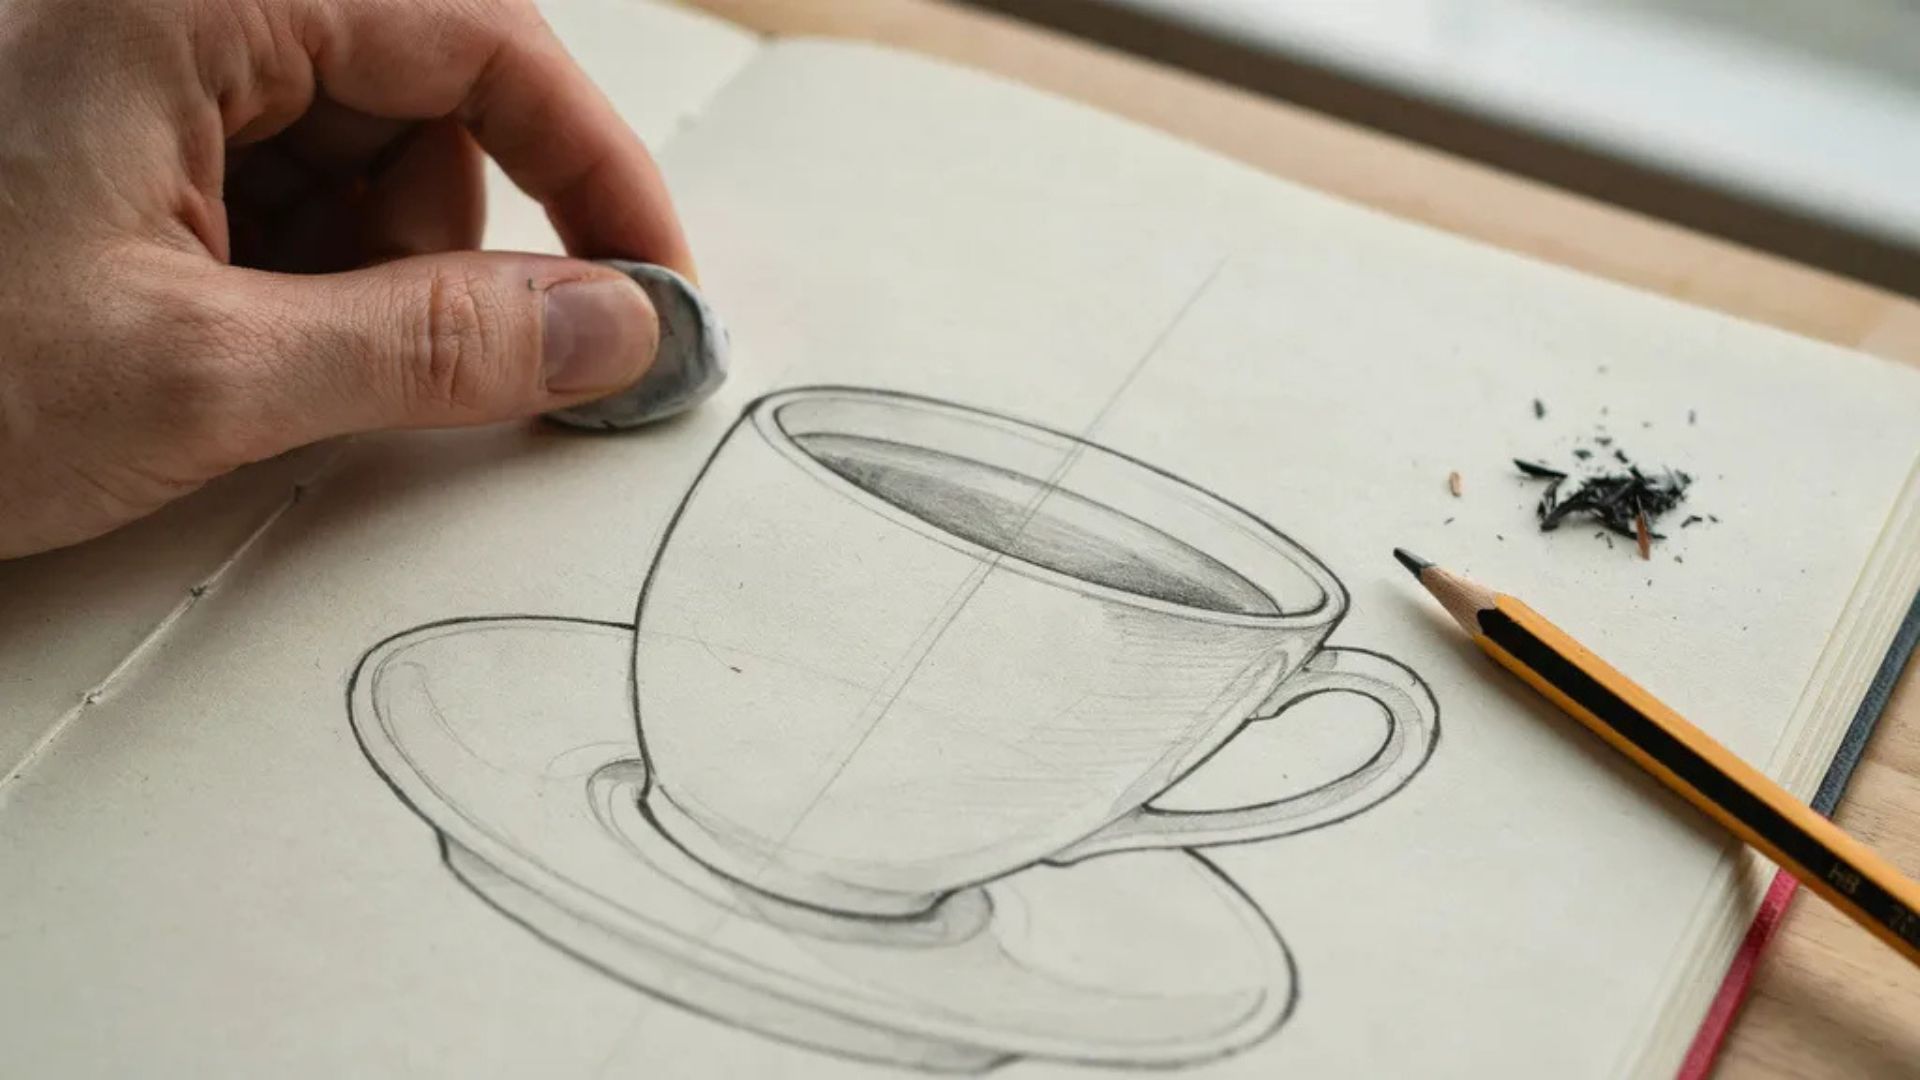
Step 6: Increase Contrast and Depth

This step separates a flat drawing from a convincing one.
Go back into the deepest shadow areas under the handle, the inside of the rim, the far edge of the cup and darken them further. Use a softer pencil like a 2B or 4B for this.
Use your kneaded eraser to clean up or sharpen the highlight. Then add a cast shadow beneath the cup on the surface it sits on. This grounds the object and makes it feel like it's actually sitting somewhere.
Step 7: Add Final Details
You're almost done. Now it's the small things that matter.
If your mug has a pattern, logo, or texture, add it now. Keep it light, decoration should support the drawing, not overpower it. Adjust any values that feel too flat or too dark. Soften edges where needed.
Step back and look at the full drawing. That's your finished coffee cup.
Tips to Make Your Coffee Cup Drawing Look Realistic
Small details like shading, highlights, and proper proportions can transform a simple coffee cup sketch into a more realistic and visually appealing drawing.
- Observe before you draw. Study your mug's actual proportions ,compare height to width using your pencil as a measuring tool before putting anything on paper.
- Keep early lines light. Sketch with a loose, light hand at the start so you can correct the shape easily before committing to darker lines.
- Nail your ellipses. The rim and base ellipses must be parallel. If they tilt differently, the whole cup looks off. Use faint guidelines to keep them consistent.
- Find your light source first. Before shading, decide where the light comes from. This keeps your shadows and highlights consistent across the entire drawing.
- Build shading in layers. Start with a light mid-tone, then gradually darken the shadow areas. Rushing to dark values too soon leads to muddy, overworked shading.
Common Mistakes to Avoid When Drawing a Coffee Cup
Avoiding common errors such as uneven proportions, distorted handles, and incorrect perspective will help your coffee cup drawing look cleaner and more realistic.
Drawing Uneven Ellipses
The ellipses at the rim and base should be parallel to each other. If one tilts differently than the other, the cup looks warped. Use light guidelines and check both ellipses before committing.
Misplacing the Handle
The handle attaches at two points. Both attachment points need to feel solid and connect cleanly to the body of the cup. Sketch the handle shape first as a loose D-shape before refining.
Ignoring Highlights
Skipping highlights is the fastest way to make a drawing look flat. Even a small, clean highlight on the rim or surface does a lot of work. Protect those light areas early.
Overworking the Shading
More pencil strokes don't always mean better shading. Over-blending or over-darkening removes contrast and makes the drawing muddy. Build shading in layers and stop when it looks right.
Easy Coffee Cup Drawing Ideas to Try
Experimenting with different coffee cup styles and designs is a fun way to practice your drawing skills and develop your creativity.
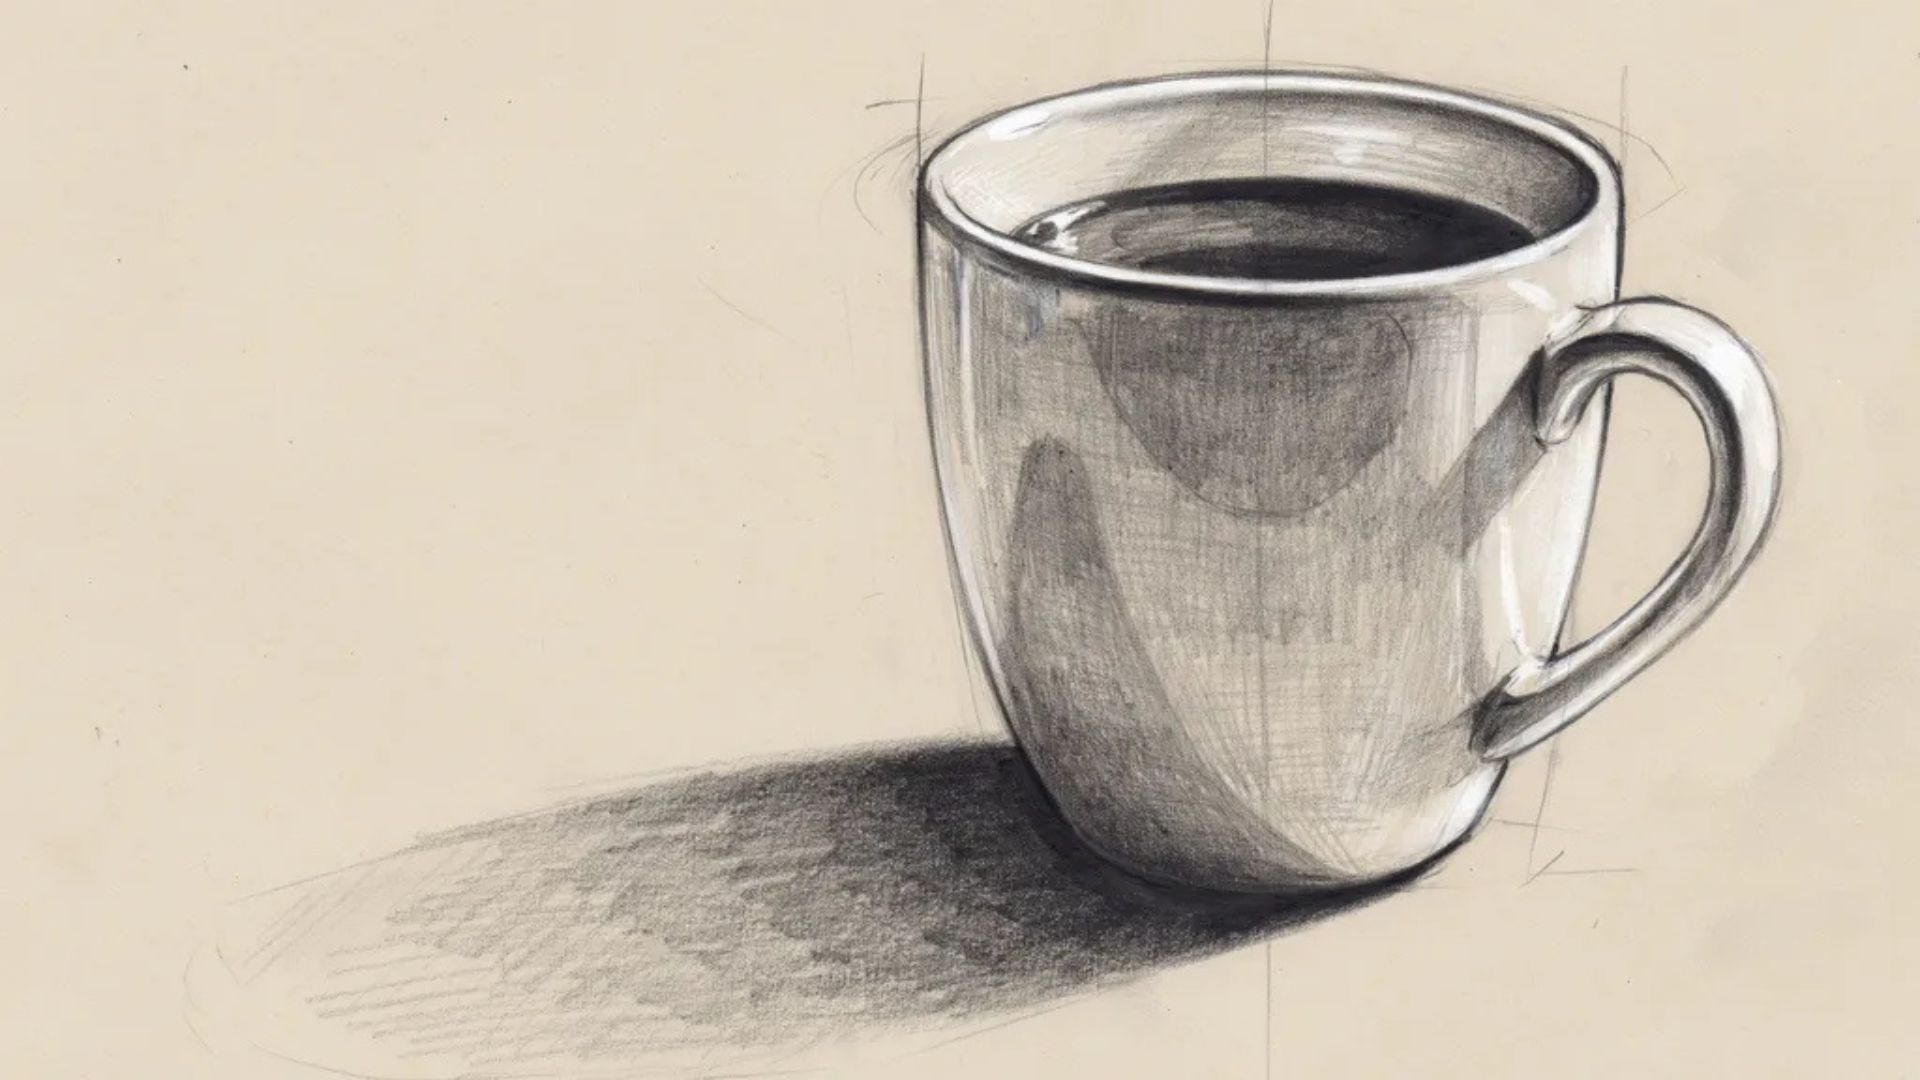
Simple Coffee Mug Drawing
Start with a plain white mug. No pattern, no texture. Focus entirely on form and shading. This is the best first project.
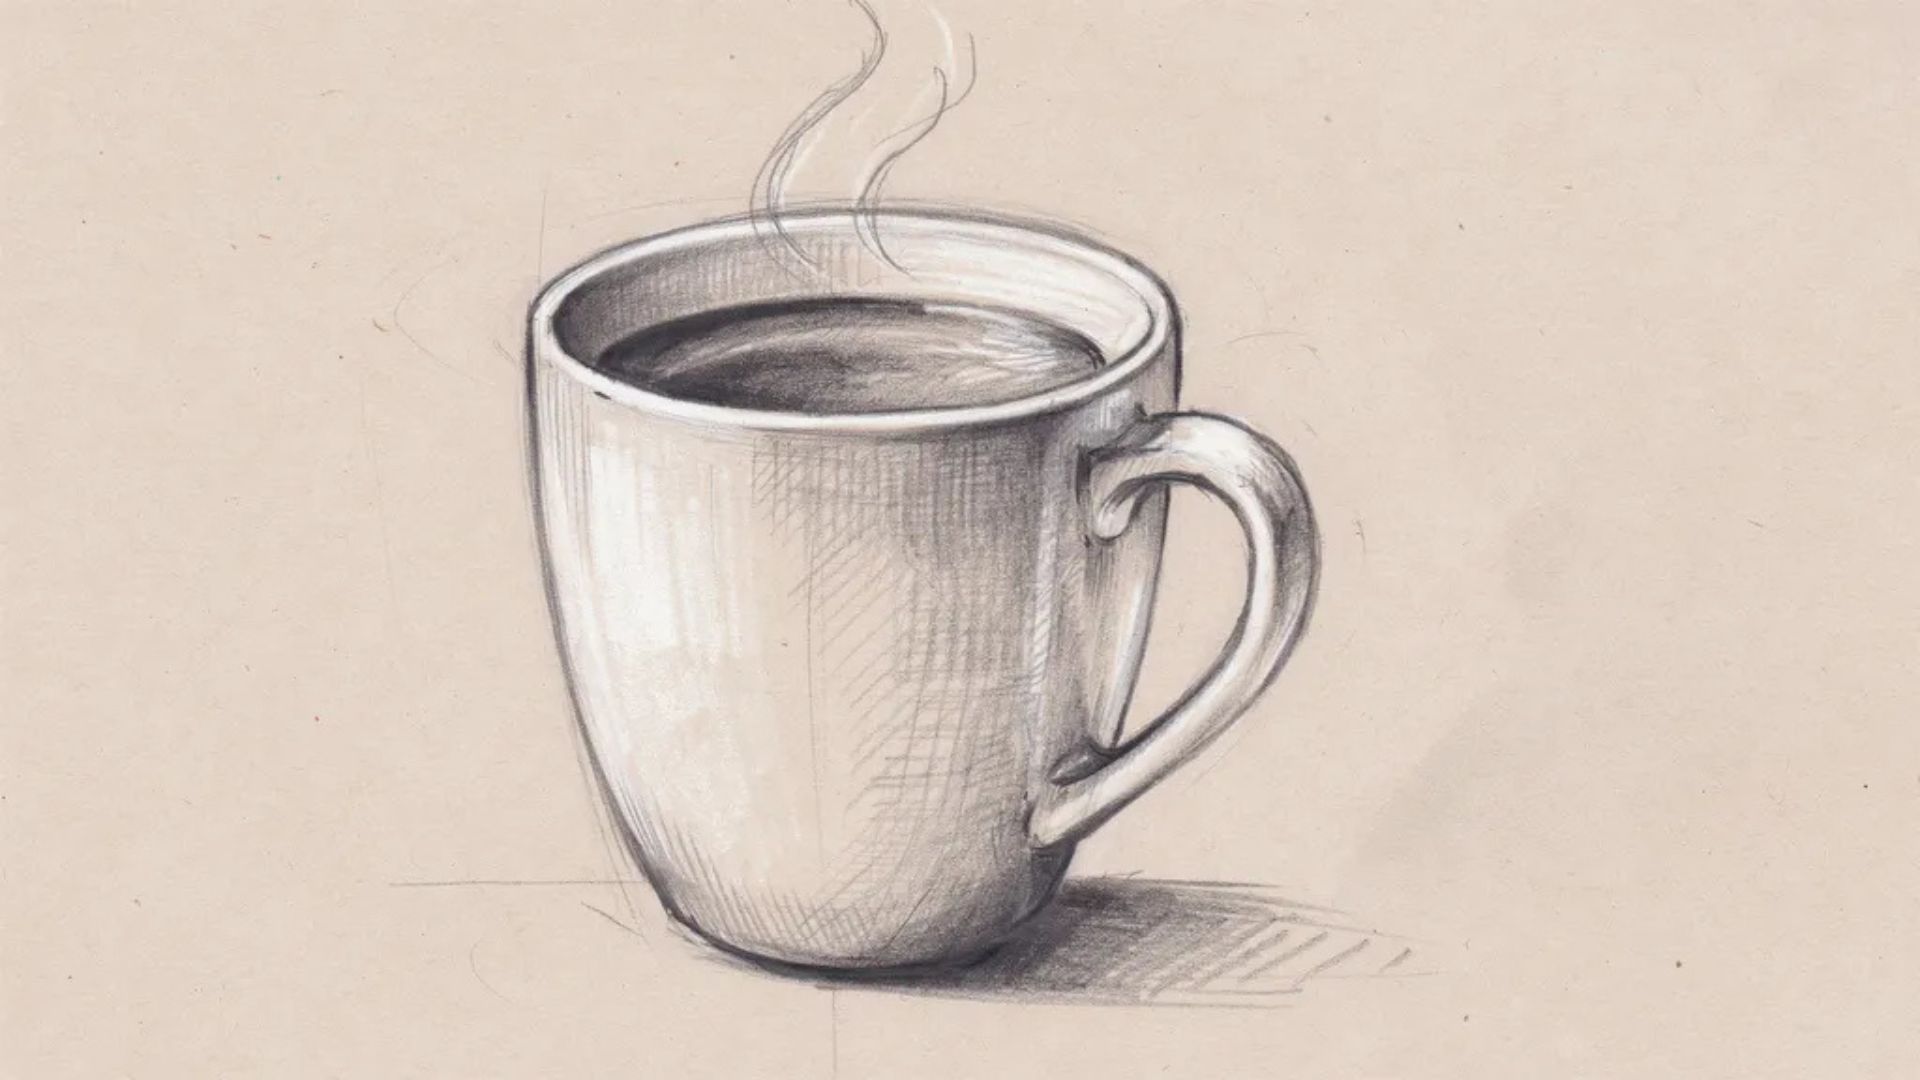
Coffee Cup with Steam
Add two or three wispy steam lines rising from the rim. Keep them loose and organic ,curling slightly as they rise. This adds life and warmth to the drawing.
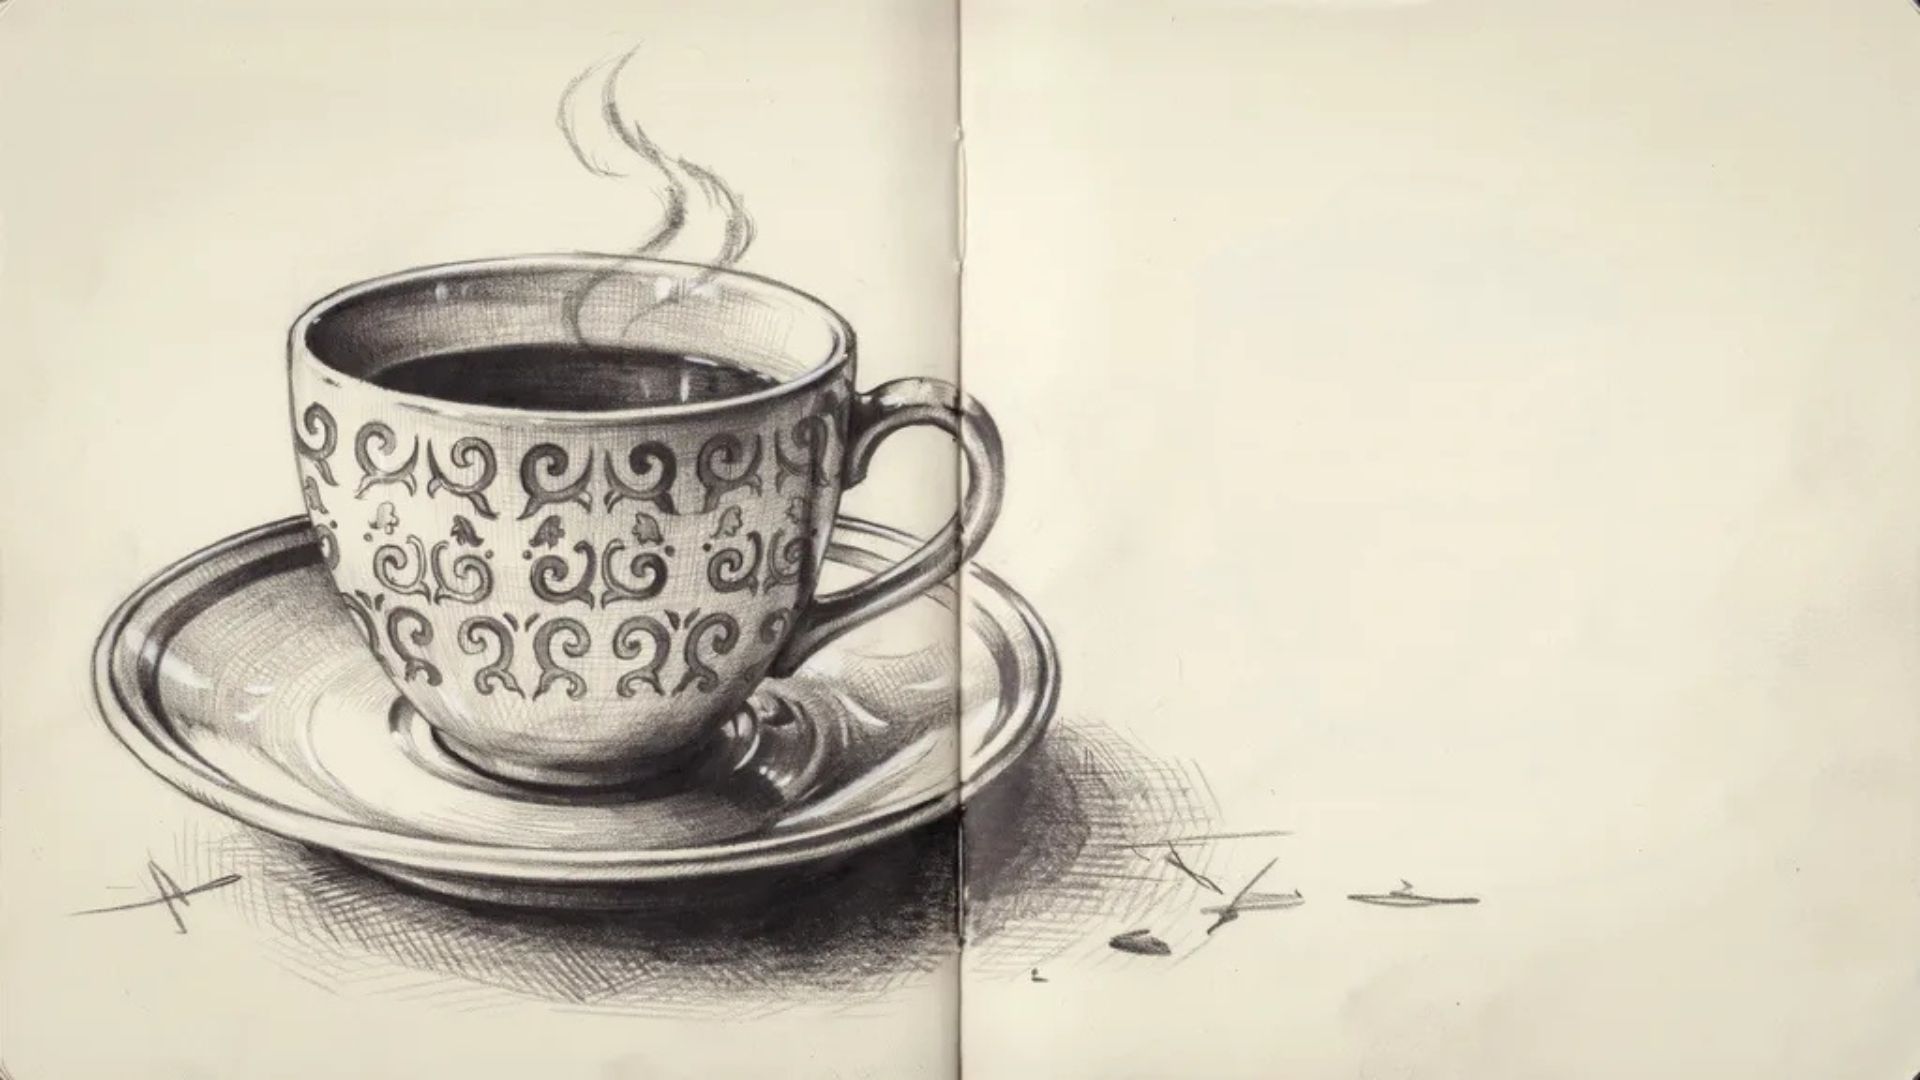
Decorative Coffee Cup Design
Pick a mug with a pattern or logo and practice drawing the design as it wraps around the curved surface. This teaches you how flat shapes distort on curved objects.
Coffee Cup on a Table Setting
Place the mug on a saucer, or add a spoon beside it. Drawing multiple objects together teaches you about scale, spacing, and cast shadows between objects.
Conclusion
Coffee cup drawing has taught me more about observation than almost any other exercise. It looks simple, but it covers everything ,shape, proportion, light, and shadow ,in one small object.
Work through these steps at your own pace. Practice the same mug a few times before moving on. Try different lighting setups or cup shapes to keep it fresh.
The more you draw, the more you'll see. Drop your coffee cup drawing in the comments below ,I'd love to see how it turned out. And if you found this guide helpful, share it with a friend who's just getting started with drawing.
Frequently Asked Questions
How do you draw a coffee cup step by step?
Start with loose guidelines to block in the shape. Then define the rim and base ellipses, add the handle, clean up the outline, and build shading from a light mid-tone up to deep shadows and clear highlights.
Is coffee cup drawing suitable for beginners?
Yes ,it's one of the best beginner projects. It covers core skills like ellipses, cylindrical shading, and light observation without being overly complex.
What is the easiest way to shade a coffee cup drawing?
Start with a light, even mid-tone across the surface. Then identify your light source and deepen shadows on the opposite side. Leave the highlight areas alone and add a cast shadow at the base.
How can I make a coffee cup drawing look realistic?
Focus on three things: accurate ellipses, a clear light source, and strong contrast between your highlights and deepest shadows. Drawing from a real mug rather than memory makes a big difference.
What pencil is best for coffee cup drawing?
An HB for sketching and initial shading, a 2B or 4B for deeper shadows, and a 2H for lighter areas. A kneaded eraser is just as important ,use it to lift graphite for highlights.