

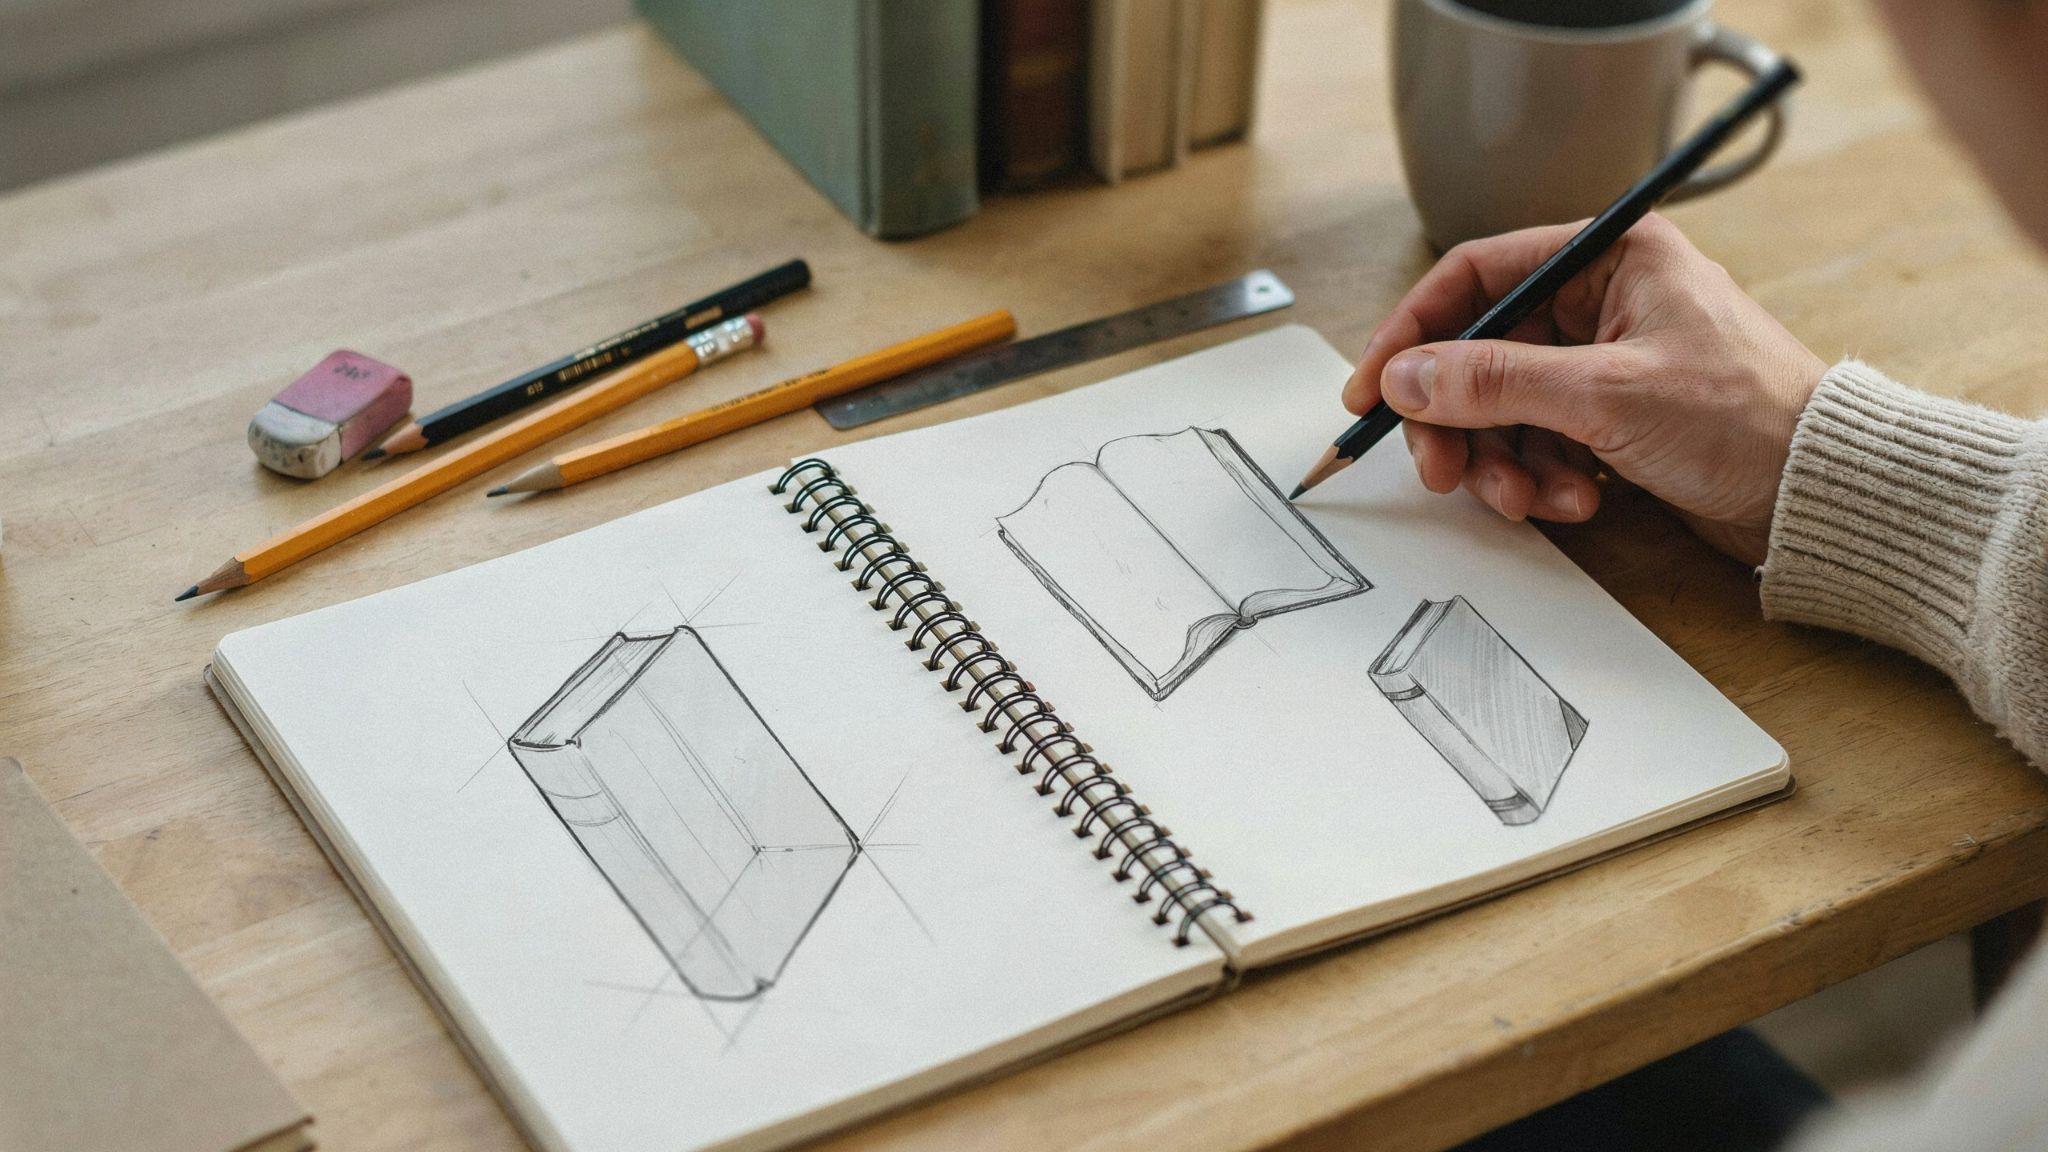
Drawing a book sounds simple, and honestly, it is. But when you sit down with a blank piece of paper and a pencil, it can feel a little confusing about where to even start.
I remember feeling the same way. The good news is that a book is one of the best things to draw as a beginner. It is built from basic rectangles and straight lines, nothing complicated at all.
In this guide, I will walk you through each step in a clear and simple way.
By the end, you will have a clean, realistic book sketch you can actually be proud of.
Let us get into it.
What Is a Book Drawing?
A book drawing is simply a sketch of a book, open or closed, flat or angled. It looks simple, but it teaches you a lot about shape, depth, and proportion.
Books are made of rectangles and straight lines, which makes them great for beginners. You do not need special skills to start. It builds your confidence fast.
Most book sketches use basic shapes like rectangles, parallelograms, and simple curved lines. Once you know these, drawing any book becomes easy.
Supplies Needed for an Easy Book Drawing
Stock up on the right supplies before you start. It makes the whole drawing process smoother and more fun.
Drawing Materials
- A pencil (HB or 2B works best for beginners)
- A eraser to fix mistakes easily
- Plain white paper or a sketchbook
- A ruler for clean, straight lines
- A black pen or fine liner to outline your sketch
Optional Coloring and Shading Tools
- Colored pencils for adding book cover colors
- Markers for bold, bright fills
- A blending stump for smooth pencil shading
- Watercolor paints for a soft, artistic look
- A light gray marker for quick shadow effects
How to Draw a Book Easy in 6 Simple Steps
Drawing a book is easier than you think. Just follow these 6 simple steps one at a time and you will have a clean, realistic book sketch ready in minutes.
Step 1: Draw a Rectangle for the Front Cover
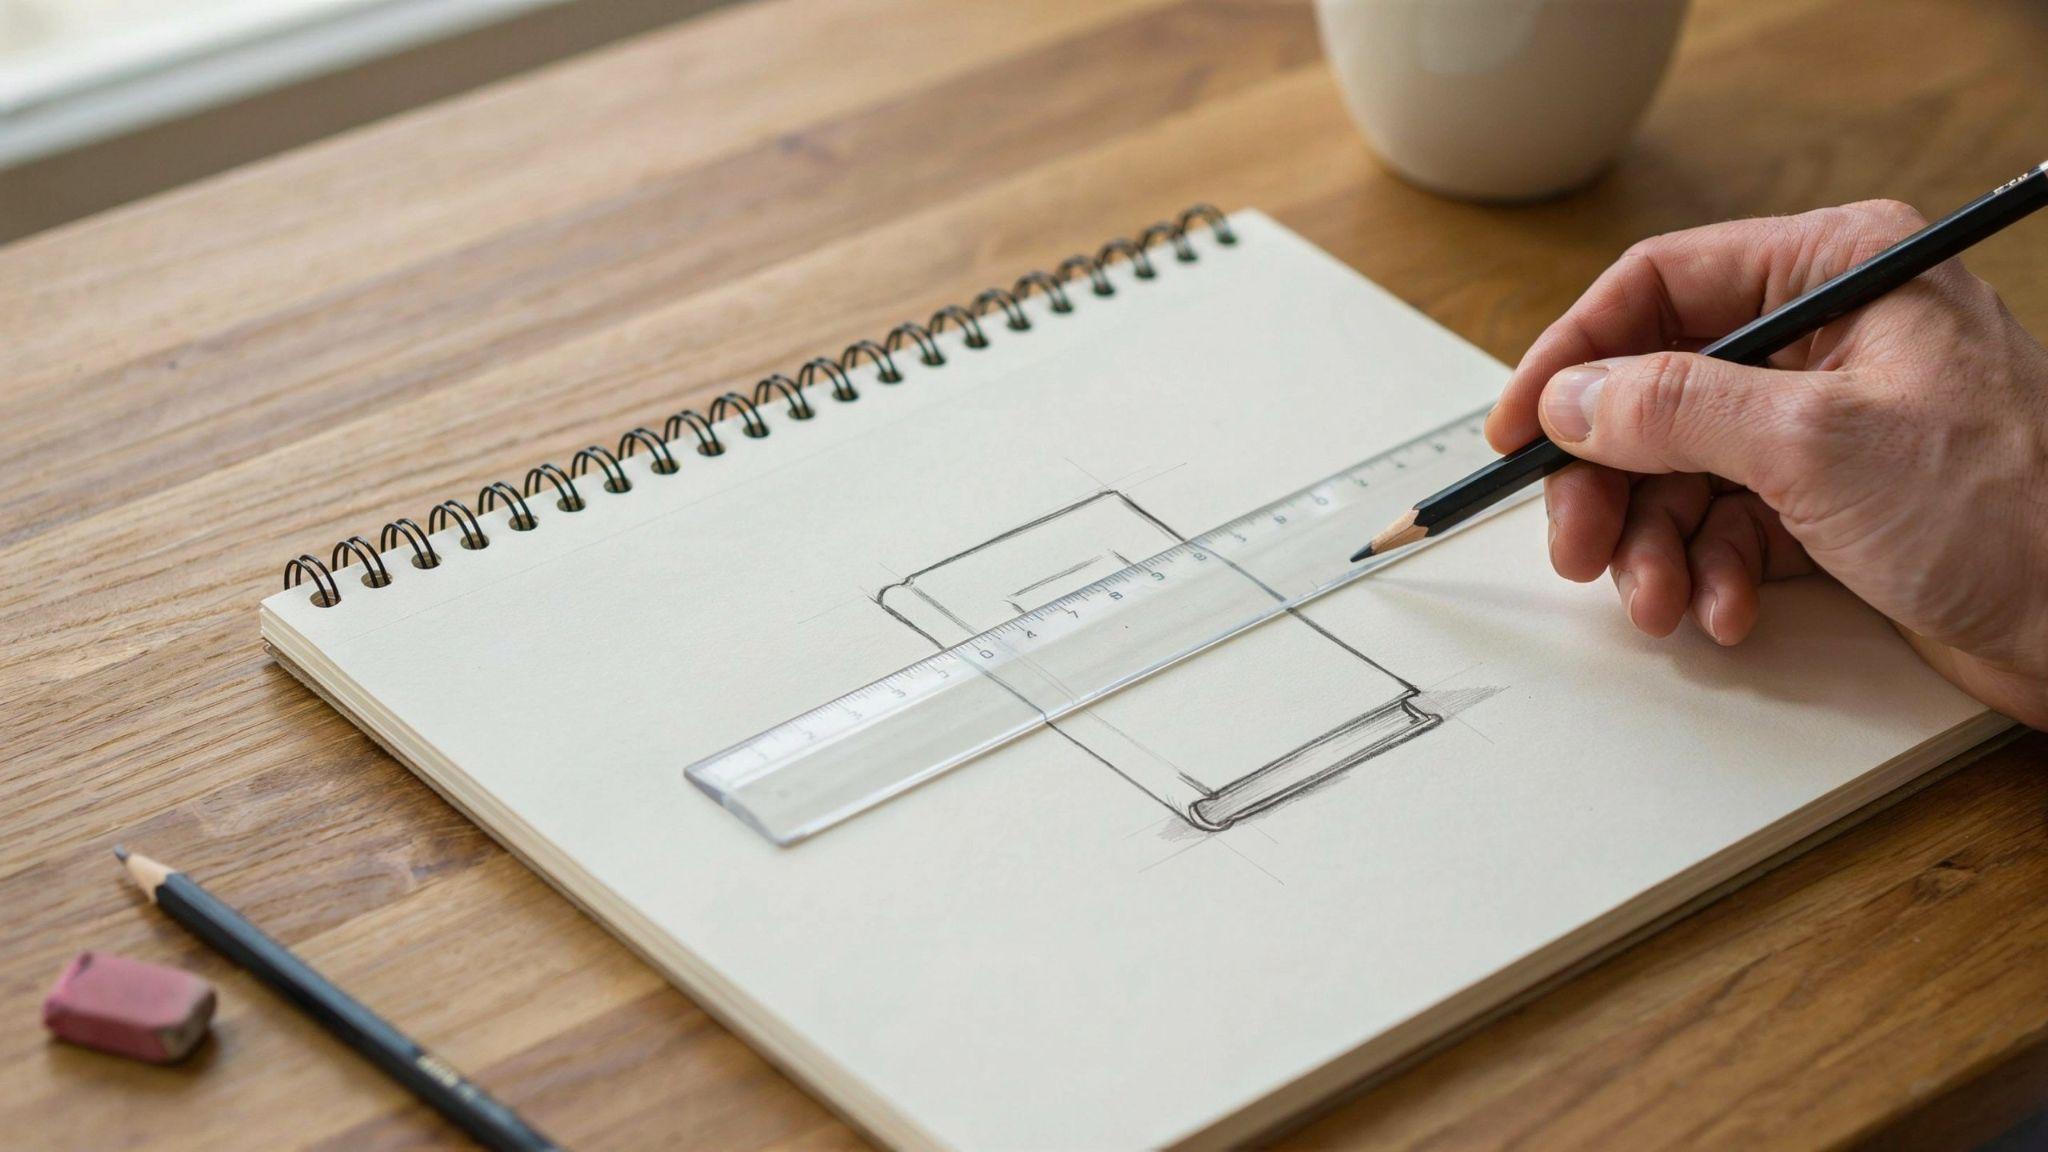
Start with a flat rectangle in the center of your paper. This is going to be the front cover of your book, so take your time with it.
Keep the lines straight using a ruler. Do not worry if it is not perfect on the first try. A simple, clean rectangle is all you need to get the basic shape in place and move forward.
Step 2: Add the Back Cover and Spine
Draw a thin parallelogram on the left side of the rectangle. This shape becomes the spine of your book and holds the whole structure together visually.
Then extend the bottom and top lines slightly to show the back cover peeking out from behind. This small addition instantly gives your book a basic 3D look and makes it feel more realistic.
Step 3: Sketch the Page Edges
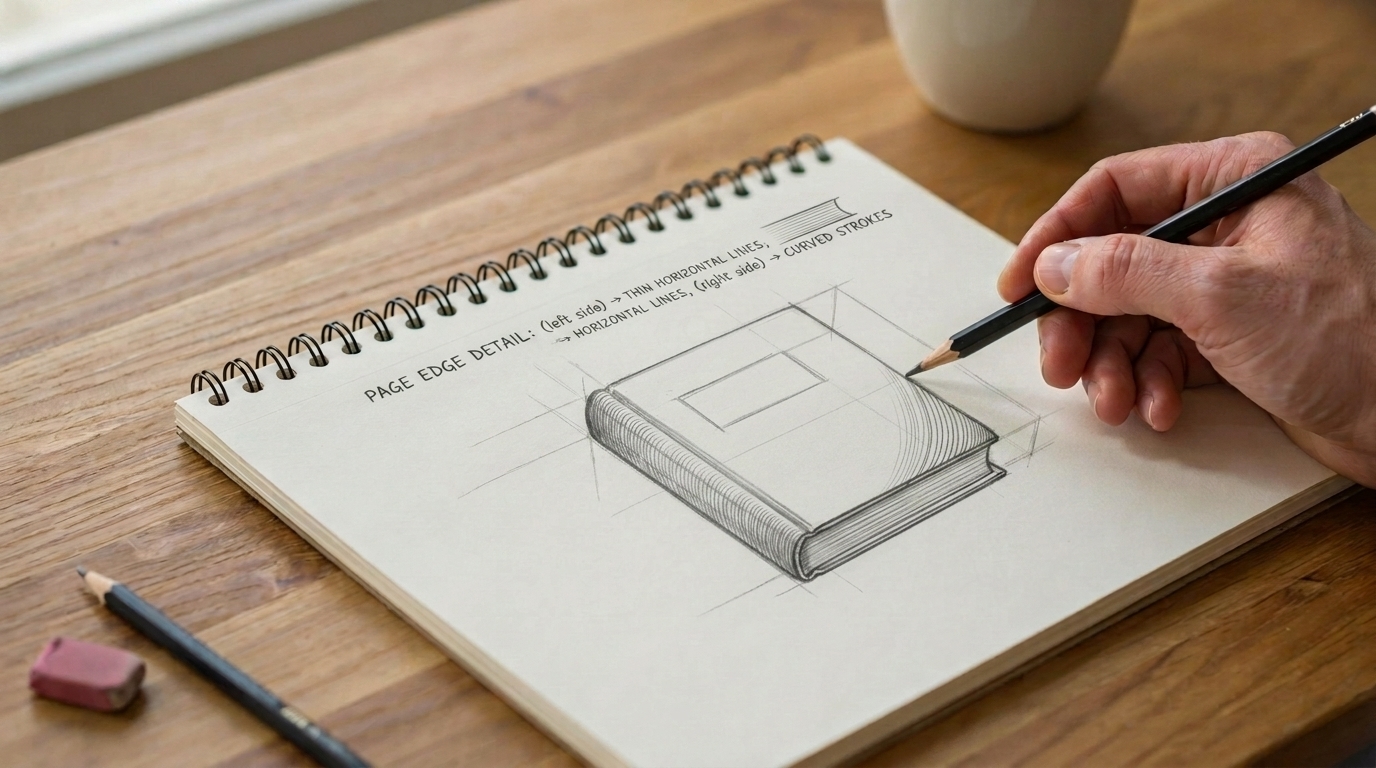
On the right side of the front cover, draw several thin horizontal lines stacked closely together. These lines represent the pages of the book and are key to making it look real.
Keep them evenly spaced and slightly curved at the outer edges. This simple detail adds a lot of character to the sketch and makes the book look full and thick with pages.
Step 4: Create Depth and Thickness
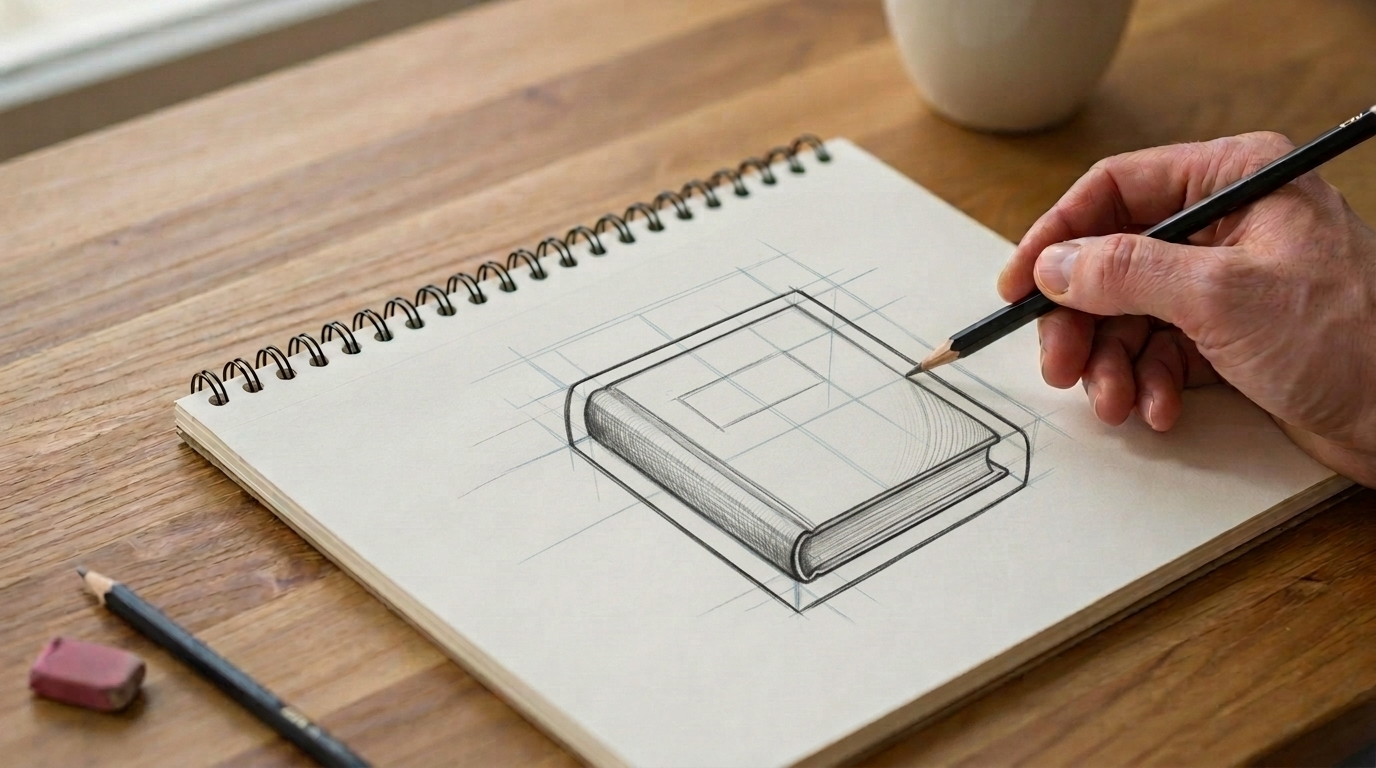
Add a second outline just below and beside your original rectangle. The small gap between the two outlines is what creates the illusion of thickness and volume.
The more space you leave between them, the thicker your book will look. Use light pencil strokes at this stage so you can adjust and fix things easily without making a mess on the paper.
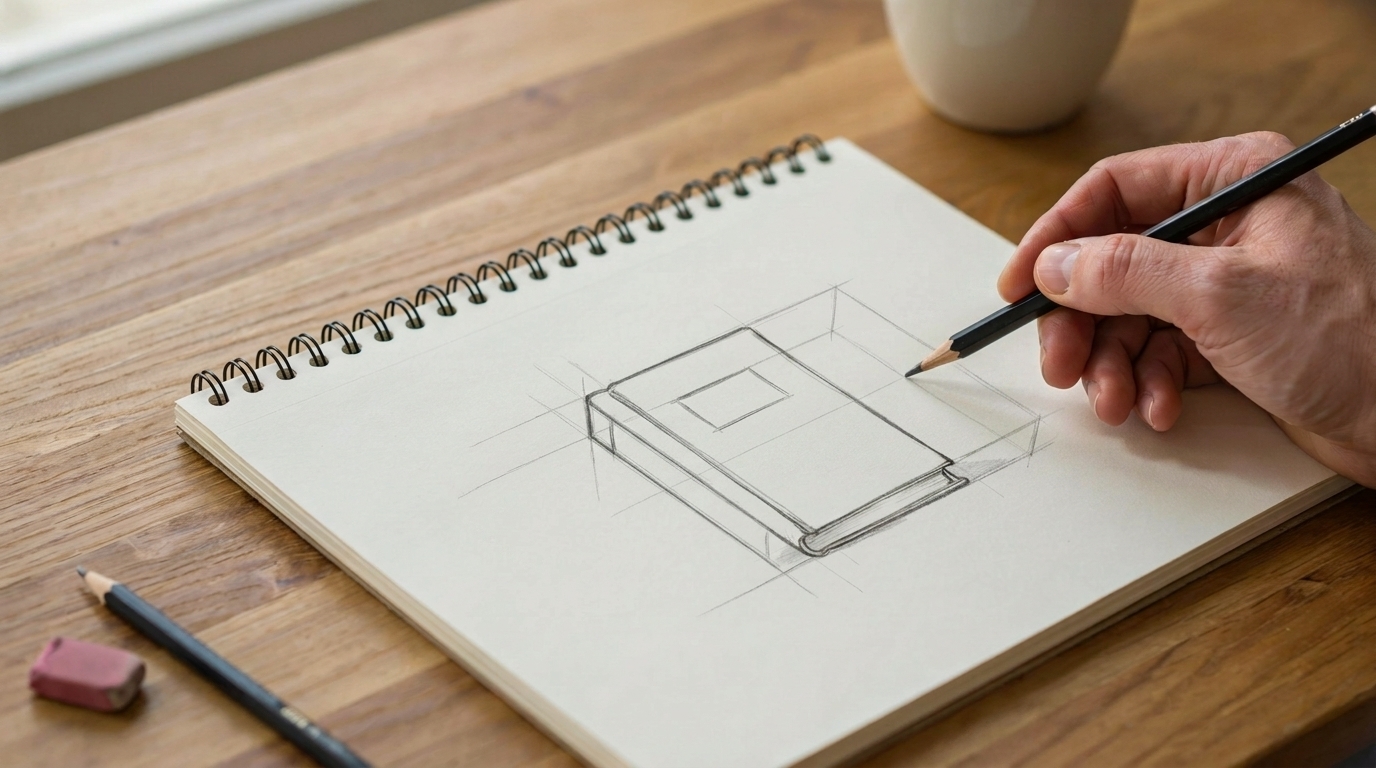
Step 5: Refine the Outline and Details
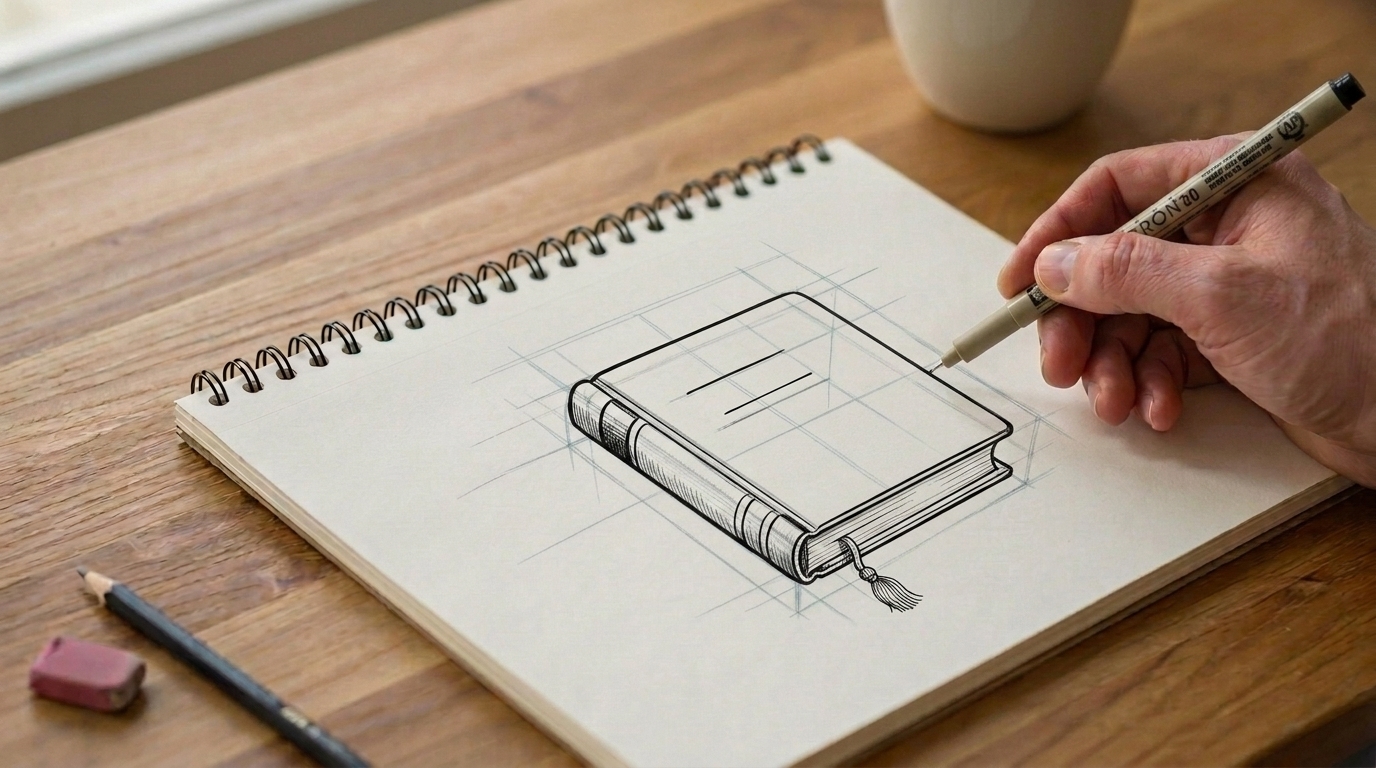
Go over your pencil lines with a black pen or fine liner. This step cleans up any rough, shaky, or uneven edges left over from the earlier steps.
You can also add small details like a title line on the front cover or a bookmark ribbon hanging from the top. These little touches go a long way in making your sketch look much more like a real book.
Step 6: Shade and Color the Book

Pick a color for the cover and fill it in evenly using colored pencils or markers. Use a darker shade on the spine and along the page edges to create a sense of depth.
Adding light shading on one side of the book makes it look three dimensional and solid. Keep the colors simple and neat for the best and cleanest result overall.
Tips to Improve Your Book Drawings
- Start with rectangles and straight lines before you draw a full book. The more you practice basic shapes, the easier your book sketches will turn out.
- Always begin your drawing with light pencil strokes. This way, you can fix mistakes without leaving marks or tearing the paper.
- Use a ruler for the straight edges of your book. It keeps your lines clean and makes the whole sketch look more neat and controlled.
- Add a shadow below and beside the book to make it look like it is sitting on a surface. A simple dark patch goes a long way in making your drawing feel real.
- Shade one side of the book darker than the other to create a light source effect. This small step makes your sketch look three dimensional and more polished overall.
Conclusion
Drawing a book is one of the easiest ways to build your sketching skills.
You start with a rectangle, add the spine, sketch the pages, build thickness, refine the lines, then shade it. Simple as that.
Once you get comfortable, try drawing open books, stacked books, or books with bookmarks. Keep practicing and you will see real improvement fast.
Tried this guide? Drop your experience in the comments below. I would love to hear how it went!
Frequently Asked Questions
What do I need to start drawing a book?
You only need a pencil, a ruler, and plain paper to get started. These basic supplies are more than enough for a beginner to draw a clean book sketch.
Is book drawing hard for beginners?
Not at all. Books are made of simple rectangles and straight lines, which makes them one of the easiest things to draw as a beginner.
How long does it take to draw a book?
A basic book sketch takes around 10 to 15 minutes to complete. The more you practice, the faster and cleaner your drawings will get.
Can I draw a book without a ruler?
Yes, you can draw freehand if you prefer a looser, more casual look. But using a ruler helps keep your lines straight and makes the sketch look cleaner.
How do I make my book drawing look realistic?
Add shading on the spine and page edges to create depth. A small shadow beneath the book also helps it look like it is sitting on a flat surface.