

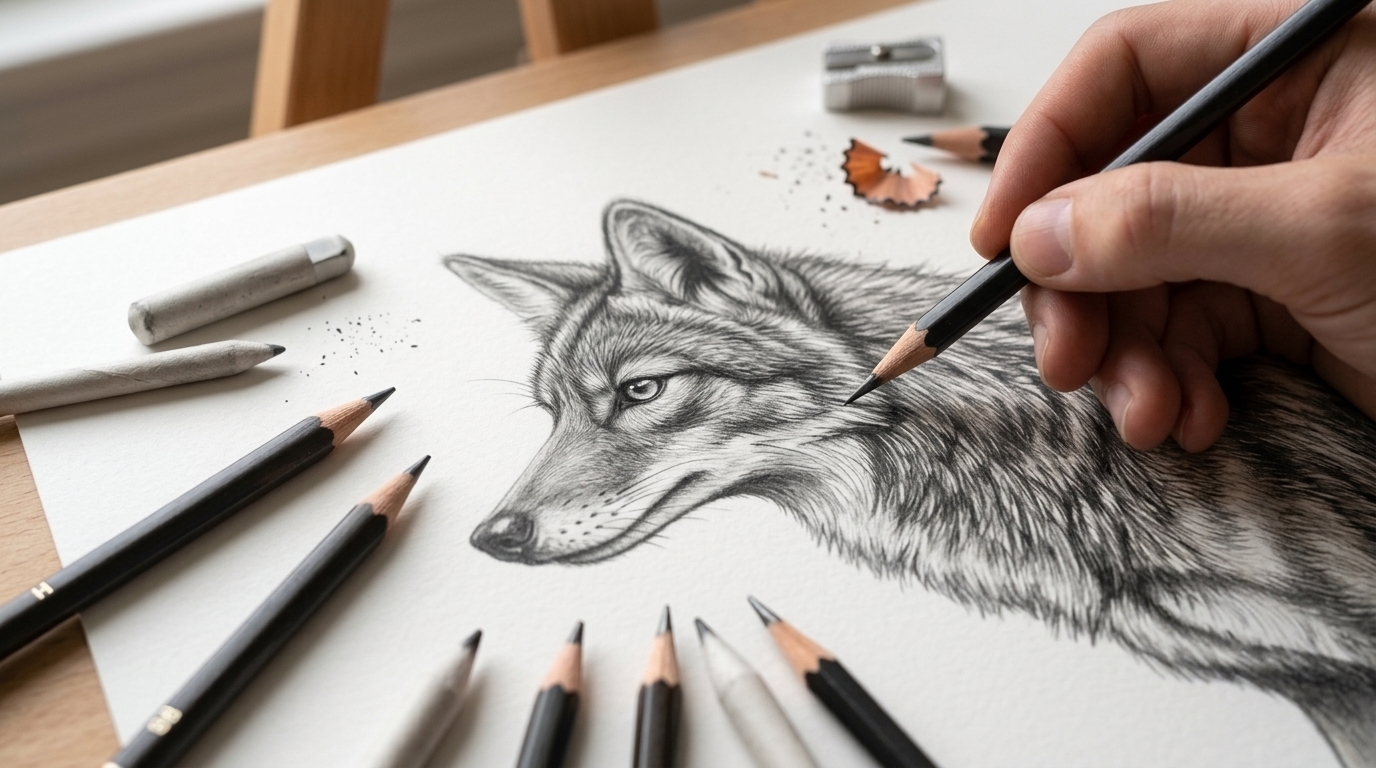
I still remember the first time I tried drawing a coyote. The pointy ears, the long snout, the bushy tail. It looked complicated at first but once I broke it down into simple shapes, everything clicked.
Coyotes have so much character in their face. That sharp, alert look makes them really fun to sketch. And the fur texture gives you a lot to play with.
The best part is that you do not need any experience to follow this guide. If you have a pencil and some paper, you are already set.
Let me show you exactly how to do it.
Understanding the Coyote Before You Start Drawing
Before you draw anything, take a moment to look at a coyote.
They have a slim, medium-sized body, a long snout, and a bushy tail that droops downward. Their ears stand straight up and are pointed at the tips.
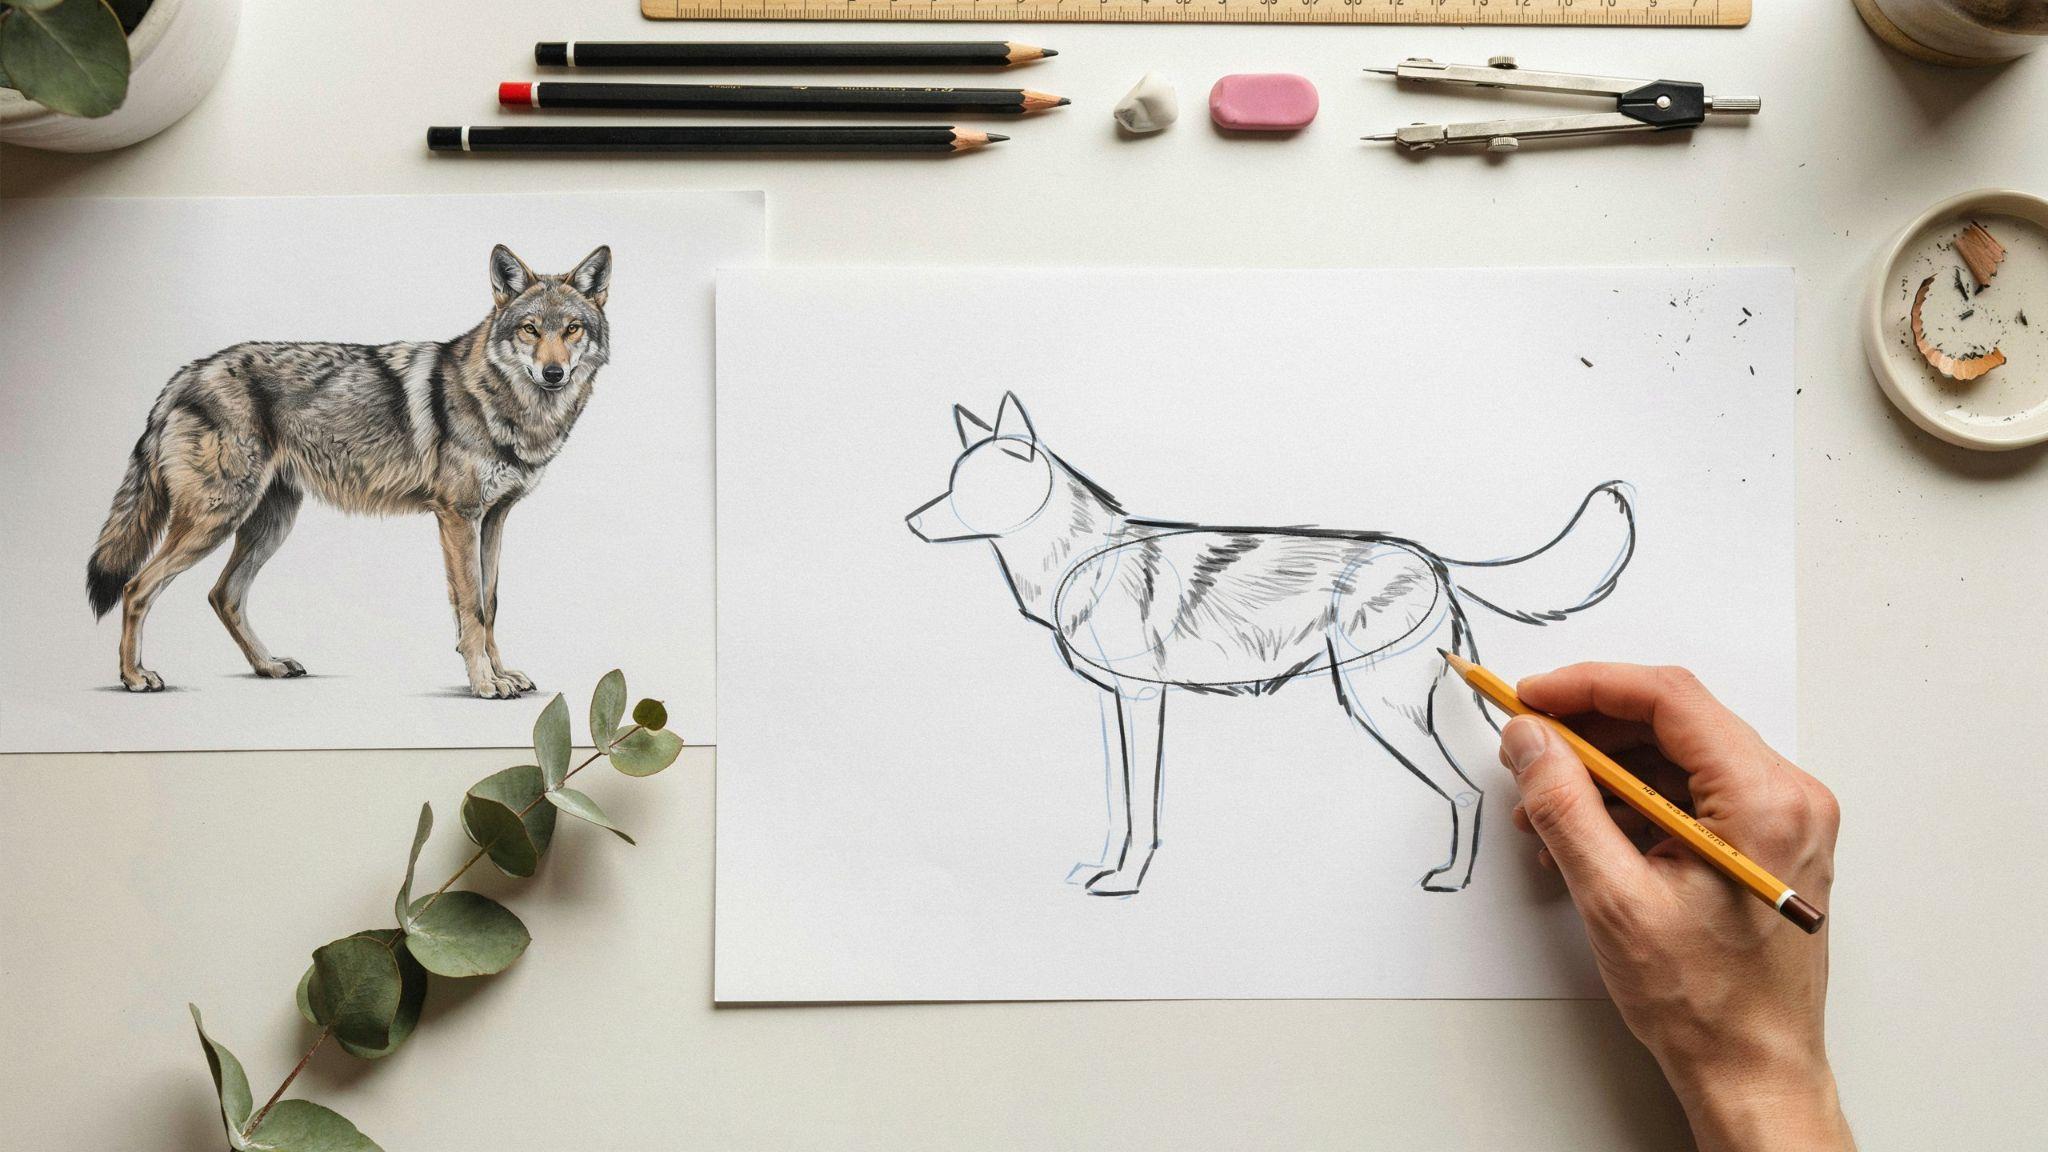
Start by breaking the body into simple shapes.
Use ovals for the head and body, triangles for the ears, and a curved line for the tail. Once you see the shapes, drawing becomes a lot easier and less overwhelming.
Supplies Needed for a Coyote Drawing
You don't need a lot to get started. Just a few basic tools and you are good to go.
Basic Drawing Materials
- Pencil (HB or 2B works best for sketching)
- Eraser (a kneaded eraser gives you more control)
- Sketchbook or plain white paper
- Black pen or fineliner for outlining
Optional Coloring Tools for Finishing Touches
- Colored pencils in brown, tan, and grey shades
- Watercolor paints for a soft, natural look
- Markers for bold, clean color
- Blending stump if you want smooth shading
How to Draw a Coyote Step by Step
Drawing a coyote is simpler than it looks. Just follow each step slowly and you will have a solid sketch before you know it.
Step 1: Draw the Basic Head and Body Shapes
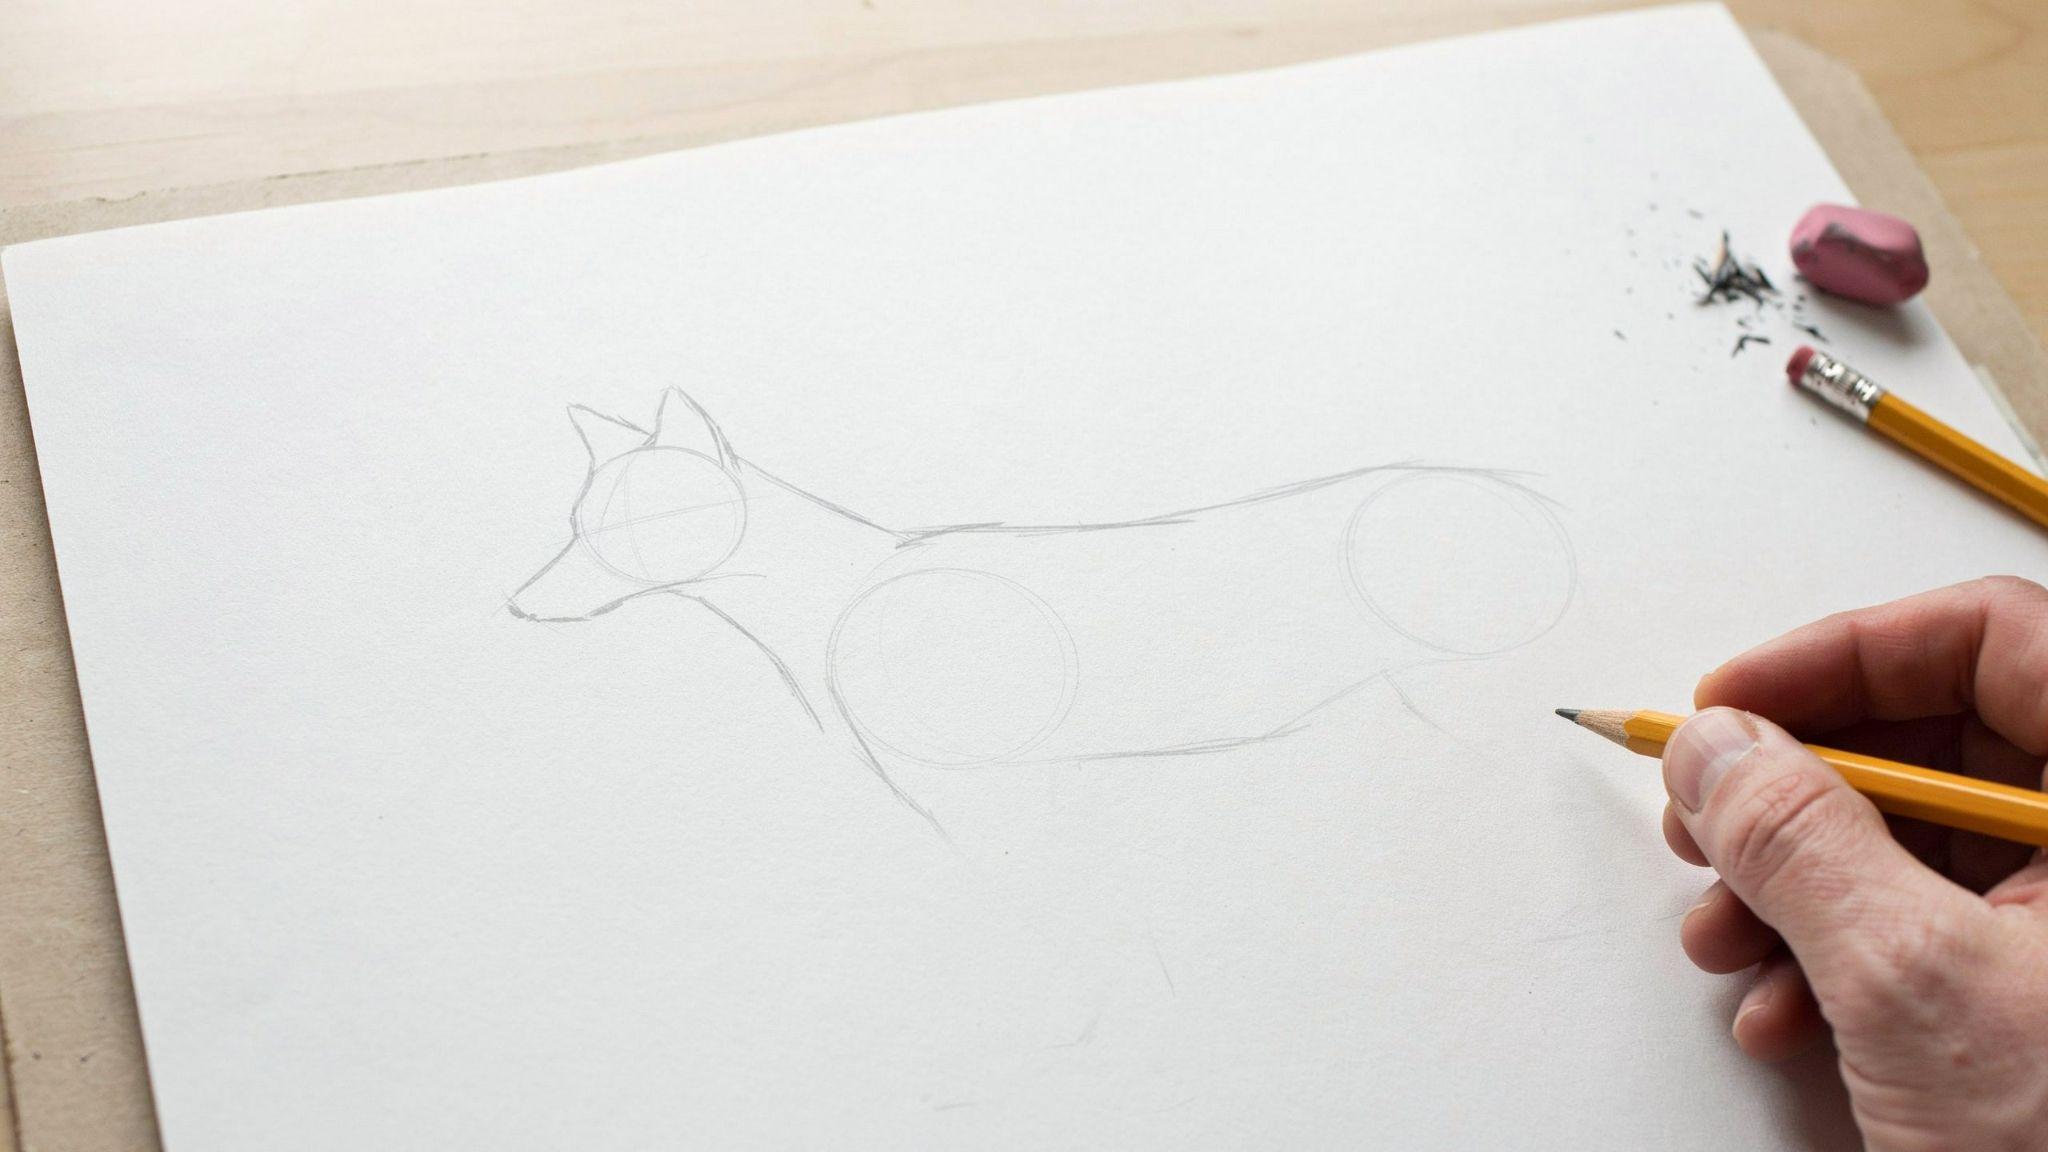
Start with a small oval for the head. Keep it slightly tilted to give the coyote a natural look.
Then draw a larger oval below and behind it for the body. Connect them loosely and keep all lines light for easy erasing later.
Step 2: Add the Face, Ears, and Neck Connection
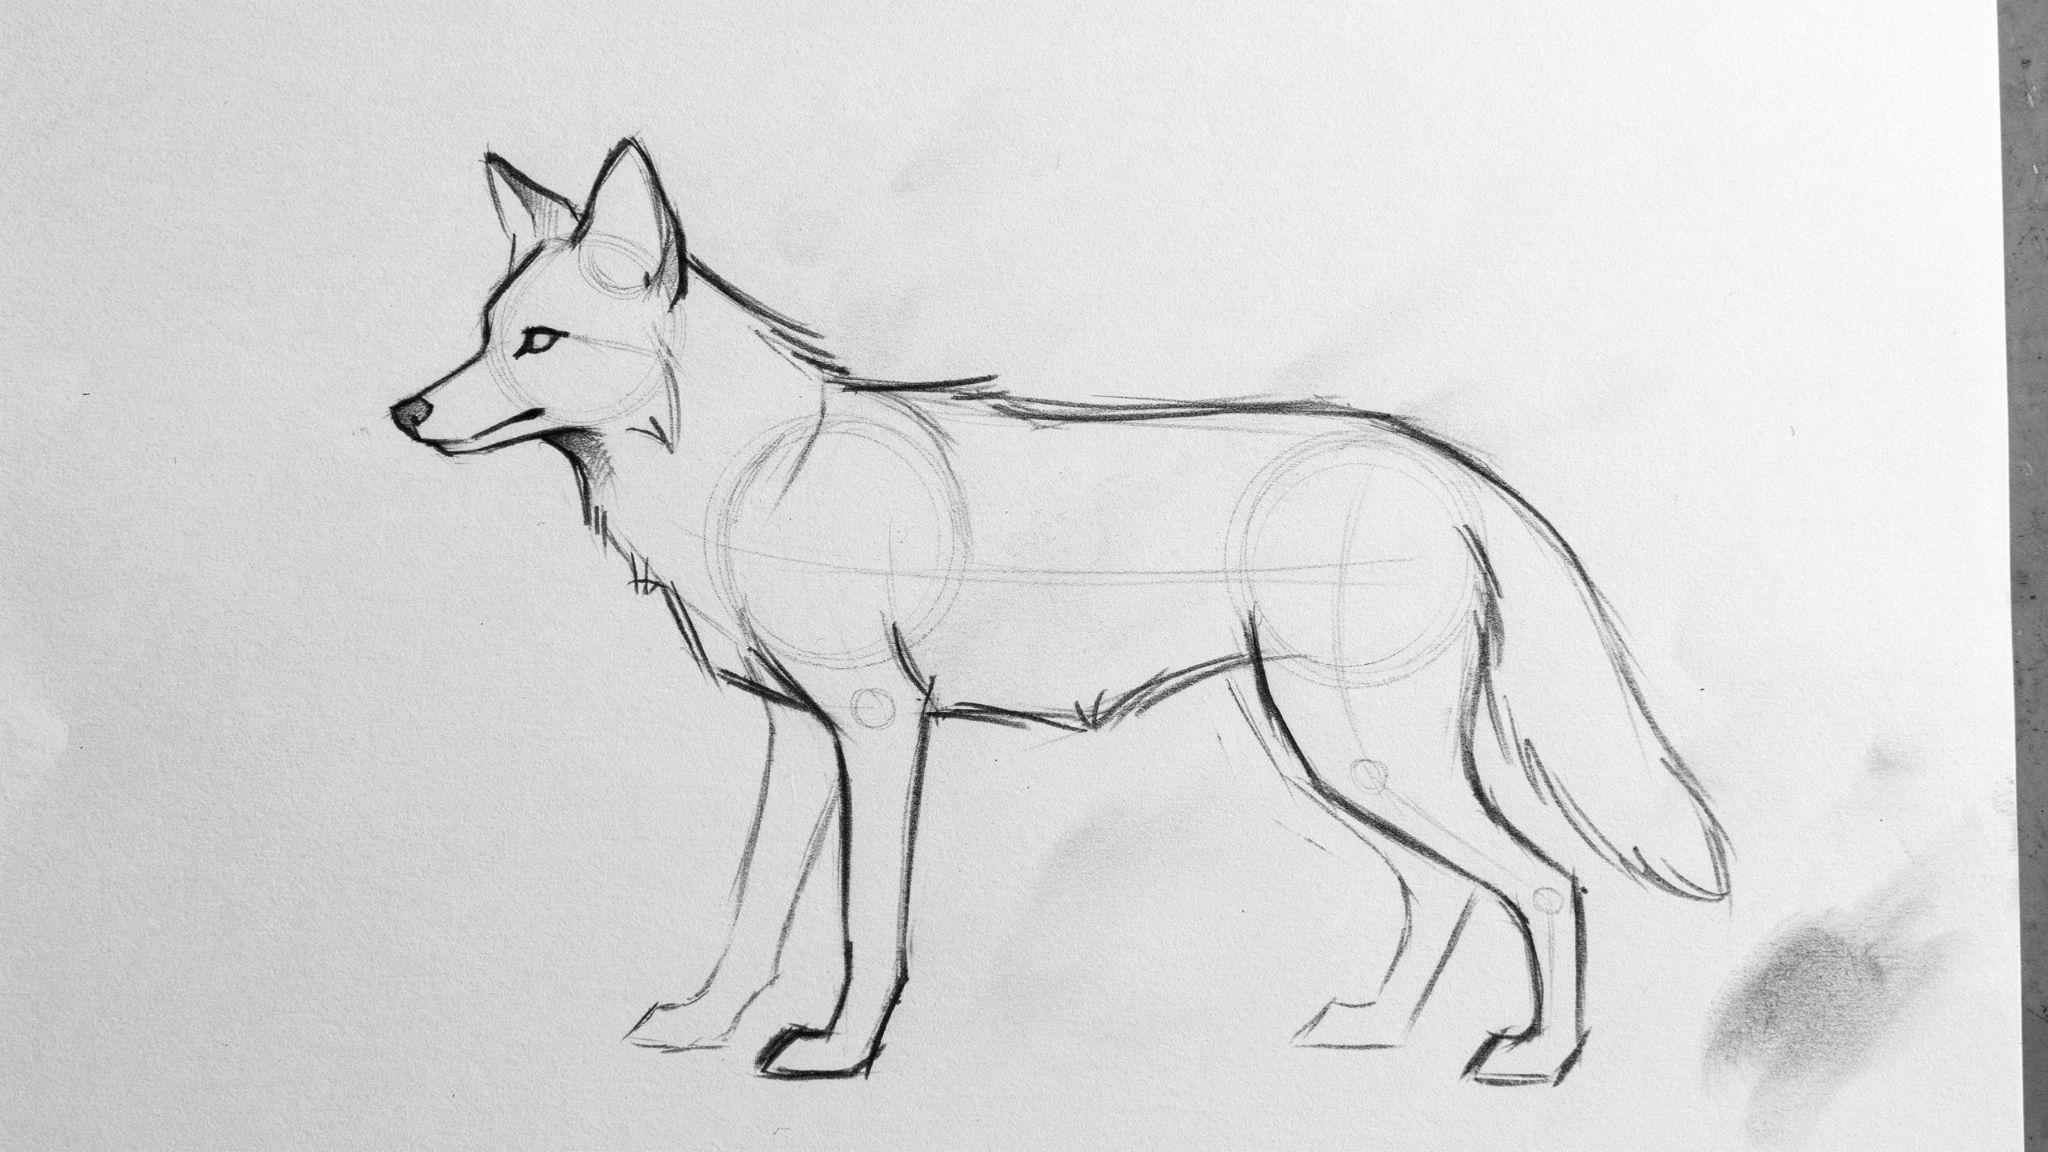
Connect the head and body with two curved lines to shape the neck. Add two small triangles on top of the head for the pointed ears.
Then sketch a long narrow shape from the lower front of the head for the snout. This gives the coyote that sharp, recognizable face.
Step 3: Draw Legs, Paws, and Tail
Add four thin legs using simple straight lines with small ovals at the bottom for paws. The front legs go straight down while the back legs bend slightly at the joint.
Draw the tail from the back of the body and let it curve downward. Keep it thick at the base and thin at the tip for a natural shape.
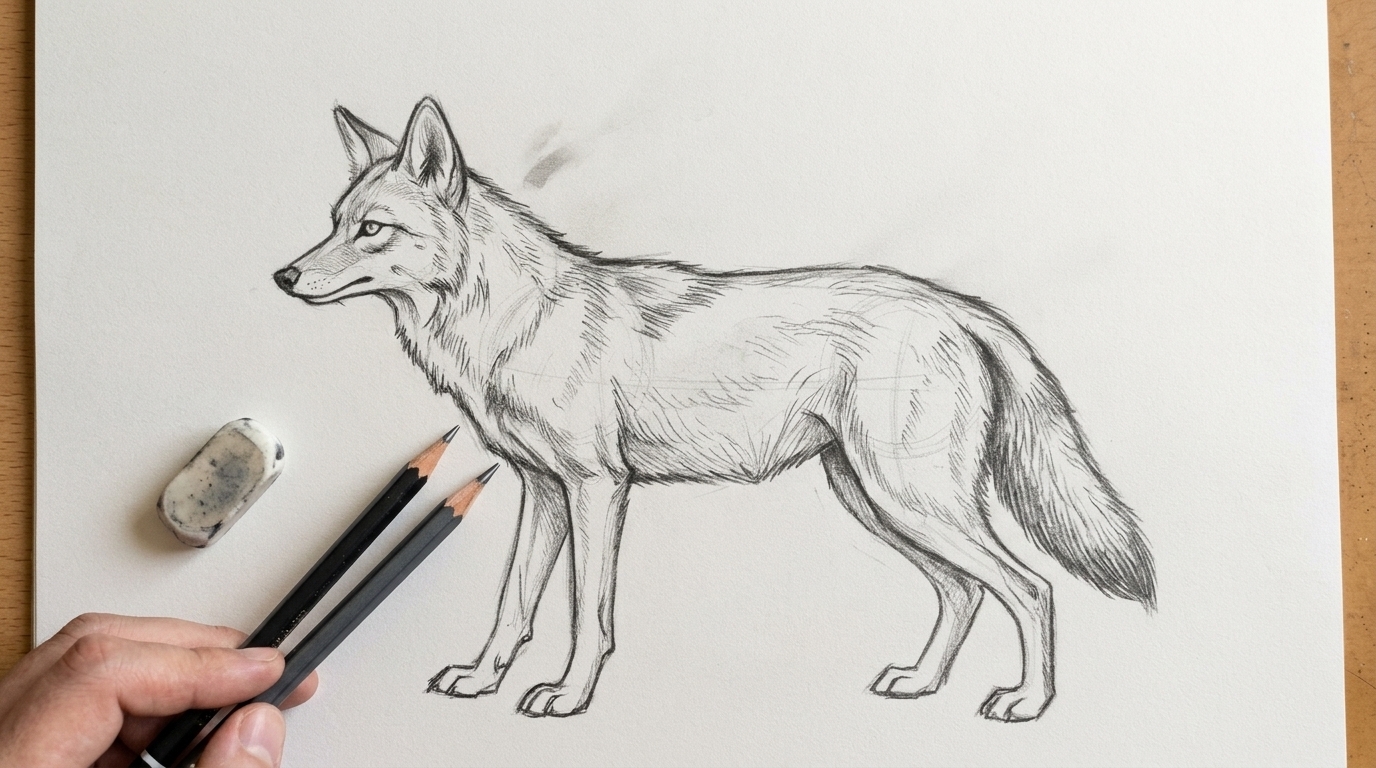
Step 4: Refine the Outline and Add Fur Details
Erase your base shapes and draw a clean outline around the full body. Add short, choppy strokes along the neck, chest, and tail to show fur texture.
Keep the lines loose and uneven since real fur is never perfectly smooth. A little messiness here actually makes the drawing look more realistic.
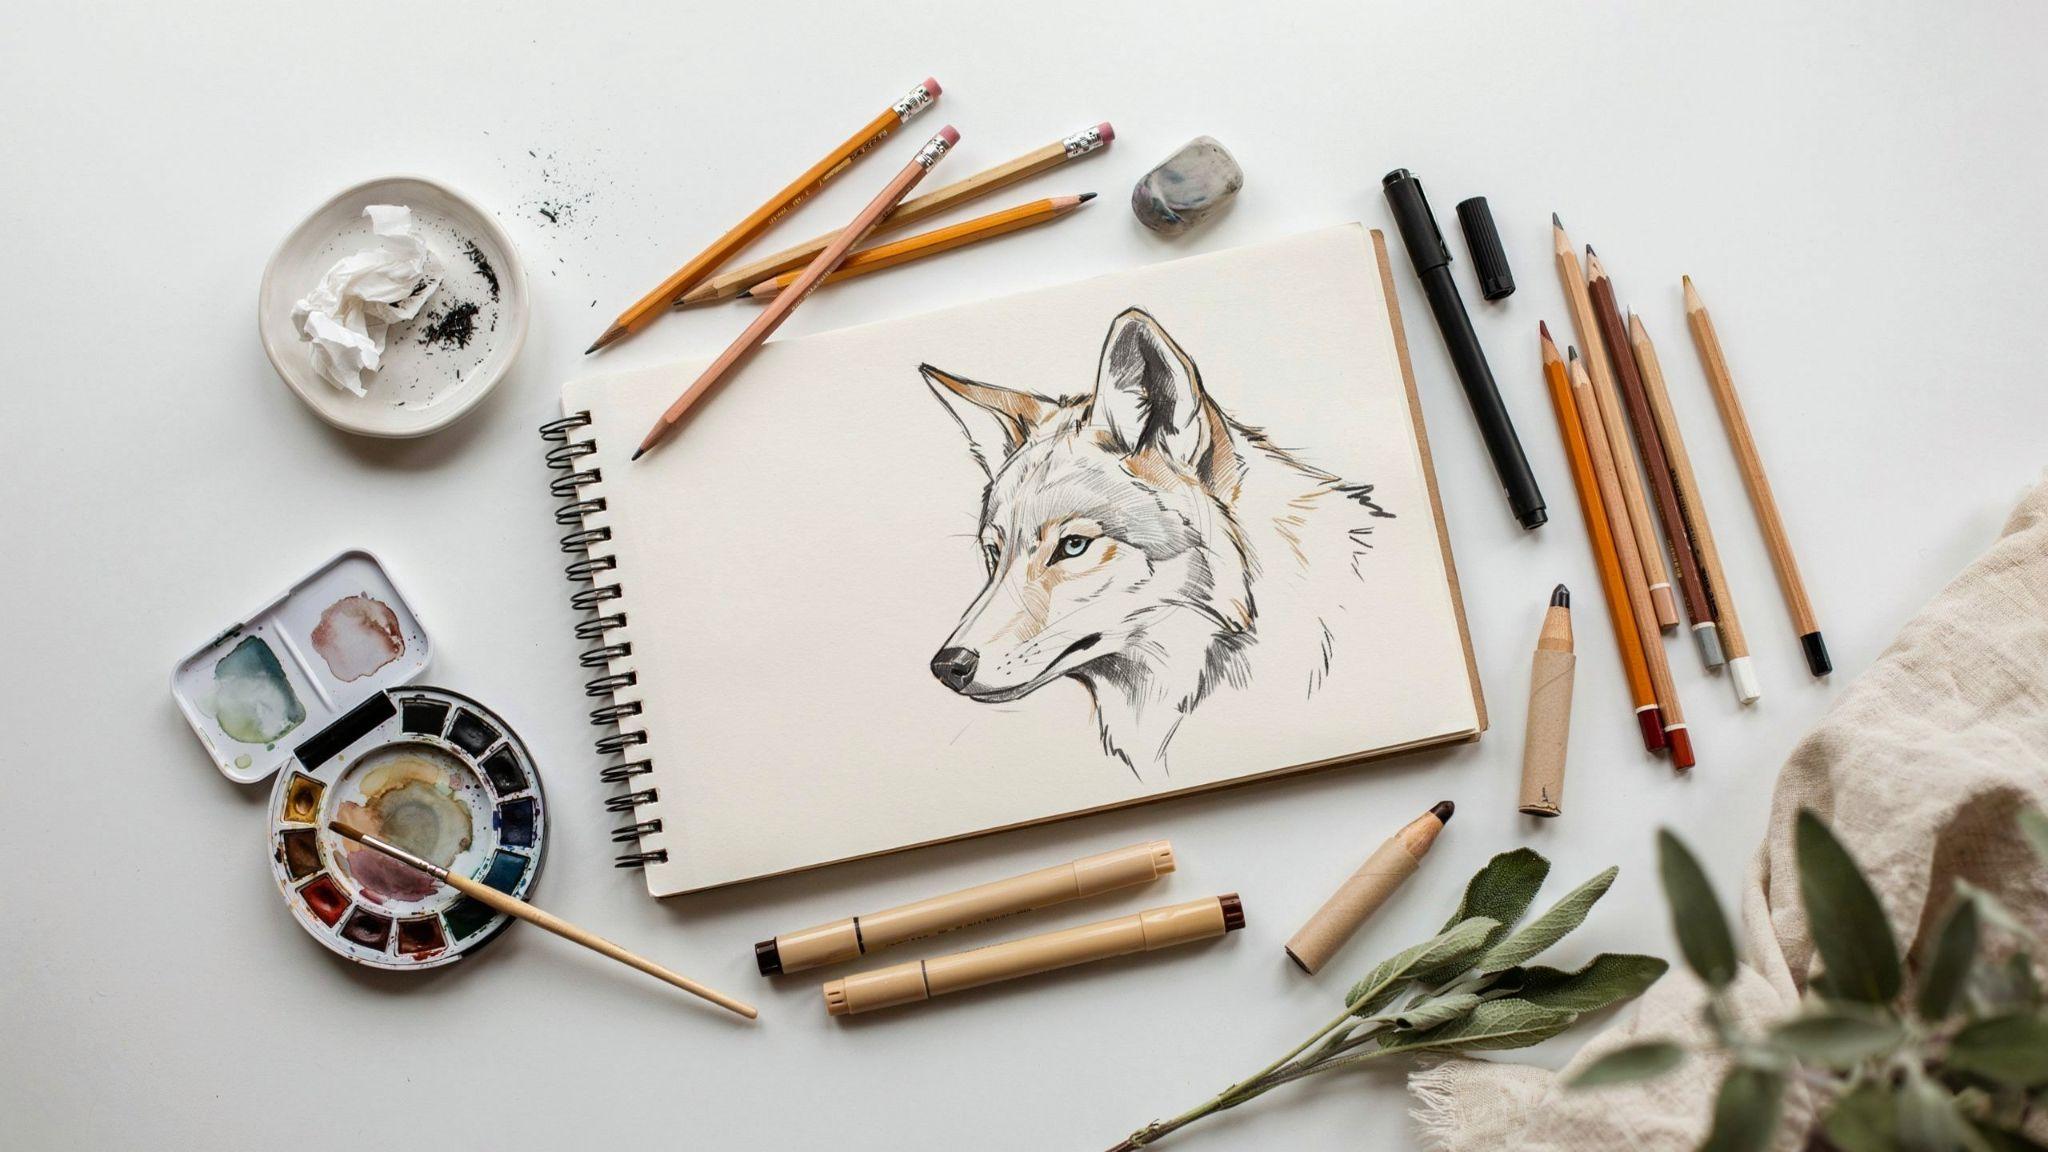
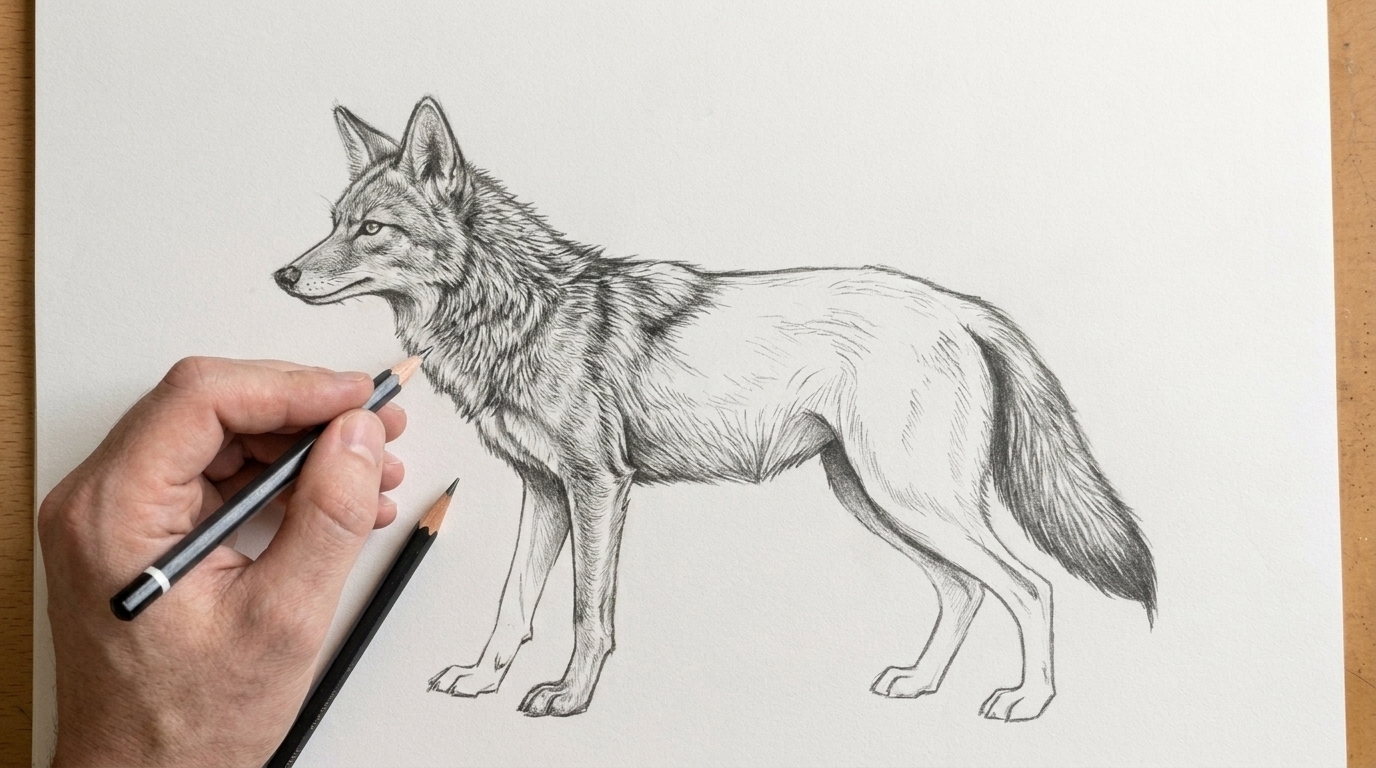
Step 5: Add Facial Details and Expression
Draw two almond shaped eyes in the upper half of the face and add a small triangle for the nose at the tip of the snout. Sketch a simple curved line for the mouth to complete the face.
Small details like eyebrow lines and inner ear marks go a long way. They give the coyote a natural expression without overcomplicating the drawing.
Step 6: Shade and Color Your Coyote Drawing
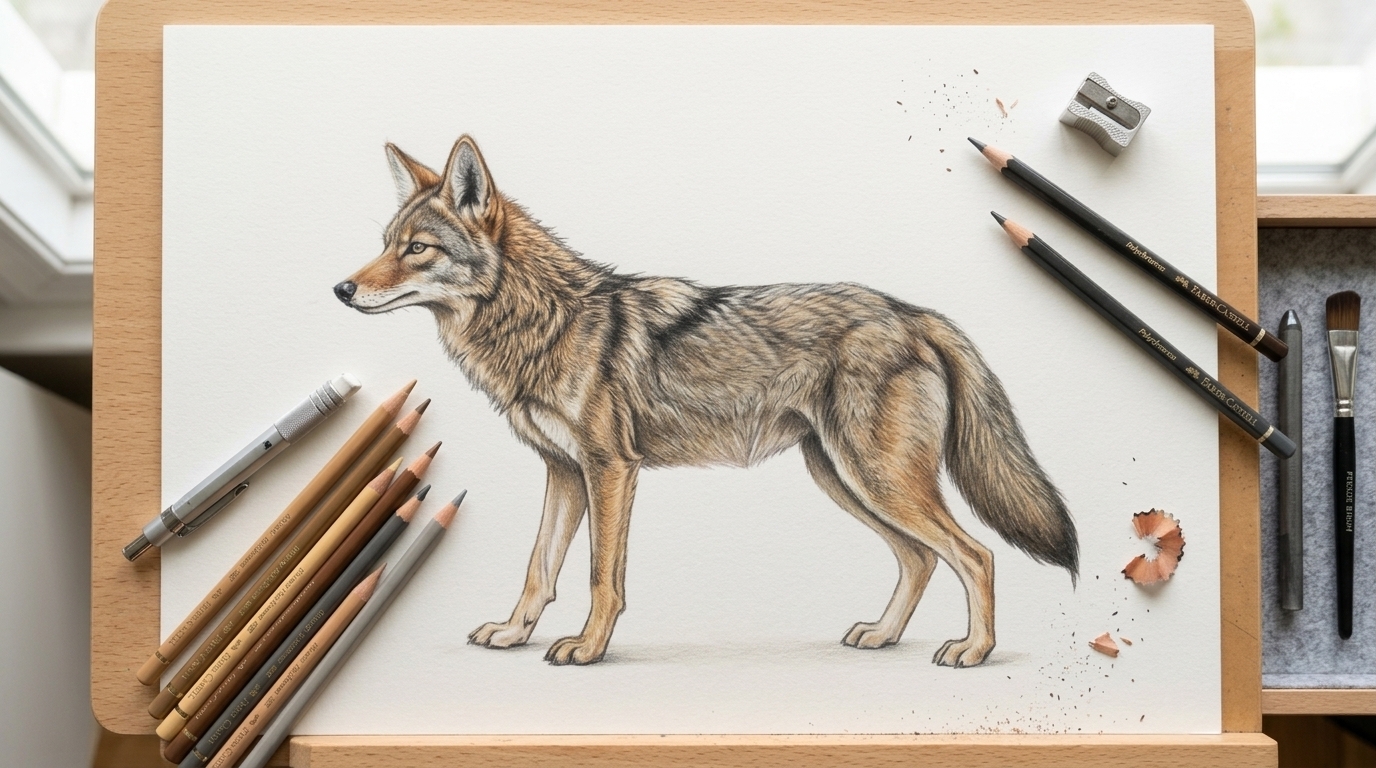
Use light pencil strokes to add shadow under the belly, behind the legs, and along the neck. Build the shading slowly so it stays soft and natural looking.
For color, layer tan, brown, and grey tones starting light and going darker near the edges. This adds depth and makes the drawing look more three dimensional.
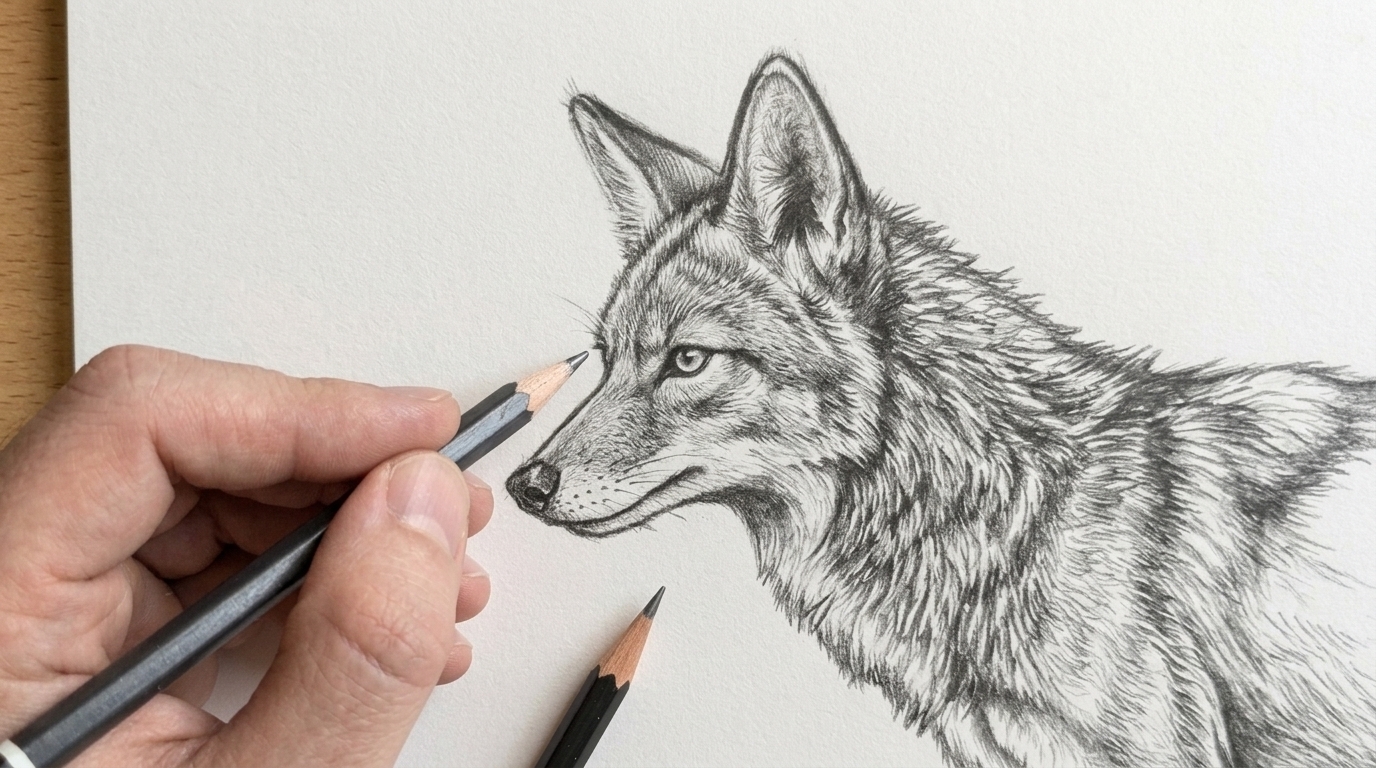
How to Make Your Coyote Drawing Look Realistic
Small details make a big difference. Start with the face by adding sharp eyes, a defined nose, and a subtle mouth line. These give the coyote real personality.
For fur, use short uneven strokes across the chest, neck, and tail. Then add shading under the belly and behind the legs using light pencil pressure.
Build it up slowly. The more layers you add, the more depth and life your drawing gets.
Tips for Improving Your Coyote Drawings
- Always start with basic shapes like ovals and triangles. They give your drawing a solid structure before you add any details.
- Practice sketching other wildlife animals too. It trains your eye to notice body proportions and natural poses faster.
- Keep a reference photo nearby when you draw. It helps you get the snout length, ear size, and body shape more accurate.
- Do quick 5 minute rough sketches regularly. Speed sketching builds muscle memory and makes your lines more confident over time.
- Don't try to perfect every drawing. Each sketch teaches you something new and gets you closer to the result you want.
Final Thoughts
Drawing a coyote takes practice but it gets easier every time you sit down with a pencil. I still go back to basics whenever I start a new animal sketch and it always helps.
Once you feel good about this one, try drawing other wild animals like wolves or foxes. The skills carry over more than you think.
Keep sketching, keep practicing, and share your coyote drawing in the comments. I would love to see how yours turned out.
Frequently Asked Questions
Is coyote drawing hard for beginners?
Not at all. You start with simple shapes like ovals and triangles, so even first time drawers can follow along without feeling lost.
What pencil is best for drawing a coyote?
An HB or 2B pencil works great for sketching. They give you light, easy lines that are simple to erase as you build the drawing.
How long does it take to draw a coyote?
Most beginners finish a basic coyote sketch in 30 to 45 minutes. The more you practice, the faster and better your drawings will get.
Do I need coloring tools to complete the drawing?
No, you don't. A pencil sketch on its own looks great. Coloring tools are optional if you want to add more detail and finish to your work.
Can kids follow this coyote drawing guide?
Yes, absolutely. The steps are simple and easy to follow. Kids who enjoy art can work through this guide with little to no help from an adult.