

Drawing a lion may seem challenging at first, especially if you are new to sketching animals. The good news is that anyone can learn with the right approach.
In this guide, I will walk you through easy lion drawing step by step, from creating simple construction shapes to adding realistic facial features, fur texture, and shading. You do not need expensive art supplies or advanced drawing skills to get started.
With a pencil, paper, and a little patience, you can create an impressive lion sketch.
By the end of this tutorial, you will have the confidence and techniques needed to draw a lion you can be proud of.
Materials Needed for Easy Lion Drawing
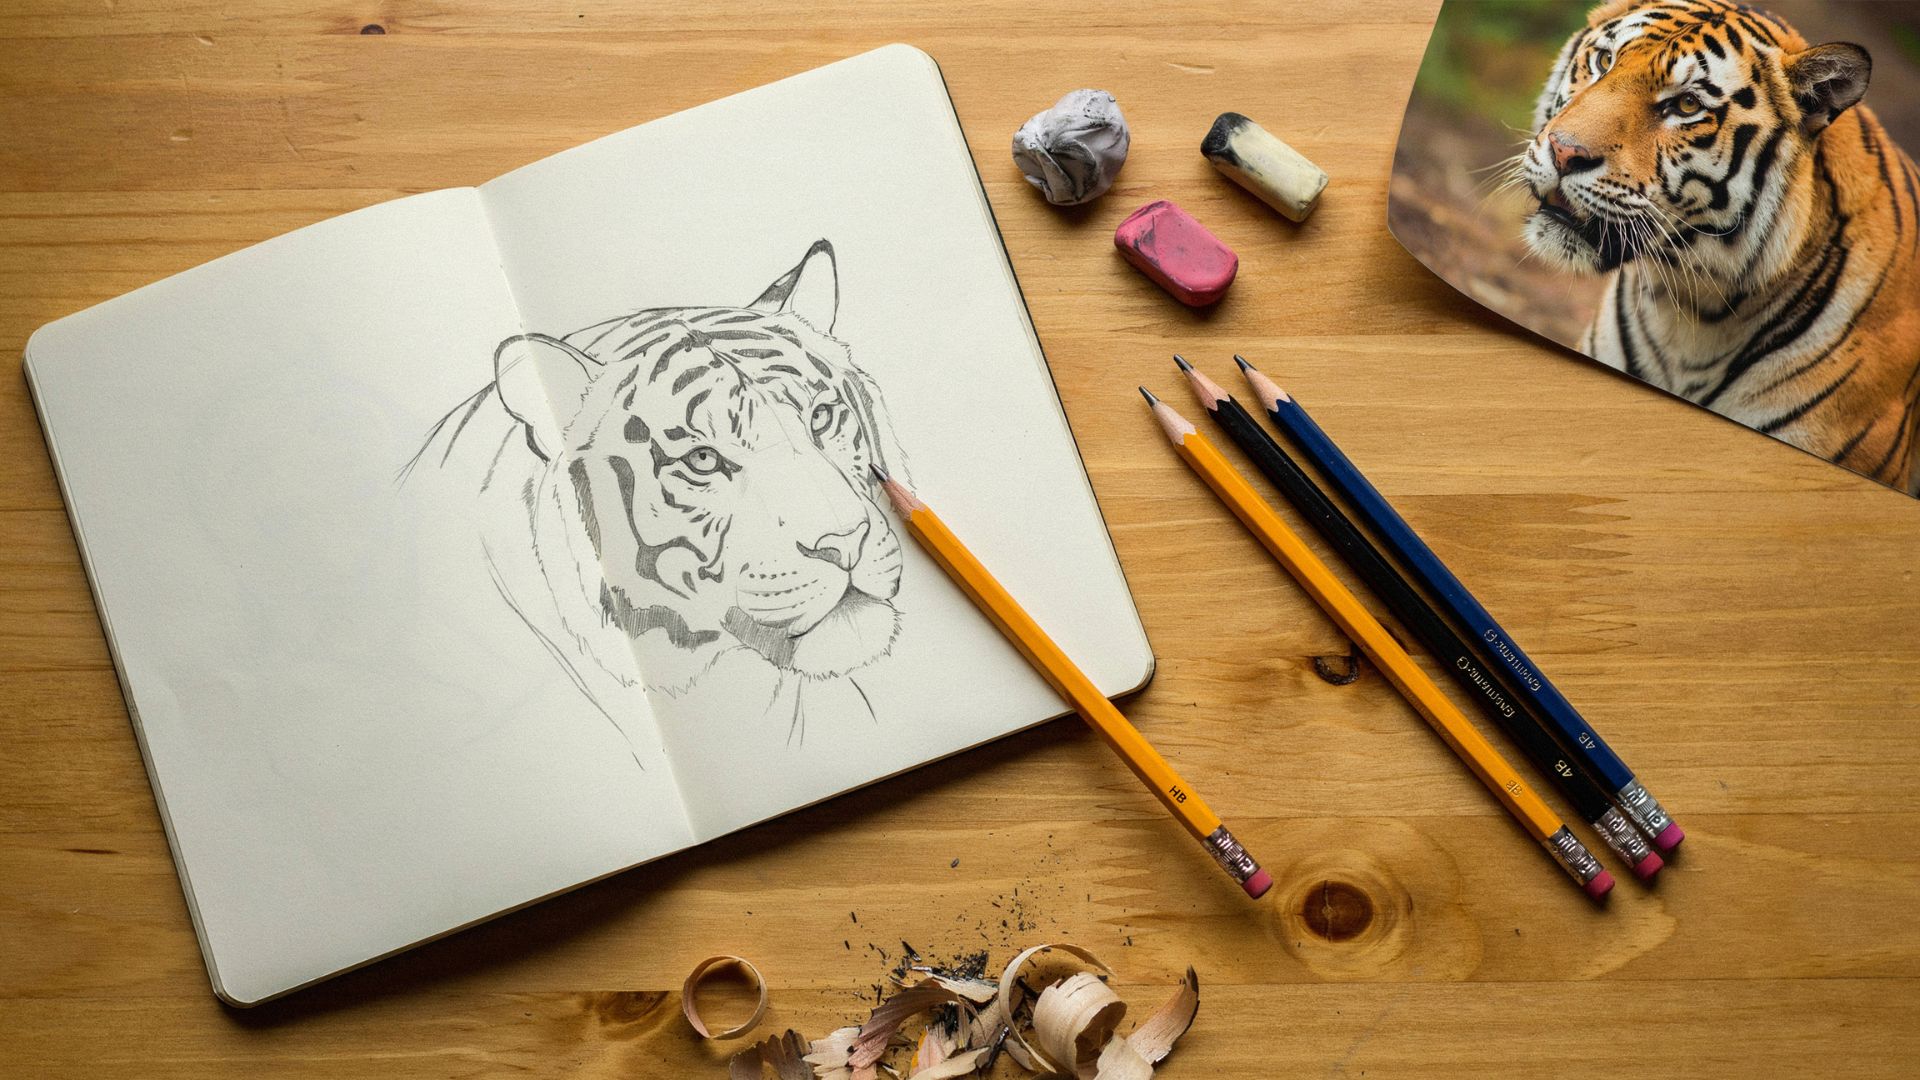
Before you start drawing, get your supplies ready. You do not need much.
Basic Drawing Supplies
- Pencil – A standard HB pencil works well for beginners.
- Eraser – A kneaded eraser is best. It lifts graphite without smearing.
- Drawing paper – Use smooth paper. Printer paper works fine to start.
Optional Shading Tools
- Softer pencils (B–8B) – These create darker, richer tones. A 2B or 4B is great for shading the mane.
- Blending stump or tissue – Use these to smooth out pencil strokes for soft shadows.
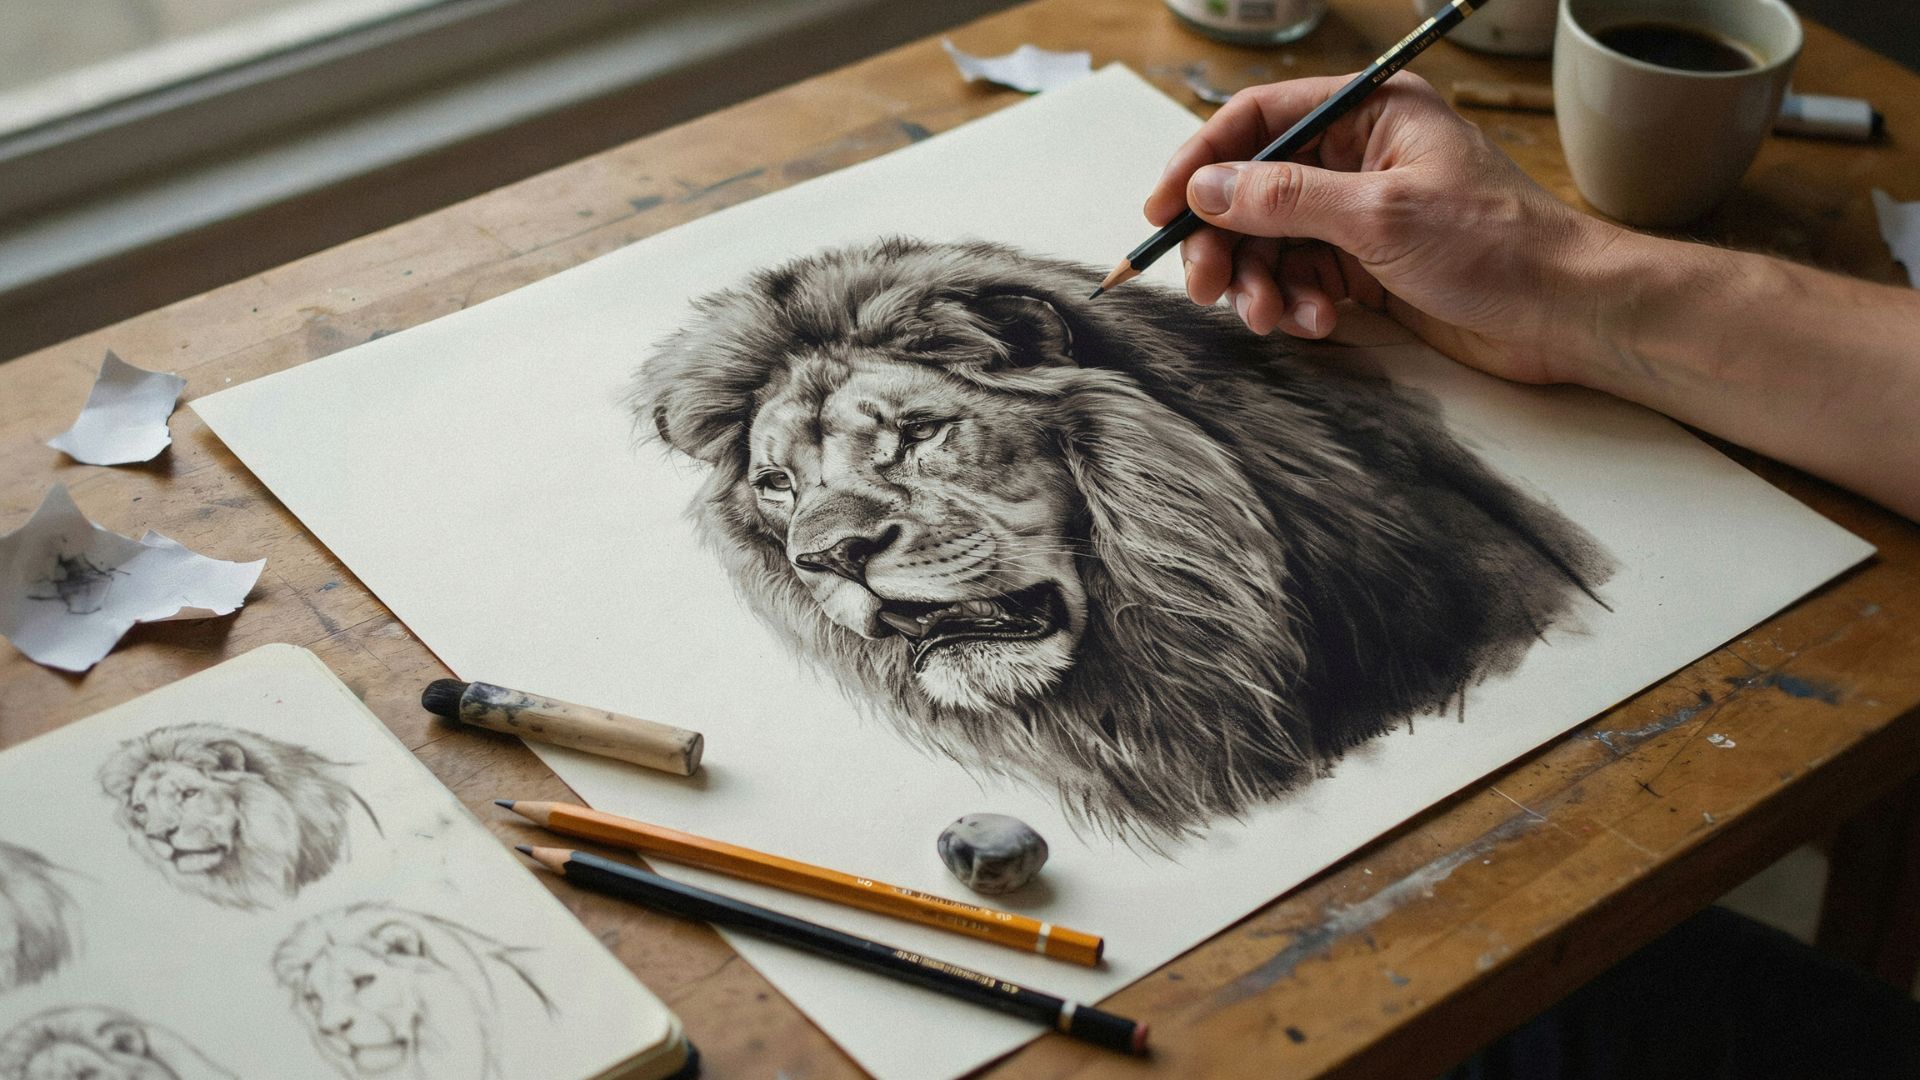
Easy Lion Drawing Step by Step
Now let us get into the actual drawing. Take it one step at a time.
Step 1: Sketch the Basic Shapes
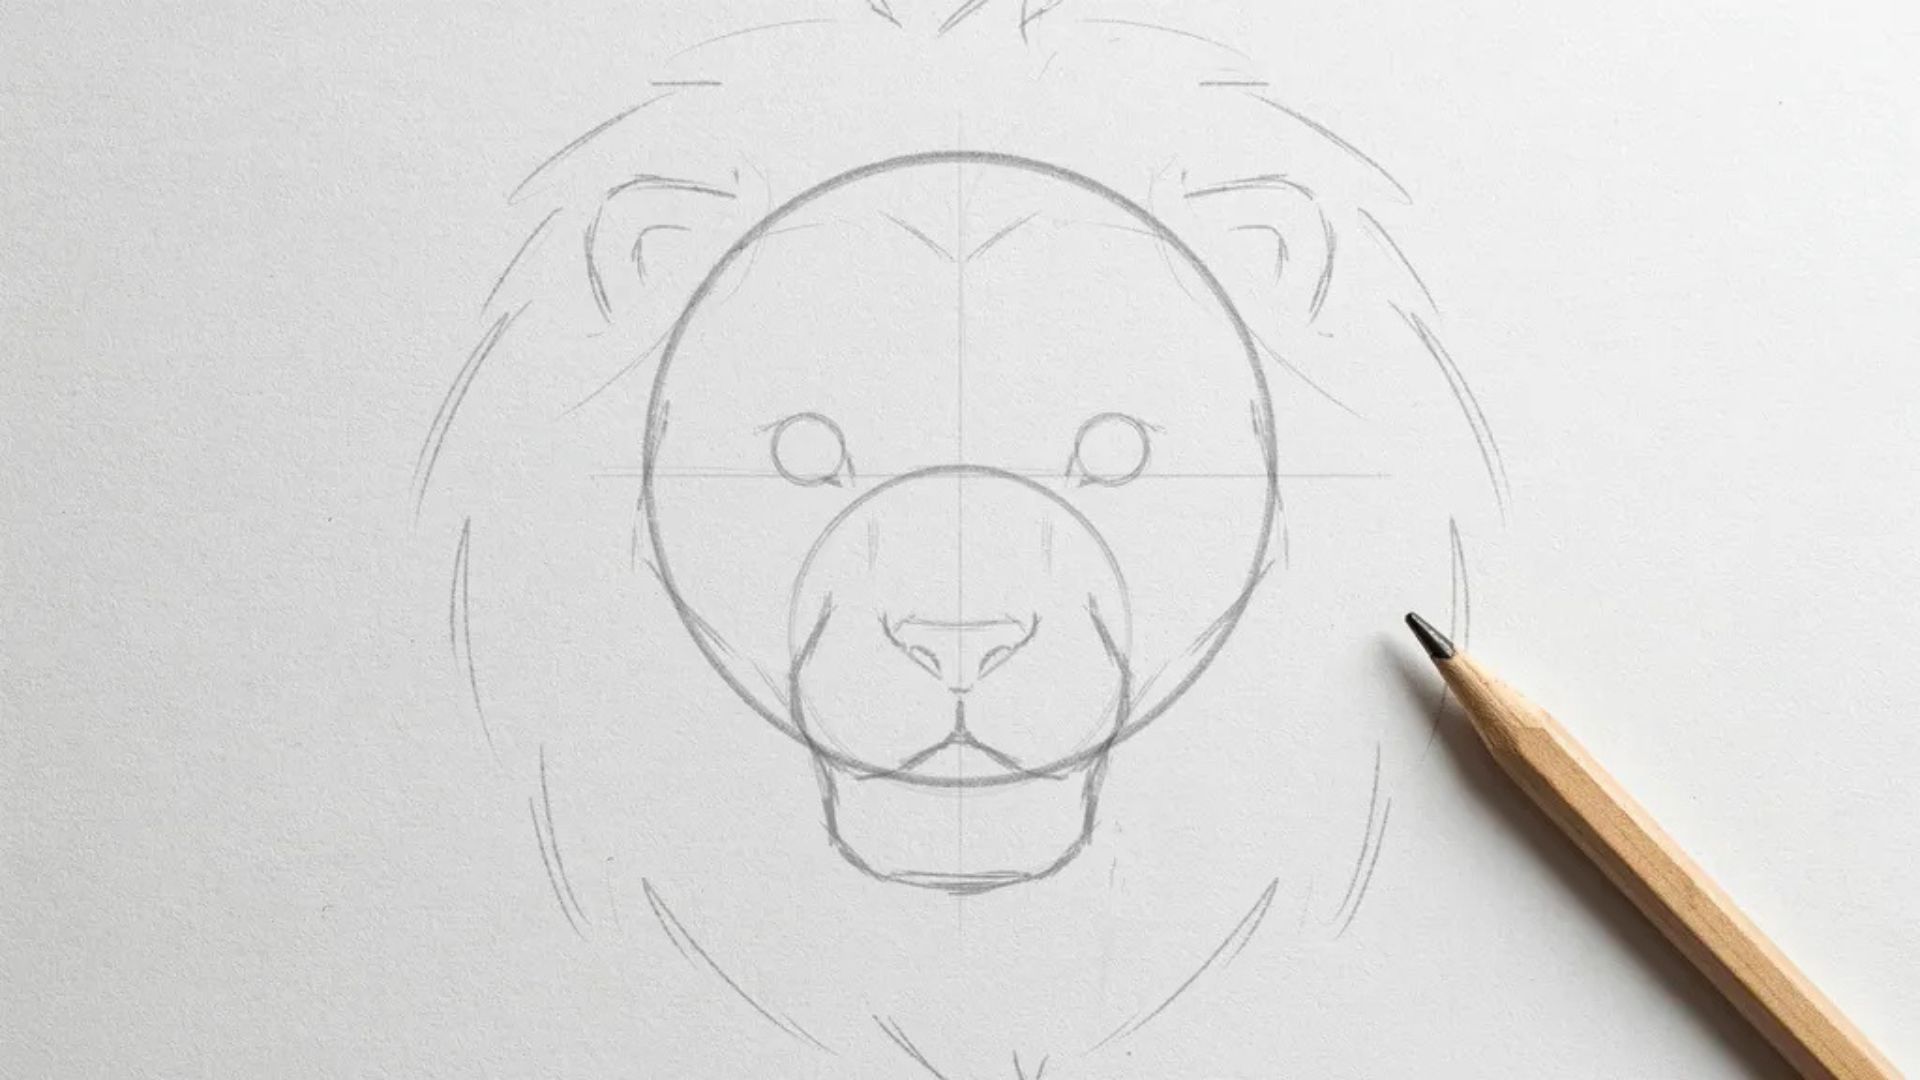
Start loose. Do not press hard.
- Draw a circle for the head. Keep it light. This is just a guide.
- Add guidelines for facial symmetry. Draw a vertical line down the center and a horizontal line across the middle. These help you place the features correctly.
- Sketch the ears, muzzle, and jaw. Add small rounded triangles for the ears on top. Sketch a rounded shape below the center line for the muzzle. Extend the jaw slightly wider than the circle.
Step 2: Outline the Lion's Face
Now start refining your shapes.
- Refine the head shape. Smooth out the circle into a more natural, slightly square shape. Lions have strong, broad heads.
- Create the snout and nose structure. Draw a wide, flat nose centered on the muzzle. Keep it simple for now.
- Add the basic mane outline. Sketch a rough ring of jagged shapes around the head. Do not worry about detail yet. Just map out the size and flow.
Step 3: Draw the Eyes
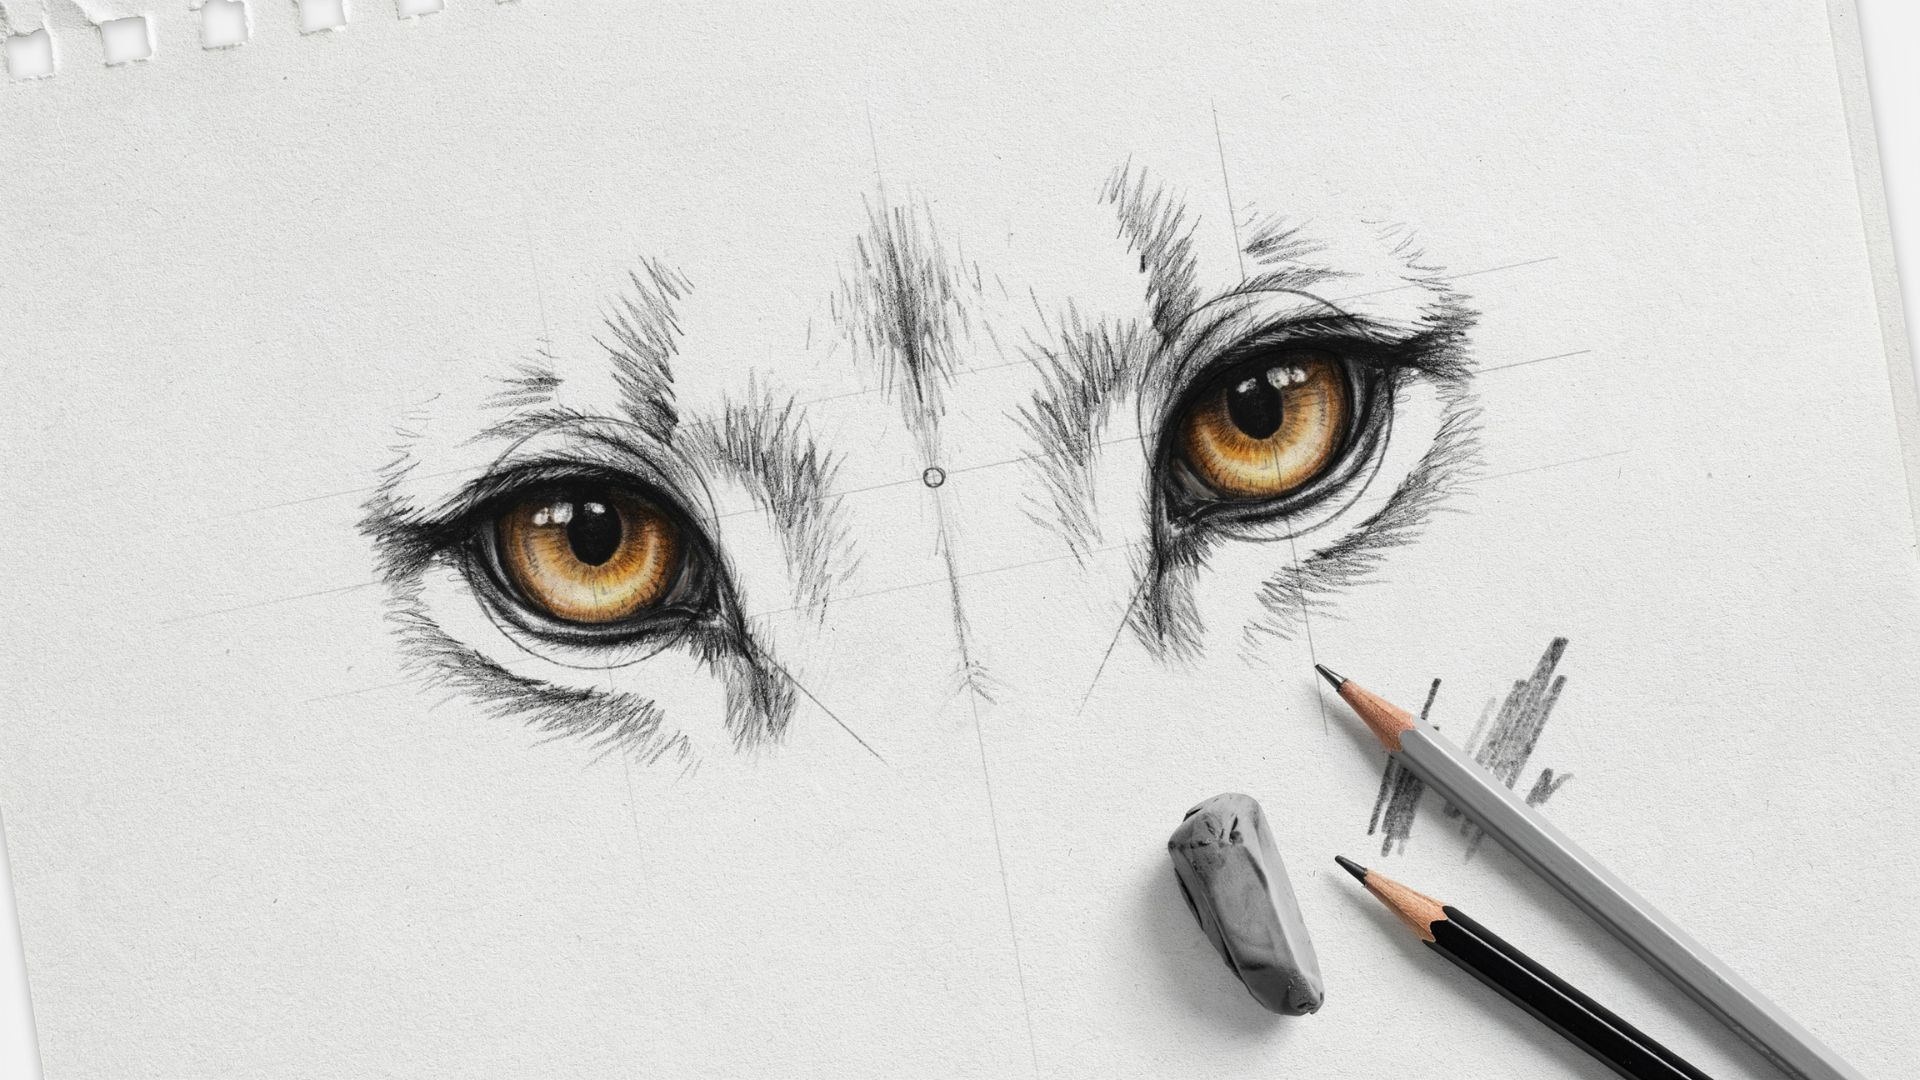
Eyes give your lion life.
- Position the eyes correctly. Place them on the horizontal guideline, one on each side of the center. Do not place them too far apart or too close.
- Create the eye shape and pupils. Draw almond shapes. Add a round pupil inside each one. Leave a small white dot for highlight. This makes the eyes look alive.
Step 4: Draw the Nose and Mouth
- Sketch the nose shape. Draw a wide, inverted triangle. Round the corners slightly. Add a line down the center.
- Add the mouth and facial contours. Draw a short vertical line from the base of the nose. Then add two curved lines going outward and down for the mouth. Add subtle cheek lines for structure.
Step 5: Refine the Ears and Mane
- Define the ear details. Inside each ear, draw a smaller curved shape. Add short fur strokes along the edges.
- Improve the mane shape and flow. Go back to your rough mane outline. Add flowing, layered strokes that curve inward toward the face. The mane should look thick and full, not flat.
Improve the Facial Features
Go back to the eyes and add a slight upper eyelid crease just above the eye shape. Then draw a thin line below the eye as well. These two small lines add a lot of expression.
For the nose and mouth, add small nostrils on each side of the nose bridge. Deepen the mouth lines slightly so they read clearly against the rest of the face.
Draw Fur Texture
Around the cheeks, chin, and forehead, draw quick, short strokes that follow the natural direction of fur growth. Do not make them all the same length.
Vary them slightly for a more organic look. Group your strokes in small bunches rather than drawing them one by one.
Fur grows in clusters, not in single isolated hairs. Working in groups makes the texture look natural and full.
Add Whiskers
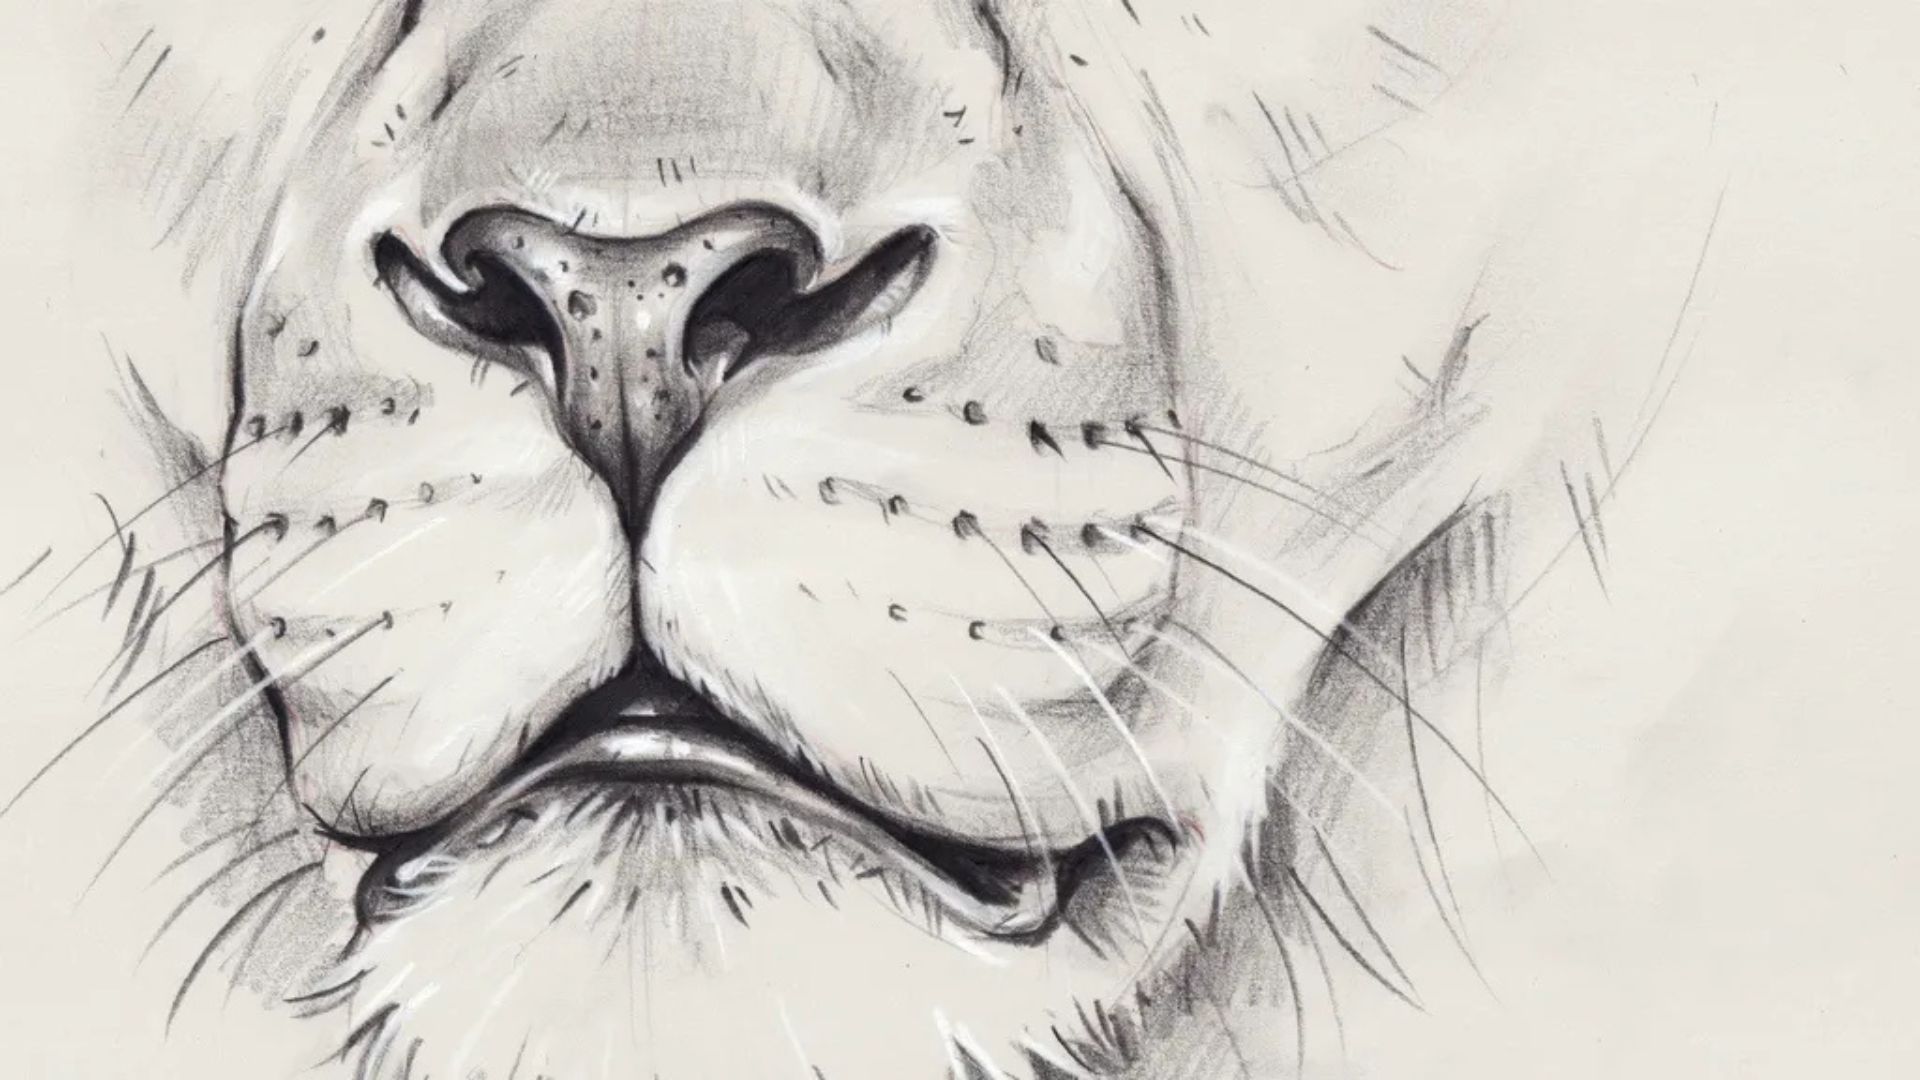
Start by marking small dots on the muzzle in a loose grid pattern. These represent the whisker roots and help you space the whiskers evenly.
From each dot, draw a long, thin, slightly curved line moving outward. Keep your hand relaxed so the lines flow naturally. Taper each whisker toward the tip by easing off the pressure as you finish the stroke.
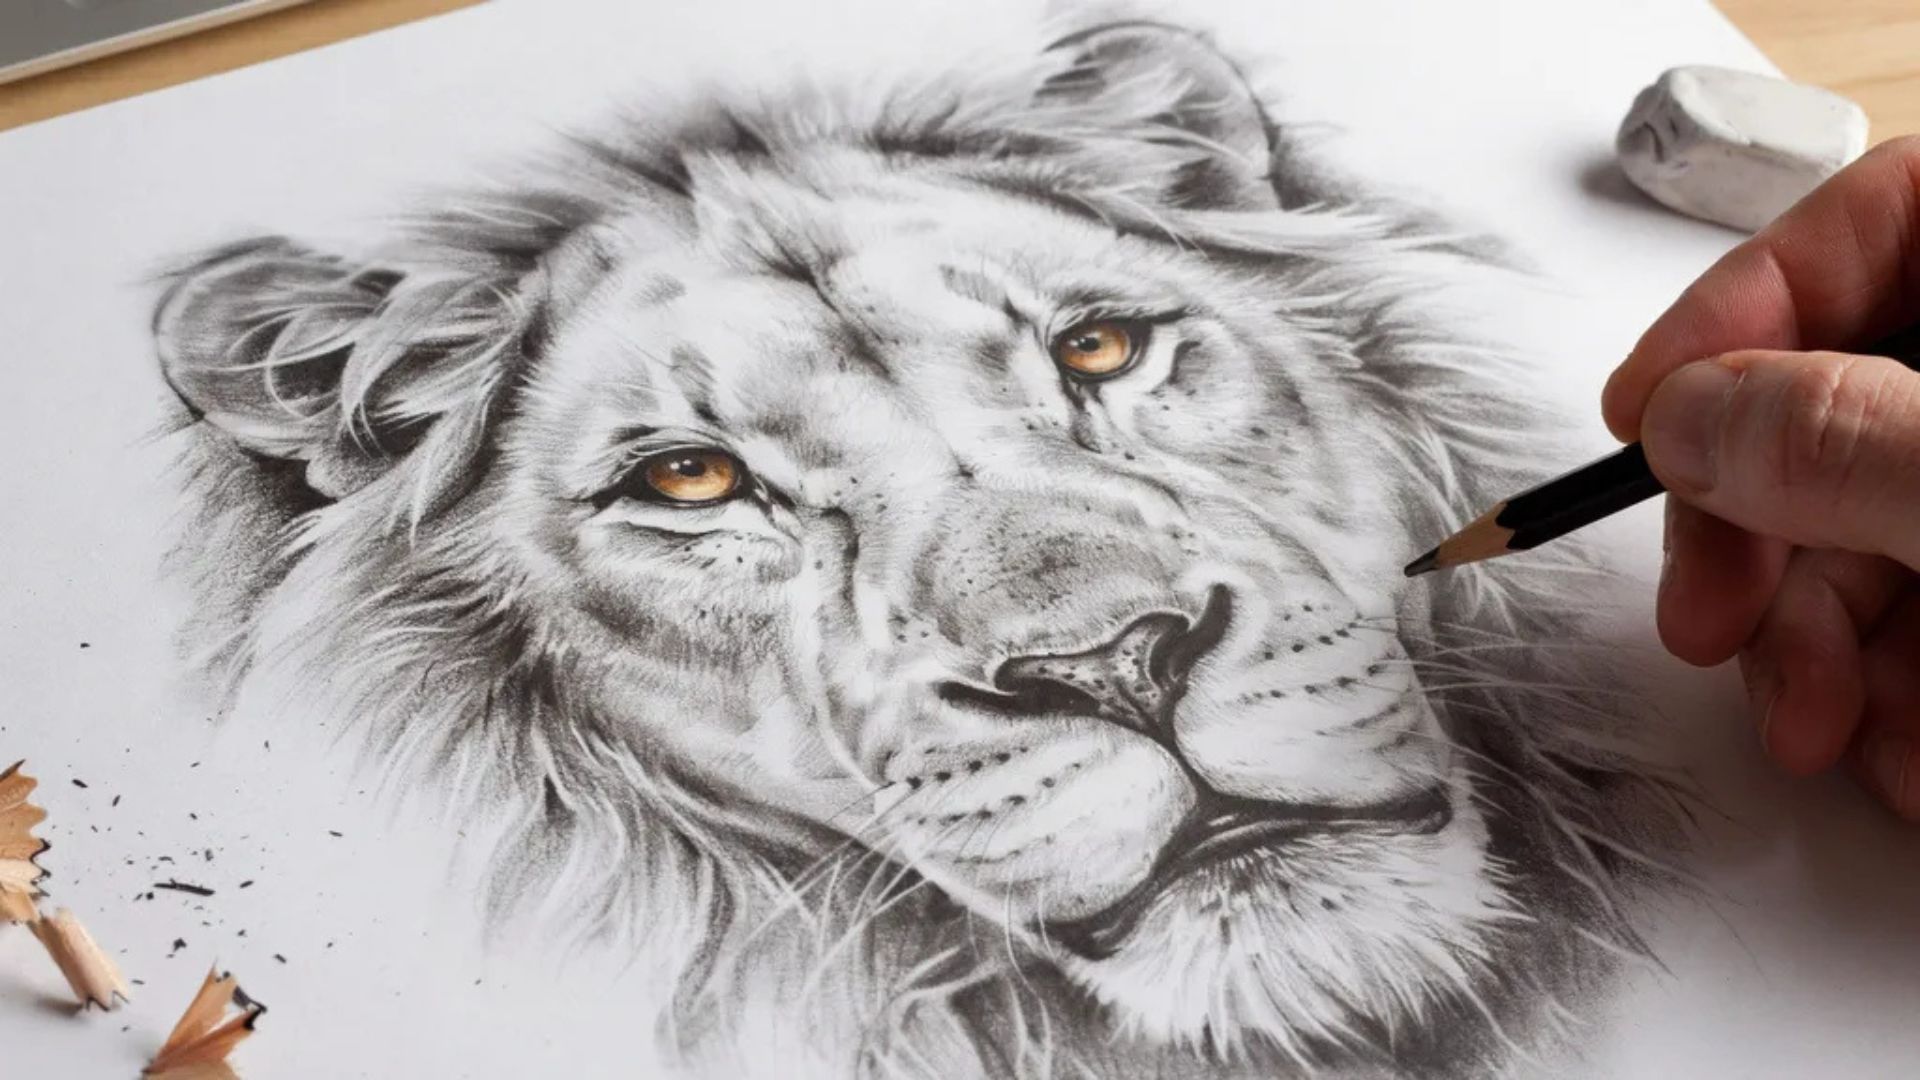
How to Shade an Easy Lion Drawing
Proper shading adds depth, texture, and dimension, helping your lion drawing look more realistic and lifelike.
Shade the Eyes and Nose
Build contrast by making the eyes darkest around the pupil and along the outer edges. Leave the small highlight dot completely white. That tiny spot of white is what makes the eyes look alive.
For the nose, shade the underside the darkest since it sits in shadow. The top surface catches light, so keep that area lighter with minimal shading.
Add Shadows to the Face
Start with the naturally dark areas first. The space under the brow, beneath the muzzle, and deep inside the ears all sit in shadow. Lay down your shading there first, then work outward.
Use a blending stump or your finger to smooth the transitions. You want the shading to shift gradually from dark to light, not jump suddenly between the two.
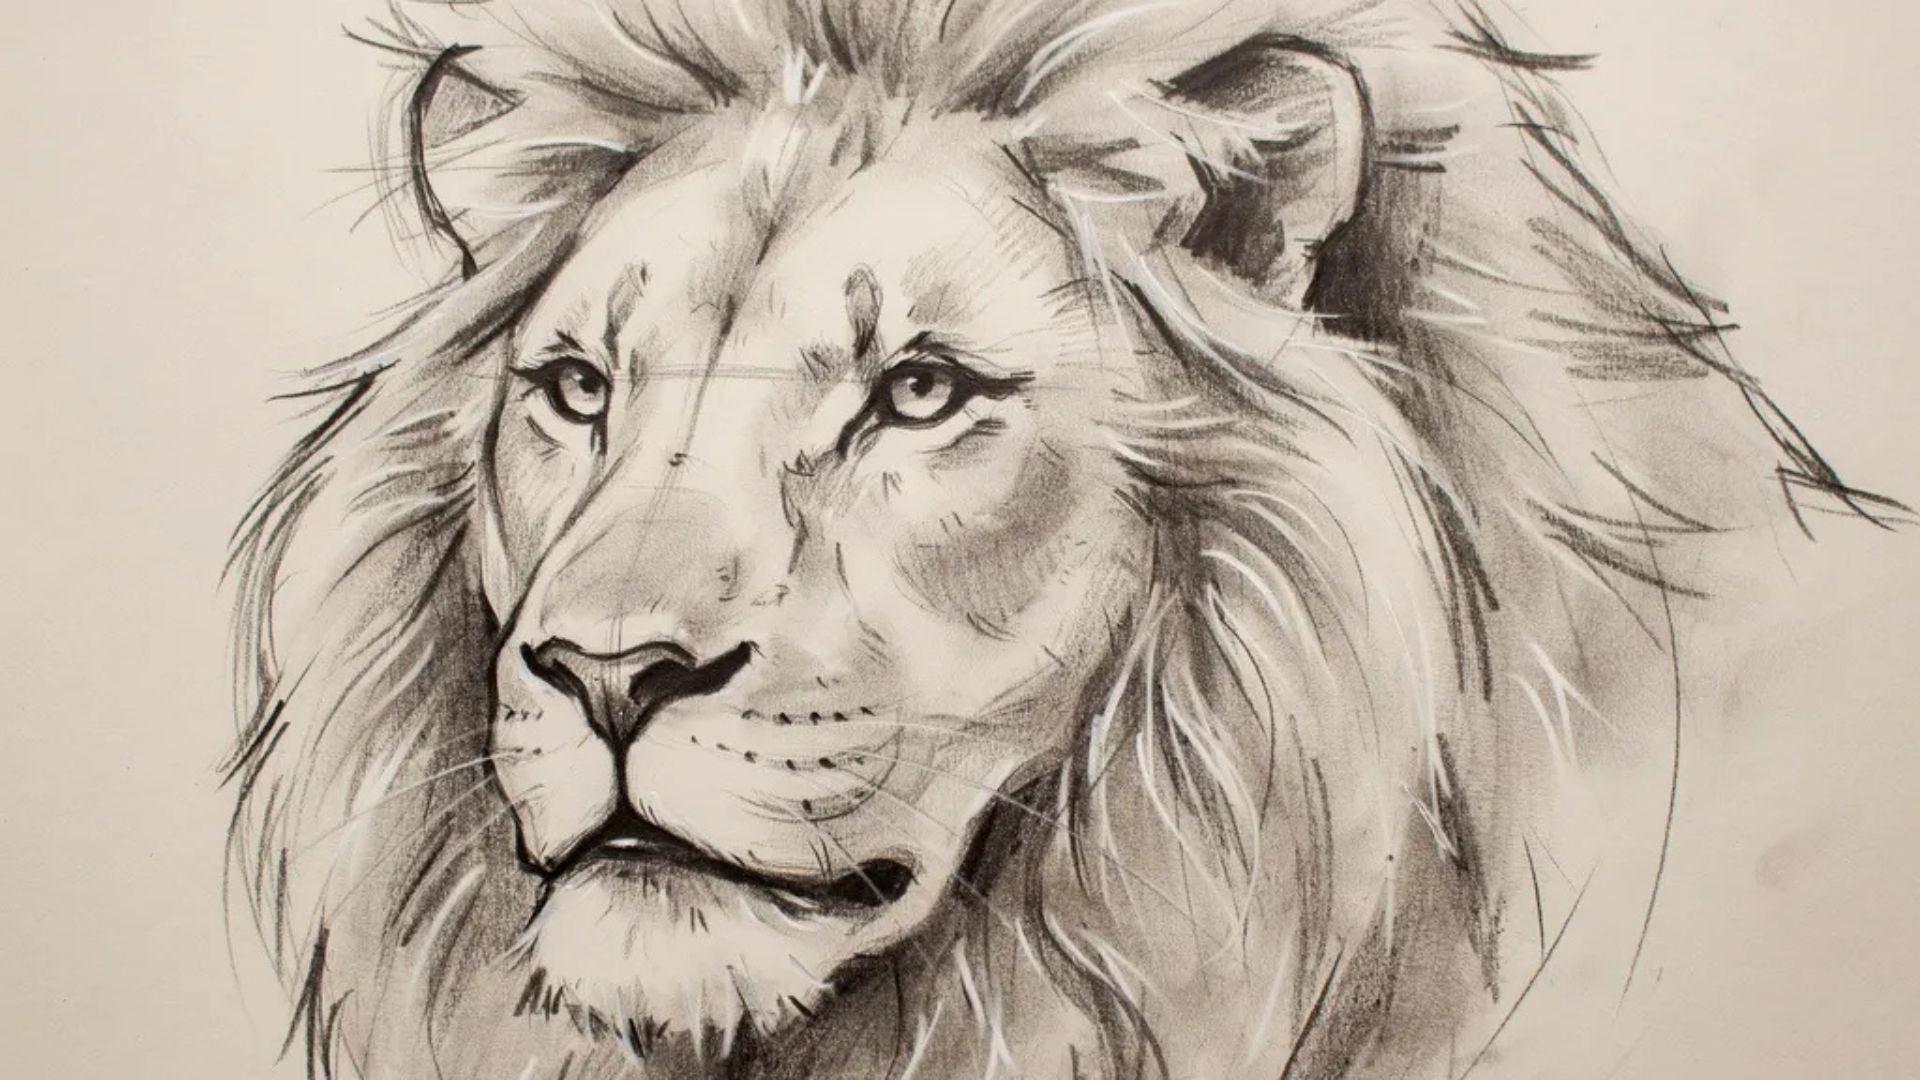
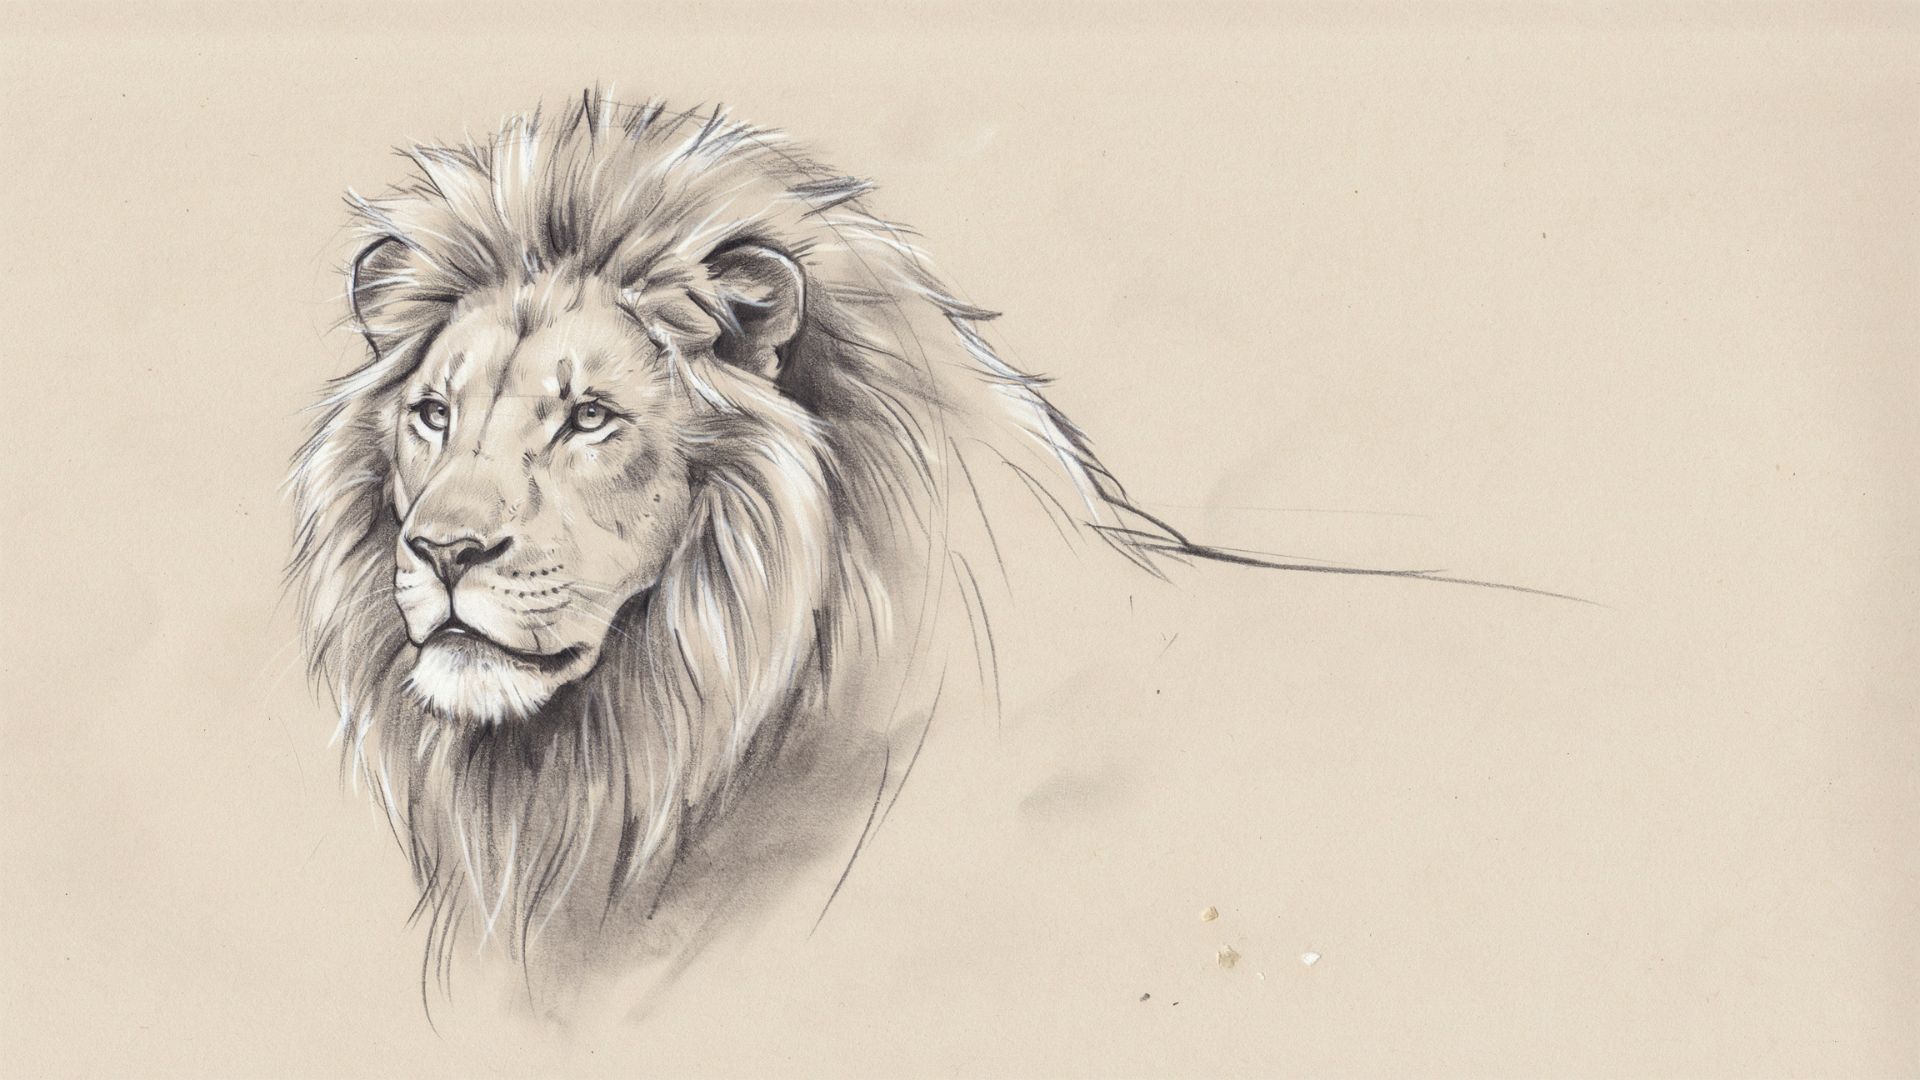
Create Depth in the Mane
The inner mane closest to the face should be your darkest area. As you move outward toward the edges, lighten your strokes. Use long, flowing pencil strokes that follow the natural direction of the mane.
Press harder for the dark inner sections and ease off as you move toward the lighter outer edges. Layering tones this way gives the mane real volume and depth.
Let me know if you need any other sections converted to paragraphs.
Tips to Make Your Easy Lion Drawing Look Better
A few simple drawing techniques can improve your lion sketch and make it look more realistic and polished.
- Use Light Construction Lines: Always start light. You can darken later, but heavy marks are hard to erase. Construction lines are guides, not final lines.
- Draw Fur in Groups, Not Individual Hairs: Think in clumps of 3–5 strokes that flow in the same direction. Drawing every single hair looks stiff and unnatural.
- Vary Line Lengths and Directions:Fur changes direction across the face. Around the nose it fans outward. On the forehead it grows upward. Follow these natural patterns for a realistic look.
- Practice Proportions Before Shading: Get the shapes right first. Shading a badly proportioned drawing will not fix it. Spend extra time on the sketch phase before adding any tone.
- Layer Your Shading Gradually: Build darkness slowly using light pressure first. Add more layers to deepen shadows. This gives you full control and avoids muddy, overworked areas.
Common Easy Lion Drawing Mistakes to Avoid
Avoiding a few common beginner mistakes can help you create a more accurate, balanced, and realistic lion drawing.
Making the Eyes Too Large
Beginners often make lion eyes too big. In real lions, the eyes are relatively small compared to the head. Keep them on the smaller side and trust your guidelines.
Drawing the Mane with Uniform Lines
A mane with all the same length and direction strokes looks flat and fake. Mix up the lengths. Let some strands overlap others. Add depth by varying the darkness between layers.
Pressing Too Hard Too Early
Heavy lines early on are hard to fix. You lose the ability to make changes. Start with the lightest pressure and build up gradually.
Ignoring Basic Shapes
Skipping the construction phase is the number one mistake.
The circle, the guidelines, the rough mane outline: these are not optional. They are the foundation of a good drawing.
Conclusion
I have taught many beginners how to draw animals, and the lion is always a favorite.
With this guide to easy lion drawing, you now have every step you need: from the first circle to the final shading. Stick with the basics, work in layers, and do not rush the details.
Your first lion may not be perfect. That is okay. Each attempt teaches you something new.
Try it today. Share your drawing with a friend or post it online. You might surprise yourself.
Frequently Asked Questions
Is easy lion drawing suitable for beginners?
Yes. This tutorial is built specifically for beginners. You do not need any prior drawing experience. Just follow the steps and take your time.
How do you draw a lion face easily?
Start with a circle for the head. Add guidelines for symmetry. Then sketch the eyes, nose, and mouth on the guidelines. Build the mane around the outside. Refine and shade last.
What pencil is best for lion drawings?
Start with an HB pencil for sketching. Add a 2B or 4B for shading. These are soft enough to create dark tones without scratching the paper.
How long does it take to complete an easy lion drawing?
Most beginners finish in 1–2 hours. If you are new to drawing, you might take longer. That is completely normal. Speed comes with practice.
How can I make my lion drawing look realistic?
Focus on three things: proportion, fur direction, and shading. Get the face proportions right first. Then add fur strokes that follow real growth patterns. Finally, use shading to create light and shadow.