

If you’re new to pottery, glazing might feel confusing at first. But it’s one of the most fun parts of making ceramics. Glazing adds color, texture, and protection to your pieces. In this guide, I’ll walk you through 11 creative glazing techniques that work great for beginners.
You’ll learn simple methods like dipping and brushing, plus fun effects like splattering and wax resist.
I’ve tried these methods myself, and they really helped me create pieces I’m proud of. By the end, you’ll know exactly how to glaze your pottery with confidence.
Let’s get started.
Understanding the Basics of Pottery Glazing
Glazing is when you apply a special coating to your pottery. This coating melts in the kiln and creates a glassy surface. It protects your piece from moisture and makes it safe for food use. Regular paint just sits on the surface. Glaze bonds with the clay when it’s fired.
The type of clay you use affects how your glaze looks. Porcelain is white and smooth, so it shows colors more clearly. Stoneware is darker and works well with earthy tones. Test your glazes on the same clay you’ll use for your final piece.
You need to bisque fire your pottery before glazing. This first firing hardens the clay. Clean your bisqueware carefully. Dust and oils prevent the glaze from sticking. Use a damp sponge to wipe the surface and sand any rough spots gently.
11 Creative Pottery Glazing Ideas
These techniques range from simple to more advanced. Try them one at a time to see what you like best.
1. Dipping

Dipping is the fastest way to glaze pottery. Hold your piece with tongs and dunk it into the glaze bucket. Count to three, then pull it out. The glaze should coat evenly.
If you want a thicker layer, dip it twice after the first coat dries. Watch your dipping time. Too long makes the glaze too thick. Too short leaves thin spots.
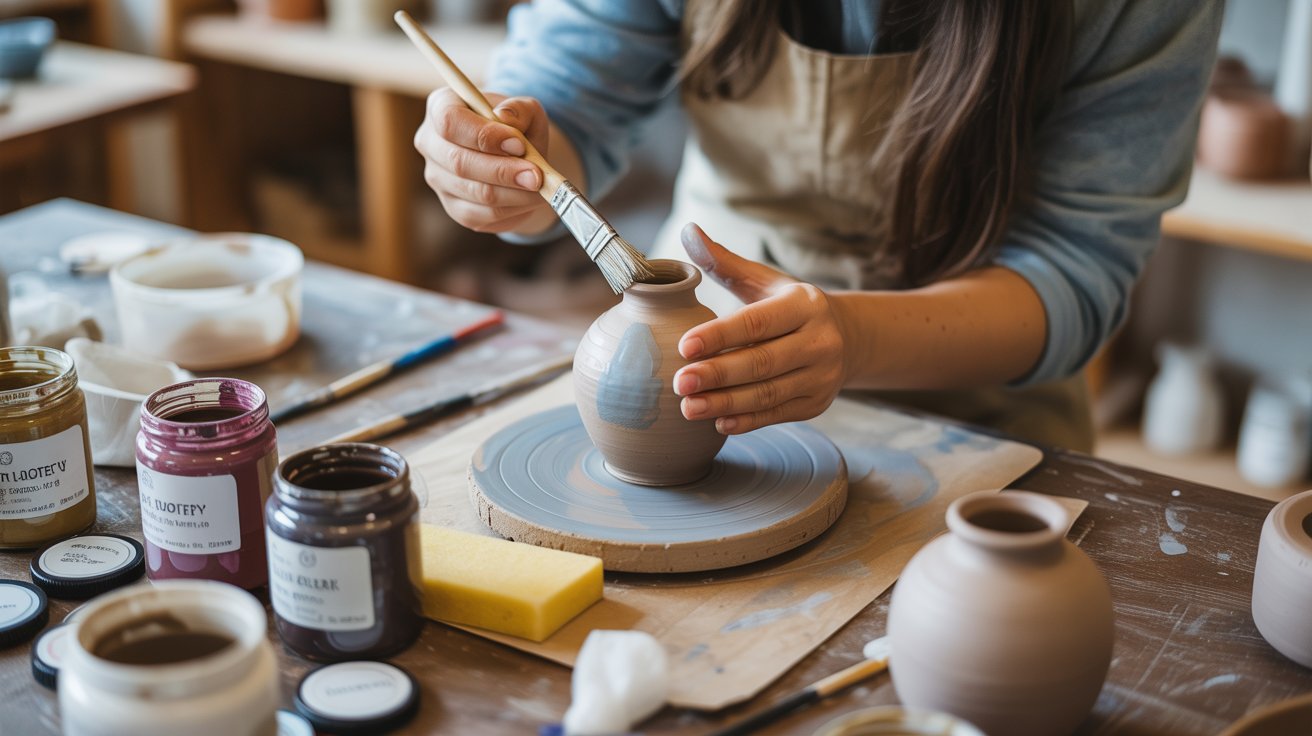
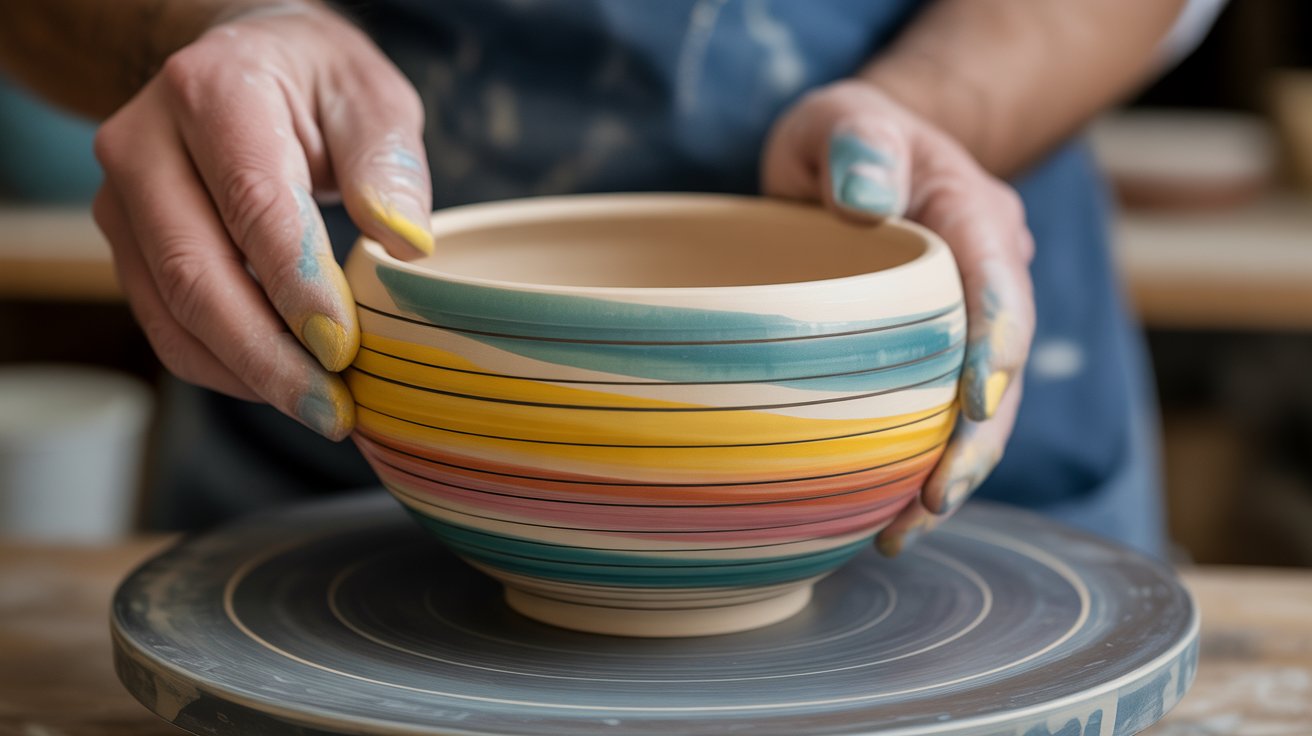
2. Brushing
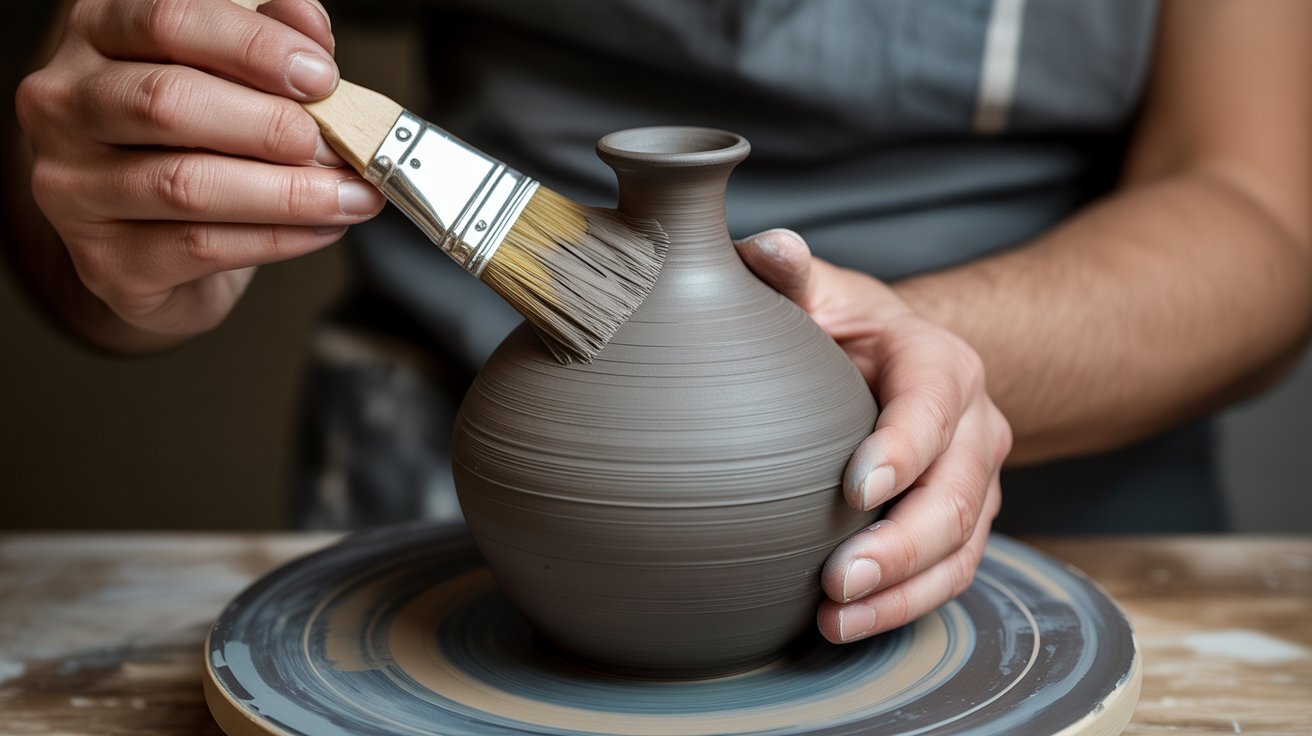
Brushing gives you more control. It works great for small areas or adding details. Use a soft brush and apply thin coats. Change your brush direction between layers.
The first coat goes vertical, the second coat goes horizontal. This prevents streaks. Three thin coats work better than one thick coat.
3. Spraying
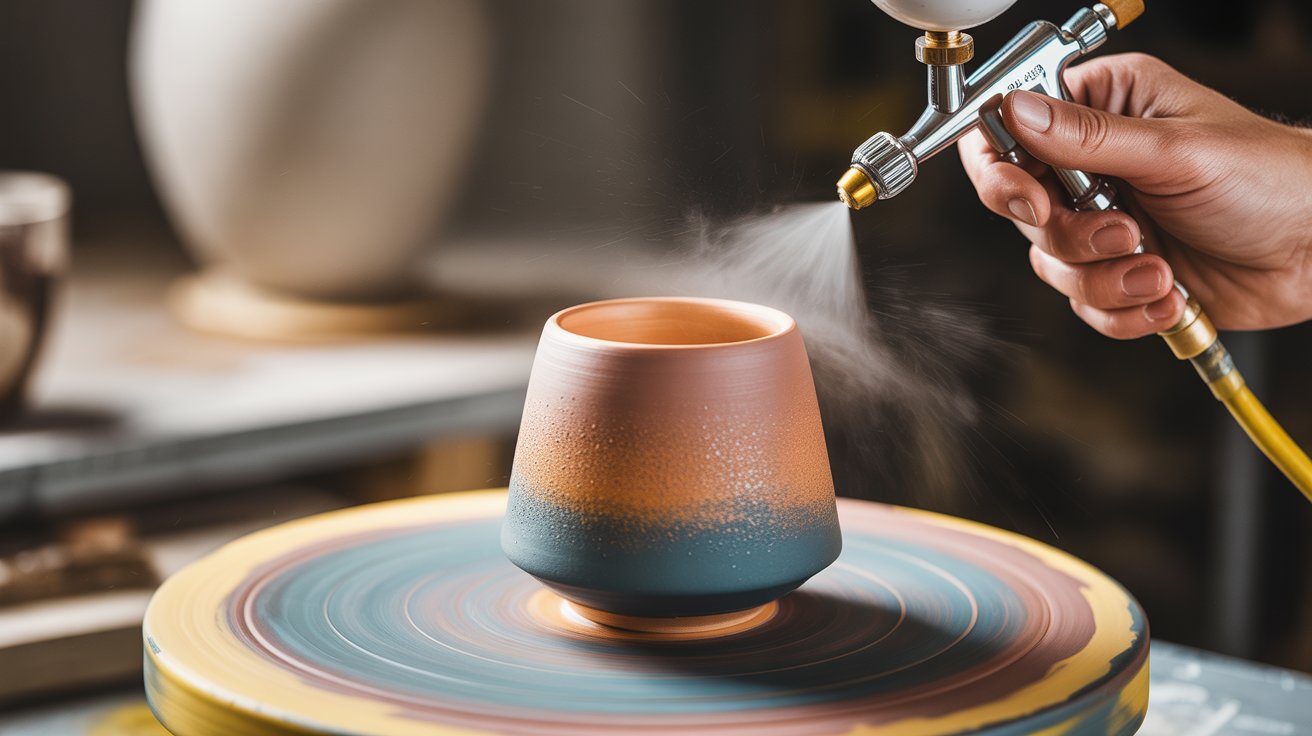
Spraying creates smooth, thin layers. You’ll need an airbrush or spray gun. Hold the sprayer about six inches from your piece. Move in steady, even strokes.
This technique is perfect for gradients and blending colors. Work in a well-ventilated area and wear a mask.
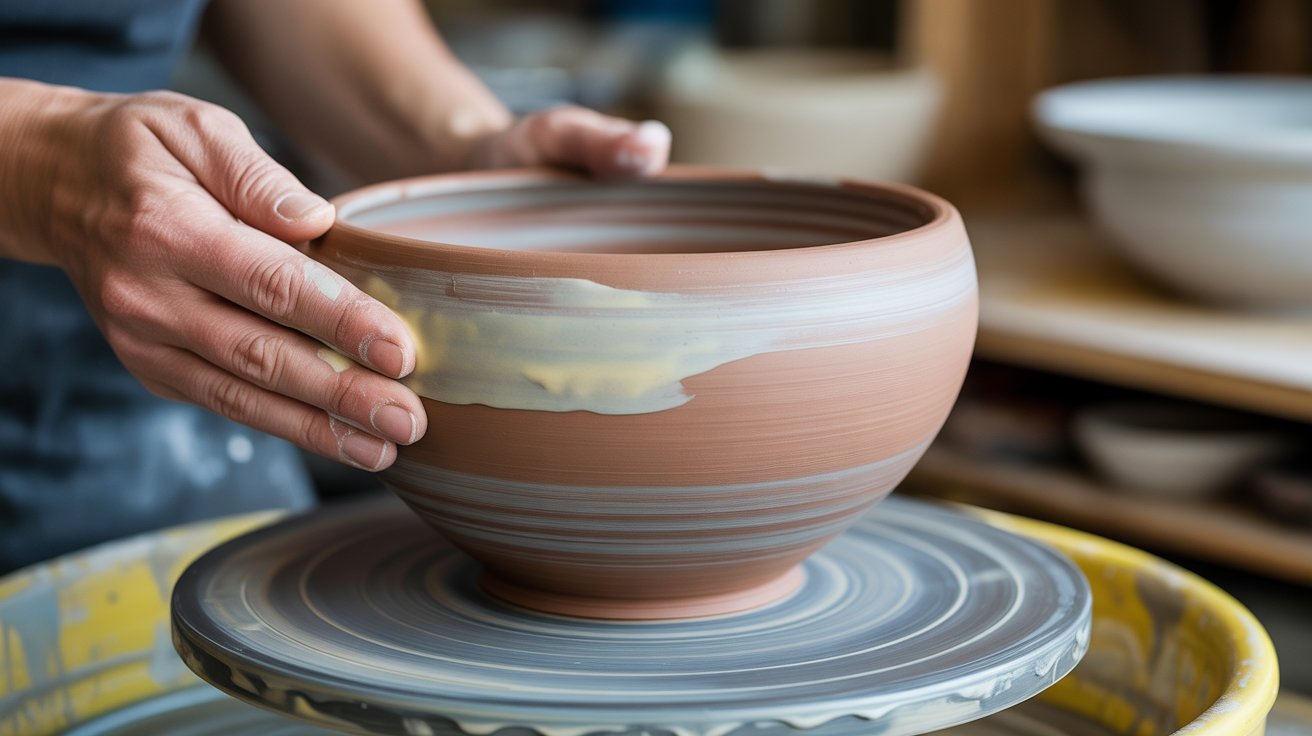
4. Sponging
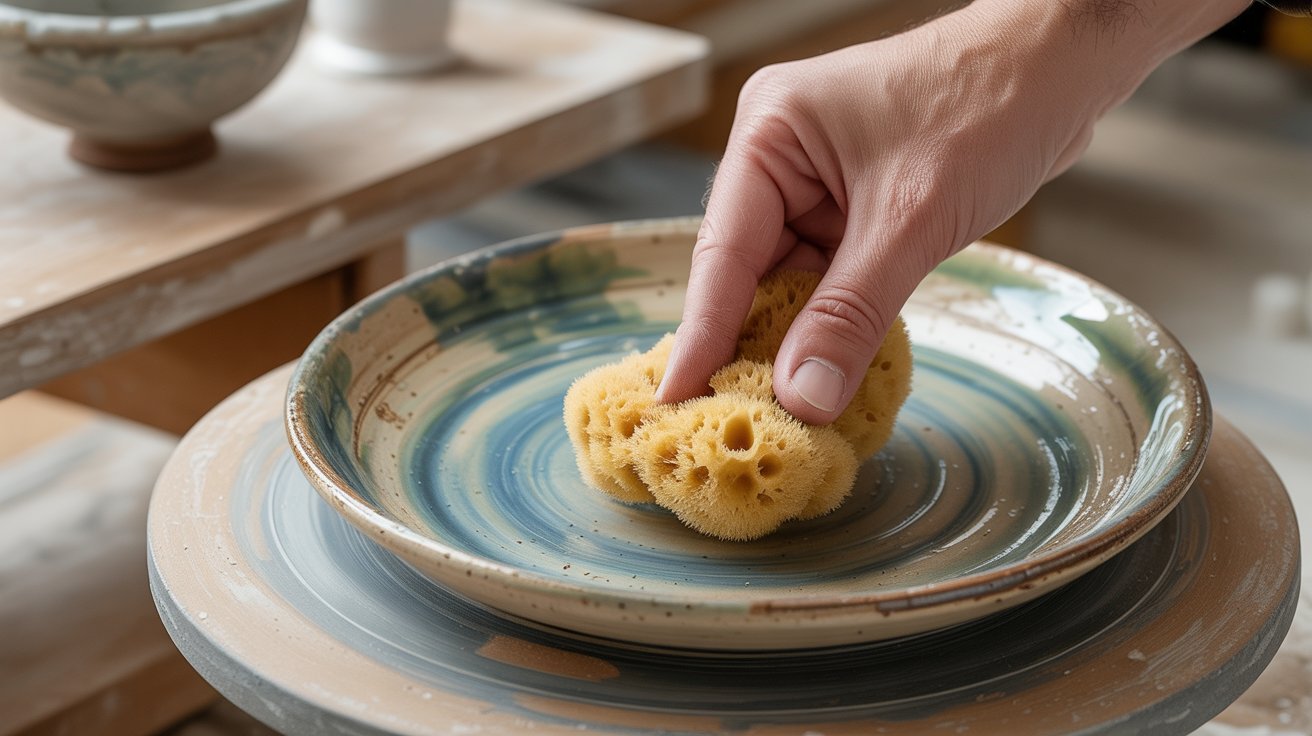
Sponging adds texture and blends colors naturally. Use a natural sea sponge for the best results. Dab lightly for subtle effects. Press harder for a bolder texture.
You can layer different colors by sponging one over another. This technique works well for organic, natural looks.
5. Splattering
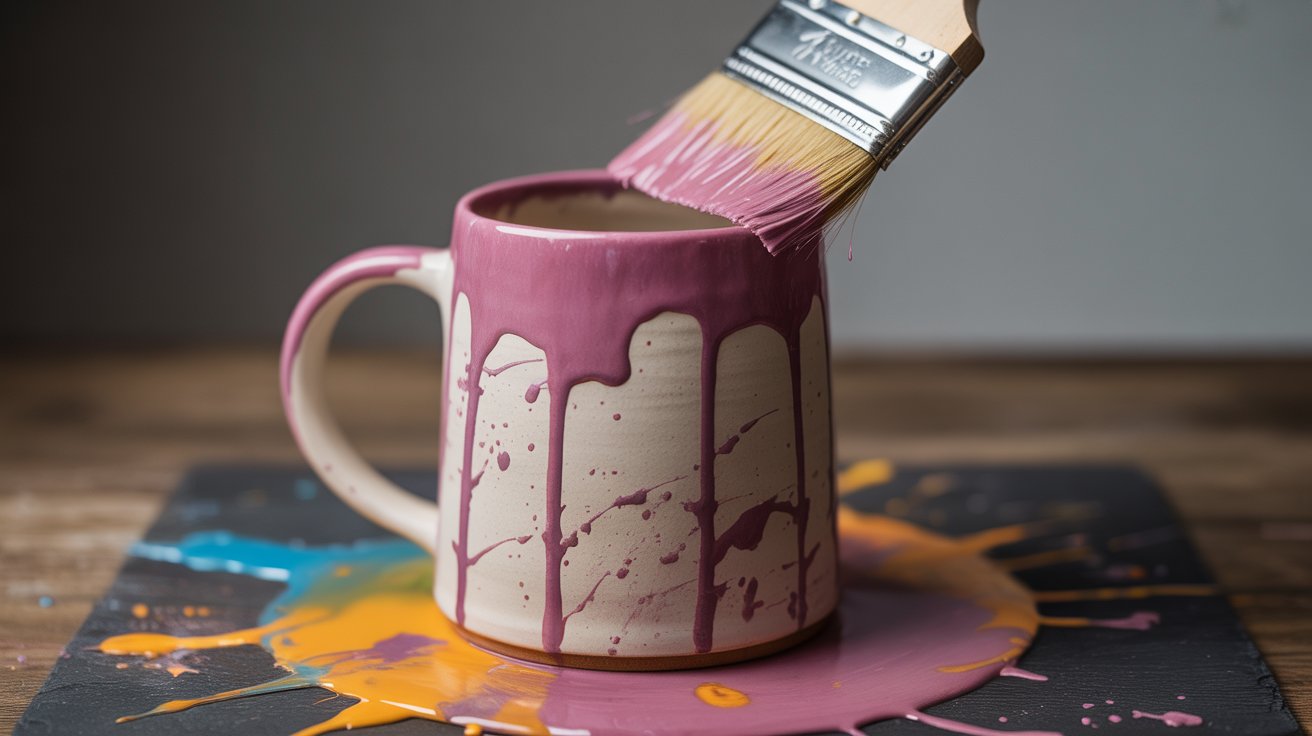
Splattering creates fun, random patterns. Load a stiff brush with glaze and flick it at your piece. Small splatters come from light flicks. Big splatters need more force.
Try layering different colors for depth. Cover your work area first. This gets messy fast.
6. Wax Resist
Wax resistance keeps the glaze off certain areas. Paint wax where you don’t want the glaze to stick. The wax burns away during firing.
You can apply it over underglaze to create layered designs. The waxed areas stay the original color. Let the wax dry completely before glazing over it.
7. Masking Tape Resist

Tape creates clean lines and geometric patterns. Stick the tape on your bisque ware before glazing. Glaze over the tape, then peel it off. The taped areas stay unglazed.
Watch for glaze crawling at the tape edges. Press the tape down firmly to prevent the glaze from seeping under it.
8. Syringe or Trailing Techniques
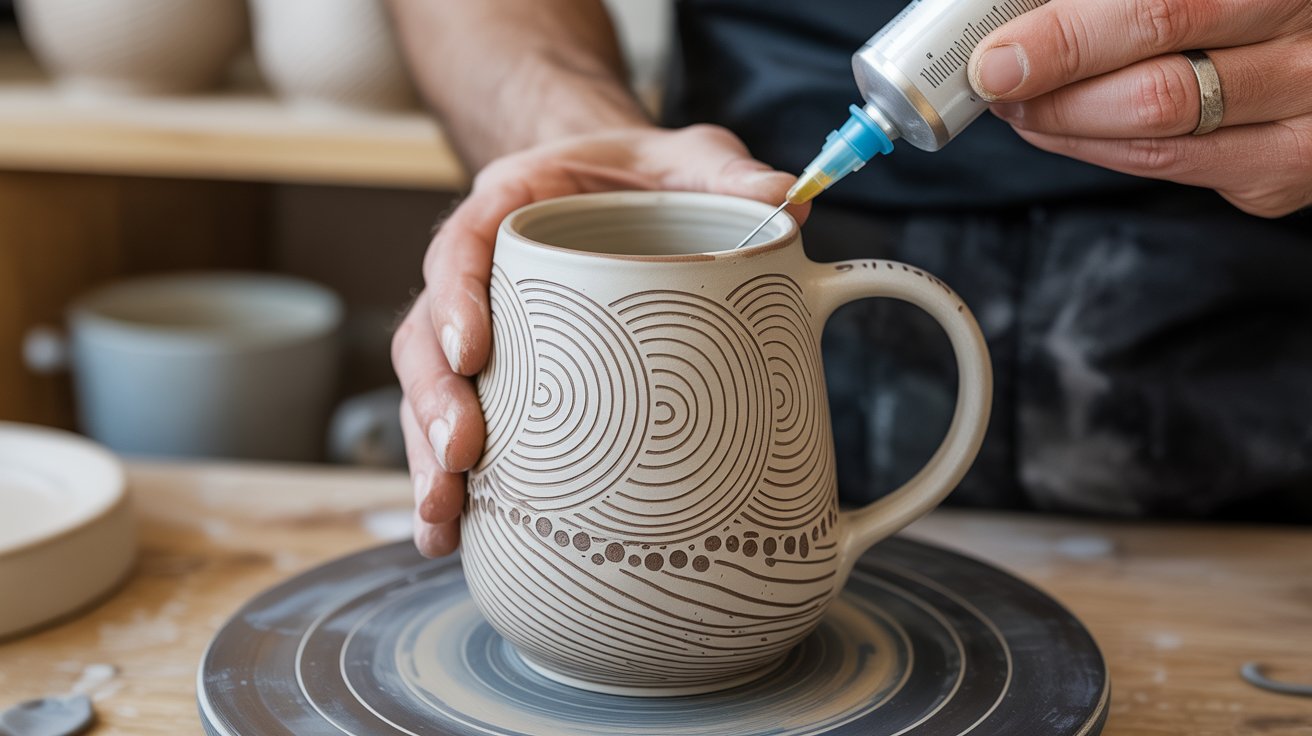
Syringes let you draw with glaze. Fill a syringe with glaze and squeeze it out in lines or dots. This works best with contrasting colors. You can create drips, swirls, or detailed patterns.
The glaze needs to be thick enough to hold its shape. Practice on test tiles first to get the right consistency.
9. Mocha Diffusion
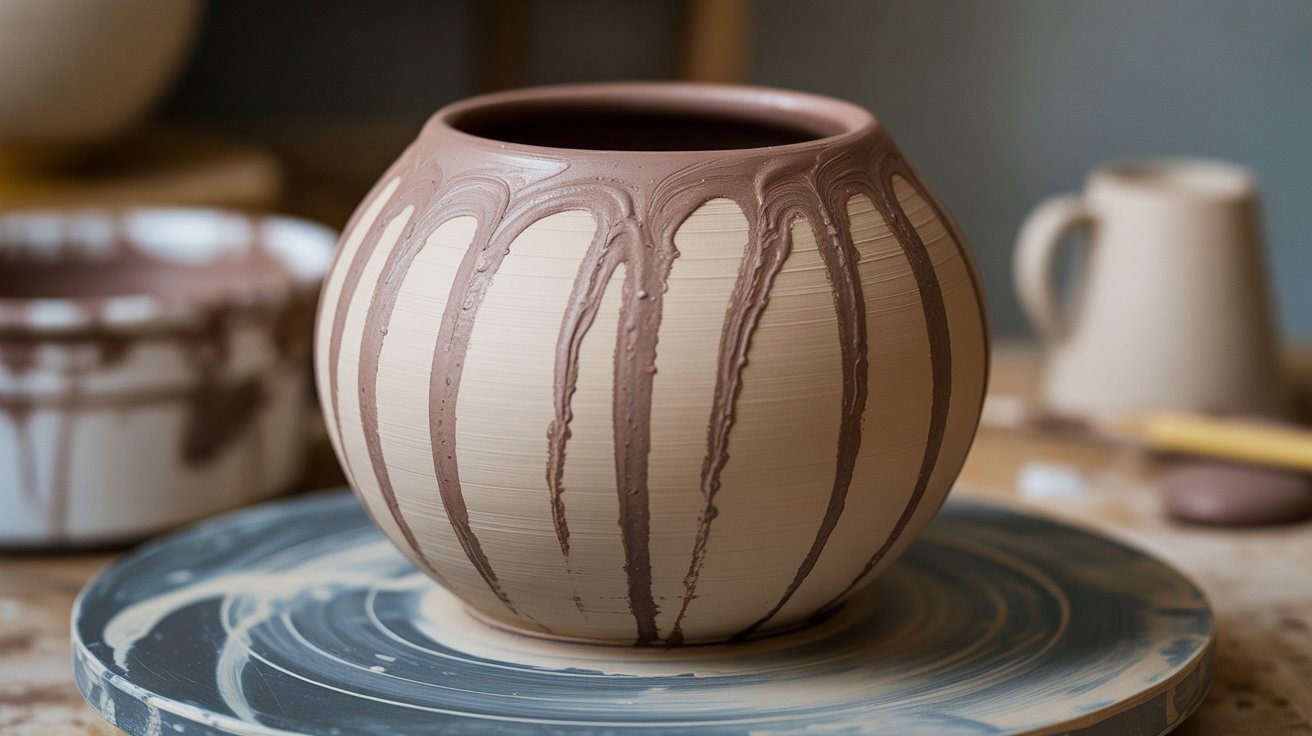
Mocha diffusion creates organic, vein-like patterns. It uses an acid-base reaction between the slip and a special mixture.
Apply colored slip to your piece while it’s still damp. Drop your mocha mixture carefully onto the slip.
Don’t touch it. The pattern spreads on its own. This technique takes practice but creates amazing results.
10. Layering Glazes
Layering glazes creates depth and new colors. Apply one glaze, let it dry, then add another on top. Always test layers on tiles first.
Some glazes react badly when layered. Others create beautiful combinations you’d never expect. Keep notes on what you try so you can repeat successful combinations.
11. Specialty Effects (Crackle, Crystalline)
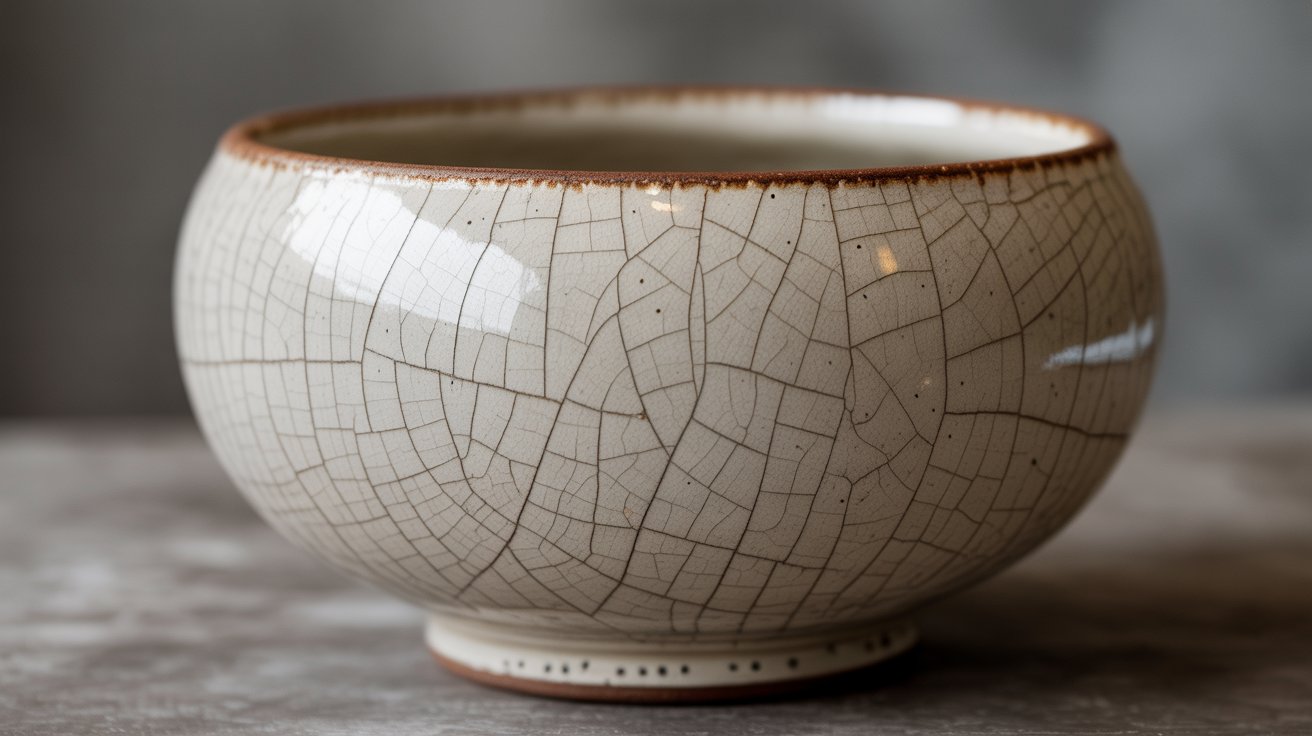
Specialty glazes create specific effects. Crackle glazes form a network of fine cracks. Crystalline glazes grow actual crystals during firing. These glazes need specific firing schedules.
Follow the manufacturer’s instructions exactly. The results are worth the extra effort. Start with one specialty glaze and master it before trying others.
Tips for Beginner Potters
These tips will save you time and frustration as you start your glazing practice.
- Practice on test tiles first. Never try a new glaze on your best piece. Make small test tiles from the same clay and test different thicknesses and layering combinations. Write notes on the back of each tile with underglaze and fire them with your regular work.
- Keep a detailed glazing journal. Write down everything, including the glaze name, number of coats, firing temperature, and how it turned out. Take photos of your finished pieces and match them to your notes so you can recreate successful results.
- Let each coat dry completely. Rushing between coats causes problems like drips and uneven coverage. Wait at least 30 minutes between applications and make sure the glaze feels dry to the touch before adding another layer.
- Always wear proper safety gear. Use gloves when handling glaze since some contain materials that shouldn’t touch your skin. Wear a mask when spraying or sanding glazed pieces to avoid breathing in particles.
- Work in a well-ventilated space. Open windows or use a fan to keep air circulating in your work area. Good ventilation protects you from glaze fumes and dust that can build up during application and sanding.
Conclusion
You now have 11 different glazing techniques to try. Start with simple methods like dipping and brushing.
Then work your way up to more advanced techniques like mocha diffusion. I remember my first glazed piece coming out of the kiln.
The colors were brighter than I expected, and I was hooked. Don’t worry if your first attempts aren’t perfect. Every potter learns by doing.
Try these techniques, take notes, and have fun with the process. Which glazing method will you try first? Leave a comment and let me know.
Frequently Asked Questions
How many coats of glaze should I apply?
Most glazes need three thin coats for proper coverage. Thin coats prevent drips and give even color. Always check your specific glaze instructions since some glazes work differently.
Can I mix different glaze brands?
Yes, but test them on tiles first. Different brands use different formulas. Some combinations create beautiful effects, while others cause problems like crawling or bubbling during firing.
Why did my glaze crawl or crack?
Crawling happens when glaze pulls away from the clay. This occurs if the bisque ware is dusty or oily. Cracking means the glaze layer was too thick or dried too fast.
Do I need to glaze the bottom of my pottery?
No, leave the bottom unglazed. The glaze on the bottom fuses to the kiln shelf during firing. This ruins both your piece and the shelf. Wipe the bottom clean before firing.
How long does the glaze take to dry between coats?
Wait at least 30 minutes between coats. The glaze should feel dry to the touch. In humid weather, you might need to wait longer for complete drying.