


Reindeer are one of the most fun things to draw during the holiday season. Their antlers, round nose, and sweet face make them a go-to for beginners and kids alike.
I remember the first time I tried drawing one. It looked more like a lumpy dog. But once I broke it down into simple shapes, everything clicked.
In this guide, I will walk you through an easy, cartoon-style method that anyone can follow. By the end, you will have a reindeer you are actually proud of.
Why Learn How to Draw a Reindeer
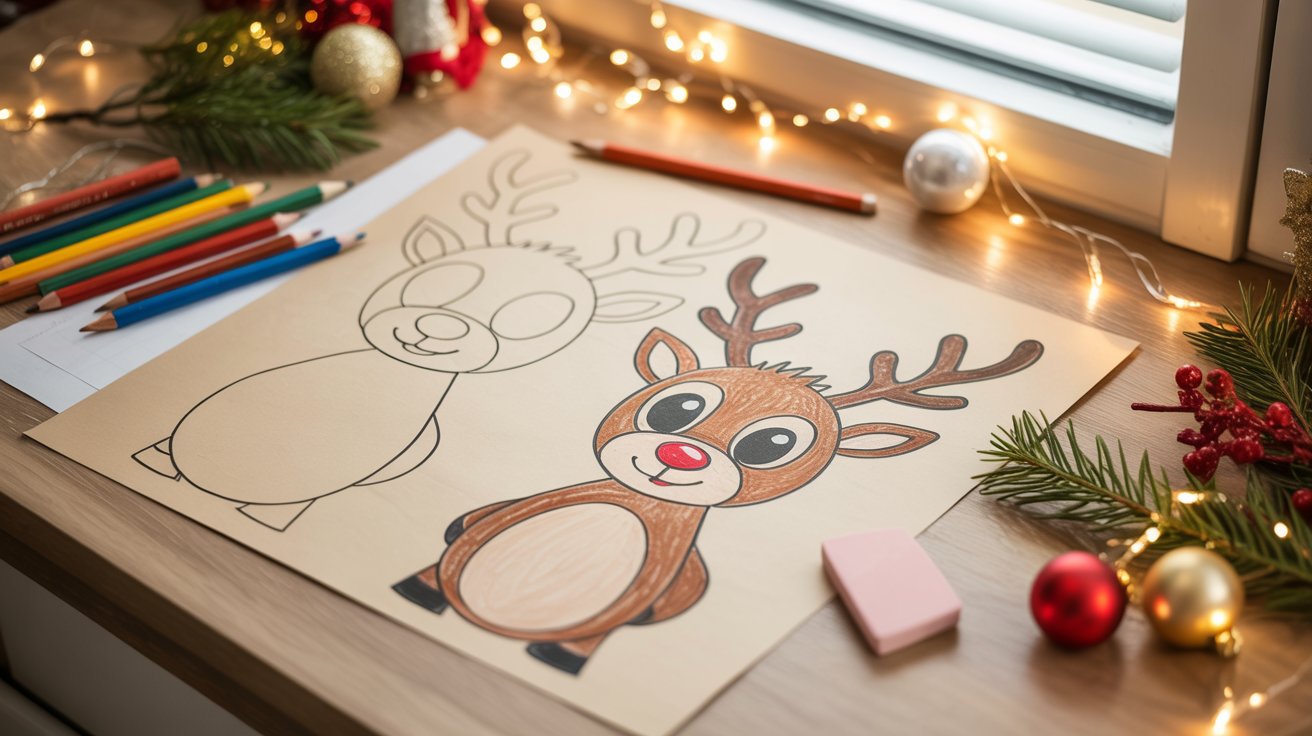
There are plenty of good reasons to give this a try, no matter your skill level.
Drawing a reindeer is one of the best starting points for beginners and kids. The shapes are simple and easy to follow.
It is also perfect for holiday art projects like Christmas cards, decorations, and crafts. Plus, practicing this kind of drawing actually builds real skills.
You get better at proportions, shapes, and control. Every drawing you finish adds a little more confidence.
Materials You Need to Draw a Reindeer
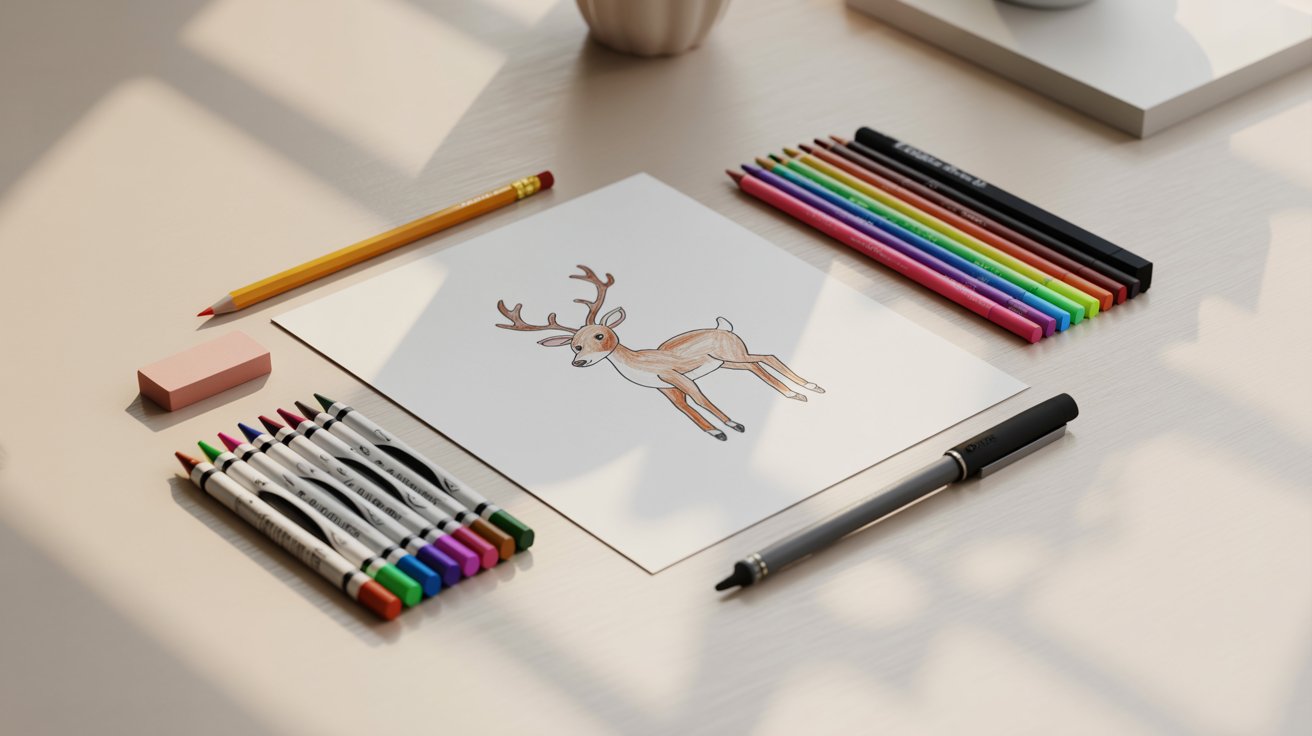
Getting the right supplies ready before you start makes the whole process smoother.
Basic Drawing Supplies
Start simple. You only need three things:
- Paper
- Pencil
- Eraser
Coloring & Outlining Tools
Once your sketch is ready, these will bring it to life:
- Colored pencils, crayons, or markers
- Black pen or marker for outlining
How to Draw a Reindeer Step by Step (6 Easy Steps)
Follow these six simple steps to draw a cute cartoon reindeer from scratch, even with zero experience.
Step 1 – Draw the Head and Guidelines
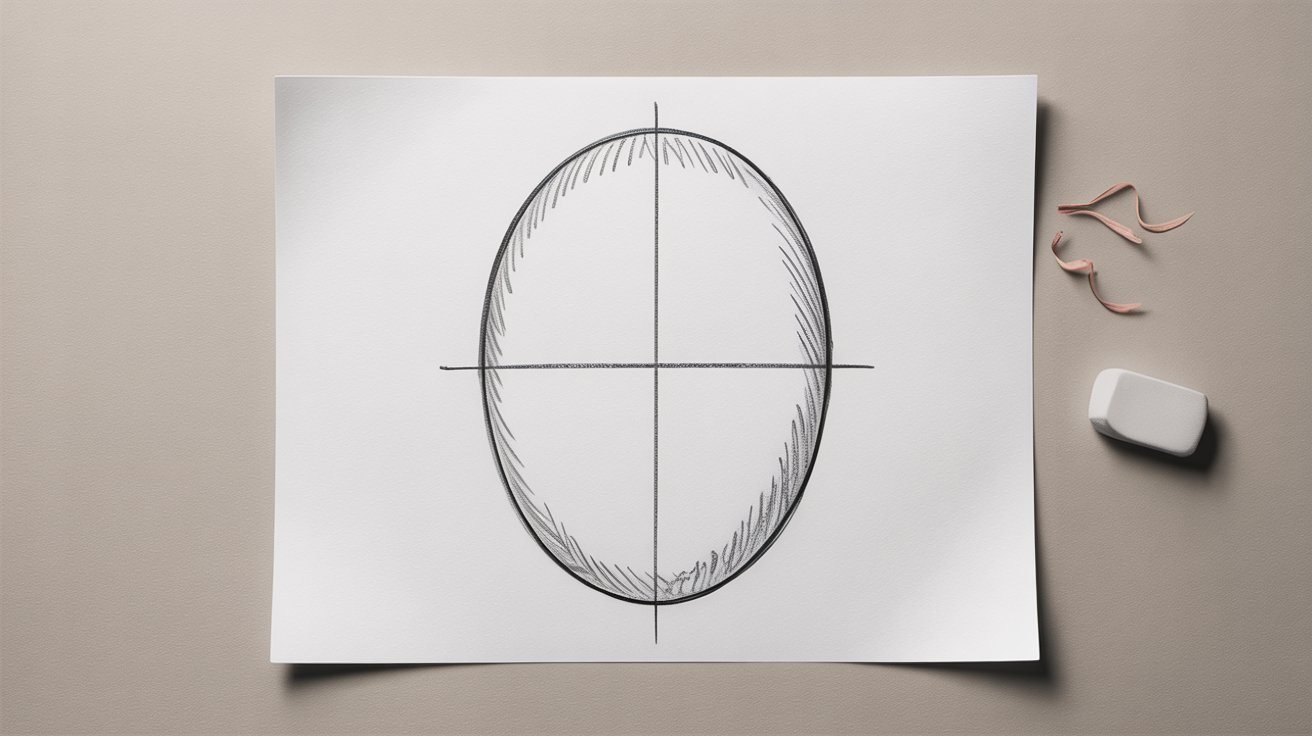
Start with a light oval or egg shape for the head. This will be the base of your drawing. Then add two faint crossed lines in the middle. These guidelines help you place the eyes, nose, and mouth in the right spots later. Keep the lines light so they are easy to erase.
Step 2 – Add Eyes, Nose, and Mouth
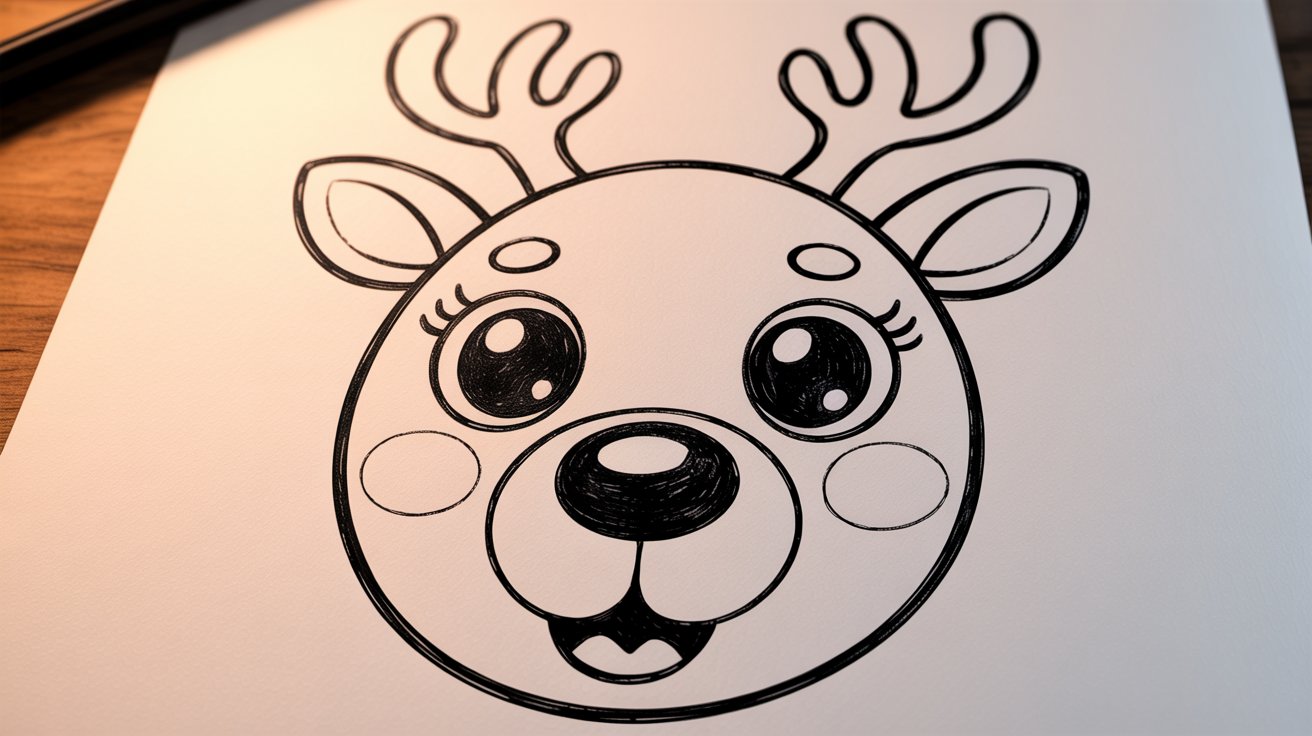
Using your guidelines, draw two large cartoon eyes. Big eyes give your reindeer a friendly, fun look. Add a round circle for the nose. Want a Rudolph vibe? Color it red later. Finish with a small curved line for the mouth. Keep it simple and slightly upward for a smile.
Step 3 – Draw Ears and Antlers
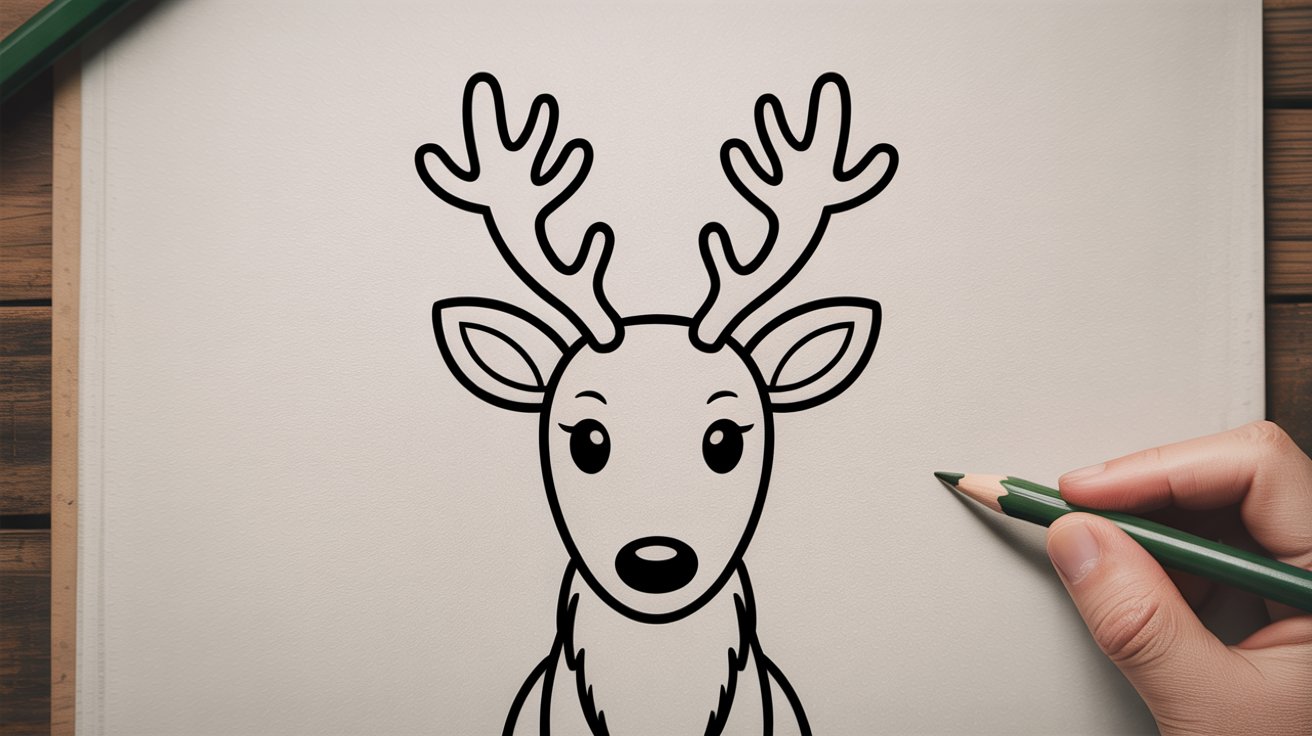
On each side of the head, sketch a small leaf shape for the ears. They should sit just below where the antlers will go. For antlers, start with a Y shape on each side. Add a few short curved lines branching off. Keep them symmetrical but do not stress if they are slightly different.
Step 4 – Sketch the Body and Neck
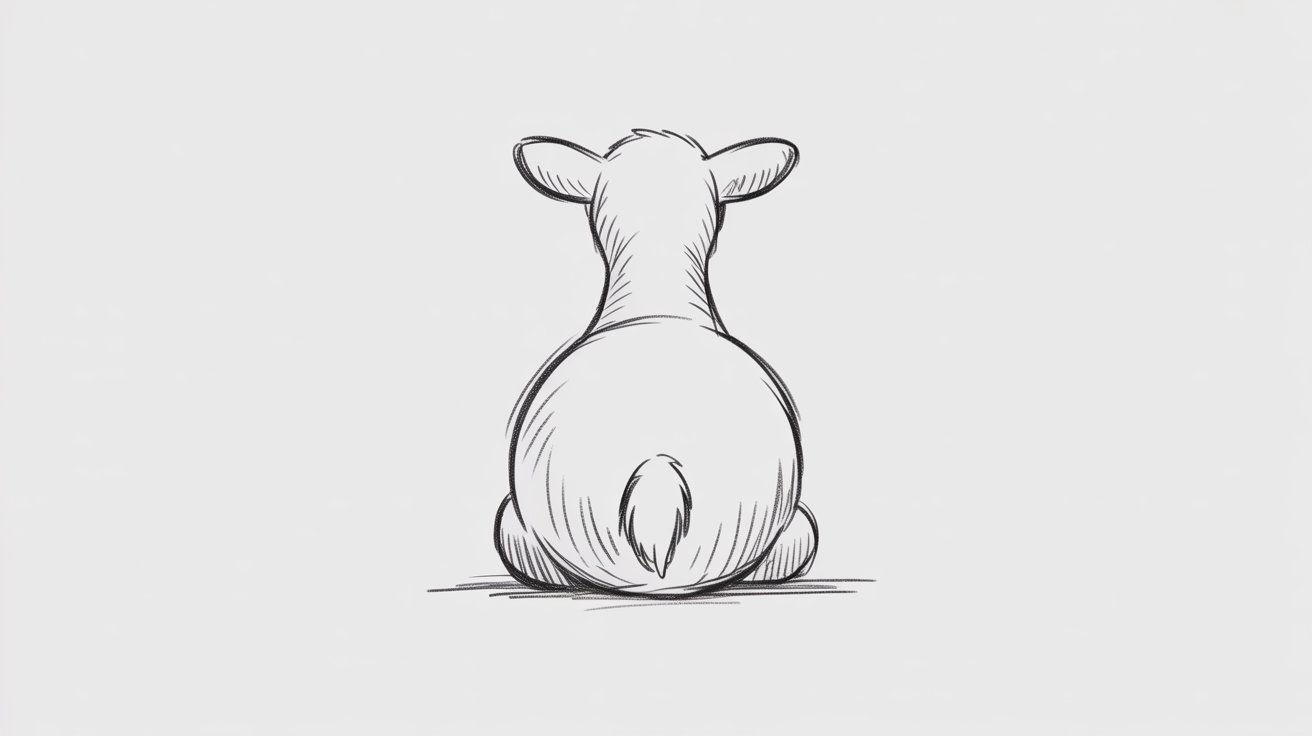
Draw a short, slightly curved neck coming down from the head. Then add a rounded oval or bean shape below it for the body. The body should be bigger than the head. Keep the lines loose at this stage. You will clean everything up in the next step once the shapes feel right.
Step 5 – Add Legs and Final Details
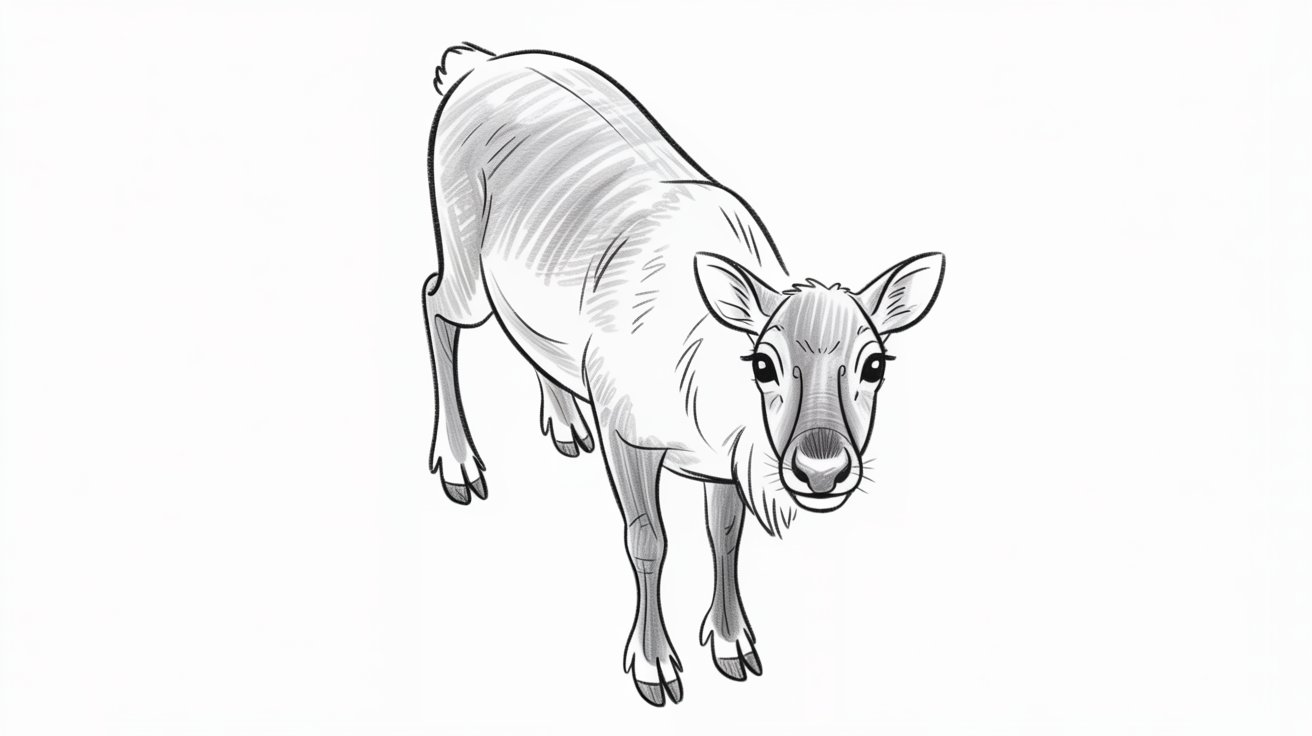
Draw four simple, short legs coming down from the body. The front two legs face forward and the back two angle slightly behind. Once all the shapes are in place, go over your drawing and refine any rough lines. Then gently erase all the extra sketch lines and guidelines you no longer need.
Step 6 – Outline and Color
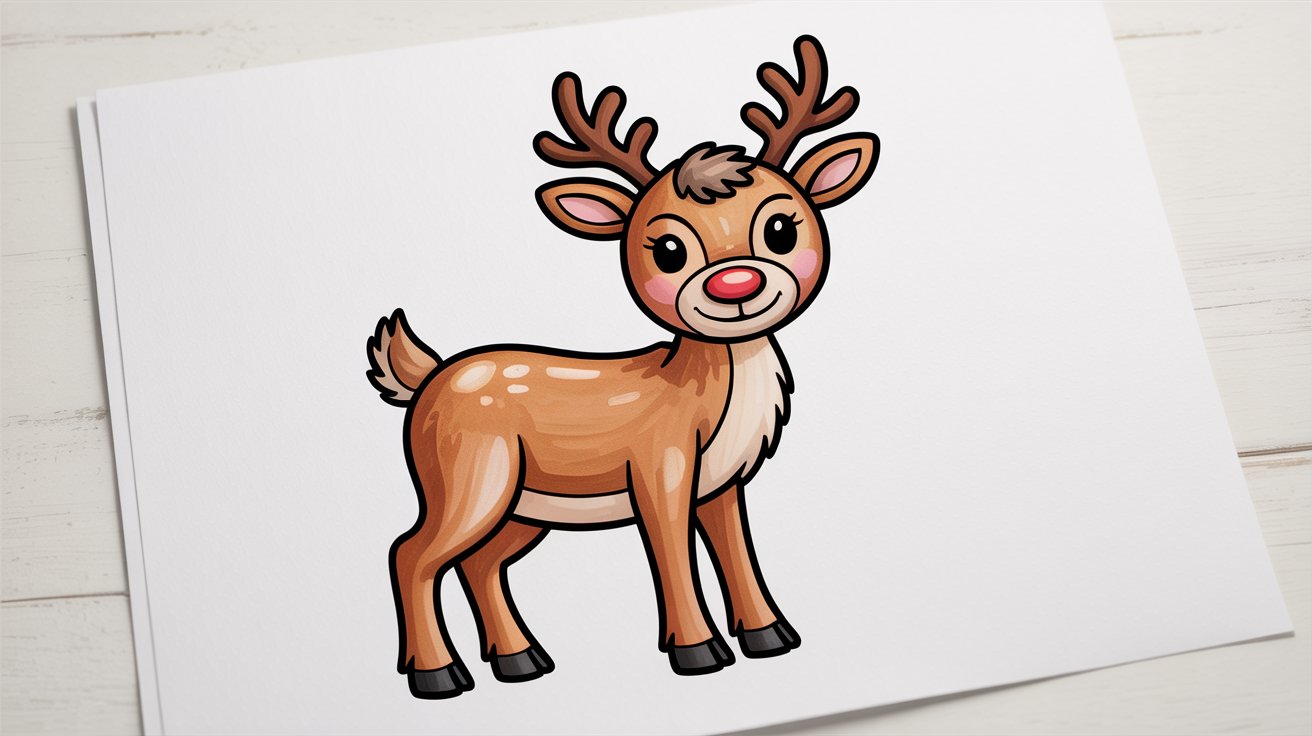
Trace over your pencil lines with a black pen or marker. Use steady, confident strokes for clean outlines. Let the ink dry fully before erasing any remaining pencil marks underneath. Then grab your colored pencils, crayons, or markers and fill in your reindeer. Brown for the body, red for the nose, and have fun with the rest.
Tips for a Better Reindeer Drawing
Small habits make a big difference when drawing. Keep these in mind as you work.
- Start with basic circles and ovals. Simple shapes are easier to control and fix.
- Give your reindeer a slightly bigger head. It instantly makes the cartoon look cuter.
- Color slowly and evenly. Rushing leads to streaks and uneven patches.
- Let each color dry before adding the next layer. This keeps the colors looking clean.
- Step back and look at your drawing often. Small adjustments early save a lot of fixing later.
Final Thoughts
Drawing a reindeer is simpler than it looks. Once you break it down into basic shapes, it all comes together pretty fast.
I hope this guide gave you the confidence to pick up that pencil and give it a go. Do not worry about making it perfect.
Just practice, have fun, and let your creativity take over. If you enjoyed this, try drawing other Christmas characters too.
Santa, elves, and snowmen are great next steps. Keep drawing and you will only get better!
Frequently Asked Questions
What do I need to draw a reindeer?
You only need paper, a pencil, and an eraser to get started. Colored pencils or markers are optional for adding color later.
Is drawing a reindeer hard for beginners?
Not at all. This guide uses simple shapes like ovals and circles that anyone can draw. Even kids can follow along without any prior drawing experience.
How long does it take to draw a reindeer?
Most beginners can finish a basic reindeer drawing in 15 to 30 minutes. The more you practice, the faster and better you will get.
Can I draw a reindeer without guidelines?
You can, but guidelines make it much easier to place the eyes, nose, and mouth correctly. They are light pencil lines that you erase once the drawing is done.
What colors should I use for my reindeer drawing?
Brown works best for the body and antlers. Use red for the nose if you want a Rudolph look. Feel free to get creative with the colors you like.
