
")
Want to change your boring hoodie into wearable art? I’ve spent years perfecting tie-dye techniques, and I’m sharing everything I’ve learned.
I’ll help you solve your biggest frustrations. No more muddy browns instead of vibrant rainbows. No more colors washing out after the first laundry day.
This isn’t just theory. I’ve tie-dyed hundreds of hoodies, learning what works through trial and error so you don’t have to.
You’ll get practical steps you can follow today. Whether you’re making your first tie-dye hoodie or your fiftieth, these techniques deliver results that last.
Ready to create a hoodie that’s completely yours?
Let’s get started.
Best Hoodies for Tie Dye (Fabric, Fit & Color Tips)

Not all hoodies are created equal for tie-dyeing.
Fabric matters most. Cotton works best. It soaks up dye like a sponge. Polyester? Skip it. The dye won’t stick.
Look for hoodies that are at least 80% cotton. 100% cotton is ideal.
Fit is important too. You need room to scrunch, fold, and twist. Tight hoodies don’t give you enough fabric to work with.
Color choice: Start with white or light colors. Dark hoodies limit your options. You can’t put light dye over dark fabric and expect it to show.
Tie Dye Hoodie Supplies Checklist (What You’ll Need)
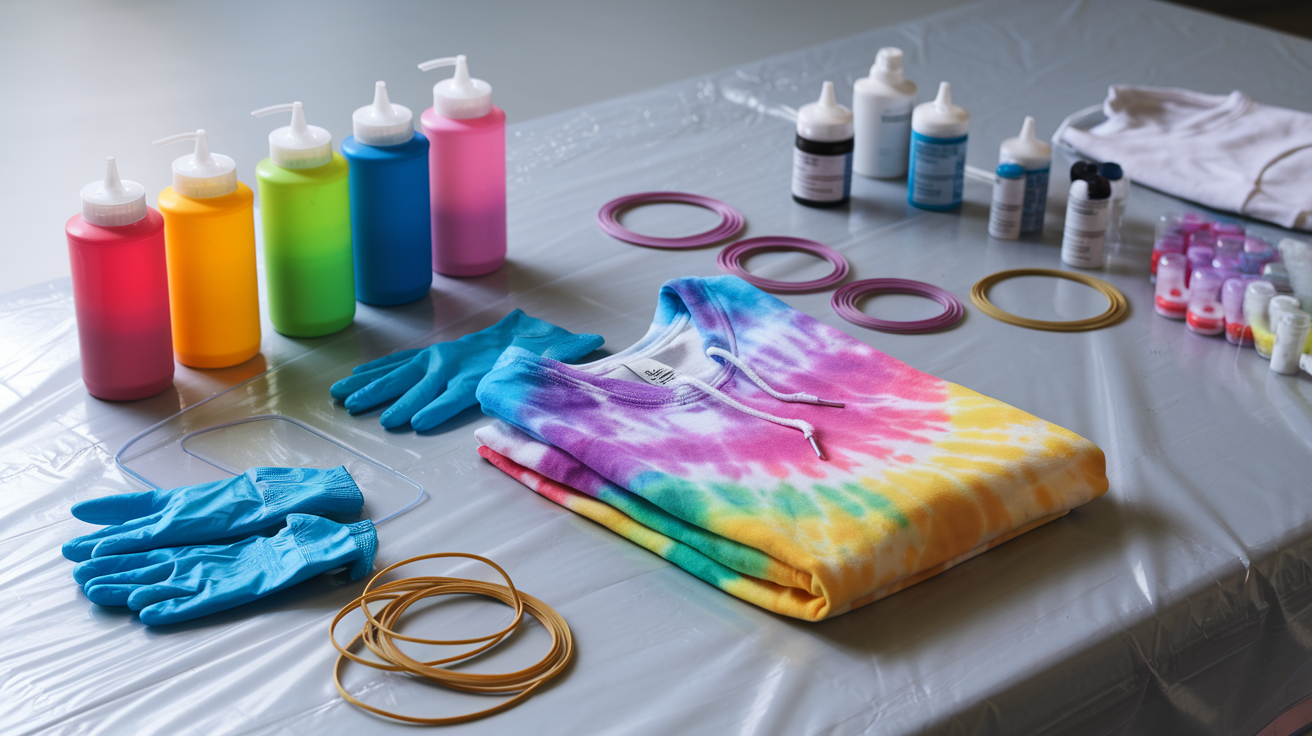
For the dye:
- Tie-dye kit (or individual dye bottles)
- Rubber gloves
- Plastic squeeze bottles
- Salt (for fiber reactive dyes)
For setup:
- Plastic table cover
- Paper towels
- Rubber bands
- Plastic bags
- Old clothes you don’t mind staining
For rinsing:
- Access to a sink or hose
- Mild detergent
Don’t skip the gloves. Trust me on this one.
Prep Work: Setting Up for Success
First, wash your hoodie. This removes any chemicals that block dye absorption. Don’t use fabric softener. It creates a barrier.
Set up your workspace outdoors if possible. Tie dye gets messy. Cover everything with plastic. Pre-soak your hoodie in water. Damp fabric takes dye better than dry fabric.
Squeeze out excess water. You want damp, not dripping.
How to Tie Dye a Hoodie (Quick Step-by-Step)
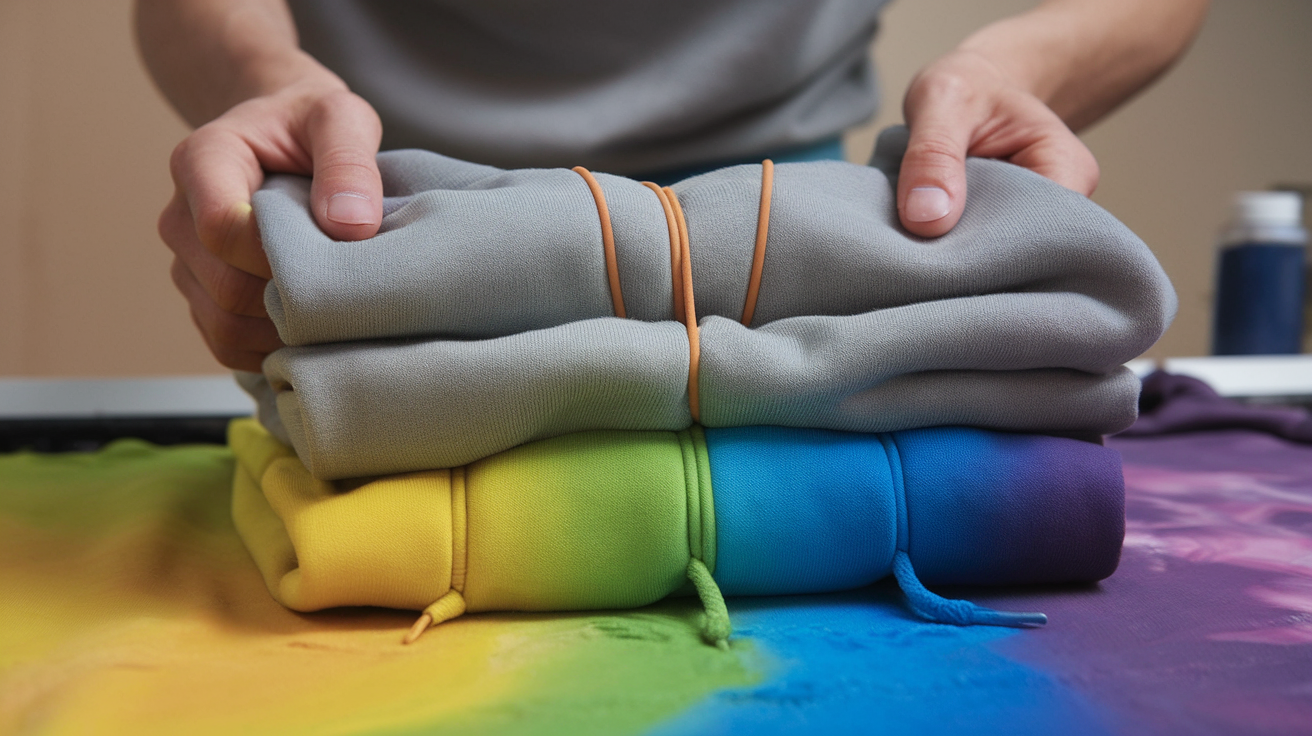
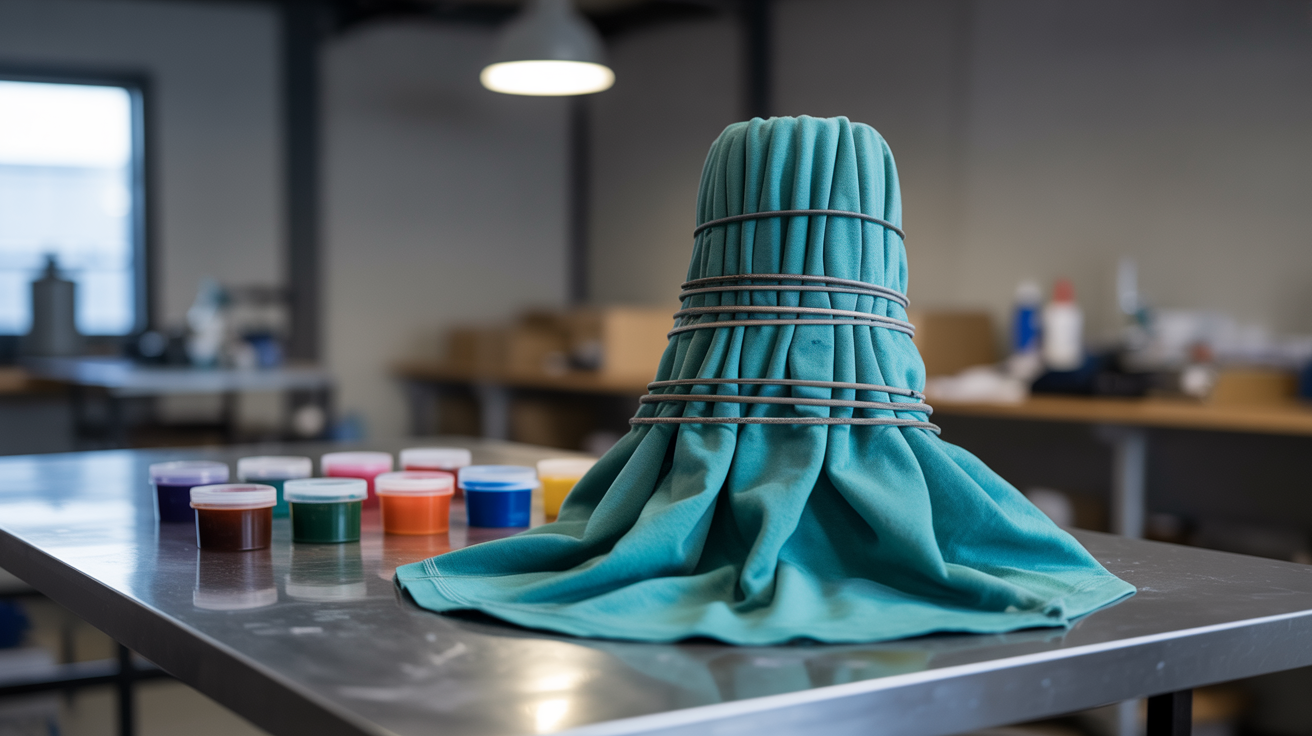
1. Fold or Bind Your Hoodie
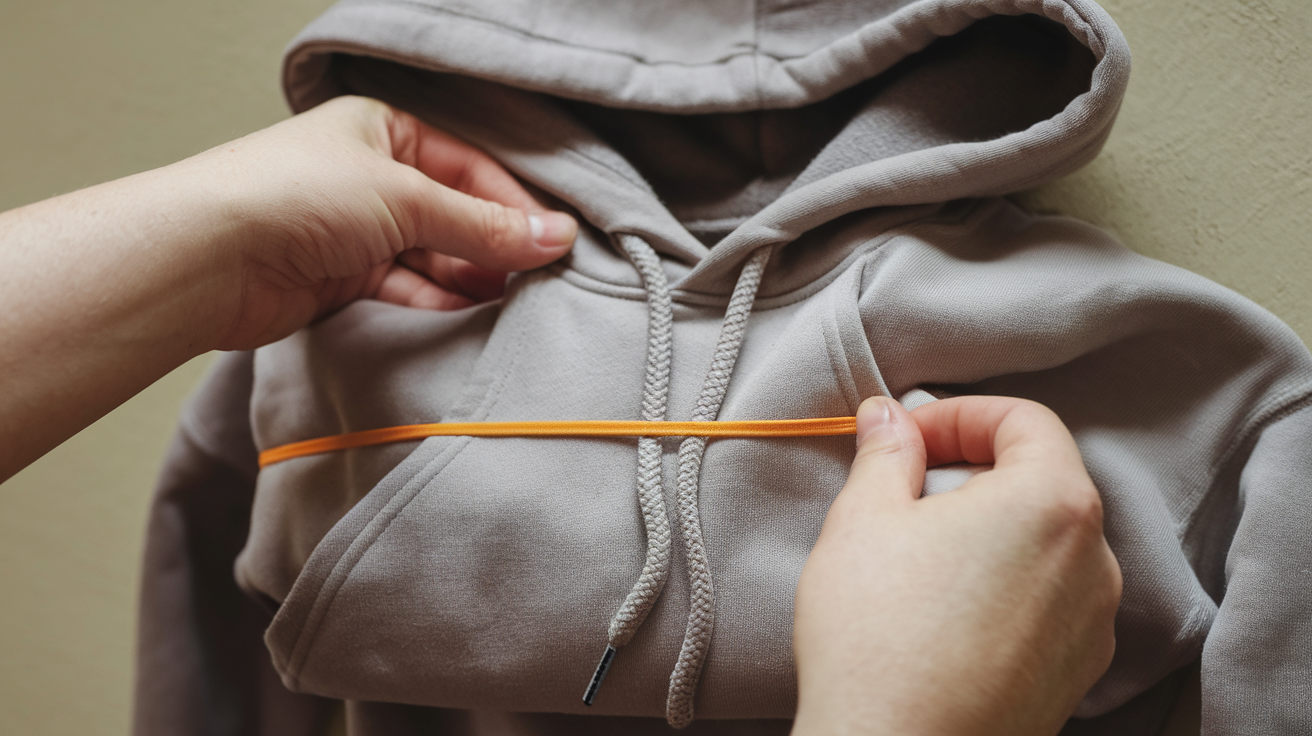
Choose your technique from above.
Make it tight. Loose binding equals muddy colors. The rubber bands should indent the fabric.
But not too tight. You still need dye to penetrate.
2. Apply the Dye Strategically
Work section by section. Don’t rush this part.
Squeeze dye bottles gently. Too much pressure creates a mess. Too little won’t saturate the fabric.
Flip your hoodie over. Apply dye to both sides. This ensures even color coverage.
Different colors touching? That’s okay. They’ll blend at the edges.
3. Let It Set (Timing Tips)
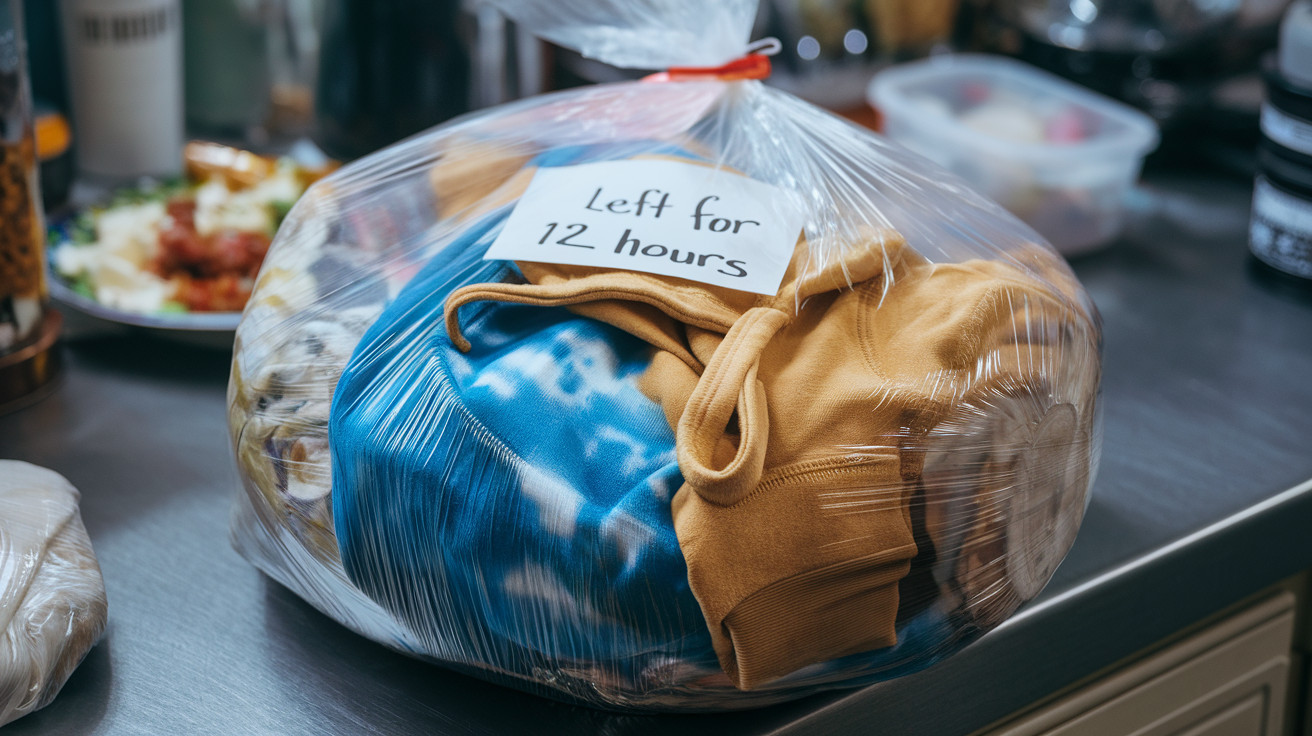
Wrap in plastic bags or plastic wrap. This keeps the fabric moist.
Wait 6-24 hours. Longer = more vibrant colors.
Keep it at room temperature. Heat speeds up the process, but it can also create uneven results.
4. Rinse and Wash Carefully
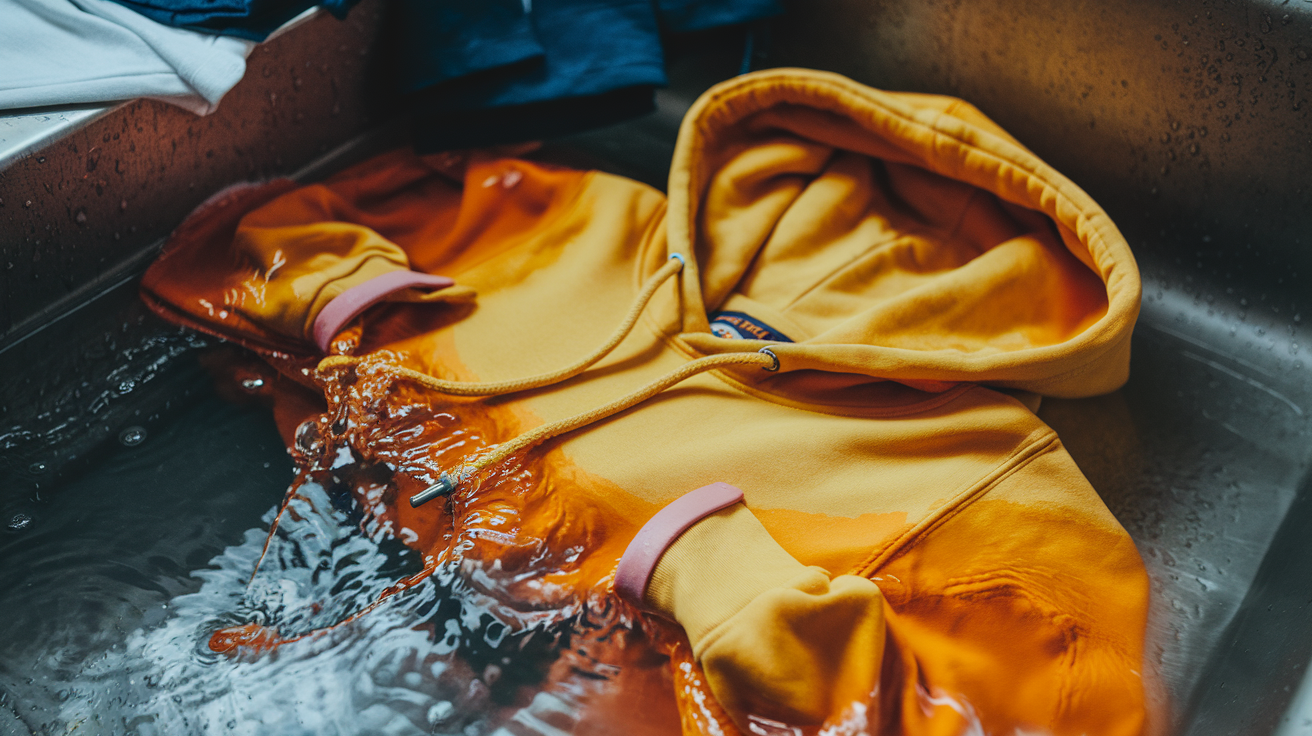
Remove rubber bands first. Cut them if needed.
Rinse in cold water until it runs clear. This takes patience. Keep rinsing.
Wash separately for the first few washes. Hot water sets the dye better, but it can also cause bleeding.
5. Dry It the Right Way
Air dry is best. Direct sunlight can fade colors.
Low heat in the dryer works too. High heat might shrink your hoodie.
Check the fit while it’s still damp. Hoodies can shrink more than you expect.
Tie Dye Hoodie Techniques (Spiral, Crumple, Bullseye & More)
Spiral

The classic look everyone recognizes. Pinch the center of your hoodie and twist it into a flat spiral. Secure with 3-4 rubber bands crossing through the center.
This technique works best on the front or back panel. Avoid placing the center point on seams.
The tighter you twist, the more white space you’ll have between colors. Loose twists create more blended sections.
Try different center points for variety. Off-center spirals look more dynamic than perfect center ones.
Crumple
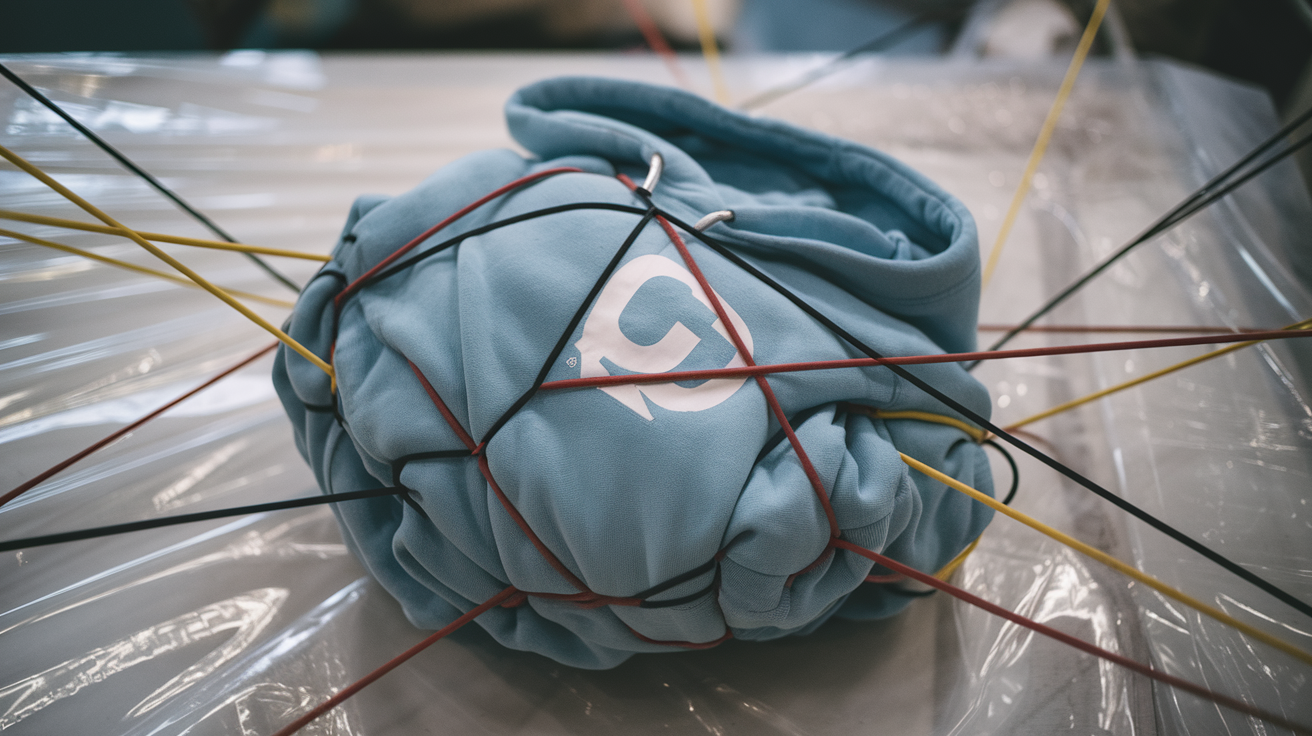
Random and wild patterns that never repeat. Scrunch your hoodie into a tight ball. Wrap with rubber bands in all directions until it looks like a wrapped gift.
This creates organic, cloud-like patterns. No two crumple designs ever look the same. It’s perfect for beginners because there’s no wrong way to do it.
Work on a flat surface. Scrunch from different angles to create texture. The more rubber bands you use, the more white areas you’ll preserve.
Bullseye
Perfect circles that create target-like rings. Pinch any spot on your hoodie and pull it up into a cone. Wrap rubber bands down the cone at different intervals.
Each rubber band creates a new ring of color. Space them evenly for uniform rings. Vary the spacing for different sized circles.
Try multiple bullseyes on one hoodie. Place them on the chest, sleeves, or back. Small bullseyes work great on the hood area.
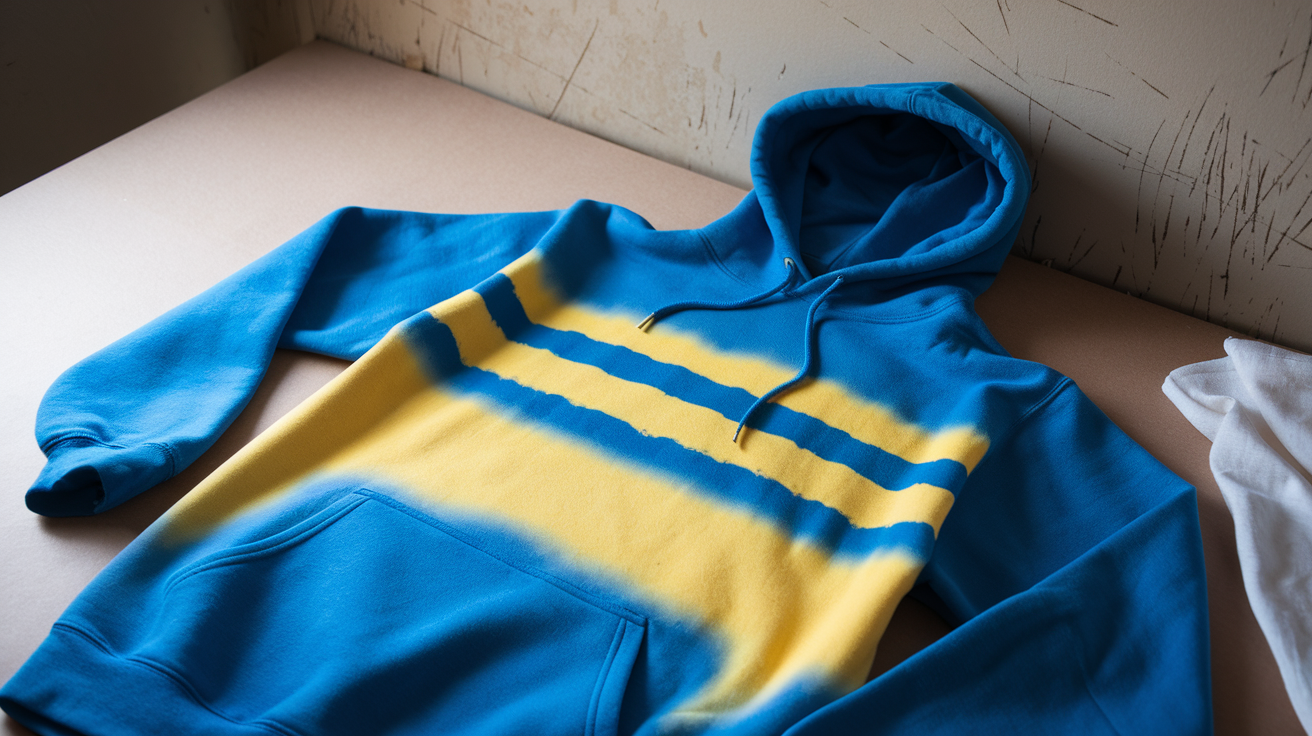
Ombre/Fade
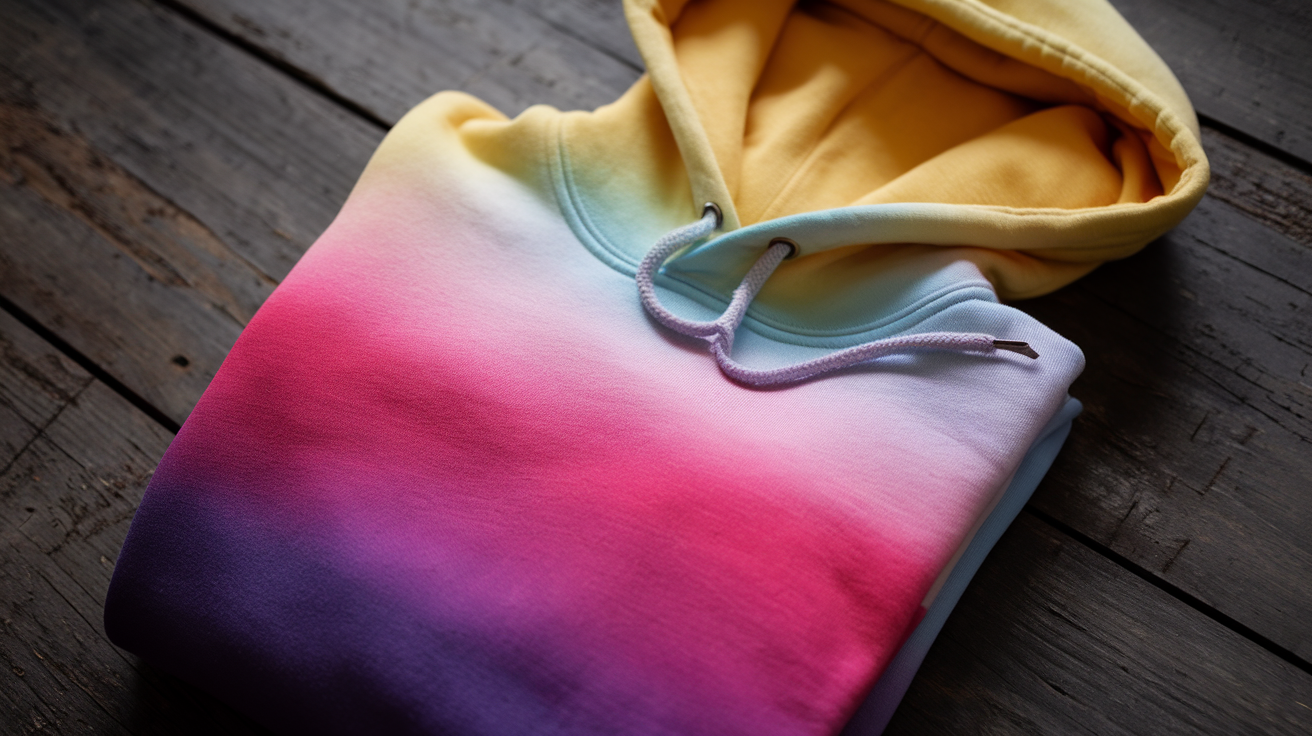
Smooth color transitions from light to dark. Fold your hoodie in half lengthwise. Dip different sections in different colors, starting light and going darker.
This technique requires patience. Dip gradually and let each section soak. Don’t rush between colors or you’ll get harsh lines instead of smooth fades.
Horizontal fades look classic. Vertical fades create a sunset effect. Diagonal fades add movement to your design.
Heart or Shape Designs
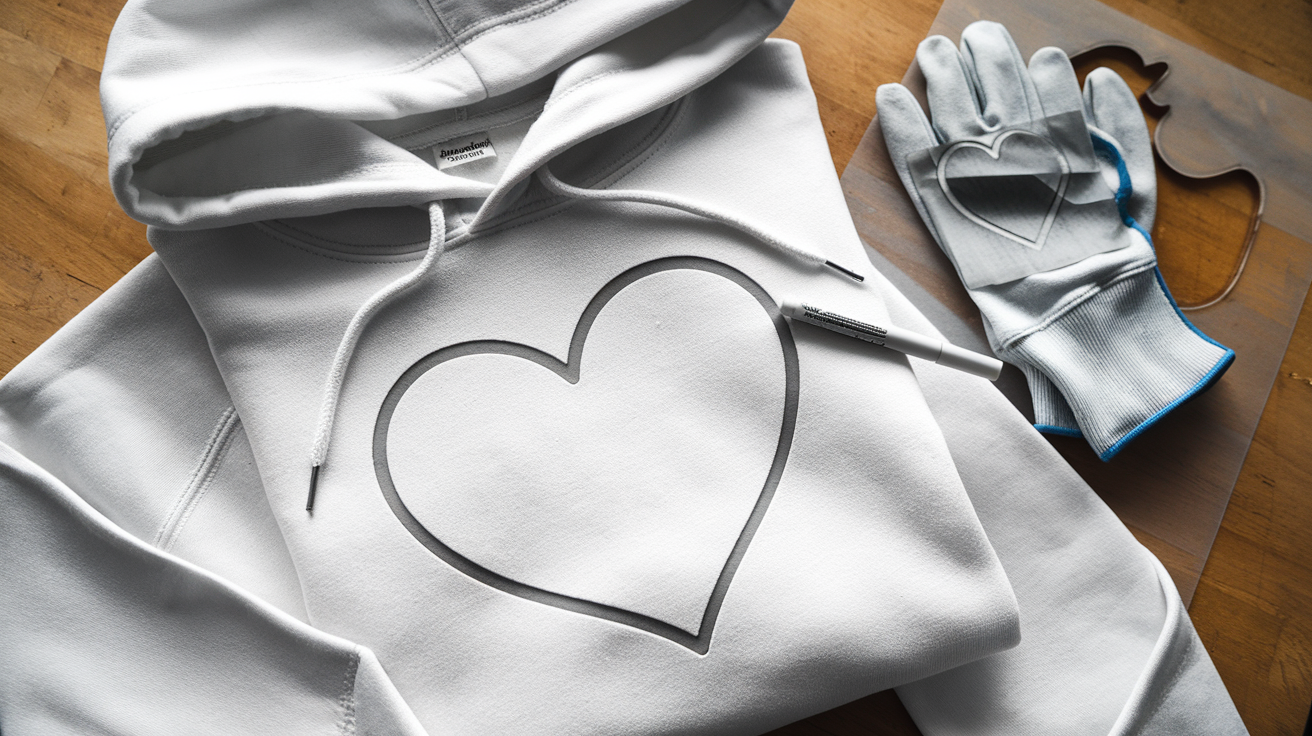
Custom shapes that show your personality. Draw your shape with a washable marker first. Fold along the lines carefully. Apply dye to create the outline.
Start with simple shapes like hearts or stars. Complex designs are harder to execute cleanly. Use stencils if your drawing skills need work.
The folding technique determines your final result. Practice on old fabric first. Some shapes work better than others with this method.
Pro tip: The hood and pocket areas create special patterns. Don’t ignore them.
Tie Dye Hoodie Color Ideas That Actually Work
Ready to level up?
Try ice dyeing. Place ice on your bound hoodie. Sprinkle powdered dye on top. As the ice melts, it creates special patterns.
Reverse tie dye removes color instead of adding it. Use bleach on dark hoodies for a different look.
Color combinations that pop:
- Blue and purple (ocean vibes)
- Pink and orange (sunset feels)
- Green and yellow (nature inspired)
- Red and black (bold statement)
Avoid these combinations:
- Red and green (muddy brown)
- All primary colors together (looks messy)
Hoodie Aftercare: Making Your Tie-Dye Last
- First wash is crucial. Use cold water and mild detergent.
- Wash inside out to protect the colors.
- Separate colors for the first 3-4 washes. Even set dye can bleed a little.
- Skip the fabric softener for the first month. It can dull the colors.
- Store properly. Fold instead of hanging. Hanging can stretch the shoulders.
Common Mistakes to Avoid
Using too much water when rinsing. It dilutes the dye.
Removing rubber bands too early. The pattern isn’t set until after the dye has been processed.
Choosing the wrong fabric. Cotton blends under 50% won’t hold dye well.
Rushing the process. Good tie dye takes time.
Not wearing gloves. Your hands will be stained for days. Dyeing in direct sunlight. It dries the fabric too fast.
Tie Dye Hoodie Ideas for Every Season
- Spring: Pastel colors. Light pinks, soft blues, gentle greens.
- Summer: Bright and bold. Neon colors that pop against tanned skin.
- Fall: Earth tones. Oranges, browns, deep reds that match the leaves.
- Winter: Cool colors. Blues, purples, and silvers that complement the season.
- Year-round: Classic combinations that never go out of style.
Final Thoughts
Tie-dyeing a hoodie is more than a craft, it’s personal, expressive, and fun.
Whether after bold spirals, subtle ombres, or custom shapes, the magic lies in the process.
Start with the right hoodie, follow the steps carefully, and don’t be afraid to get messy.
This guide gives you everything you need: from setup to aftercare to create a hoodie that reflects your unique style. Don’t rush it. Enjoy every twist, tie, and splash of color.
Your perfect design is just a fold and a squeeze away.
Ready to create something you’ll actually want to wear? Roll up your sleeves, pick your colors, and let your creativity shine.
Your next favorite hoodie starts now.
Frequently Asked Questions
Can I tie dye a black hoodie?
Black hoodies won’t work with regular dye. You need bleach to remove color first, then add new colors on top.
Will my tie dye hoodie shrink in the wash?
Cotton hoodies can shrink 5-10% after the first wash. Buy one size larger if you’re worried about fit.
What happens if I leave the dye on too long?
Longer processing time creates more vibrant colors. You can safely leave dye on for 24-48 hours without damage.
Can I tie dye a hoodie without rubber bands?
Yes, you can use string, zip ties, or clamps. The key is creating tight sections that resist dye penetration.
How do I fix a tie dye project that turned out muddy?
Try bleach pen techniques to add white highlights. Or embrace the earthy look and add complementary colors.