

Kids love Dr. Seuss, and this Green Eggs and Ham craft is one of the easiest ways to bring that love to life.
I'll show you exactly what the craft is, what supplies you need, and step-by-step instructions to set it all up without stress.
I've done this with my own kids, and trust me, it's simpler than it sounds. You'll also find helpful tips, learning benefits, and fun add-ons to make it even better.
You don't need to be a crafty parent or teacher to pull this off.
What Is a Green Eggs and Ham Craft?
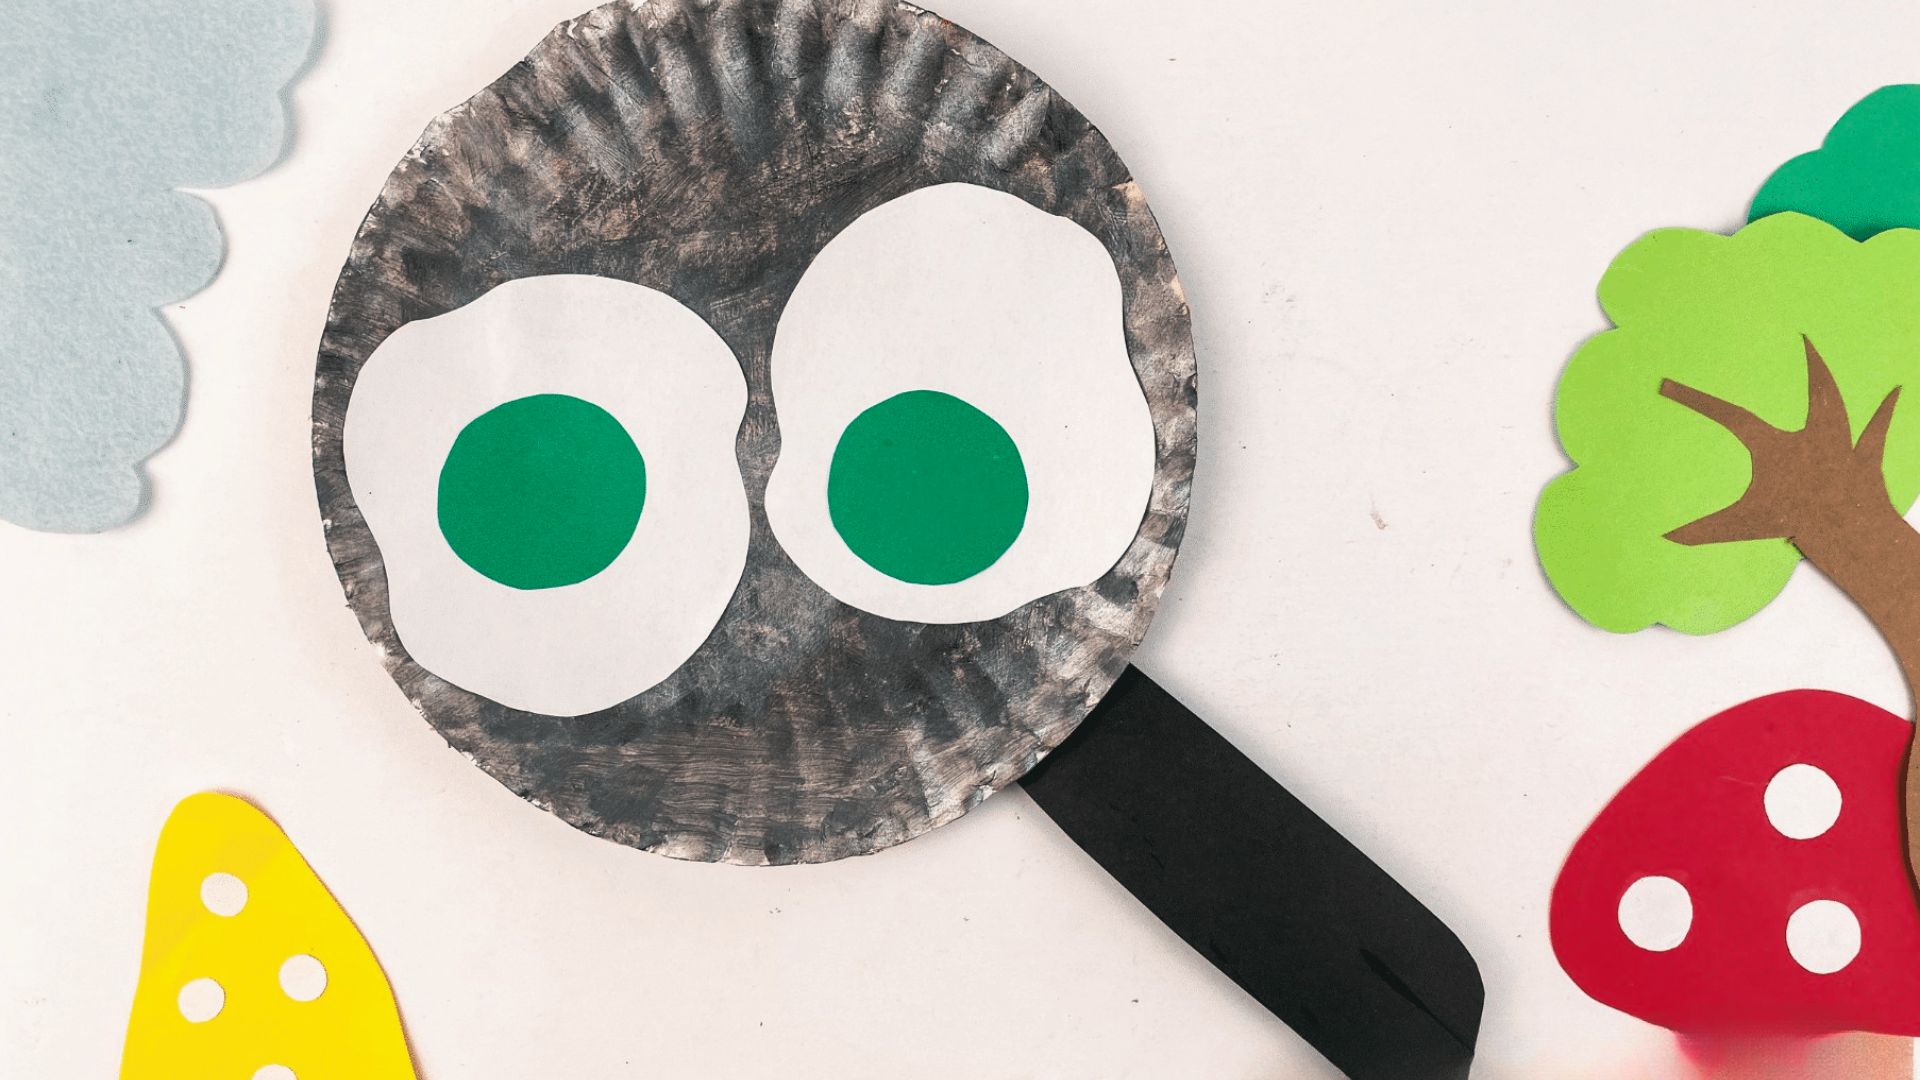
A Green Eggs and Ham craft is a simple art activity based on Dr. Seuss's classic book. Kids draw or trace egg shapes and use green paint to stamp the yolks. That's really it.
It's made for preschoolers, kindergarteners, and early learners, usually ages 3 to 6. But older kids enjoy it too, especially during Dr. Seuss-themed days.
This craft is popular because it's easy to set up, low on mess if you plan ahead, and tied to a book kids already love. Teachers use it in classrooms. Parents use it at home. It works both ways.
Why Kids Love This Simple Craft
This section explains what makes this craft so fun and easy for young kids to enjoy.
Kids are drawn to bright colors and hands-on activities. This craft checks both boxes.
Green paint. Egg shapes. Stamping. That's all it takes to get a child fully engaged.
Here's why it works so well:
- Bright colors grab attention fast
- Stamping is satisfying for little hands
- It connects to a story they already know
- It's short enough to hold their focus
Most kids finish this in 15 to 20 minutes. That's the sweet spot for young attention spans. They feel proud of what they made, and you don't have to fight to keep them at the table.
Supplies Needed for Green Eggs and Ham Craft
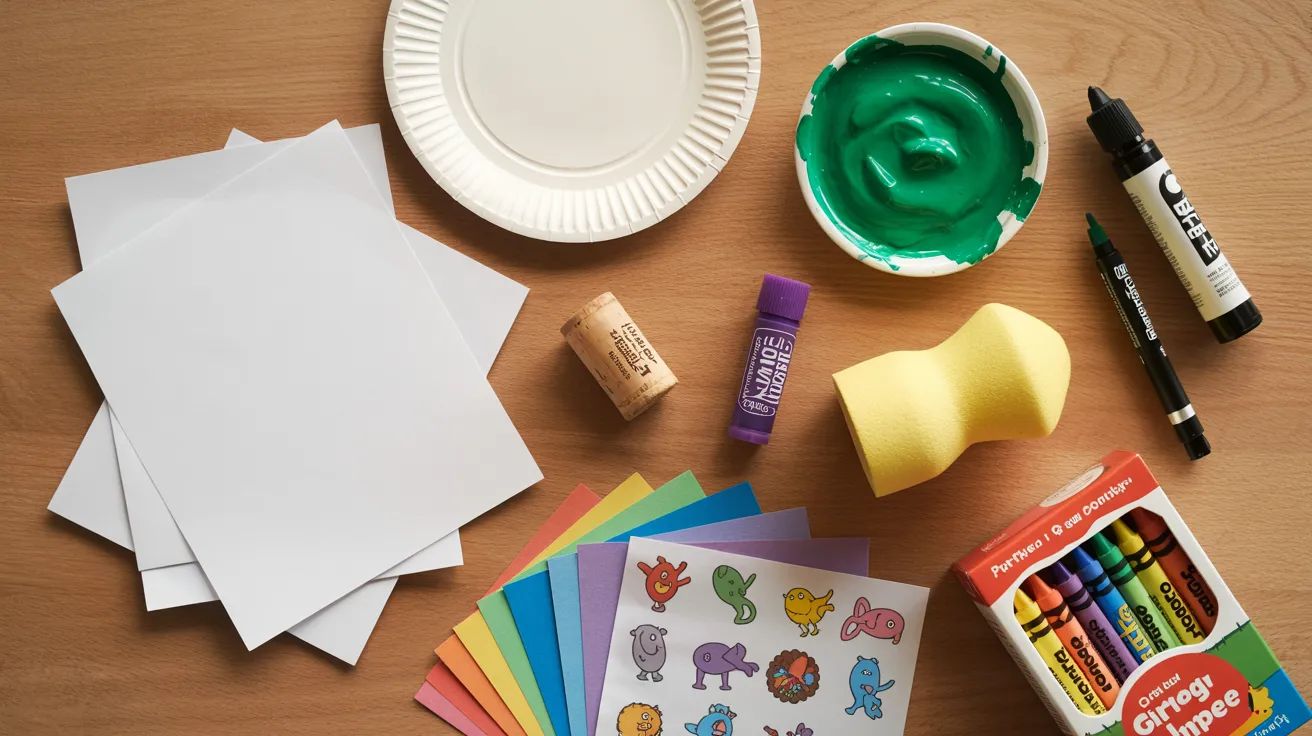
You likely have most of this at home already. For the basics, you'll need white paper or a paper plate, green paint (washable works best), a black marker, and glue if you plan to add cut-out pieces. That's your core list. Simple and affordable.
If you want to mix it up, you can also grab a wine cork, sponge, or do-a-dot markers for stamping, construction paper for cut-out eggs or ham shapes, and stickers, crayons, or markers for decorating.
These extras are not required. But they give kids more ways to get creative and make the craft feel a little different each time.
Step-by-Step Green Eggs and Ham Craft Instructions
Follow these four simple steps and you'll have a fun Dr. Seuss craft ready in no time.
Step 1: Draw the Egg Whites
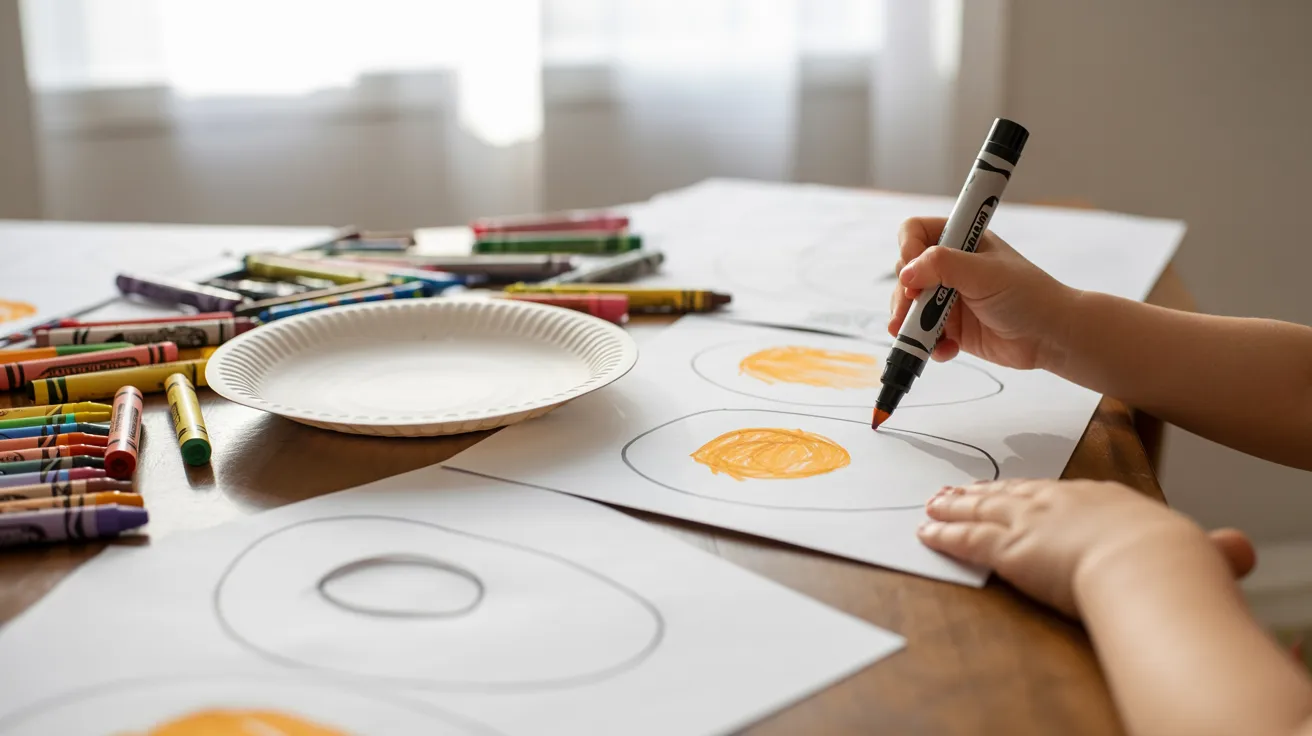
Use a black marker to draw egg shapes on white paper or a paper plate. You can draw two or three eggs, or as many as you like.
Tip: If your child is very young, draw the shapes for them first. Then let them take over from there.
Step 2: Stamp the Green Yolks
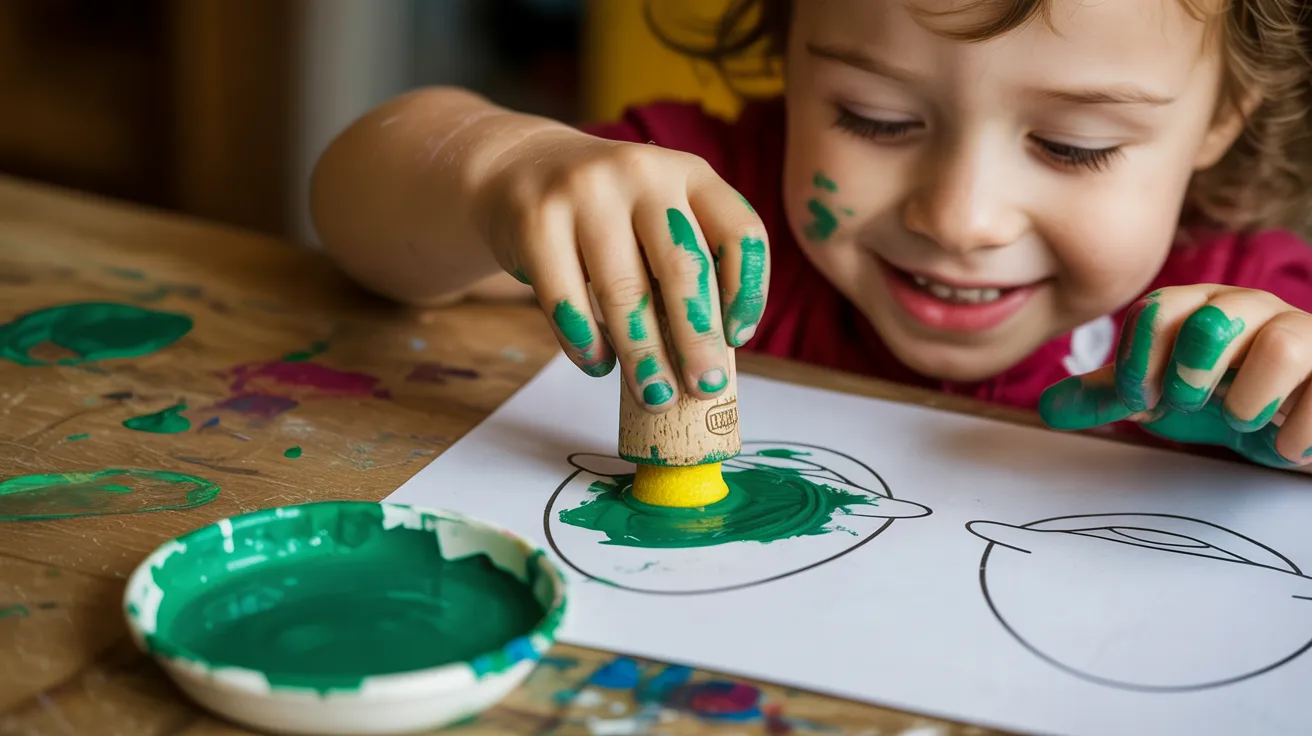
Dip a wine cork, sponge, or your finger into green paint. Then stamp it right in the center of each egg shape.
Kids love this part. The stamping motion is easy and fun, even for small hands.
Step 3: Let the Paint Dry
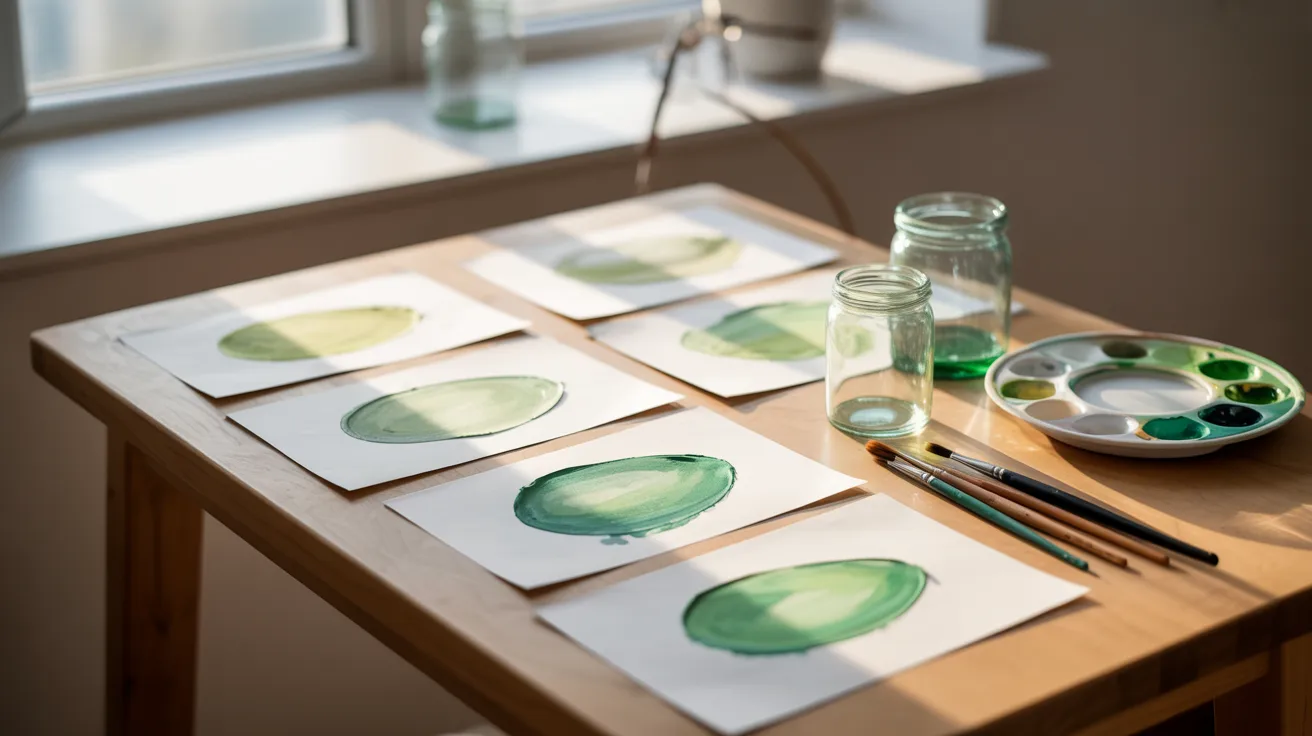
Set the paper aside and let the paint dry fully. This usually takes 10 to 15 minutes.
Don't rush this step. Wet paint smears easily, and that can frustrate kids who are excited to add the finishing touches.
Step 4: Add Final Decorations

Once dry, let kids add their own touch.
They can:
- Color around the eggs
- Write their name
- Add stickers or draw funny faces
- Use markers to add details
This is the free part. Let them go at it.
Quick Tips for Easy Setup and Cleanup
A few simple steps before and after the craft can save you a lot of time and stress.
- Lay everything out before you call the kids over. Having supplies ready means less waiting and less chaos.
- Pre-draw the egg outlines ahead of time if you're working with toddlers or very young kids.
- Always use washable, non-toxic paint so it comes off hands, clothes, and tables without much scrubbing.
- Skip regular craft paint since it can stain surfaces and fabric, and it's harder to clean up fast.
- Put down newspaper, a plastic tablecloth, or a trash bag before you start. It takes 30 seconds and saves a lot of cleanup later.
Learning Benefits of This Craft
This craft builds real skills in kids while they have fun with paint and paper.
Fine Motor Skills
Kids practice holding markers and using stamping tools. These small hand movements help build the muscle control they need for writing later on.
Hand-Eye Coordination
Placing stamps inside egg shapes takes focus and control. Doing this over and over helps kids get better at directing their hands to where their eyes are looking.
Creativity
Once the stamping is done, kids get to decorate however they want. That free choice builds confidence and helps them think in open, creative ways.
Early Counting Skills
Kids can count the eggs as they make them. It's a simple but effective way to practice numbers in a hands-on setting without it feeling like a lesson.
These are skills that support reading, writing, and learning readiness. And they're built through play, which is exactly how young kids learn best.
Fun Activities to Pair with This Craft
These simple activities make the craft even more meaningful and keep the fun going long after the paint dries.
Read Green Eggs and Ham Together
Read the book before or after the craft. Ask your child questions like, "Would you try green eggs?" or "What would you not eat?" It makes storytime feel interactive and connected to what they just made.
Try Simple Rhyming Games
Dr. Seuss is all about rhymes. After the craft, try making up silly rhymes together. Say a word and ask your child to find one that rhymes. It's a great early literacy activity.
Talk About Trying New Things
The book is really about being open to new experiences. Use the craft as a way to start that conversation. Ask your child, "Is there something new you'd like to try?" It's a small talk that can mean a lot.
Easy Ways to Modify This Craft
This craft is easy to adjust based on your child's age, skill level, or what you want them to learn that day.
Alphabet Learning Version
Write a letter inside each egg before the craft starts. As kids stamp, say the letter out loud. This turns a simple craft into an alphabet review. Great for preschool and kindergarten prep.
Counting Activity Version
Number each egg from 1 to 5 or 1 to 10. After the craft, count the eggs together. You can also ask, "How many green yolks do you see?" It makes counting feel natural and fun.
Mess-Free Alternative
Not up for paint today? Use green dot stickers instead. Kids peel and stick them inside the egg outlines. Same result, zero mess. This works great for travel, waiting rooms, or low-energy days.
Best Occasions for This Craft
This craft fits many moments throughout the year:
- Read Across America Day (March 2) is the most popular time. Schools everywhere do Dr. Seuss activities, and this one fits right in.
- Dr. Seuss's birthday (also March 2) is a great reason to celebrate with a themed craft at home.
- Classroom or homeschool lessons where you want to connect art with reading.
- Rainy day indoor activities when kids need something to do and you need something simple to set up.
Any of these work. The craft is flexible enough to fit the moment.
Conclusion
I hope this Green Eggs and Ham craft gives you a fun, easy activity to do with your little one. When I did this with my kids, they talked about it for days.
It's one of those simple things that sticks. You don't need a big budget or a lot of prep. Just paper, paint, and a few minutes together.
Try it out and let me know how it goes in the comments. Share this post with another parent or teacher who might love it too!
Frequently Asked Questions
What age is the Green Eggs and Ham craft best for?
This craft works well for kids ages 3 to 6. Younger toddlers may need a little help with the stamping, but most preschoolers can do it with minimal guidance.
Do I need to buy special supplies for this craft?
No, you don't. White paper, a black marker, and green paint are all you need. Most families already have these items at home.
How long does this craft take to complete?
Most kids finish in about 15 to 20 minutes. Add a little extra time for the paint to dry before decorating.
Can this craft be done in a classroom setting?
Yes, it works great in classrooms. Set up small groups, pre-draw the egg outlines, and use washable paint to keep things easy and clean.
What if I don't want to use paint with young kids?
Use green dot stickers or do-a-dot markers instead. They give the same look without the mess and work just as well for the activity.