

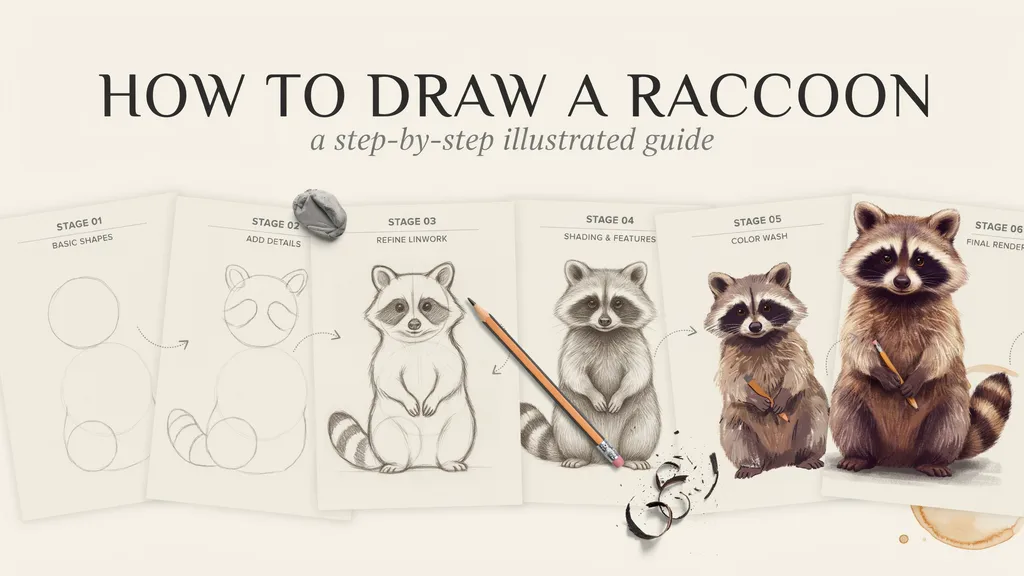
Learning how to draw a raccoon can be fun and simple, even if you are just starting your drawing journey.
Many beginners struggle with animal shapes and details, but this guide will help you create a cute raccoon drawing with easy steps.
In this article, you’ll learn the materials needed, how to draw a raccoon step by step, add facial features, create the fluffy tail, and improve your final artwork.
I’ll also share simple tips and common mistakes to avoid.
With experience creating beginner-friendly drawing guides, this tutorial focuses on making the process clear, enjoyable, and easy to follow.
What Is a Raccoon?
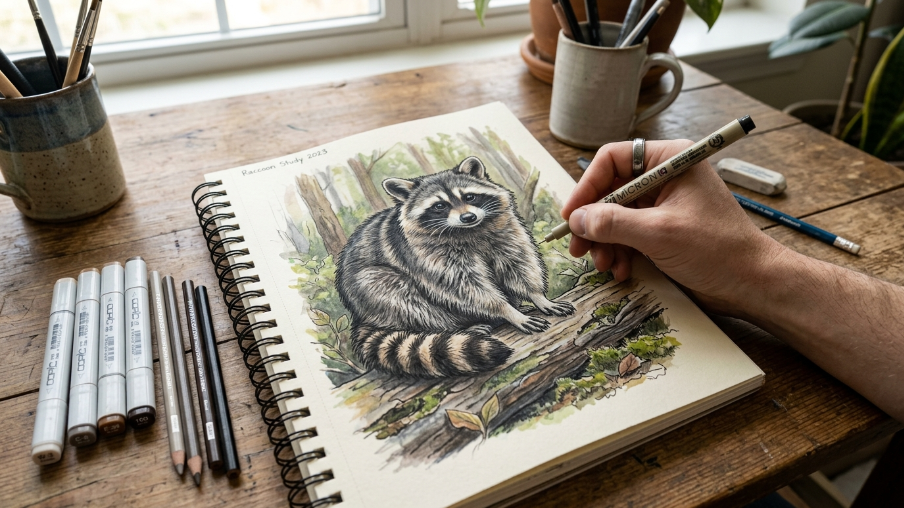
A raccoon is a small animal known for its cute face, pointed ears, fluffy tail, and unique black markings around its eyes.
These playful mammals are often found in forests, parks, and even urban areas. Raccoons are popular subjects for drawings because of their interesting features and fun appearance.
Their round face, striped tail, and soft fur make them enjoyable to sketch for beginners and artists. Learning about a raccoon’s basic shape helps you create a more accurate drawing.
If you want to make a simple cartoon raccoon or a detailed animal sketch, understanding its features is the first step toward creating a better artwork.
Materials Needed for an Easy Horse Sketch
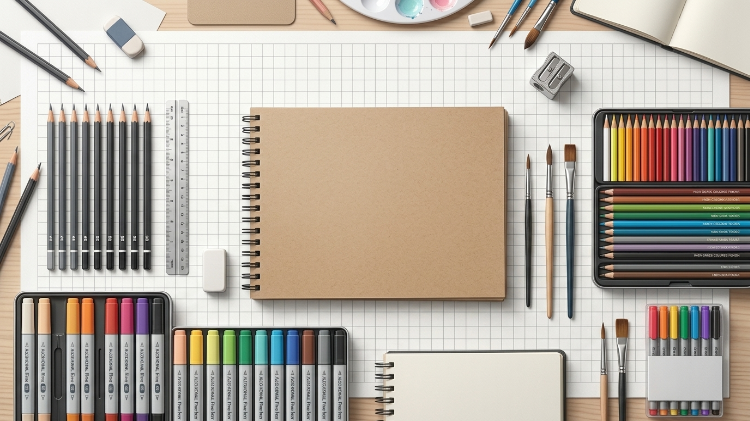
Before starting your horse sketch, gather a few simple drawing materials to make the process smoother.
- Pencil types for sketching
- Eraser and sharpener
- Drawing paper or sketchbook
- Optional tools for shading and detailing
How to Draw a Raccoon Step by Step Easy Guide
Follow these simple steps to create your own raccoon drawing, starting with basic shapes and slowly adding details.
Step 1: Draw the Raccoon’s Head Shape
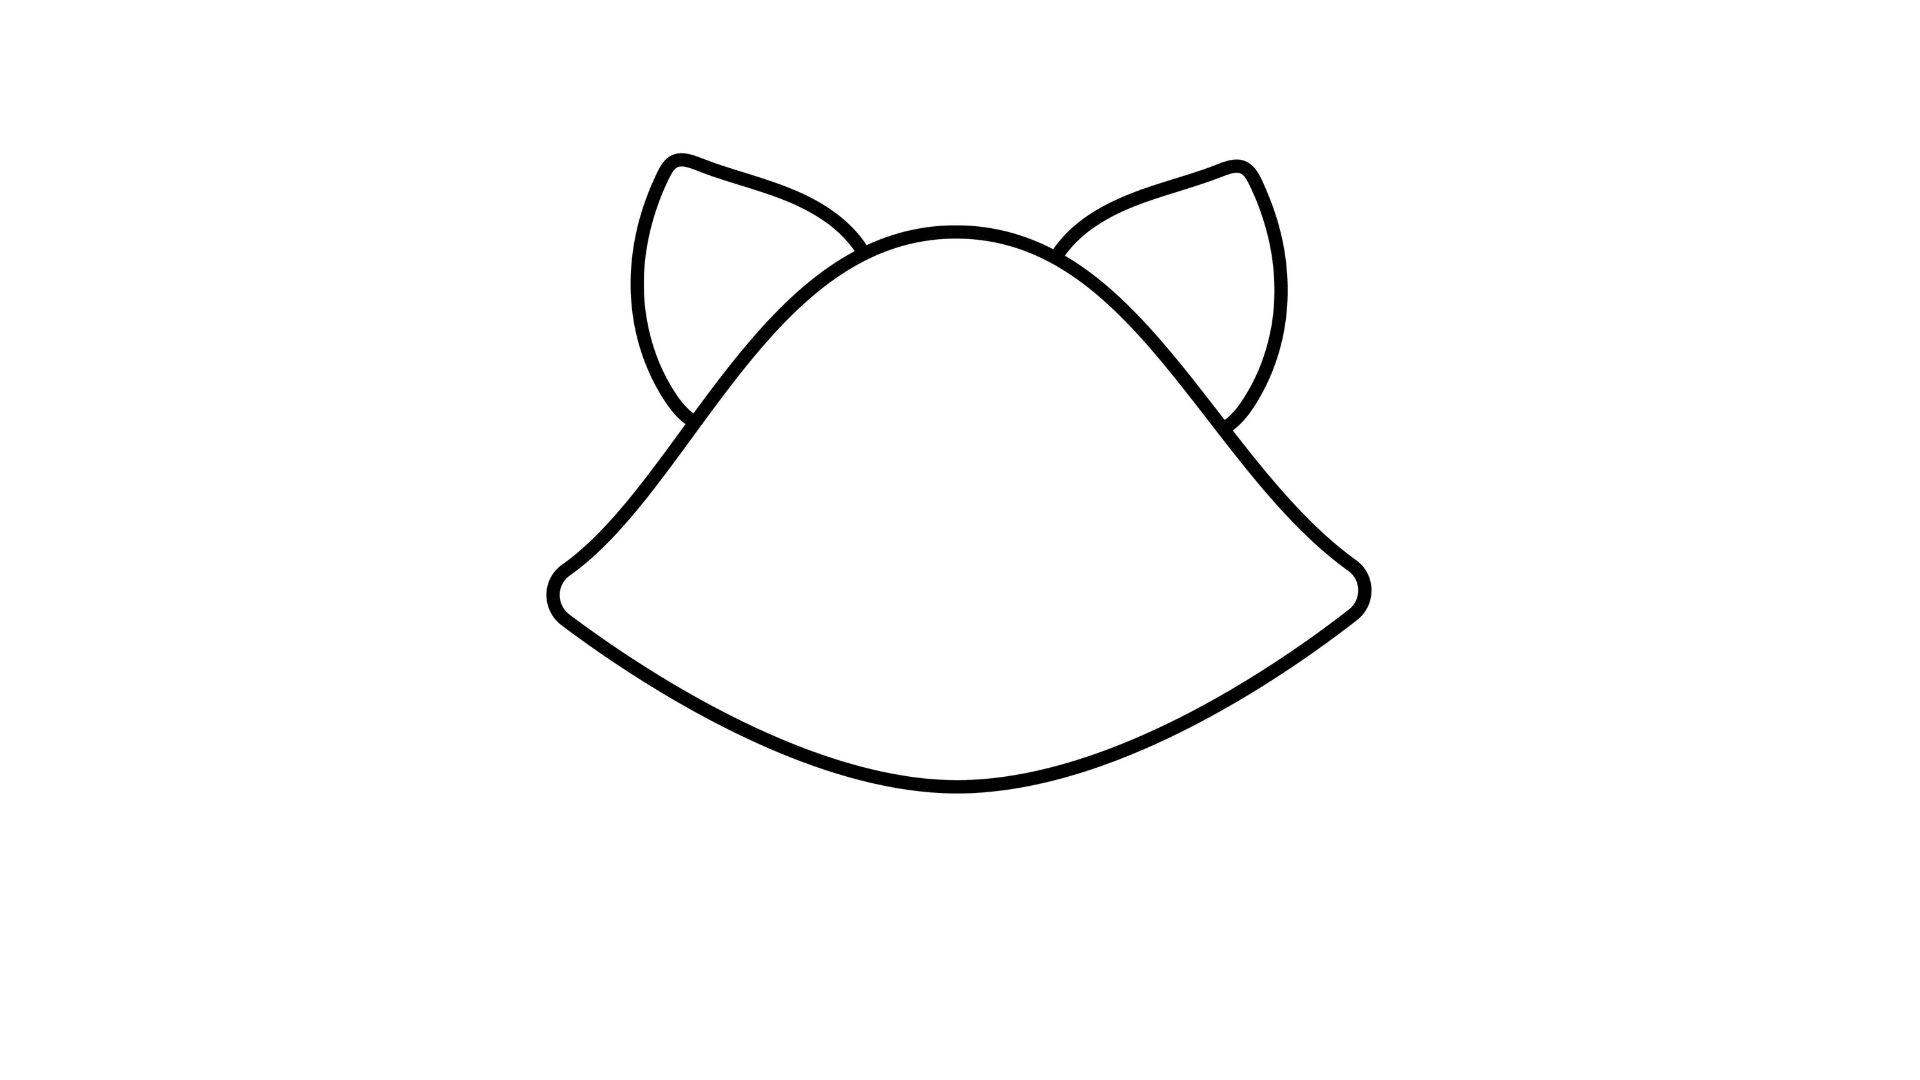
Start by drawing a simple round or oval shape for the raccoon’s head. Add light guidelines to help place the eyes, nose, and mouth correctly.
Keep the shape balanced so the face looks natural. These basic lines will create a strong foundation before adding the raccoon’s ears, mask, and other small details.
Step 2: Sketch the Raccoon’s Ears and Face Mask
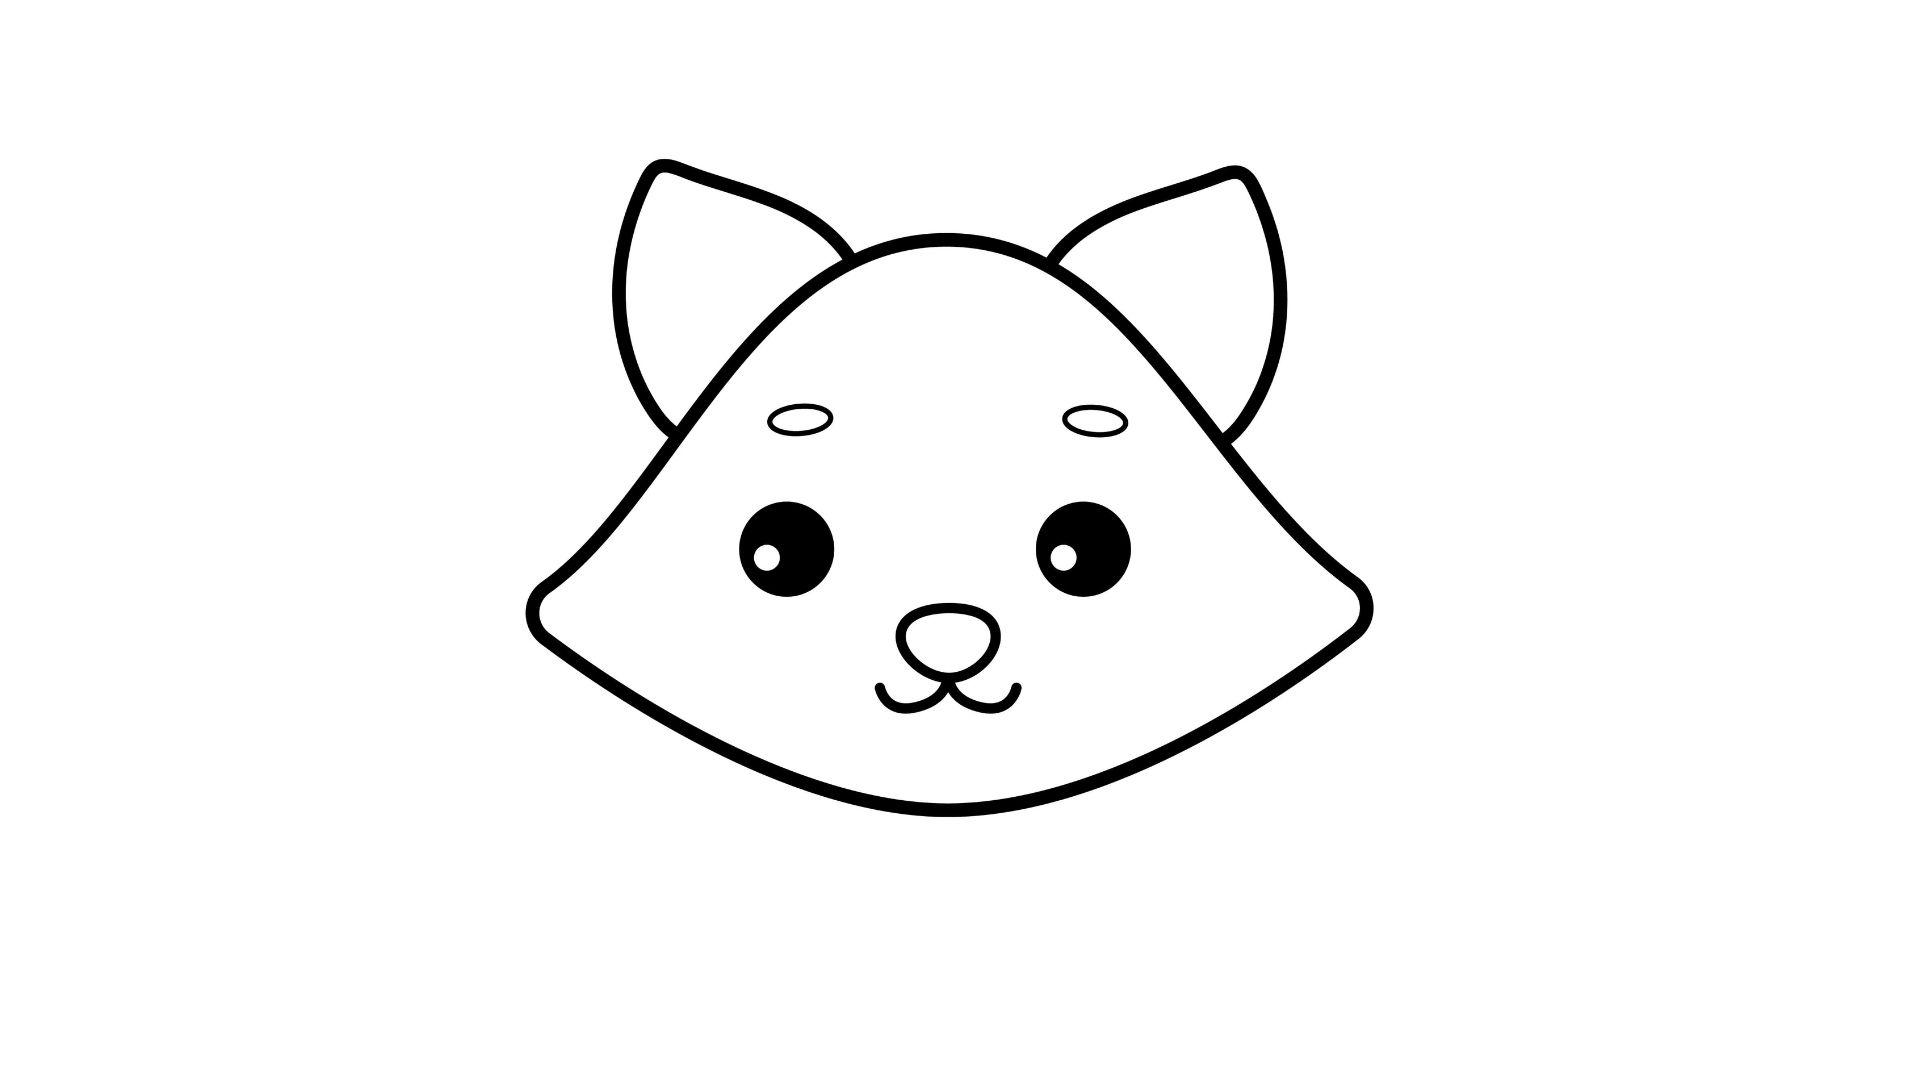
Draw two small pointed ears on the top of the head and add the raccoon’s famous dark face mask around the eyes. Keep both sides similar to create a balanced look.
The mask is an important feature, so take your time while shaping it. Simple curves can help create a cute and recognizable raccoon face.
Step 3: Draw the Raccoon’s Face Details
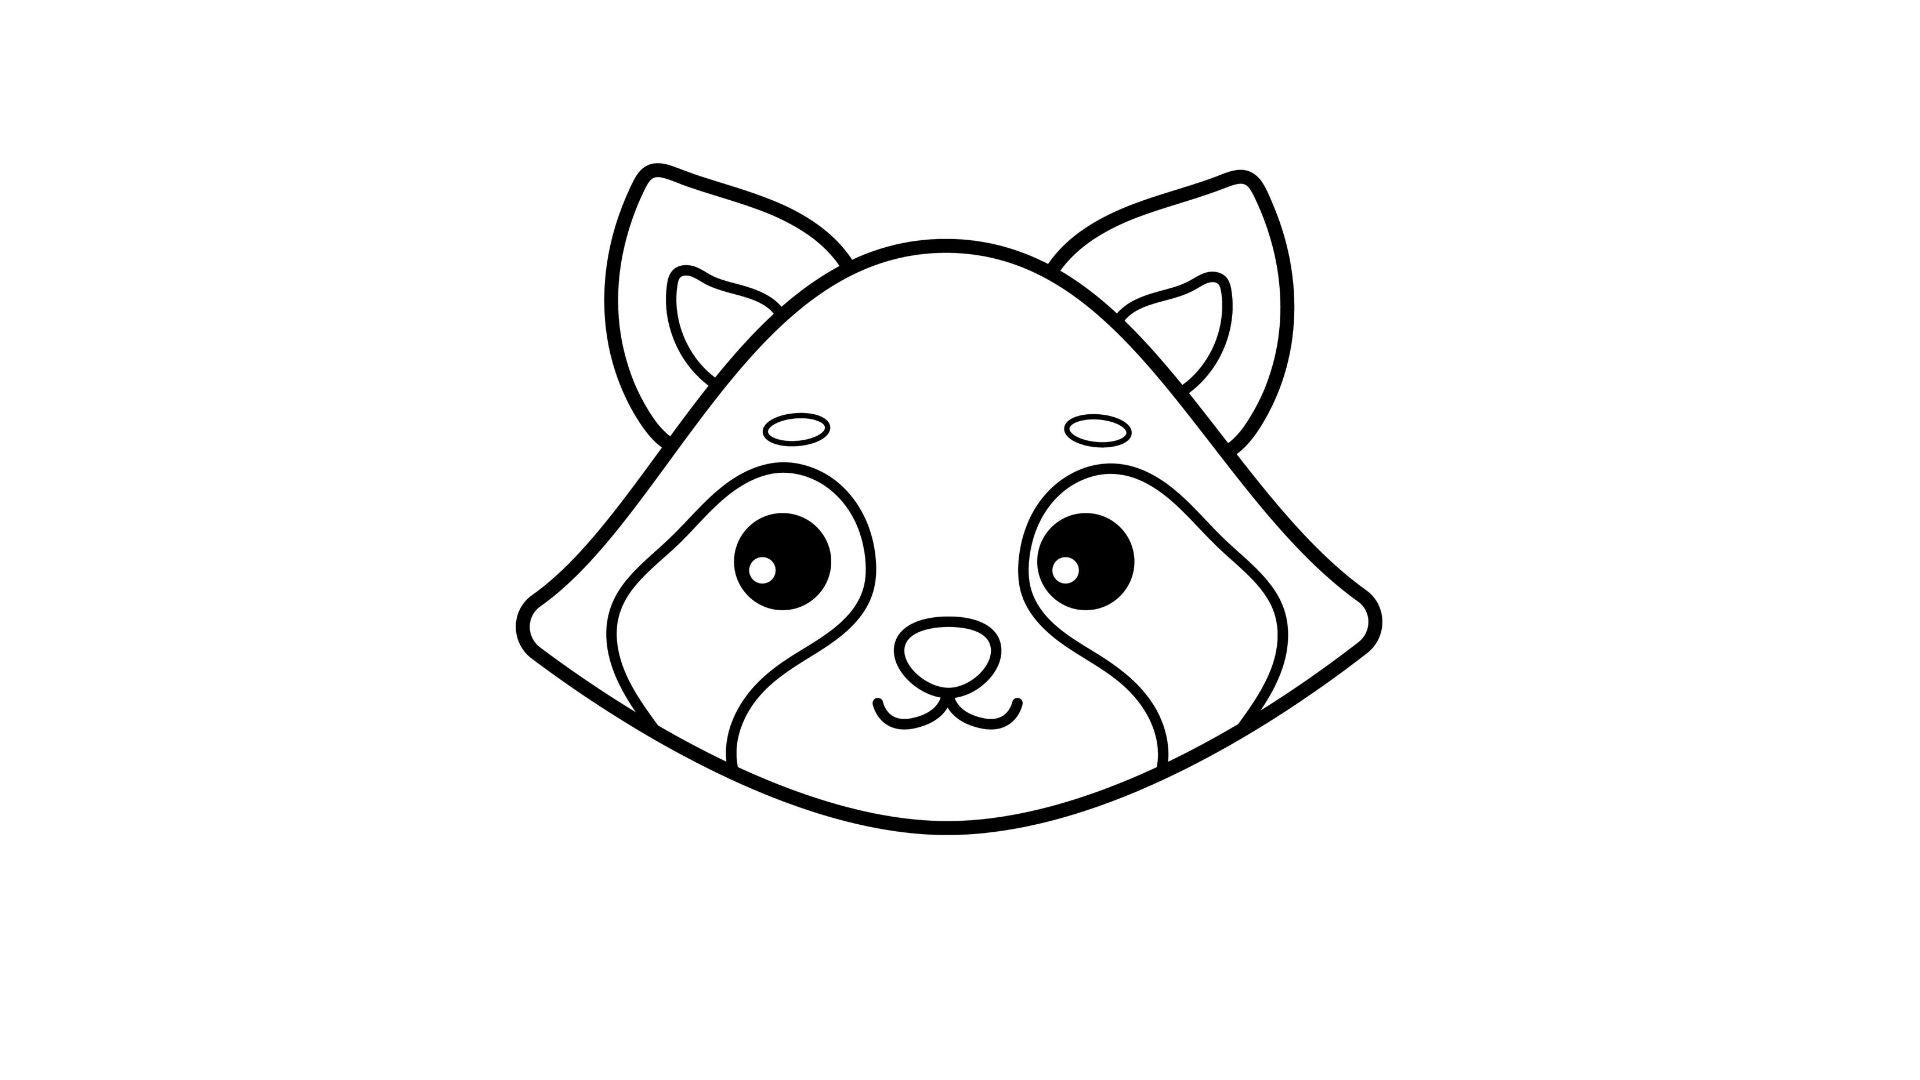
Add the raccoon’s eyes, small nose, and mouth to complete the facial features. Create a friendly and cute expression by adjusting the shapes slightly.
Add a few light fur lines around the face to make it look softer. Keep the details simple at first, then refine the lines to improve the overall appearance.
Step 4: Draw the Raccoon’s Body and Tail
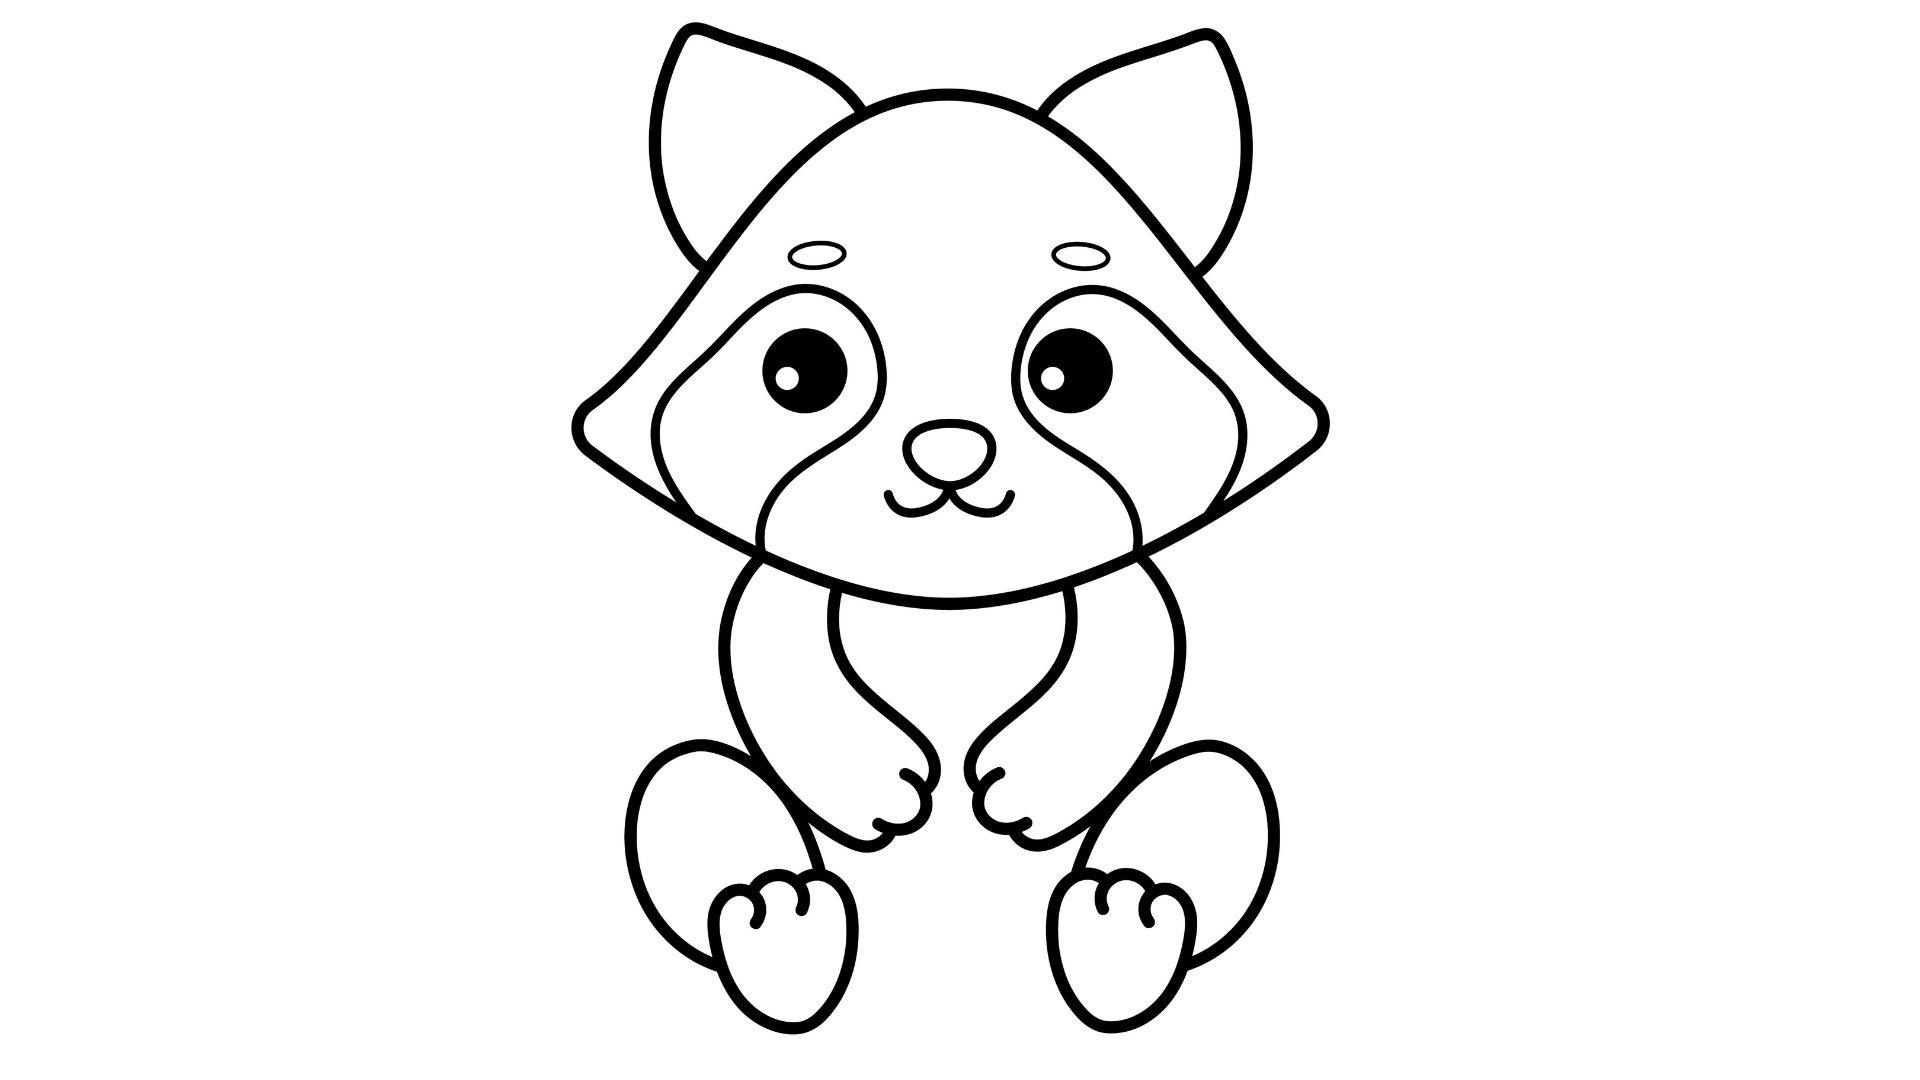
Sketch the raccoon’s body using simple shapes like circles and curved lines. Add the large fluffy tail behind the body and create a natural pose.
The tail is one of the most recognizable parts of a raccoon, so focus on its size and shape. Keep the body balanced with the head for a realistic look.
Step 5: Add Raccoon Fur and Body Details
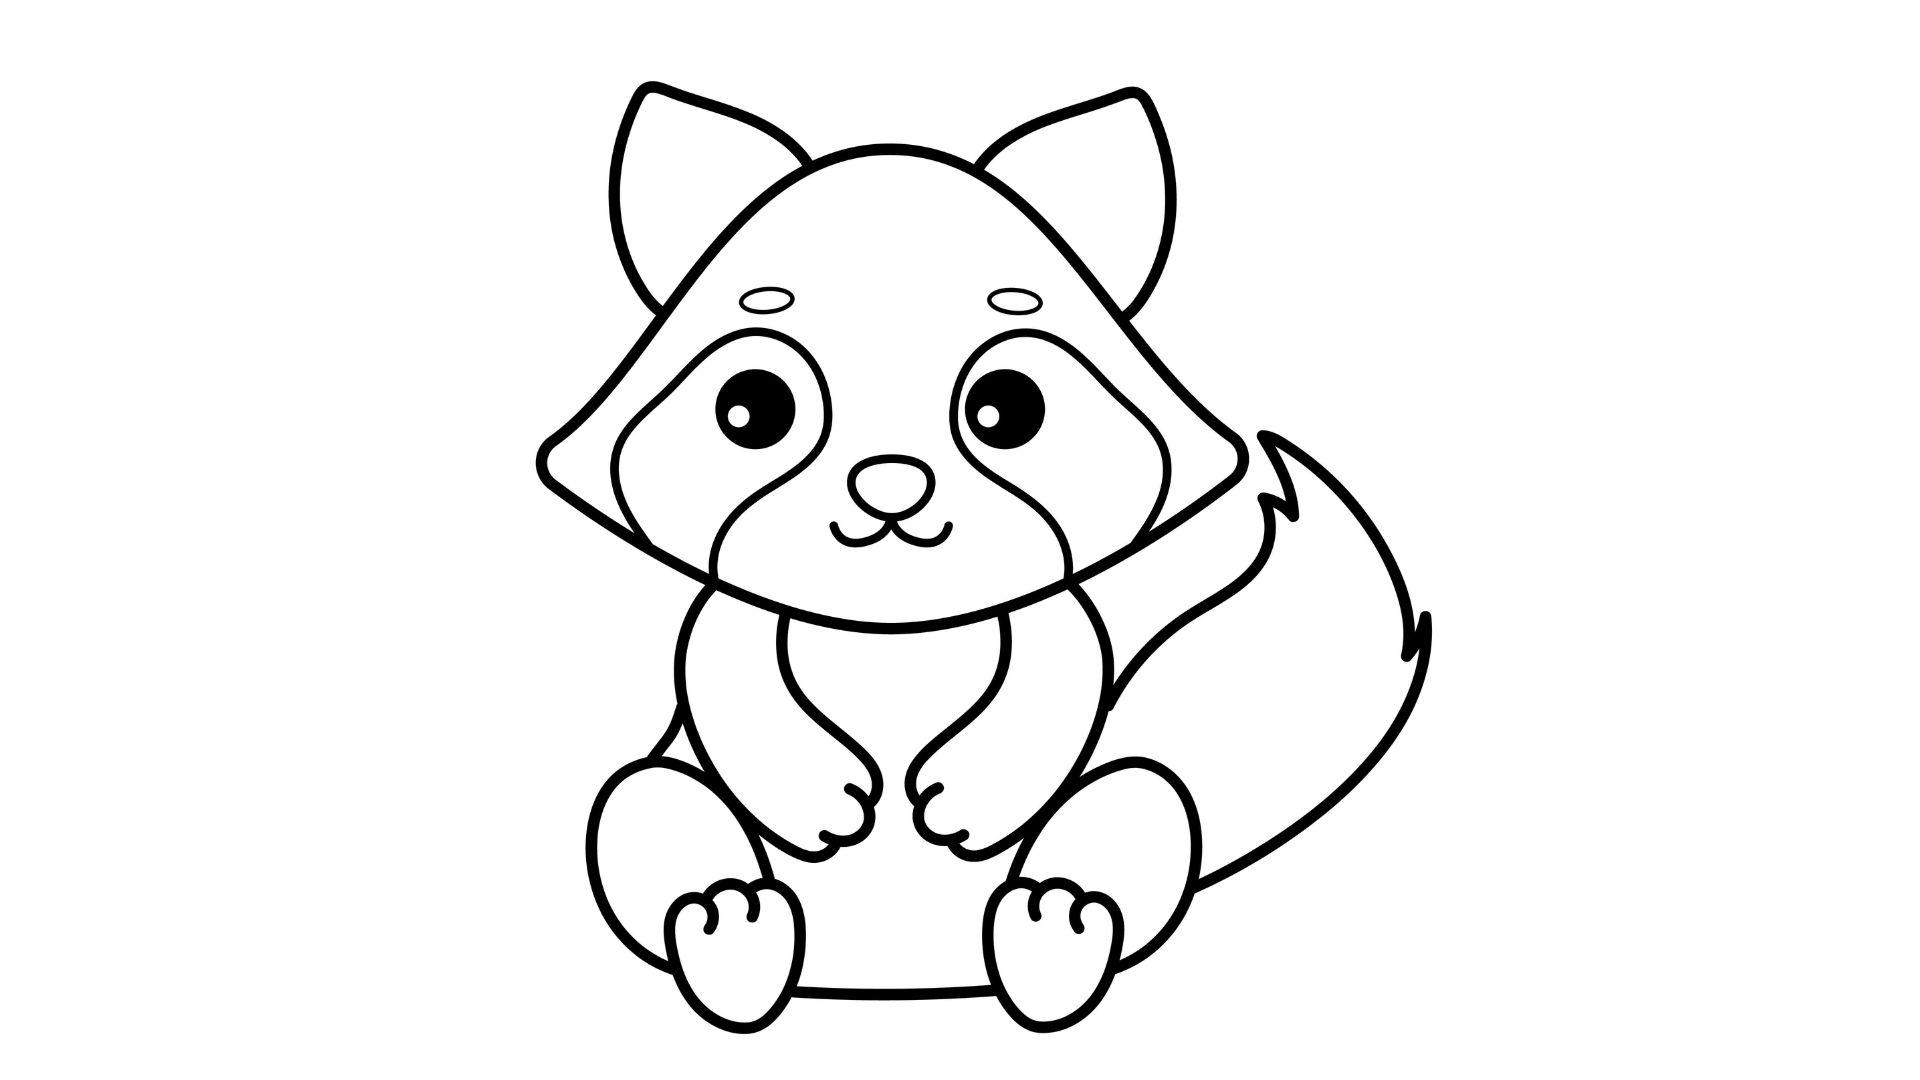
Now add details like the striped tail pattern, fur texture, and small body markings. Use short lines to create a soft fur effect without making the drawing too crowded.
These details will make your raccoon look more complete. Add only a few important textures to keep the drawing clean and easy to understand.
Step 6: Draw the Details and Add Finishing Touches
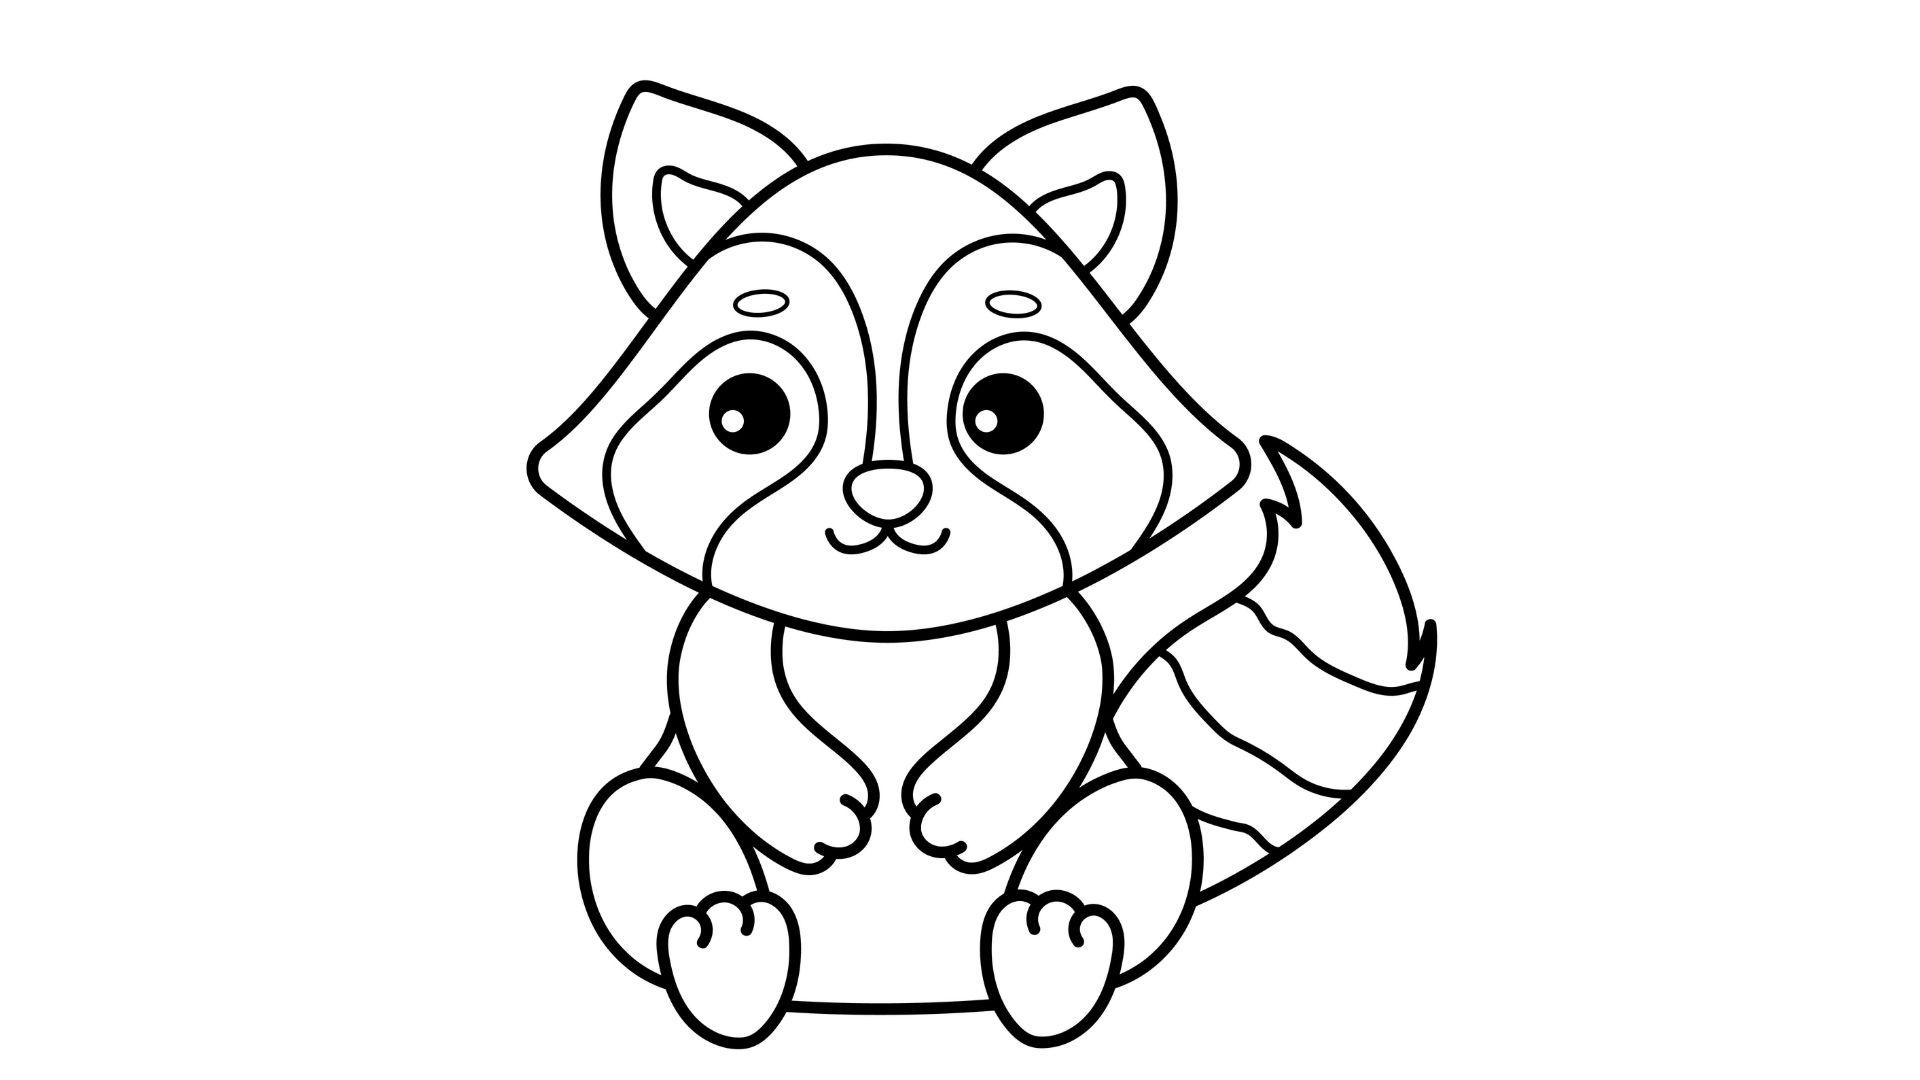
Draw the raccoon’s details using simple curved shapes and add small paws at the bottom. Keep everything connected naturally with the drawing.
Add small details like claws or fur lines if you want more depth. Focus on keeping the pose comfortable and balanced so your raccoon looks natural and playful.
Easy Tips to Improve Your Raccoon Drawing
Small changes in your approach can quickly improve your raccoon sketch and make it look cleaner and more balanced. These simple habits will help you draw with more confidence and control.
- Practice basic shapes first
- Use reference images for guidance
- Start with simple poses before details
- Focus on correct proportions of head and body
- Keep practicing regularly to build confidence
Common Mistakes When Drawing a Raccoon
Avoiding these common errors will help you create a more natural and attractive raccoon drawing.
- Making the head too big or too small compared to the body
- Incorrect placement of ears, eyes, or tail
- Forgetting the dark mask around the eyes
- Adding too many fur details too early
Watch a Video Tutorial: How to Draw a Raccoon Step by Step
A video tutorial can make learning easier because you can see each step clearly in real time.
You can pause, rewind, and draw along with the artist at your own speed. This helps you understand shapes, proportions, and details better.
You can follow any YouTube tutorial here:
Conclusion
Drawing a raccoon becomes much easier when you break it into simple steps and take your time with each detail.
I hope this how to draw a raccoon guide helped you understand the shapes, features, and easy techniques needed to create your own sketch.
I personally enjoy turning basic outlines into cute animal drawings, and you can feel that same satisfaction with practice.
Now it’s your turn, pick up your pencil, try it out, and see your progress. Share your raccoon drawing, leave a comment, or try more drawing guides.
Frequently Asked Questions
How can beginners learn how to draw a raccoon?
Beginners should start with simple shapes like circles and ovals. Step-by-step practice makes the process easy and fun.
What is the easiest way to draw a raccoon?
The easiest way is to start with the head and basic body outline. Then slowly add ears, mask, tail, and small details.
Can kids follow this raccoon drawing guide?
Yes, the steps are simple and designed for beginners and kids. They can easily follow along with basic practice.
Why is the raccoon’s face mask important in drawing?
The dark mask is a key feature that makes raccoons recognizable. Adding it correctly gives the drawing a realistic look.
How can I improve my raccoon drawing skills?
Practice regularly and use reference images for guidance. Start simple, then slowly add more details as you improve.
