


Drawing a broom might seem tricky at first. But it is actually one of the most fun things you can do with a pencil and paper.
In this blog, you will learn how to draw a broom step by step. From the basic shape to bristles, handle, color, and shading, it is all here.
I have guided many beginners through simple drawing projects like this one. This method works even if you have never drawn before.
You will also find creative ideas, coloring tips, and answers to common questions. By the end, you will have everything you need to draw a broom with confidence. Let us get started.
Understanding the Basic Parts of a Broom
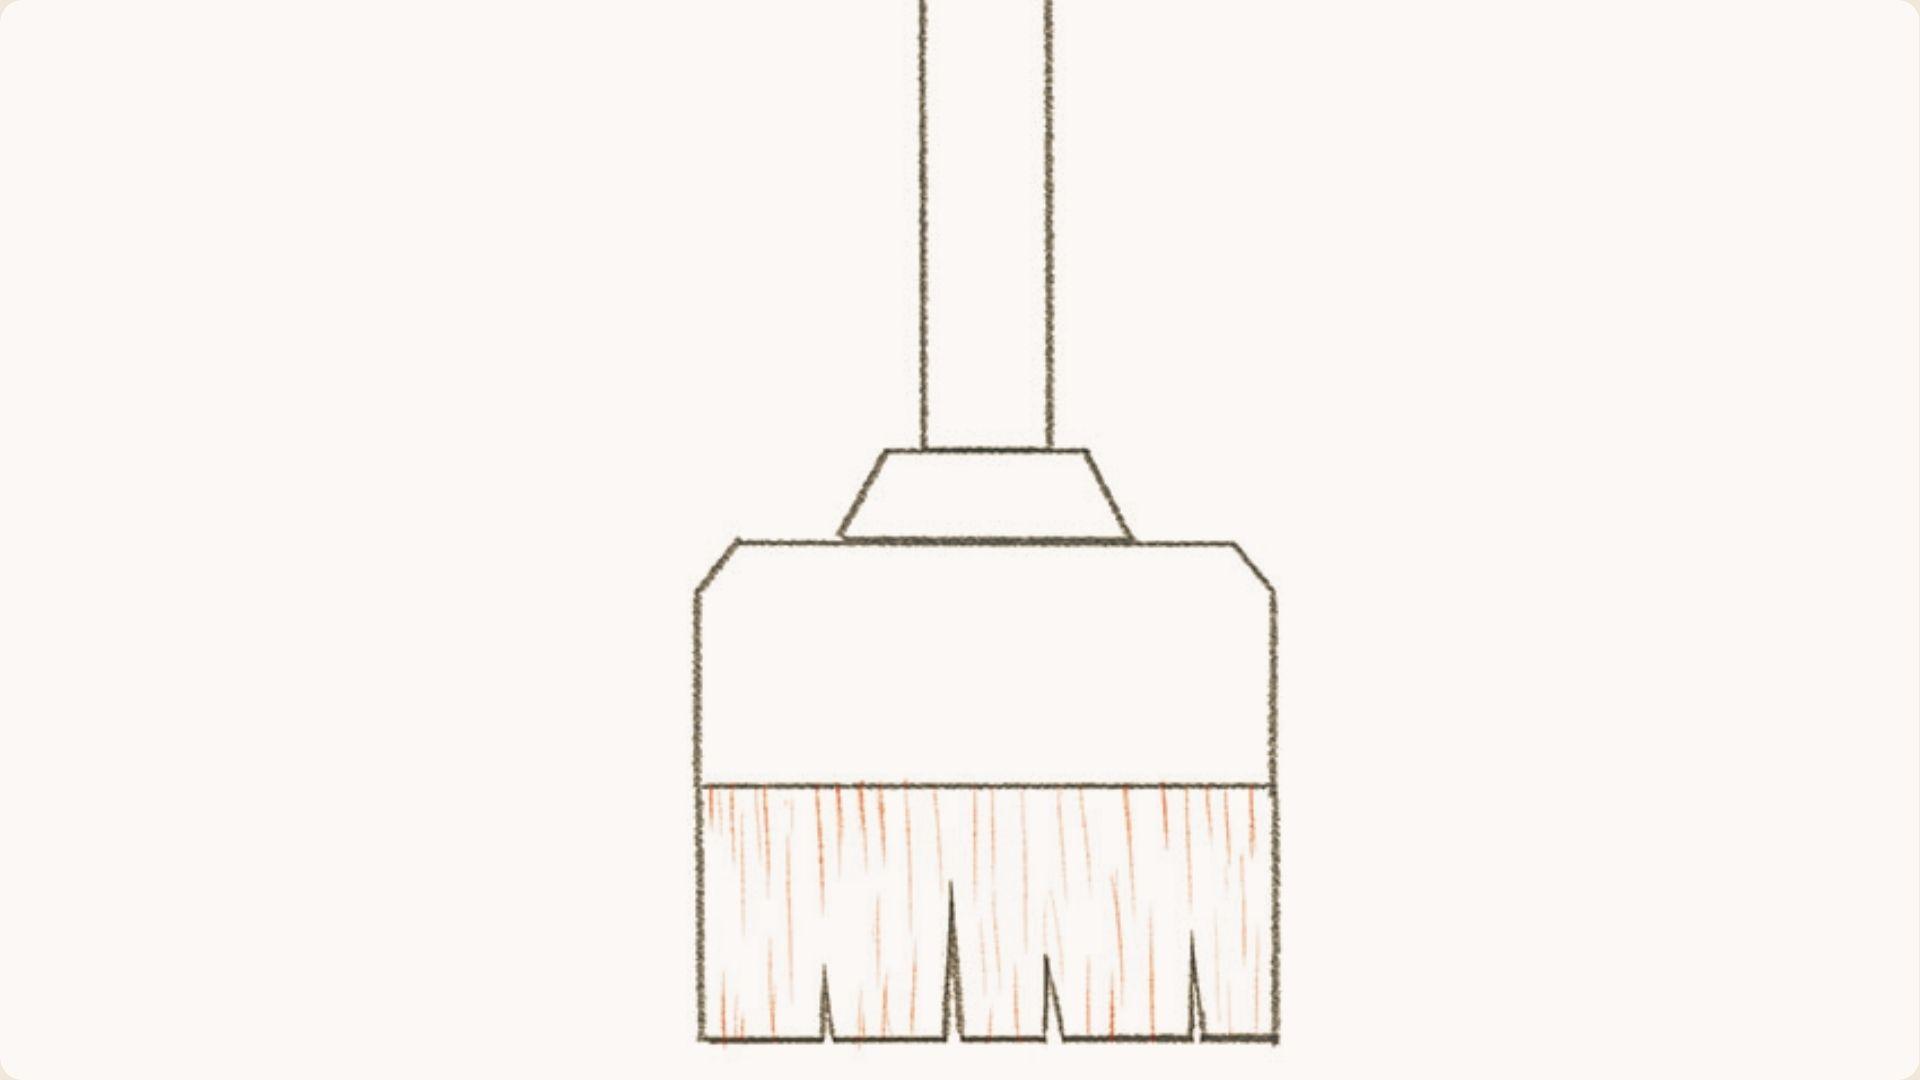
Knowing the parts of a broom before drawing makes the whole process much easier and more accurate.
A broom has three main parts. The broom head is the wide, flat part at the bottom. It is usually triangular or rectangular.
The bristles are the thin strands below the head. They can be straight or slightly curved. Getting the bristles right gives your drawing a realistic feel.
The handle is the long, thin stick that connects to the head. It is usually straight and narrow. Once you know these three parts, drawing becomes much easier and more purposeful.
Materials Needed for a Broom Drawing

Having the right supplies makes your drawing cleaner and more enjoyable from start to finish.
Important Drawing Supplies
You do not need expensive tools to start. A pencil, eraser, and plain drawing paper are all you need as a beginner.
Optional Tools for Cleaner Lines
A black pen or fine liner makes your lines sharp after sketching. A ruler helps keep the handle straight and clean.
Coloring Materials and Art Supplies
Colored pencils, markers, or watercolors all work well. Pick what feels comfortable and fits your drawing style.
4 Simple Steps to Draw a Broom
Follow these four steps to draw a clean and realistic broom from scratch, even as a complete beginner.
Step 1: Draw the Basic Shape of the Broom Head
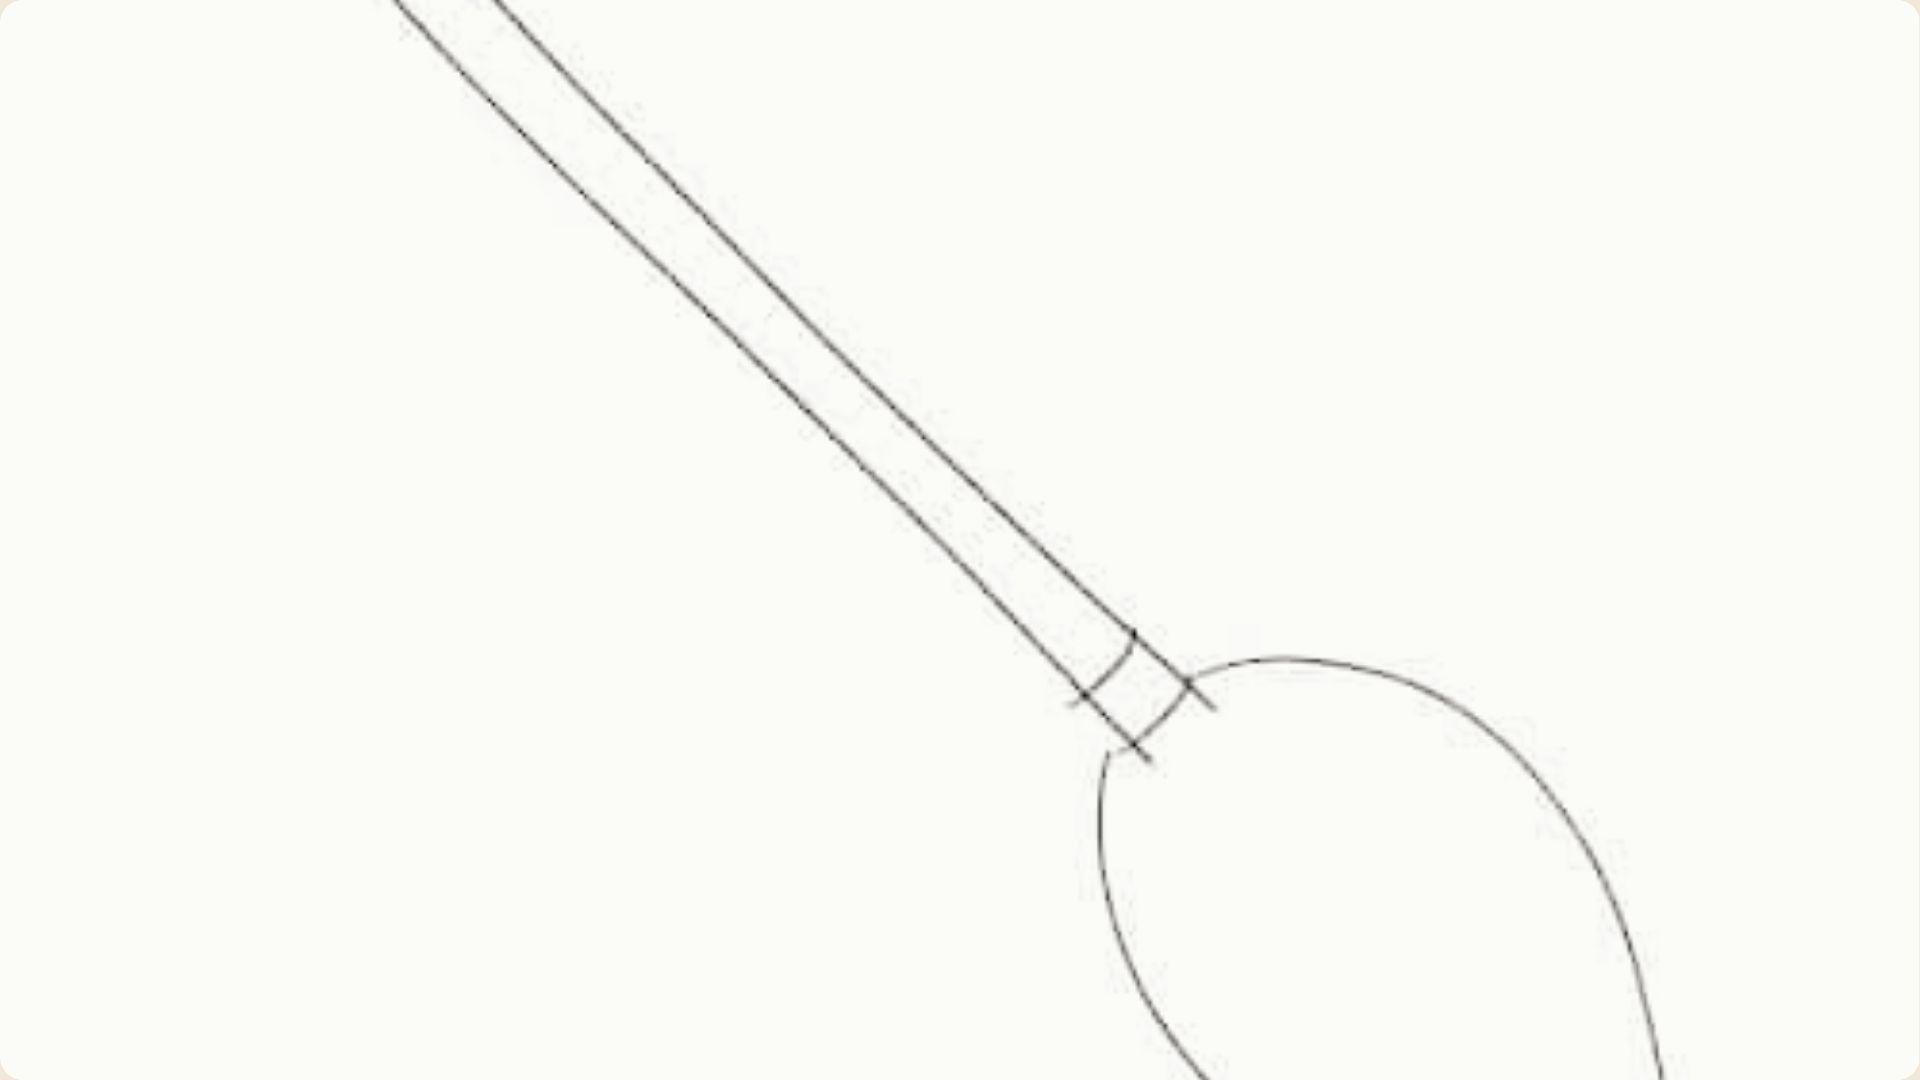
Start with a wide trapezoid shape at the center of your paper. Keep the top edge narrower than the bottom and use light pencil strokes.
Step 2: Add the Bristles and Binding Details

Draw thin vertical lines below the trapezoid for bristles. Add a small horizontal rectangle at the top of the bristles to show the binding.
Step 3: Sketch the Handle and Complete the Outline
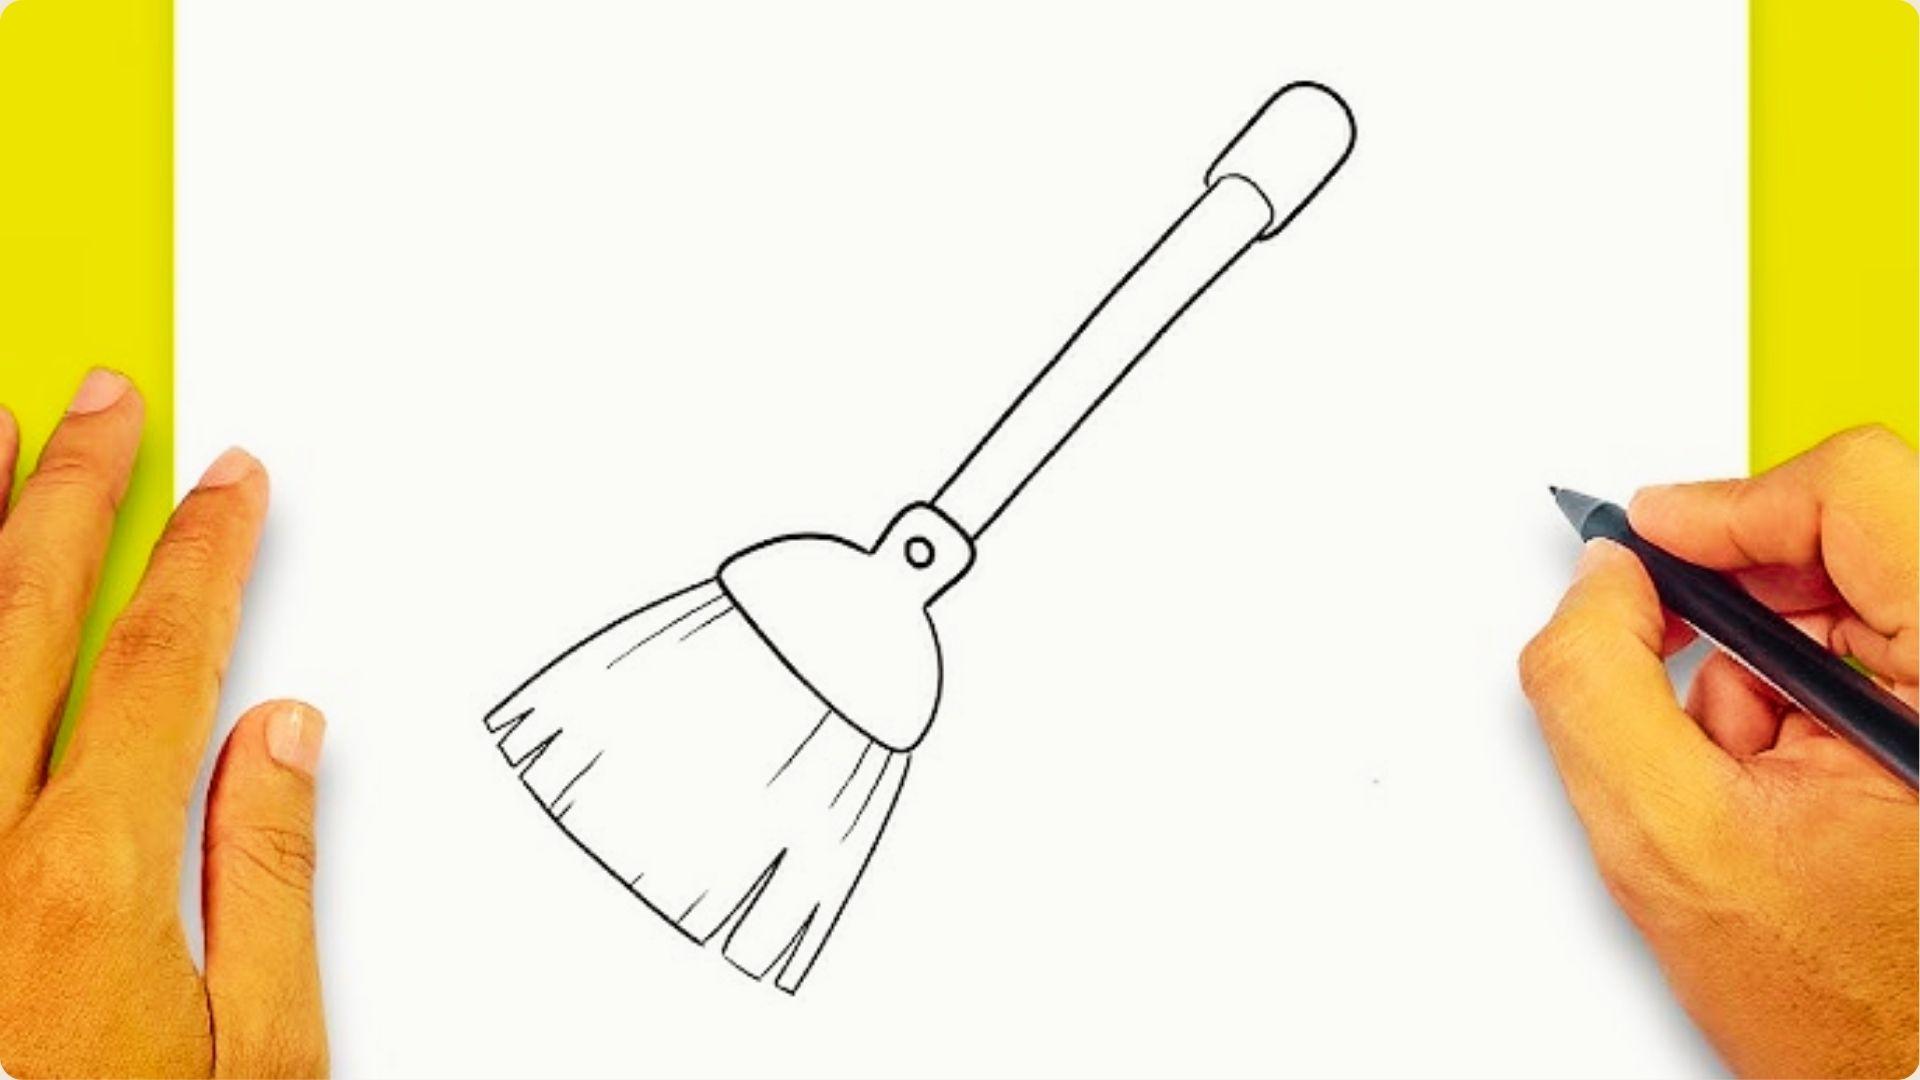
Draw a long straight line upward from the broom head for the handle. Once done, go over all lines with a pen or press harder to finalize.
Step 4: Add Texture, Final Details, and Color

Add diagonal lines on the handle for wood grain and extra lines between bristles for texture. Erase rough sketch lines and your broom is ready to color.
How to Color a Broom Drawing

Color brings your broom drawing to life and makes it look finished and polished.
Natural Wood and Straw Color Combinations
Use brown for the handle and light tan or golden yellow for the bristles. Add a darker brown at the binding to separate each section clearly.
Halloween-Themed Colors for Witch Brooms
Go with deep brown or black for the handle and dark brown for bristles. Add orange or purple details to give it a spooky Halloween feel.
Adding Shadows and Highlights for Depth
Shade the side of the handle away from your light source with a darker tone. Leave a thin bright strip on the opposite side to create depth.
Creative Broom Drawing Ideas to Try
Once you know the basics, you can take your broom drawing in many creative directions.
Realistic Household Broom Drawing

Draw a broom leaning against a wall with a floor shadow below it. Use realistic colors and wood grain on the handle for a still-life feel.
Cute Broom Drawing for Kids

Add a smiley face, eyes, and a small mouth to the broom head. Use bright colors like yellow and orange to keep it fun and cheerful.
Cartoon Broom Character Drawing

Give the broom arms, legs, gloves, and boots for a playful look. This style works great for comic strips and fun illustration projects.
Halloween Scene With a Witch Broom

Draw a broom flying across a full moon with a witch on top. Add bats, stars, and clouds for a complete Halloween scene.
Magical Flying Broom Illustration

Draw the broom at an angle mid-flight with motion lines behind it. Add sparkles or light trails for a fun and fantasy-influenced look.
Tips to Improve Your Broom Drawing Skills
Small habits and smart practice can make a big difference in how fast you improve.
- Practice drawing different broom styles like push brooms, witch brooms, and straw brooms to build confidence.
- Use real broom photos as reference to get accurate bristle and handle details.
- Focus on bristle texture by drawing thin, slightly curved lines with varied spacing.
- Try hatching and blending techniques to add depth and dimension to your drawing.
- Test colored pencils, markers, and watercolors to find the coloring method that suits you best.
Conclusion
I still remember my first broom drawing. It was far from perfect, but that is exactly how every artist starts.
You now have the steps, tips, and ideas to draw a broom with real confidence. The only thing left is to pick up your pencil and try it yourself.
If this guide helped you, drop a comment below and share your drawing. I would love to see it. Share this post with a friend who loves art and check out more beginner drawing guides on the blog.
Frequently Asked Questions
How do I make a broom drawing easy for beginners?
Break it into simple shapes. Start with the broom head, add bristles, then draw the handle. Take it one step at a time.
What is the easiest way to draw broom bristles?
Draw thin vertical lines close together and let them curve slightly at the bottom. Vary the length to make them look natural.
How can I create a realistic witch broom drawing?
Use dark brown or black tones and make the bristles longer and uneven. Add small knots on the handle for a rough, old wood look.
What colors work best for a broom drawing?
Use tan and brown for a natural broom. Go with dark brown and black for a witch broom. Bright colors work well for cartoon styles.
Can kids learn broom drawing with this step-by-step method?
Yes. The steps are simple enough for children aged six and above. With a pencil and paper, kids can follow along easily on their own.
