


Looking to add sparkle and surprise to your next party or prank? I’ll show you exactly how to make a glitter bomb using simple materials you probably have at home.
You’ll learn five different methods, from quick paper straw poppers to spring-loaded cards that burst open with color.
I’ve tested these myself and know which ones work best for different occasions. This guide covers everything from basic supplies to step-by-step instructions.
You’ll be creating fun, colorful surprises in no time. I’ve been making these for years, and I promise they’re easier than they look.
Why Glitter Bombs Are Fun and Popular?

Glitter bombs started as simple party poppers but grew into creative surprise tools. People now use them for birthday reveals, celebration moments, and friendly pranks.
You can find several types today. Poppers use pull strings to release glitter. Balloons pop for dramatic effect. Cards spring open when someone lifts the flap. Mini bombs hide inside small containers.
The appeal is simple. When glitter flies through the air, people react with genuine surprise. The visual burst creates instant excitement.
Photos and videos capture these moments perfectly, which is why they’re popular at parties and events.
Materials Needed to Make a Glitter Bomb
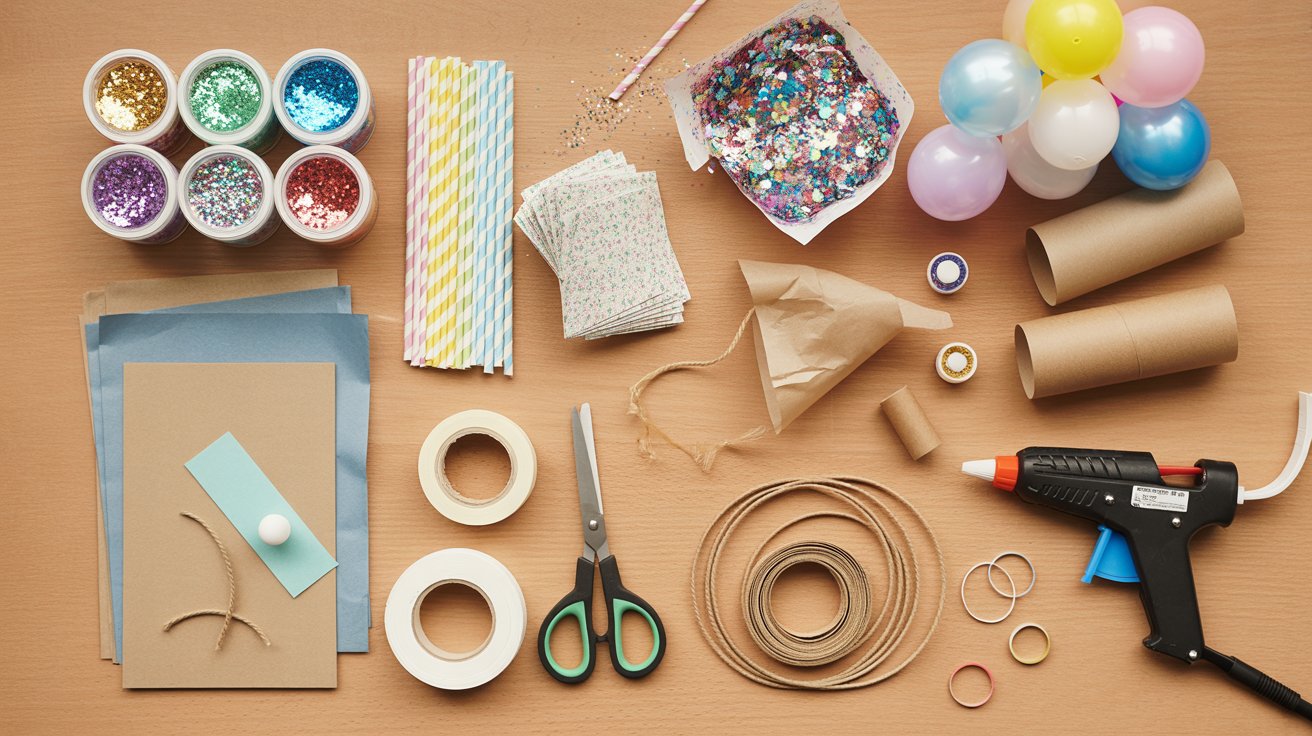
You need just a few basic items. Glitter in fine, medium, or confetti size works best. Grab scissors, tape or hot glue, scrap paper, and string or elastic, depending on your method.
Some extras make it easier. A hot glue gun creates stronger seals. Use a funnel to avoid spills. Keep cardstock, tissue paper, and bases like paper straws, balloons, or cardboard tubes on hand for different styles.
Different Ways to Make a Glitter Bomb
Each method offers a different level of difficulty and visual impact, so pick one that matches your skill level and occasion.
Glitter Bomb Popper (Tube Method)

This uses a trapdoor design. You create it from cardboard tubes with tissue paper covering one end. A string runs through the tube and connects to the tissue paper.
When someone pulls the string, the tissue breaks and glitter shoots out. This method works great for outdoor celebrations.
Glitter Bomb Stick (Paper Straw Method)
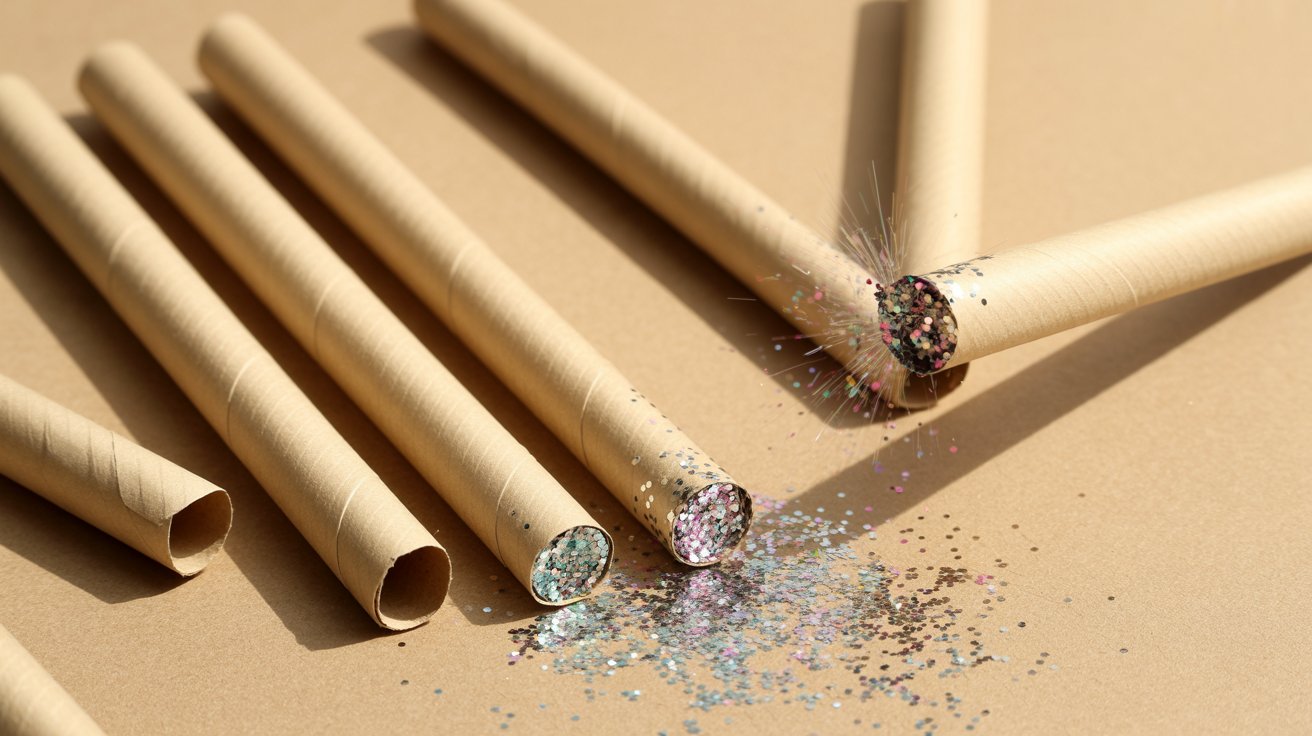
The simplest option for quick results. Take a paper straw and seal both ends with hot glue, leaving glitter trapped inside.
Press or snap the straw to release the contents. These work perfectly as gift toppers or party favors. You can make several in just minutes.
Peanut Glitter Bomb

Tiny and portable surprises. Empty peanut shells become miniature containers. Fill them with fine glitter and glue the halves back together.
Paint the outside if you want them to look decorative. Crack them open by hand when ready. Their small size makes them easy to hide or mail.
Glitter Bomb Balloon

This creates the biggest visual impact. Fill regular balloons with glitter or confetti before inflating them. Use air or helium, depending on your plan.
Pop them with a pin during the celebration. The glitter spreads wide and falls slowly. Just be ready for cleanup afterward.
Glitter Bomb Card (Spring Loaded Card)

A sneaky way to surprise someone. Fold cardstock into a card shape. Create a spring mechanism inside using folded paper strips. Add glitter between the layers.
When the recipient opens the card, the spring releases and glitter flies out. These work well for birthdays and holidays.
Step-by-Step Instructions
Follow these basic steps, no matter which style you choose to make.
Preparing the Container
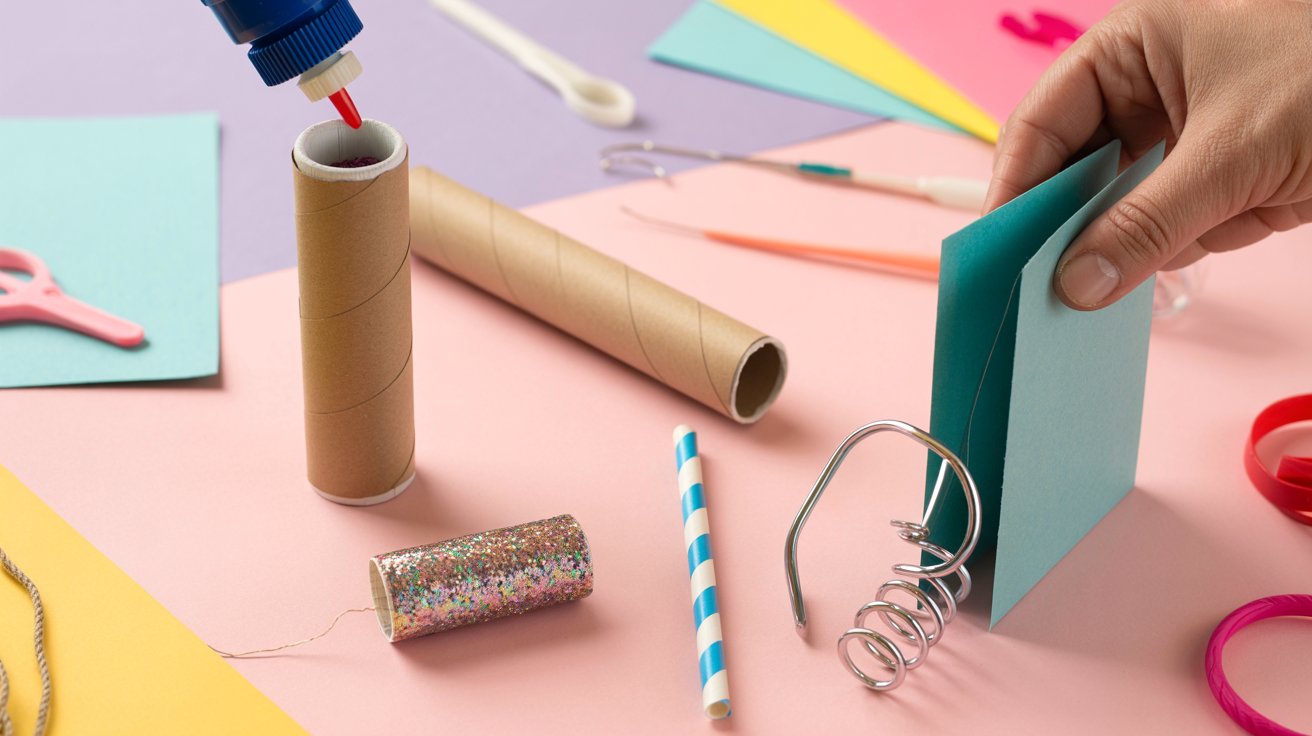
Start by selecting your base. Tubes and straws need one end sealed tightly before you add glitter. Cards require folding and positioning the spring mechanism first. Balloons should be stretched a few times to make filling easier.
Use hot glue or strong tape for seals. Press firmly and let the glue dry completely. Test the seal by gently squeezing or shaking. Nothing should leak out.
Filling with Glitter

Less is often more. A tablespoon of glitter creates plenty of effect for small containers. Larger balloons can hold up to a quarter cup. Use a funnel to avoid spills during filling.
Fine glitter spreads farther but is harder to clean. Confetti pieces are heavier but more visible. You can mix both for a varied texture.
Sealing and Activation
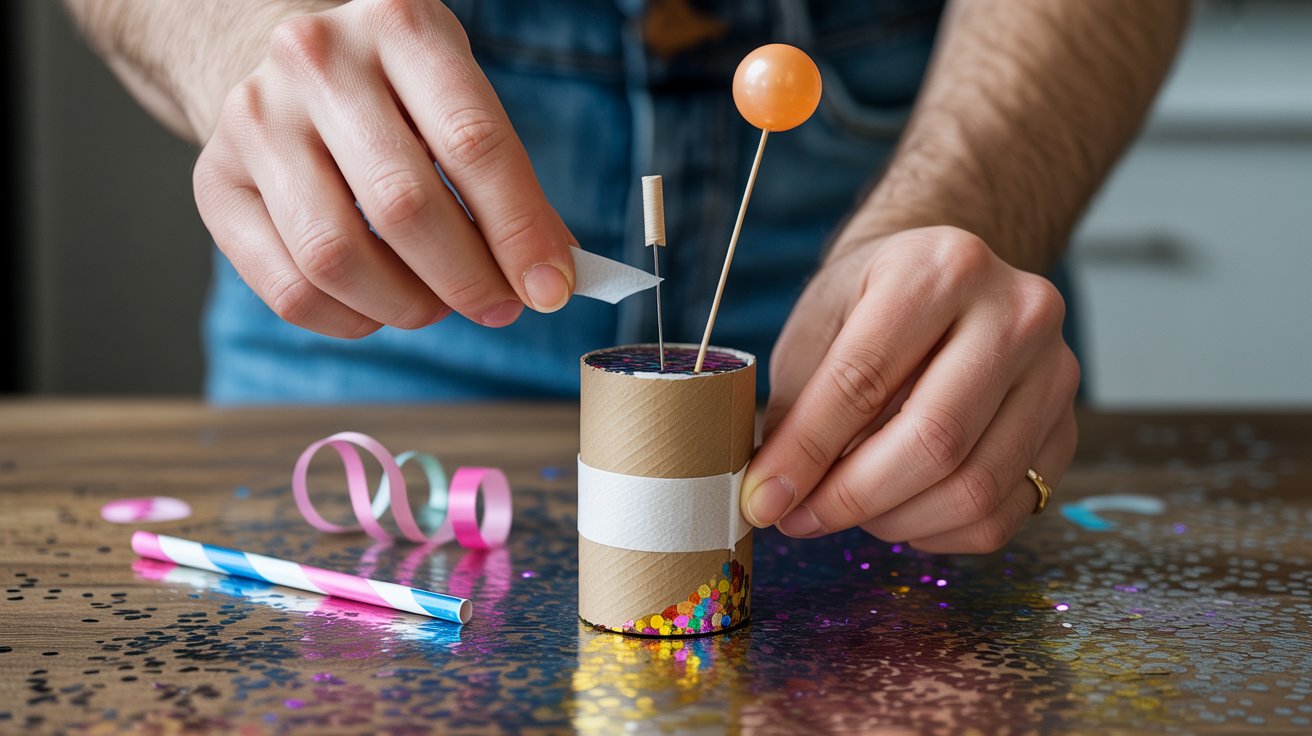
The release mechanism matters most. Pull strings need enough tension to break tissue paper. Balloon poppers require sharp pins. Spring-loaded cards depend on tight folds that snap open.
Seal the final opening carefully. Double-check that glitter stays contained. Give each one a gentle shake test before using or gifting.
How to Choose the Right Glitter Bomb for Your Event?
Match your glitter bomb style to the occasion for better impact and easier cleanup based on venue size and celebration type.
Mini bombs work perfectly for gift toppers. The peanut shell or small straw versions fit on wrapped presents. They add a fun pop of color without creating huge messes. Use these for intimate gatherings or individual surprises.
Balloons turn any party into a celebration. Fill them ahead of time and let guests pop them during key moments. They work well indoors or outdoors. The glitter spreads wide, so save these for spaces you can easily clean.
Cards are ideal for pranks and special occasions. Mail them to friends or hand them out at birthdays. The spring-loaded design catches people off guard in the best way. They’re flat and easy to transport too.
Popper and tube bombs create dramatic effects. The pull string release makes a satisfying sound.
These work best at larger gatherings where you want everyone to notice. Use them outdoors when possible since they release more glitter at once.
Tips for Best Results
These simple tricks help you avoid common mistakes and create better glitter bombs.
- Fine glitter flies farther and catches light better. It creates a shimmering cloud effect but sticks to everything and takes longer to clean.
- Confetti is easier to manage than fine glitter. The larger pieces fall faster, sweep up quickly, and show up better in photos.
- Use quality hot glue instead of regular tape. Strong seals save you from early messes. Apply glue evenly along all edges and let it dry completely.
- Test each glitter bomb before the event. Hold it upside down and shake gently. If anything leaks, add more glue or tape right away.
- Store them upright in a box until use. Mark the outside so you know which end to activate. Keep them away from heat, which can loosen glue seals.
Conclusion
You now know five ways to make glitter bombs for any occasion. Start with the paper straw method if you want quick results. Try the balloon version for big celebrations.
I still get excited every time one pops, no matter how many I’ve made. Just remember to clean up afterward and get permission before surprising someone.
Try making a few different styles to see which you like best. Leave a comment below and tell me which method you’ll try first.
Frequently Asked Questions
How much glitter should I use per bomb?
Use one to two tablespoons for small containers like straws or peanut shells. Balloons can hold up to a quarter cup. Too much glitter weighs down the effect and makes cleanup harder.
Can I mail a glitter bomb to someone?
Yes, but seal it very carefully inside a protective box. Use extra tape and padding. Spring-loaded cards work best for mailing since they’re flat and less likely to break open during shipping.
What’s the easiest glitter bomb for beginners?
The paper straw method is the simplest. You only need straws, glitter, and hot glue. No complicated mechanisms or timing required. You can make several in under ten minutes.
How do I clean up glitter afterward?
Vacuum larger pieces first, then use lint rollers or tape wrapped around your hand for stubborn spots. A damp paper towel picks up fine glitter from smooth surfaces. Clean right away before it spreads.
Are glitter bombs safe for kids to make?
Yes, with adult supervision. Skip the hot glue gun for young children and use tape instead. Avoid putting glitter near faces or eyes. Keep the activity outdoors or over a large drop cloth.
