

I used to spend too much money on Halloween decorations that looked just like everyone else’s. It started to feel pointless, so I began making my own signs using items I already had at home. That small change made decorating feel more personal and fun.
You do not need special tools or advanced skills for these projects. Most take less than thirty minutes and use simple supplies like scrap wood, paint, and paper. I tested many ideas over time and kept only the ones that were easy and reliable.
Store-bought signs are often expensive and never quite fit your space. Making your own lets you choose the size, style, and message for much less money.
I share simple techniques like water transfers and reusable stencils, with tips that help beginners avoid common mistakes and enjoy the process.
Materials You Already Have at Home
You don’t need to buy much for these projects. I make most of my Halloween signs with stuff that’s been sitting in my garage or craft drawer for years.
Basic Supplies for Most Projects
Here’s what works for almost every sign:
- Wood boards: Old signs from your basement, scrap lumber, or pre-cut craft wood from the hardware store
- Paint options: Acrylic craft paint, leftover house paint, or chalk paint all work fine
- Paper towels: For applying paint and creating that distressed look
- Tape: Any kind works for positioning and holding things in place
- Nothing fancy. Nothing expensive.
Simple Tools That Make the Job Easier
These items speed things up but aren’t required:
- Sandpaper: Gets your wood ready and removes old finishes
- Markers and brushes: For touch-ups and details
- Inkjet printer and regular paper: The secret to easy transfers
- Water: Yes, just regular tap water for the transfer method
I use my basic printer, and it works great. No special settings needed.
Optional Items That Add Extra Flair
Want to take your signs up a notch? Grab these:
- Stencils and reusable transfers: Make detailed designs without artistic skills
- Surface wax: Protects your transfer and helps the paste stick
- Brown craft paint: Creates that aged, vintage look
- Clear coat or polyacrylic: Makes signs last for years
I didn’t use any of this stuff on my first few signs. They still turned out good.
Creative Halloween Sign Ideas You Can Make
Here are the designs I actually make and display. No Pinterest-perfect stuff that looks impossible.
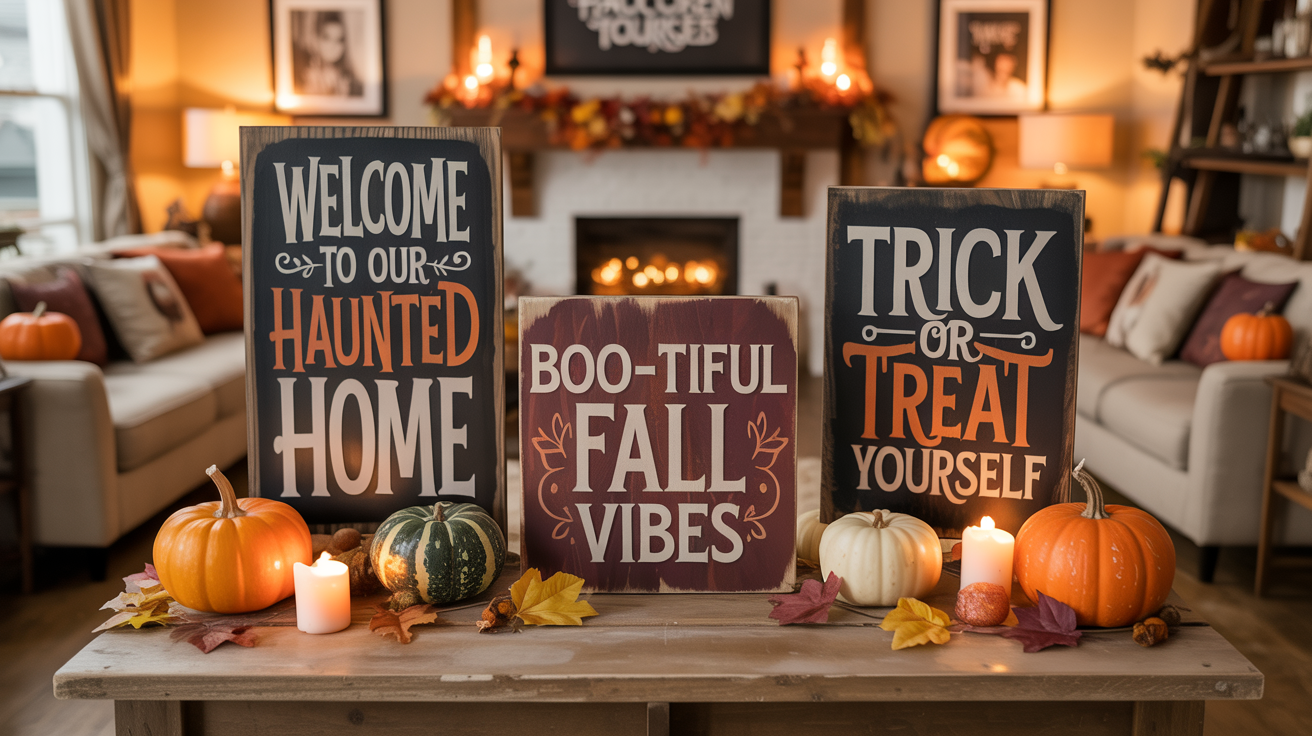
Spooky Text-Based Signs

Short phrases make the biggest impact for Halloween signs. Classic lines like Witches Go Riding, or Happy Halloween, feel timeless, while custom warnings like Enter if you dare add personality. Mixing script and block lettering keeps simple words visually interesting.
Keep the wording brief so it is easy to read from the street. A quick Boo sign can be finished in minutes and still look store-bought. Simple designs often look better than expensive decor.
Image and Graphic Transfers

Images create a strong visual impact without relying on text. Pointing hands, witch silhouettes, and classic icons like bats or pumpkins instantly set a spooky tone. Simple graphics are bold and easy to recognize from a distance.
You can also pair words with images by placing text on top and a graphic below. Transfer methods work best for pictures, especially when printed in reverse.
Stick to clean shapes since simple designs transfer more clearly than detailed art.
Rustic and Aged Halloween Signs
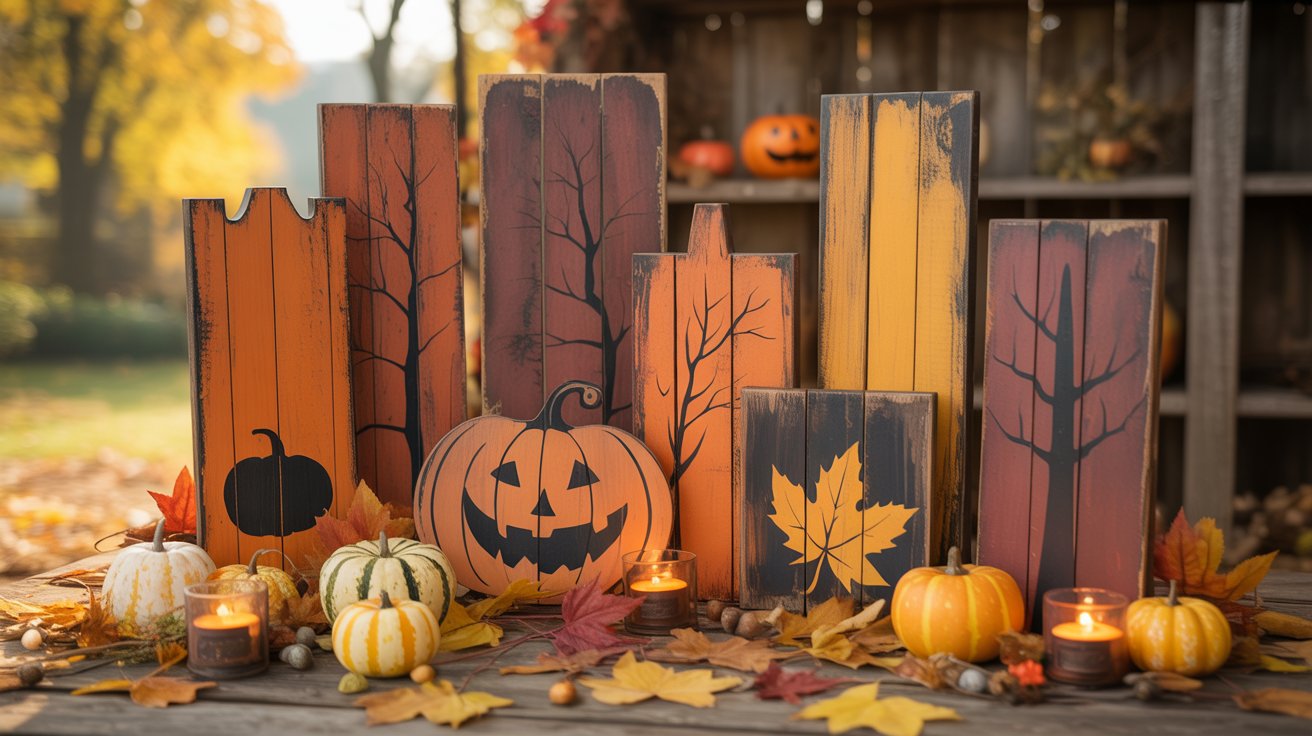
New wood can feel too polished, but distressing adds instant character. Sand edges and corners heavily, then use dry brushing to create worn paint patches. Vintage-style lettering finishes the aged look.
A light brown glaze makes signs look decades old in minutes. Sand again after painting for extra wear and texture. The goal is imperfection since flaws are what sell the vintage feel.
Colorful Porch Signs

Halloween decor does not have to stick to black and orange. Try purple, green, and black chalk paste or bright craft paints for a modern look. Bold colors feel fresh and stand out.
Reversible signs stretch your effort across seasons. Put Halloween on one side and fall or Thanksgiving on the other. Brighter colors also show up better under porch lights at night.
Minimalist Modern Signs
Clean lines and simple shapes create a sleek Halloween look. Use one word like “Spooky” or “Haunted” in a modern sans-serif font. Solid black on white wood feels contemporary and sophisticated.
Negative space matters as much as the design itself. Leave plenty of blank space around your text or image. These signs look expensive because they’re not trying too hard.
Handwritten Quote Signs
Personal handwriting adds authenticity that printed fonts can’t match. Write phrases like “Something wicked this way comes” or “Double double toil and trouble” in your own script. The imperfect lettering feels more genuine.
Practice on paper first to get your spacing right. Then transfer using the water method or freehand directly on painted wood. Quirky handwriting makes each sign one of a kind.
Chalkboard Style Signs

White or orange chalk on black backgrounds mimics classic chalkboard menus. Draw pumpkins, ghosts, or spiderwebs around your text for a cafe-inspired look. This style works great for changeable messages.
Use actual chalkboard paint for true erasability between years. Or paint it black and use white paint that looks like chalk. Add small doodles in the corners to fill space.
Stacked Word Signs
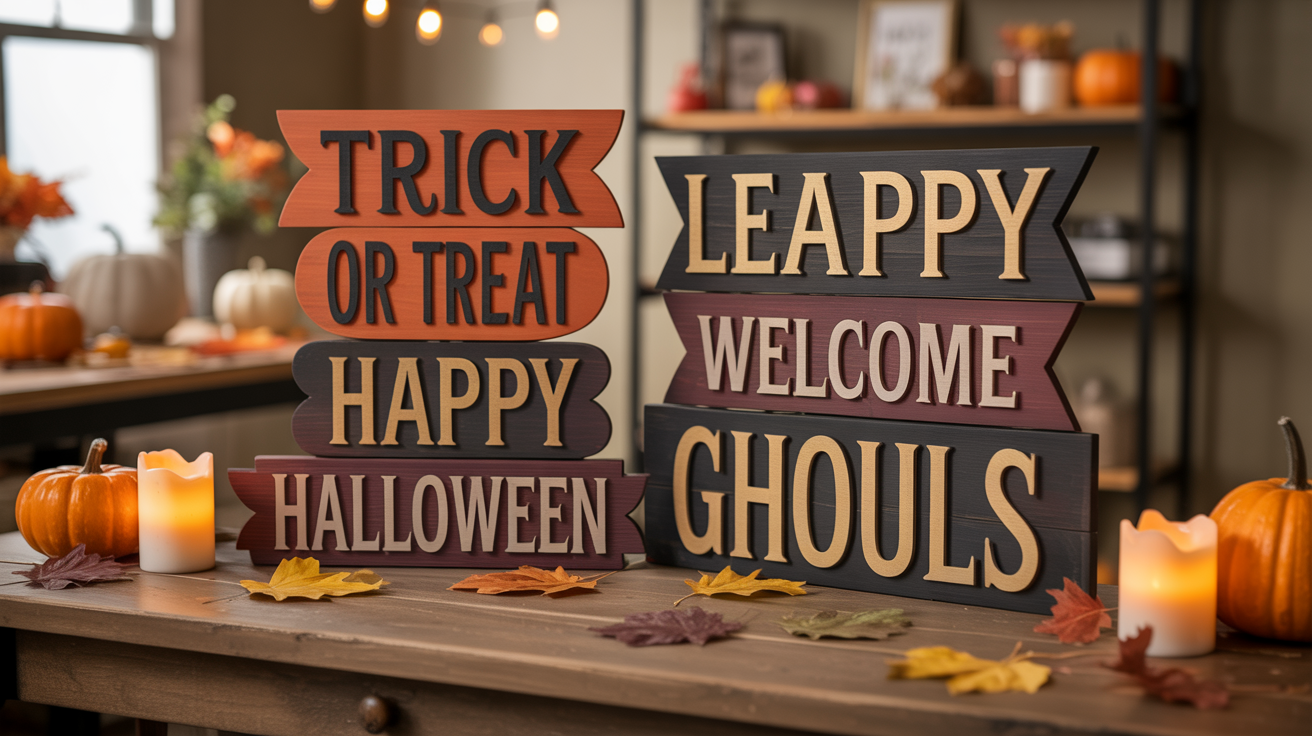
Vertical word stacking creates height and drama. Stack “Trick or Treat” with one word per line in different sizes. Bold fonts work better than delicate ones for this layout.
The tallest word goes in the middle to create a pyramid shape. Play with letter spacing to make words fill the width evenly. This format looks professional without much effort.
Number and Date Signs
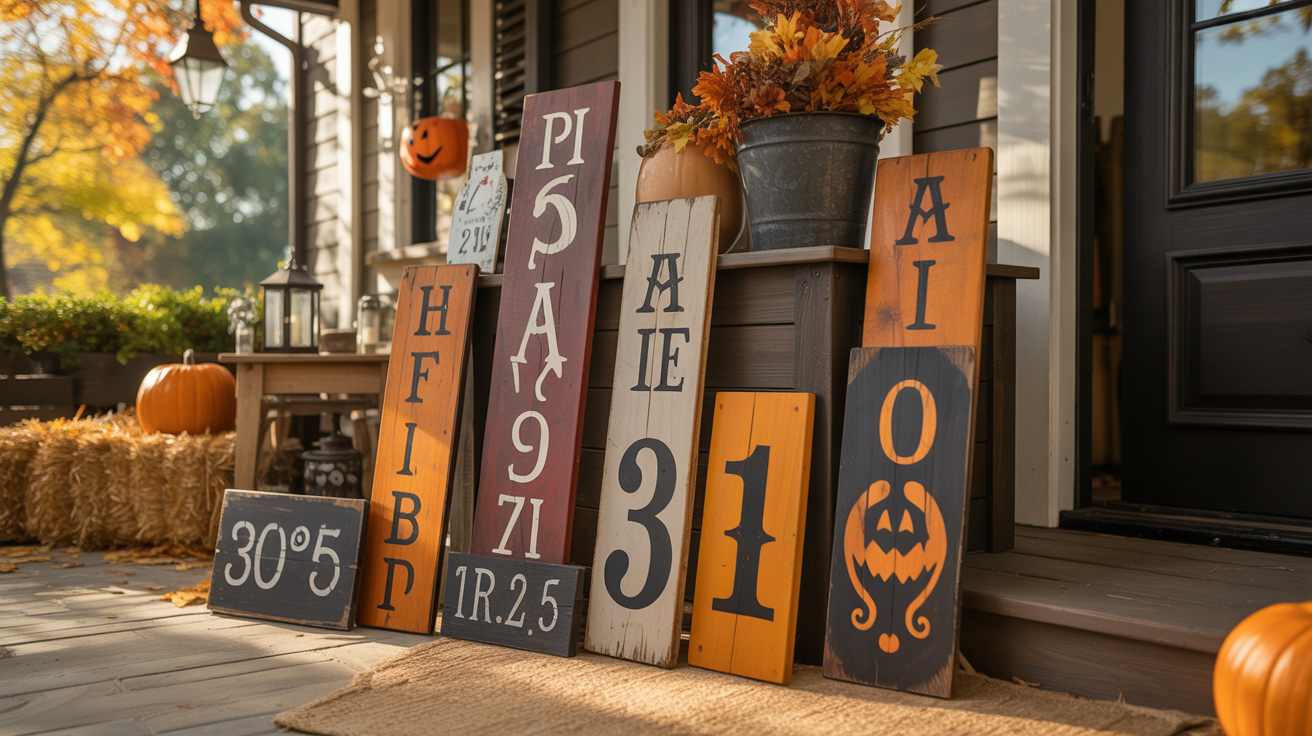
Mark Halloween with “October 31” or “Est. 1692” for a historical twist. Numbers add structure and feel less cutesy than typical phrases. Try Roman numerals for extra vintage appeal.
Combine numbers with small graphics like tiny bats or stars. Keep the numbers large and centered as your focal point. This works especially well on horizontal rectangular boards.
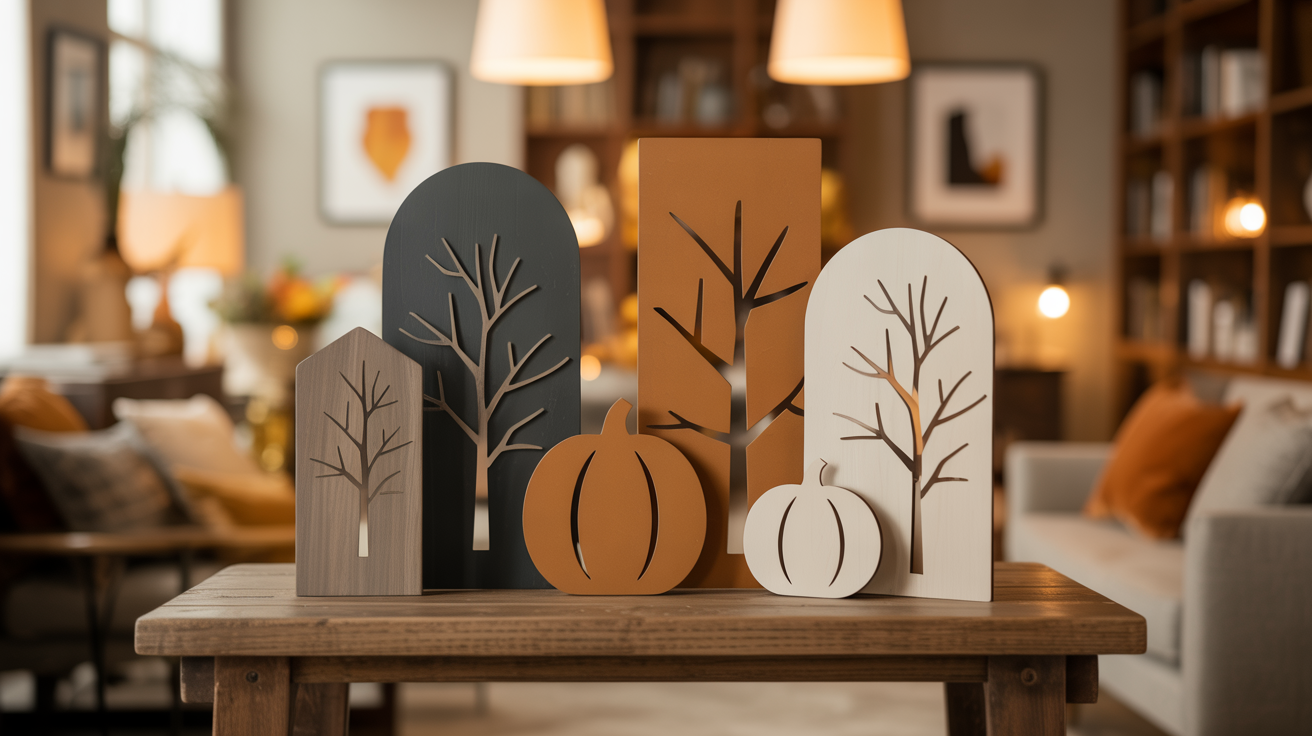
Silhouette Scene Signs

Create layered scenes with multiple silhouettes. A haunted house on a hill with a full moon behind it tells a story. Black shapes on lighter backgrounds read clearly from far away.
Cut out shapes from black paper and arrange them before transferring. Or use multiple stencils to build up layers. Simple skylines with bare trees and flying bats work great for this.
Farmhouse Halloween Signs

Combine rustic wood with farmhouse phrases like “Pumpkin Patch” or “Autumn Nights.” Use neutral colors like cream, taupe, and burnt orange instead of bright Halloween colors. Add small decorative elements like wheat stalks or plaid patterns.
Distress the edges heavily and use weathered paint techniques. This style bridges Halloween into general fall decor seamlessly. The subdued palette feels cozy rather than scary.
Pro Tips for Better-Looking Signs
These little tricks took me years to figure out. Save yourself the learning curve.
- Apply paint with a crumpled paper towel, not a brush, to keep the texture rustic and let the wood grain show through
- Work in small sections before the paint dries, embrace imperfections, and wipe mistakes quickly with a damp towel
- For transfers, use a damp, not soapy, paper towel and always print designs reversed before starting
- Check progress by lifting one corner and pressing firmly to get a clean, complete transfer
- Make signs last by sealing outdoor pieces with two coats of polyacrylic and storing them flat and dry between seasons
Where to Display Your DIY Halloween Signs
Make them, then show them off:
- Front porch welcome areas: Lean against the house or hang on the door
- Indoor mantel decorations: Mix with candles and pumpkins
- Yard and garden displays: Stake them in the ground near the walkway
- Door and entryway hangings: Eye hooks make this easy
- Create a Halloween vignette: Group several small signs together
I put my biggest sign on the porch and smaller ones inside on the mantel. Signs look best when they’re not alone. Add some fake spider webs or a pumpkin next to them.
Conclusion
You now know how to make Halloween signs at home without spending a lot or buying special equipment. Simple methods like water transfers and reusable stencils work with supplies you already have. It makes decorating feel easier and more personal right away.
The best part is how little time these projects take. You can finish a sign in minutes and end up with something that fits your space and style. There is no need to settle for store options that never feel quite right.
I shared only the methods I have tried myself, so there are no complicated steps or skills to worry about. Choose the approach that feels easiest and start with one sign this weekend. If questions come up, leave a comment. I am happy to help. Now it is time to create something spooky for your porch.
Frequently Asked Questions
What materials do I need for Halloween signs DIY?
You need wood boards, acrylic paint, and paper towels. For transfers, grab an inkjet printer and regular paper. Stencil methods use chalk paste and reusable silk-screens. Most supplies cost under $20 total, and you probably have some already at home.
Can I make Halloween signs without a Cricut or vinyl cutter?
Yes. Water transfer methods use just an inkjet printer, water, and paper. Reusable stencils work with chalk paste and don’t require machines. Both techniques create professional-looking signs without expensive equipment or computer programs.
How long does it take to make a DIY Halloween sign?
Most signs take 15-30 minutes from start to finish. Water transfers dry quickly. Chalk paste stencils are even faster. The longest part is letting paint or protective coatings dry between steps.
Will DIY Halloween signs hold up outdoors?
Yes, if you seal them properly. Use outdoor polyacrylic or weather-resistant clear coat for porch signs. Indoor signs can use paste wax. Properly sealed signs last multiple seasons when stored correctly between holidays.
Do I need crafting experience to make Halloween signs?
No experience needed. These methods are beginner-friendly. Water transfers require firm rubbing with a marker. Stencils need even paste application. If you can follow basic steps, you can make great-looking signs.