


Framing canvas art can feel tricky if you’ve never done it before. But it doesn’t have to be. This guide walks you through every step, from picking the right materials to hanging your finished piece on the wall.
I’ve framed dozens of canvases over the years, and I know exactly where beginners go wrong.
Here, you’ll find clear steps, simple tips, and honest advice.
This article covers the tools and materials you need, a full step-by-step process, the best frame types, and common mistakes to avoid.
Let’s get started.
Understanding Canvas Art Framing (Basics)

Before you pick up a saw or buy wood, it helps to understand what canvas framing actually involves.
Canvas framing means building or buying a frame that holds your canvas in place. It protects the artwork and gives it a finished look on your wall.
A stretched canvas is already pulled tight over a wooden stretcher bar. An unstretched canvas is just a flat piece of fabric with no support. Stretched canvases are easier to frame. Unstretched ones need more prep work.
You should frame a canvas when you want to protect it from dust or damage, match it to your room’s style, or display it long-term.
Ready-made frames are faster and easier. DIY frames cost less and give you full control over size, style, and finish. This guide focuses on the DIY route.
Tools and Materials You’ll Need
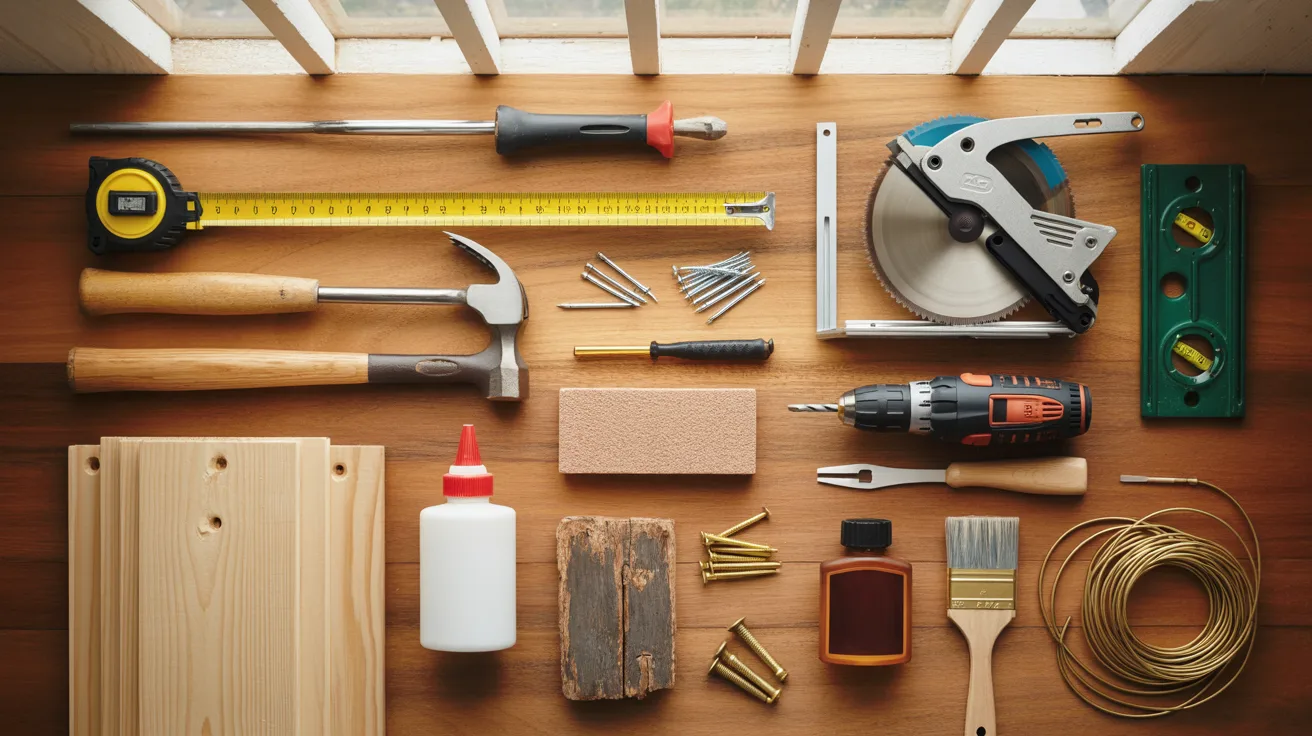
Having the right tools before you start saves time and avoids frustration mid-project.
Essential Tools
You don’t need a fully equipped workshop. These basic tools are enough to get the job done right.
- Tape measure
- Miter saw or hand saw
- Hammer or brad nailer
- Screwdriver or drill
- Level
- Sanding block
Materials Required
Having the right tools before you start saves time and avoids frustration mid-project.
- Wooden boards (pine works well for beginners)
- Wood glue
- Nails or screws
- Scrap wood for support ledges
- Wood filler
- Wood conditioner
- Wood stain or paint
- Hanging kit (D-rings, wire, wall bumpers)
Gather everything before you start. Stopping halfway to find a missing tool breaks your focus.
Step-by-Step Guide to Frame Canvas Art
Follow these steps in order for the best results. Skipping steps leads to a frame that looks unfinished or fits poorly.
Step 1: Measure Your Canvas

Use a tape measure to record the width, height, and depth of your canvas. Add about 1/8 inch of extra space to each measurement.
This small allowance makes fitting the canvas inside the frame much easier. Write down your measurements before moving to the next step.
Step 2: Choose the Right Frame Style
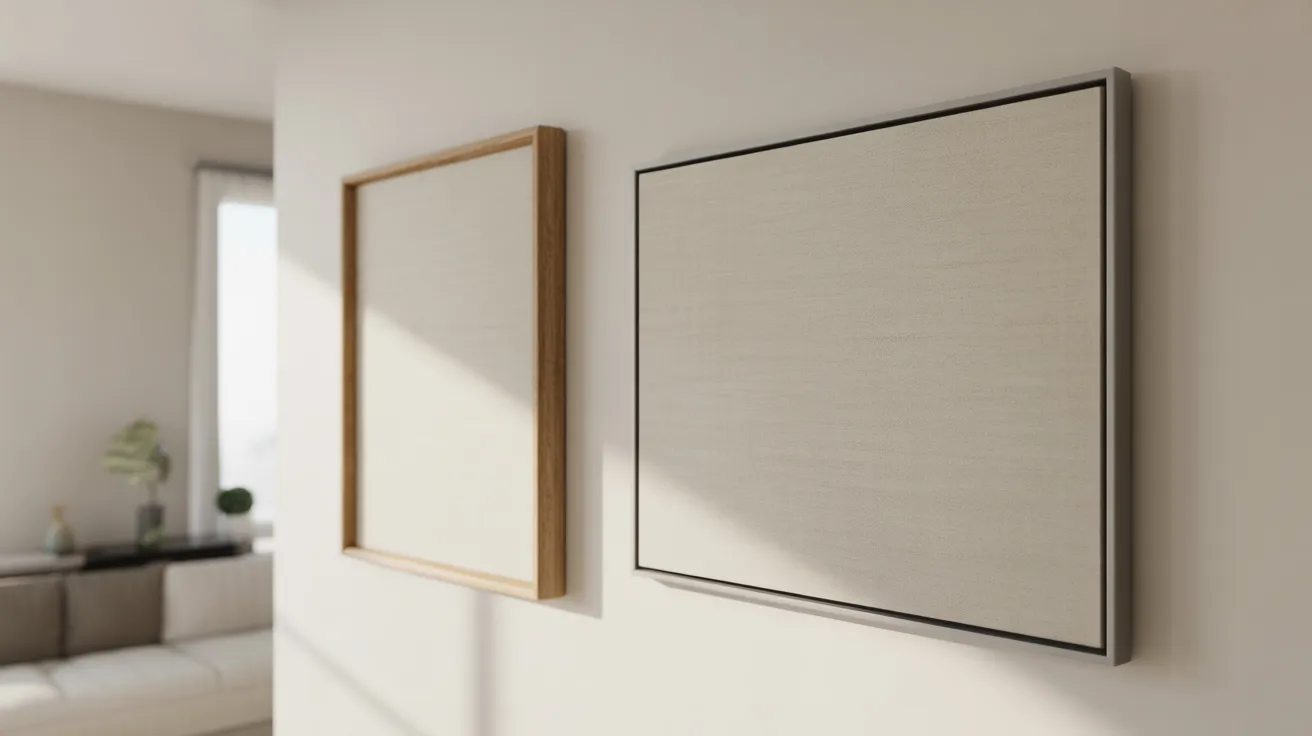
You have two main options:
- Standard DIY wooden frame sits around the edges of the canvas
- Floater frame creates a small gap between the canvas and the frame
Think about your room’s style. A floater frame suits modern spaces. A wooden frame suits more classic or traditional settings.
Step 3: Cut the Frame Pieces
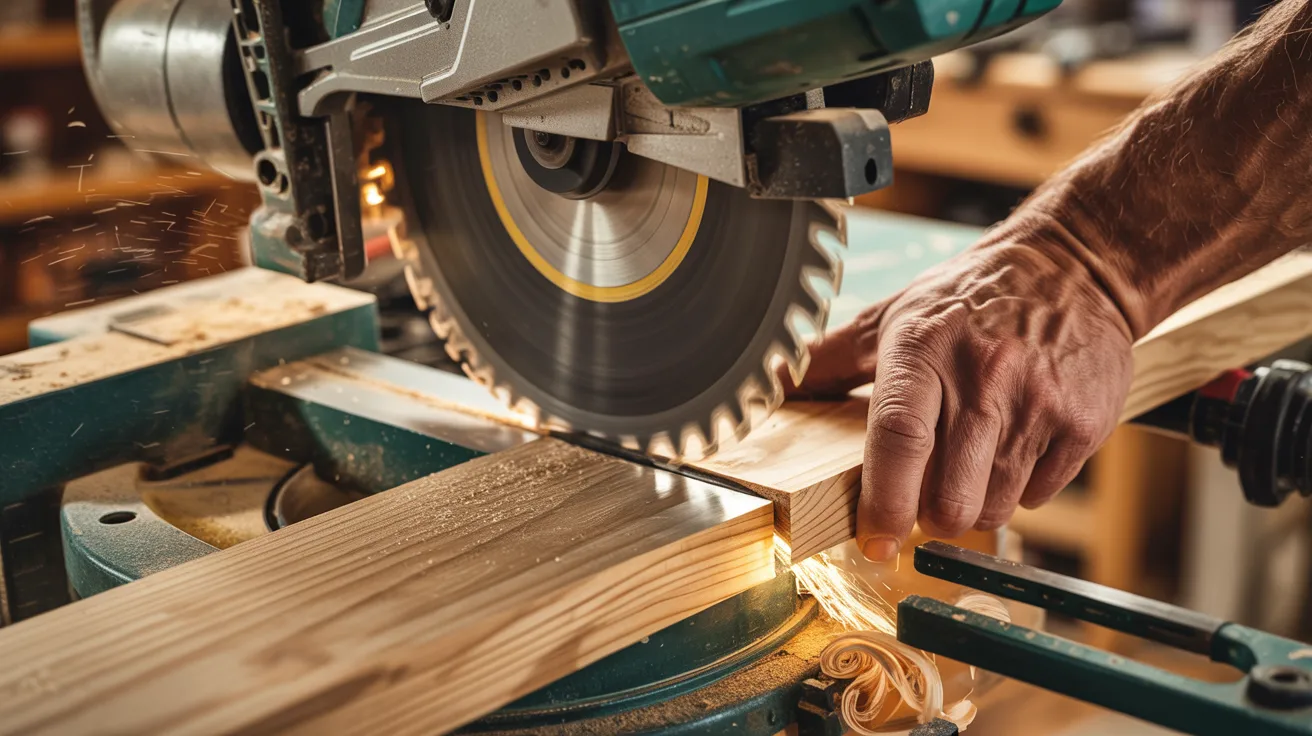
Cut four wooden boards to match your canvas measurements. Use 45-degree miter cuts at each end. These angled cuts create clean, tight corners when joined together.
Double-check every measurement before cutting. A mistake here means starting over with a new board.
Step 4: Assemble the Frame
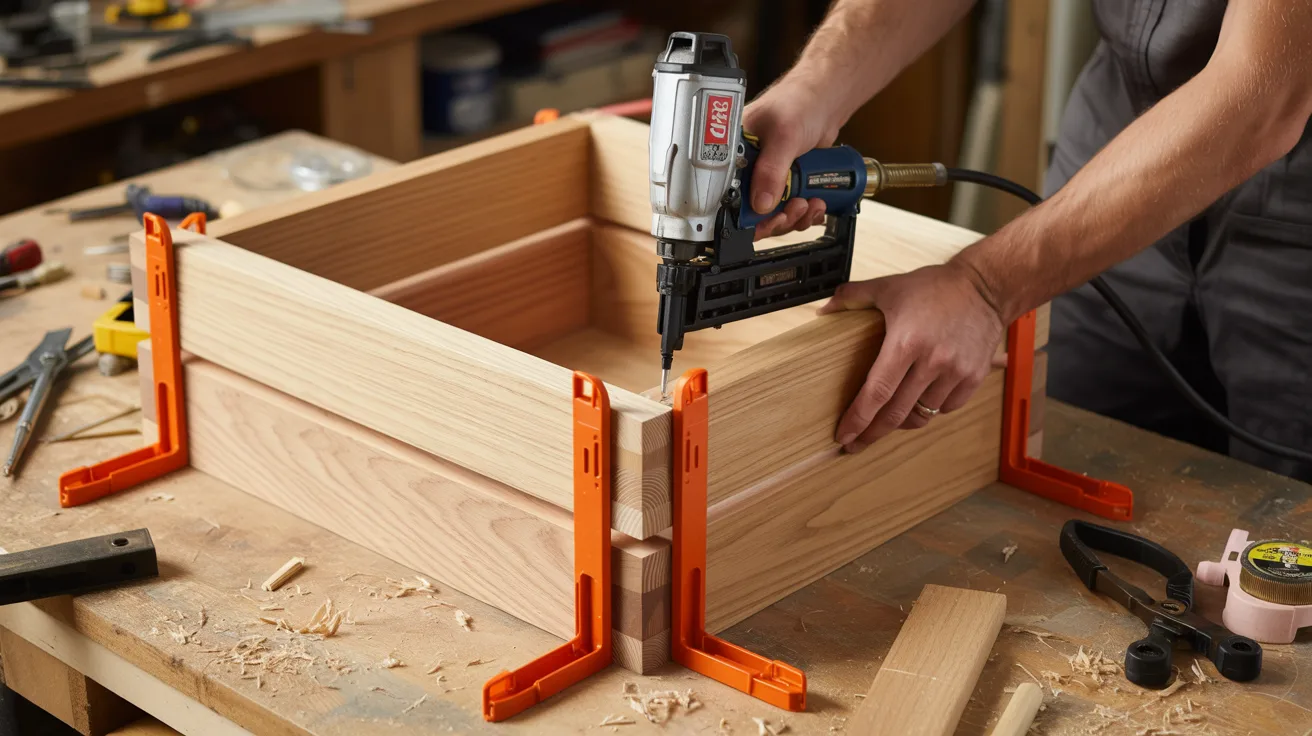
Apply wood glue to each miter joint. Press the pieces together firmly. Use corner clamps to hold everything in place while the glue dries. Then add nails through each joint for extra strength.
Check that all four corners are square and aligned. A frame that’s slightly off will make your canvas look crooked.
Step 5: Add Support Pieces
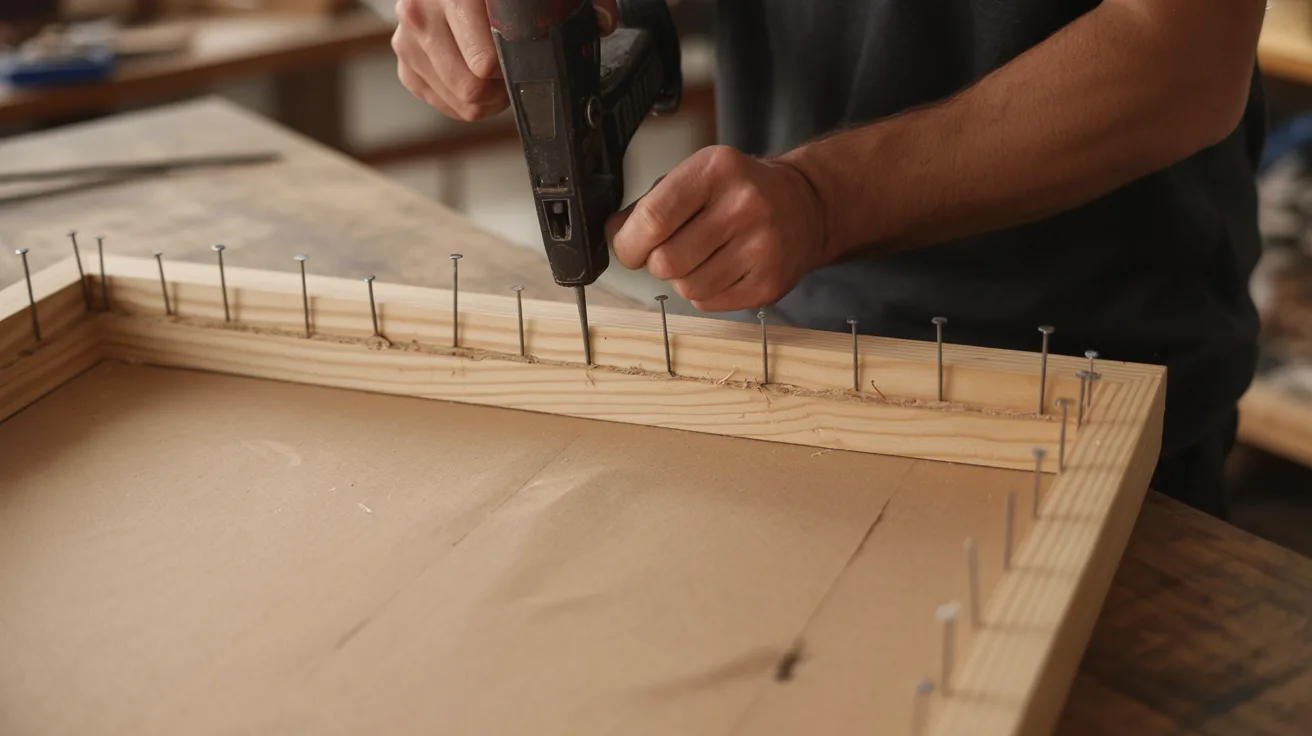
Cut thin strips of scrap wood. Attach them along the inside edge of the frame. These strips create a small ledge that holds the canvas in place. Without them, the canvas may shift or fall forward.
Step 6: Fill Nail Holes and Sand
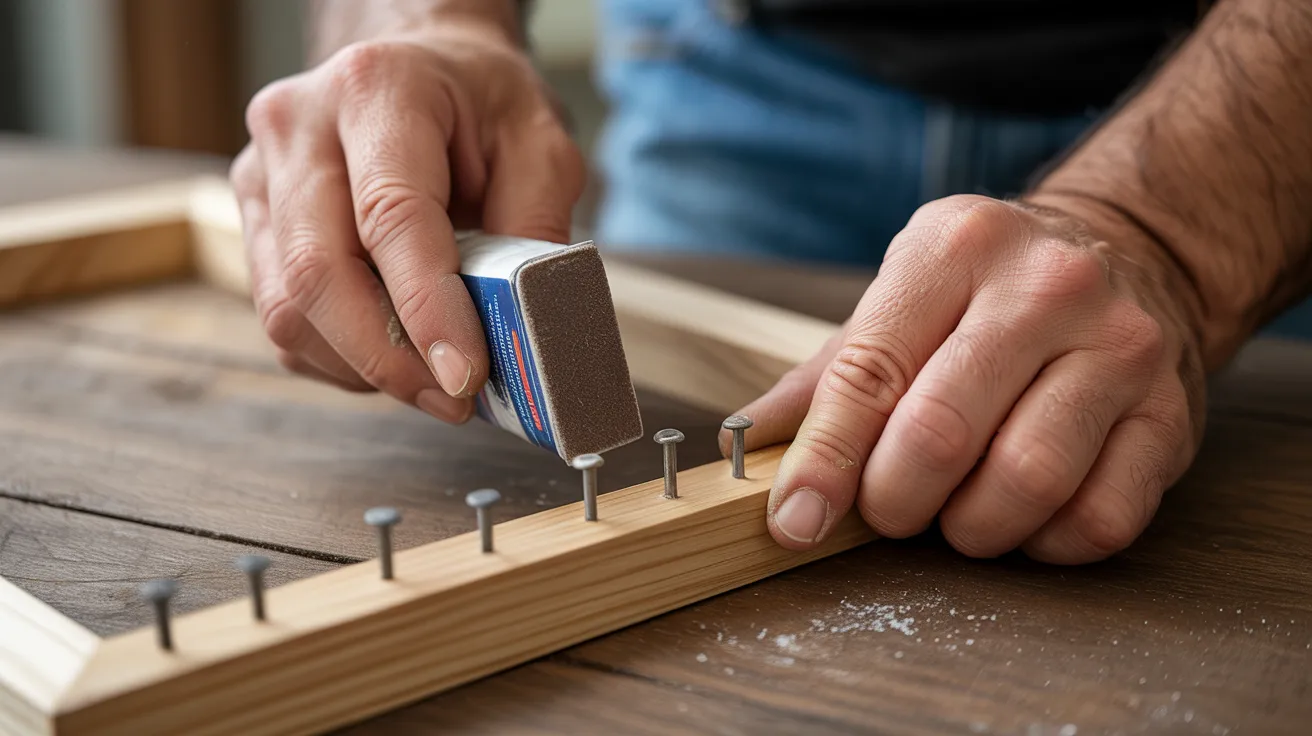
Use wood filler to cover any nail holes or gaps. Let it dry completely. Then sand the entire frame smooth with a sanding block. Start with coarser grit and finish with finer grit for a clean surface.
Step 7: Apply Wood Conditioner
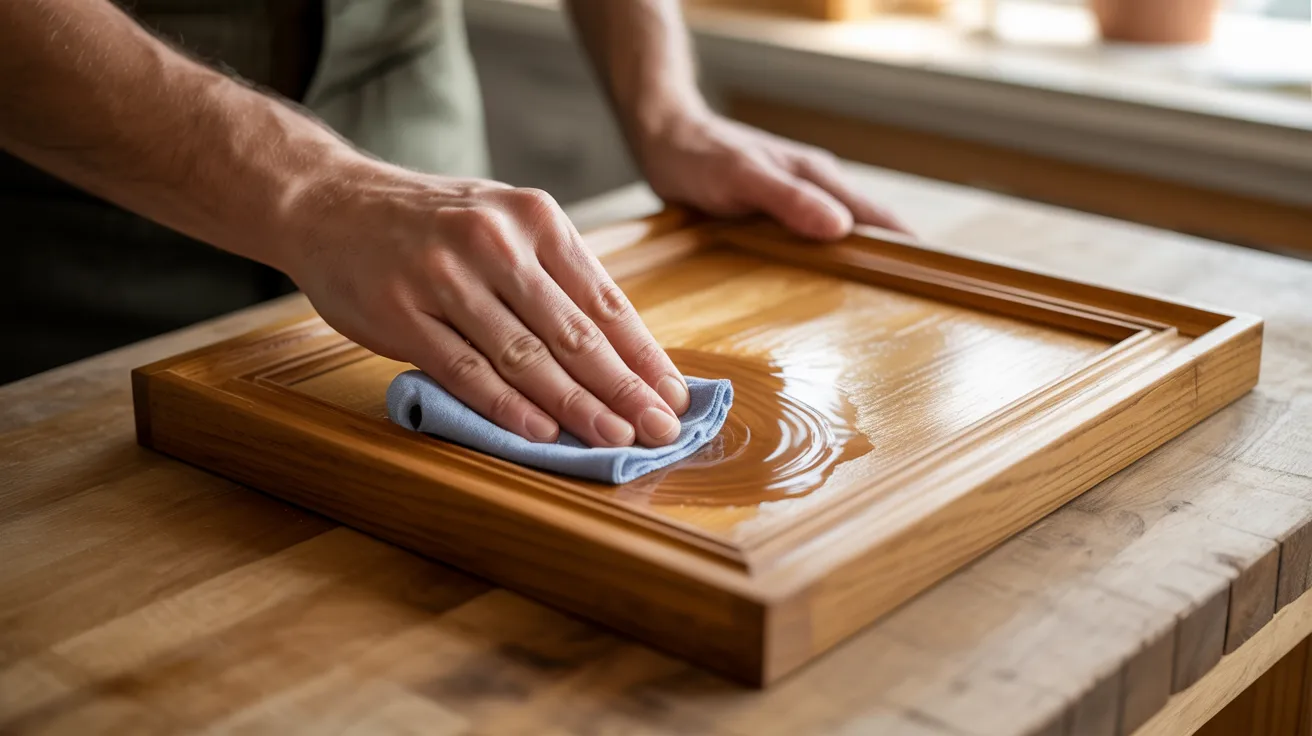
If you’re using pine or another soft wood, apply a wood conditioner before staining. Soft wood absorbs stain unevenly without it. The conditioner preps the wood so the stain goes on smoothly.
Apply it with a cloth and let it soak in for about 15 minutes before moving on.
Step 8: Stain or Paint the Frame
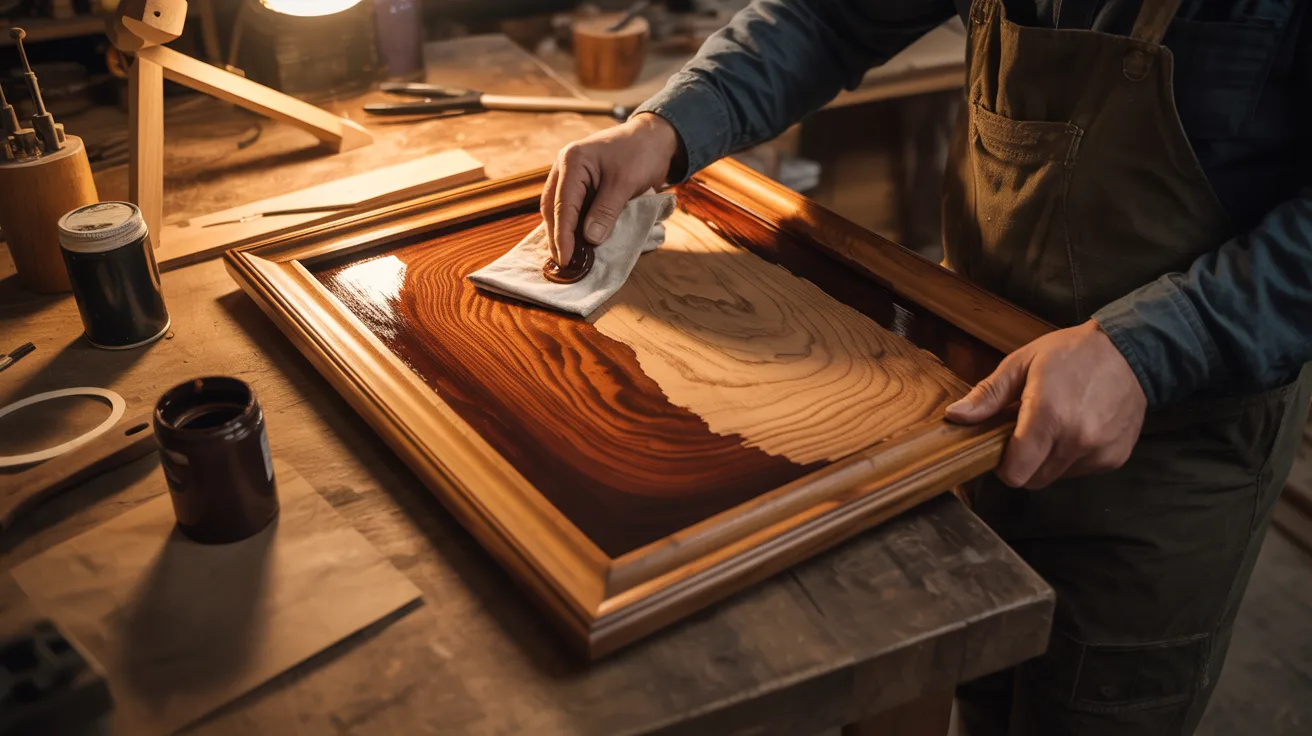
Choose a stain or paint color that matches your room. Apply it evenly using a cloth or brush. Work in the direction of the wood grain for a cleaner look.
Let the first coat dry fully. Apply a second coat if needed. Rushing this step leaves streaks or patchy spots.
Step 9: Attach the Canvas to the Frame

Place the canvas inside the frame on the support ledge. Center it carefully. Then secure it using small nails or offset clips along the back. Check the front before tightening anything. Make sure nothing is crooked.
Step 10: Install Hanging Hardware
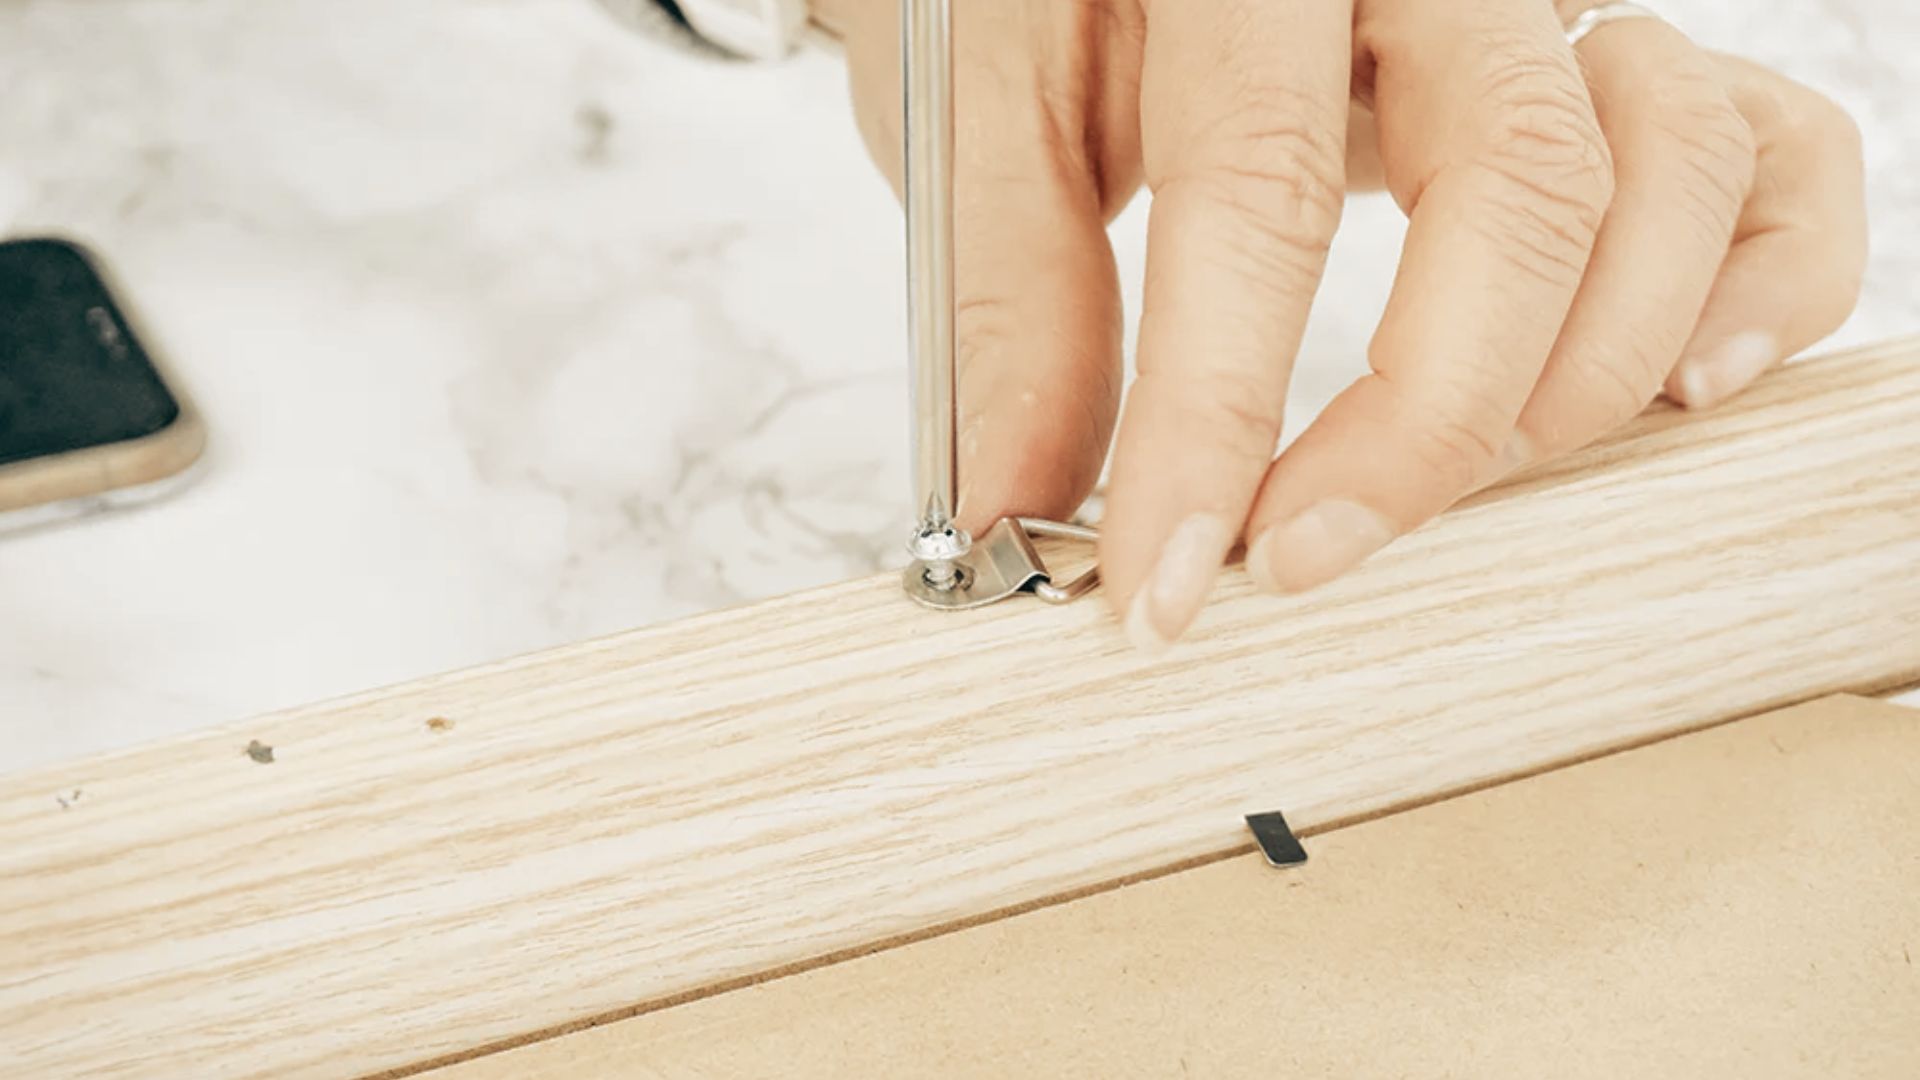
Attach two D-ring hangers to the back of the frame. Space them evenly from each side. Thread hanging wire through both rings. Leave a small amount of slack in the wire so it sits flat against the wall hook.
Stick wall bumpers on the bottom corners of the frame. These protect your wall from scuffs and keep the frame hanging straight.
Step 11: Hang Your Framed Canvas
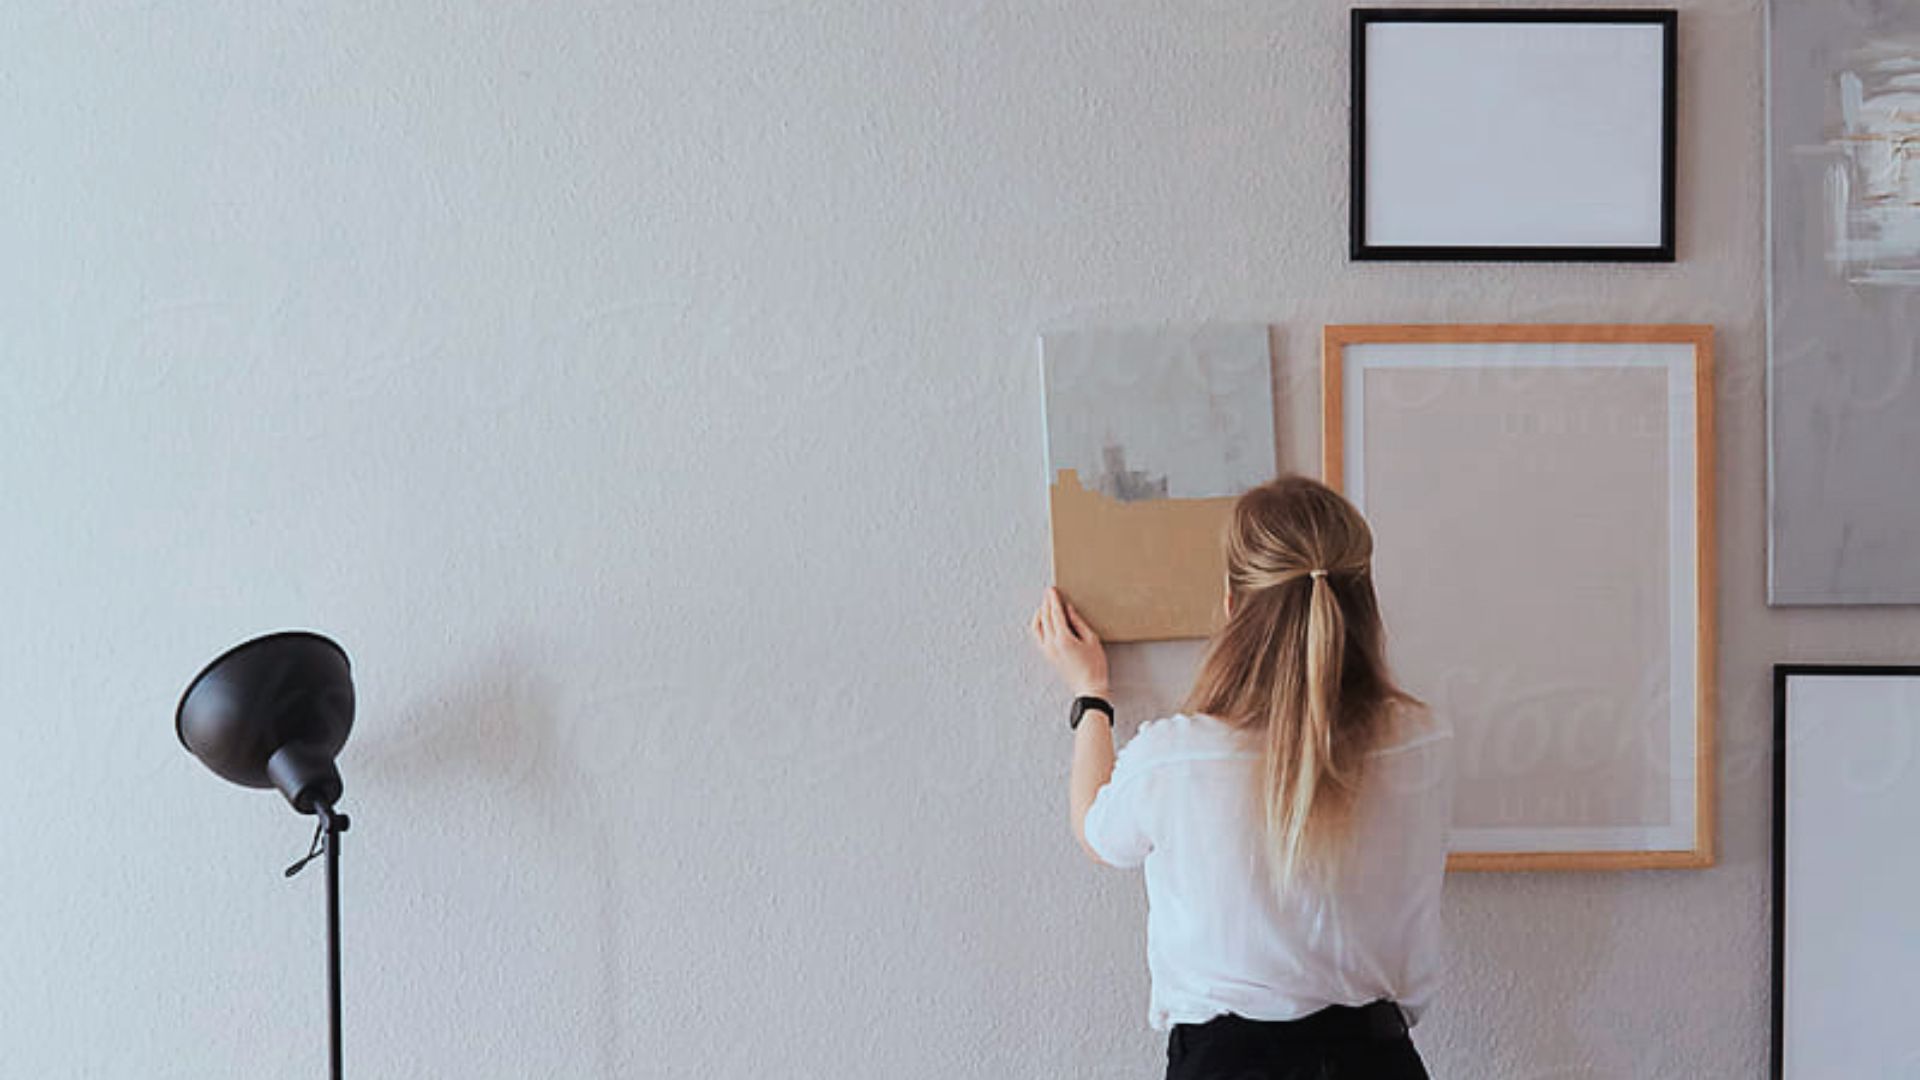
Hold the frame against the wall where you want it. Use a pencil to mark the hanging point. Drive a nail or hook into the wall at that mark. Use a level to make sure the mark is perfectly horizontal.
Hang the frame and step back to check alignment. Make small adjustments as needed.
Best Frame Types for Canvas Art
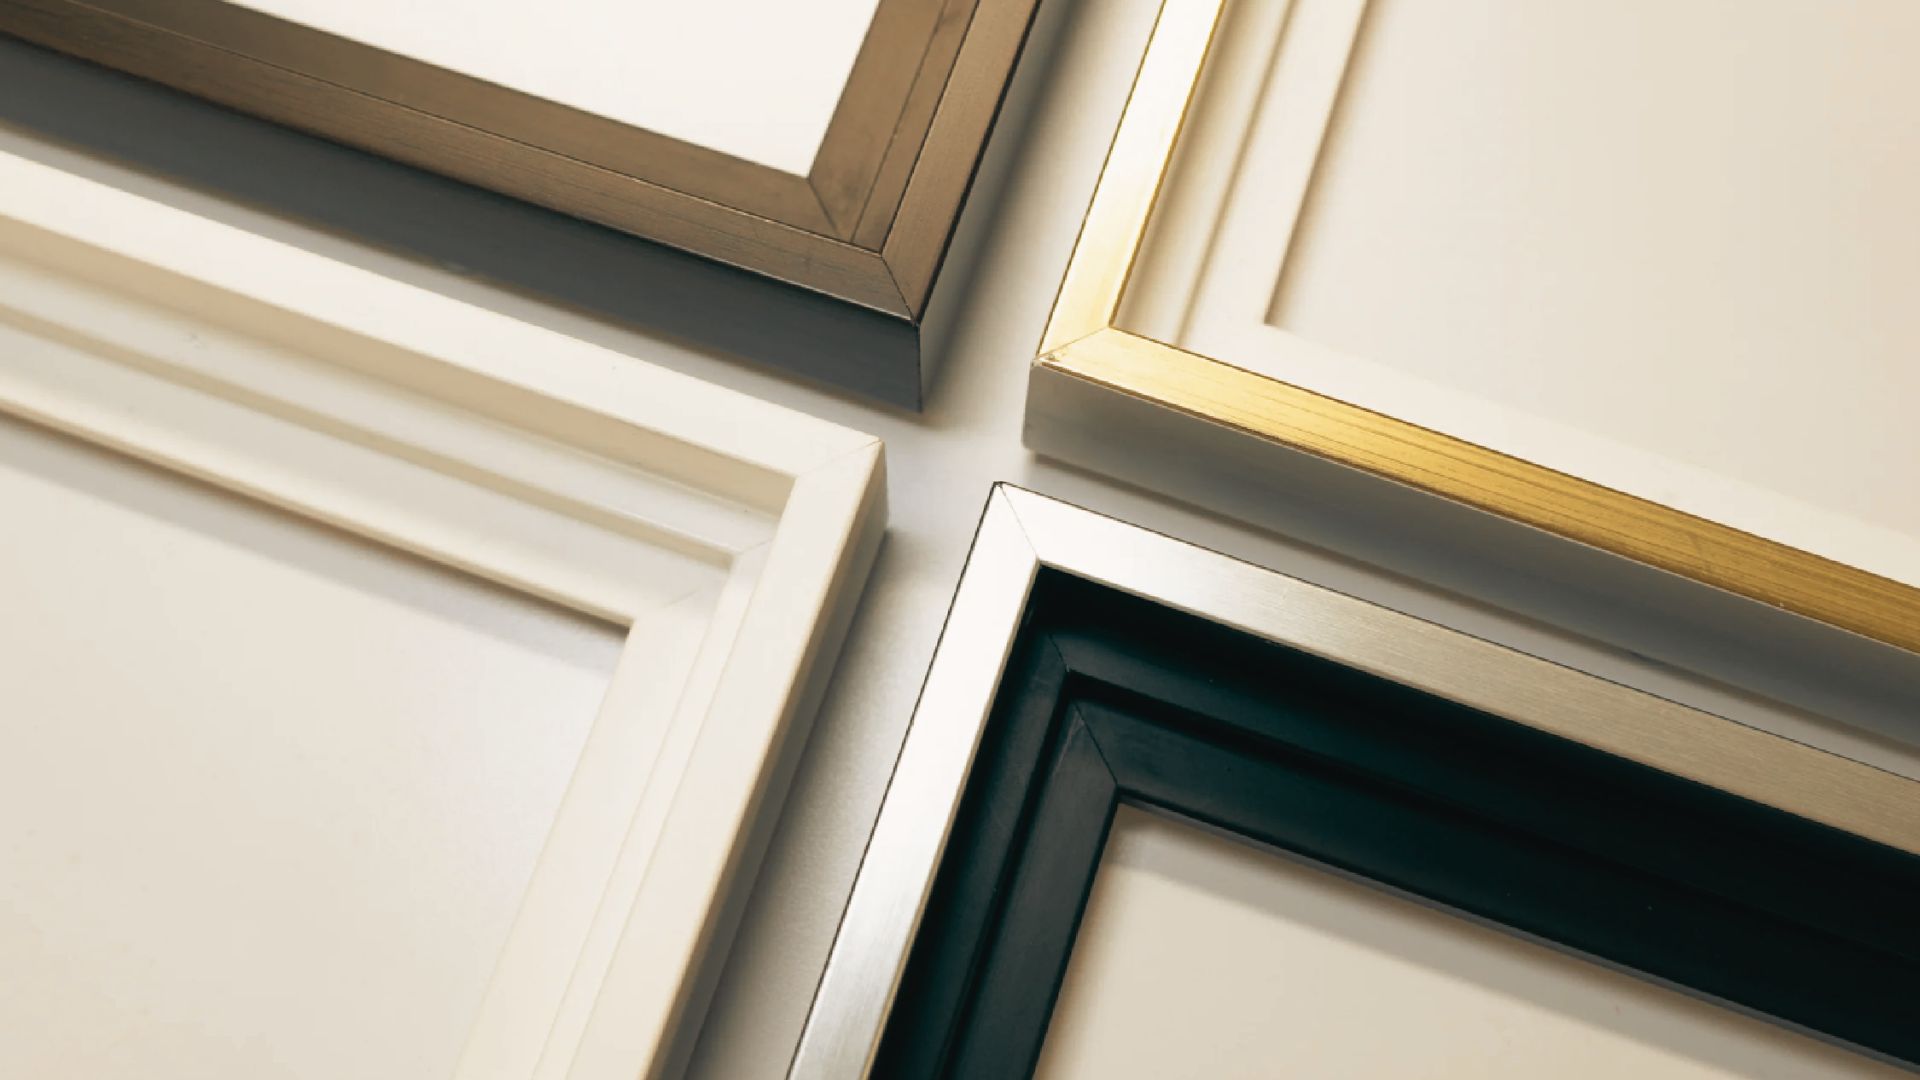
Choosing the right frame type makes a big difference in how your artwork looks on the wall.
Floater Frames
A floater frame holds the canvas slightly away from the frame border. This creates a visible gap all around the artwork. It gives the piece a modern, gallery-style look. Great for abstract or contemporary art.
Traditional Frames
Traditional frames cover the edges of the canvas. They suit oil paintings, portraits, and classic-style artwork. These frames often come with decorative molding for a more formal appearance.
DIY Wooden Frames
Building your own frame from scratch is the most budget-friendly option. You choose the wood, finish, and size. It takes more time but gives you full control. Pine is the easiest wood to work with for beginners.
Common Mistakes to Avoid
Small errors during framing can lead to a frame that looks off or damages your artwork.
Wrong Measurements
Measuring once and cutting immediately is a common error. Always measure twice. A frame that’s too tight can warp the canvas. One that’s too loose won’t hold it properly.
Incorrect Angle Cuts
45-degree miter cuts must be precise. Even a small angle mismatch leaves visible gaps at the corners. Use a miter saw for accuracy.
Skipping Wood Conditioner
Staining pine without conditioner leaves a blotchy, uneven color. Always prep your wood first.
Misaligned Frame or Canvas
A frame that’s slightly off-square will look crooked on the wall. Check alignment at every step, not just at the end.
Over-Tightening Clips or Nails
Pressing the canvas too hard against the frame can cause dents or pressure marks. Secure it firmly but gently.
Pro Tips for a Professional Finish
Small details make the difference between a homemade-looking frame and one that looks store-bought.
- Test your stain on scrap wood first. The color on the can often looks different on real wood, so always do a test run before touching the frame.
- Use corner clamps while the glue dries. Without them, corners can shift and set at the wrong angle, leaving visible gaps.
- Work on a soft surface like a towel or foam mat. This protects the canvas face from scratches while you work on the back.
- Check alignment before tightening any clips or nails. Step back, look at the front, and make sure everything is centered and straight.
- Sand between coats of stain or paint. A light sand with fine-grit paper between coats gives you a much smoother and cleaner finish.
Conclusion
Framing your own canvas art is one of those projects that feels intimidating at first but ends up being really satisfying. I remember my first DIY frame, it was slightly off at one corner, and I was ready to give up.
But I fixed it, hung it up, and honestly loved it more because I made it myself. You can do this too. Take your time with measurements and enjoy the process.
If this guide helped you, drop a comment below or share it with a friend who loves art. I’d love to see what you create!
Frequently Asked Questions
Can I frame a canvas without a miter saw?
Yes, you can use a hand saw with a miter box for angle cuts. It takes more effort, but the results are just as good when done carefully.
What type of wood is best for a DIY canvas frame?
Pine is the most beginner-friendly option. It’s affordable, easy to cut, and stains or paints well with a conditioner applied first.
How do I keep the frame corners from falling apart?
Use both wood glue and nails together. Glue alone isn’t strong enough, and nails alone can split the wood over time. The combination holds well.
Do I need to seal the frame after staining?
It’s a good idea. A coat of clear polyurethane or wax over the stain protects the finish and makes the frame more durable over time.
Can I use a floater frame for a stretched canvas?
Yes. Floater frames are actually designed for stretched canvases. They hold the canvas from behind while leaving the edges visible, which gives a clean gallery look.
