

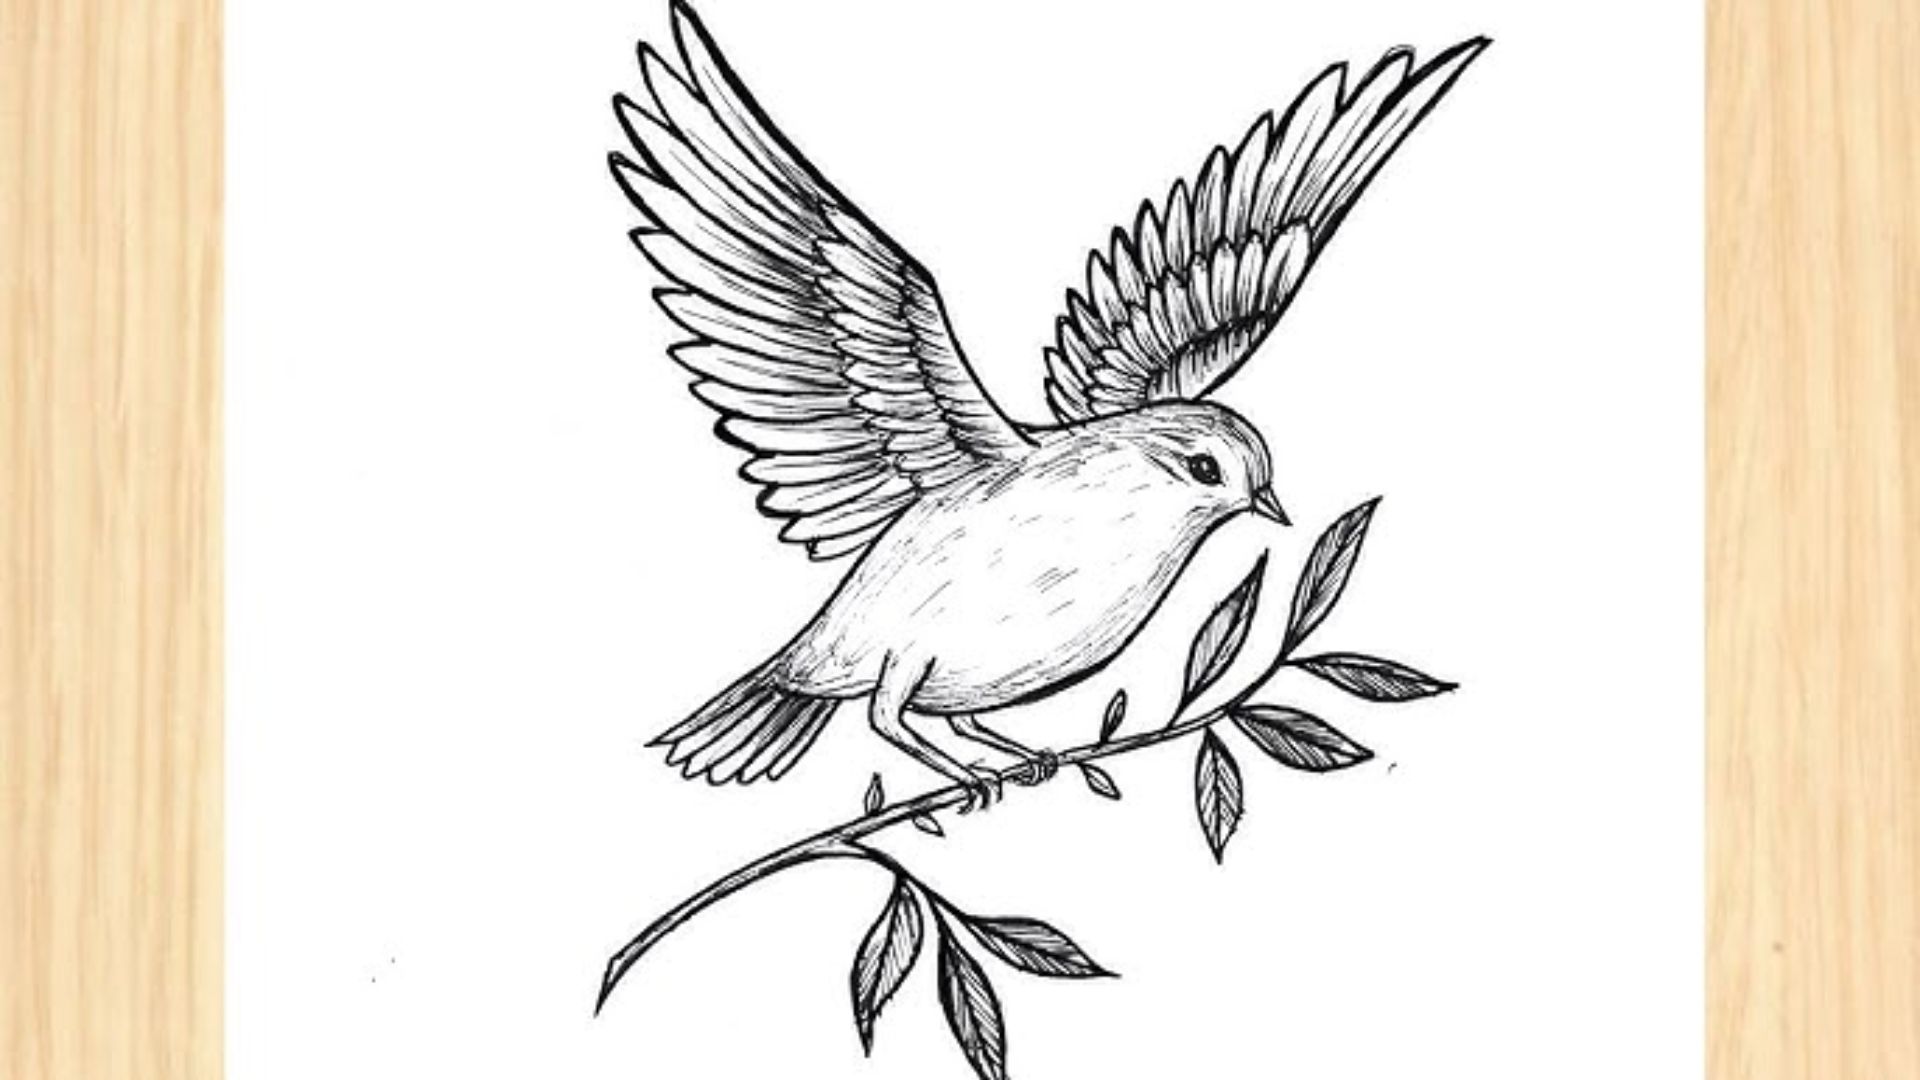
I remember staring at a blank page, pencil in hand, not knowing where to even start. Birds in flight looked so complicated. The wings, the motion, the shape.
But one afternoon, I tried anyway. And it worked. That one attempt changed how I looked at drawing completely.
If you have been holding back because it seems too hard, I get it. But flying bird drawing easy is not a myth.
It is a method. In this guide, I am going to show you exactly how I do it, step by step, including a flying bird drawing easy cute style you will love.
Why Learning Flying Bird Drawing is Easier Than You Think
Most beginners assume birds are too detailed to draw.
The wings, the feathers, the shape mid-air. It feels like a lot. But here is the thing. You are not drawing every feather. You are drawing shapes that look like a bird.
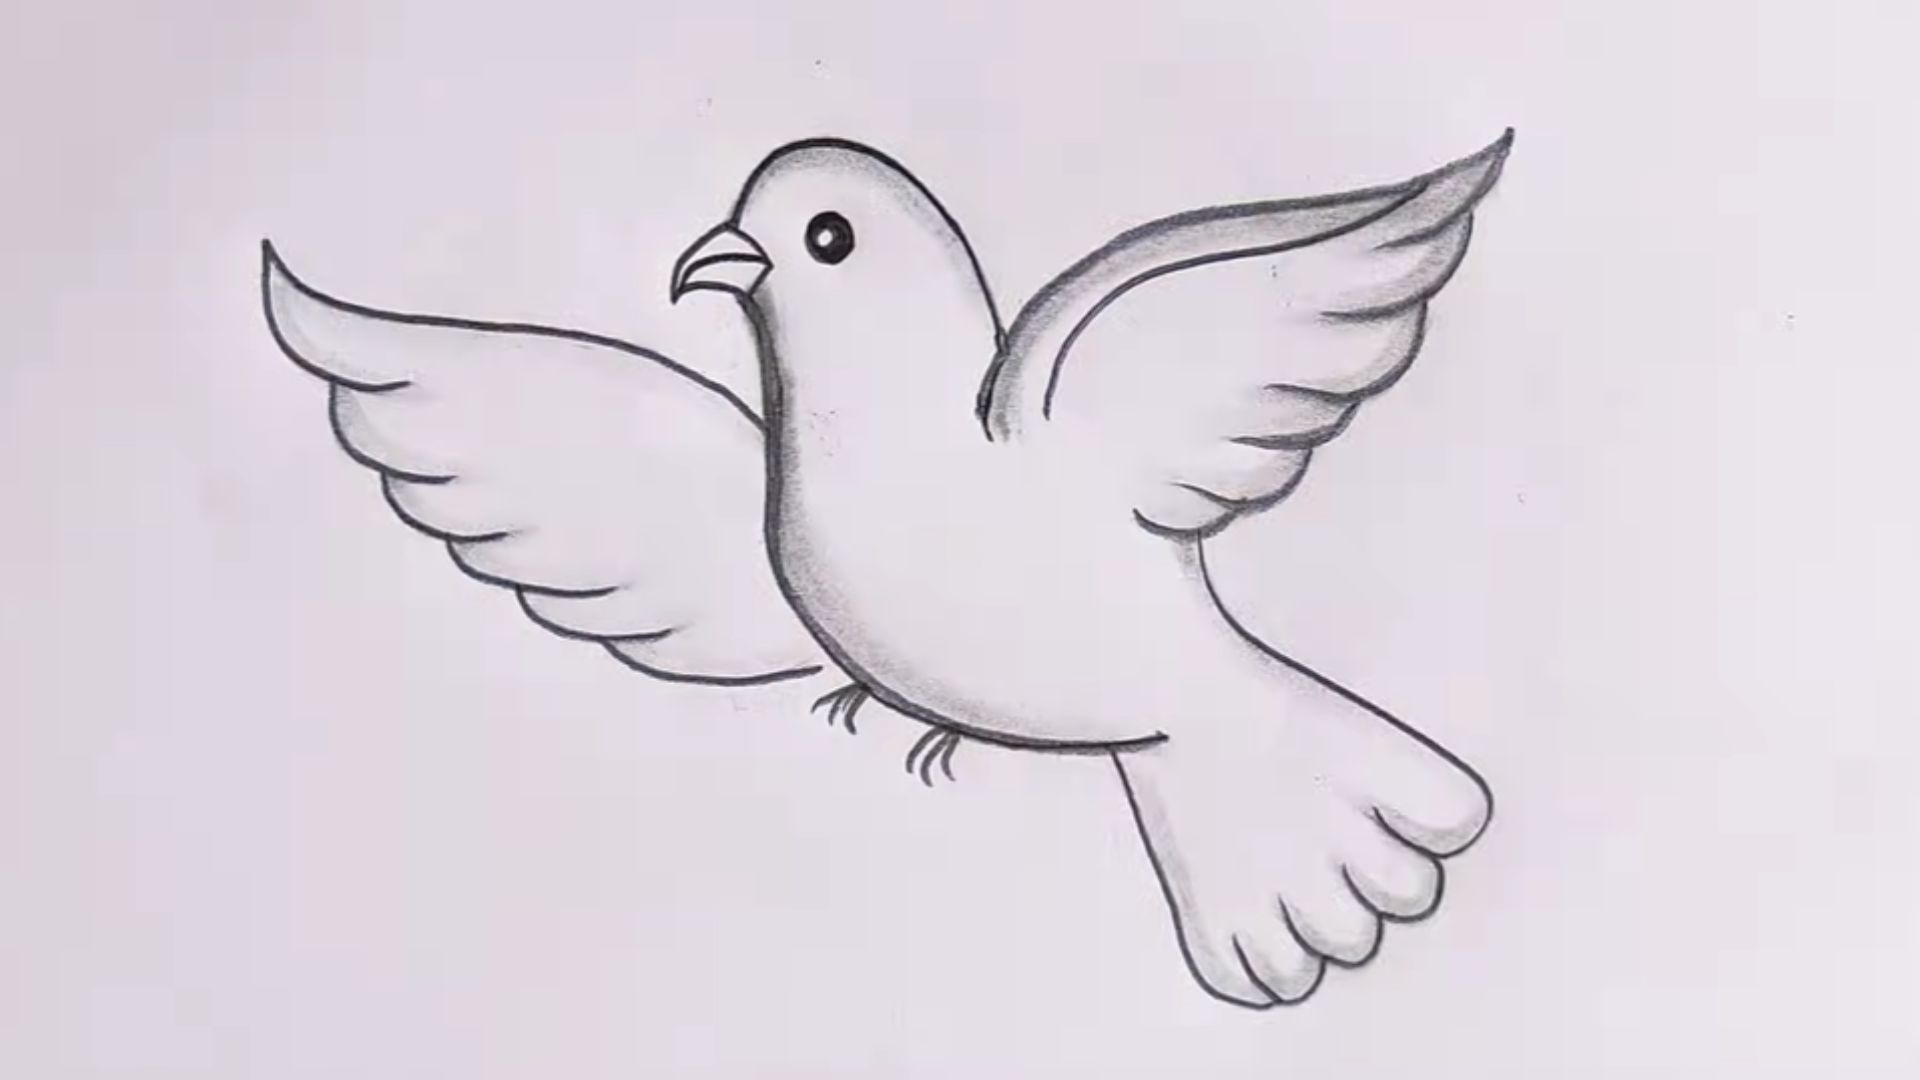
When you break a flying bird down, it is just an oval, two curved lines, and a fan tail. That is the base. Everything else builds on top of it. Simple shapes are the secret most people skip.
Learning this early builds real confidence. Once you can draw a flying bird, other animal drawings start to feel easier too.
It also works great for bullet journals, sketchbooks, or even decorating cards. Flying bird doodles are quick, fun, and honestly impressive once you get the hang of them.
Best Tools for Beginner Bird Drawing
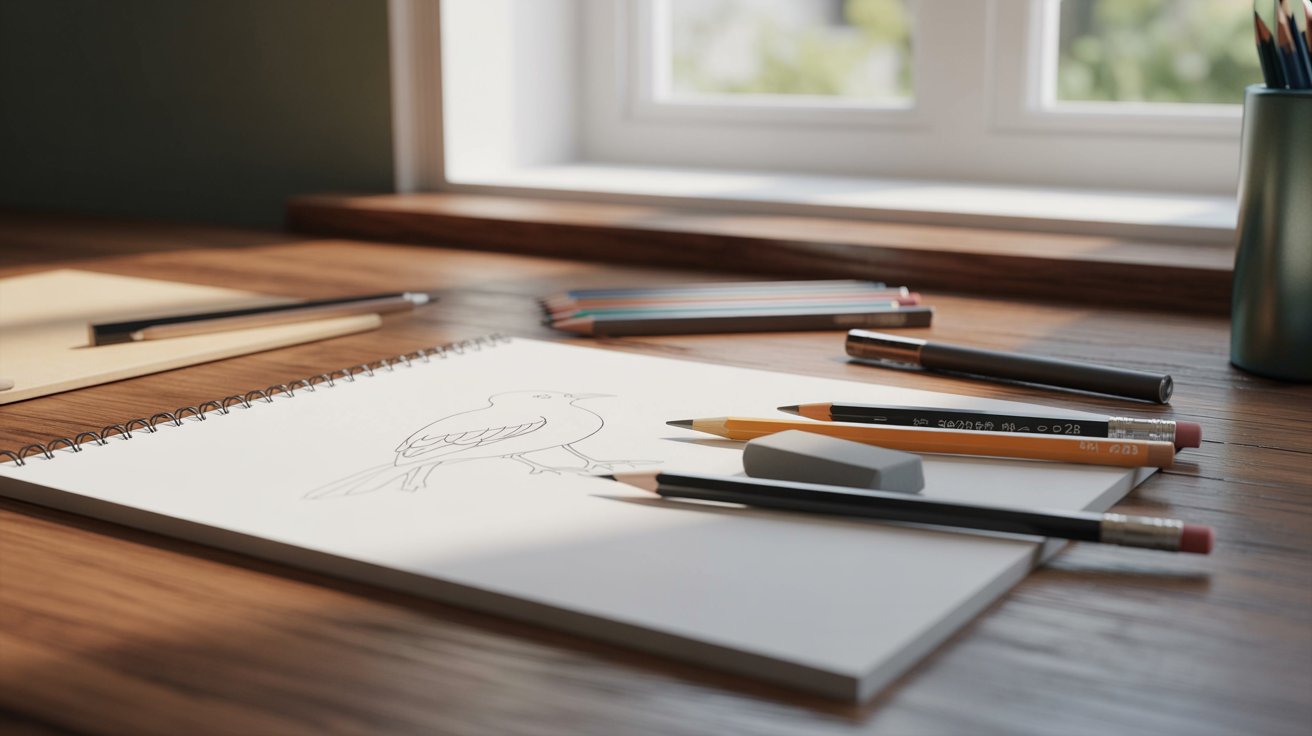
You do not need a fancy art kit to get started. A few basic supplies are all it takes to practice and improve fast.
Here is what I recommend for beginners:
- HB pencil for light sketching and guidelines
- 2B pencil for shading and darker outlines
- Soft eraser to clean up stray lines without smudging
- Plain white paper or sketchpad for smooth, clean strokes
- Optional: Black fineliner or marker for outlining
- Optional: Colored pencils or watercolors if you want to add color
Start with just a pencil and eraser. That is honestly enough. Once you get comfortable with the shapes and proportions, you can bring in markers or colors to add more life to your drawing.
Flying Bird Drawing Easy: Step-by-Step Tutorial
This is the part where the drawing actually comes together. Take it one step at a time and do not rush. Each step builds on the last.
Step 1 – Draw the Basic Body Shape
Start with a simple oval in the center of your paper. Keep it light. This is just a guide, not a final line.
The oval does not need to be perfect. A slightly tilted oval actually looks more natural for a bird in flight.
Keep the size small to medium. You want enough room on either side for the wings. This is the most important base of your flying bird drawing easy process.
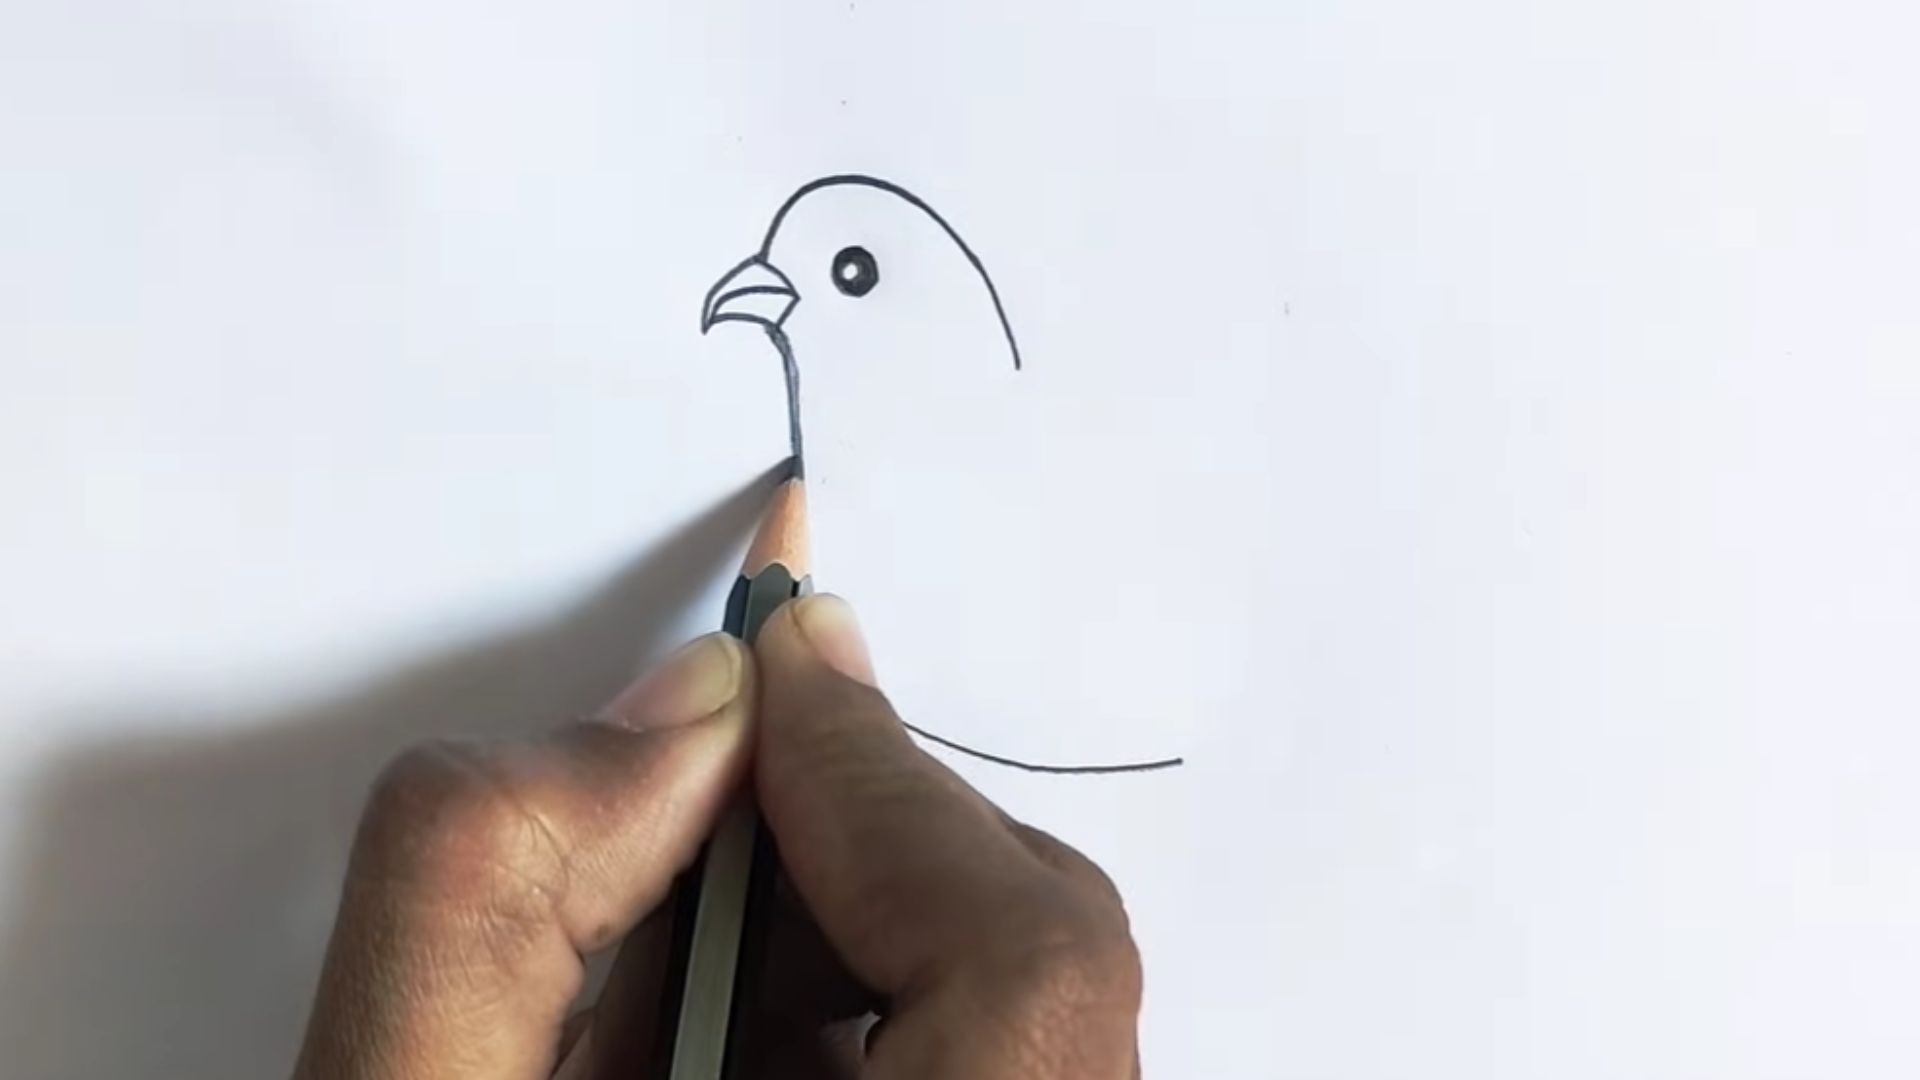
Step 2 – Add the Head and Beak
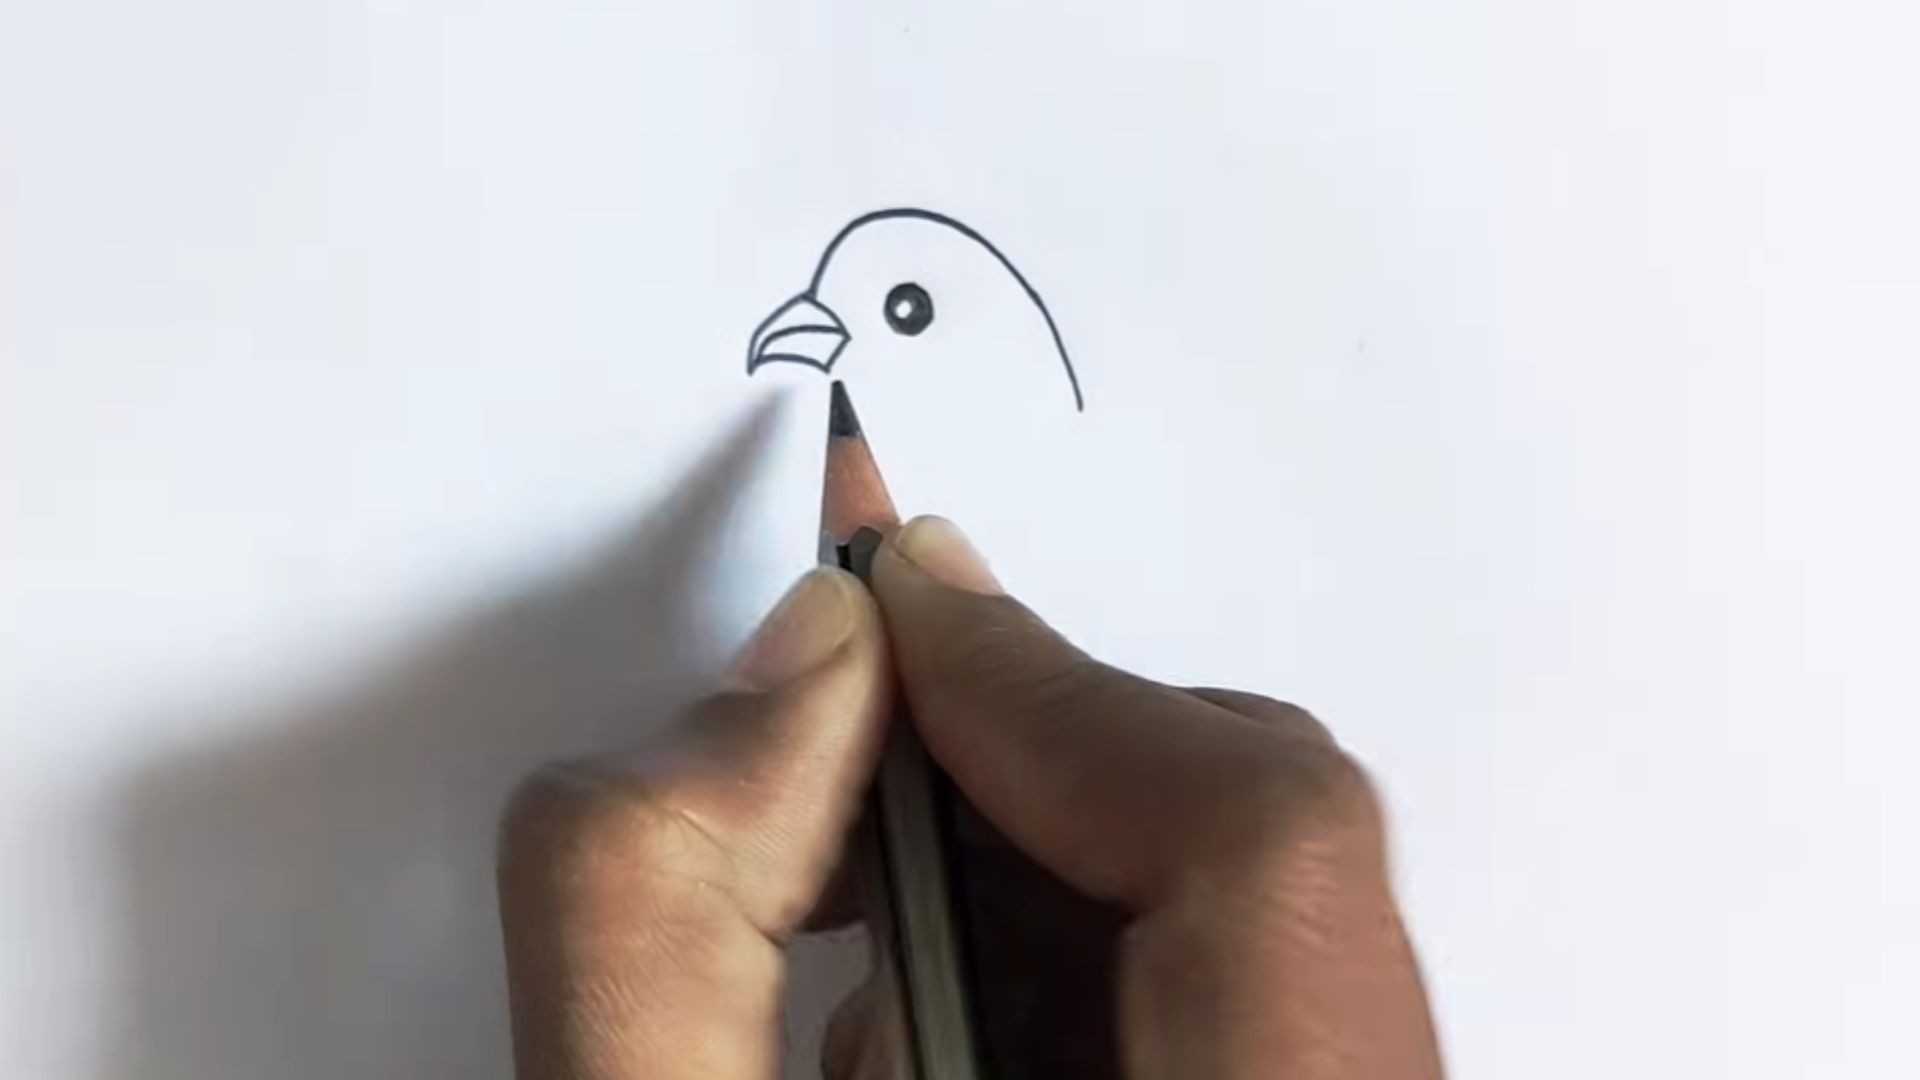
Draw a small circle at the front top of the oval. This is the head. It should overlap the body slightly, not sit on top of it.
Add a small triangle at the front of the circle for the beak. Point it slightly downward or forward, depending on the pose you want.
Keep both shapes light and simple. You will refine the lines later in the process.
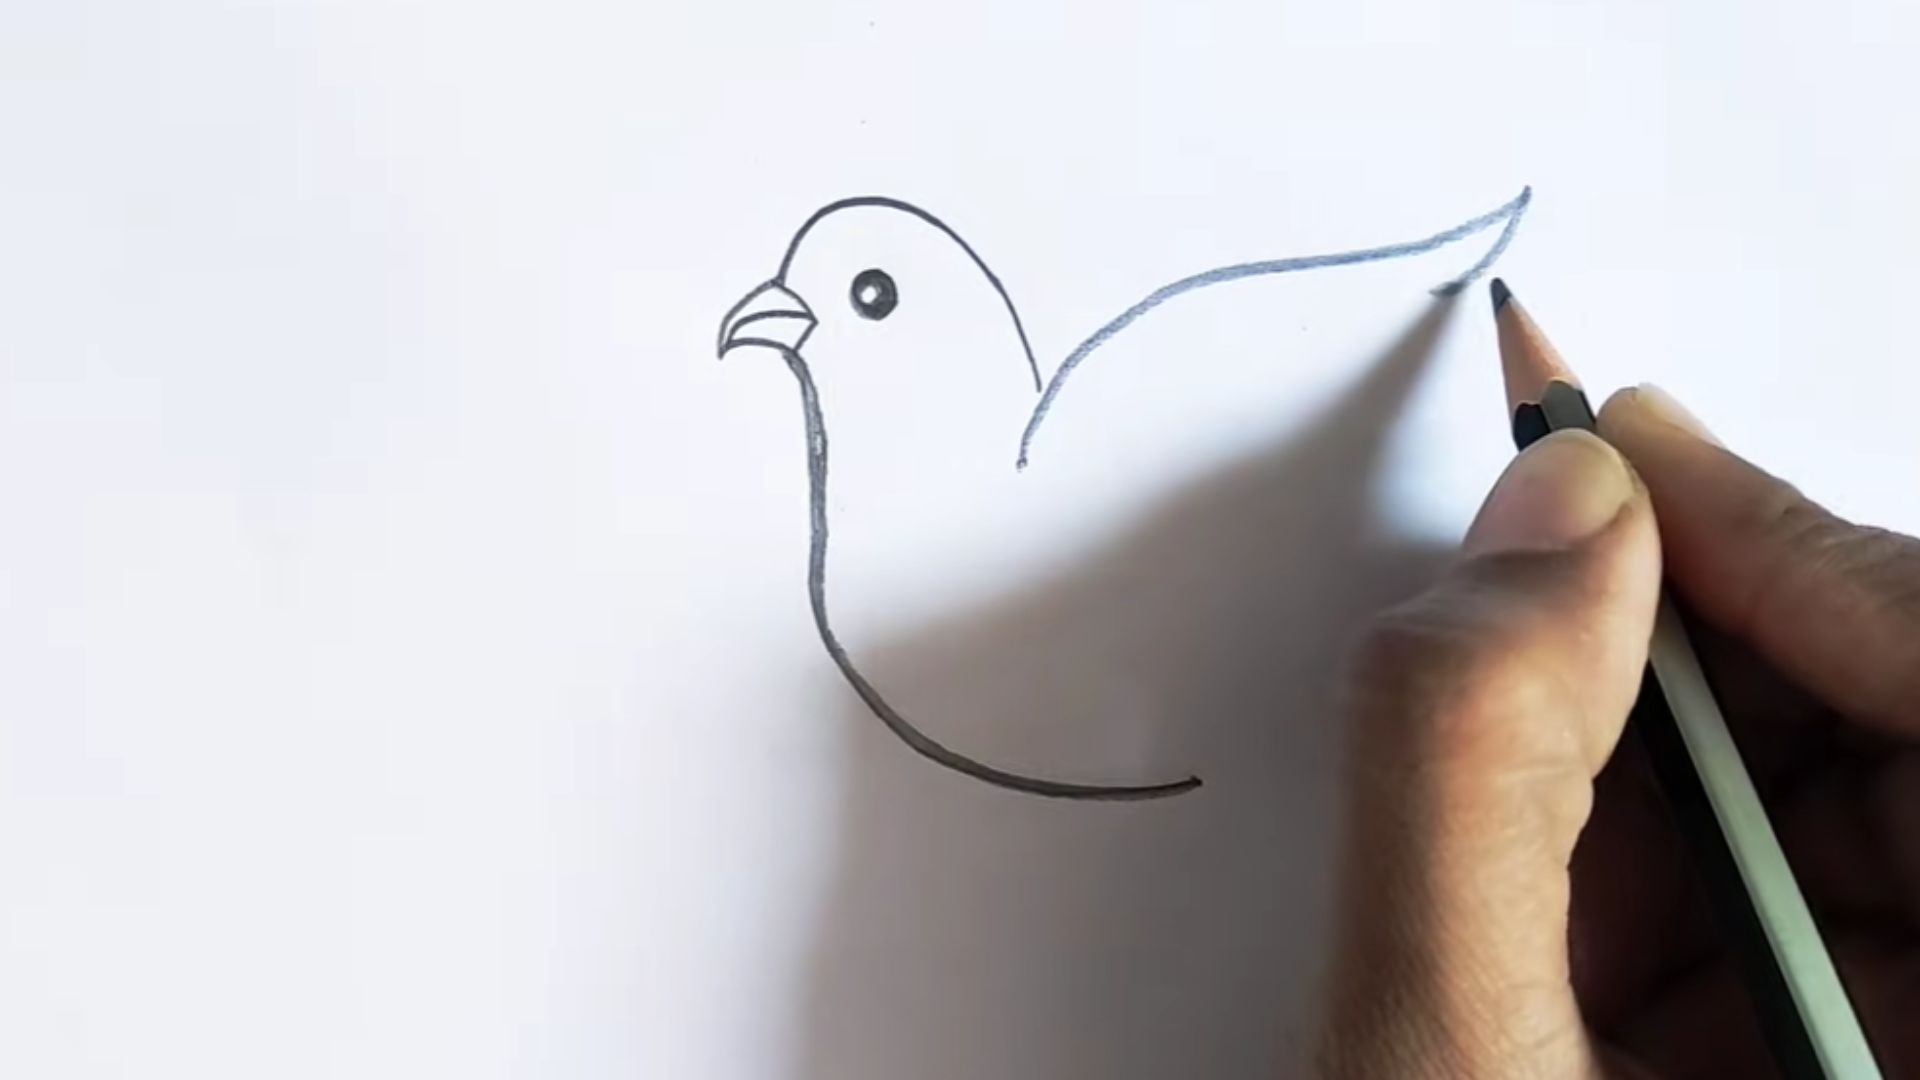
Step 3 – Sketch the Wing Guidelines
This is where most beginners get stuck. But it is simpler than it looks.
Draw two curved lines coming out from both sides of the body. Curve them upward, like a gentle "U" shape flipped on its side. Think of the wings mid-flap.
These are just guidelines. They show direction and movement. Do not press too hard yet.
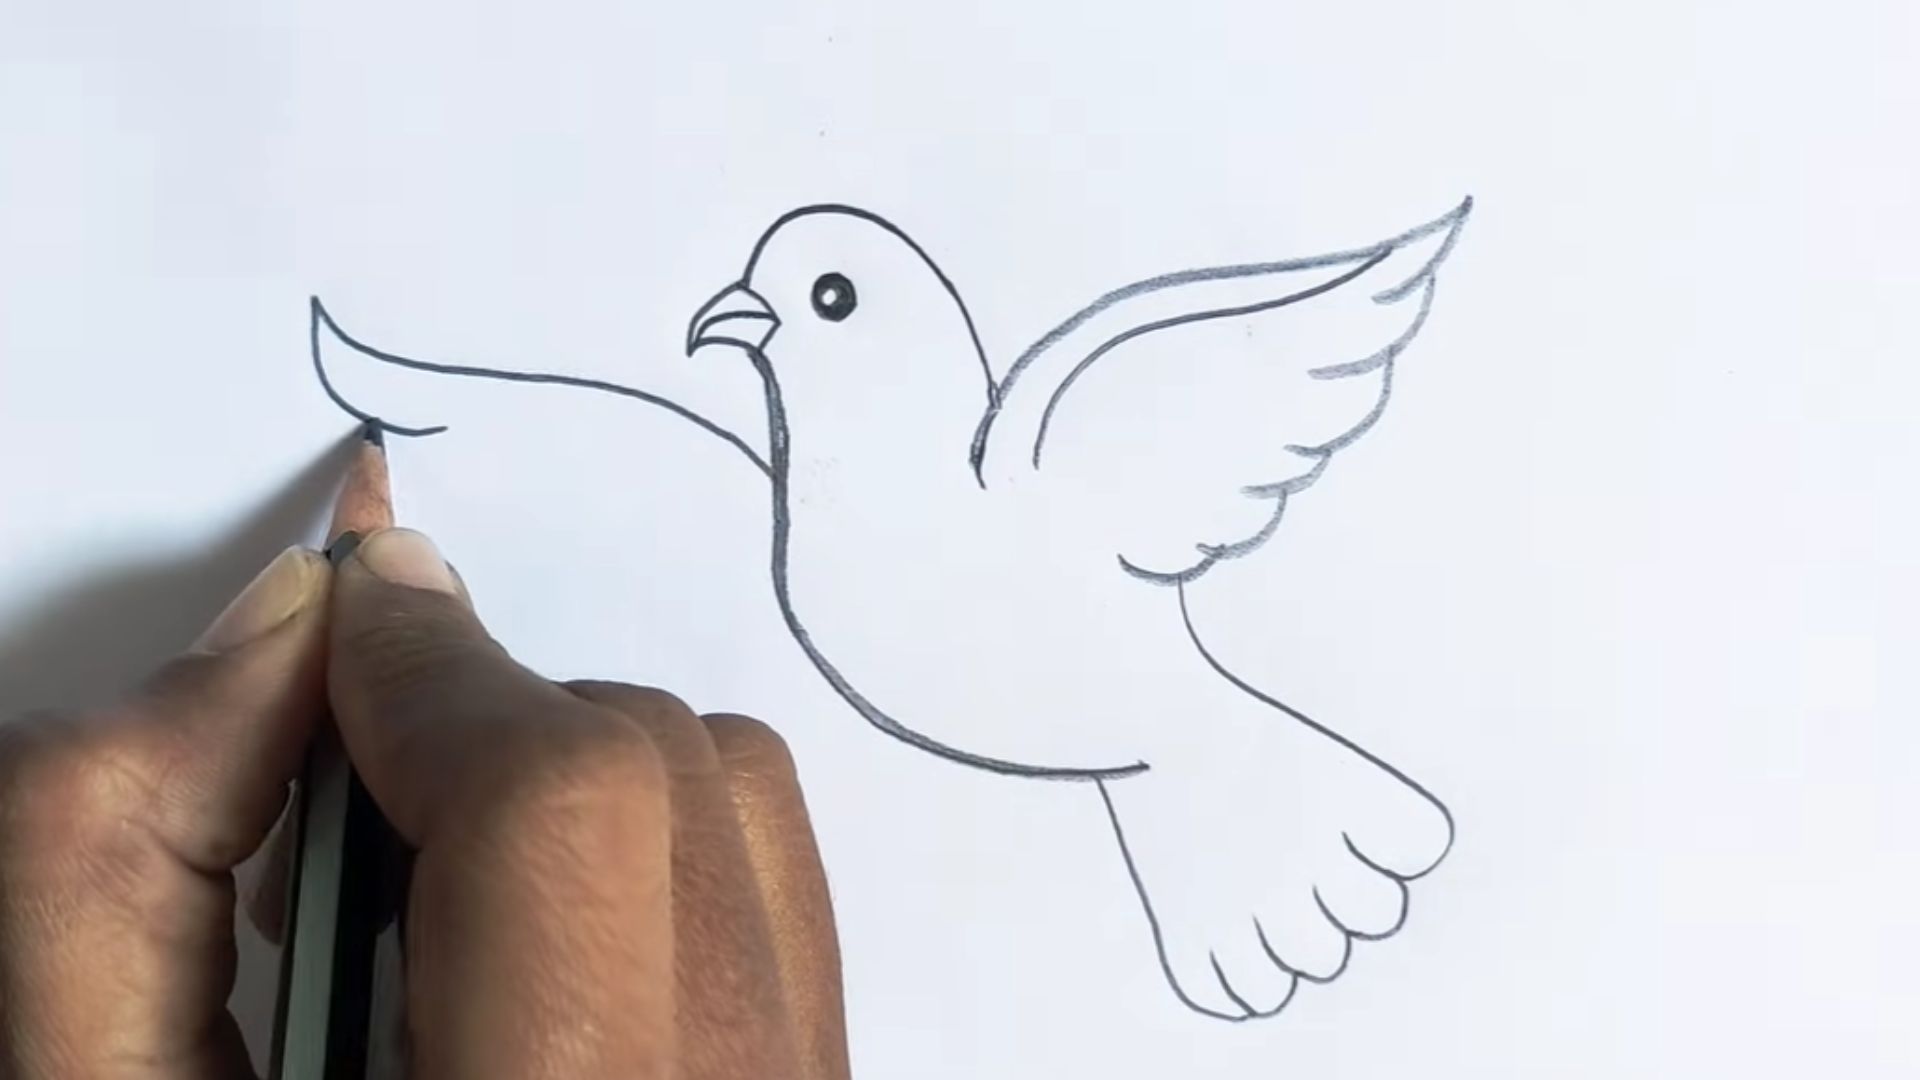
Step 4 – Shape the Wings
Now use your guidelines to build actual wings. Add a curved outer edge to each wing, following the guideline shape.
For the tips of the wings, you can add light bumps or points to hint at feathers. Keep it simple. Three to four bumps along the edge is enough for a clean look.
Smooth curves work best for beginners. Save the super detailed feather work for later when you are more comfortable.
Step 5 – Draw the Tail Feathers

At the back of the oval, add a fan shape. Think of a wide "V" or a spread-out hand.
Keep it proportional to the body. If the tail is too big, the bird starts to look off. A simple, clean fan shape works perfectly.
You can add two or three light lines inside the tail to hint at individual feathers without overdoing it.
Step 6 – Refine the Body Outline

Now connect everything smoothly. The head, body, wings, and tail should all flow into one another without sharp breaks.
Go over your lines gently and erase any overlapping guidelines that are no longer needed. This is where the bird starts to look like an actual bird.
Take your time here. Clean, flowing lines make a big difference in the final look.
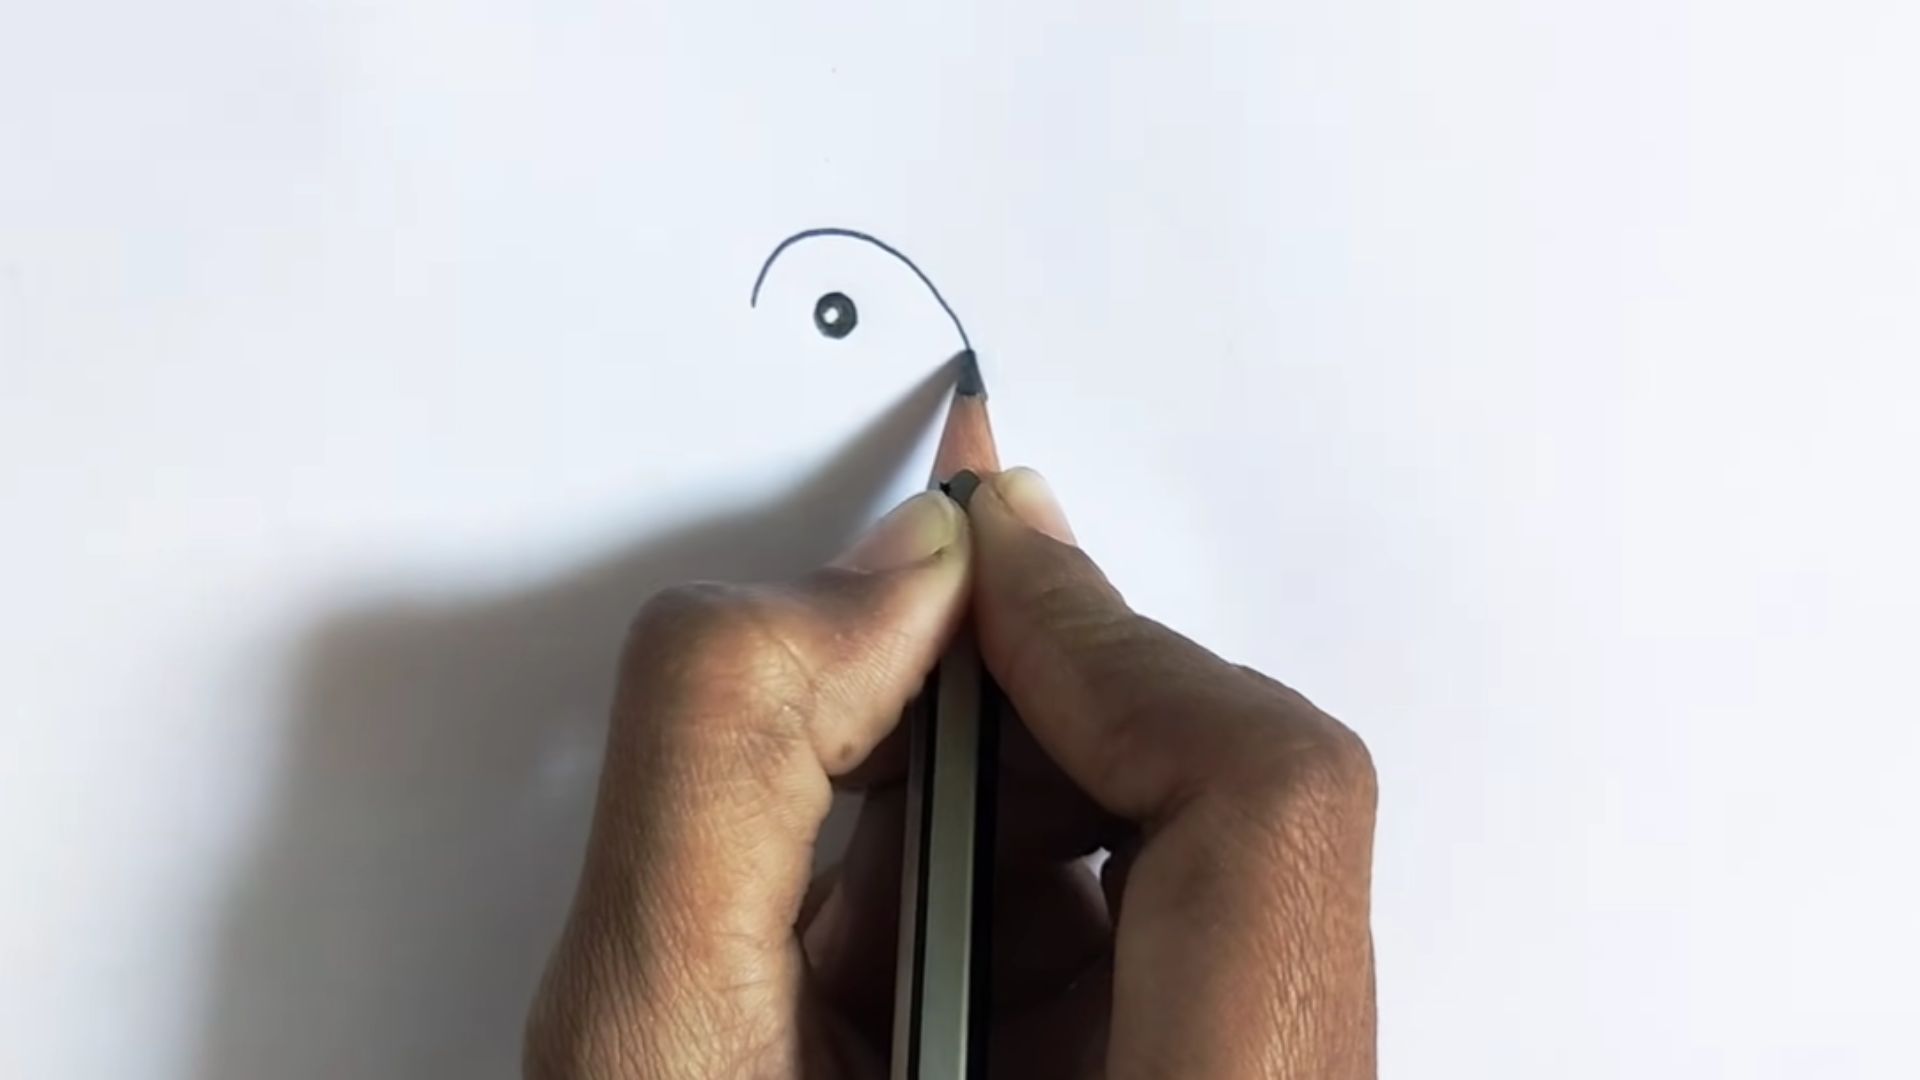
Step 7 – Add Eye and Small Details
Draw a tiny circle on the head for the eye. Add a small dot inside it for the pupil.
You can add a few light lines on the body to hint at feather texture. Just a few. Less is more at this stage.
Small details like this bring the drawing to life without making it feel overcrowded or complicated.
Step 8 – Outline the Drawing
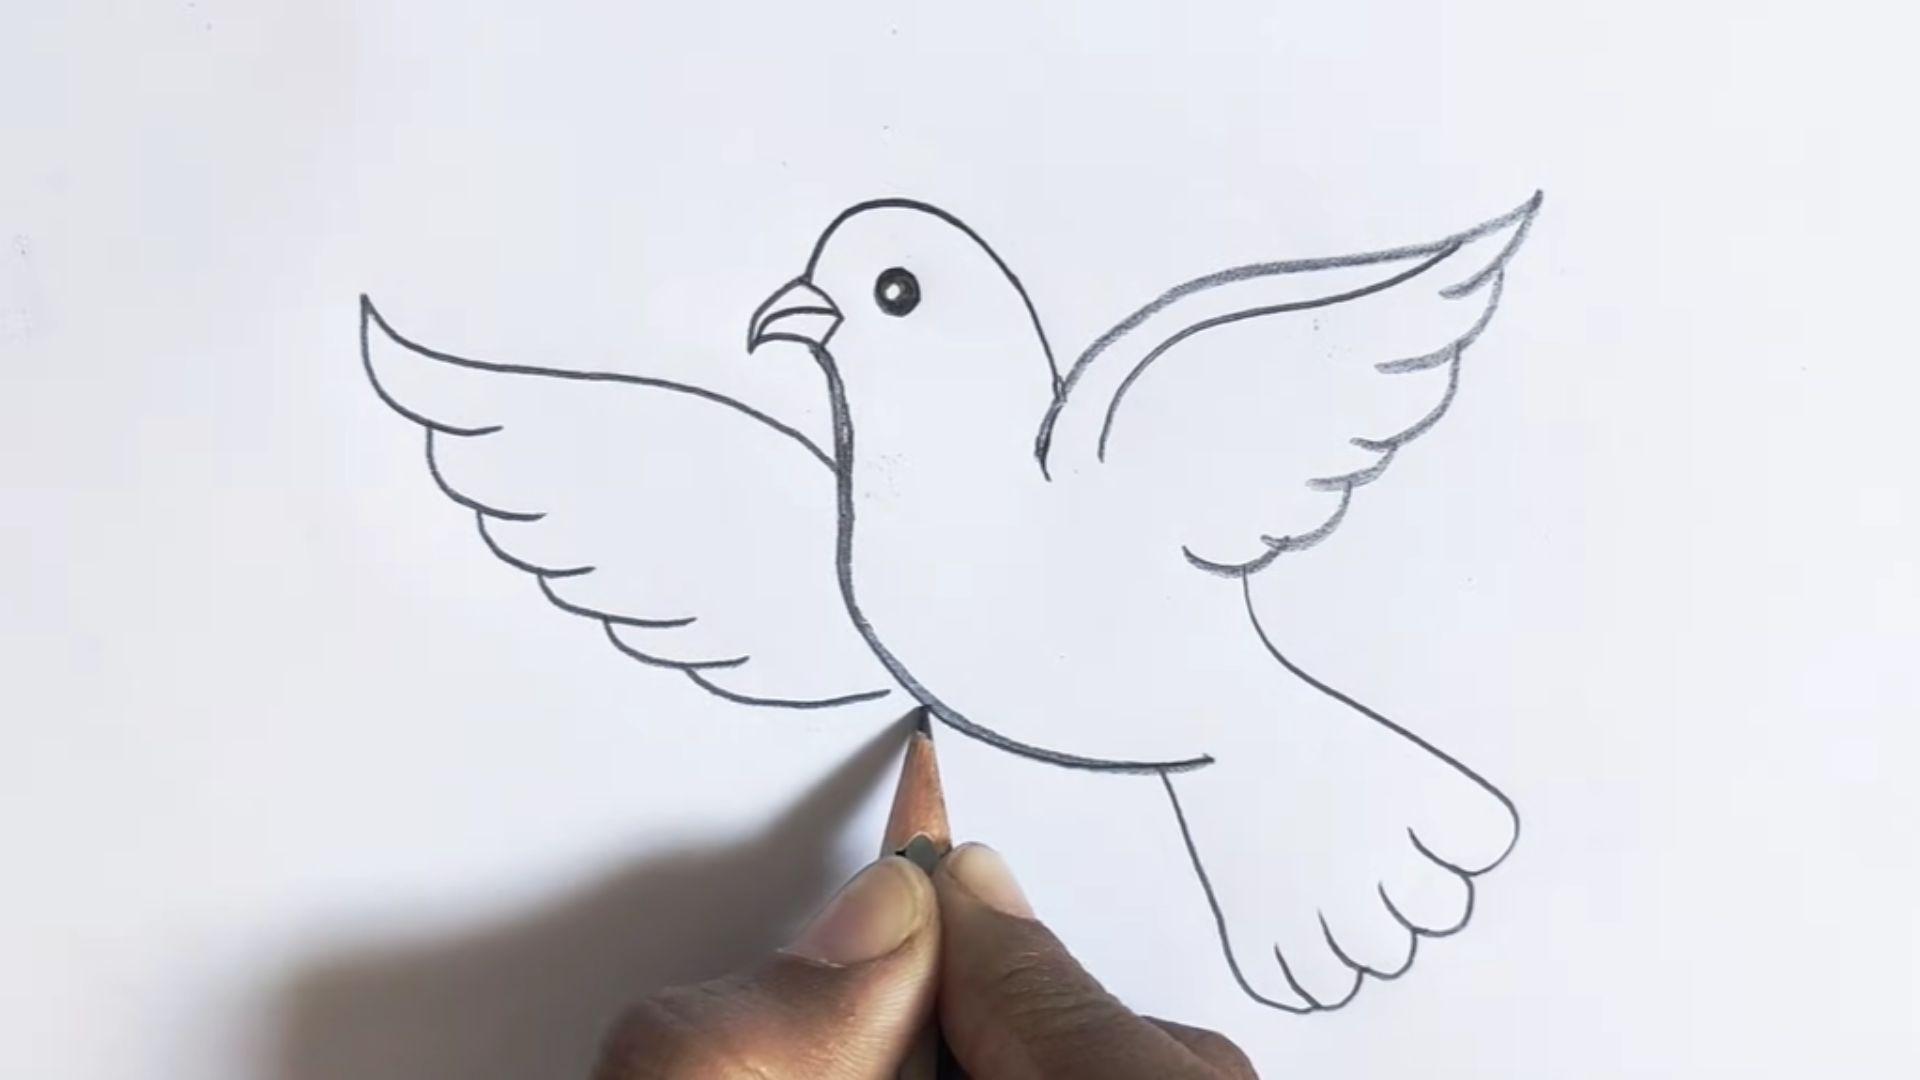
Use a darker pencil or a black pen to trace your final lines. Go slow and keep your strokes confident.
Skip any lines that were just guides. Only outline the shapes that belong in the final drawing.
This step makes the biggest visual difference. Clean outlines give the bird a finished, polished look.
Step 9 – Add Final Touches (Optional Coloring)
Now you can add light shading using the side of your pencil. Focus on the underside of the wings and belly for depth.
If you want color, light blues, soft yellows, or warm oranges work beautifully. For a flying bird drawing easy cute version, stick to pastel tones and round out the features a little more. A rounder head and softer beak give it that sweet, cartoon-like feel.
This step is optional but it really takes the drawing up a notch.
Common Mistakes to Avoid When Drawing Flying Birds
Most beginner mistakes are easy to fix once you know what to look out for. Here are the most common ones I see, and what to do instead.
- Wings too stiff or straight: Wings in flight have natural curves. Use flowing, rounded lines, not ruler-straight ones.
- Body proportions off: The body should be the smallest part. Wings are always wider than the body.
- Over-detailing too early: Adding too many feathers or lines in the early steps makes everything messy. Build detail slowly.
- Skipping guidelines: Jumping straight to final lines without sketching guides first leads to uneven shapes and bad proportions.
Every artist makes these mistakes early on. The fix is always the same. Slow down, use light sketch lines, and build the drawing in layers. You will notice the improvement immediately.
Tips to Make Your Flying Bird Drawing Look More Realistic
Once you have the basics down, small adjustments can make a huge difference in how your bird looks. These tips help a lot.
- Study real bird wings: Look at photos of birds mid-flight. Notice how the wings curve and how the feathers overlap.
- Use curved lines for motion: Even the body outline should have a slight curve. Straight lines feel stiff and unnatural.
- Add light shading for depth: A little shadow under the wings and belly adds a 3D effect without much effort.
- Keep early sketches loose: Tight, stiff strokes make the bird look rigid. Let your hand move freely, especially in the first few steps.
Realism comes with practice. But even small changes to your lines and shading can make your drawing look much more alive.
Conclusion
Flying bird drawing easy is one of those skills that surprises you.
You sit down thinking it will take forever, and suddenly you have a bird on paper that actually looks right. That feeling is addictive.
So keep going. Try the cute version next. Then try a whole flock. Share your drawing in the comments below. I read every single one.
And if you found this guide helpful, send it to a friend who has been putting off learning to draw. Sometimes all someone needs is the right starting point.
Frequently Asked Questions
How Do You Draw a Flying Bird Easy for Beginners?
Start with an oval for the body, add a small circle for the head, sketch curved guidelines for the wings, then shape and refine everything step by step. Keeping your lines light in the early stages makes the whole process much easier.
What Is the Easiest Way to Draw Bird Wings?
Draw two curved lines coming out from either side of the body, curving upward like a mid-flap motion. Then build the wing shape around those lines using smooth, rounded edges.
How Can I Make My Bird Drawing Look Cute?
Use rounder shapes for the head and body, soften the beak into a shorter triangle, and color with pastel shades. This flying bird drawing easy cute approach gives the bird a sweet, playful look.
Which Pencil Is Best for Bird Drawing?
An HB pencil is great for light sketching and guidelines, while a 2B works well for shading and darker outlines. Starting with HB and switching to 2B for finishing details gives you the most control.
How Long Does It Take to Learn Bird Drawing?
Most beginners can draw a basic flying bird within one or two practice sessions. With regular sketching, your lines get cleaner and faster within just a couple of weeks.