


I used to think drawing a boat required actual artistic talent.
Spoiler: it does not. Once I figured out the right starting shape, the whole thing came together in minutes. That one small shift changed everything for me.
And that is exactly what I want to show you today.
In this guide, I will walk you through how to draw a boat using steps so simple, even a first-timer can follow along. Basic shapes, clean lines, a few shading tricks.
Curious which shape makes or breaks the entire drawing? You will find out very soon.
Why Learning How to Draw a Boat Is Great for Beginners

Boats are made of simple shapes. A curved bottom, a flat top, a box for the cabin. That is really all it takes to get started. You do not need any fancy skills to begin.
Drawing regularly trains your eye to notice shapes in everyday objects. A boat is a great starting point because its structure is easy to observe and copy.
It works for everyone. Kids use it for school projects. Hobby artists use it to practice proportions. Beginners use it to build confidence before moving to harder subjects.
The best part? You can take the same basic drawing and turn it into a cartoon, a realistic sketch, or a full scenic piece. The base stays the same. The style is up to you.
Materials You Need to Draw a Boat
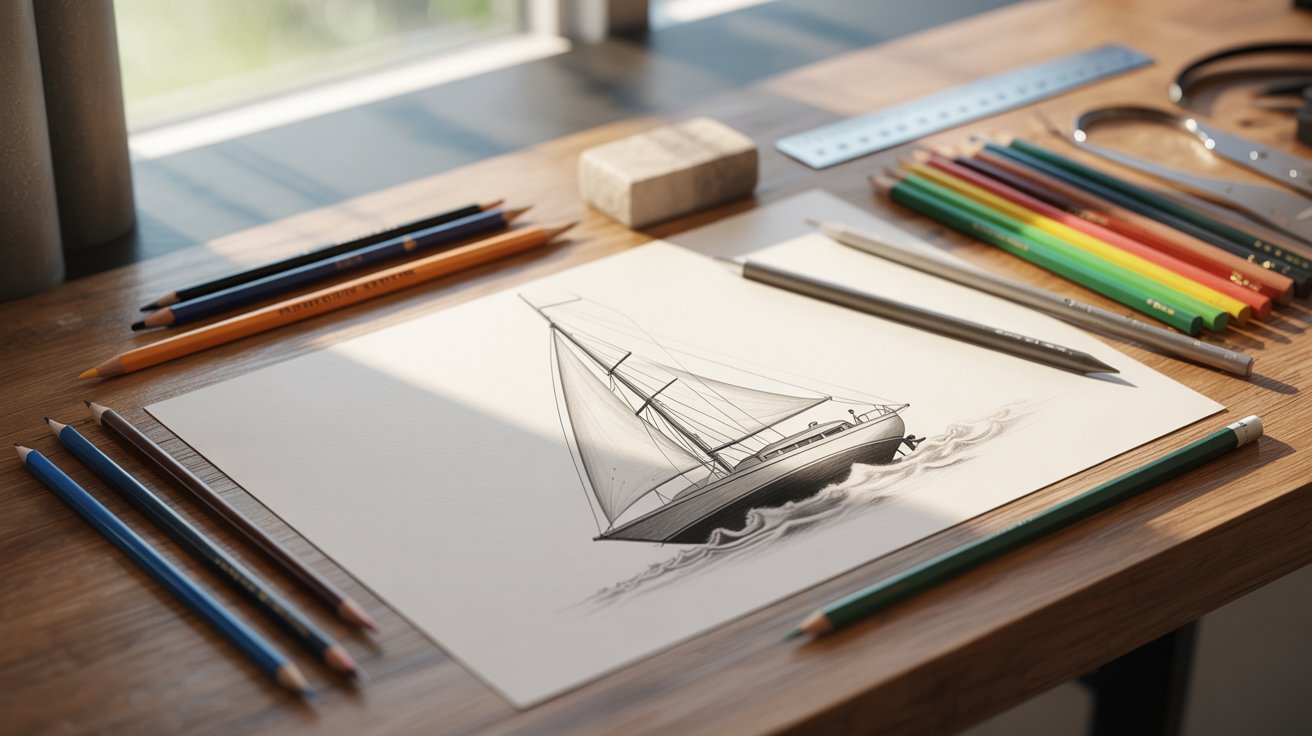
You do not need a lot to get started. A few basic supplies are all it takes to sit down and draw.
Here is what I recommend keeping at your desk:
- Pencil (HB or 2B works best for sketching)
- Eraser (a kneaded eraser is great for light corrections)
- Drawing paper (smooth paper gives cleaner lines)
- Ruler (optional, but helpful for straight deck lines)
- Colors (crayons, markers, or colored pencils all work well)
Start simple. As you get more comfortable, you can experiment with better paper or finer pencils. But for now, what you already have at home is more than enough.
How to Draw a Boat Step by Step
This is the main part. I have kept every step short and clear so you can follow along without any confusion. Grab your pencil and let's go.
Step 1 – Draw the Base of the Boat
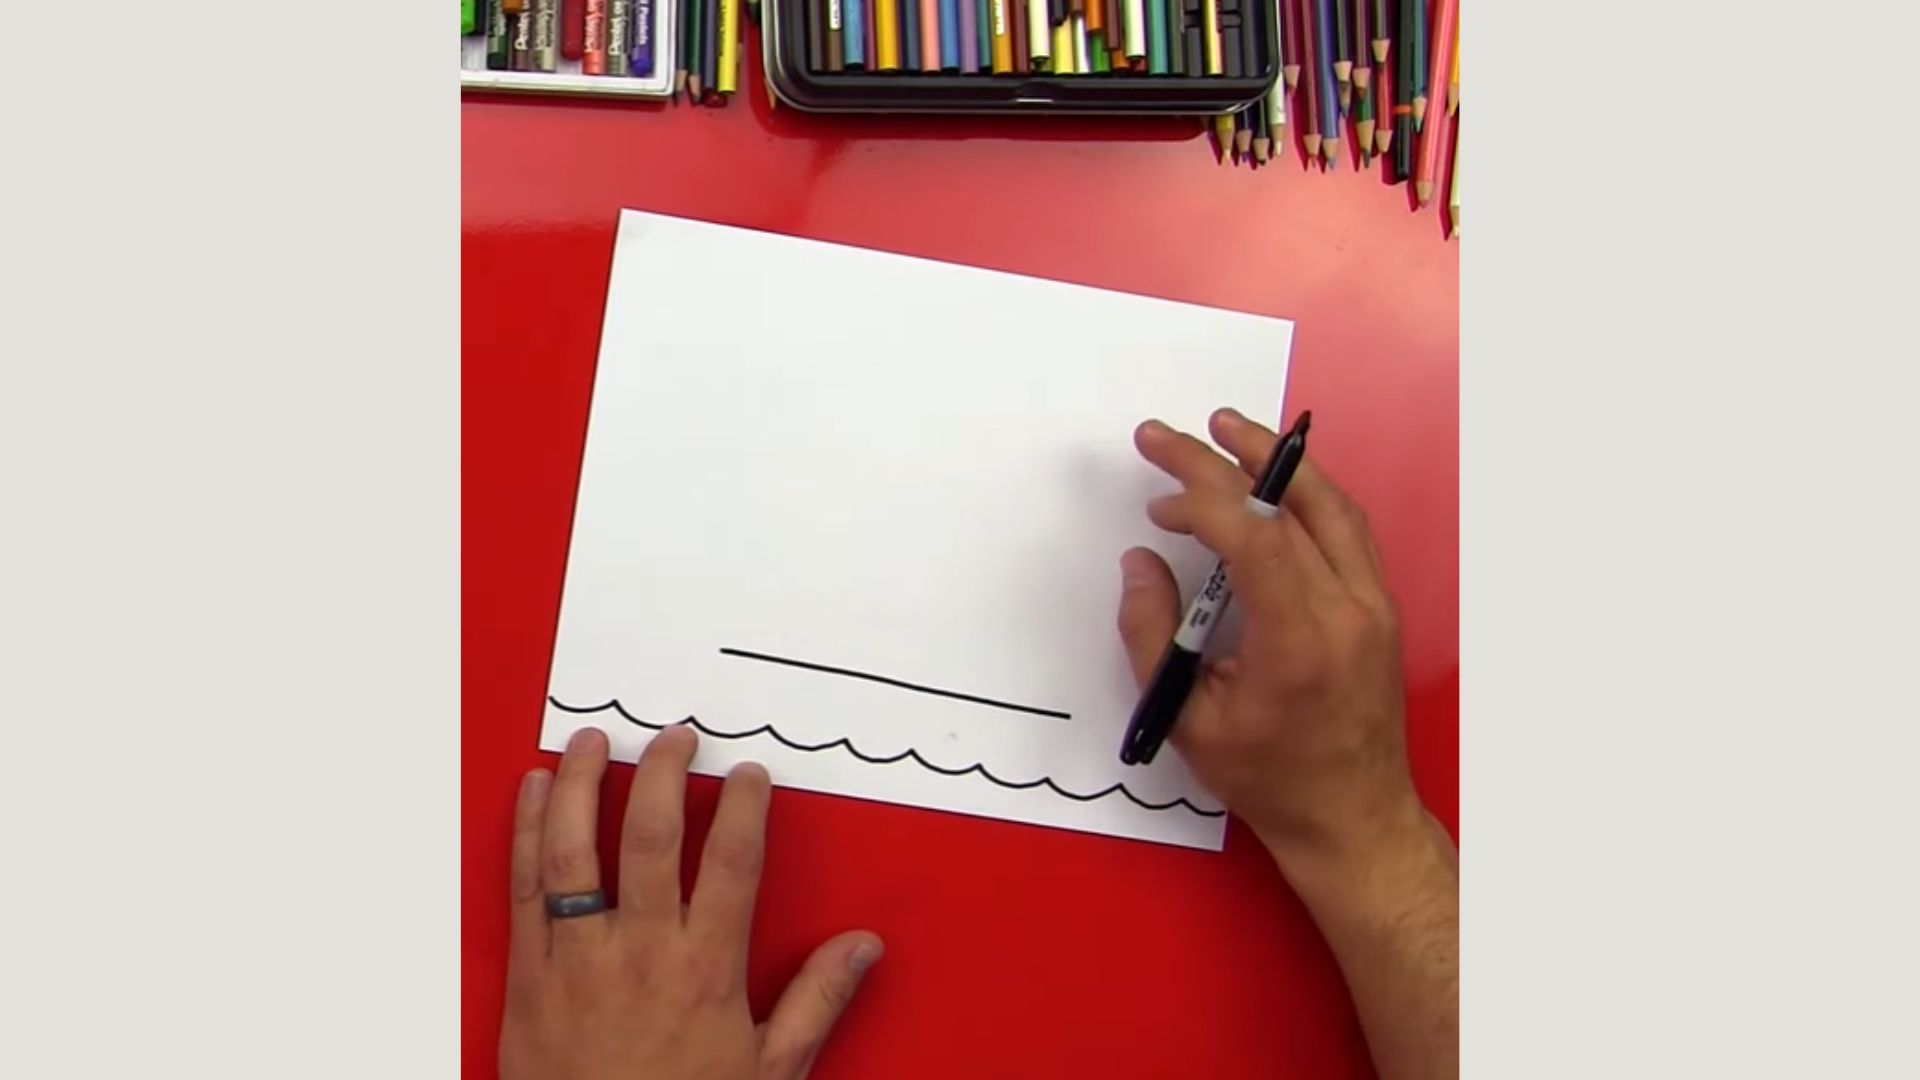
Start with a long, gently curved line. Think of the shape of a banana, but wider and flatter. This is the hull, the bottom part of the boat that sits in the water.
Connect the ends of the curve with a straight or slightly curved line across the top. Keep this line horizontal. That closes off the base shape.
Do not press too hard yet. Light strokes at this stage make it easier to fix any mistakes later.
Step 2 – Add the Upper Structure
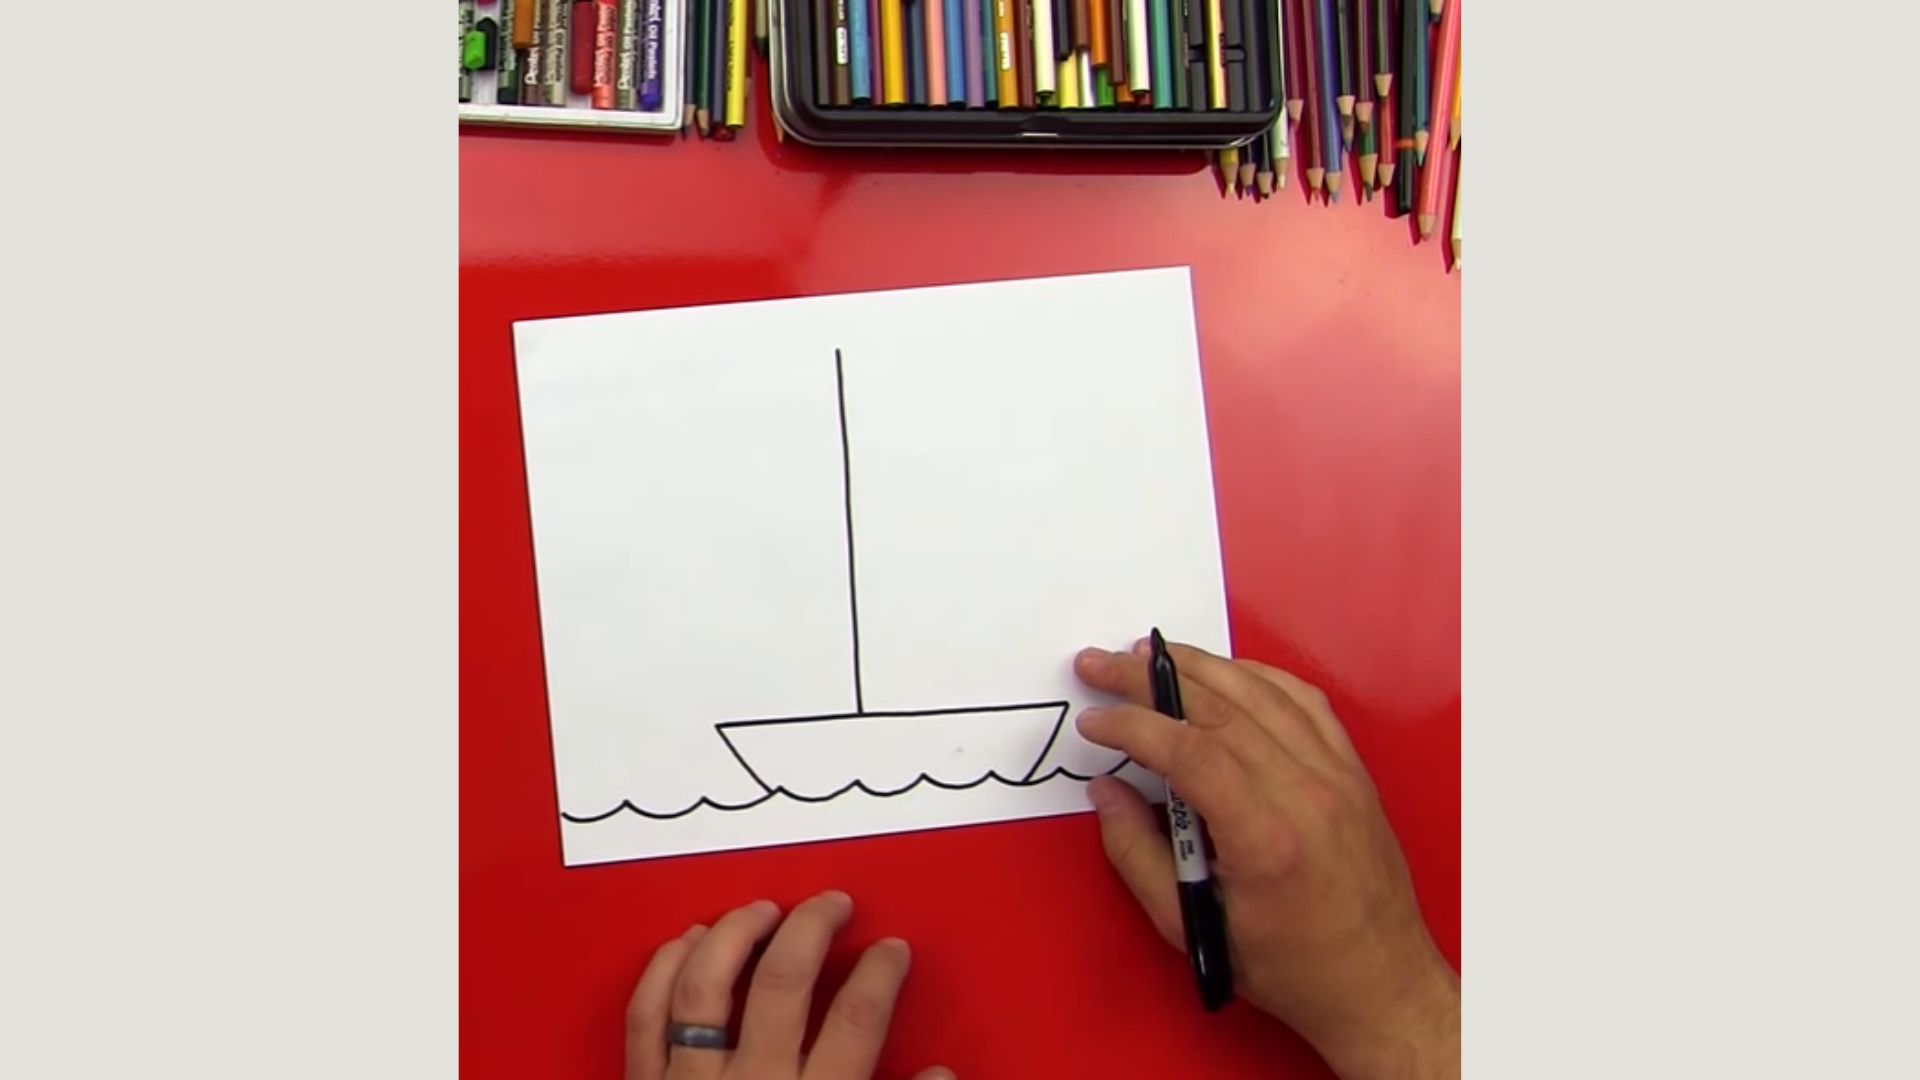
Draw a flat horizontal line across the top of your hull shape. This line is the deck. It is where everything above the waterline will sit.
Keep it level. If the line tilts too much, the whole boat will look off-balance. Use a ruler here if you need a clean, steady line.
This step seems small, but it sets up everything that comes next.
Step 3 – Sketch the Cabin or Interior
Above the deck line, draw a small rectangle or box shape. This is the cabin, the enclosed part where people sit or steer the boat.
Position it slightly toward the center or back of the deck. Do not make it too tall or too wide. It should look proportional to the hull below it.
You can also add a simple curved shape here if you want a rounder, softer cabin style.
Step 4 – Draw the Mast or Details
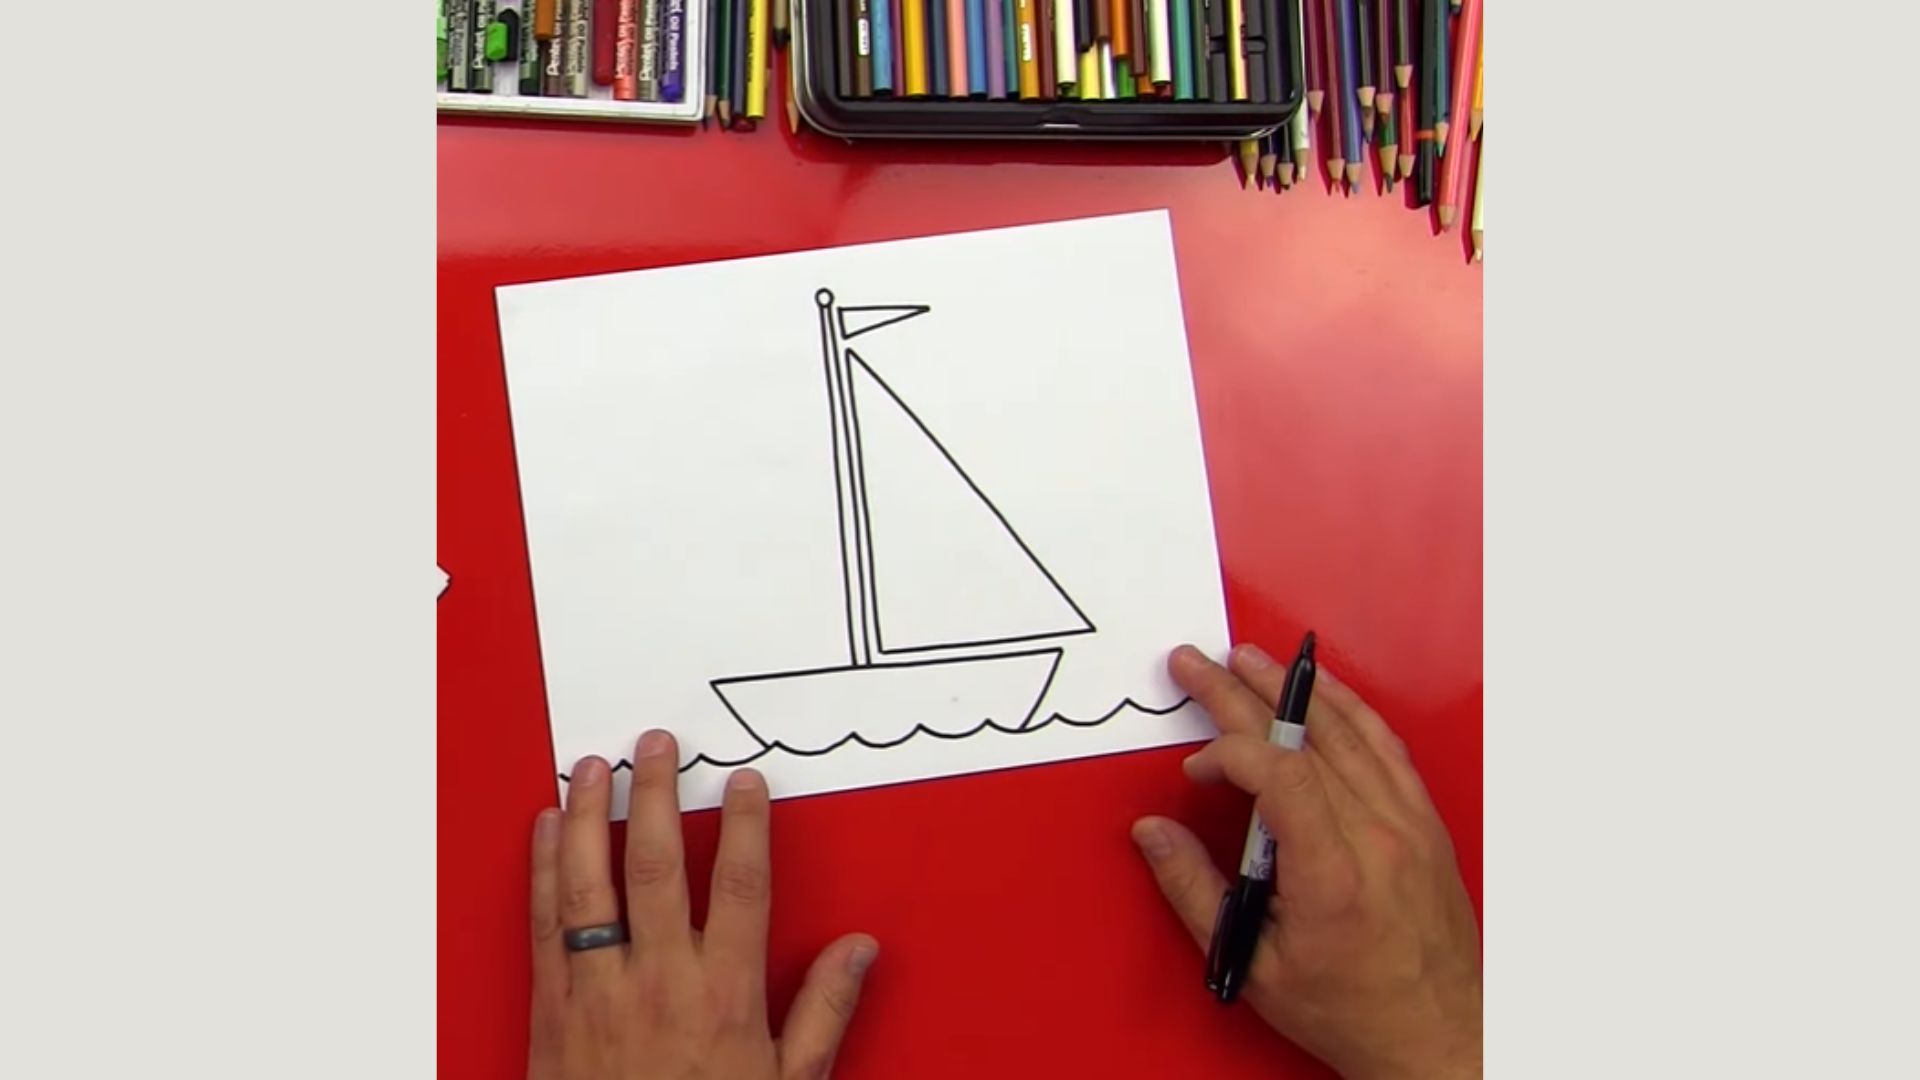
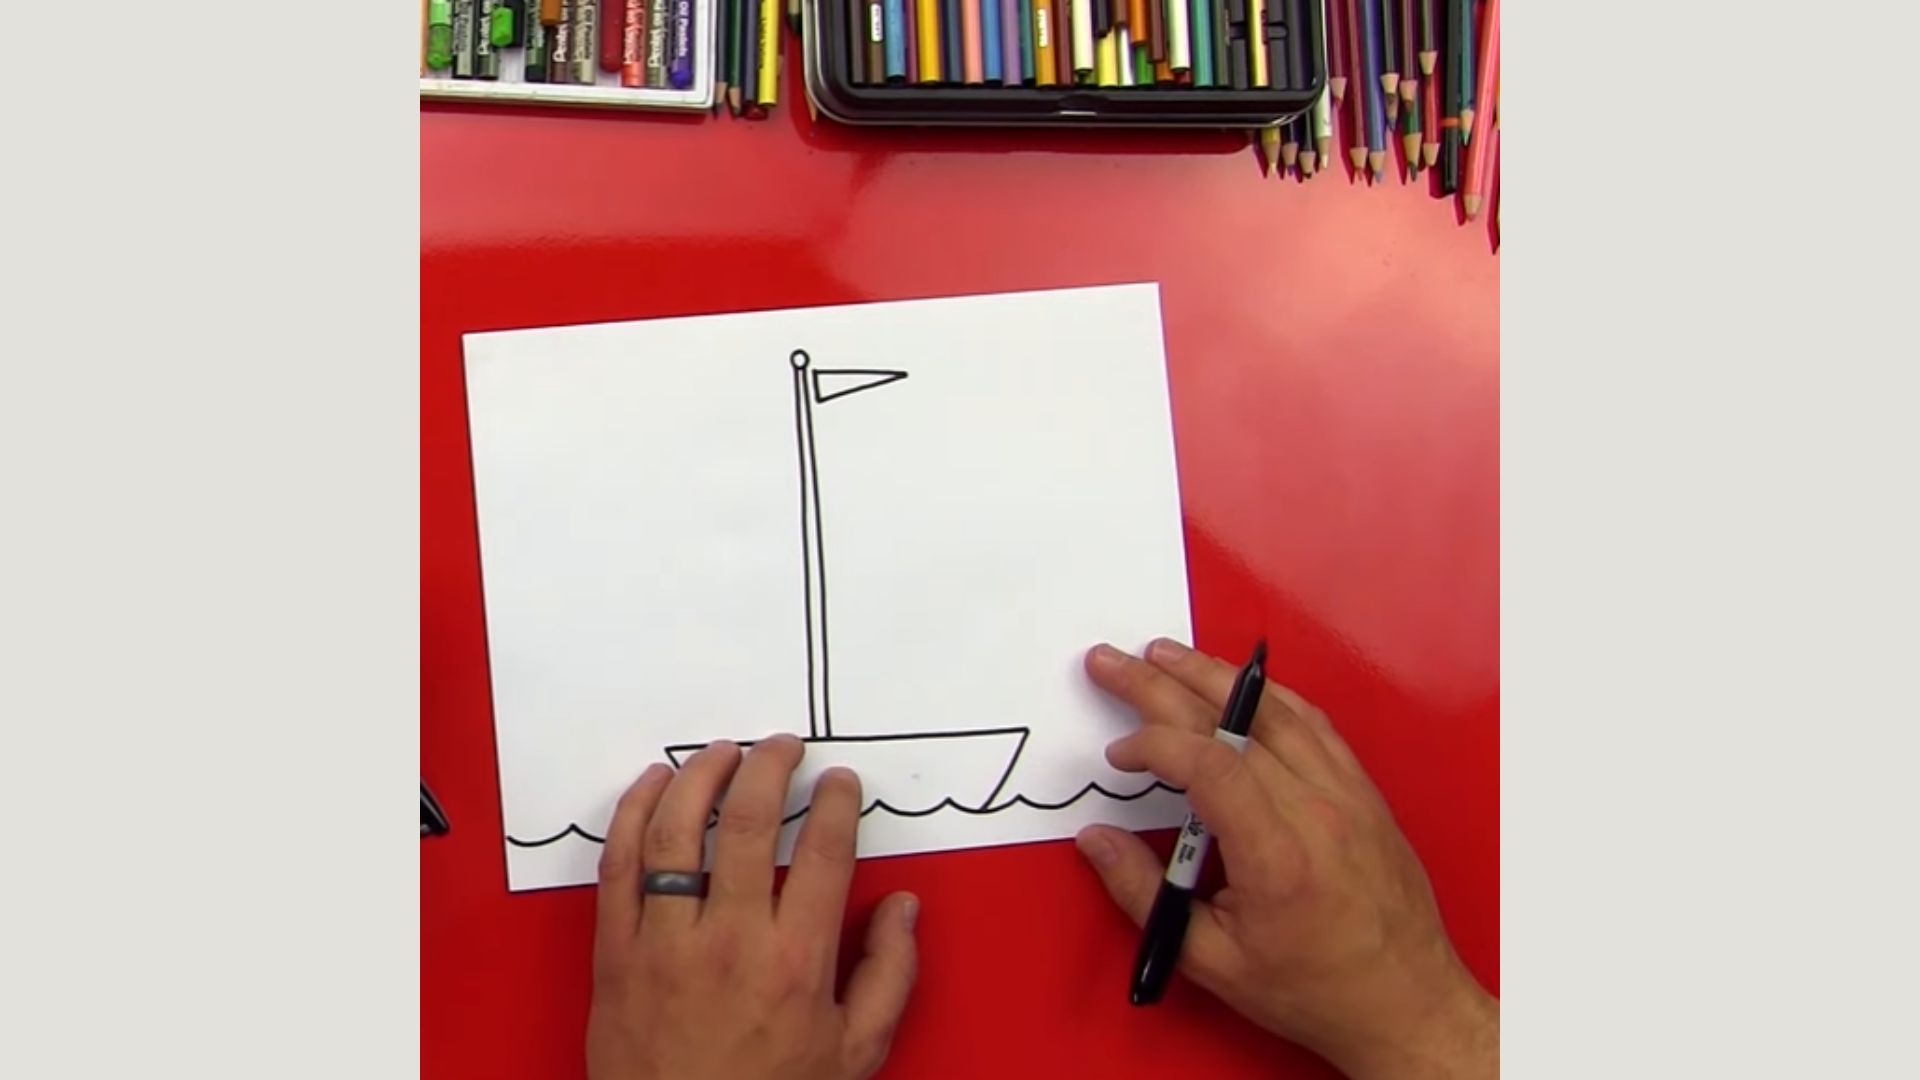
If you are drawing a sailboat, add a straight vertical line rising from the deck. That is your mast. Keep it tall and centered.
For a motorboat or rowboat, skip the mast and add small details instead. Windows on the cabin, a railing along the edge of the deck, or a simple steering wheel all work well.
Do not overcrowd the drawing. Pick two or three details and keep them clean.
Step 5 – Refine the Shape
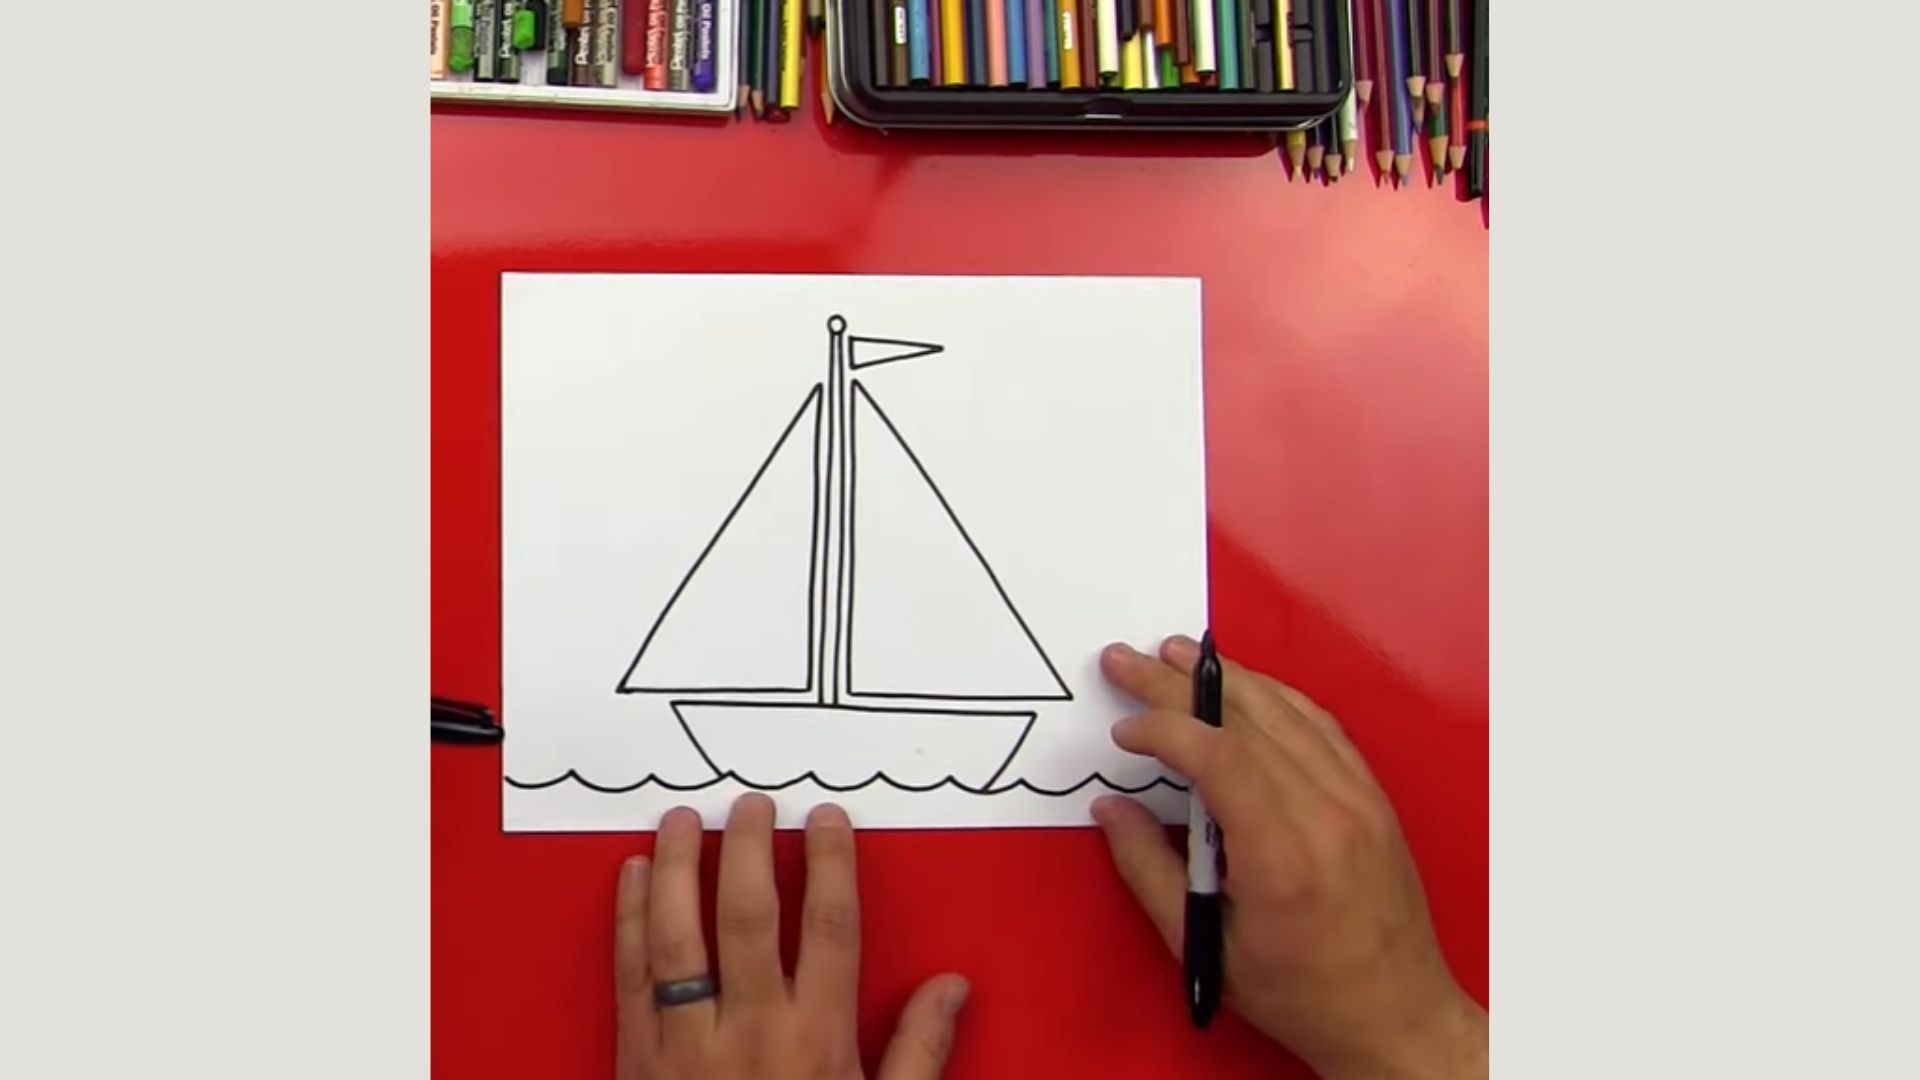
Look at your drawing and find any wobbly or uneven lines. Now is the time to fix them. Go over those areas lightly and smooth them out.
Redraw any lines that look too rough. The hull should have a clean curve. The cabin edges should be crisp.
This step makes a big difference. A few minutes of cleanup can make your drawing look much more polished.
Step 6 – Add Water and Background
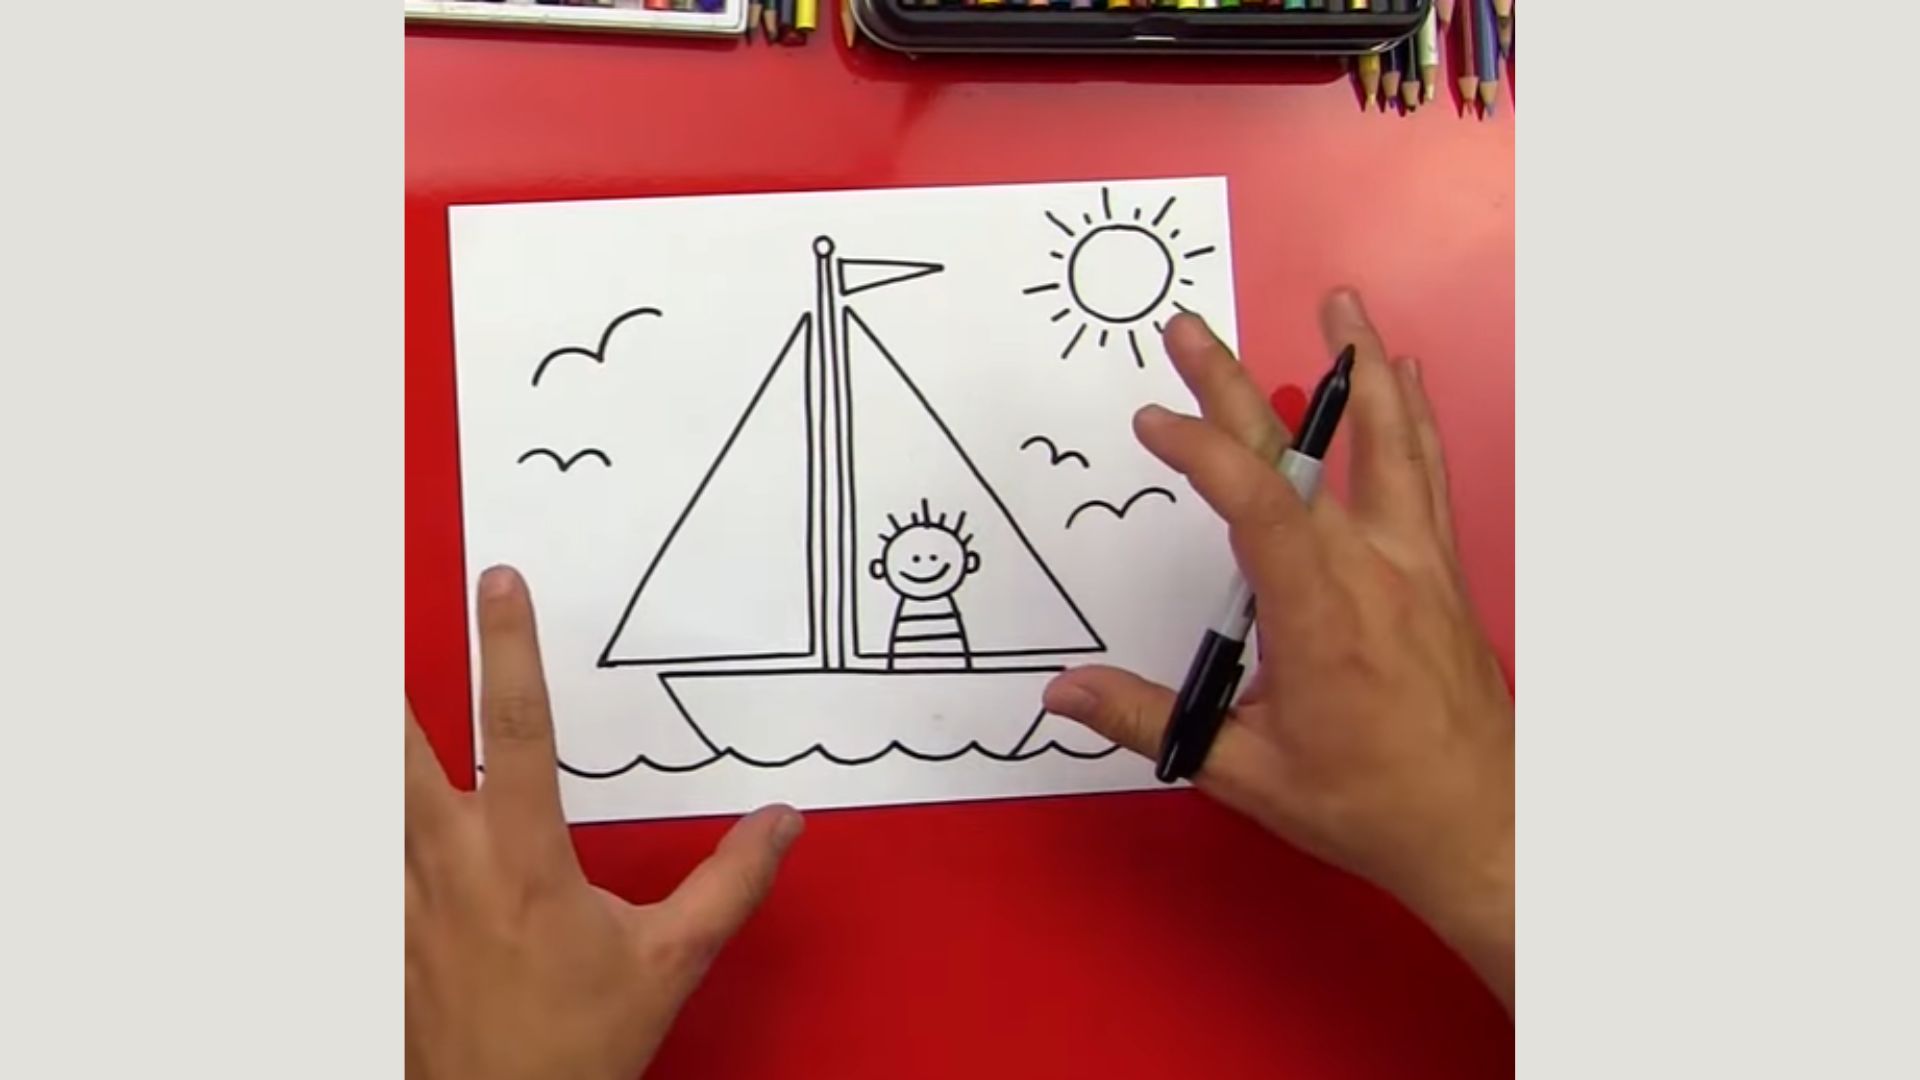
Draw a few wavy lines beneath the hull. These represent the water. Keep them gentle and horizontal, not jagged.
You can stop there, or you can go further. Add a simple sun in the corner, a cloud or two, maybe a bird in the distance. Even small background details make the scene feel alive.
Do not overdo it. The boat should still be the main focus.
Step 7 – Outline and Color Your Boat
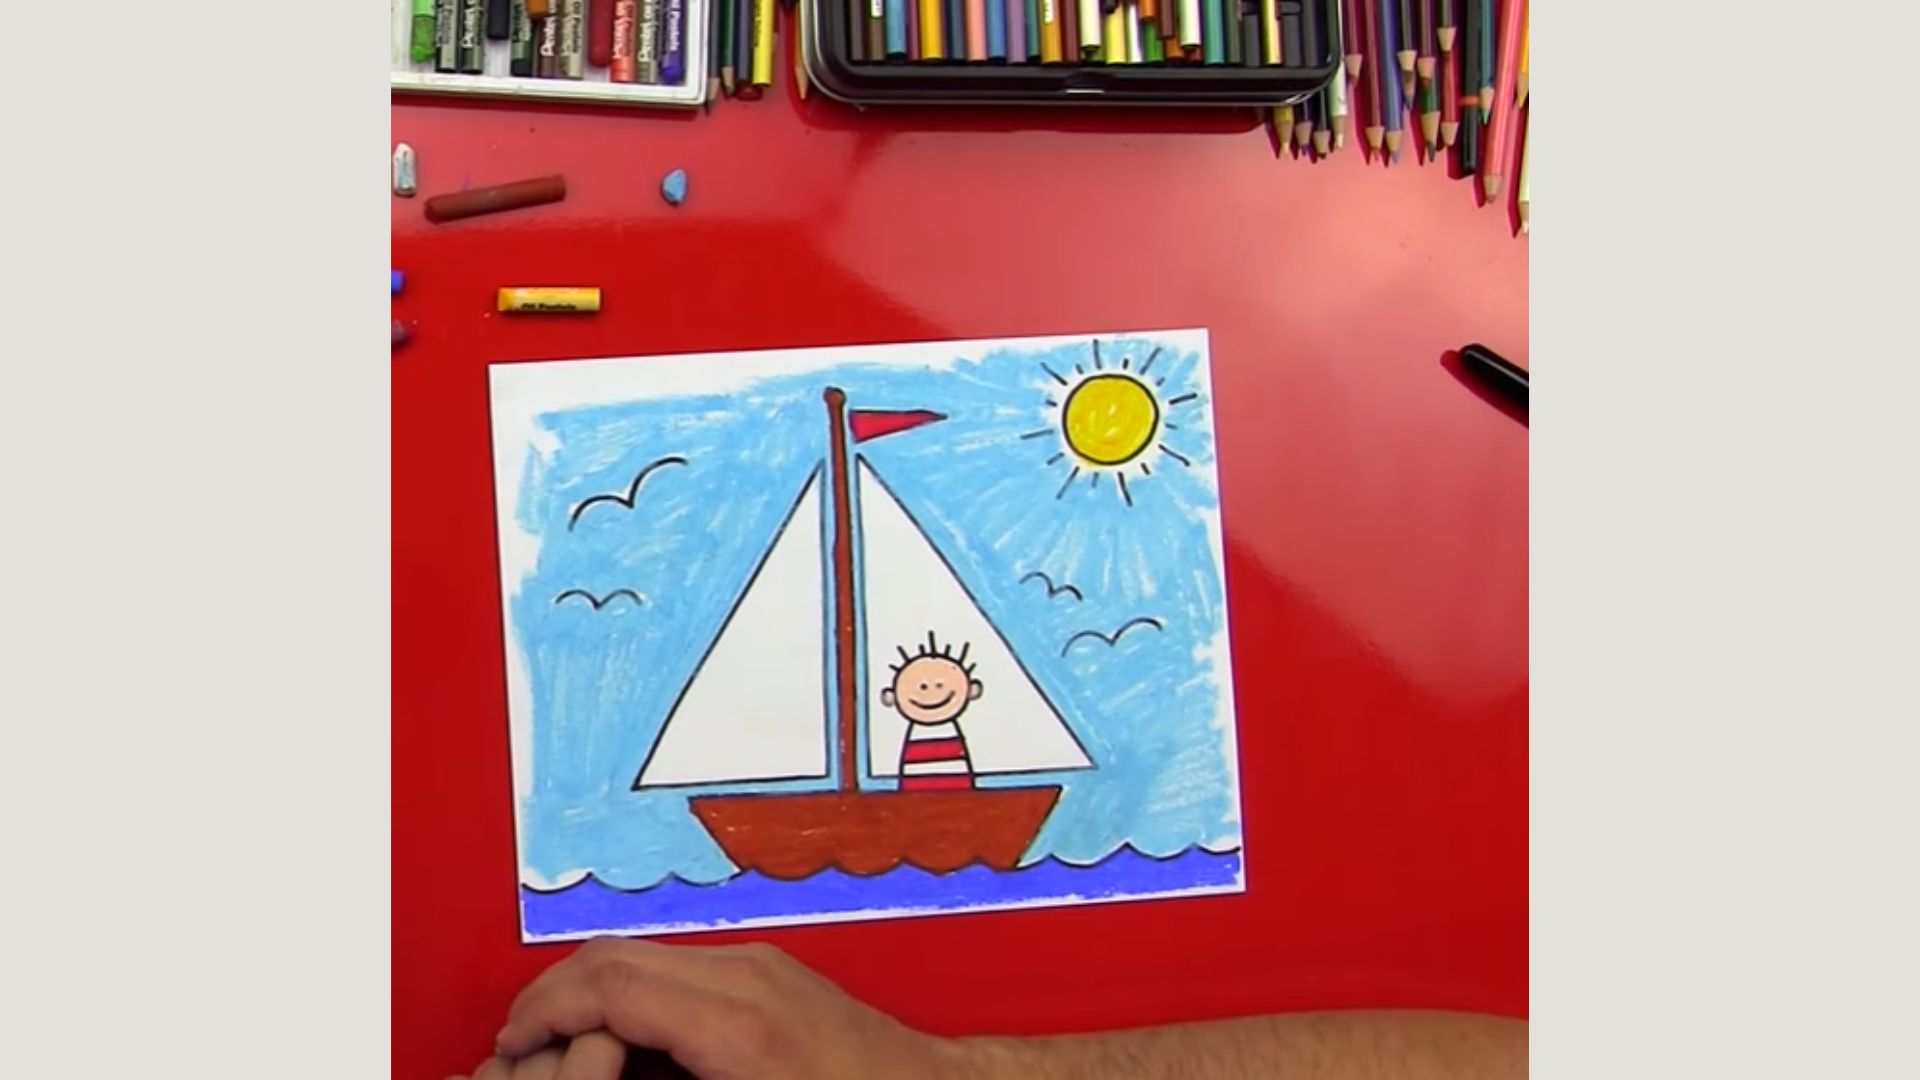
Once you are happy with your pencil sketch, go over the main lines with a pen or a darker pencil. This is called inking. It makes your drawing stand out clearly.
Let the ink dry fully before you erase the pencil lines underneath. Now add your colors. Blues and greys work well for a realistic boat. Bright reds, yellows, or greens give it a fun, cartoon feel.
This is the most satisfying step. Watching the drawing come to life with color is genuinely fun.
Easy Tips to Make Your Boat Drawing Look Better
A few small habits can seriously improve how your drawing turns out. These are not complicated. They are just things I wish someone had told me earlier.
- Always start with light pencil strokes. Darken only after you are satisfied with the shape.
- Keep proportions in check. The cabin should not be bigger than the hull.
- Add a shadow under the boat where it meets the water. It creates a sense of depth.
- Try different styles. A cartoon boat looks very different from a realistic one, and both are worth practicing.
The more you experiment, the faster you improve. Do not stick to just one way of drawing. Play around with it and see what you enjoy most.
Common Mistakes to Avoid When Drawing a Boat
Most beginners make the same few mistakes when they first learn how to draw a boat. Knowing them ahead of time saves you a lot of frustration.
- Drawing the hull too flat or uneven on one side
- Ignoring perspective, which makes the boat look two-dimensional and stiff
- Adding too many details too soon before the basic shape is solid
- Skipping the rough sketch phase and going straight to final lines
These mistakes are easy to fix once you know to watch for them. Slow down, sketch lightly first, and build up your drawing one layer at a time. That approach works every time.
Conclusion
You now have everything you need to learn how to draw a boat. So close this tab, pick up your pencil, and actually try it today. Do not wait for the "right moment." Start messy. Start slow. Just start.
Try a sailboat first, then a cartoon tugboat, then a full ocean scene. See how far you can go.
And when you finish your drawing, share it in the comments below. I read every single one. Let me know which step surprised you the most!
Frequently Asked Questions
How Do You Draw a Simple Boat for Beginners?
Start with a curved base shape for the hull, add a flat deck line on top, and include a small cabin or basic details like a window. That is all you need for a clean, simple boat drawing.
How to Draw a Boat Step by Step for Kids?
Break the boat into easy shapes, a curved bottom, a straight top, and a small rectangle for the cabin. Then let kids add fun colors and simple details like waves or a sun.
What Is the Easiest Type of Boat to Draw?
A small cartoon boat or a basic sailboat is the easiest starting point for beginners. Both use simple shapes and need very little detail to look good.
Do I Need Special Tools to Draw a Boat?
No, a regular pencil, paper, and eraser are all you need to get started. Special tools help later, but they are not required at the beginning.
How Can I Make My Boat Drawing Look Realistic?
Add shading under the hull, include water reflections, and pay attention to perspective. These three things alone will make a big difference in how realistic your drawing looks.
