

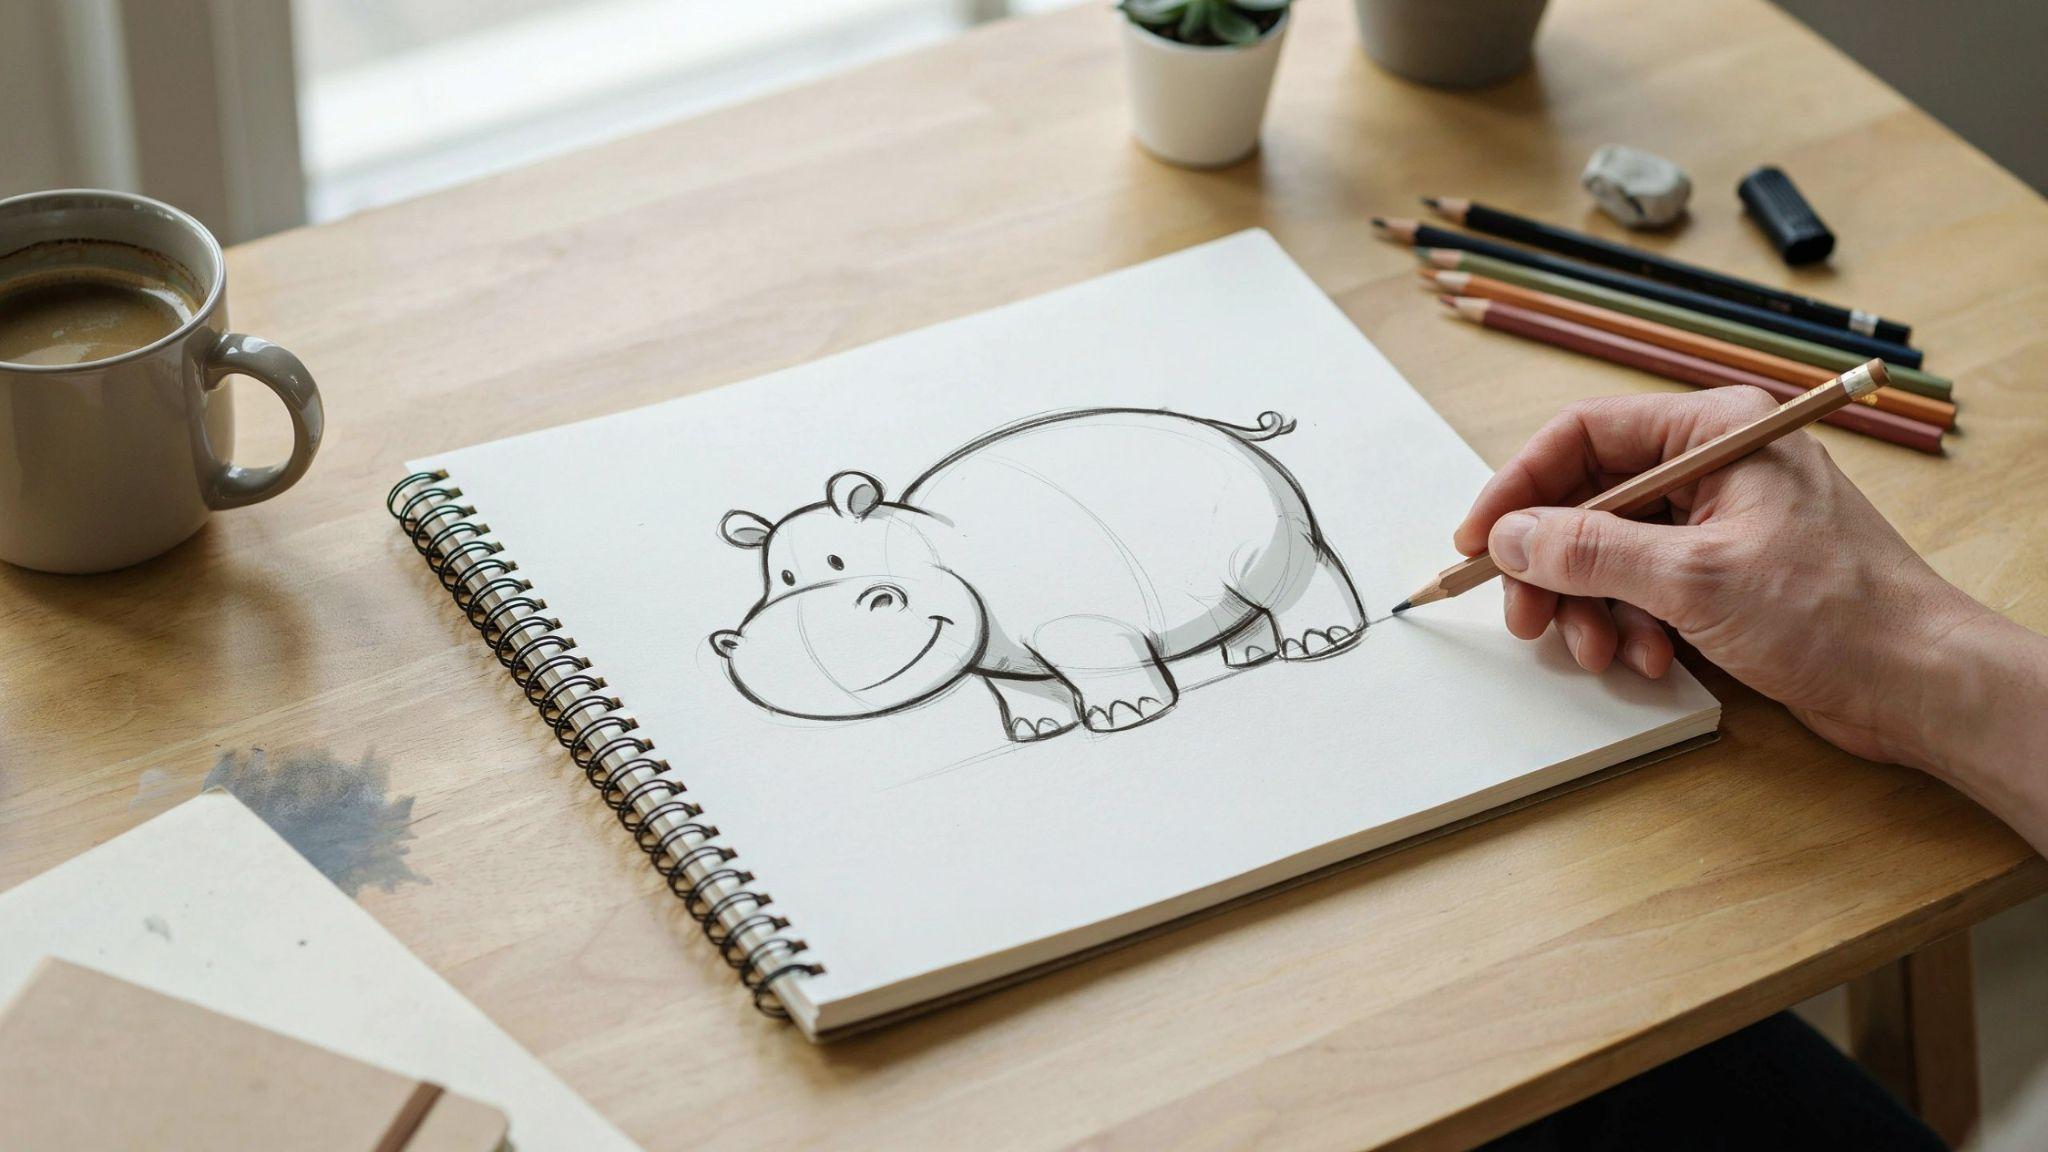
I still remember the first time I tried to draw a hippo. It looked more like a potato with legs. But once I broke it down into simple shapes, everything clicked.
A hippo looks tricky at first. That wide snout, the barrel body, the short stubby legs. But trust me, it is much easier than it looks.
In this guide, I will walk you through a simple step-by-step method that works for kids and beginners alike. All you need is a pencil, some paper, and a little patience.
Let us get started.
What Is a Hippo Drawing?
A hippo drawing is a sketch or illustration of a hippopotamus. It can be simple or detailed, depending on your skill level.
Most beginner-friendly hippo drawings focus on the basic body shape, round face, and short legs.
Before you start, look at a hippo's wide mouth, small ears, and barrel-shaped body.
For supplies, you just need a pencil, eraser, black marker, and some colored pencils or crayons to finish it off.
Materials Needed for Drawing a Hippo
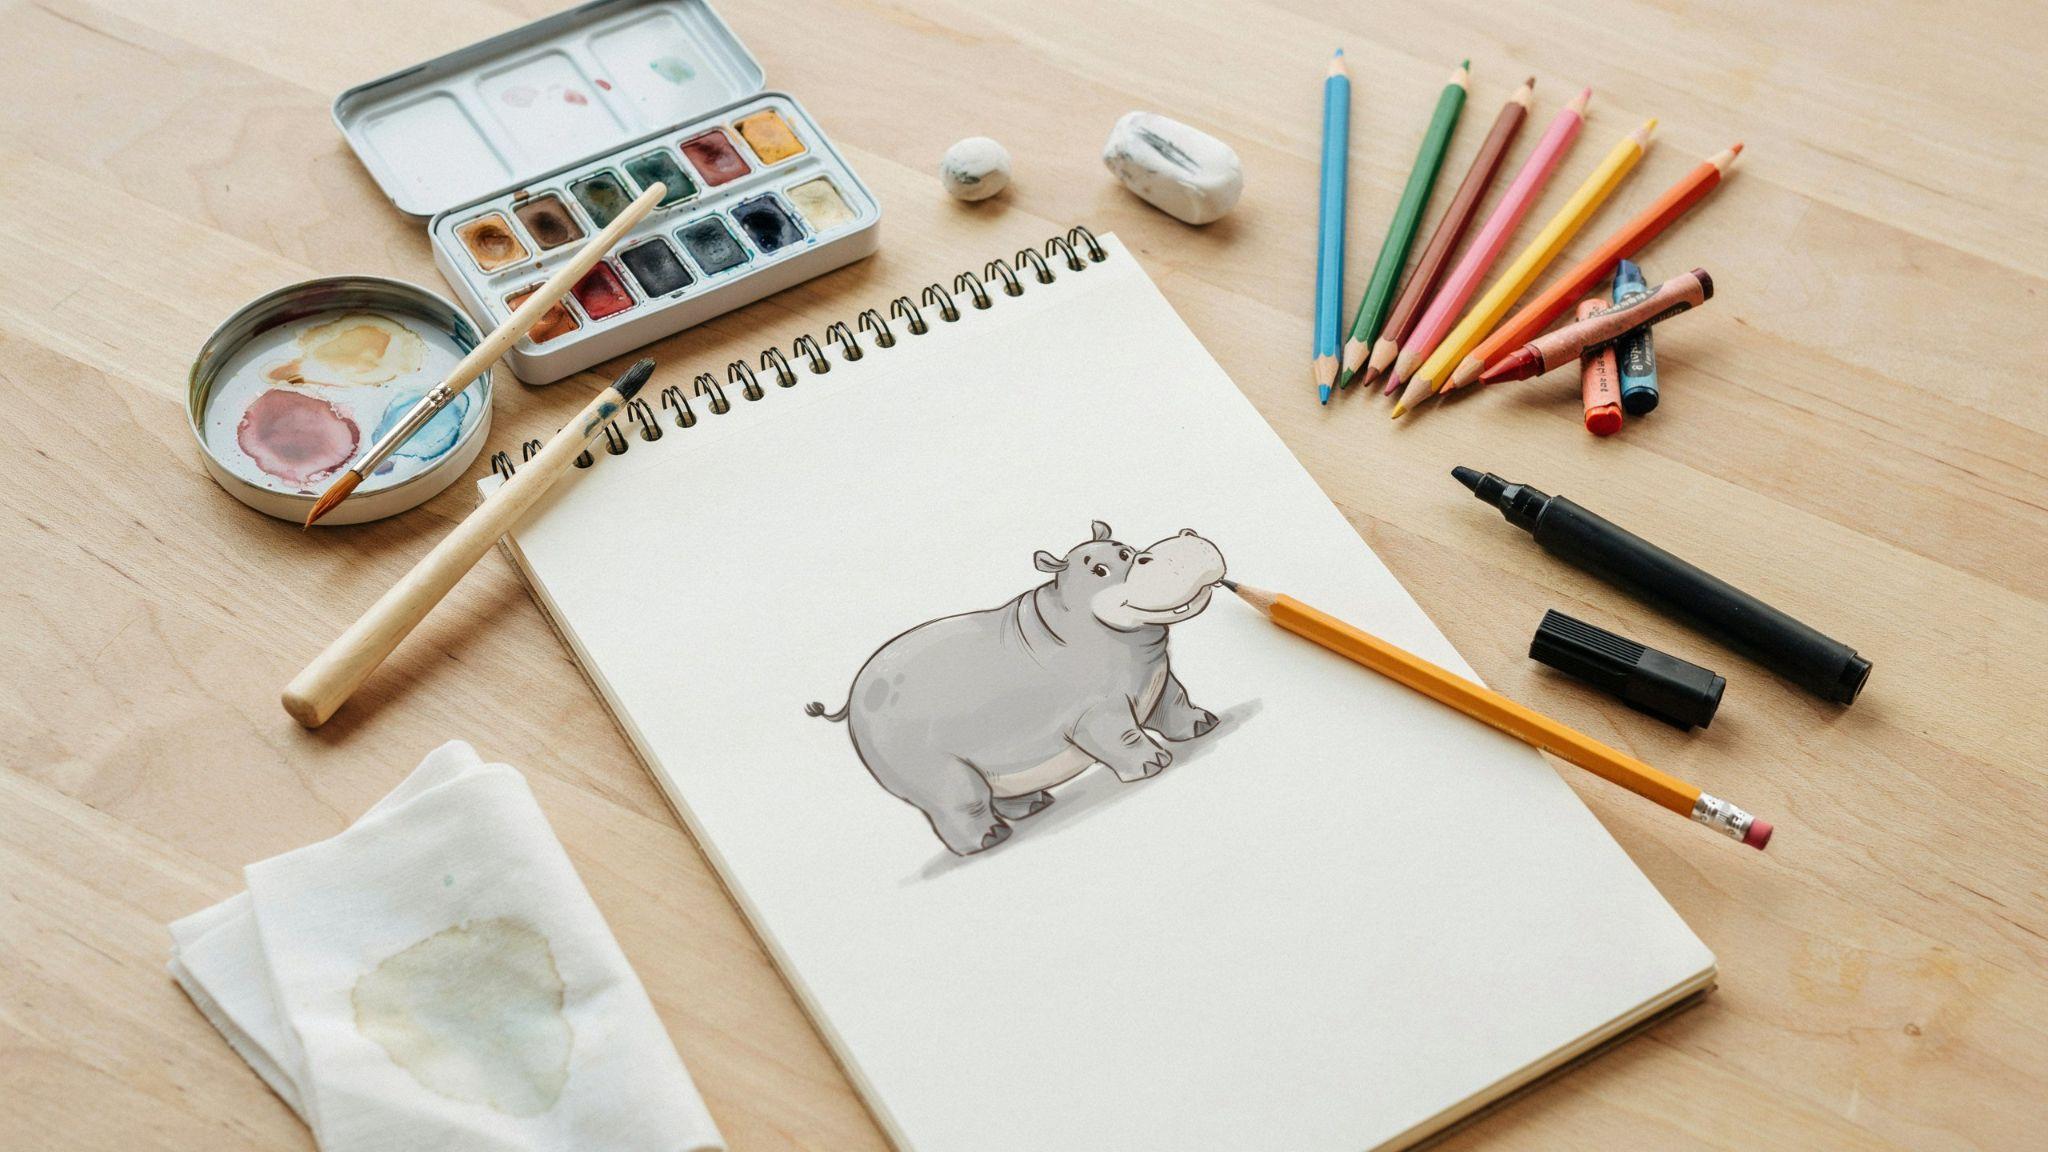
Here is everything you need to get started before drawing your hippo.
Drawing Supplies
- Pencil for sketching the basic shape
- Eraser to fix mistakes as you go
- Black marker or pen to outline the final drawing
- Plain white paper or a sketchbook
Optional Tools for Shading and Coloring
- Colored pencils for adding a gray or purple tone
- Crayons for a fun, bold look
- Watercolor paints for a soft, blended finish
- Blending stump for smooth shading
How to Draw a Hippo in 6 Easy Steps
Follow these six simple steps to draw a hippo from scratch. Take it one step at a time and you will have a great drawing by the end.
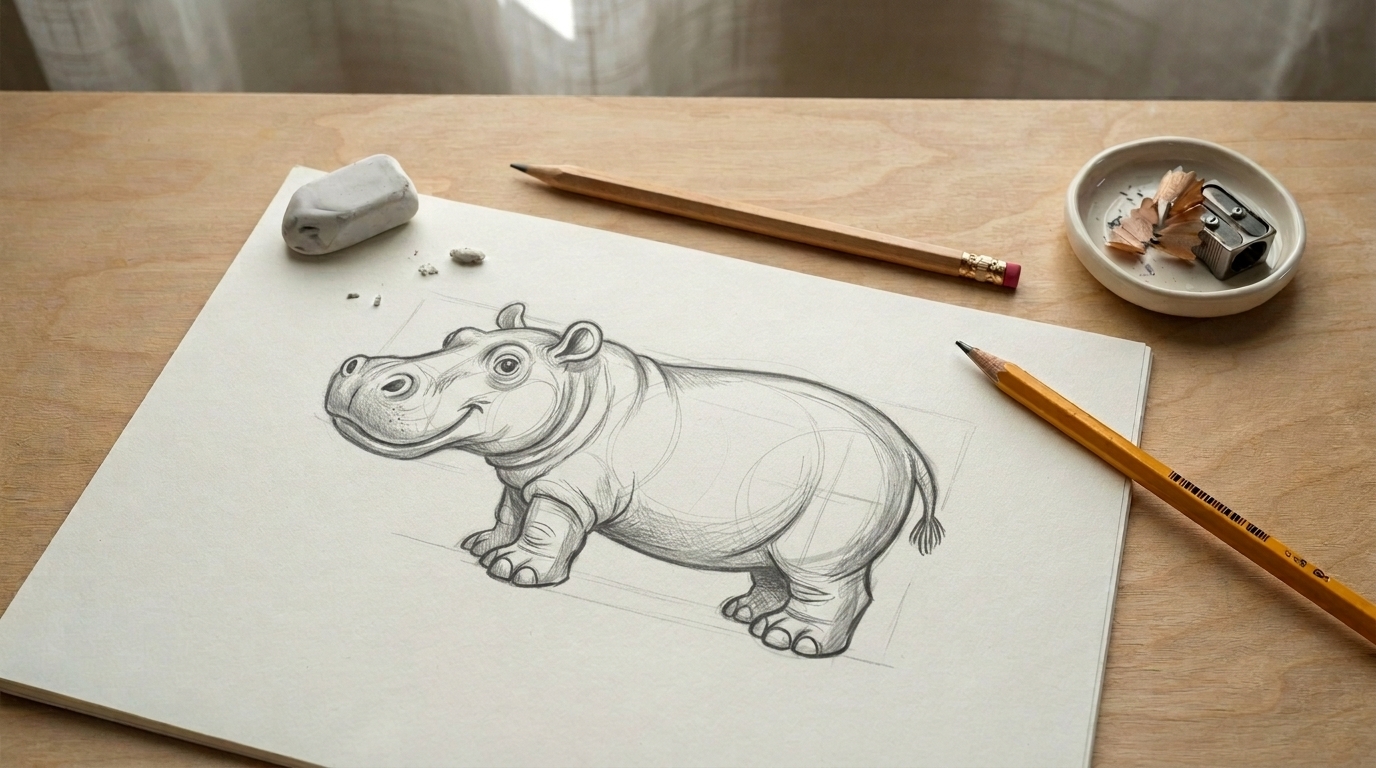
Step 1: Sketch the Basic Body and Head Shapes

Start with a large oval for the body. Draw a smaller circle on the left side for the head. Make sure the head overlaps slightly with the body.
Keep the shapes light so you can erase easily later. These two basic shapes form the foundation of your whole hippo drawing, so take your time here.
Step 2: Draw the Hippo's Large Snout and Mouth
Add a wide, rounded shape at the bottom of the head for the snout. Draw a curved line across the middle of it to show the mouth opening.
The snout should look big and wide since it is one of the most noticeable parts of a hippo. Do not make it too small or the face will not look right.
Step 3: Add the Eyes, Ears, and Nostrils
Draw two small circles on top of the head for the eyes. Add small rounded ears on either side of the head, close to the top.
Place two oval nostrils on the upper part of the snout. Keep all these features small compared to the rest of the face so the proportions stay balanced.
Step 4: Outline the Legs, Feet, and Tail
Draw four short, thick shapes under the body for the legs. Add small rounded feet at the bottom of each leg to keep the look simple and cute.
On the right side of the body, draw a short thin tail with a small split at the tip. Keep the legs wide and sturdy so the hippo looks grounded.
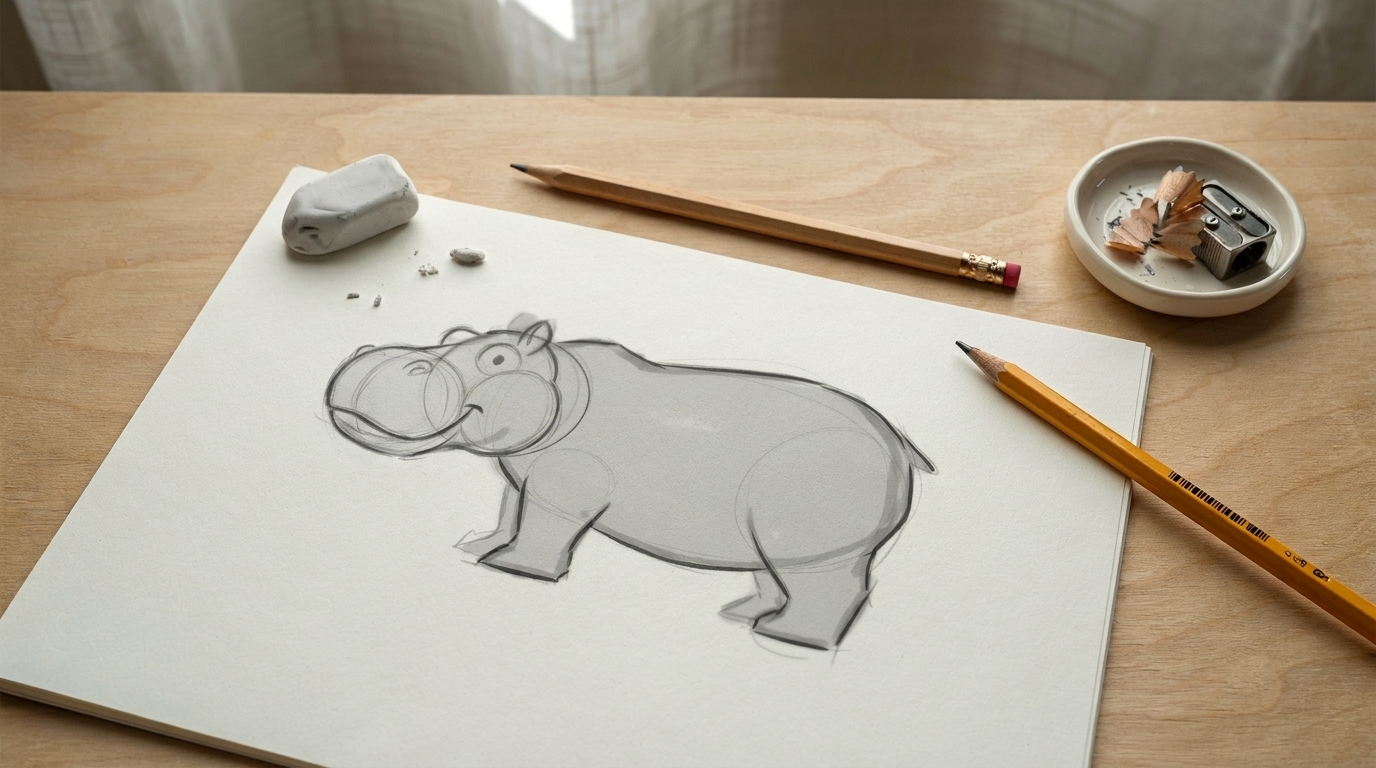
Step 5: Refine the Body Shape and Add Details
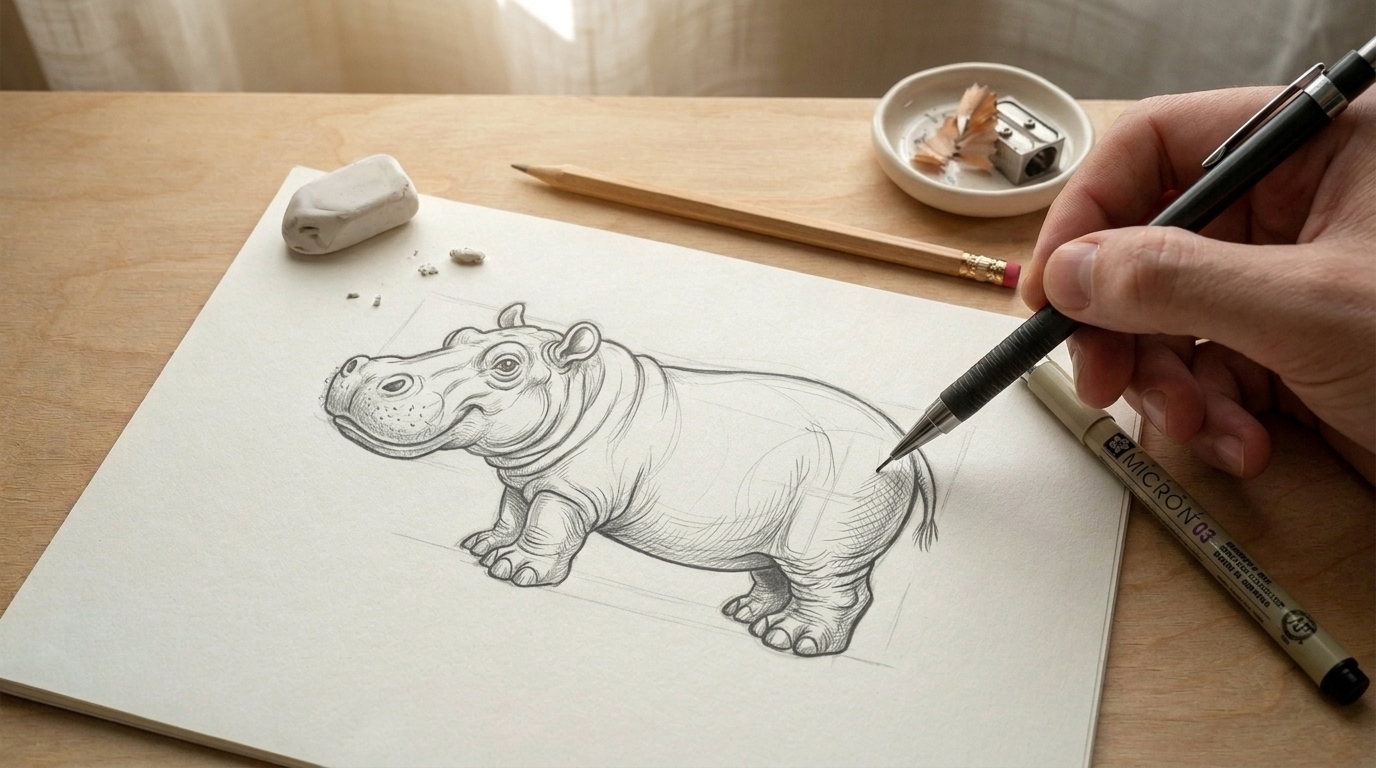
Go over your sketch and smooth out any rough or uneven lines. Add small wrinkle lines around the legs, neck, and face to give it a natural texture.
Clean up the overall body outline so it looks neat and natural. Erase any extra pencil marks before you start inking the final lines.
Step 6: Shade and Color Your Hippo Drawing
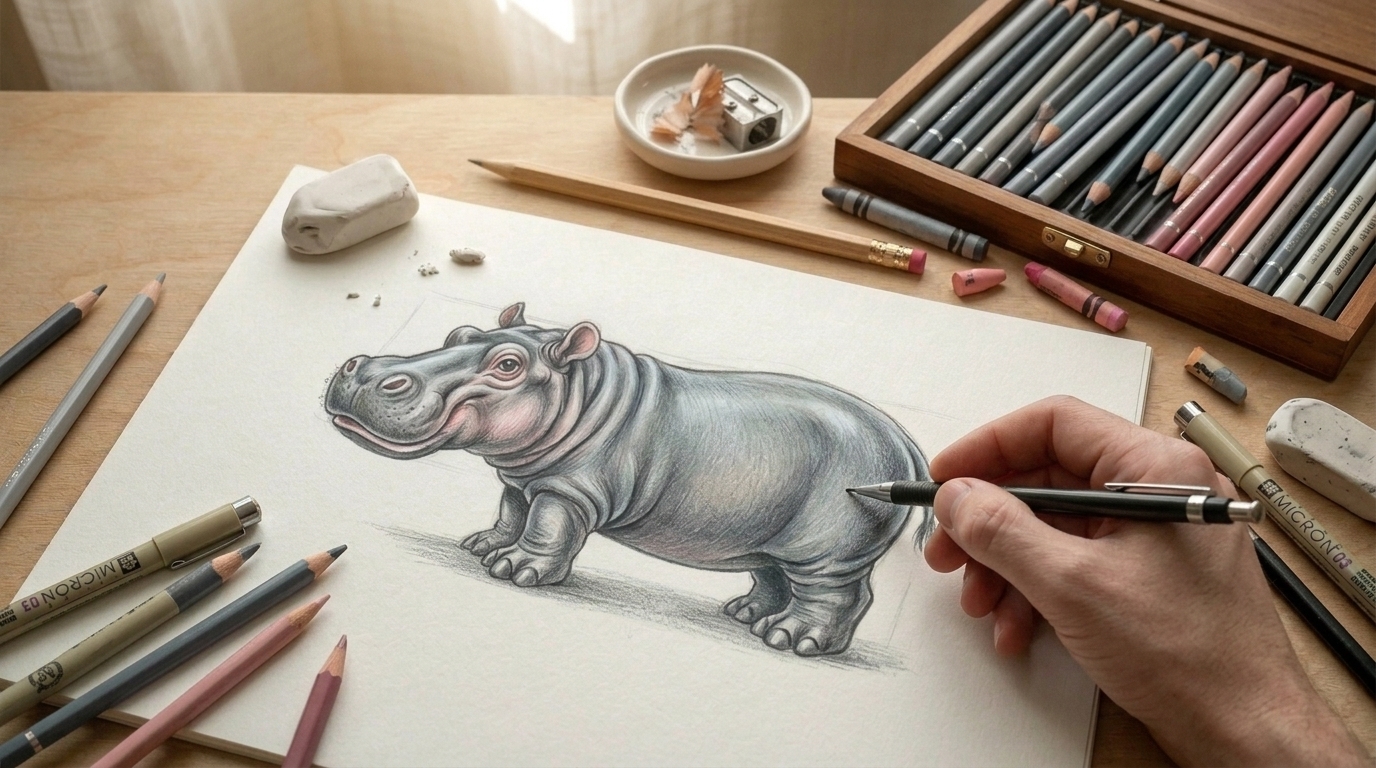
Color the body with gray or a blue-gray tone using colored pencils or crayons. Use a slightly darker shade along the edges and under the belly for depth.
Fill the mouth area with pink or light brown to make it stand out. Add soft shading on the belly and legs to make the hippo look round and full.
Easy Hippo Drawing Tips for Beginners
- Start with basic ovals and circles before adding any details. Simple shapes make the whole process much easier to manage.
- A hippo's body is much larger than its head, so always sketch the body first. Getting the size ratio right early saves a lot of fixing later.
- Keep your pencil strokes light when sketching the outline. Light lines are easy to erase and adjust without leaving marks on the paper.
- Do not rush into adding eyes, ears, or wrinkles too soon. Nail the basic shape and proportions first, then move on to the smaller details.
- Practice the full shape a few times on rough paper before your final drawing. The more you sketch it, the more natural and confident your lines will get.
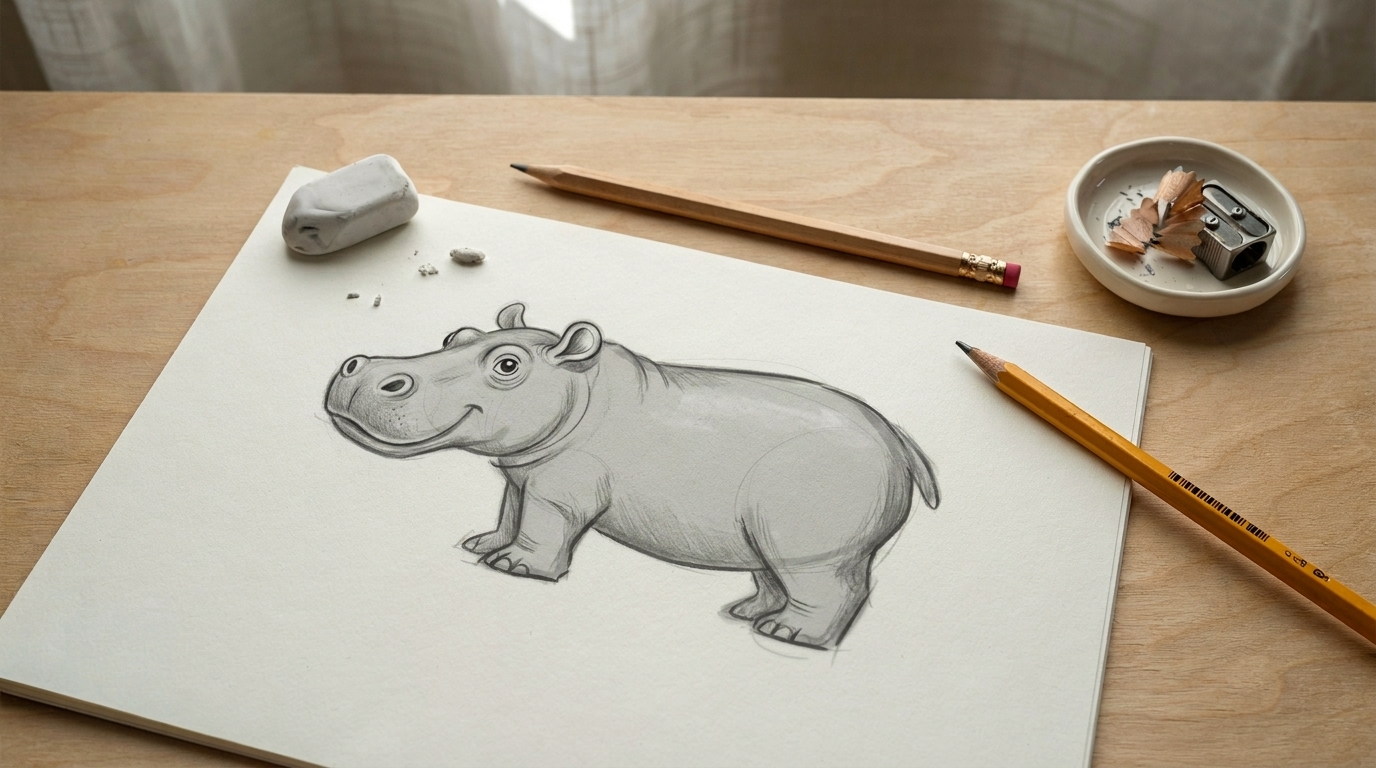
Realistic Hippo Drawing Guide
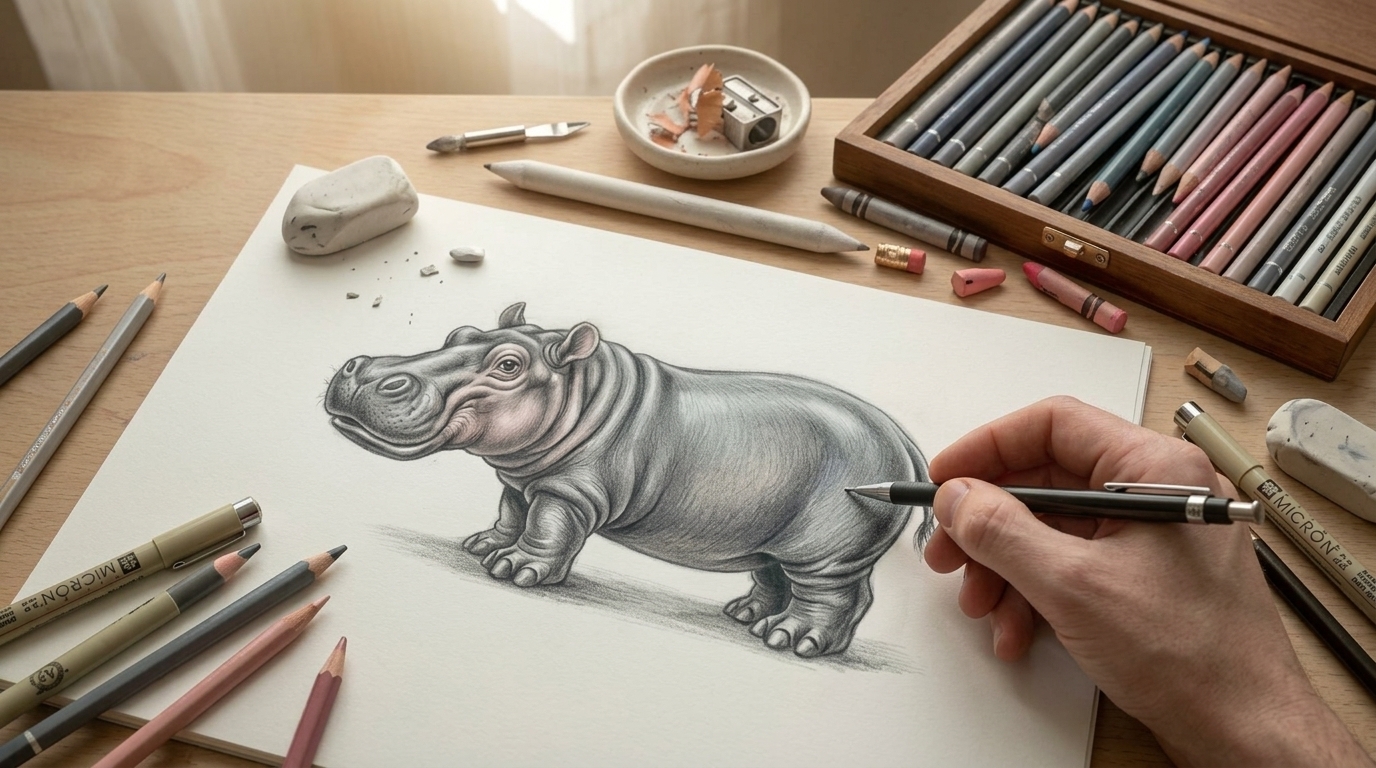
A hippo has a heavy, barrel-shaped body with short thick legs and a wide flat head.
The skin has a rough, wrinkled texture, especially around the neck and legs. Study these features before you start.
For shading, use darker tones on the underside and lighter tones on top.
Add wrinkle lines gradually to build texture. Blend your pencil strokes softly to create depth and make the body look three-dimensional and heavy.
Conclusion
Drawing a hippo gets easier every time you practice the 6-step method. I have seen real progress just by repeating the basic shapes until they feel natural.
Do not stop at one style. Try cartoon hippos, realistic sketches, and everything in between. Each attempt teaches you something new.
Grab your pencil and start today. Drop your hippo drawing in the comments. I would love to see how yours turns out!
Frequently Asked Questions
How do I start a hippo drawing as a complete beginner?
Start with two simple shapes, a large oval for the body and a circle for the head. Build everything else on top of these basic shapes step by step.
What supplies do I need to draw a hippo?
All you need is a pencil, an eraser, and plain paper to get started. You can add colored pencils or markers once you are ready to finish the drawing.
How long does it take to learn how to draw a hippo?
Most beginners can draw a simple hippo in 20 to 30 minutes with a little practice. The more you repeat the steps, the faster and better you will get.
Can kids draw a hippo using this guide?
Yes, this guide is beginner-friendly and works well for kids of all ages. The steps are simple, and no prior drawing experience is needed to follow along.
What is the best way to make a hippo drawing look realistic?
Focus on the body proportions first and then add wrinkle lines and shading. Using darker tones on the edges and lighter tones in the center gives the drawing a more natural, three-dimensional look.