

Drawing vines may seem tricky at first, especially when you want the leaves and curves to look natural.
In this guide on vines drawing, you’ll learn simple steps to create beautiful vine designs from the beginning.
This article will show you how to draw basic vine shapes, add leaves, create flower vines, and improve your details with easy tips.
If you are searching for a beginner-friendly way to draw vines, this guide will help you understand where to start.
With experience in simple drawing techniques, I’ll share practical steps that make the process easier.
Let’s try ideas you can use in journals, crafts, and artwork.
What Is a Vines Drawing?
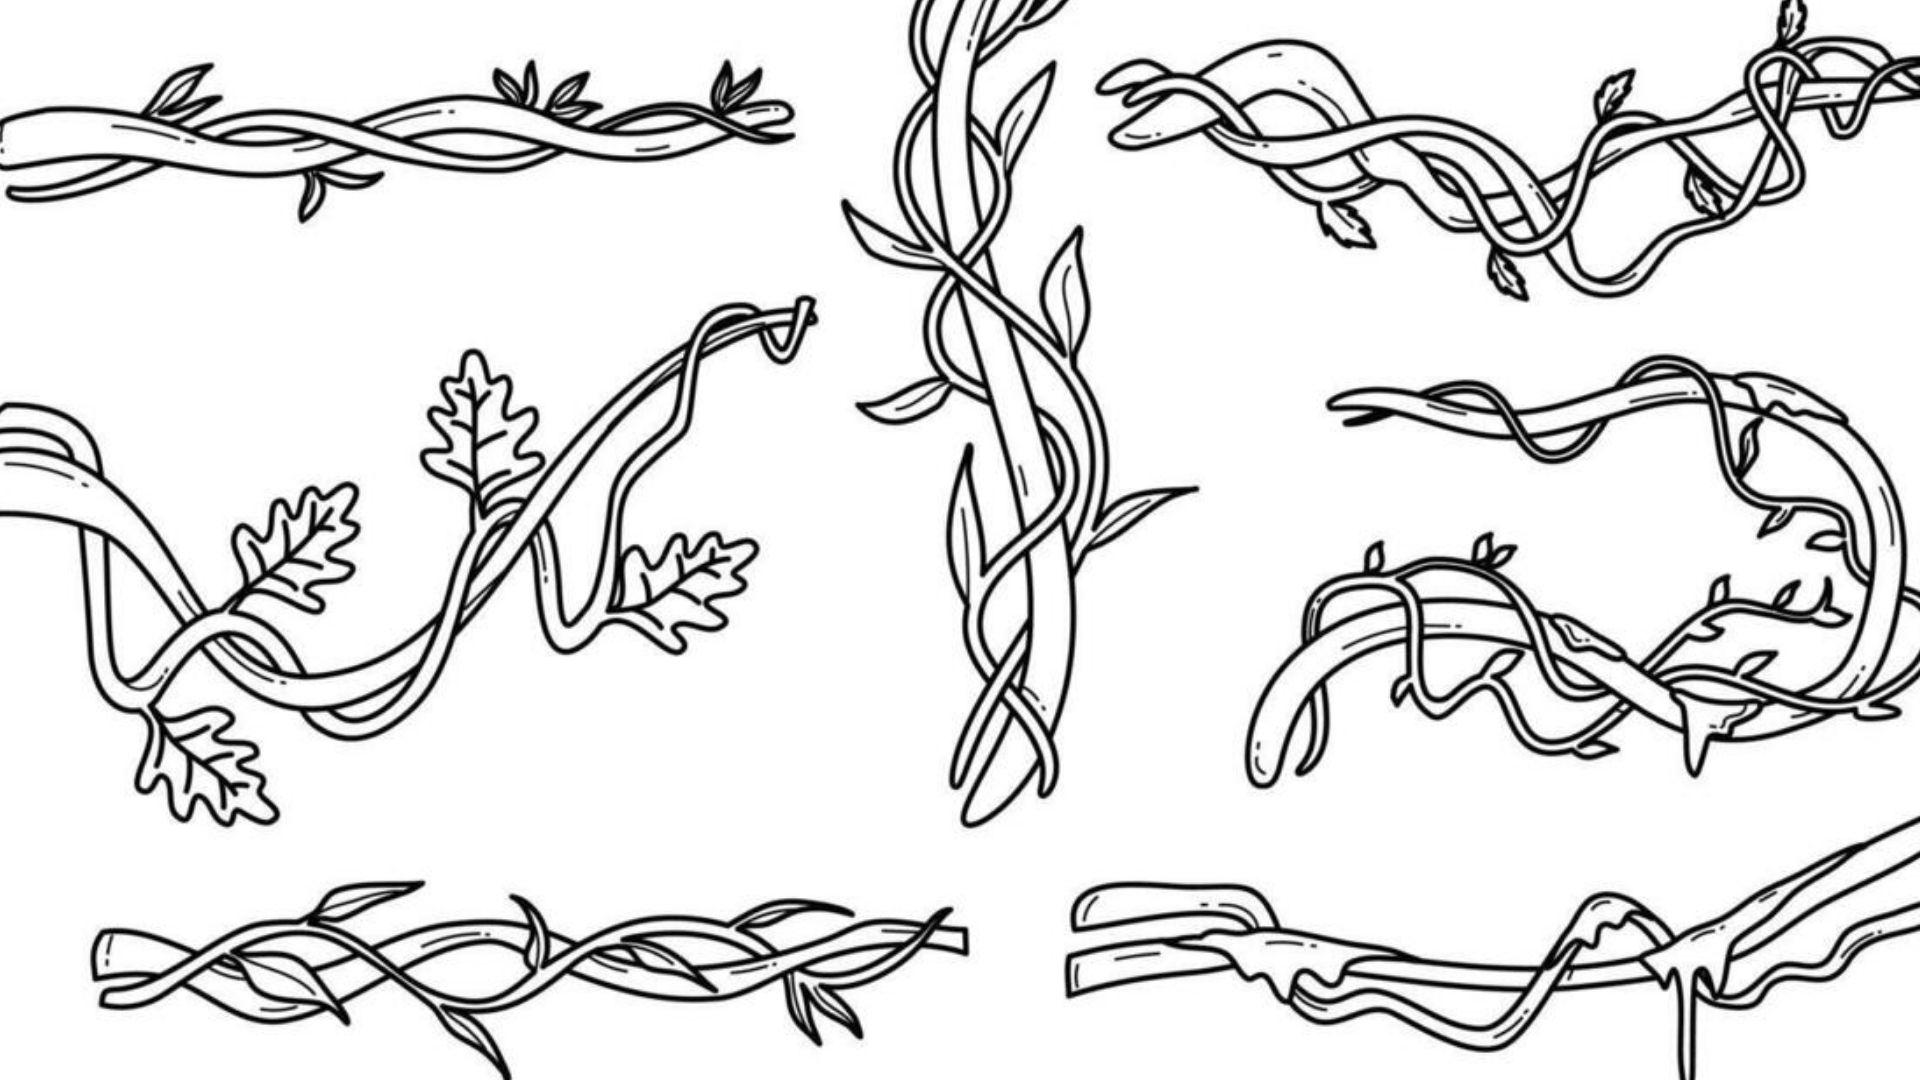
A vines drawing is an artwork that shows climbing plants, curved stems, leaves, and sometimes flowers in a decorative style.
In art and design, vine drawings are used to add a natural and creative touch to projects. The flowing lines and patterns can make a simple design look more detailed and interesting.
Vines are popular because they bring a soft, organic feel to artwork. They can be simple for beginners or more detailed for advanced designs.
You can find vine drawings in many places, such as bullet journals, greeting cards, posters, wall art, and digital designs.
They are often used for borders, backgrounds, decorations, and adding a nature-inspired look to creative work.
Materials You Need for Vines Drawing

Before starting your vine artwork, collect a few basic supplies that will help you sketch, refine, and add details to your design.
- Pencil : Helps you create light sketches and adjust your vine shapes easily.
- Eraser : Removes unwanted lines and keeps your drawing clean.
- Drawing paper or sketchbook : Provides a surface to practice and create your vine designs.
- Fine liner or marker : Used to outline your final drawing and make details stand out.
- Colored pencils or markers : Add colors, shading, and creative details to your vine artwork.
- Ruler (optional) : Helps create straight lines for borders or balanced designs.
How to Draw Vines Step by Step
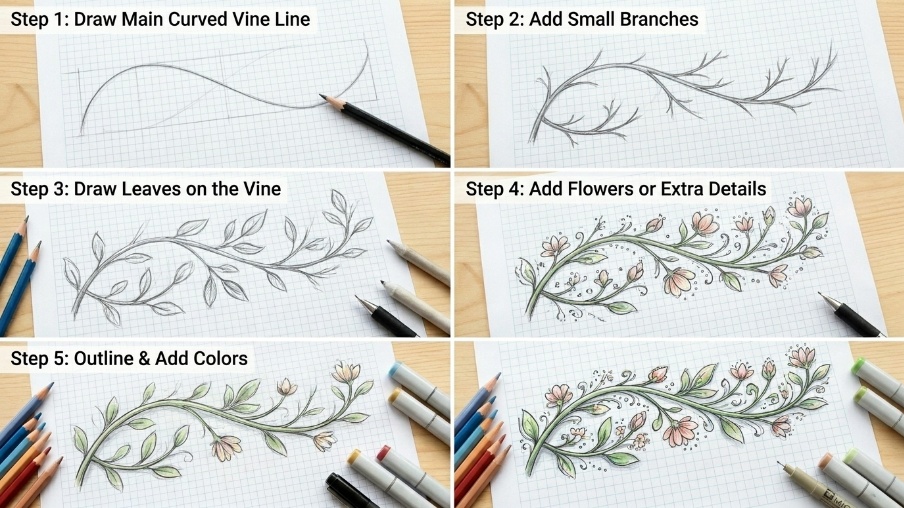
Drawing vines becomes easier when you build the design slowly. Follow these steps to create smooth, natural-looking vines with leaves, flowers, and creative details.
Step 1: Draw the Main Curved Vine Line
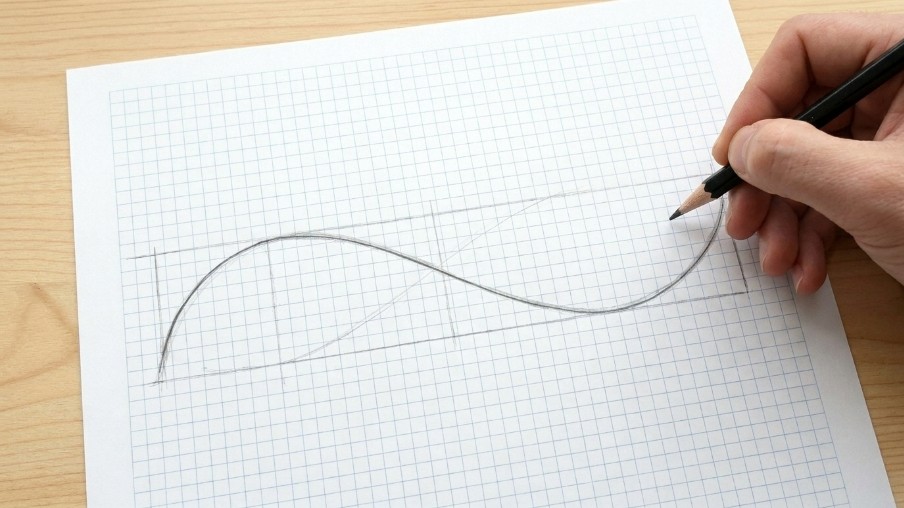
Start by drawing a simple curved or wavy line as the base of your vine. This line will decide the direction and flow of your drawing.
Keep it smooth and natural instead of making it perfectly straight. You can create gentle bends to make the vine look more realistic and interesting.
Step 2: Add Small Branches
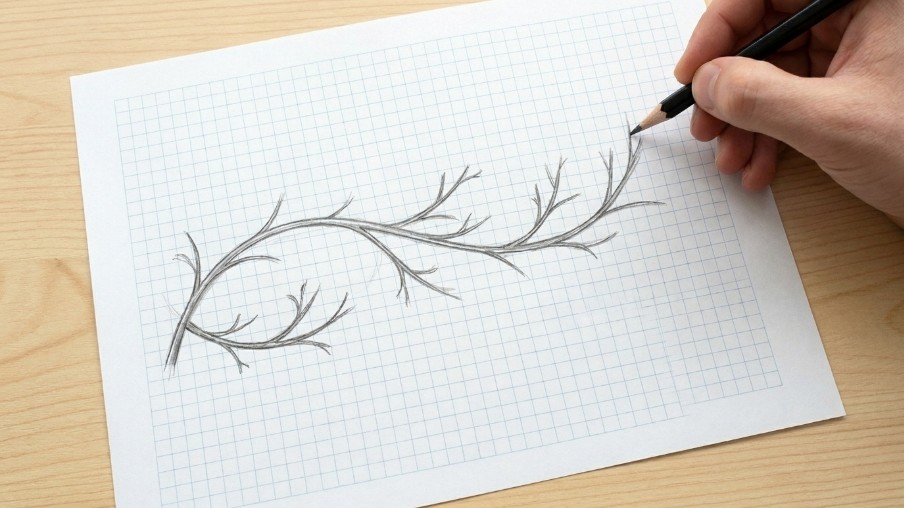
Add smaller branches coming out from the main vine line. These branches will give space for leaves and flowers later.
Keep the distance between branches balanced so the design does not look crowded. Try different branch lengths and directions to create a more natural plant-like appearance.
Step 3: Draw Leaves on the Vine
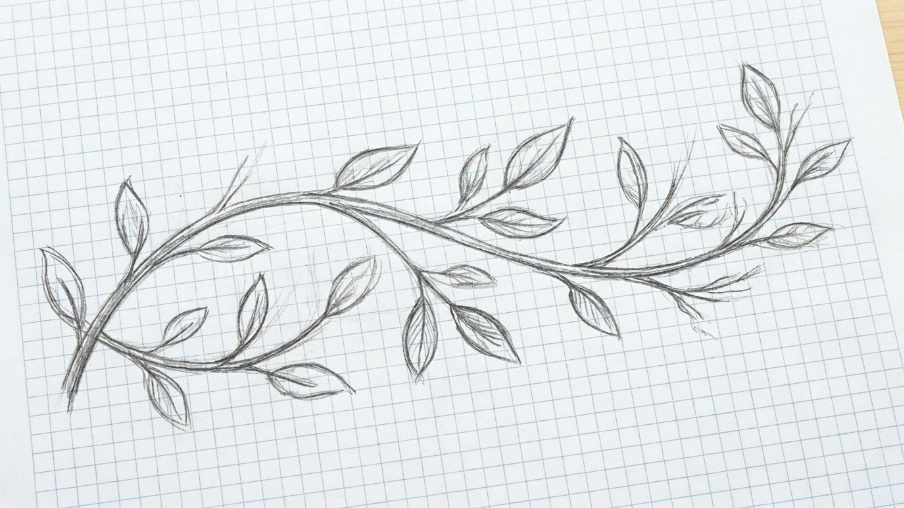
Now add simple leaf shapes along the branches of your vine. You can draw small oval leaves, pointed leaves, or different styles based on your design.
Change the size and position of leaves to make the vine look natural. Avoid placing every leaf in the same pattern.
Step 4: Add Flowers or Extra Details
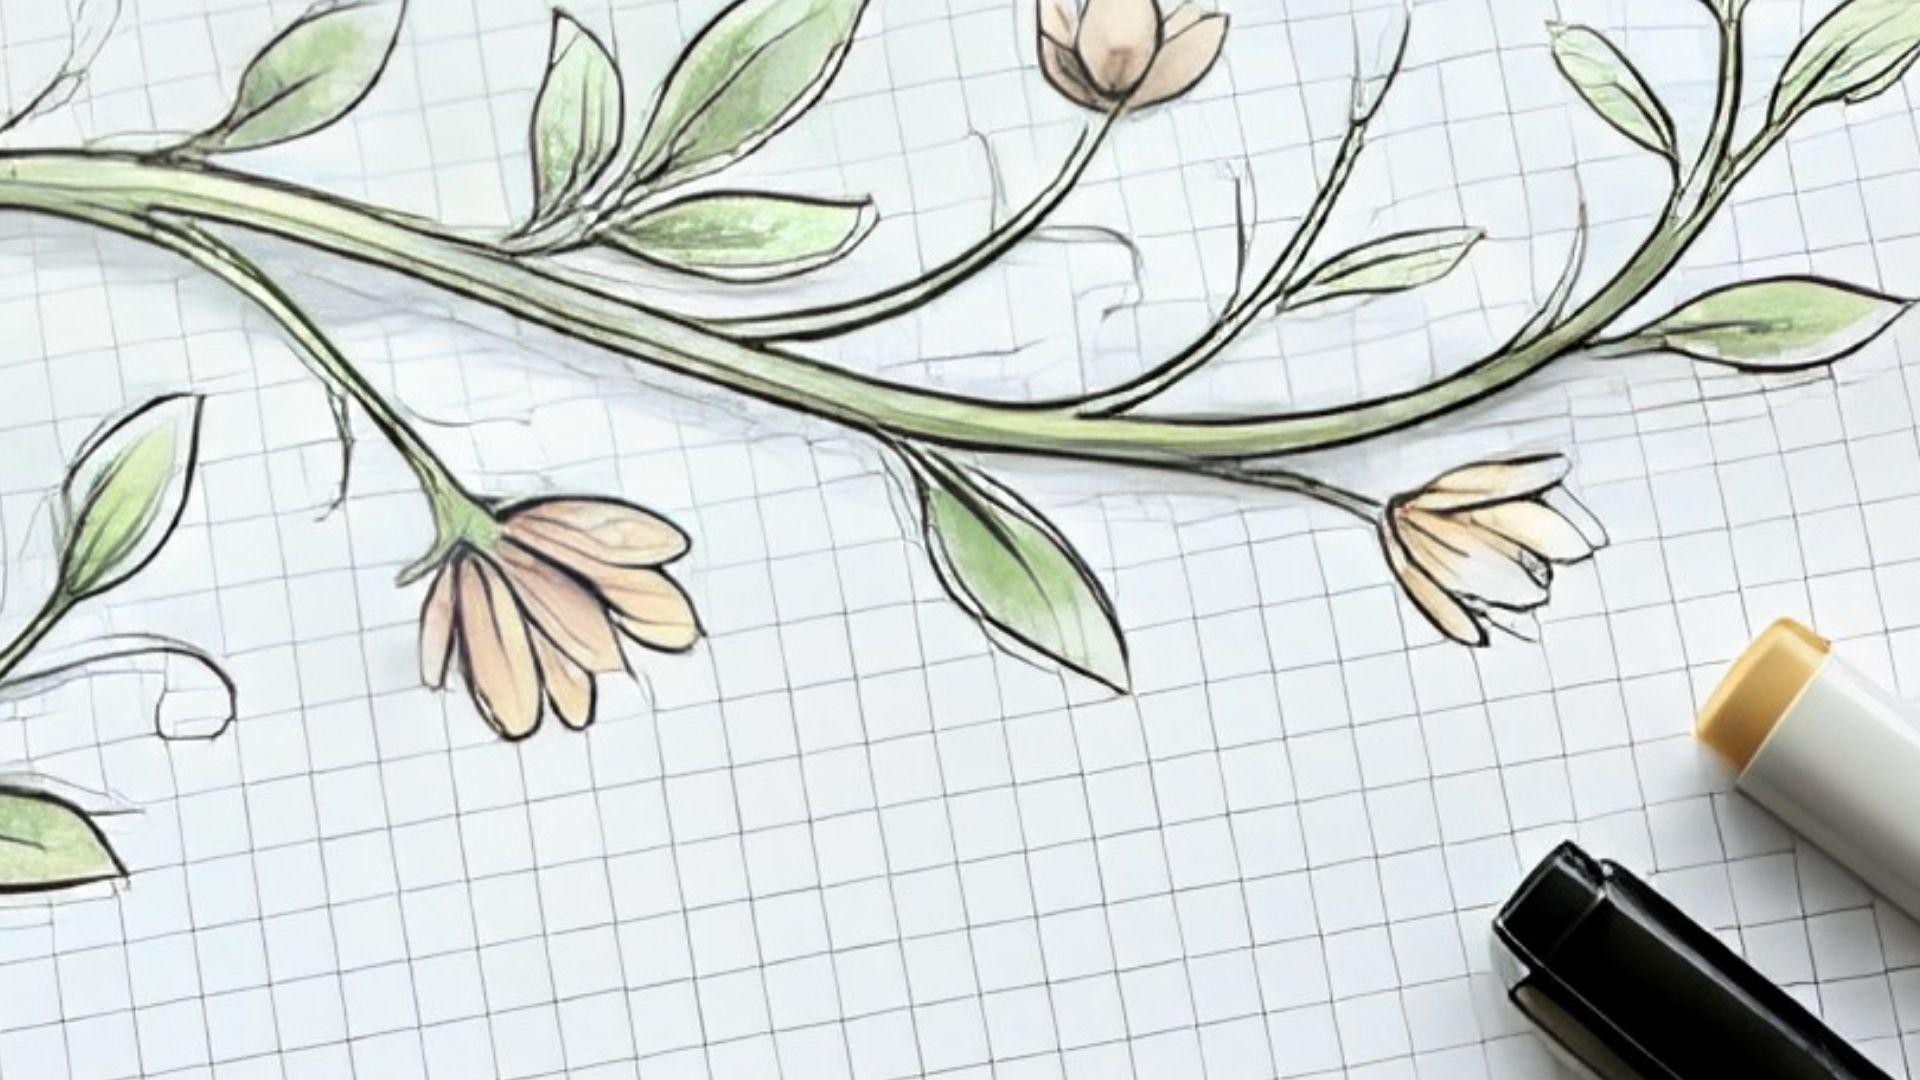
Make your vine more creative by adding small flowers, buds, or decorative elements. You can include simple flower shapes or tiny details like dots and curves.
These additions help personalize your drawing and make it suitable for journals, cards, or artwork.
Step 5: Outline and Add Colors
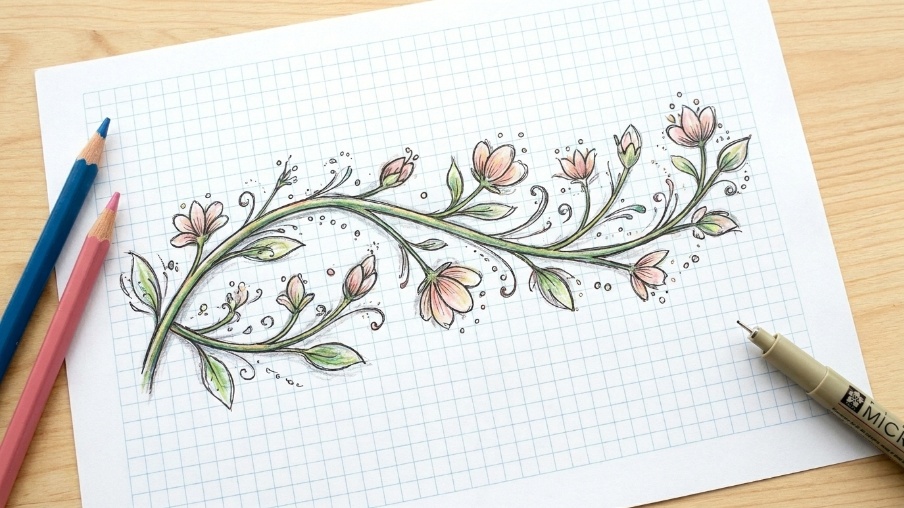
Once your vine design is complete, trace the final lines with a fine liner or marker. Remove extra pencil marks and add colors, shading, or patterns.
Light shadows can create depth and make your vine drawing look more detailed and polished.
Different Types of Vines Drawing Ideas
Vine drawings can be created in many styles depending on your skill level and the look you want. Try these simple ideas to explore different designs.
| Vine Drawing Style | How to Create It |
| Simple Leafy Vine Drawing | This beginner-friendly style focuses on smooth curved lines and simple leaves. Start with a basic vine shape and add small leaves along the stem for a clean and natural look. |
| Flower Vine Drawing | Combine vines with roses, small flowers, or blossoms to create a decorative garden style. Add different flower shapes and details to make the design more creative and attractive. |
| Hanging Vine Drawing | Create vines that flow downward like hanging plants. This style works well for borders, corners, and decorative spaces where you want a soft natural effect. |
| Decorative Vine Border Drawing | Use repeating vine patterns around the edges of pages, cards, or artwork. Add leaves, flowers, and small details to create a beautiful frame-like design. |
Tips to Make Your Vines Drawing Look Better
Small changes can make your vine artwork look more natural and balanced. Keep these simple tips in mind while practicing:
- Keep curves smooth : Soft, flowing lines help your vine look more natural and realistic.
- Vary leaf sizes : Use different leaf shapes and sizes to create a more interesting design.
- Avoid making leaves too crowded : Leave enough space between leaves so the vine looks clean.
- Add light shading for depth : Gentle shading can make your leaves and stems appear more detailed.
- Practice different vine shapes : Try different curves, patterns, and styles to improve your skills.
Common Mistakes When Drawing Vines
Avoiding these common mistakes can help your vine drawings look cleaner and more natural:
- Making the vine line too straight : Add curves and bends to create a realistic plant flow.
- Adding too many leaves : Too many leaves can make the drawing look crowded.
- Keeping all leaves the same size : Different sizes create a more natural appearance.
- Forgetting natural spacing : Proper spacing helps the vine look balanced and organized.
- Overcomplicating the design : Simple details often make vine drawings look more attractive.
Watch a Step-by-Step Vines Drawing Tutorial
If you prefer learning by watching, this YouTube tutorial can help you understand how to create smooth vine lines, add leaves, and build decorative details step by step.
Visual guidance can make it easier to follow the drawing process and practice along.
Watch here:https://www.youtube.com/results?search_query=how+to+draw+vines+step+by+step
Conclusion
You’ve now learned vines drawing in a simple, step-by-step way. From basic curves to leaves and flowers, each part helps you build a clean design.
I still remember how my early vine sketches looked uneven, but practice made them smoother over time. You can try the same in your sketchbook or journals today.
Imagine decorating your pages with your own vine borders.
If this helped you, leave a comment, share your work, or check more drawing guides.
Frequently Asked Questions
How do I start a vines drawing?
Begin with a light curved line to form the main stem. Then slowly add branches and simple leaf shapes.
What is the easiest way to draw vines?
Use smooth wavy lines and basic oval leaves. Keep the design simple and avoid too many details at first.
Can beginners draw vines easily?
Yes, vines are very beginner-friendly and easy to practice. Start small and improve step by step with practice.
How do I make vines look natural?
Vary leaf sizes and avoid perfect patterns. Add gentle curves instead of straight lines.
Where can I use vine drawings?
You can use them in journals, cards, and artwork borders. They also work well for decoration and creative projects.
