

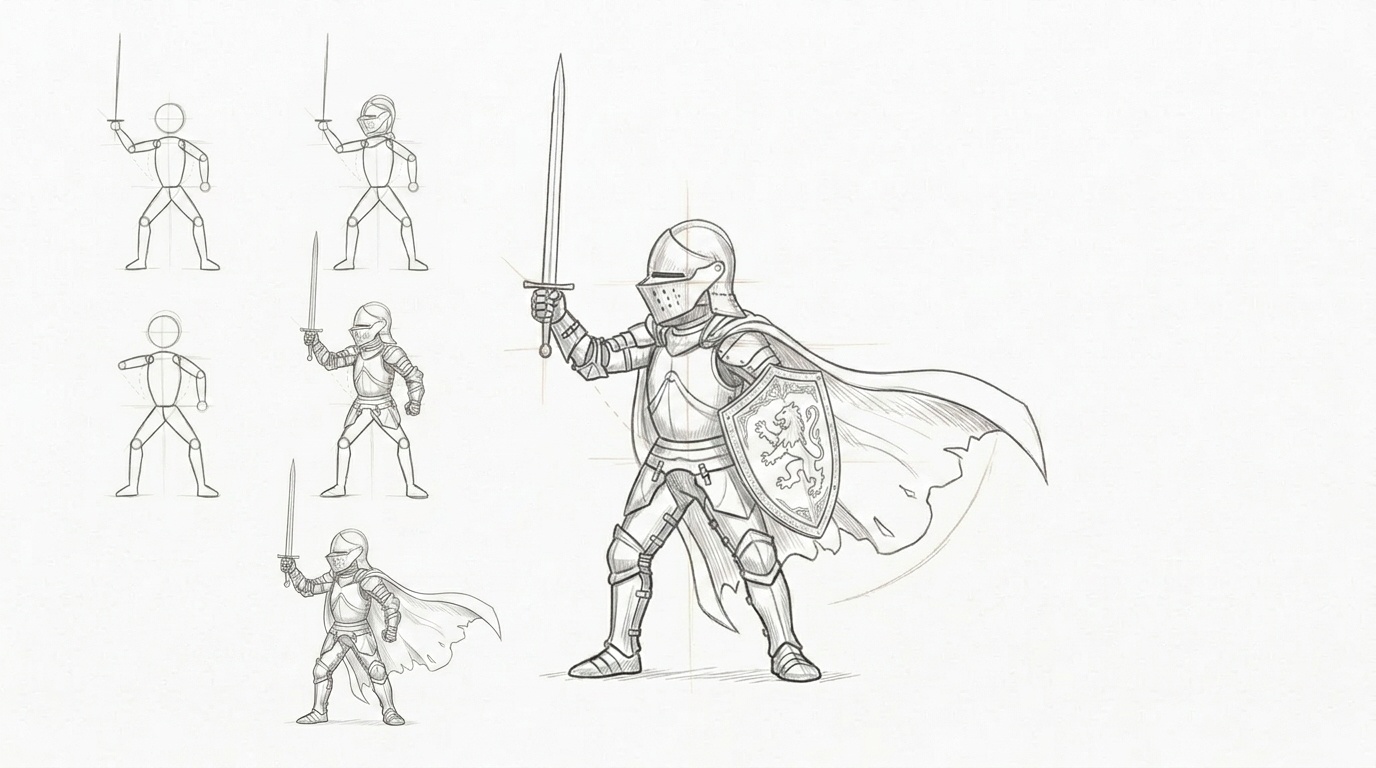
Have you been searching for knight drawing ideas but feel unsure about how to start?
This guide will help you create a simple and detailed knight sketch with easy steps.
In this article, you’ll learn the materials needed, how to draw the body shape, add the helmet, armor, sword, shield, and improve your drawing with shading.
I’ll also share beginner-friendly tips to avoid common mistakes and make your artwork look better.
With experience creating simple drawing tutorials, I focus on making each step clear and easy to follow.
If you are a beginner or practicing character art, this guide will help you create a knight drawing with confidence.
What Is a Knight?
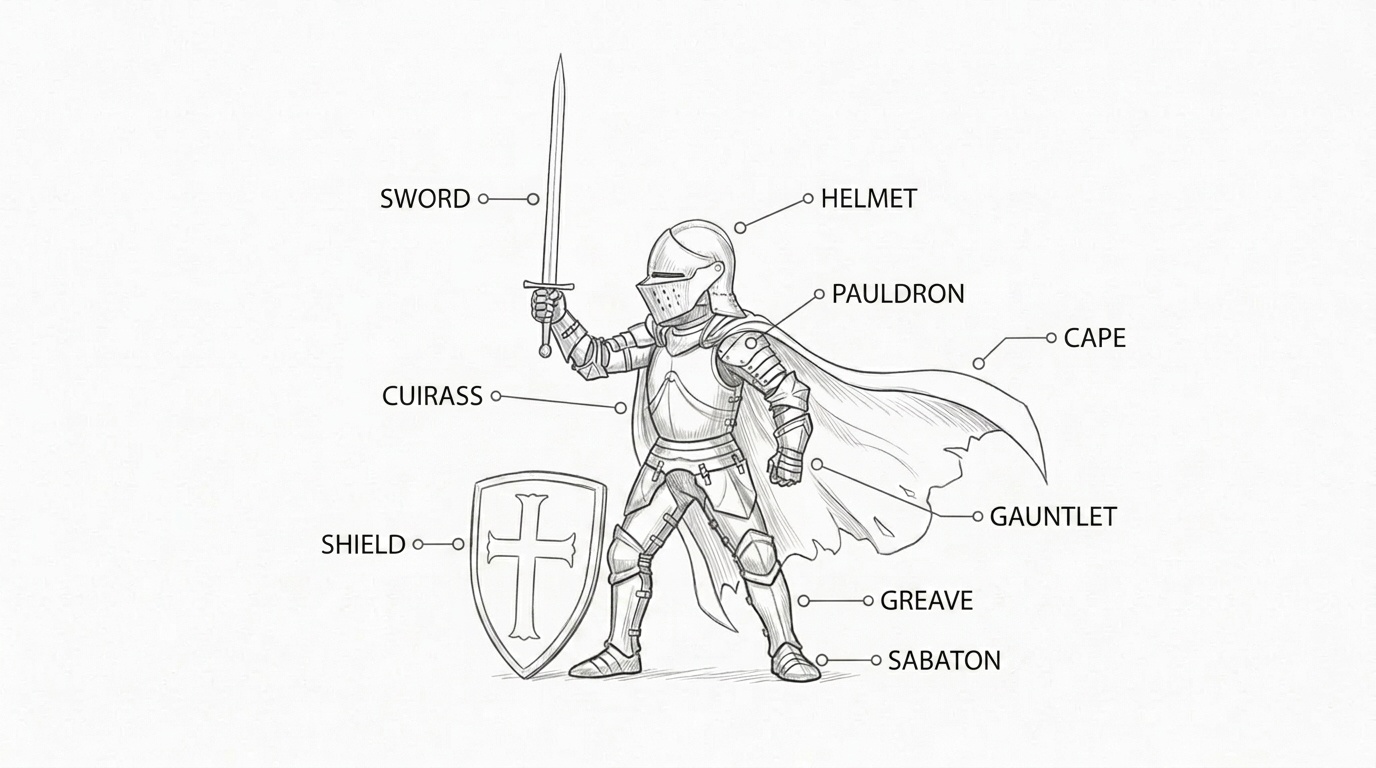
A knight is a trained warrior who was known for fighting on horseback and protecting their kingdom in history.
In art and fantasy drawings, knights are often shown wearing detailed armor, helmets, and carrying weapons like swords and shields.
A knight’s appearance usually includes strong body shapes, protective armor, and unique designs that show their personality or role.
Understanding these basic elements can make it easier to create a balanced and detailed sketch.
When learning knight drawing, focusing on the main parts like the helmet, armor, and pose helps you build a stronger character drawing step by step.
Materials You Need to Draw a Knight
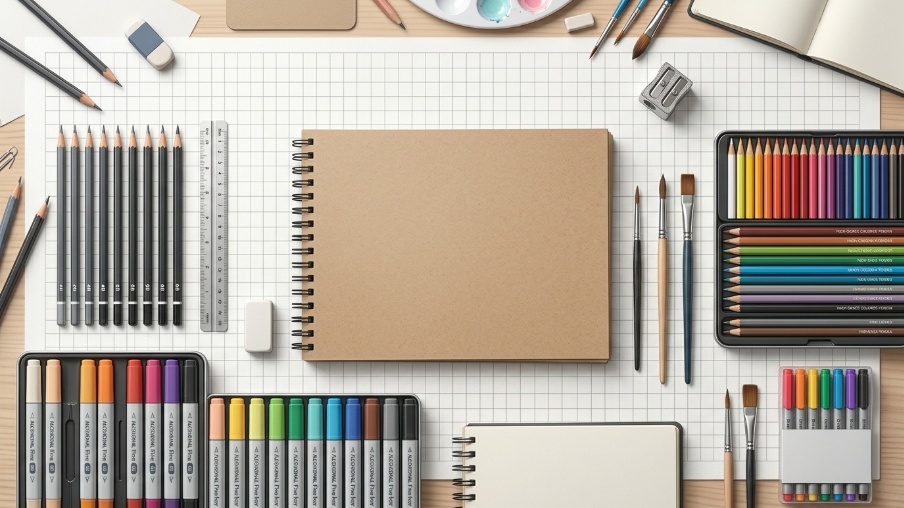
You only need simple basic tools to create your knight drawing easily.
- Pencil
- Eraser
- Drawing paper
- Black pen (optional)
- Colored pencils or markers
How to Draw a Knight Step by Step
Follow these simple steps to create a knight drawing by building the character with basic shapes and adding armor details slowly.
Step 1: Draw the Knight’s Basic Body Shape
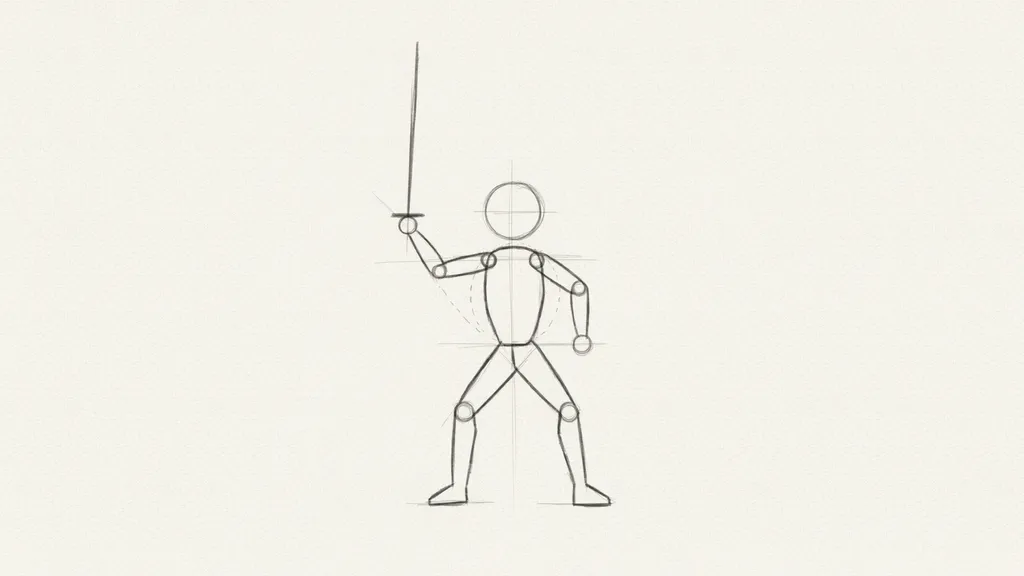
Start by creating simple shapes for the knight’s head, body, and limbs. Use light pencil strokes to build the basic pose and proportions.
Keep the shapes simple so you can make changes easily. This foundation will help you create a balanced knight figure before adding armor and other details.
Step 2: Add the Helmet and Face Details
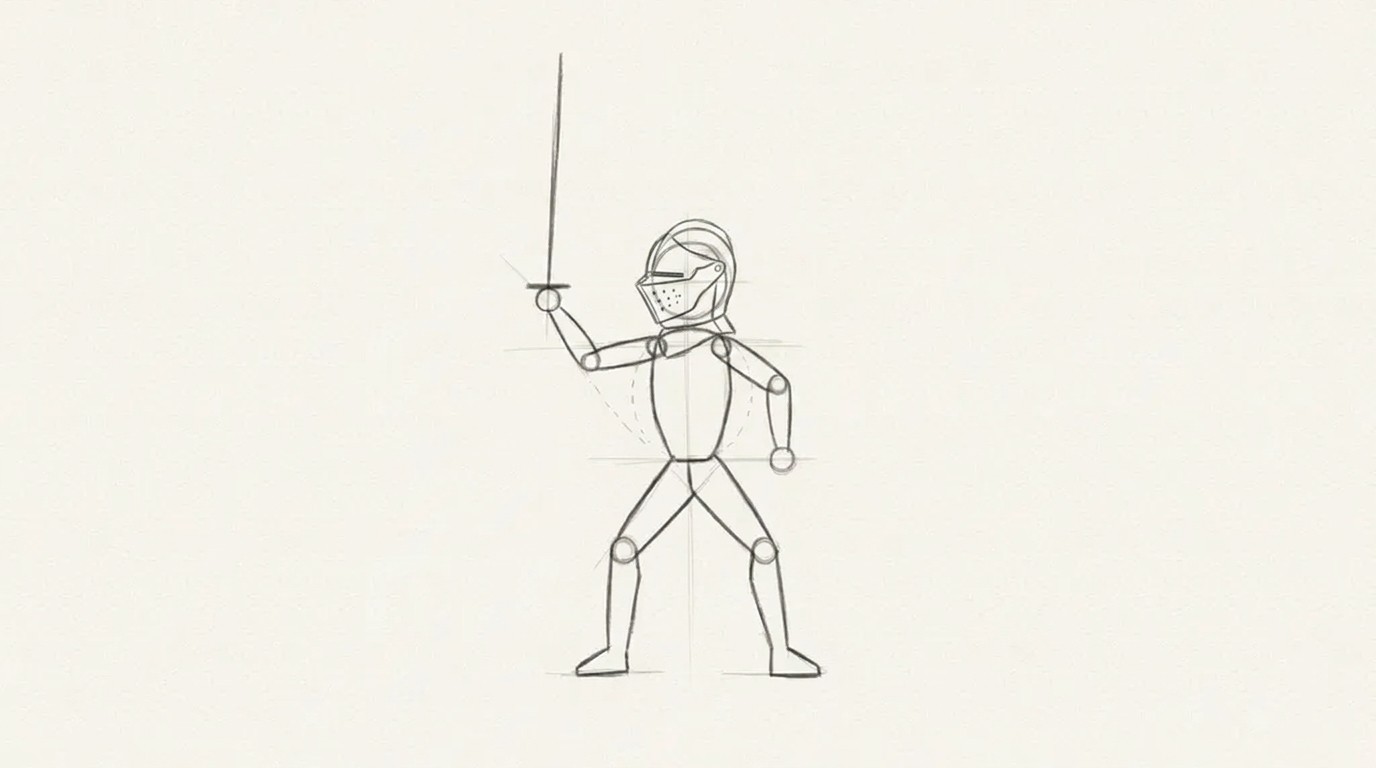
Next, draw the knight’s helmet shape and add details like the visor and openings. Keep the design clear and simple while creating a strong character look.
Add small face details if visible, but focus more on the helmet structure to make the knight’s appearance recognizable.
Step 3: Sketch the Armor and Clothing
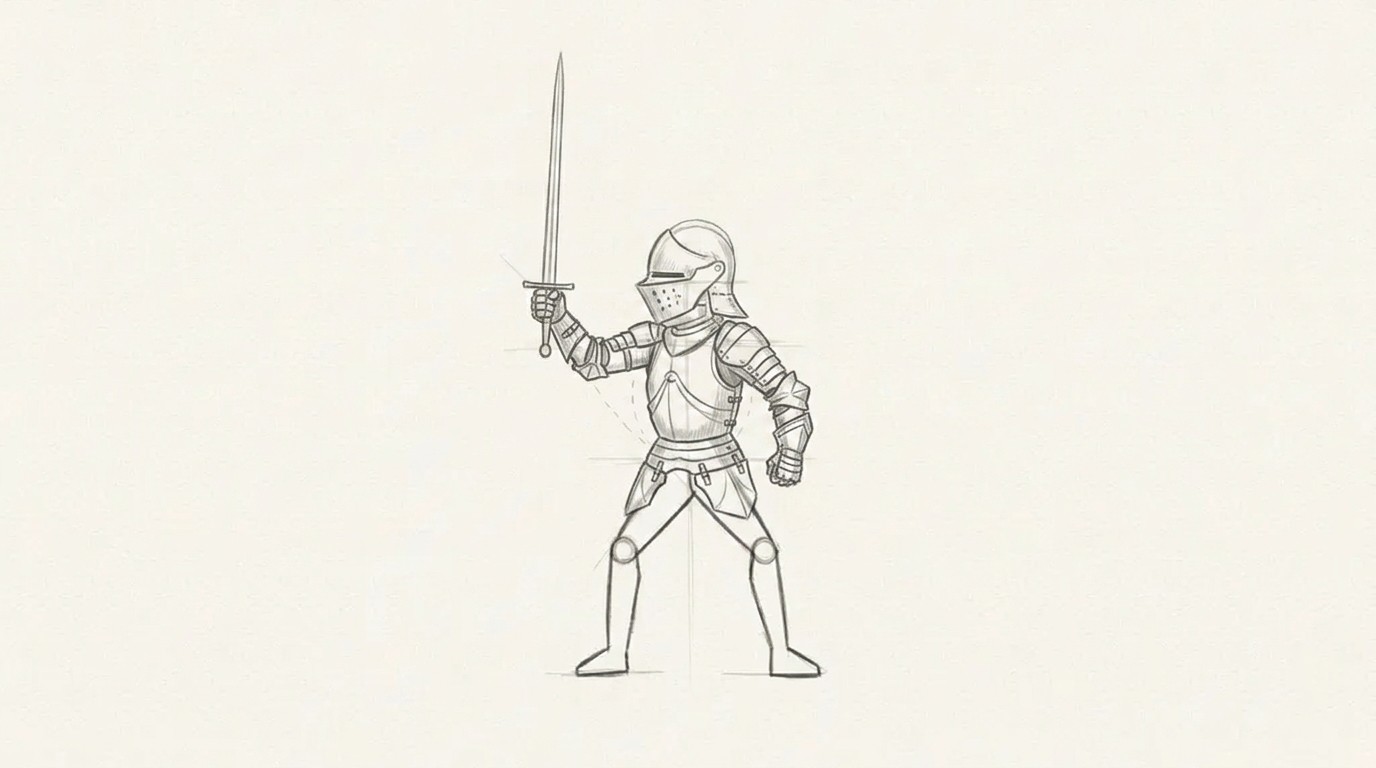
Now add the knight’s armor pieces, including the chest plate, shoulder guards, and arm protection. Use curved lines to show the shape of the metal pieces.
Add simple patterns and details without making the drawing too crowded. Keep the armor balanced with the body shape.
Step 4: Add Legs, Boots, and Cape

Draw the knight’s legs and add sturdy boots to match the armor style. Include a cape using flowing lines to create movement.
Pay attention to how the clothing falls around the body. These details can make your knight drawing look more dynamic and interesting.
Step 5: Add Details and Improve the Outline
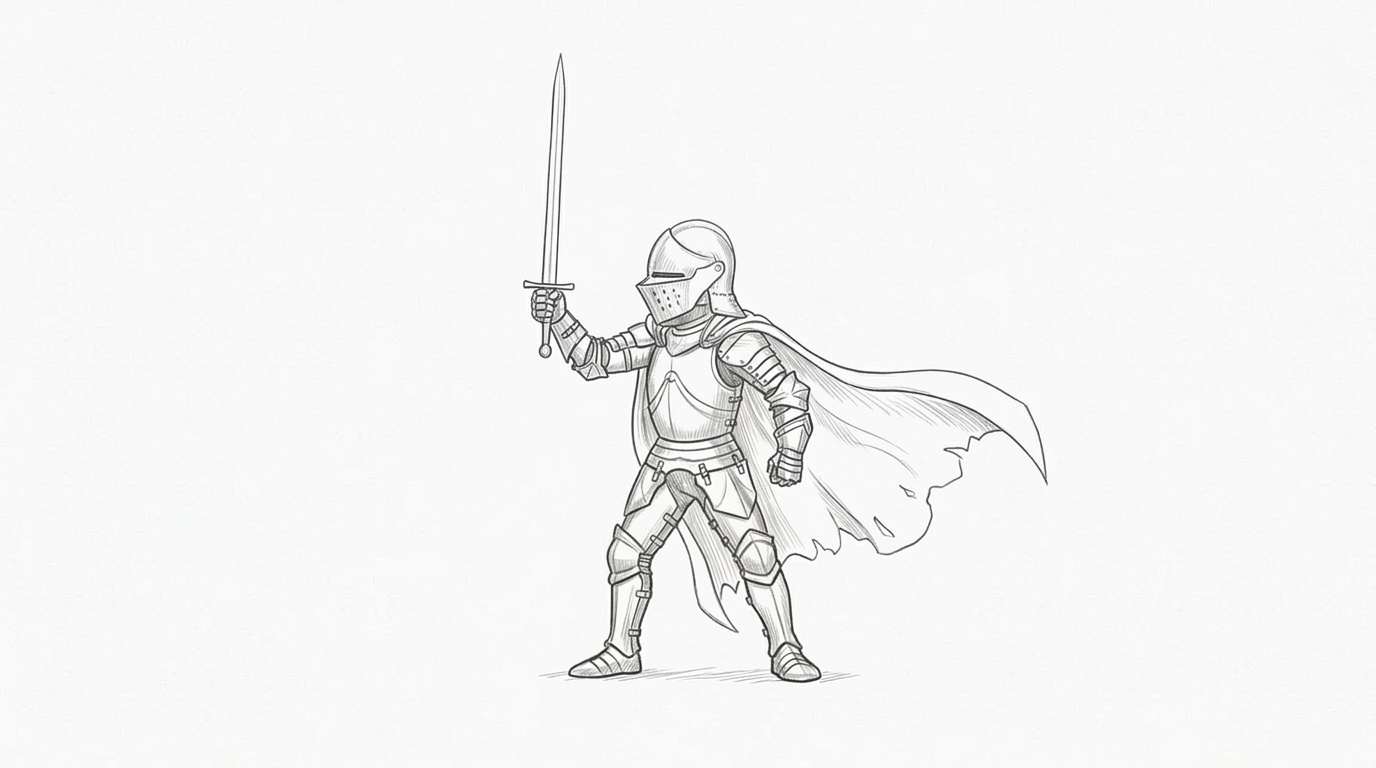
Add extra armor lines, textures, and small design details to improve your sketch. Clean up unnecessary guidelines and refine the main outline.
Take time to check the proportions and make adjustments where needed. A clean outline will make your knight drawing easier to finish and color.
Step 6: Color and Shade Your Knight Drawing
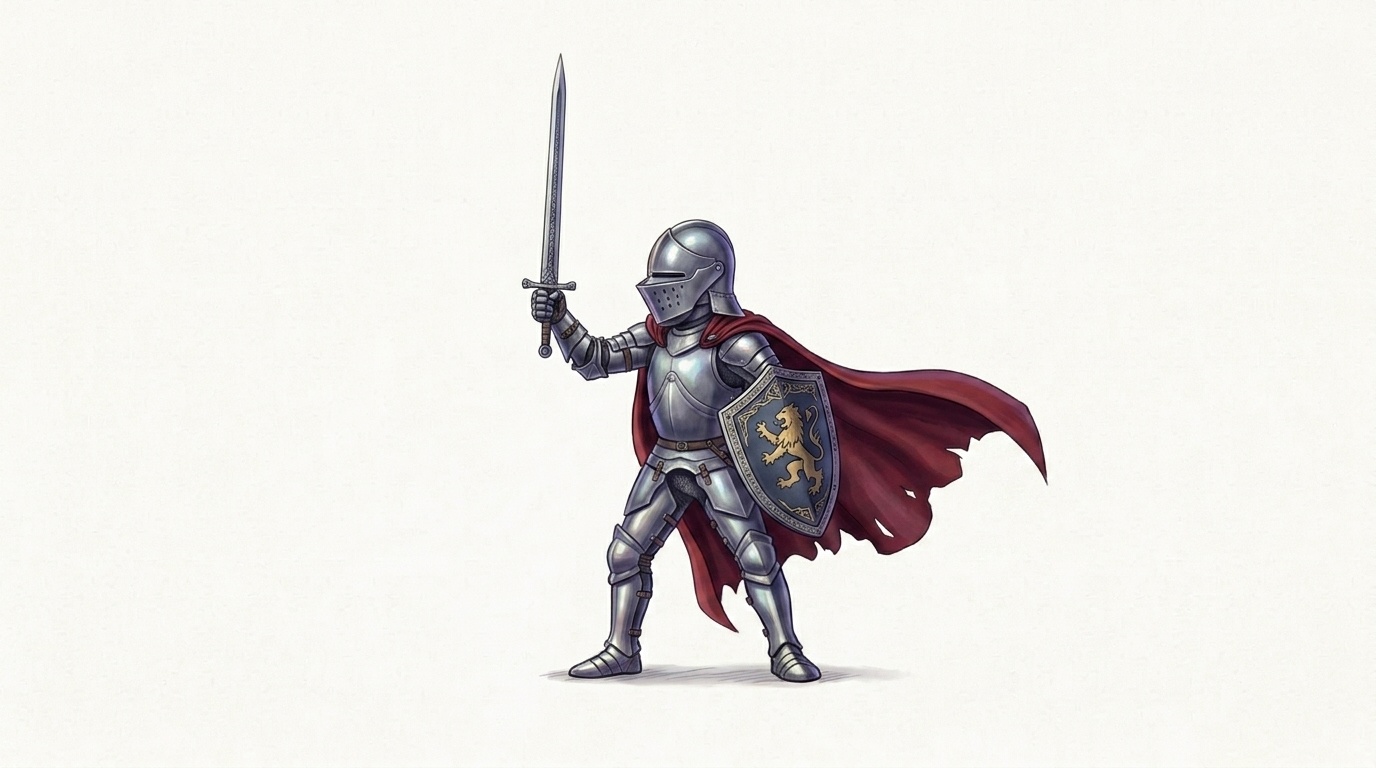
Finish your knight drawing by adding colors and shading. You can also add a shield for good measure if you’d like. Use metallic shades for the armor and darker tones for depth. Add colors to the cape, shield, and other details.
Simple shading techniques can help your knight look more realistic and give the armor a stronger appearance.
Tips to Make Your Knight Drawing Better
These simple tips can help you improve your knight drawing and create a more balanced character sketch.
- Study armor references to understand details better.
- Focus on body proportions before adding armor.
- Start with simple shapes and build slowly.
- Add small details after the main structure is complete.
- Practice different knight poses and styles.
Common Mistakes When Drawing a Knight
Avoid these common mistakes to make your knight drawing cleaner and easier to improve.
- Making the armor too detailed too early.
- Drawing incorrect body proportions.
- Forgetting important knight elements like a helmet or sword.
- Adding details before finishing the basic shape.
- Using dark lines before completing the sketch.
Watch a Knight Drawing Tutorial Video
A visual tutorial can help you understand how to build a knight’s body, armor, and details step by step.
Follow along with the video, pause whenever needed, and practice each section slowly to improve your knight drawing skills.
How to Draw a Knight | Easy Step by Step Drawing Tutorialhttps://www.youtube.com/watch?v=Qm8Jp8YfV8A
Conclusion
Creating a knight drawing can be an enjoyable way to practice character art and explore creative ideas.
I like how simple shapes can slowly become a detailed warrior with armor, a sword, and a unique style.
Keep practicing, try different poses, and add your own creative touches as you improve. Every sketch helps you learn something new.
Pick up your pencil and start your next knight drawing today. Share your artwork in the comments, share this guide with others, or try more easy drawing tutorials.
Frequently Asked Questions
How do you draw a knight easily?
Start with basic shapes for the body and add armor details slowly. Simple steps can help beginners create a clear knight drawing.
Is knight drawing difficult for beginners?
No, beginners can learn by practicing shapes, proportions, and details. Breaking the drawing into smaller steps makes it easier.
What details should be included in a knight drawing?
Common details include a helmet, armor, sword, and shield. These features help create a recognizable knight character.
How can I make my knight drawing look realistic?
Focus on body proportions, armor shapes, and shading. Using reference images can help improve your details.
What tools do I need for a knight drawing?
A pencil, eraser, and paper are enough to start. You can use colors or markers to add finishing details.
