

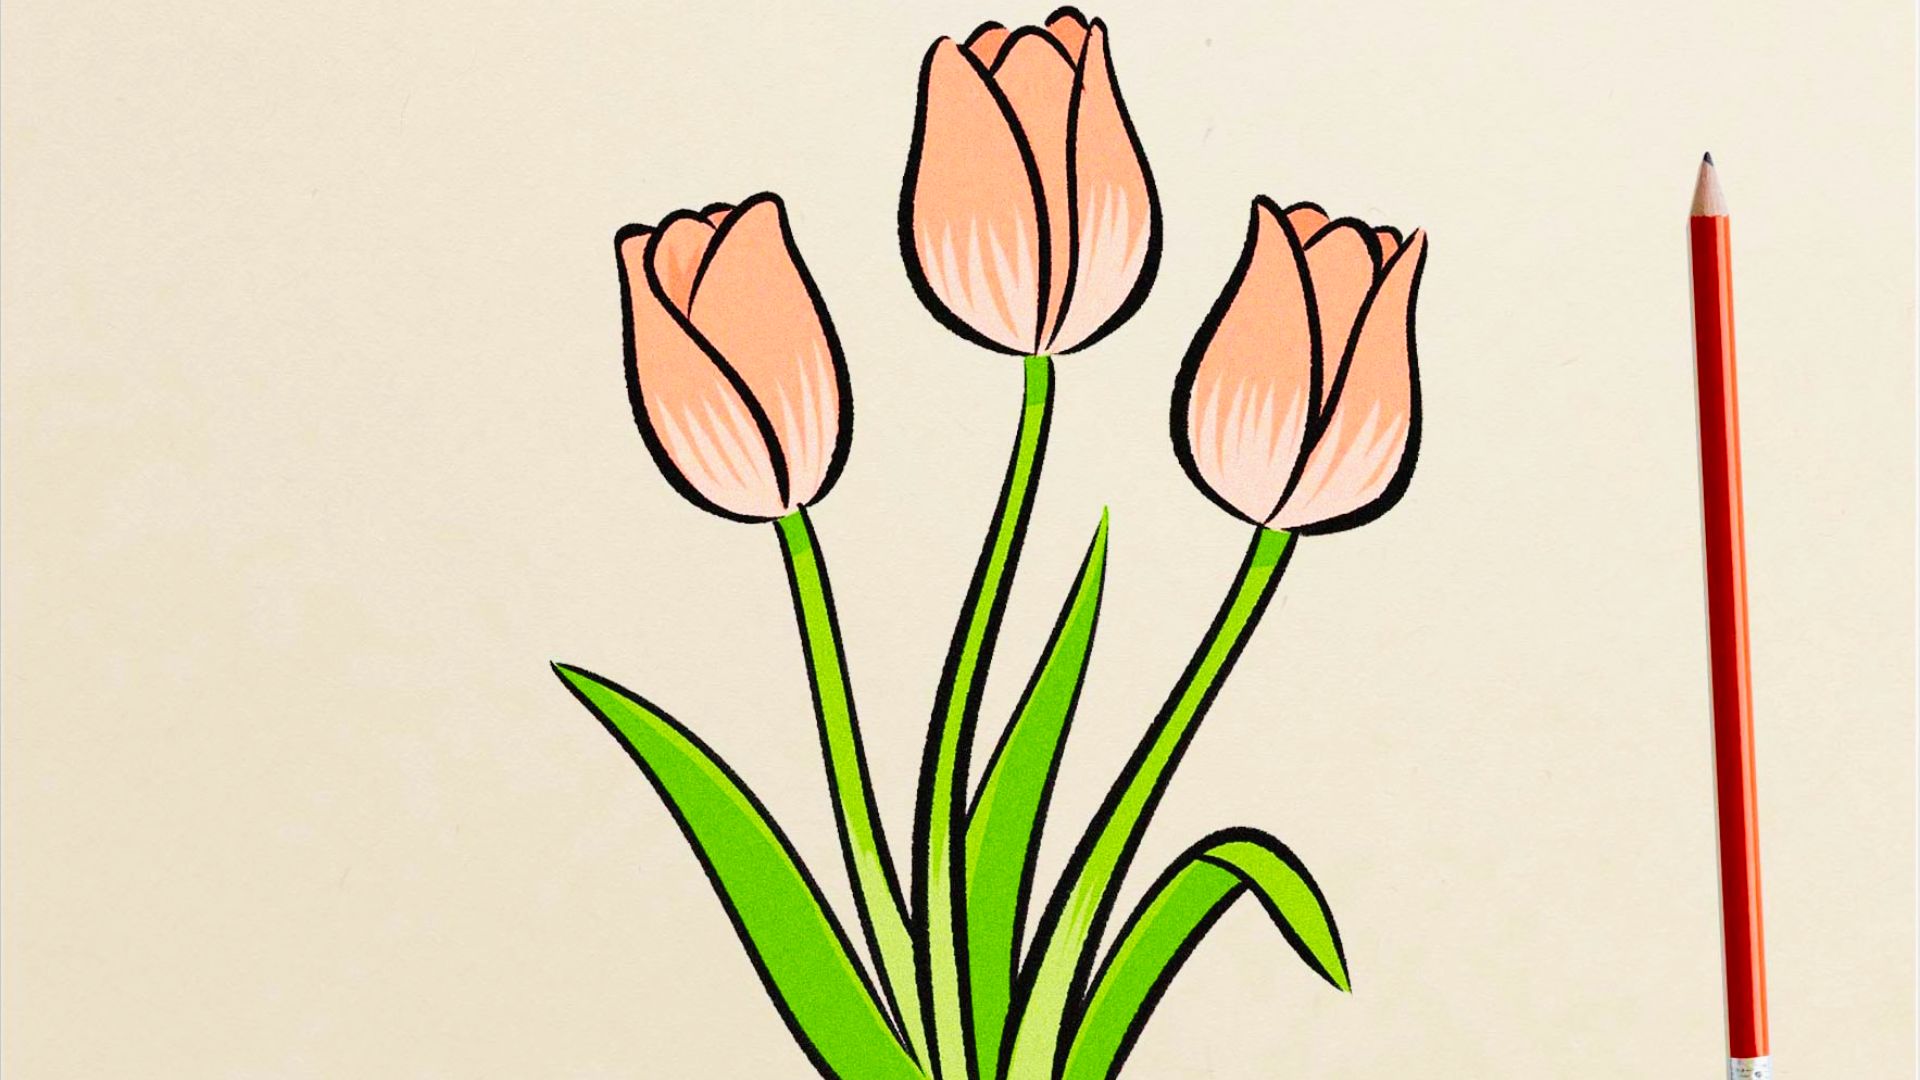
Learning tulip drawing is easier than you think.
I still remember my first attempt at drawing a tulip. It looked more like a blob than a flower. But with a few simple steps, it finally clicked.
This guide walks you through everything, from basic shapes to realistic details. You will learn how to draw petals, stems, and leaves the right way.
I have helped many beginners get started, and this step-by-step approach actually works. Grab a pencil and let us get into it.
Understanding the Basic Structure of Tulip Drawing
Knowing the structure makes tulip drawing much simpler than it looks.
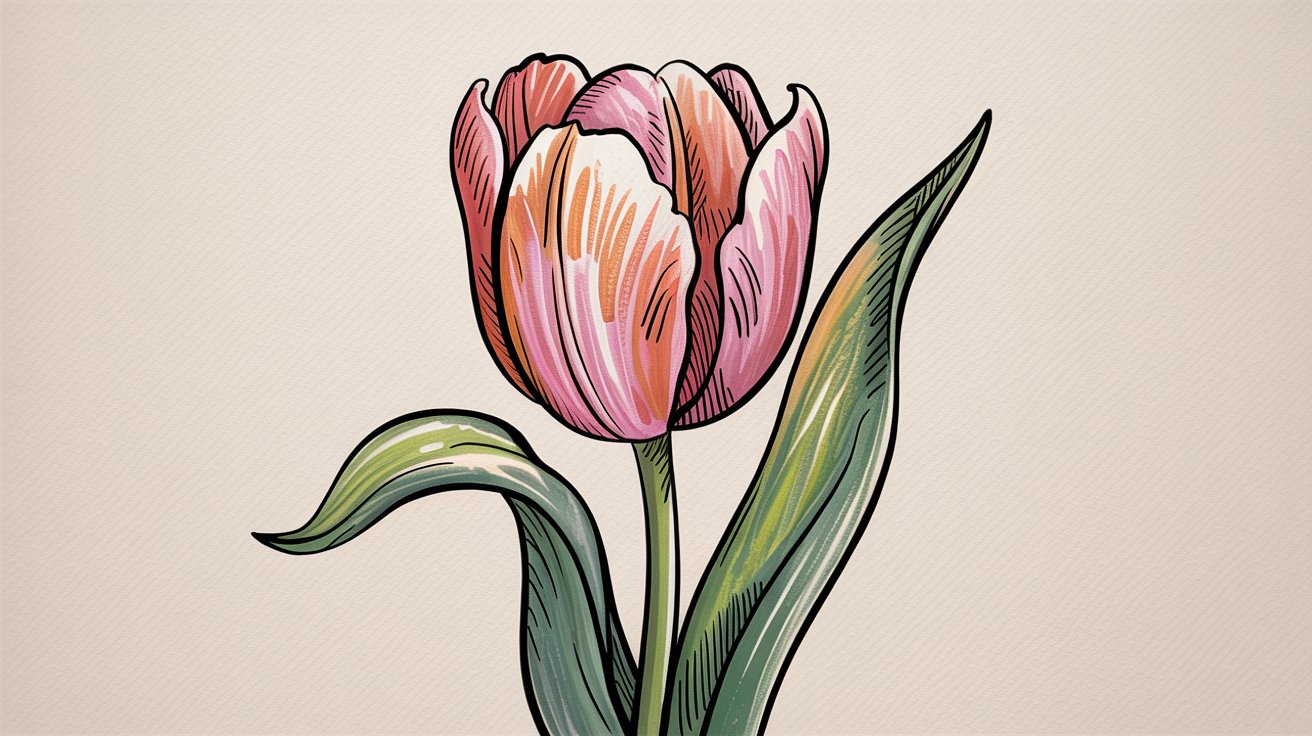
A tulip is built from just a few simple shapes. The flower head is a rounded cup shape sitting on top of a narrow stem.
Two long curved leaves grow out from the base. When you stop seeing it as a complicated flower and start seeing it as connected shapes, drawing becomes far less stressful.
Most beginners struggle because they try to copy every detail at once. Breaking it down into parts first gives you a much stronger foundation to build on.
Step-by-Step Tulip Drawing Tutorial for Beginners
Follow these five simple steps and you will have a clean tulip drawing in no time.
Step 1: Basic Shape

Start by drawing a simple U-shape with a rounded oval placed on top. Keep the lines light since you will refine them later. This forms the base of your tulip head.
Step 2: Petals
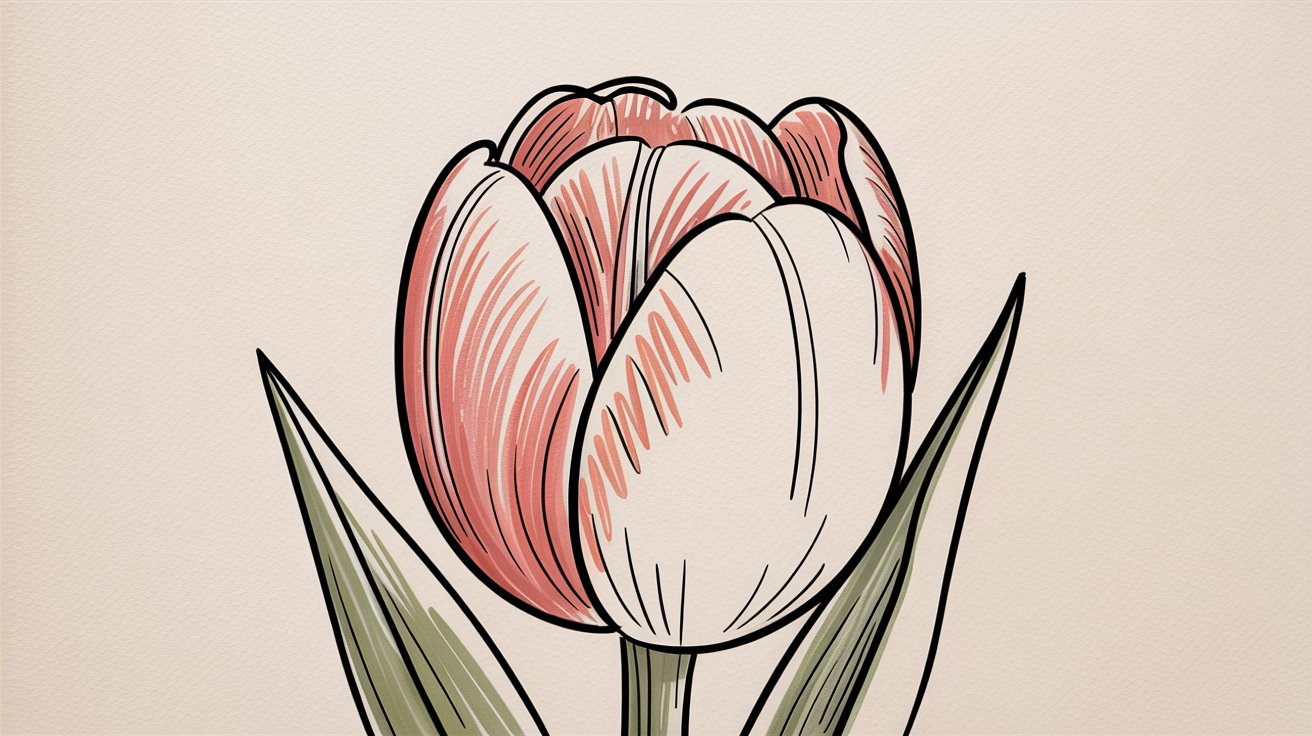
Draw the front petals first inside the oval, then add back petals peeking out from behind. Back petals should be slightly taller and curve outward. Natural variation in petal size is perfectly fine.
Step 3: Stem
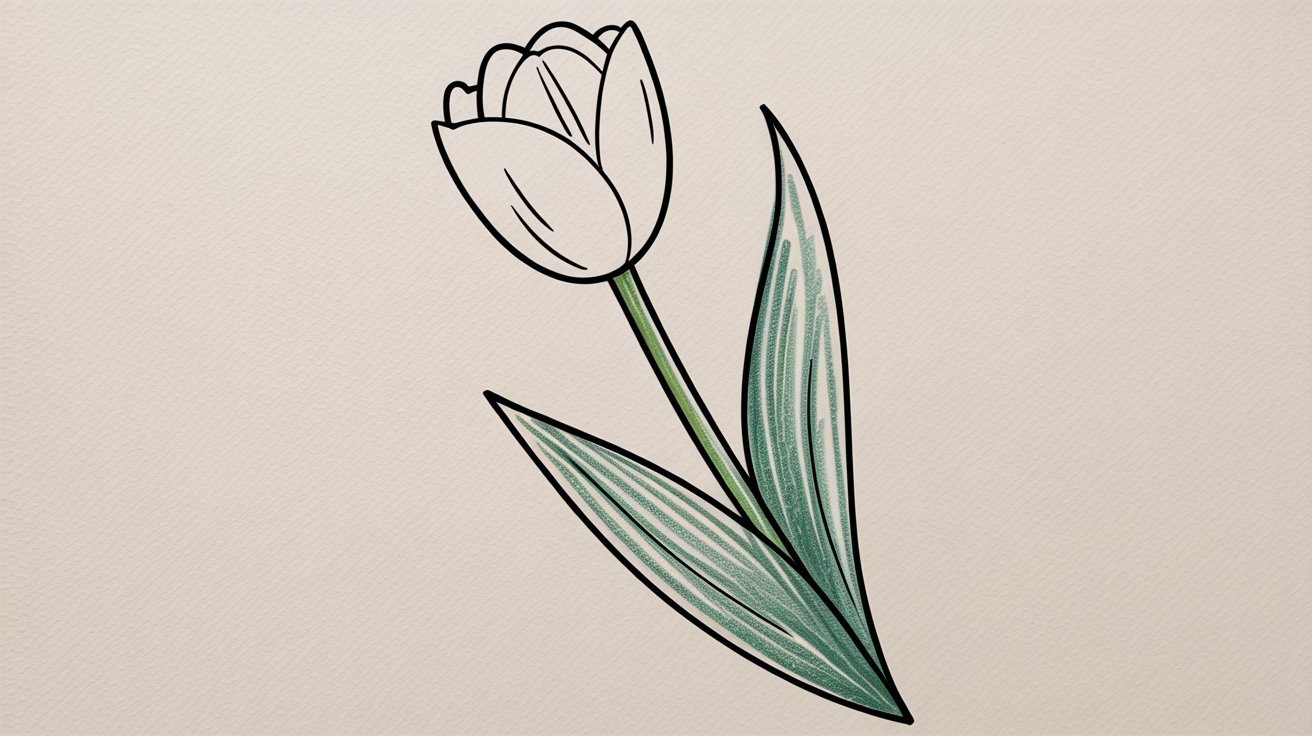
From the base of the flower, draw two slightly curved lines going downward. Keep them close together and avoid making them perfectly straight. A gentle curve gives the stem a more natural feel.
Step 4: Leaves
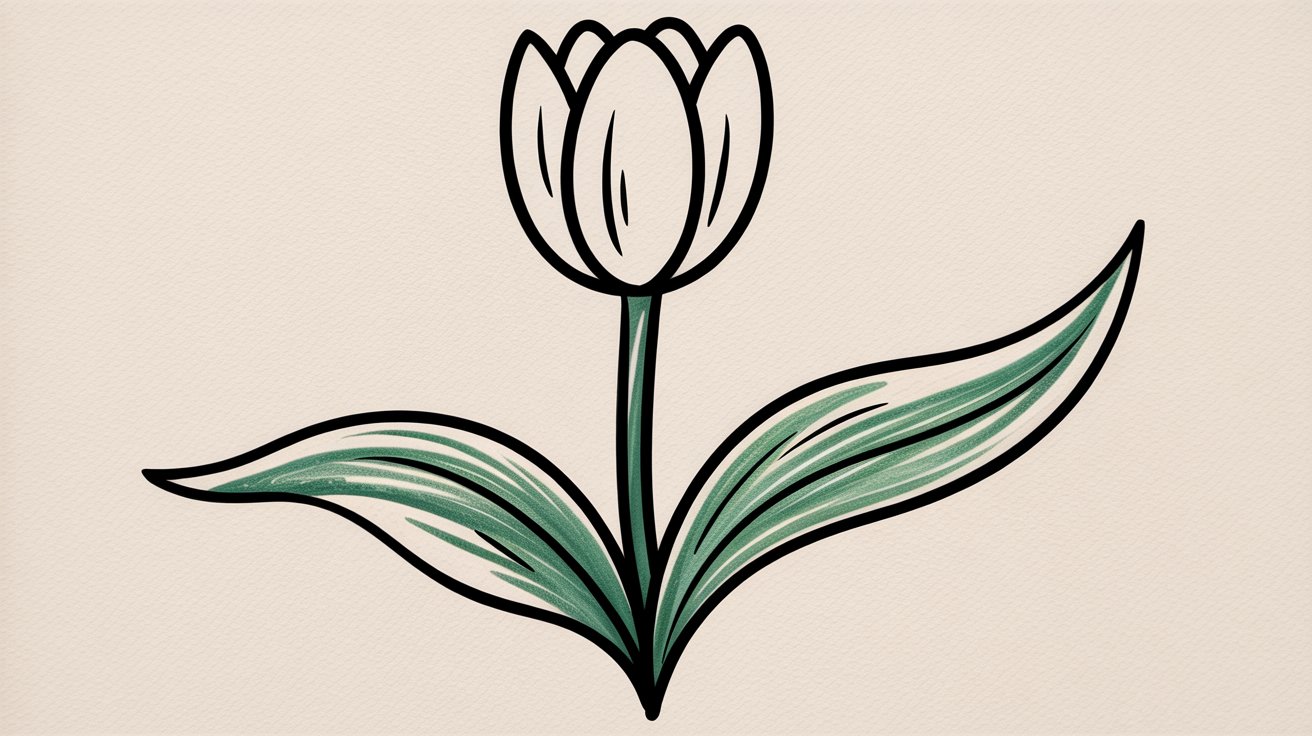
Add one or two long curved leaves on either side of the stem. Let them start near the base and taper to a point. A slight outward curve makes the leaves look more lifelike.
Step 5: Final Details
Go over your drawing with cleaner, more confident lines and erase rough sketch marks. Add light shading along the petal edges for a bit of depth. A few curved lines on the petals can suggest texture without overcomplicating things.
Cute and Creative Tulip Drawing Ideas
Once you know the basics, try adding your own creative spin to your tulip drawing.
Cute Tulip Drawing Styles
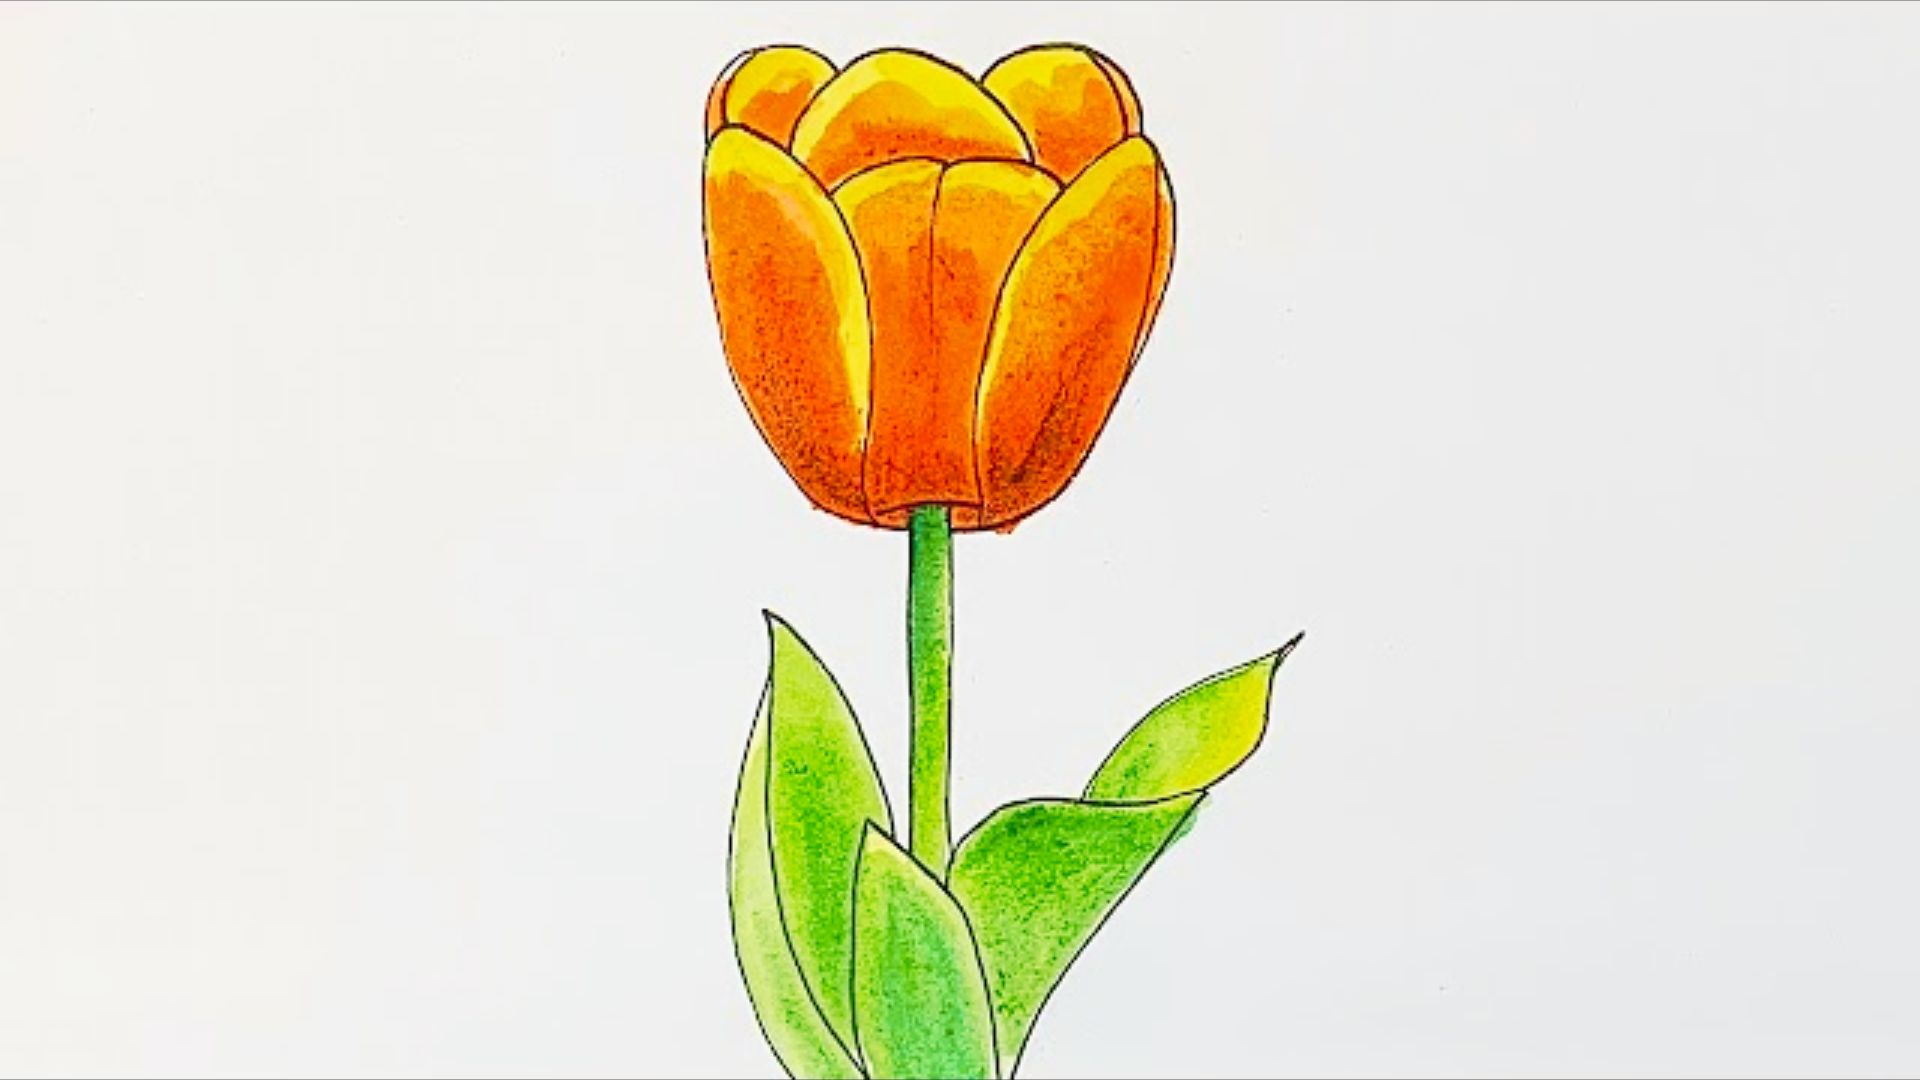
Cute tulip drawings have rounder, fuller petals and a short, chubby stem. Small details like tiny dots or simple faces on the petals give it a fun cartoon feel. This style works great for journals, cards, and doodle pages.
Pink Tulip Drawing for Color Practice
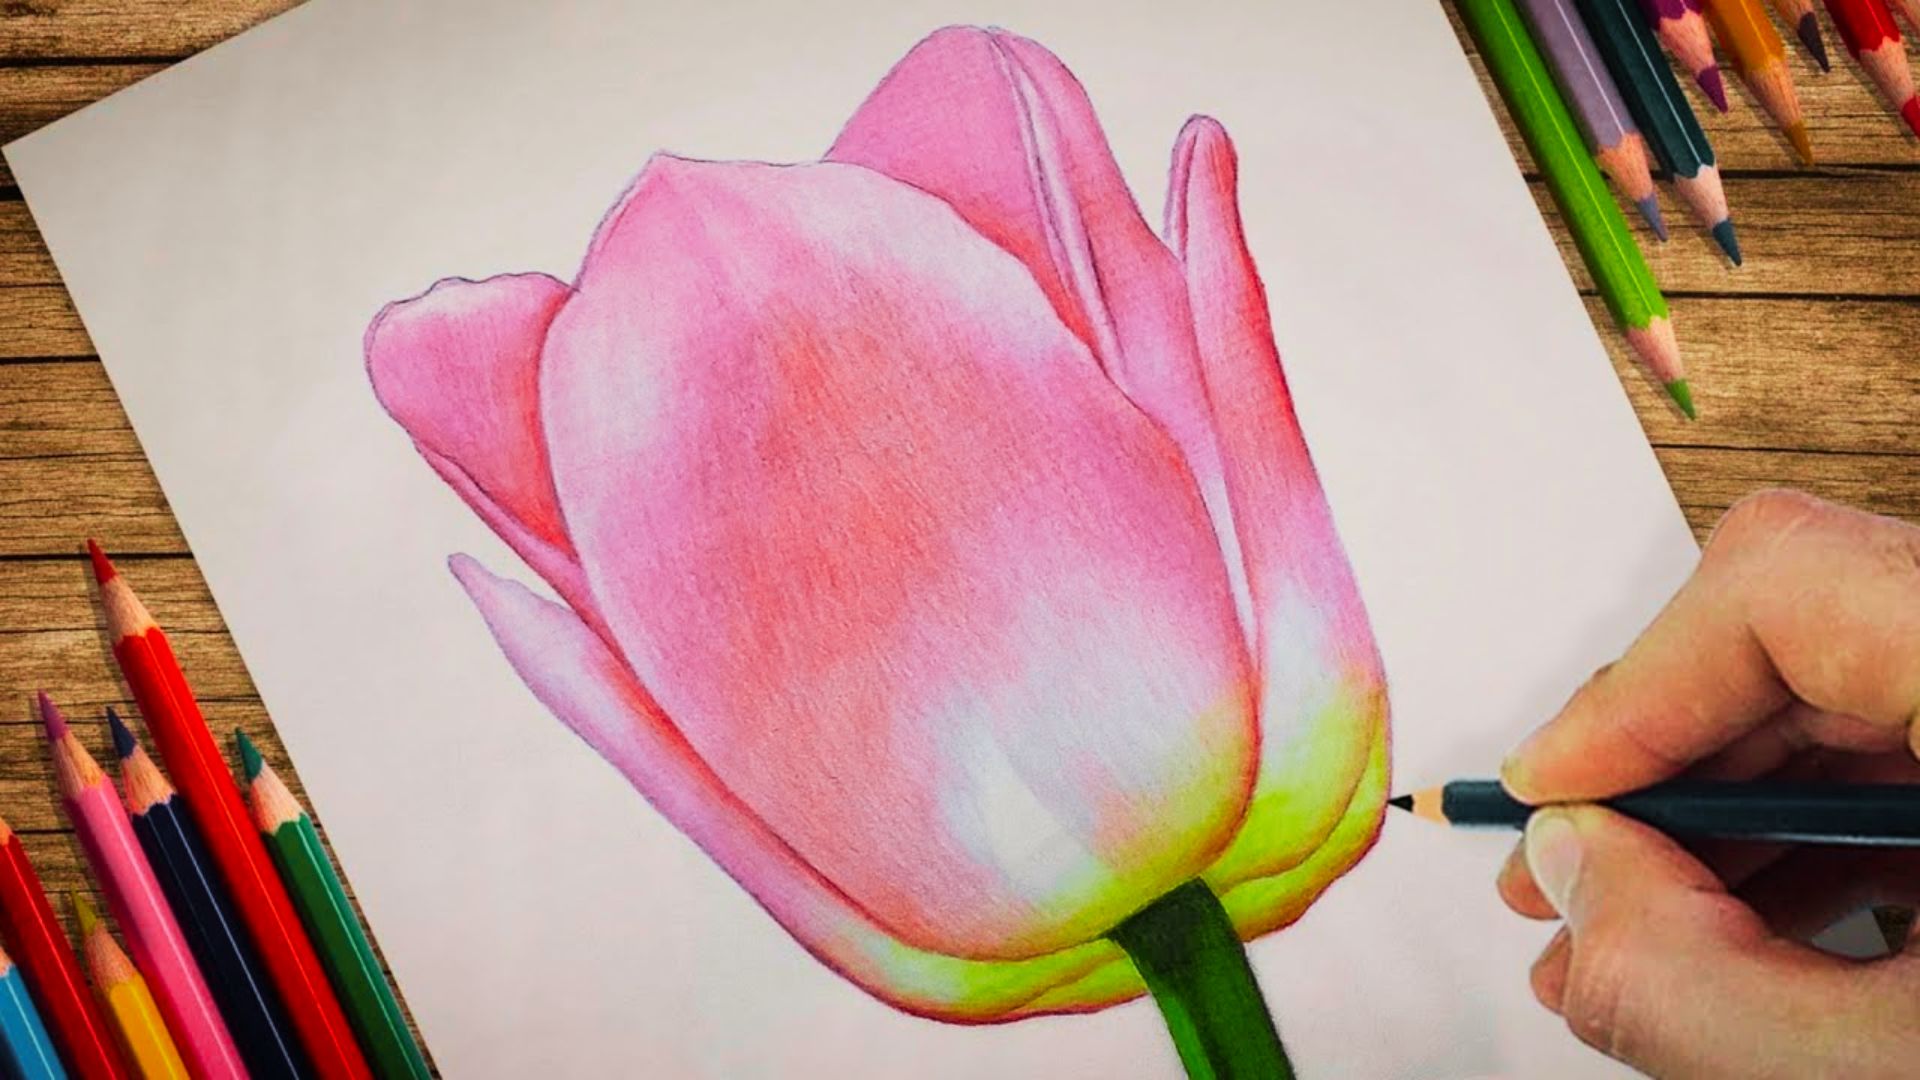
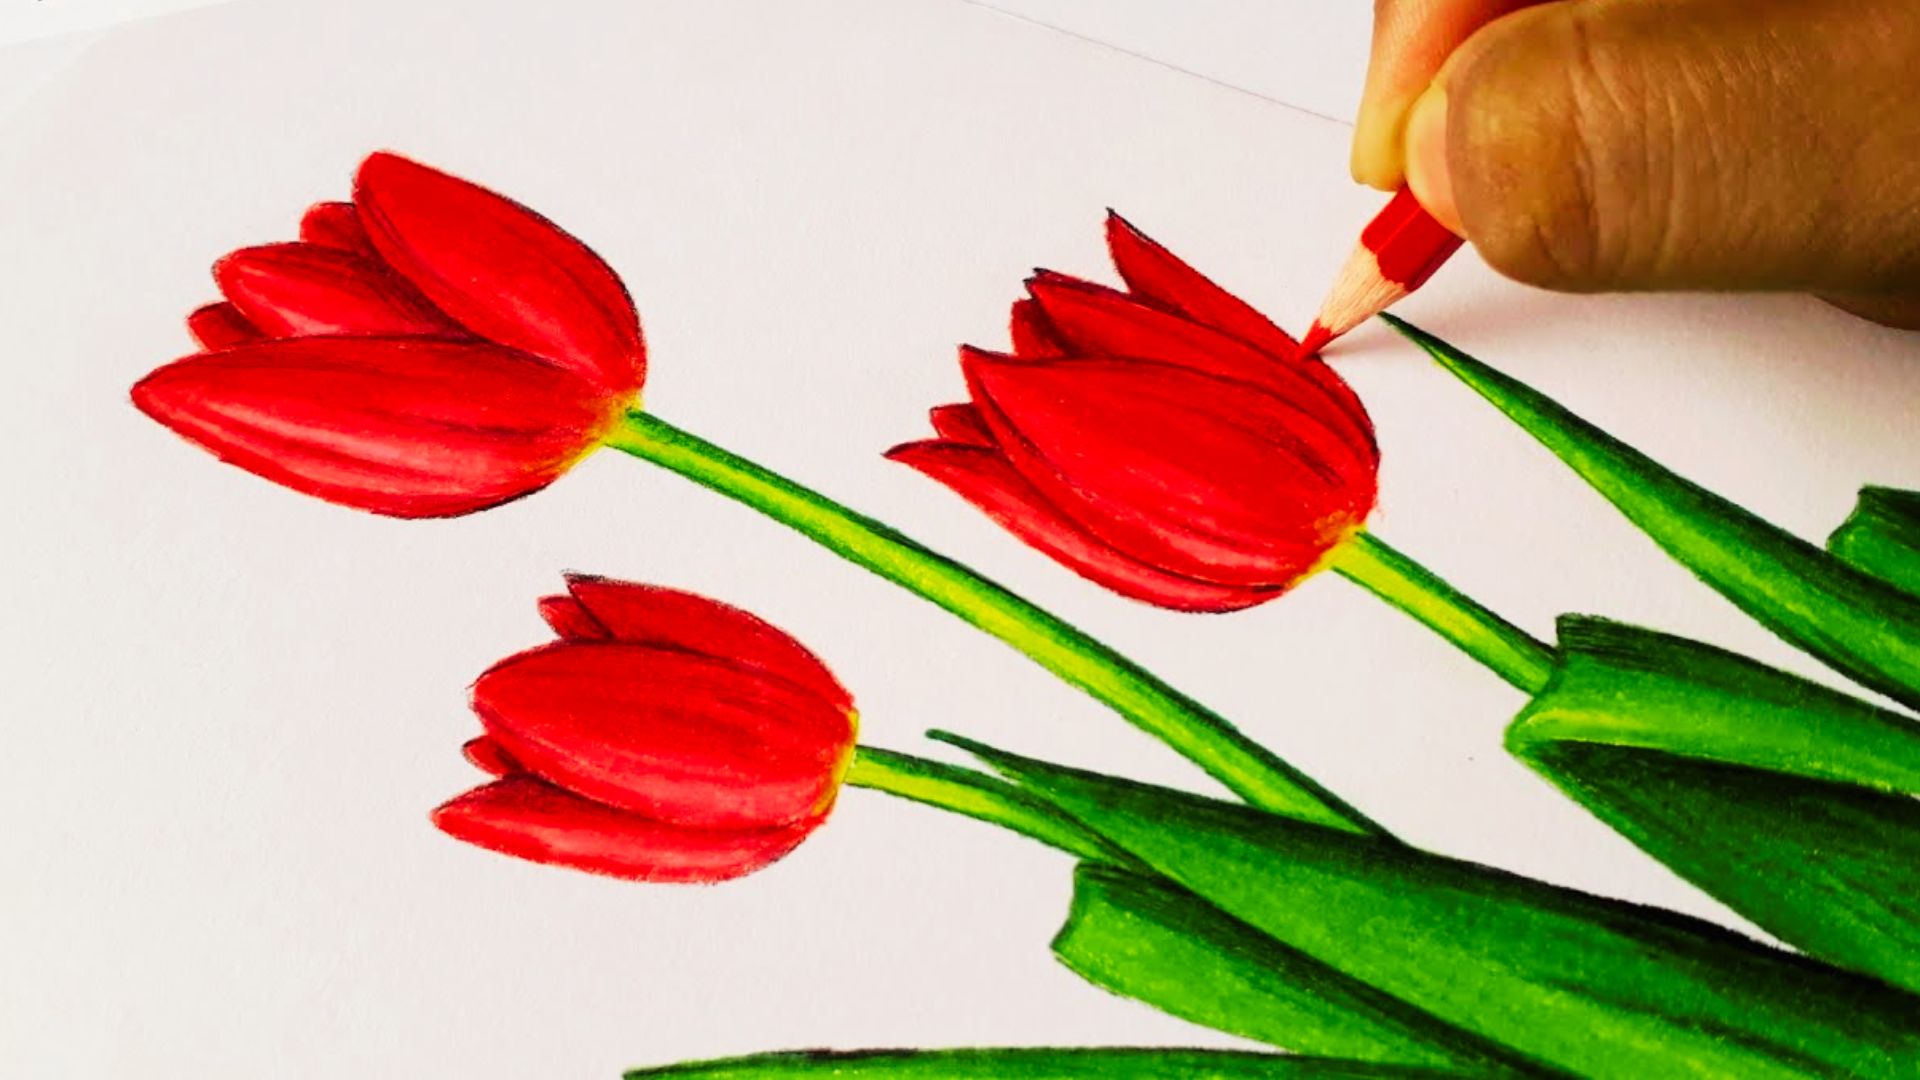
A pink tulip drawing is a great starting point for practicing color. Use light pink as the base and build toward a darker shade along the petal edges. Colored pencils, markers, or watercolors all work well here.
Sketch Tulip Drawing Variations
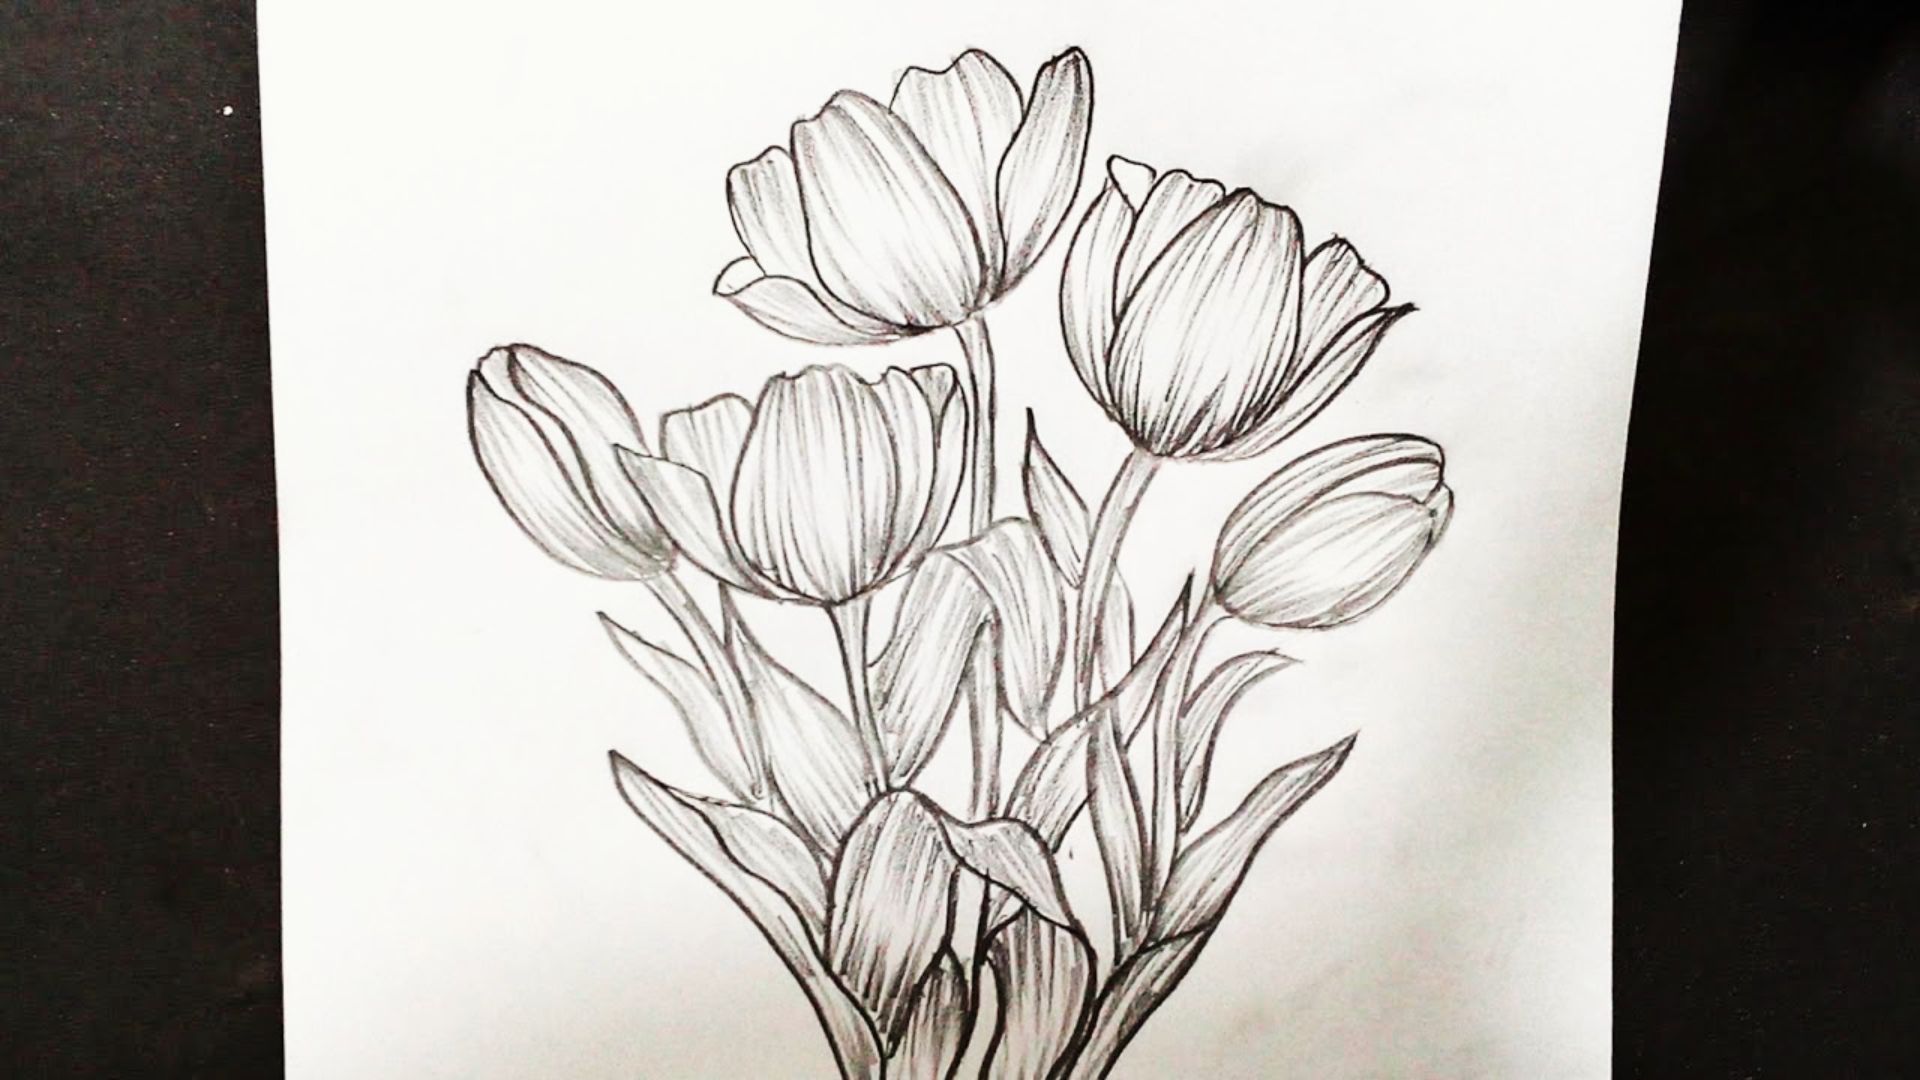
Sketch-style tulip drawing uses loose, quick lines instead of clean outlines. Try drawing the same tulip several times without lifting your pencil too much. This loosens up your hand and builds drawing confidence fast.
Realistic Tulip Drawing Techniques
Taking your tulip drawing from basic to realistic is all about adding the right details.
How to Create a Realistic Tulip Drawing
Realistic tulip drawing starts with close observation of how petals overlap and curve. Use reference images while drawing since even professional artists rely on them. Recreating what you see rather than what you imagine gives far better results.
Adding Shadows and Depth
Shading is what makes a tulip drawing look three-dimensional and alive. Start with light pencil pressure and gradually build darker tones on the shadowed side. Blend with your fingertip for smooth transitions between light and dark areas.
Making Petals Look Natural and 3D
Draw curved lines along the length of each petal following its natural growth direction. Add slightly darker tones where two petals overlap to create depth. A small curved line at each petal tip suggests a natural curl without overworking the drawing.
Tulip Drawing for Kids and Beginners

Tulip drawing is one of the most beginner-friendly flowers to start with.
Simple Tulip Drawing for Kids Step-by-Step
Start with a big rounded shape at the top, add three petal bumps, draw a straight stem, and place two wide leaves on each side.
Encourage kids to use bold, confident strokes rather than thin hesitant lines. Big and simple always works better when starting out.
Fun Practice Exercises
Draw five tulips in a row, each slightly different from the last. Try filling a page with just stems and leaves, or color the same tulip using different combinations each time.
These exercises train your hand and eye without the pressure of creating a finished piece.
Learning Through Basic Shapes
All flower drawing comes back to circles, ovals, curved lines, and U-shapes practiced separately.
Getting comfortable with these shapes makes putting them together in a tulip drawing much easier. Just five minutes of shape practice a day adds up faster than you expect.
Easy Tulip Drawing Tips for Beginners
Small adjustments can make a big difference in how your tulip drawing turns out.
- Start with light pencil strokes so you can erase and adjust shapes easily before committing to final lines.
- Keep the flower head proportional to the stem so the drawing does not look top heavy or off balance.
- Draw petals with slight size variations since perfectly identical petals look unnatural and stiff.
- Practice basic shapes like ovals and U-shapes separately before putting them together in a full tulip drawing.
- Review your drawing from a small distance every few minutes to catch proportion or balance issues early.
Conclusion
I started tulip drawing with zero confidence, and now it is one of my favorite things to sketch on a free afternoon. If I could figure it out, so can you.
Take what you learned here, grab a pencil, and draw your first tulip today. Do not wait for the perfect moment. Start messy and improve as you go.
If this guide helped you, leave a comment below and let me know how your tulip drawing turned out. Share it with a friend who loves art too.
Frequently Asked Questions
How do beginners start tulip drawing?
Begin with a simple U-shape and a rounded oval on top to form the flower head. Once that feels comfortable, slowly add petals, a stem, and leaves one step at a time.
What is the easiest way to draw a tulip?
Use basic shapes as your starting guide before adding any detail. Build the flower head first, then work your way down to the stem and leaves.
Can kids learn tulip drawing easily?
Yes, kids can pick it up quickly when the steps are kept simple and clear. Breaking the process into three to five easy steps makes it feel fun and manageable.
How do you make tulip drawing look realistic?
Focus on shading and overlapping petals to create a sense of depth. Adding darker tones where petals meet and lighter tones where light hits makes the drawing look natural.
How can I improve tulip drawing fast?
Practice a little every day and always start with the simplest version before adding detail. Keeping a sketchbook to track progress helps you see how quickly your skills are growing.