

Drawing a daisy sounds simple. But if your petals come out uneven or your flower looks stiff, it can feel frustrating.
This guide walks you through every step, from drawing a basic circle to adding shading and a stem. You will learn the right way to build a daisy, petal by petal.
I have helped many beginners start with flowers, and daisies are always the best starting point.
Here is what you will find in this blog:Materials you need, How a daisy is structured, A full step-by-step drawing guide, Tips to keep improving.
Why Learn Daisy Drawing as a Beginner

Daisies are one of the best flowers to draw when you are just starting out.
Their shape is simple. A round center, straight petals, and a clean stem. There is no complicated detail work involved.
This makes them perfect for building your drawing skills without feeling lost.
When you practice daisy drawing, you also learn key skills that apply to other flowers. You practice spacing, symmetry, and control over your pencil.
These skills carry over to roses, sunflowers, and more.
Starting with something you can actually finish matters. Completing a drawing, even a simple one, builds confidence. And confidence is what keeps you going.
Materials Needed for Daisy Drawing

You do not need expensive tools to start drawing daisies. A few basics are all it takes.
Basic Drawing Tools
Grab these simple supplies before you begin, and you will be ready to draw.
- Pencil (HB or 2B works best)
- Eraser (a soft eraser is easier to control)
- Plain white paper or a sketchbook
- Optional: a fineliner pen for outlining
- Optional: colored pencils for adding color
Choosing the Right Materials
Start with a pencil. It is forgiving. You can erase mistakes and adjust lines without starting over. That makes learning much easier.
For paper, go with smooth paper. Rough paper makes fine lines harder to draw. A standard sketchbook or printer paper both work well for beginners.
Avoid starting with pens or markers. They do not allow corrections. Once you feel more comfortable with the shape, then you can move to ink or color.
Understanding the Structure of a Daisy
Before you draw, it helps to know what you are actually drawing.
Basic Shapes Behind Daisy Drawing
A daisy is built on simple shapes. Once you see them, the whole flower becomes easier to draw.
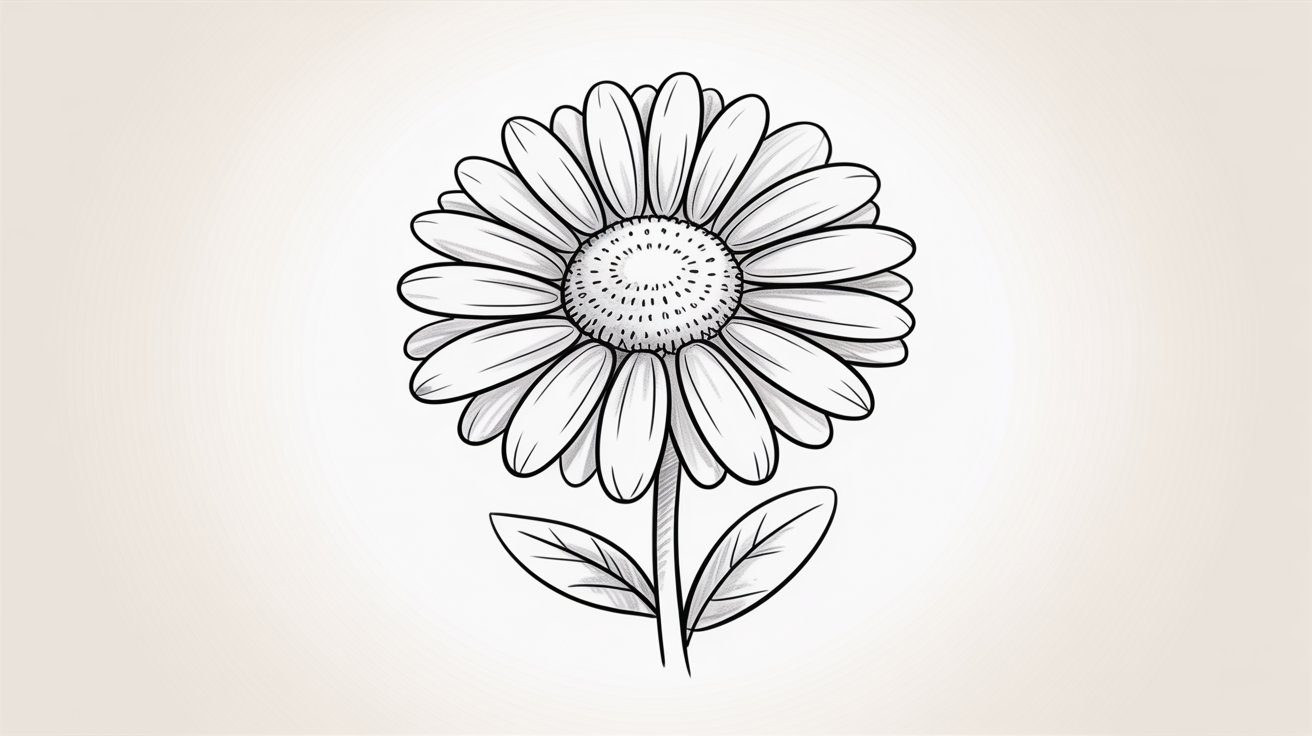
The flower head is based on a circle. This circle acts as your guide for placing petals evenly around the center.
The center is a small oval or dome shape. It sits in the middle of the flower and gives the petals a point to grow from.
How Petals Grow Naturally
Daisy petals grow outward from the center, like rays of light coming from the sun. Think of a sun drawn by a child. That is the same basic idea.
Spacing matters. Petals that are too close together look crowded. Petals that are too far apart look empty. Aim for even gaps between each petal.
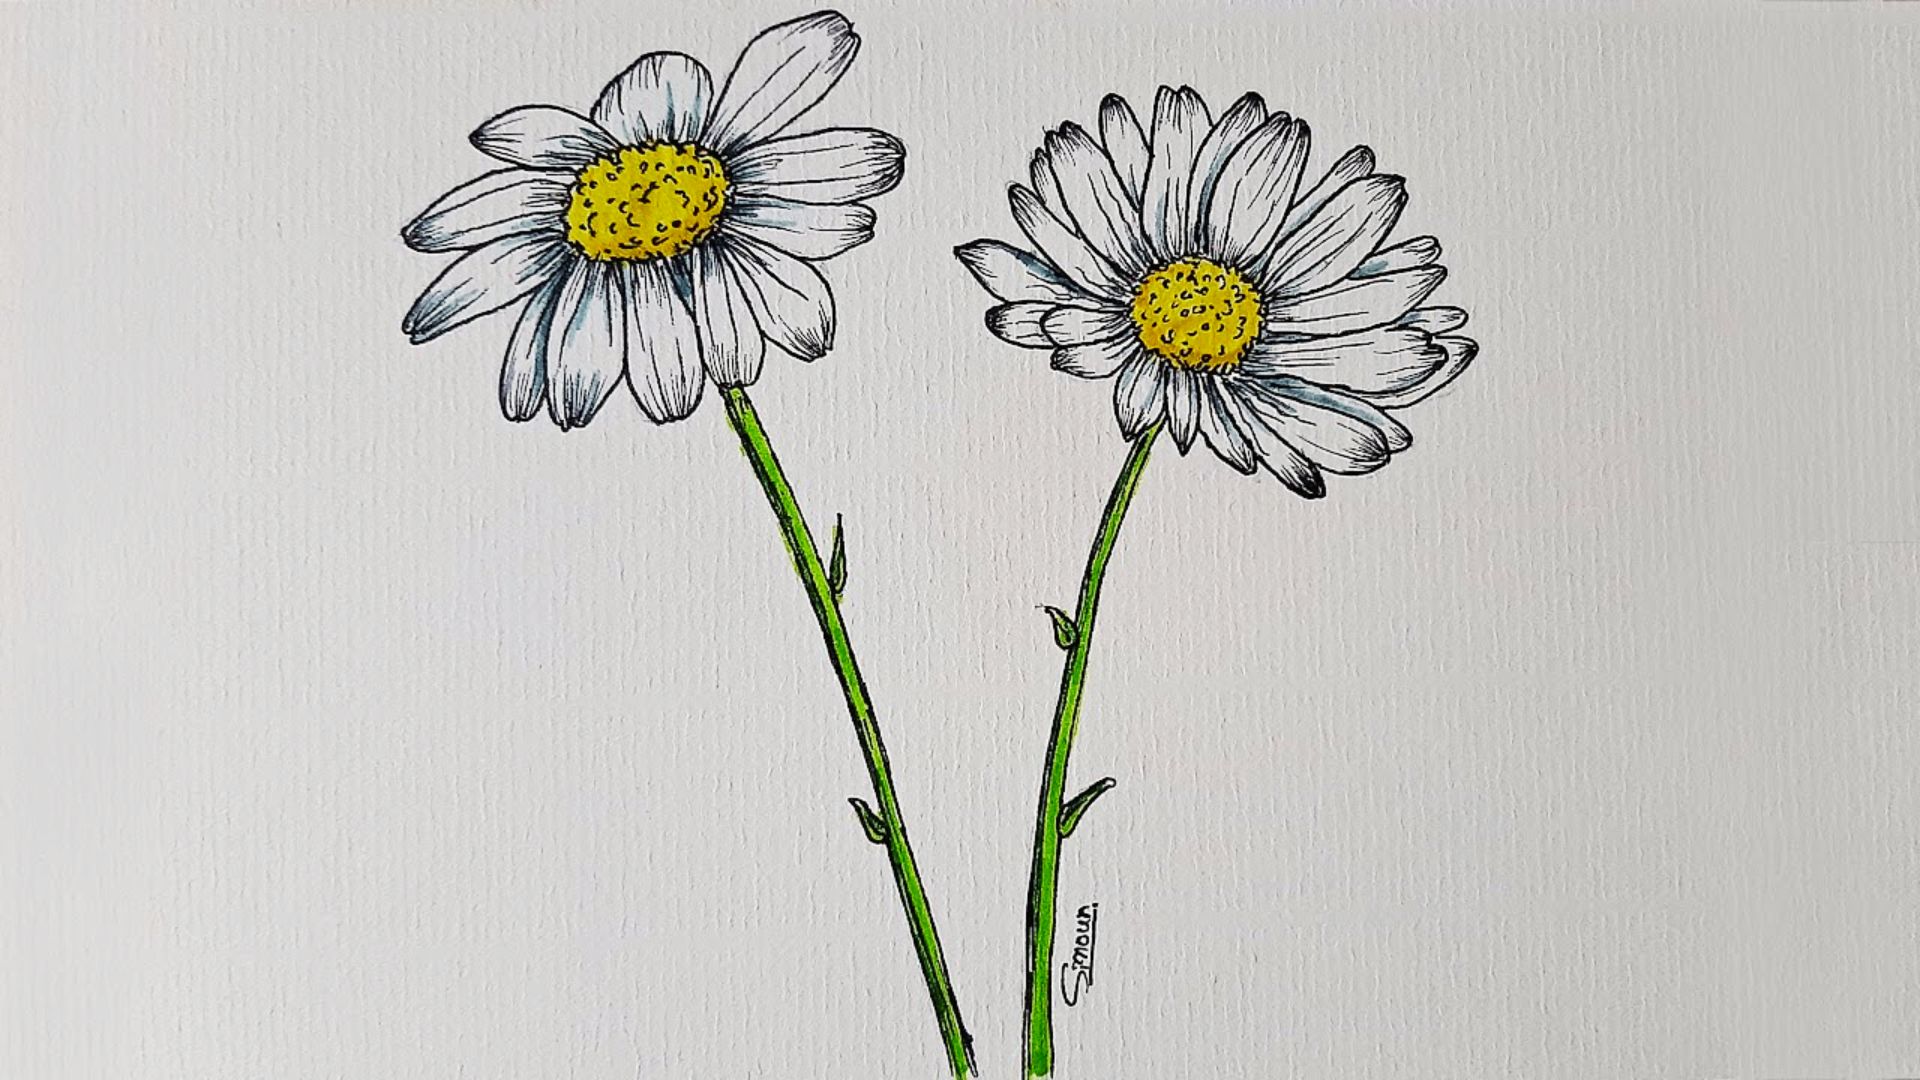
Variation is natural. Real daisies do not have perfectly identical petals. Some are slightly wider, some curve a little more. Letting your petals vary slightly will make your drawing look more natural.
Daisy Drawing Step-by-Step Guide
Follow each step slowly. Do not rush. Light pencil strokes are your best friend here.
Step 1: Draw the Guideline Circle

Start with a light, round circle in the center of your paper. This is not the final drawing. It is just a guide. Keep it faint so you can erase it later.
This circle helps you place your petals evenly. Without it, petals tend to drift to one side.
Step 2: Sketch the Flower Center

Inside your guideline circle, draw a smaller circle or oval. This is the center of the daisy. It can be round or slightly dome-shaped.
Do not make it too large. The center should take up roughly one-third of the total flower head.
Step 3: Add the First Petals

Draw your first few petals at the top, bottom, left, and right of the center circle. These four petals act as anchor points.
Each petal should be long and slightly rounded at the tip. Keep them pointing straight outward from the center.
Step 4: Build the Petal Layer

Now fill in the gaps between your anchor petals. Add petals between each one you already drew.
Work your way around the circle slowly. Try to keep the petals roughly the same length.
Step 5: Add Underlapping Petals

Real daisies have petals that overlap and sit behind others. Add a second layer of petals peeking out between the front ones.
These underlapping petals add depth and make the flower look full and real.
Step 6: Clean Up the Sketch

At this point, your drawing has a lot of guideline marks. Use your eraser to remove the original circle guide and any extra lines that are not part of the final flower.
Work slowly so you do not erase the petals by mistake.
Step 7: Draw the Stem and Leaf

Draw two slightly curved lines coming down from the base of the flower. This is your stem. Keep it thin.
Add one or two leaves along the stem. Daisy leaves are long and slightly pointed at the tip. Draw them at a gentle angle off the stem.
Step 8: Add Details and Shading
Add small dots or a texture pattern to the center of the flower. This gives it a natural, bumpy look.
For shading, add light pencil strokes along one side of each petal and the stem. This creates the feeling of light hitting the flower from one direction.
Step 9: Final Touches

Step back and look at your drawing. Check if any petals need adjusting. Add any last lines or details that feel missing.
If you want, trace over the outline with a fineliner pen once the pencil work is done. Then erase the pencil beneath for a clean finish.
Tips to Improve Your Daisy Drawing Skills
Small habits make a big difference over time.
- Practice with light pencil strokes first before committing to darker lines
- Look at photos of real daisies to see how petals actually sit and overlap
- Let your petals vary slightly in size and angle for a more natural result
- Keep your lines loose, not stiff. Stiff lines make flowers look fake
- Draw the same daisy multiple times in one sitting to build muscle memory
Conclusion
You made it through the full daisy drawing guide. That is worth a lot. Learning to draw takes patience, and you showed up for it.
I still remember my first flower sketch. It looked more like a sun than a daisy. But each try got better. Yours will too.
Try the steps again tomorrow. Then try a different flower. The more you draw, the easier it gets.
If this guide helped you, drop a comment below and share your daisy drawing. I would love to see it. And if you enjoyed this, check out more flower drawing tutorials on the blog.
Frequently Asked Questions
How do beginners start daisy drawing?
Start with a light circle as a guide. Then build the center and add petals outward. Go step by step and do not rush the process.
How many petals should a daisy have?
A common daisy has around 15 to 30 petals. For drawing, starting with 10 to 15 evenly spaced petals is a good place to begin.
Is daisy drawing easy for kids?
Yes, daisy drawing is great for kids. The shapes involved are simple and easy to follow. A guided step-by-step approach makes it even more accessible.
What is the easiest way to draw a daisy?
The easiest way is to start with a circle guide, draw the center, then add petals outward one by one. Keeping the strokes light helps you fix mistakes along the way.
Can I draw a daisy without any art experience?
Absolutely. This guide is built for complete beginners. You only need a pencil and paper. No art background is needed to get started.