

Drawing leaves on a tree can feel tricky at first. But with the right steps, anyone can do it.
I have worked with complete beginners and the biggest takeaway is always this: keep it simple.
In this guide, you will learn how to pick the right materials, break the tree into easy shapes, add leaves step by step, and use shading with a pencil.
This guide solves the most common problem beginners face. By the end, you will have a clear and simple method that actually works.
Materials You Need to Draw Leaves on a Tree

You do not need a lot of supplies to get started with drawing tree leaves.
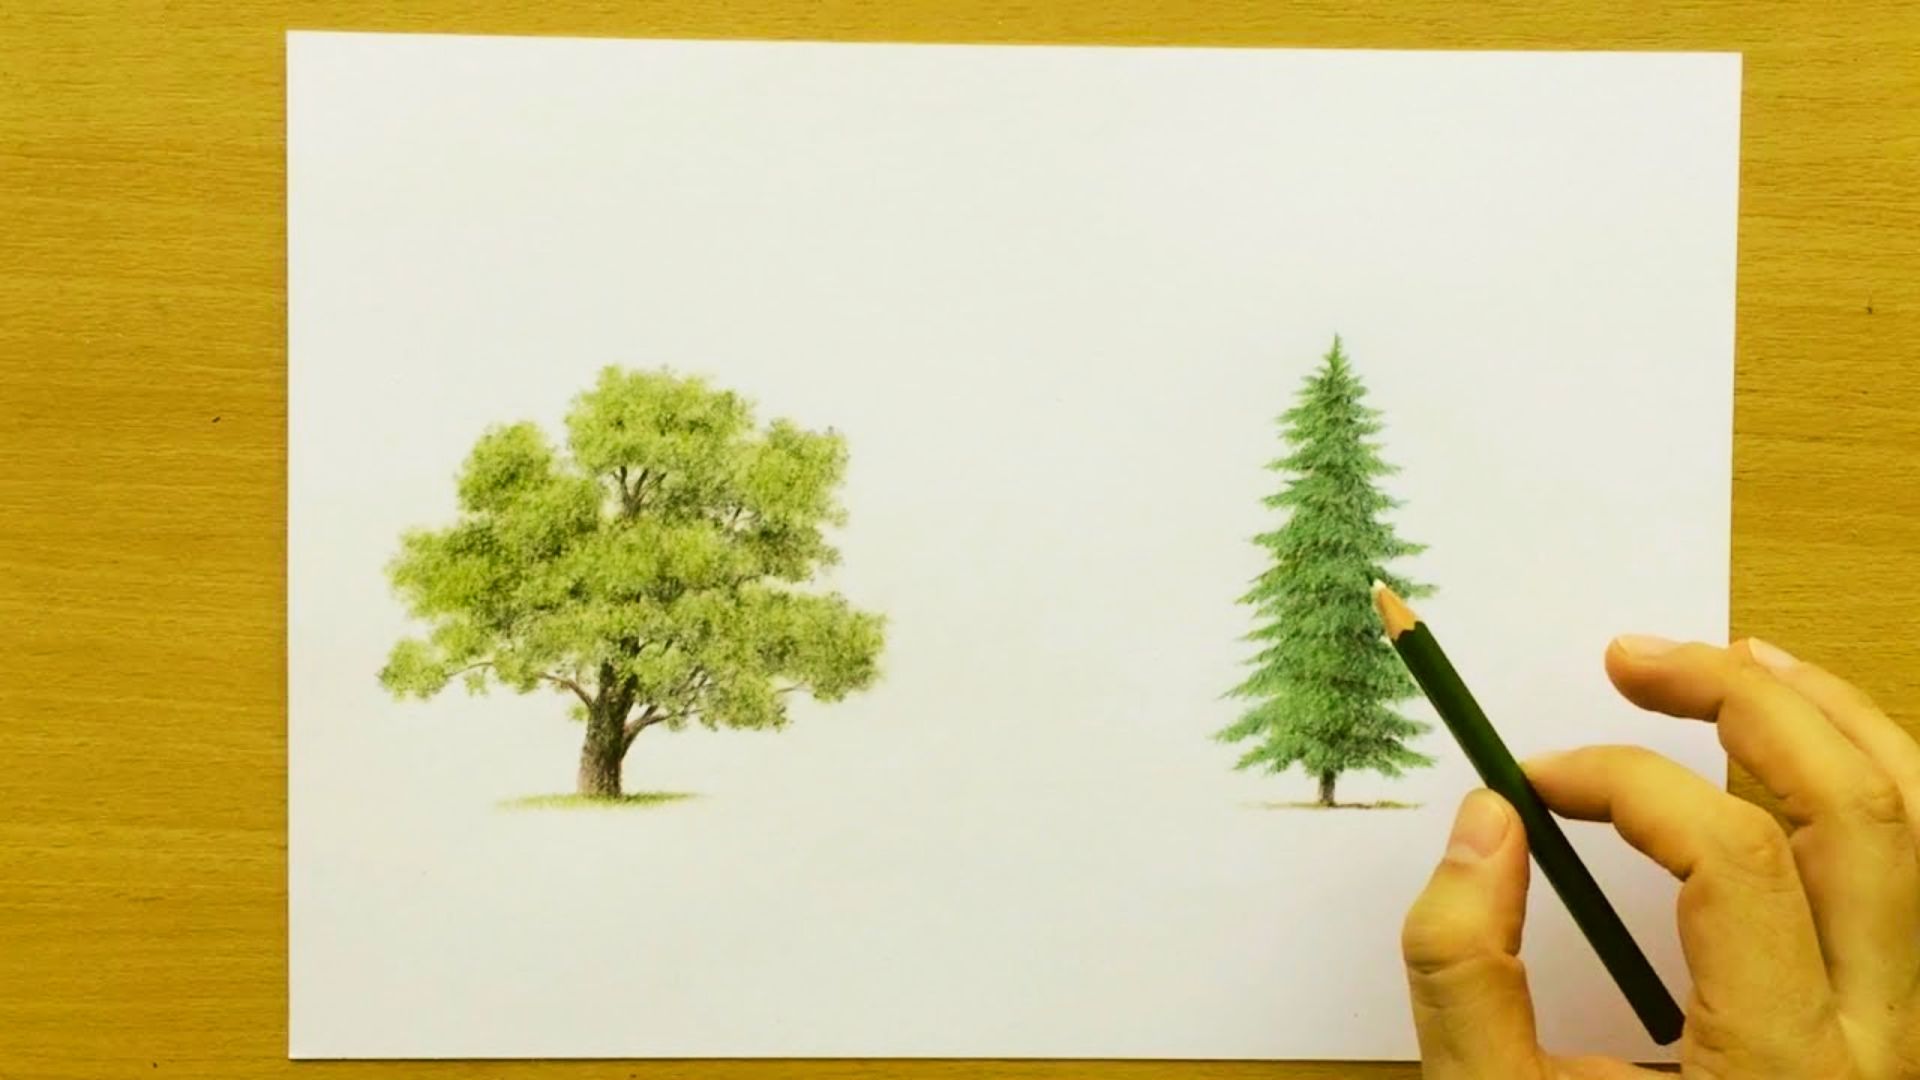
You do not need expensive pencils to start drawing. A basic HB pencil works well for sketching and a 2B pencil is good for shading.
Use smooth drawing paper or a sketchbook that can handle erasing without tearing. A good rubber or kneaded eraser helps keep your work clean.
If you want to add color later, a small set of green colored pencils works well. Start with what you already have and add more supplies as you grow more comfortable with drawing.
Understanding the Basic Shape of a Tree
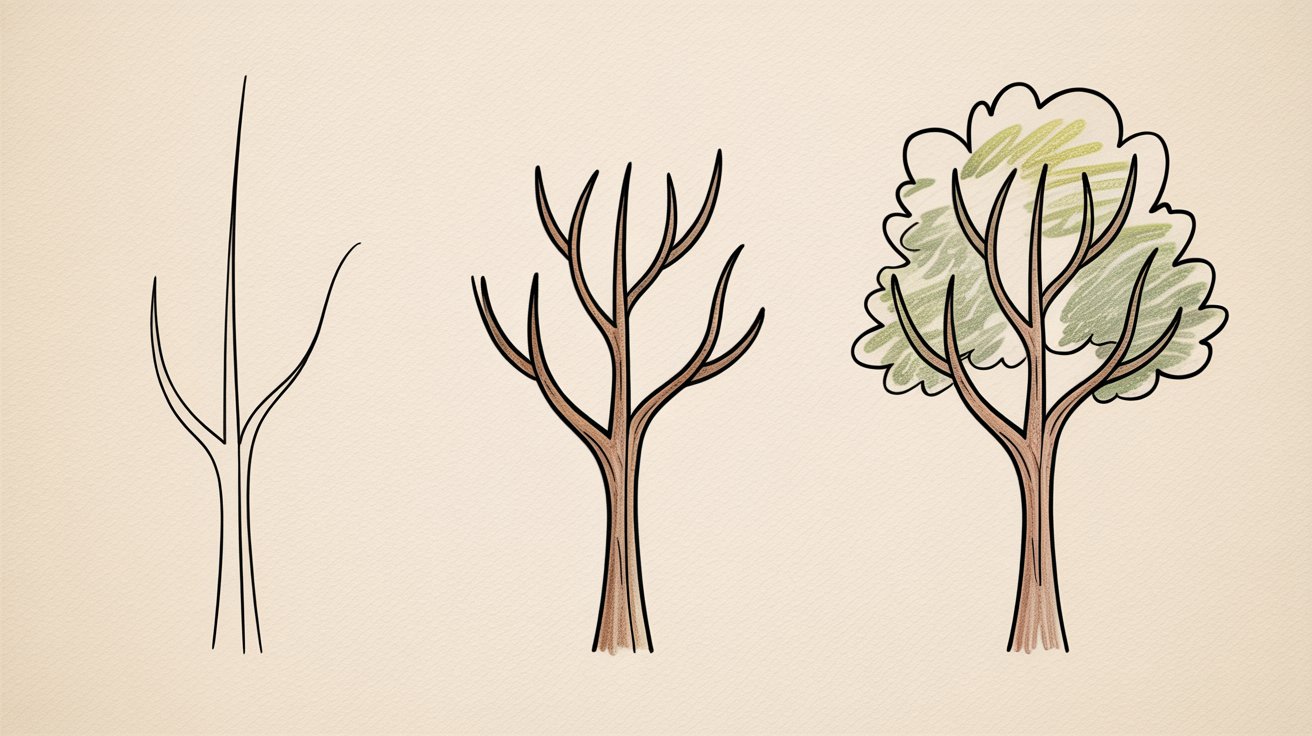
A strong base makes the rest of your drawing much easier to build on.
How to Draw a Simple Tree Trunk
Draw two slightly curved vertical lines for the trunk, wider at the bottom and narrower at the top. Add a few short branching lines at the top. A small curve makes it look more natural than a straight line.
Sketching the Tree Canopy with Basic Shapes
Draw a loose, bumpy oval or circle shape at the top of the trunk. Keep the edges uneven so it looks less stiff. This is just a rough guide you will improve later.
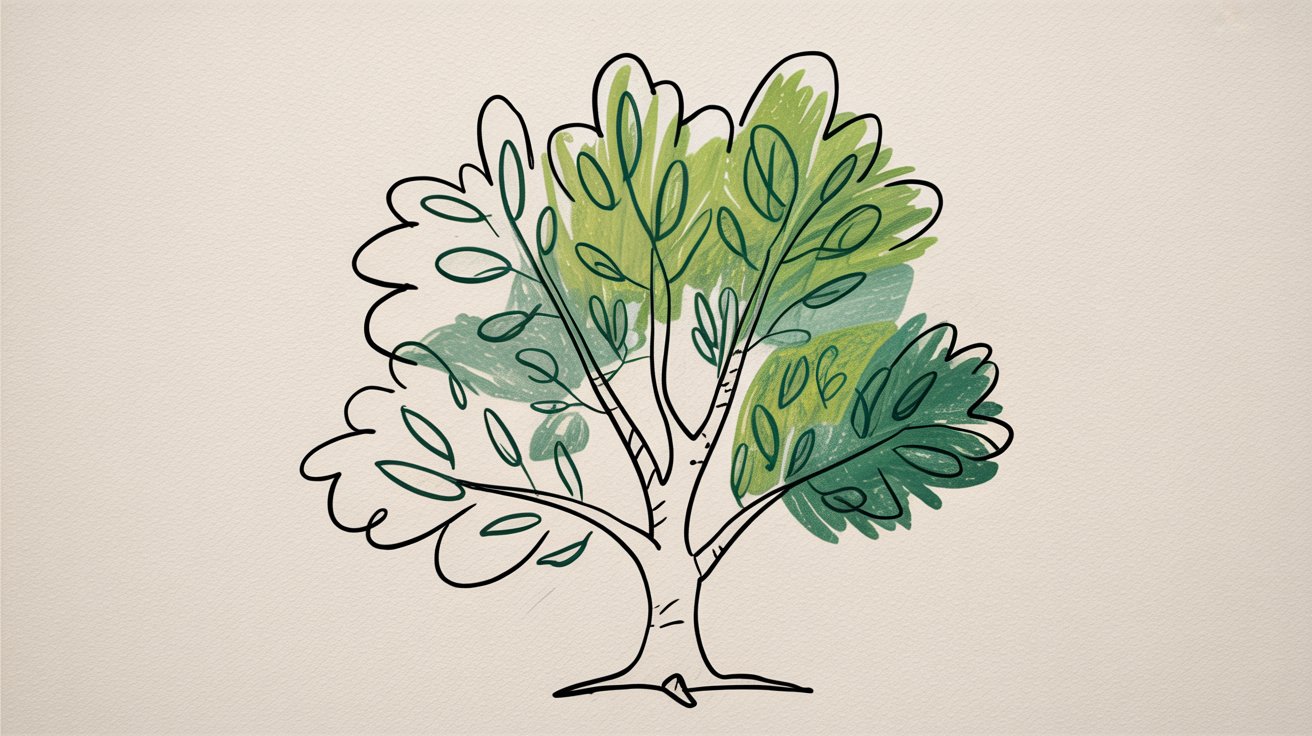
Why Leaf Clusters Make Drawing Easier
Instead of drawing one leaf at a time, group them into small clusters. Each cluster is drawn as one shape, which saves time and looks more natural. Most artists use this same method for any tree style.
How to Draw Leaves on a Tree Step by Step
Follow these five simple steps and you will have a full tree with leaves by the end.
Step 1: Draw the Outline of the Tree
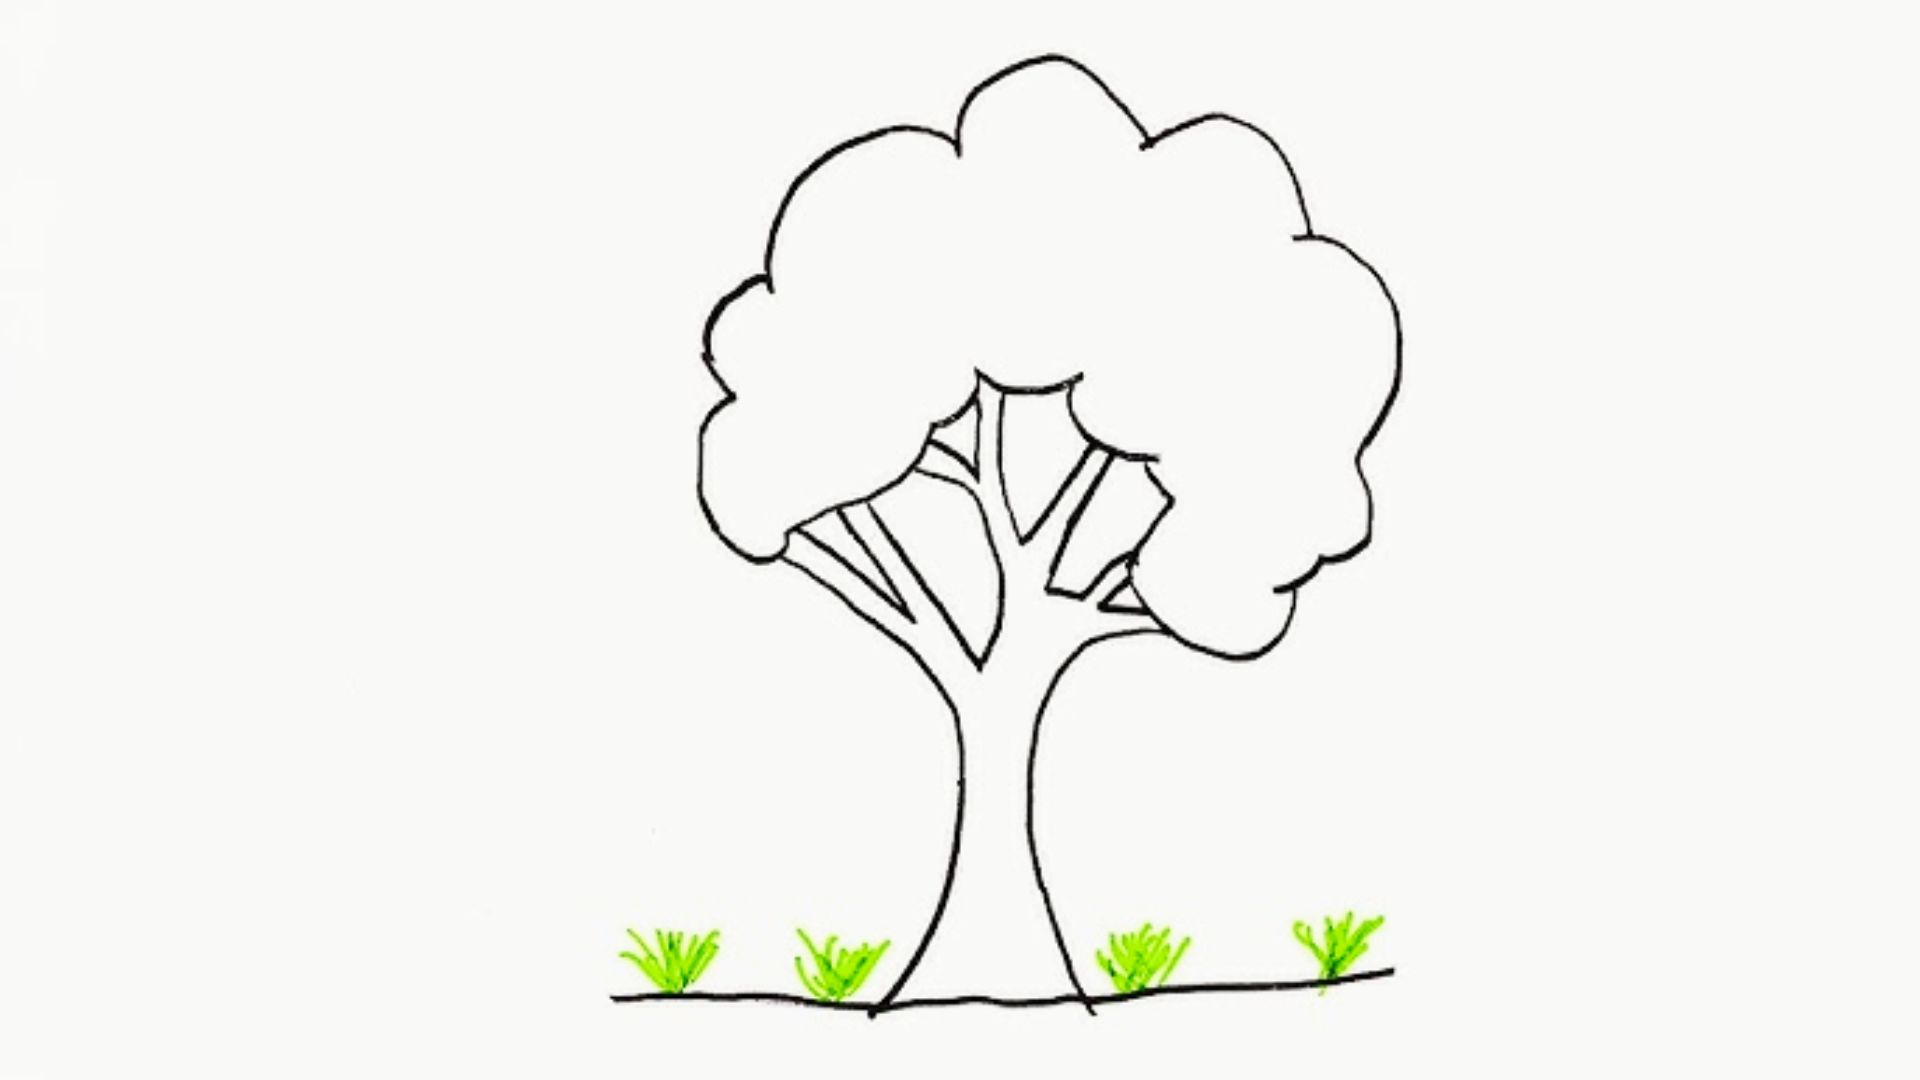
Start by lightly sketching the trunk and a few main branches. Then draw a loose, bumpy shape around the top to form the canopy. Keep all lines soft so they are easy to change later.
Step 2: Divide the Canopy into Leaf Clusters
Look at your canopy and divide it into four to six smaller sections. Draw soft curved lines between each section and let them overlap slightly. This overlap gives the tree a full and layered look.
Step 3: Add Simple Leaf Shapes
Draw small oval or pointed shapes inside each cluster to form the leaves. Vary the size and direction of each leaf slightly. This simple change makes the whole tree look far more natural.
Step 4: Draw More Leaves for Depth
Add a second layer of leaves sitting behind the first layer using slightly darker lines. Keep the back leaves simpler and give the front leaves more visible edges. This contrast makes the tree look three dimensional.
Step 5: Refine the Edges and Clean the Sketch
Go over the outer edges of the canopy and sharpen any lines that look too loose. Erase all guidelines and rough marks that are no longer needed.
Add a few extra leaf shapes along the outer edge to make the tree look complete.
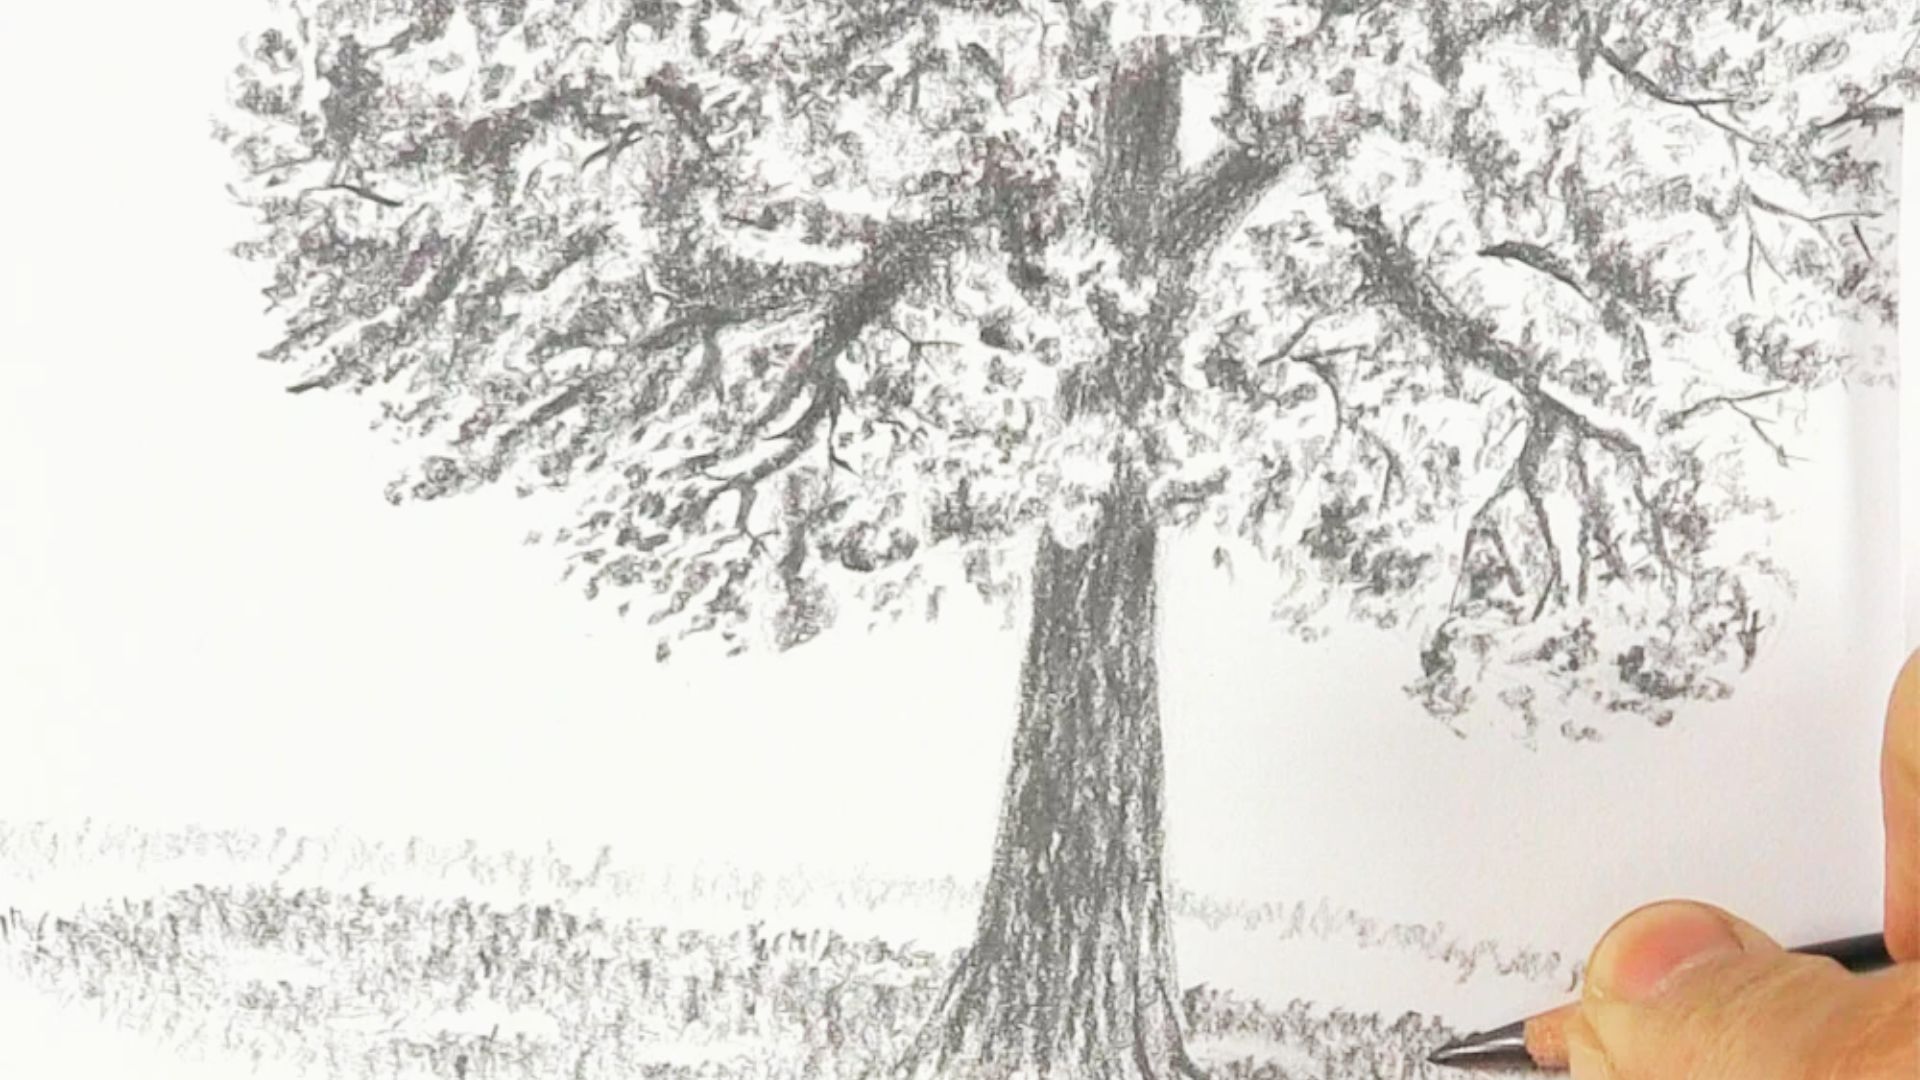
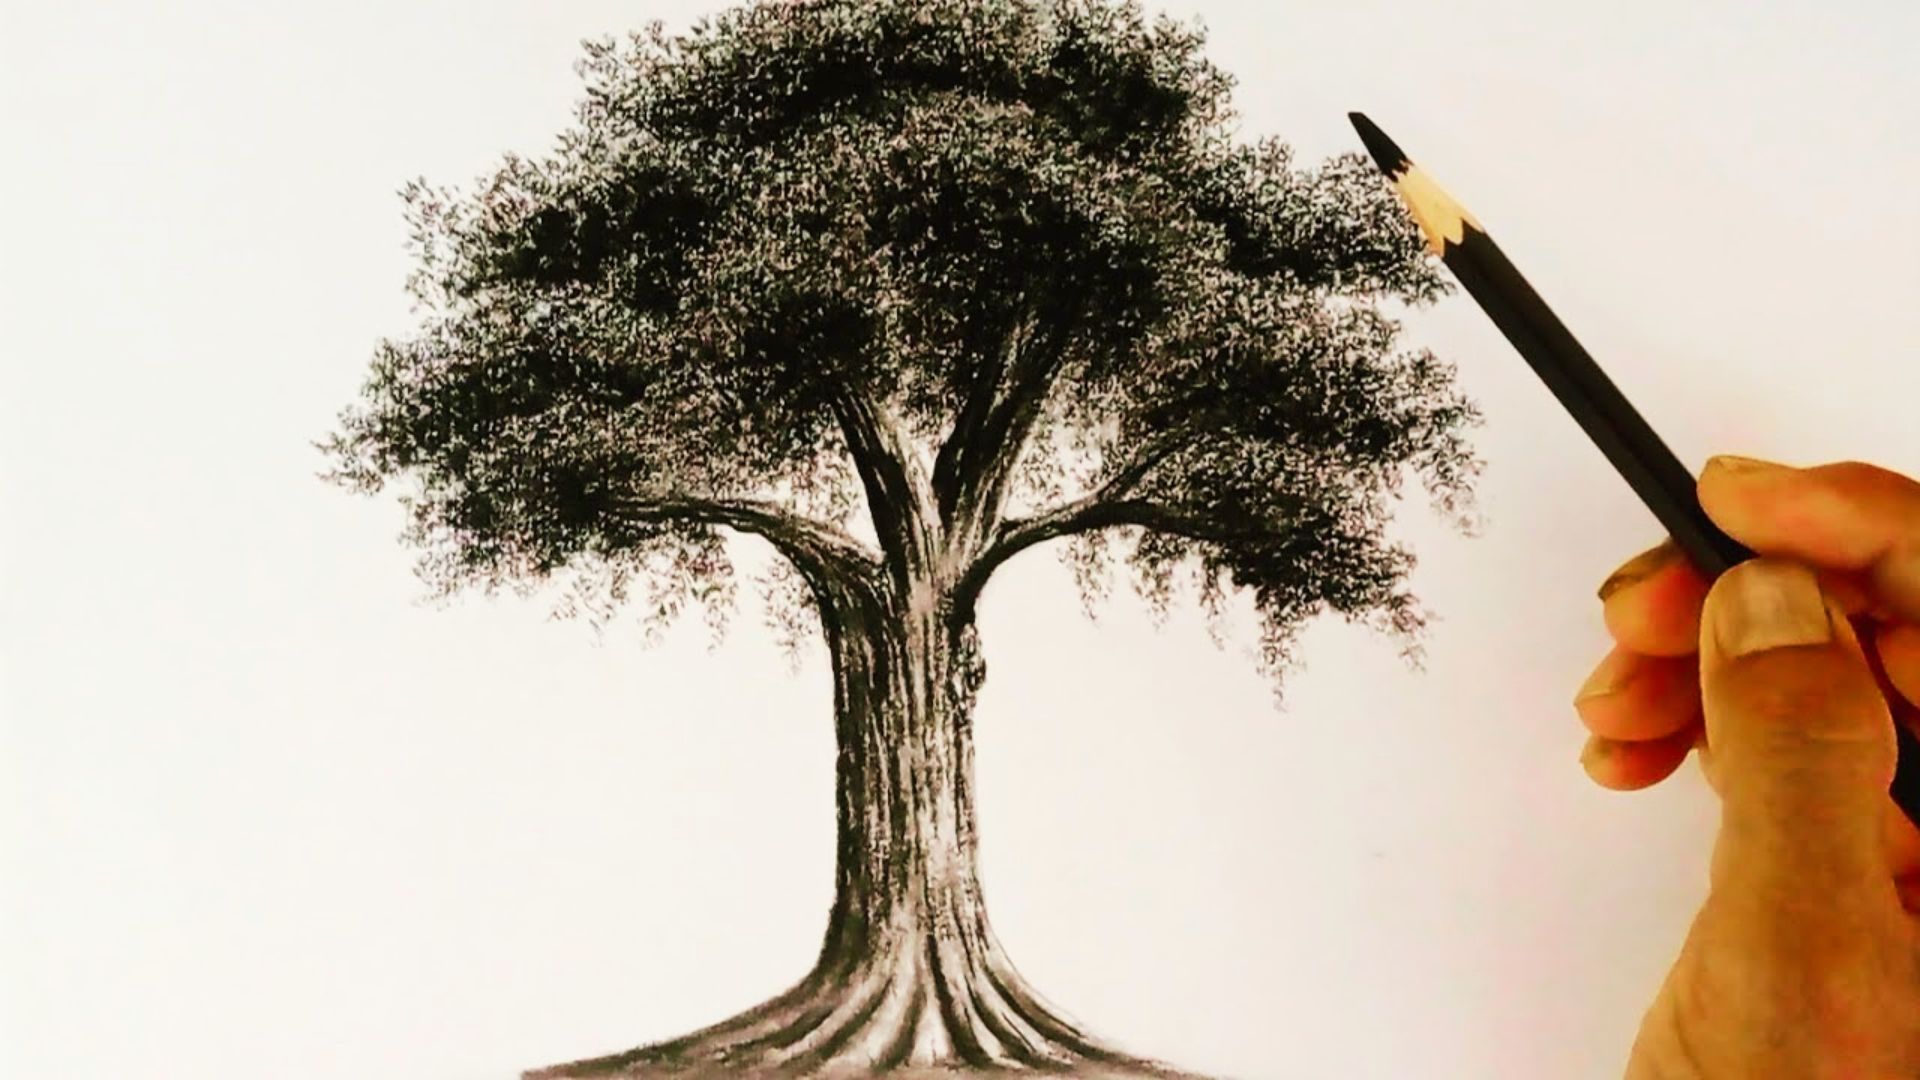
How to Draw Leaves on a Tree with Pencil
Using a pencil well gives your tree leaves real texture, depth, and a natural feel.
Easy Pencil Strokes for Leaf Texture
Use short, curved strokes drawn in the direction a leaf would naturally grow. Let the strokes overlap slightly with a light hand. Practice on a spare sheet before adding them to your drawing.
Simple Shading Techniques for Beginners
Decide where your light source is before you start shading. Keep the light side lighter and build darker tones on the opposite side using a 2B pencil. Blend lightly with your fingertip for a smoother finish.
Adding Light and Shadow to the Leaves
The top of the canopy catches the most light so keep that area open and light. Use short overlapping strokes to build shadow at the bottom and inner parts. Focus on light and dark areas overall rather than shading each leaf.
Common Mistakes to Avoid When Drawing Tree Leaves
Small habits can slow your progress, so catching these early makes a real difference.
- Drawing every leaf the same size makes the tree look flat and unnatural, so vary the shapes
- Making the canopy too round and perfect removes the organic feel real trees have
- Adding too much detail too early leads to a messy drawing, always get the shape right first
- Ignoring light and shadow direction makes shading look inconsistent across the whole tree
- Pressing too hard with the pencil too early makes mistakes harder to erase and fix
How to Draw Leaves on a Tree Branch
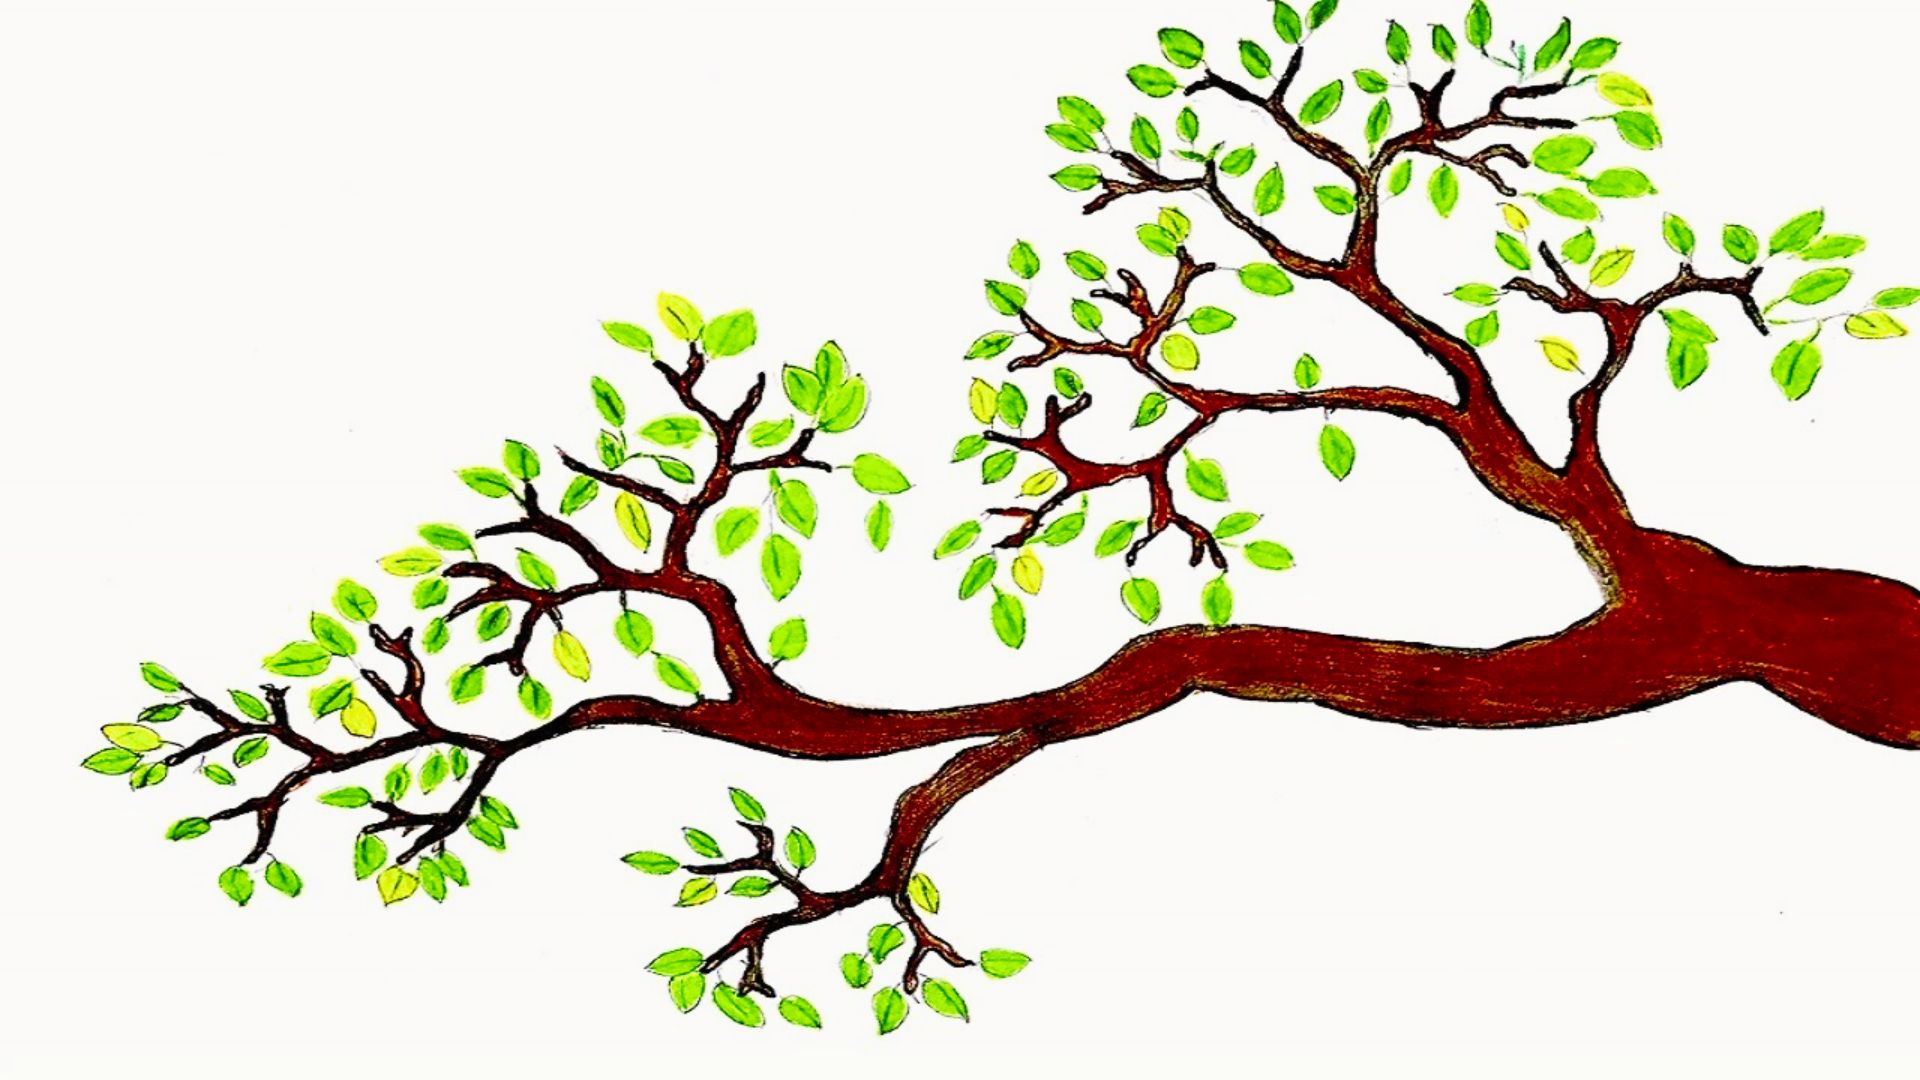
Drawing leaves on a branch needs a slightly different approach than filling a full canopy.
Drawing Thin and Thick Branches
Start branches thick at the trunk and taper them thinner as they extend outward. Keep the angles slightly irregular for a natural feel. Real trees are never perfectly symmetrical.
Placing Leaves Naturally Around the Branch
Draw small oval leaf shapes on both sides of the branch and at the tips. Leave parts of the branch visible through the leaves for a realistic look. Use lighter strokes for leaves farther back and firmer strokes for those in front.
Making Branches Look More Realistic
Add short lines along the branch to suggest bark texture and character. Make junctions where branches meet look smooth and slightly curved rather than sharp. These small details take little time but improve the overall result greatly.
Easy Tips to Make Tree Leaves Look More Realistic
A few simple changes in your approach can make your tree look far more convincing.
- Draw leaves in groups or clusters rather than one at a time for a fuller, natural result
- Let clusters overlap each other slightly to create depth and a sense of layers
- Keep your pencil strokes loose and free so the leaves feel organic rather than stiff
- Use a reference photo of a real tree to understand how light and shadow fall naturally
- Vary the pressure on your pencil to get both light and dark tones within the same area
Conclusion
Learning how to draw leaves on a tree is one of those skills that gets easier every time you practice.
I remember feeling frustrated at first, but once I started thinking in clusters instead of single leaves, everything changed.
You do not need to be perfect. You just need to start. Try one tree today using the steps in this guide.
If this helped you, leave a comment below or share it with a friend who loves drawing. More beginner guides are waiting for you on the blog.
Frequently Asked Questions
How do beginners draw leaves on a tree easily?
Start by sketching the overall canopy shape and divide it into small clusters. Add simple oval leaf shapes inside each cluster instead of drawing leaves one by one.
What is the easiest way to draw leaves on a tree?
The easiest way is to group leaves into clusters and treat each group as one shape. This saves time and gives the tree a fuller, more natural look.
How to draw leaves on a tree step by step?
Sketch the trunk and canopy first, then divide the canopy into sections. Add leaf shapes, build layers for depth, and finish by cleaning the edges and adding light shading.
Which pencil is best for drawing tree leaves?
An HB pencil works well for light sketching and outlines. A 2B pencil is better for shading and adding darker tones to the leaves.
How do I make tree leaves look realistic?
Use overlapping leaf clusters and add shading based on one clear light source. Vary leaf sizes slightly and keep your pencil strokes loose rather than stiff.