

Creating a still life drawing can feel challenging when you are unsure where to start, how to shape objects, or how to add realistic details.
This guide will help you understand the basics and make the process easier to follow.
In this article, you’ll learn what still life drawing means, the materials you need, step-by-step drawing methods, shading tips, common mistakes, and simple ideas to practice.
You’ll find clear steps that can help you improve your observation and drawing skills.
With experience in explaining beginner-friendly art techniques, this guide focuses on simple methods that anyone can try.
Let’s begin your still life drawing journey with confidence.
What Is Still Life Drawing?

Still life drawing is an art practice where artists draw objects that are arranged in a fixed position.
These objects can include fruits, flowers, books, bottles, cups, and other everyday items. The goal is to study the shape, size, texture, and details of each object.
Artists use still life drawings to improve their observation skills and learn how light, shadows, and proportions work together.
It helps beginners understand basic forms and teaches them how to create depth in their artwork.
By carefully looking at real objects and drawing what they see, artists can build stronger skills and create more realistic sketches over time.
Materials Needed for an Easy Horse Sketch
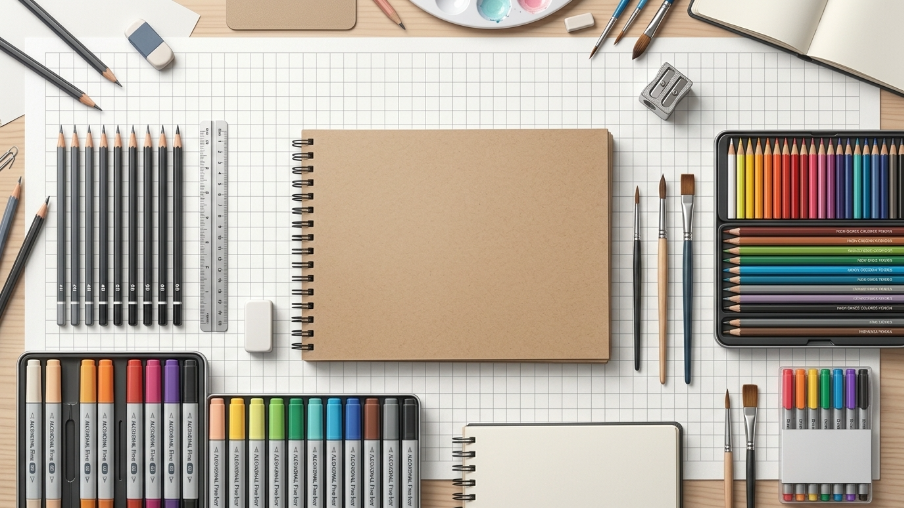
Before starting your horse sketch, gather a few simple drawing materials to make the process smoother.
- Pencil types for sketching
- Eraser and sharpener
- Drawing paper or sketchbook
- Optional tools for shading and detailing
How to Start a Still Life Drawing Step by Step
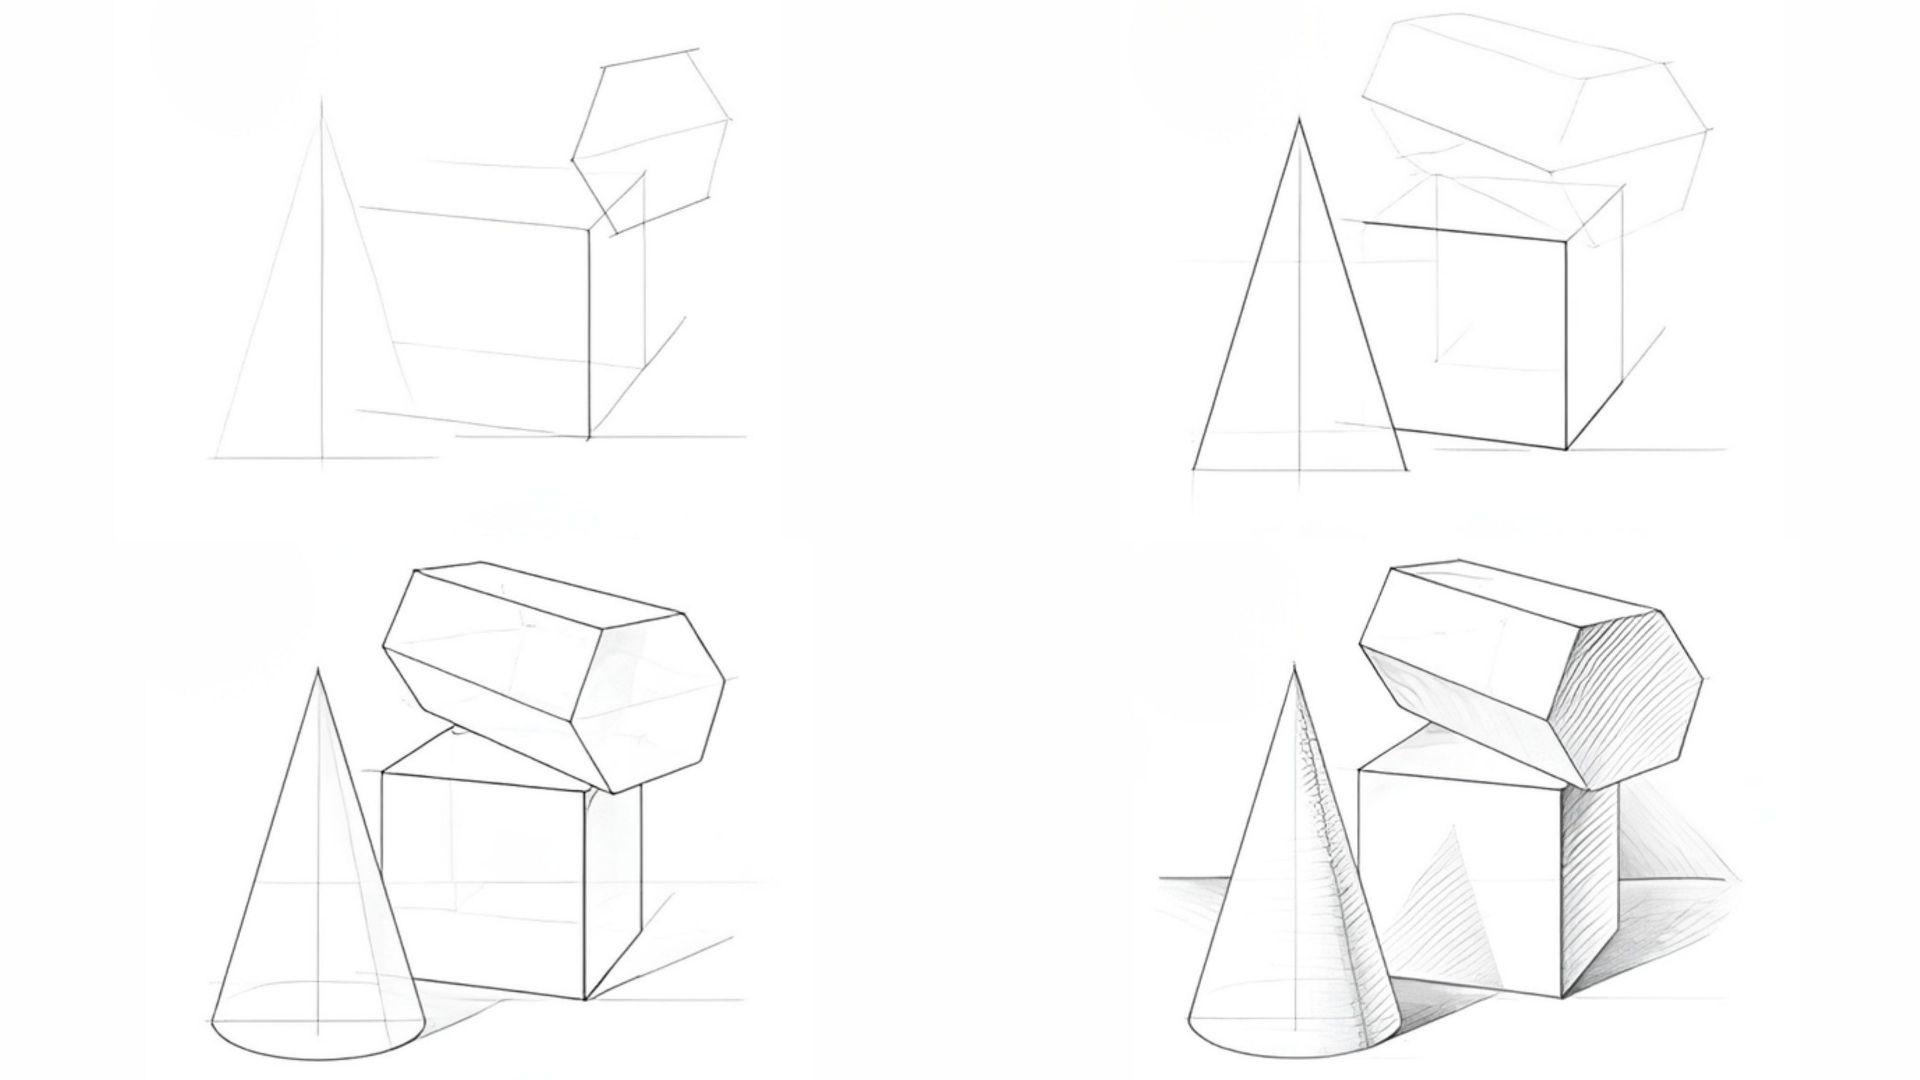
Follow these simple steps to create a balanced still life drawing. This process will help you understand shapes, details, shading, and textures while building your confidence as a beginner.
Step 1: Draw Basic Shapes and Outlines

Begin your sketch by using simple shapes like circles, rectangles, and cylinders to create the basic forms of objects. Draw light guidelines so you can adjust the shapes easily.
Avoid pressing too hard with your pencil. These simple outlines will help you maintain correct proportions before adding more details.
Step 2: Add Details and Improve Shapes

Once the basic shapes are ready, start refining your objects by improving their outlines. Add small details that make each item look more realistic, such as curves, edges, or patterns.
Take time to observe the objects carefully and compare your drawing with the reference. Small changes can make your sketch more accurate.
Step 3: Add Light and Shadows
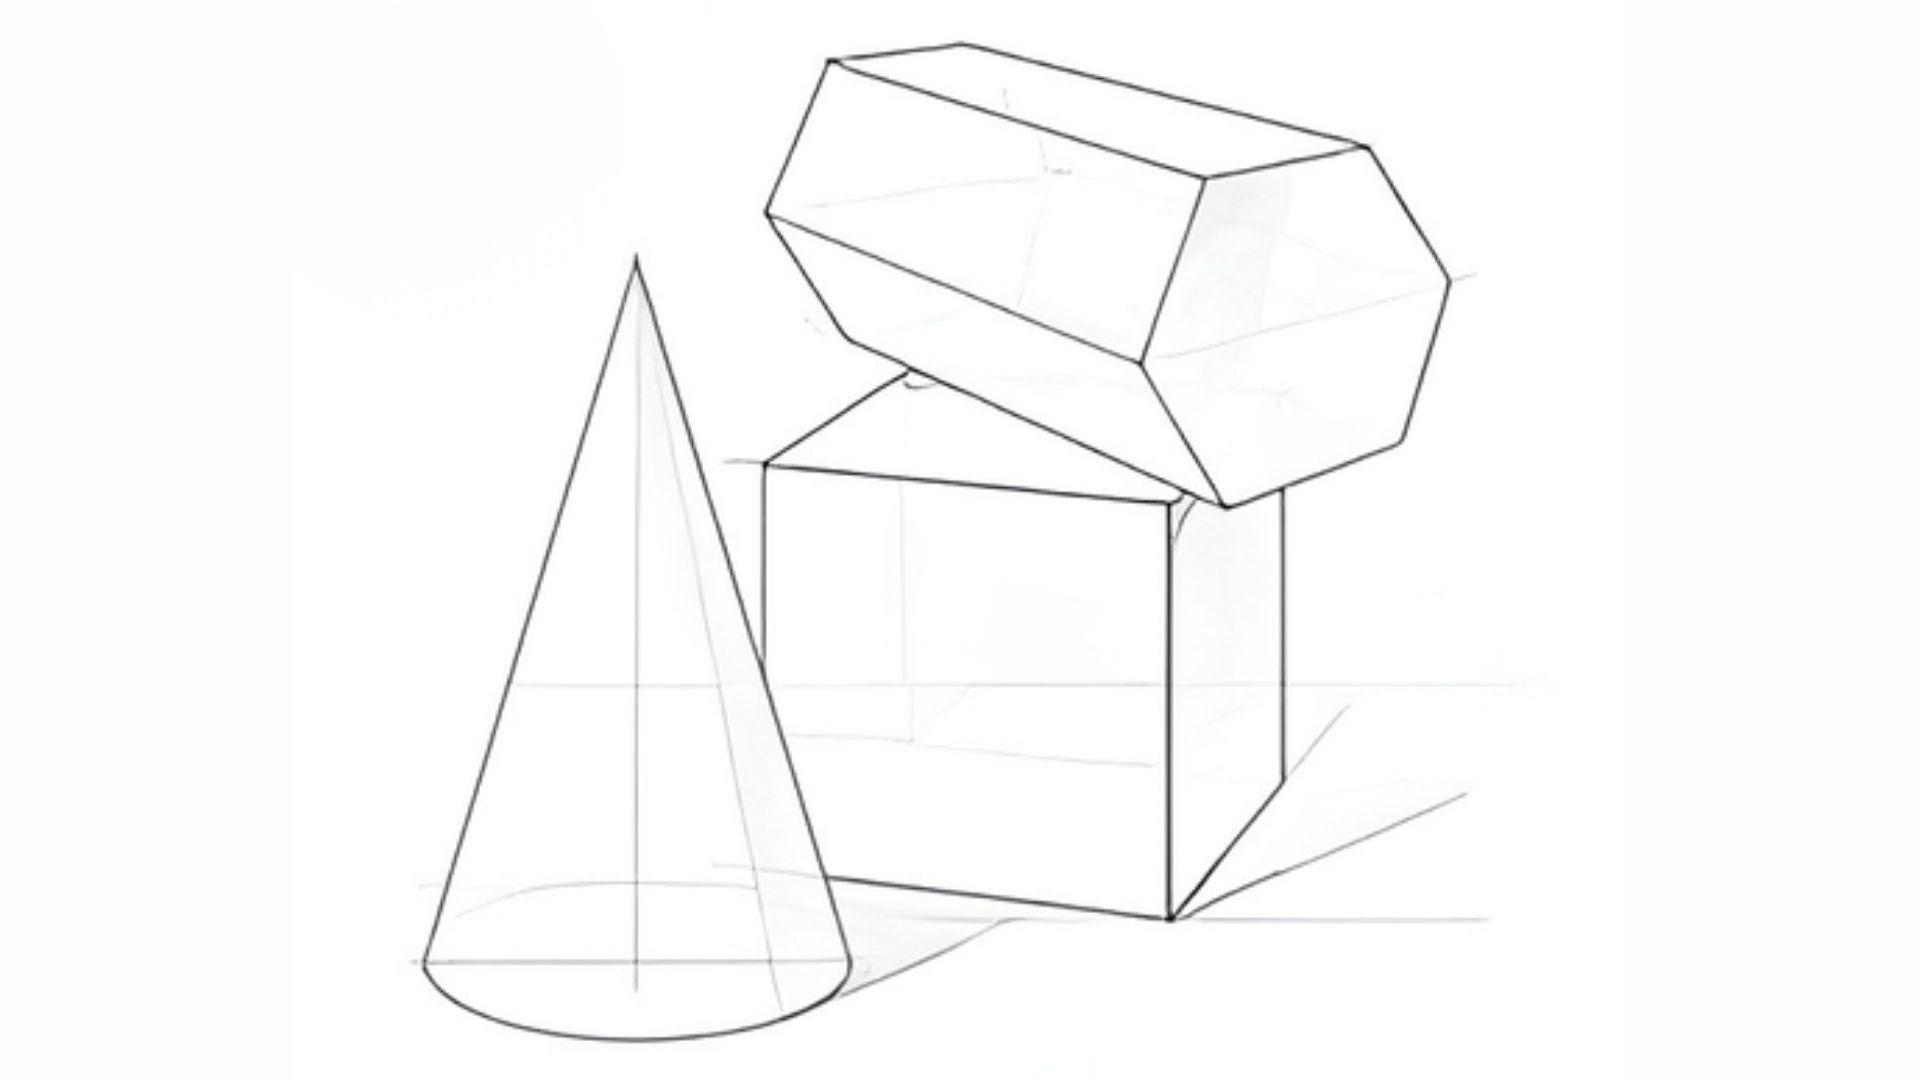
Understanding light is an important part of creating depth in your still life drawing. Notice where the light source is coming from and identify darker areas.
Add shadows slowly using different pencil pressures. Proper shading helps objects appear more three-dimensional and gives your artwork a realistic feel.
Step 4: Add Texture and Final Touches

The final step is adding textures and cleaning your drawing. Show different surfaces like rough, smooth, or shiny materials with simple marks and shading.
Erase extra guidelines and make final adjustments where needed. These finishing touches can make your still life drawing look cleaner, detailed, and complete.
Basic Techniques to Improve Your Still Life Drawing
Use these simple techniques to develop better control, accuracy, and confidence in your still life drawing practice.
- Practice proportions and perspective to make objects look balanced and correctly sized.
- Use proper shading techniques to create depth and make objects appear realistic.
- Focus on light and shadow to understand how objects change in different lighting.
- Observe real objects carefully to notice shapes, textures, and small details.
Common Mistakes in Still Life Drawing
Avoid these common errors to make your drawing process smoother and improve your final artwork.
- Drawing objects without checking proportions can make the composition look uneven.
- Adding too many details too early can make the sketch confusing and harder to adjust.
- Ignoring the light source can make the drawing lose depth and realism.
- Making outlines too dark at the beginning can make corrections more difficult.
Watch a Video Tutorial: Still Life Drawing
Watching a video tutorial can make learning still life drawing easier because you can see the steps in action.
Follow along with the artist, pause the video when needed, and practice each stage to understand shapes, shading, and details better.
You can watch this YouTube tutorial for a visual guide:https://www.youtube.com/results?search_query=still+life+drawing+step+by+step+tutorial
Conclusion
Creating a still life drawing is a wonderful way to slow down, observe details, and improve your art skills.
I believe every artist starts with simple shapes and small steps, and practice is what helps your ideas grow.
Try choosing objects around you and apply these techniques in your own drawing journey. I hope this guide makes the process easier and more enjoyable for you.
Share your artwork in the comments, share this guide with other learners, or try more drawing tutorials.
Frequently Asked Questions
What is the purpose of still life drawing?
Still life drawing helps artists practice observation, shapes, proportions, shading, and texture. It builds a strong foundation for improving drawing skills.
Is still life drawing good for beginners?
Yes, it is a great starting point because you can practice with simple everyday objects. Beginners can learn basic drawing techniques step by step.
What objects can I use for a still life drawing?
You can use fruits, flowers, books, bottles, cups, or any objects around you. Choose items with different shapes and textures for practice.
How can I make my still life drawing look realistic?
Focus on correct proportions, light direction, and shadows. Adding details slowly can help your objects look more natural.
How often should I practice still life drawing?
Regular practice helps you improve faster. Even a short drawing session each day can help you notice better shapes and details.
