


Snowflake embroidery was one of the first crafts that truly made me slow down and enjoy the process.
Watching a simple thread turn into a frost-inspired design felt oddly satisfying.
My first snowflake was far from perfect, but that did not matter. It got me hooked.
This guide covers everything from picking the right materials to finishing your design neatly.
If you are just starting out, you are in the right place. Clear steps, honest tips, and a little patience are all you need to get started.
Let’s get started.
What Is Snowflake Embroidery?

Snowflake embroidery is the art of stitching intricate, symmetrical snowflake patterns onto fabric using needle and thread.
These designs work beautifully for winter and Christmas projects because they carry a festive, seasonal charm that fits naturally on holiday décor and gifts.
This craft suits everyone, from first-time stitchers to seasoned embroiderers. Beginners can start with simple six-point designs, while advanced stitchers can try detailed lacework patterns.
Embroidered snowflakes look great on ornaments, table linens, clothing, and hoop art, making them a versatile choice for both personal use and handmade gifts.
Materials Needed for Snowflake Embroidery
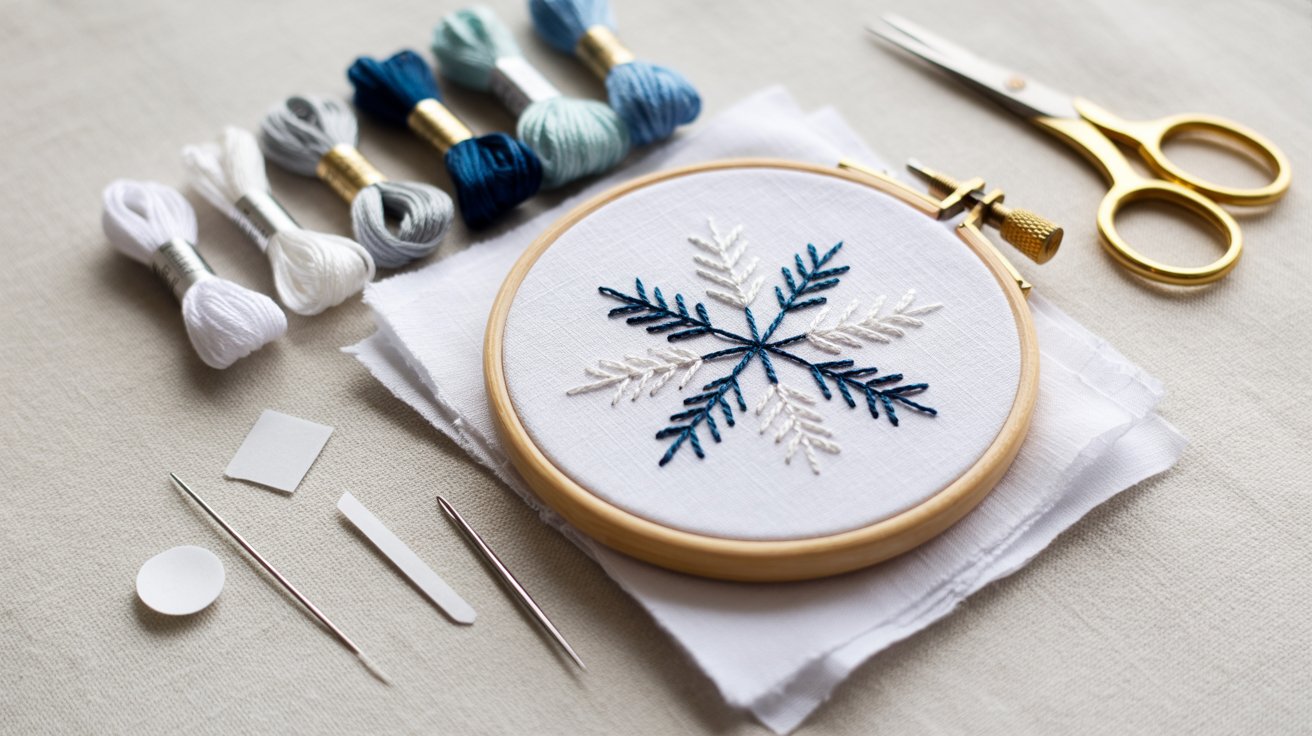
Gather the right materials before you start. Good tools and quality thread make your snowflake embroidery neat and enjoyable.
Essential Supplies
- An embroidery hoop keeps fabric taut and stable while you stitch
- Best fabric options include cotton, linen, felt, and flannel
- Sharp embroidery needles help you stitch with control and precision
- Small embroidery scissors give you clean, accurate cuts
Choosing the Right Embroidery Floss
- DMC embroidery floss is a top pick for its smooth finish and wide color range
- Use 2 strands for fine detail, 4 for medium coverage, and 6 for bold filled areas
- On dark fabric, white or silver thread creates the best contrast
- On light fabric, deep blue, navy, or icy pastels work beautifully
Optional Tools for Cleaner Results
- A water-soluble marking pen lets you trace patterns without leaving permanent marks
- Stick-n-Stitch stabilizer allows you to print a design and stitch directly over it
- A mini ruler helps keep stitches even and your snowflake pattern symmetrical
How to Transfer a Snowflake Embroidery Pattern to Fabric

To transfer a snowflake pattern, you have a couple of easy options. Stick-n-Stitch stabilizer lets you print your design directly and stitch over it.
The stabilizer washes away cleanly once you finish. A water-soluble pen works well too. Simply trace the pattern onto your fabric and stitch over the lines.
For free patterns, check out Wandering Threads Embroidery and Cucicucicoo. Both offer beginner-friendly snowflake designs with clear instructions to help you get started quickly.
Step-by-Step Snowflake Embroidery Tutorial (Quick Summary)
Start stitching your snowflake with confidence. These six simple steps take you from blank fabric to a finished design without any confusion.
Step 1 – Prepare Fabric & Hoop

Cut your fabric to the right size and place it inside the embroidery hoop. Tighten the hoop screw so the fabric stays smooth and firm.
Wrinkle-free fabric makes stitching easier and keeps your final design looking neat and clean.
Step 2 – Transfer Pattern
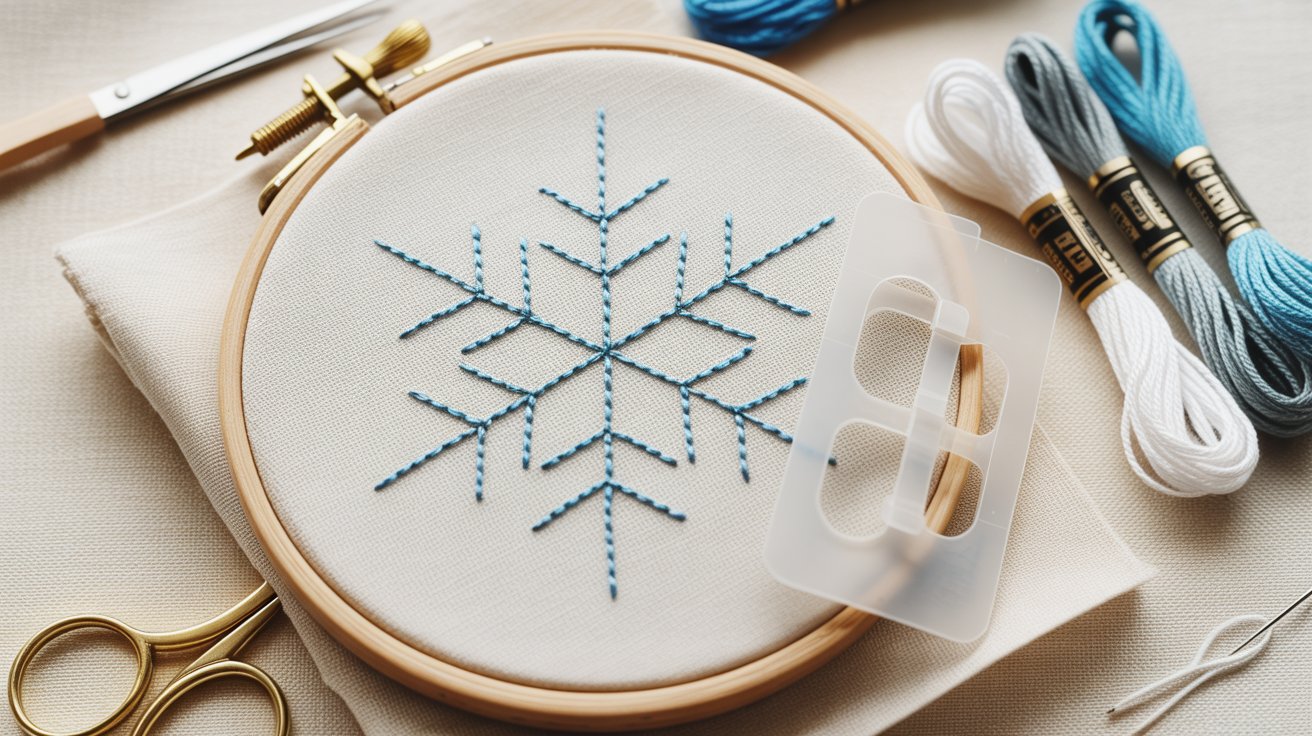
Trace your snowflake onto the fabric using a water-soluble pen. You can also use Stick-n-Stitch stabilizer with a printed design.
Both methods give you clear lines to follow and make the stitching process much more accurate and manageable.
Step 3 – Stitch Long Spokes

Thread your needle and start from the center of the design. Stitch long straight lines outward to form the main spokes.
Use a backstitch or running stitch for clean, solid lines that hold the overall snowflake shape together well.
Step 4 – Add Diagonal Branches

Work small diagonal stitches along both sides of each spoke. These short branches give your snowflake its recognizable shape.
Keep the branches evenly spaced and similar in length so the finished design looks balanced and consistent from every angle.
Step 5 – Add French Knots
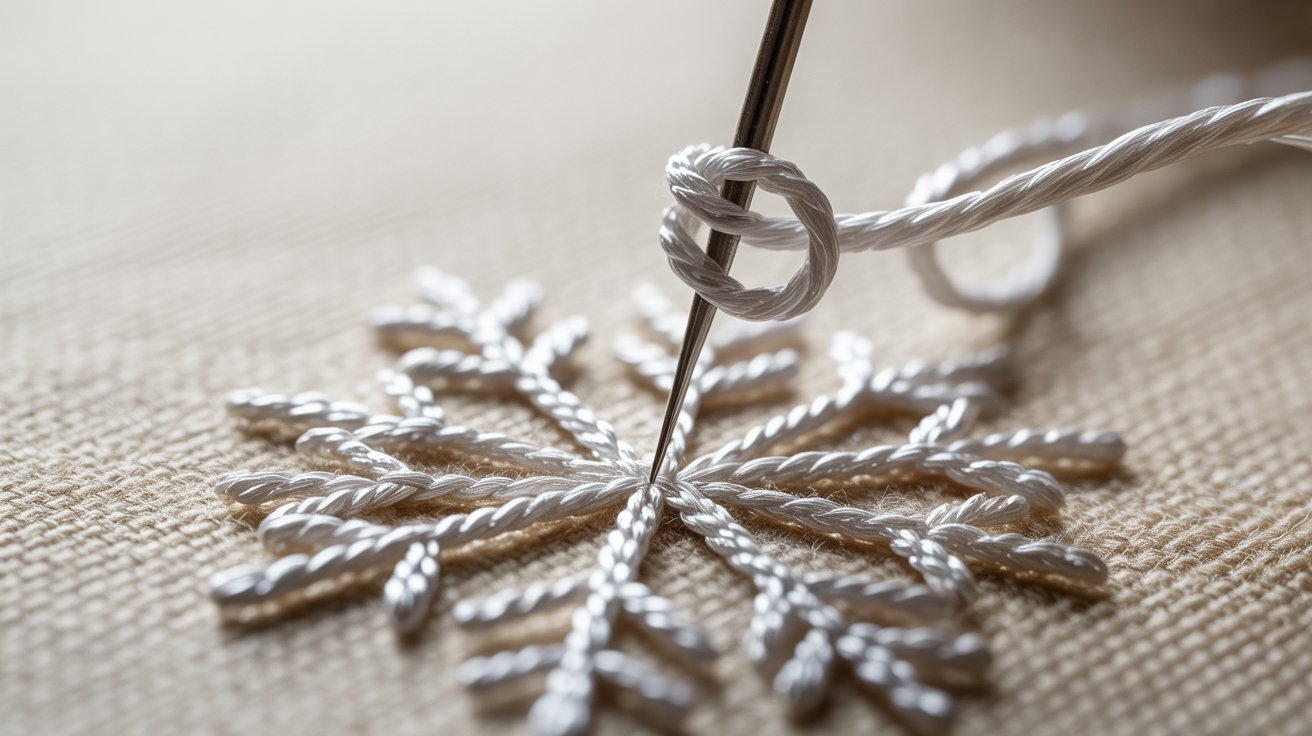
Place French knots at the tips of the spokes and branches. Wrap the thread around your needle once or twice, then pull through slowly.
These small knots add texture and a polished finish to your snowflake design.
Step 6 – Finish & Secure Threads
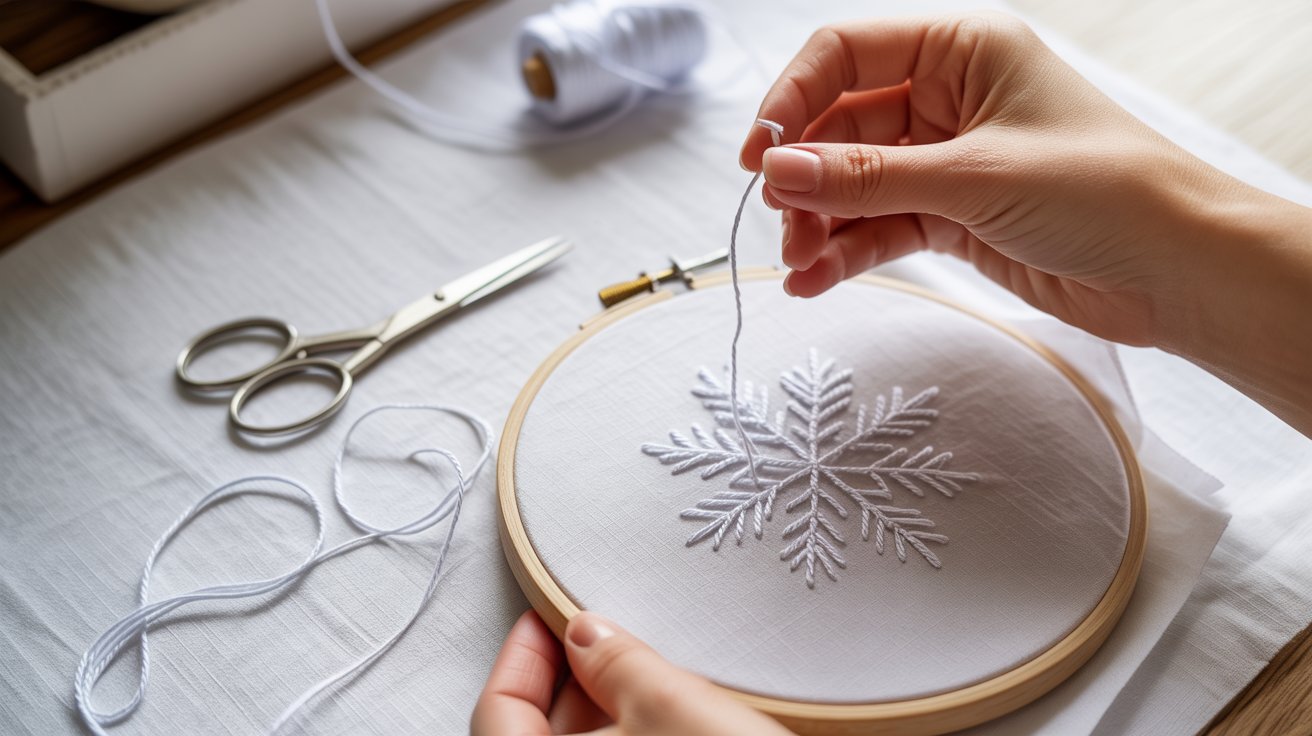
Once all stitching is done, knot your thread firmly at the back of the fabric. Trim any loose ends with scissors.
If you used a water-soluble pen or stabilizer, rinse the fabric gently with cool water to remove all visible marks.
How to Remove Stabilizer & Finish Your Embroidery
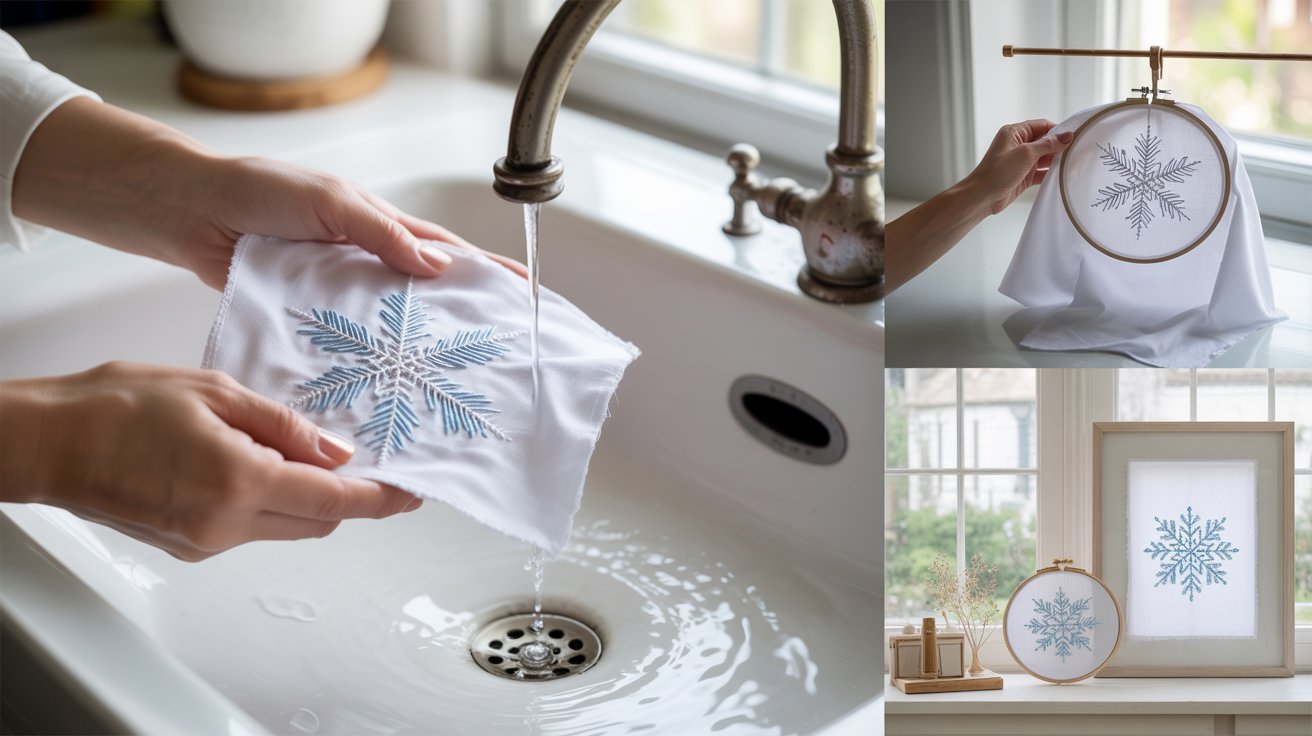
Once your stitching is complete, rinse the fabric under cool water to remove the water-soluble stabilizer. Gently rub the area until all residue disappears, then pat the fabric dry with a clean towel.
Lay it flat or hang it to air dry. Once dry, press it lightly with an iron on a low setting to smooth out any creases.
To display your snowflake, keep it in the hoop as wall art, frame it behind glass, or sew it onto a finished project.
Common Snowflake Embroidery Mistakes
- Uneven stitch length makes your snowflake look messy. Use a ruler or count fabric threads to keep each stitch consistent.
- A misaligned center throws off the whole design. Always mark the center point clearly before you start stitching the spokes.
- Tangled French knots happen when you rush. Wrap the thread slowly and hold it in place firmly as you pull the needle through.
- Visible thread carrying shows through light fabric and looks untidy. Always end and restart your thread instead of carrying it across the back.
- Pulling thread too tight puckers the fabric and distorts your design. Keep an even, relaxed tension throughout every stitch for a flat, clean finish.
Snowflake Embroidery Tips for Beginners
- Starting with small designs helps you build confidence. A simple six-point snowflake is a great first project before moving to complex patterns.
- Using fewer thread strands gives your snowflake a finer, cleaner look. Two strands work best when you want light and detailed stitching.
- Consistent tension keeps your fabric smooth and your stitches even. Avoid pulling too tight or leaving thread too loose as you work.
- Practicing French knots separately saves frustration later. Stitch a few knots on scrap fabric first until you feel comfortable with the technique.
- Taking breaks during long stitching sessions keeps your hands relaxed. Tired hands lead to uneven stitches and poor tension control across the design.
Conclusion
Snowflake embroidery is one of those crafts that feels rewarding from the very first stitch. It is cozy, creative, and perfect for winter projects.
If this is your first time picking up a needle, start small and be patient with yourself. Every stitch teaches you something new.
Once you feel comfortable, try mixing thread colors, varying sizes, and combining textures to make each snowflake truly your own.
Grab your hoop, pick your favorite thread color, and start stitching today. Share your finished snowflakes with us in the comments below!
Frequently Asked Questions
What fabric works best for snowflake embroidery?
Cotton and linen are the most beginner-friendly fabric choices. They hold stitches well and are easy to work with from the start.
Which thread is recommended for snowflake embroidery?
DMC embroidery floss is a popular and reliable choice. It comes in a wide range of colors and gives a smooth, clean finish.
How many thread strands should a beginner use?
Starting with 2 to 3 strands is ideal for beginners. This gives you good control over your stitches without making the design look too heavy.
Can I stitch a snowflake without a printed pattern?
Yes, you can draw a simple six-point design directly onto fabric using a water-soluble pen. It washes off cleanly once your stitching is complete.
How long does it take to complete a snowflake embroidery project?
A small, simple snowflake can be finished in one to two hours. Larger or more detailed designs may take a few sessions depending on your pace.
