

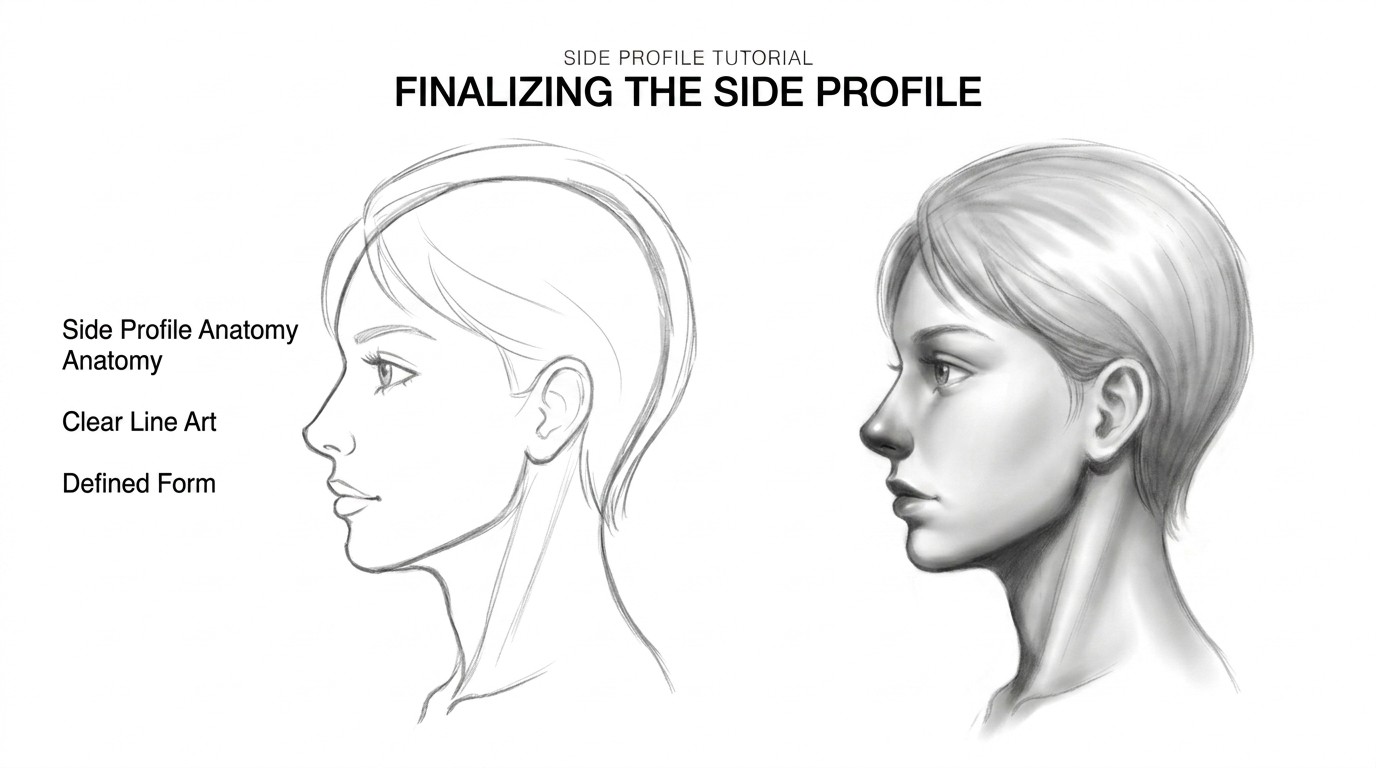
Have you been searching for side profile sketch tutorials but feel confused about where to start?
This guide will help you understand the simple steps needed to draw a clean and balanced side profile.
In this article, you’ll learn how to build the face shape, place the features correctly, add details, and improve your sketch with easy tips.
With experience creating beginner-friendly drawing guides, I focus on making each step simple and practical.
If you are new to sketching or improving your skills, this guide will help you create a better side profile sketch.
What Is a Side Profile Sketch?
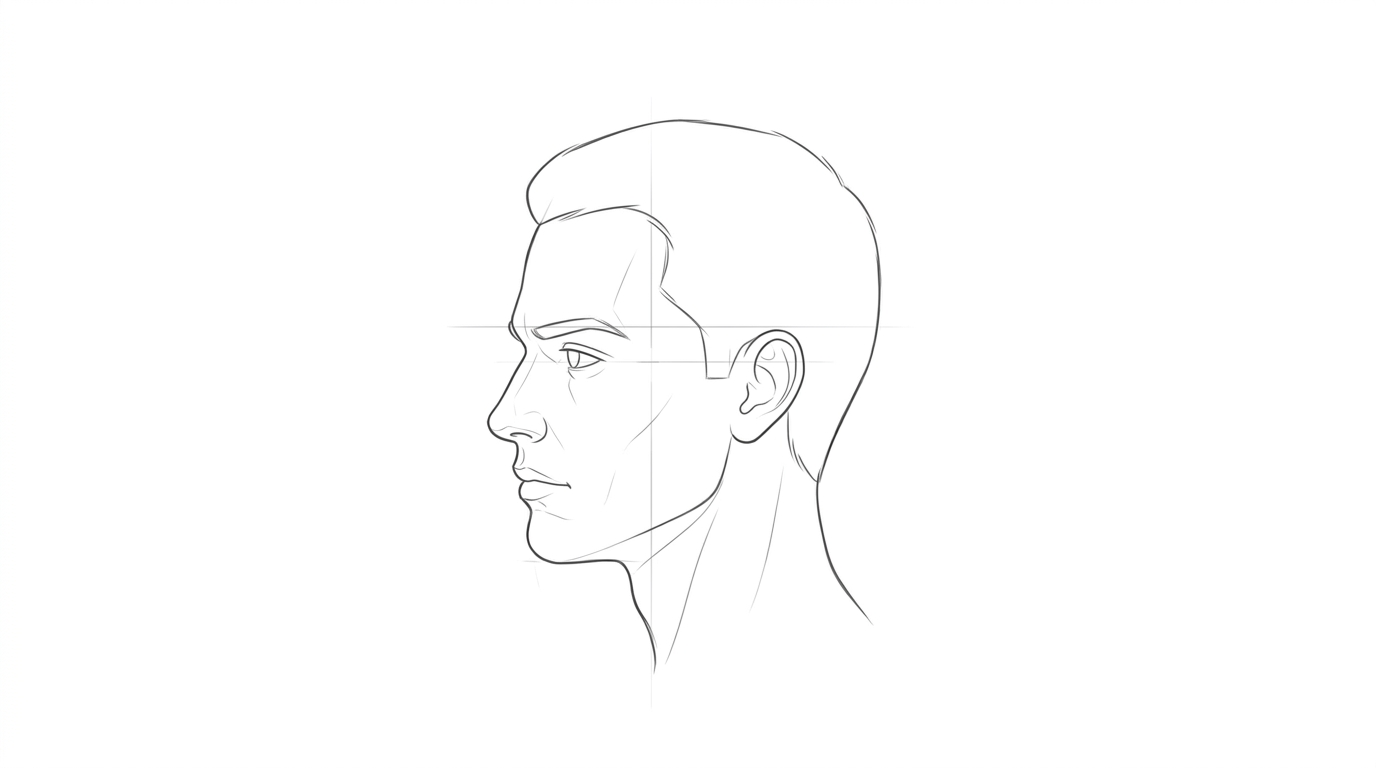
A side profile sketch is a drawing that shows a person’s face from the side angle instead of the front view.
It focuses on the outer shape and placement of facial features to create a realistic appearance.
When drawing a side profile, you can see important details like the forehead, nose, lips, chin, jawline, and neck. Each feature works together to create the unique shape of a face.
The nose and chin are especially important because they define the profile’s structure. A good side profile sketch starts with understanding basic proportions and simple shapes.
Learning these details helps artists create balanced and natural-looking face drawings, even when they are just starting.
Materials You Need to Draw a Side Profile
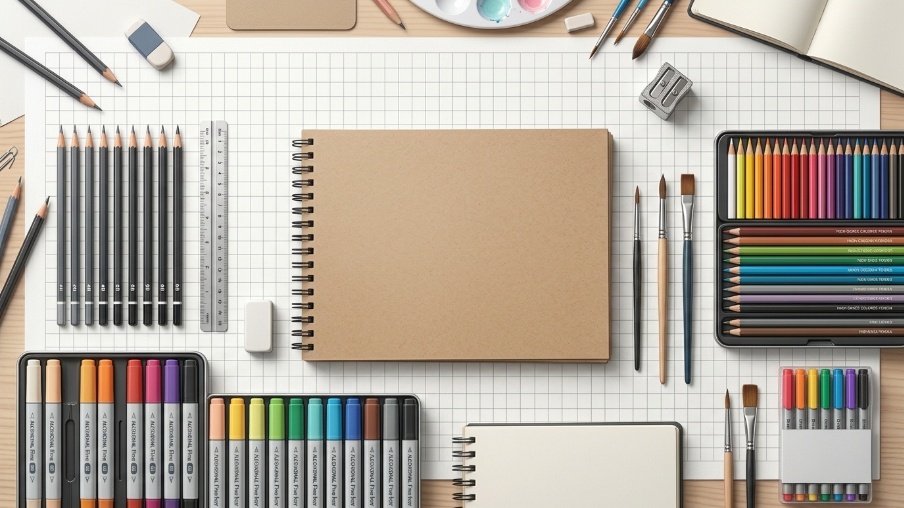
You only need simple basic tools to create your Side Profile drawing easily.
- Pencil
- Eraser
- Drawing paper
- Black pen (optional)
- Colored pencils or markers
How to Draw a Side Profile Sketch Step by Step
Follow these simple steps to create a balanced and realistic side profile sketch, starting with basic shapes and adding details slowly.
Step 1: Draw the Basic Head Shape
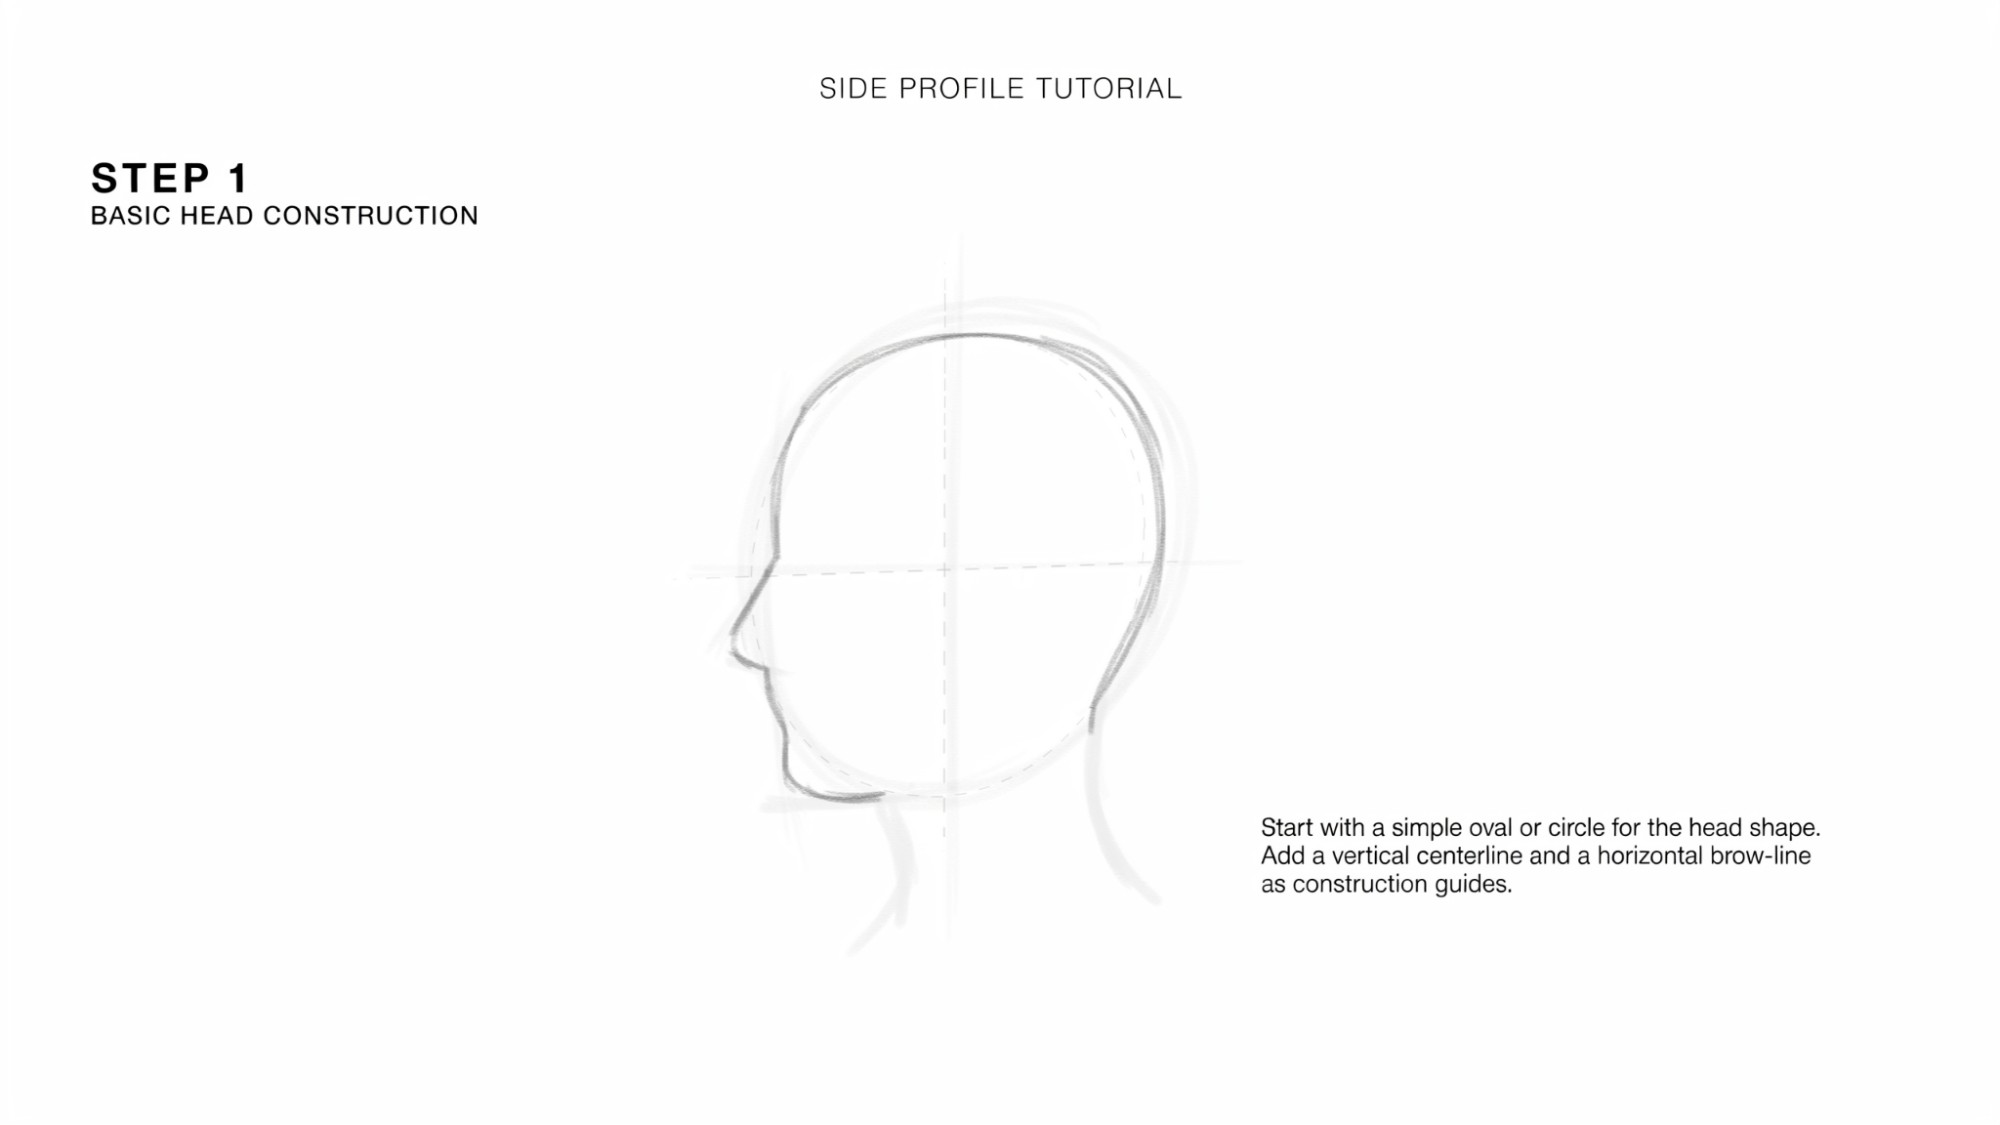
Begin with a simple oval or circle to create the foundation of your face. Add light guidelines to help place the facial features correctly.
Keep your pencil strokes soft so you can make changes easily. Focus on creating the right head shape before moving on to smaller details.
Step 2: Shape the Forehead, Nose, and Chin
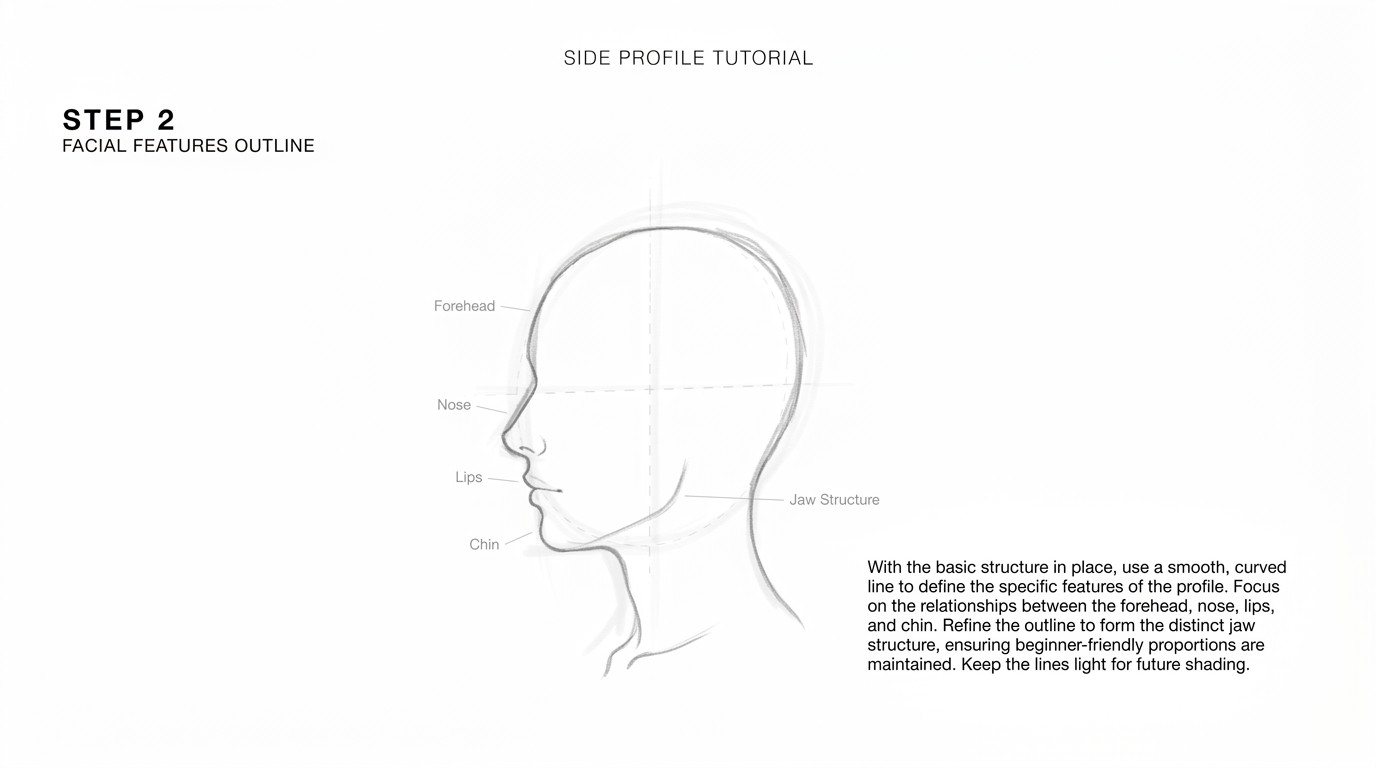
Now shape the main outline of the face by extending the forehead line and adding the nose with gentle curves.
Draw the chin and jawline carefully to create a natural profile shape. These features define the face, so focus on keeping the proportions balanced and smooth.
Step 3: Add the Eye and Ear Details
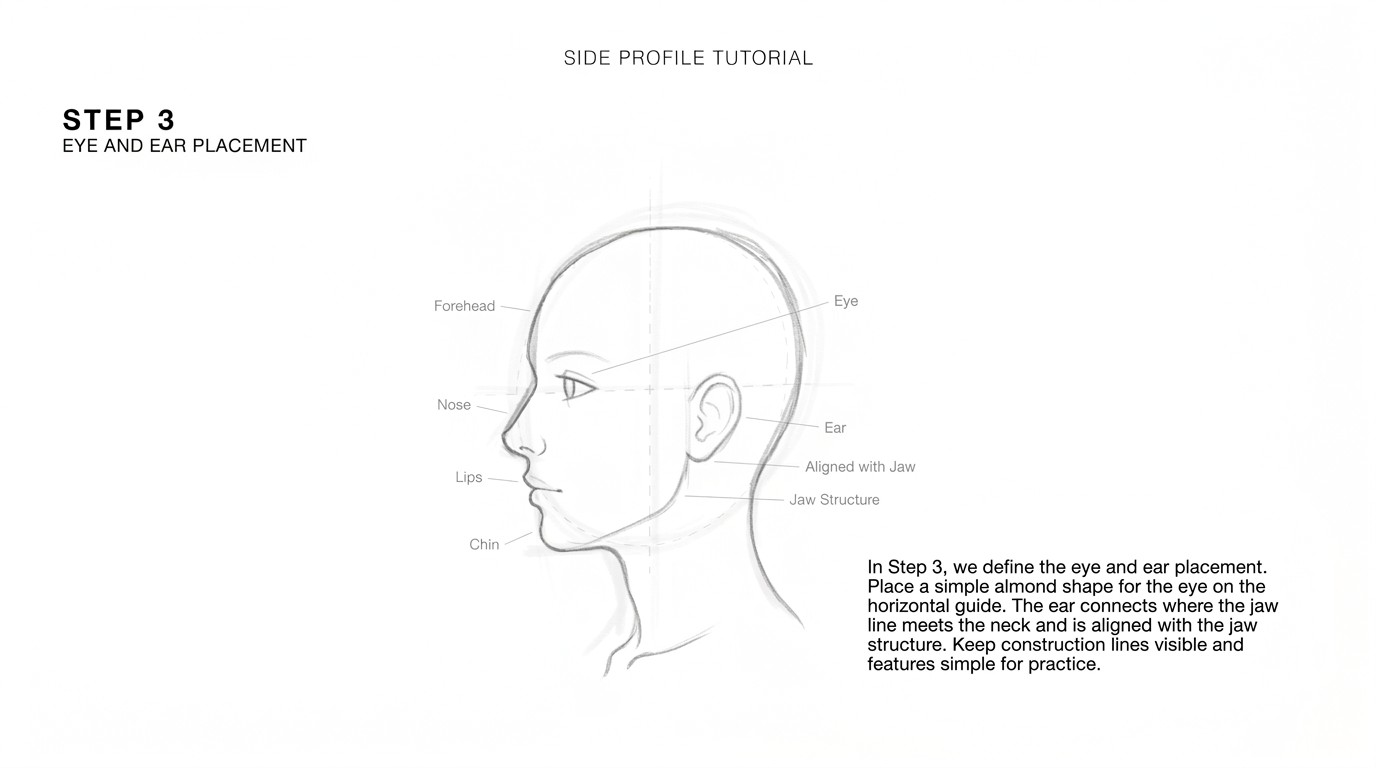
Add the eye on the side view by placing it carefully within the face structure. Draw the ear using simple curved shapes and connect it naturally with the jaw area.
Keep the size and position balanced to make the side profile look realistic and well-structured.
Step 4: Sketch the Lips and Neck
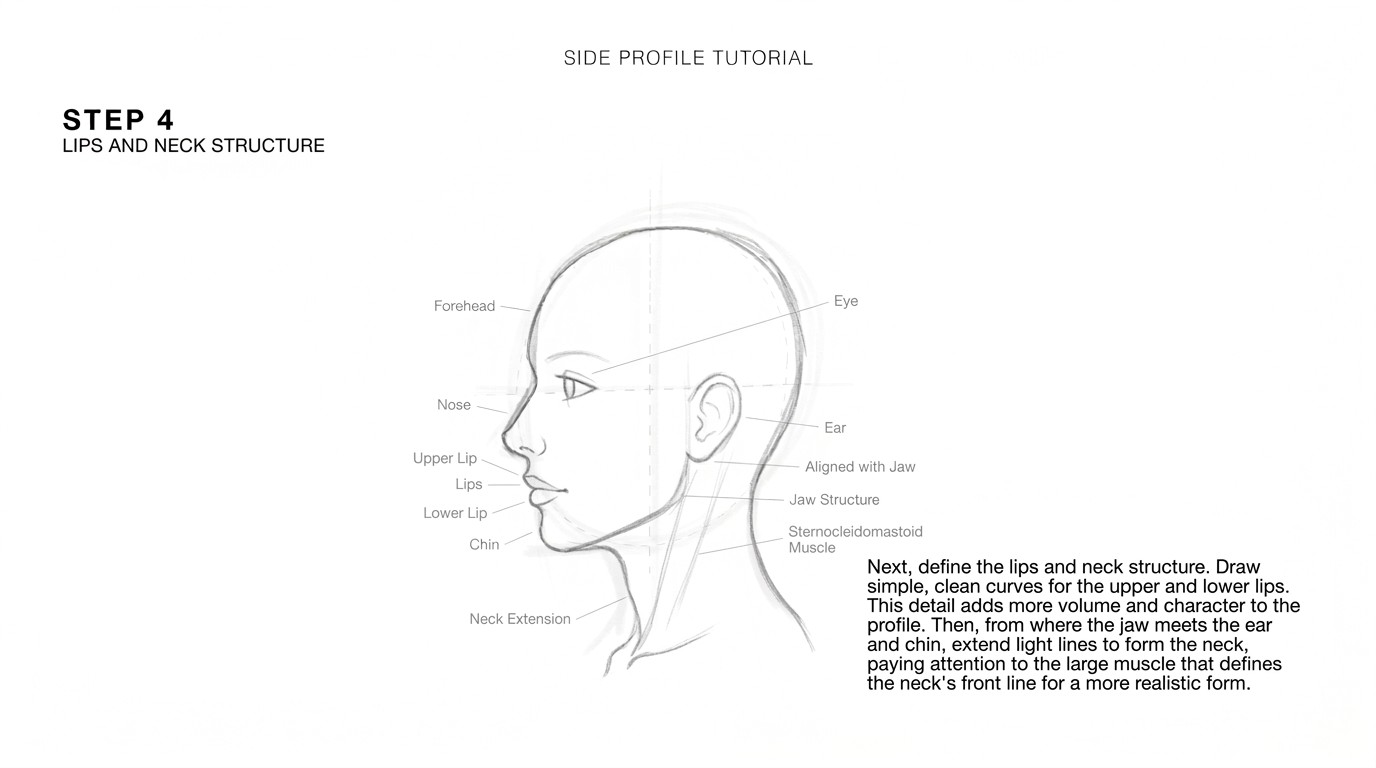
Draw the upper and lower lips with small curved lines to match the face angle. Then add the neck lines coming down from the jaw area.
Keep the curves smooth and natural. Avoid making the lips or neck too detailed before the overall structure looks correct.
Step 5: Add Hair and Facial Details

Add the hairstyle by following the natural flow of the hair. You can include eyebrows, eyelashes, and other small details to improve the sketch.
Remember to keep these details simple at first. Too many lines early can make the drawing look messy and harder to adjust.
Step 6: Improve Shading and Depth
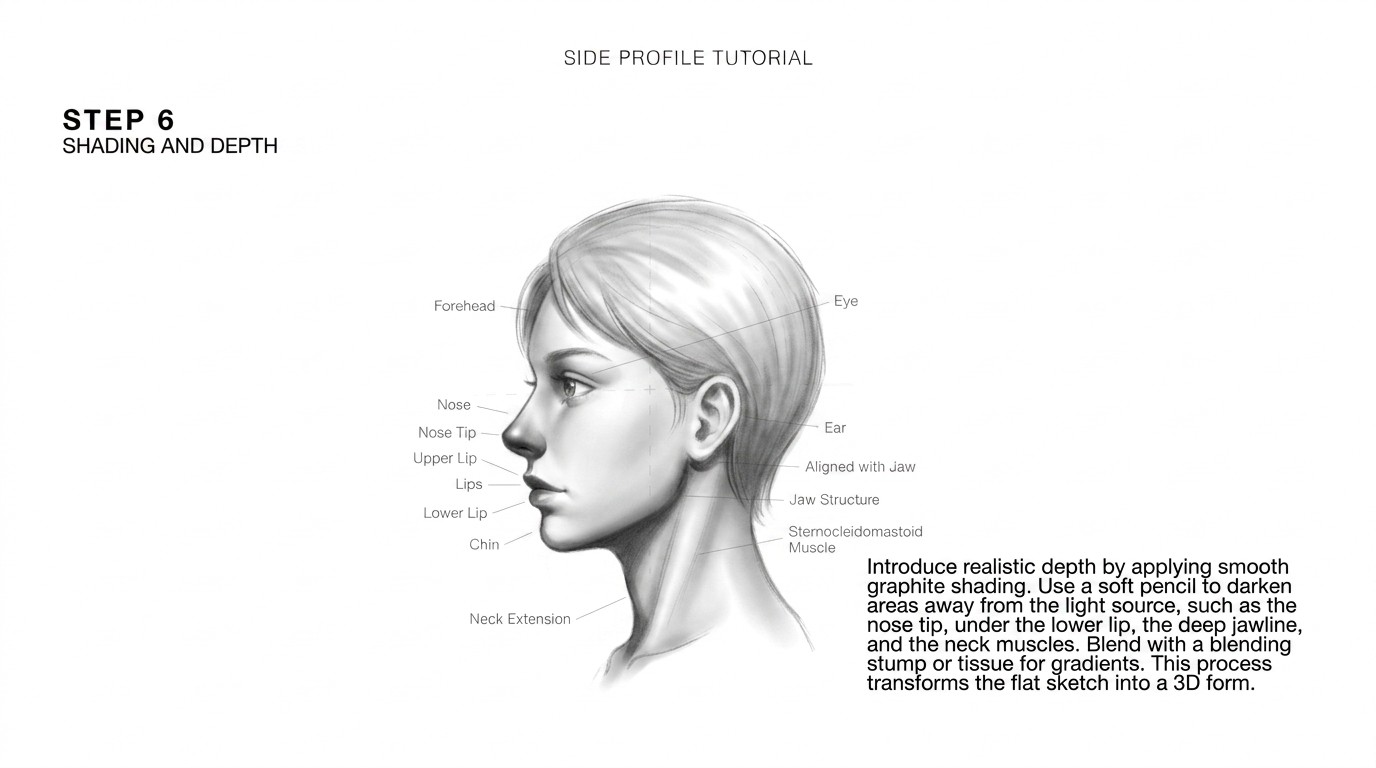
Add shading around areas like the nose, jaw, and neck to give your sketch more depth. Use lighter and darker tones to create a realistic effect.
Blend the shades carefully to make the transitions smoother and help the side profile look more three-dimensional.
Tips to Make Your Side Profile Sketch Better
These simple tips can help you improve your drawing skills and create a more balanced side profile sketch.
- Practice basic face shapes before adding details.
- Use reference photos to understand face structure.
- Focus on proportions before refining features.
- Keep your pencil strokes light and easy to adjust.
- Practice regularly to improve your confidence.
Common Mistakes When Drawing a Side Profile
Avoid these common errors to make your side profile sketch cleaner and more accurate.
- Making the nose too long or too short.
- Placing facial features in the wrong position.
- Ignoring the correct face proportions.
- Adding details before completing the basic shape.
- Using dark lines before finishing the sketch.
Watch a Side Profile Sketch Tutorial Video
A visual tutorial can make learning easier by showing each step clearly. Follow along with the video, pause whenever needed, and practice each part at your own pace.
How to Draw a Side Profile Step by Step:
https://www.youtube.com/watch?v=Ww9mo5TJPxI
Conclusion
Learning a side profile sketch takes patience, but every small step helps you improve.
I enjoy seeing how simple lines slowly turn into a complete face, and you can experience that same process with practice.
Start with basic shapes, take your time, and allow yourself to learn as you draw. I hope this guide helps you feel more comfortable creating your own sketches.
Try your next drawing today, share your progress in the comments, share this guide with others, or try more easy drawing tutorials.
Frequently Asked Questions
What is a side profile sketch?
A side profile sketch is a drawing of a face viewed from the side. It shows features like the nose, lips, chin, and jawline.
Is a side profile sketch easy for beginners?
Yes, beginners can learn it by starting with simple shapes and guidelines. Regular practice helps improve proportions and drawing skills.
What should I draw first in a side profile sketch?
Start with the basic head shape before adding facial features. This helps keep the drawing balanced and natural.
How can I make my side profile drawing look realistic?
Focus on correct proportions, smooth lines, and simple shading. Using reference images can also help you understand face structure.
What tools do I need for a side profile sketch?
You only need a pencil, eraser, and paper to begin. Colored pencils or shading tools can be added for more detail.
