

Looking for a fun project to keep your kids busy? I’m here to show you how to make a rocket ship craft at home using materials you already have. This simple activity helps children build creativity and fine motor skills while learning about space.
In this guide, I’ll walk you through everything you need. You’ll get clear steps, supply lists, and decoration ideas. I’ve made this craft with my own kids, and it’s always a hit.
We’ll cover preparing the rocket body, making wings, adding flames, and more. Your little ones will love creating their own space adventure.
Why Kids Will Love This Craft?
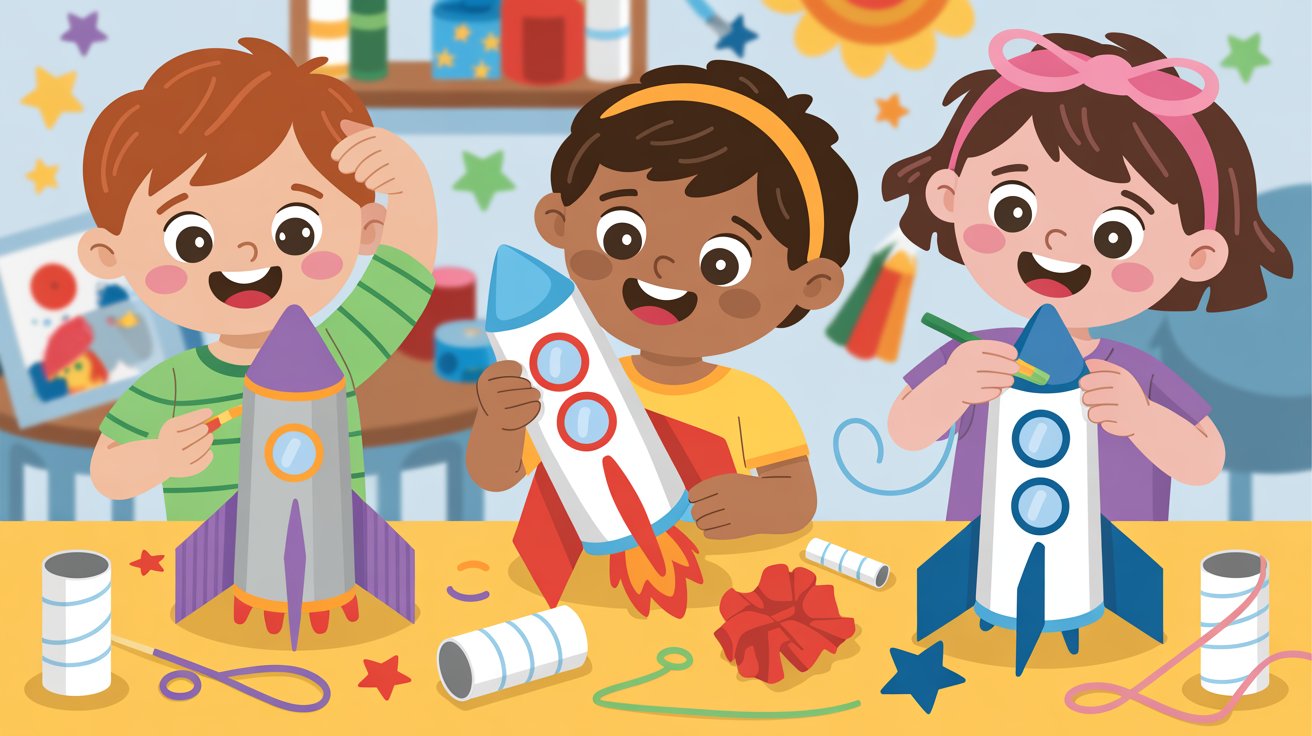
This rocket craft gets kids excited about pretend play. They can blast off into space, visit planets, and explore stars.
The best part is how easy it is to make each rocket special. Your child can pick their favorite colors, add shiny foil, or create colorful flames from tissue paper.
Using recycled toilet paper rolls teaches kids about reusing materials. It’s a great lesson without feeling like school. The craft works well for different ages, too. Preschoolers can help with simple steps. Elementary students can handle more detailed work.
Kids feel proud when they finish their own rocket. They can play with it for hours afterward.
Supplies You’ll Need
Gather these basic items before starting your rocket craft project.
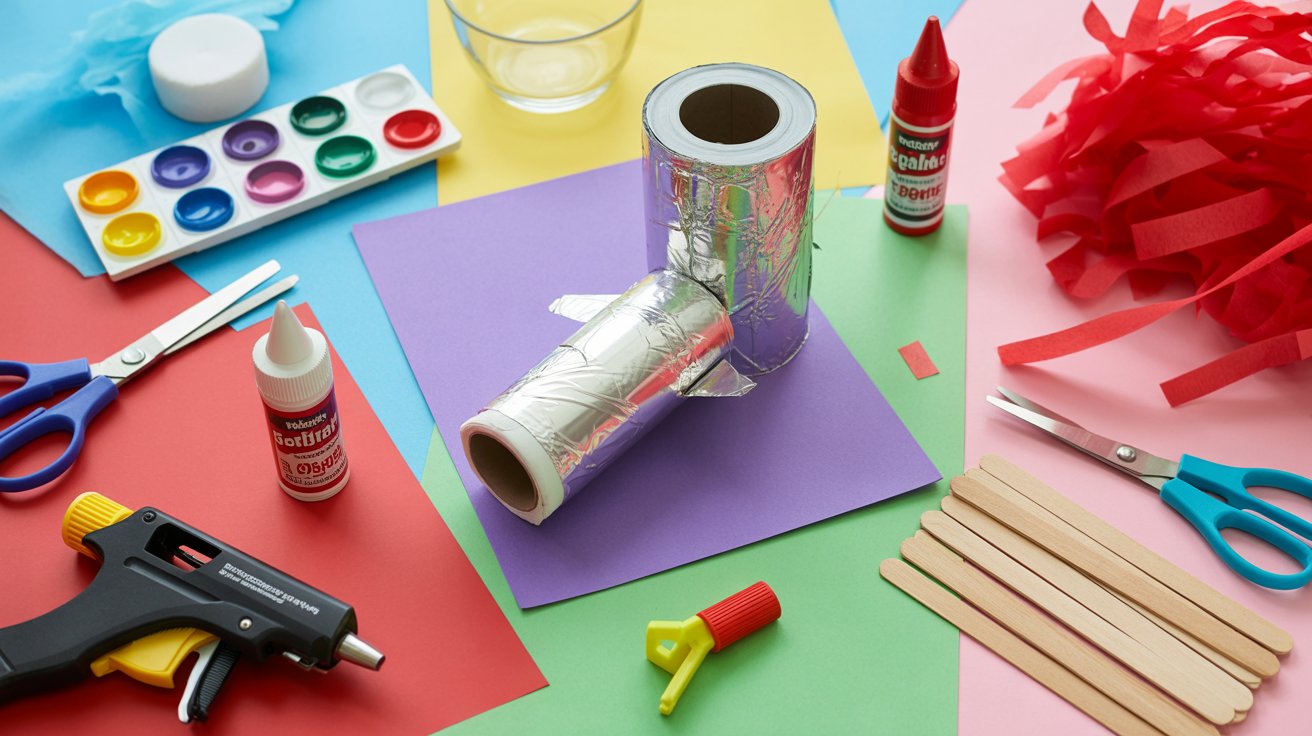
Basic Materials
You’ll need a toilet paper roll as your main piece. Paper towel rolls work if you want a bigger rocket. Grab some cardstock or construction paper for the cone and wings.
Aluminum foil adds a shiny touch but isn’t required. Pick up acrylic paint or permanent markers for decorating.
Tools & Extras
A glue stick works fine, though a low-temp glue gun holds better. Keep scissors handy for cutting shapes. A 1-inch hole punch makes perfect windows. Use a drinking glass or coaster to trace circles. Grab a popsicle stick for the handle.
For flames, try crepe paper, streamers, or tissue paper. Spray adhesive helps if you’re covering the whole rocket in foil.
Step-by-Step Instructions
Follow these simple steps to build a colorful rocket that really flies through imagination.
1. Prepare the Rocket Body
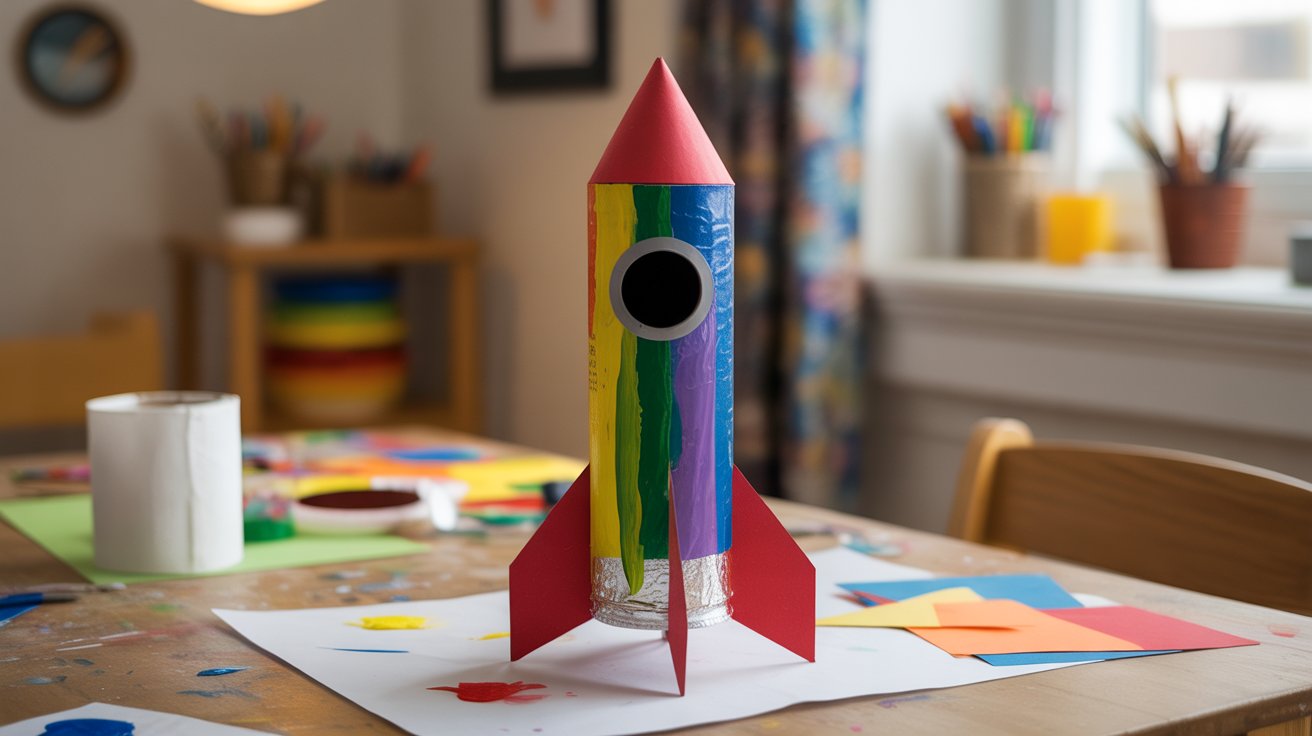
Start by covering your toilet paper tube. You have three options here. Paint it any color your child likes. Wrap it in aluminum foil for a shiny look. Or glue construction paper around it.
Foil gives that metallic spacecraft feel. Paint lets kids mix colors and get creative. Both work great.
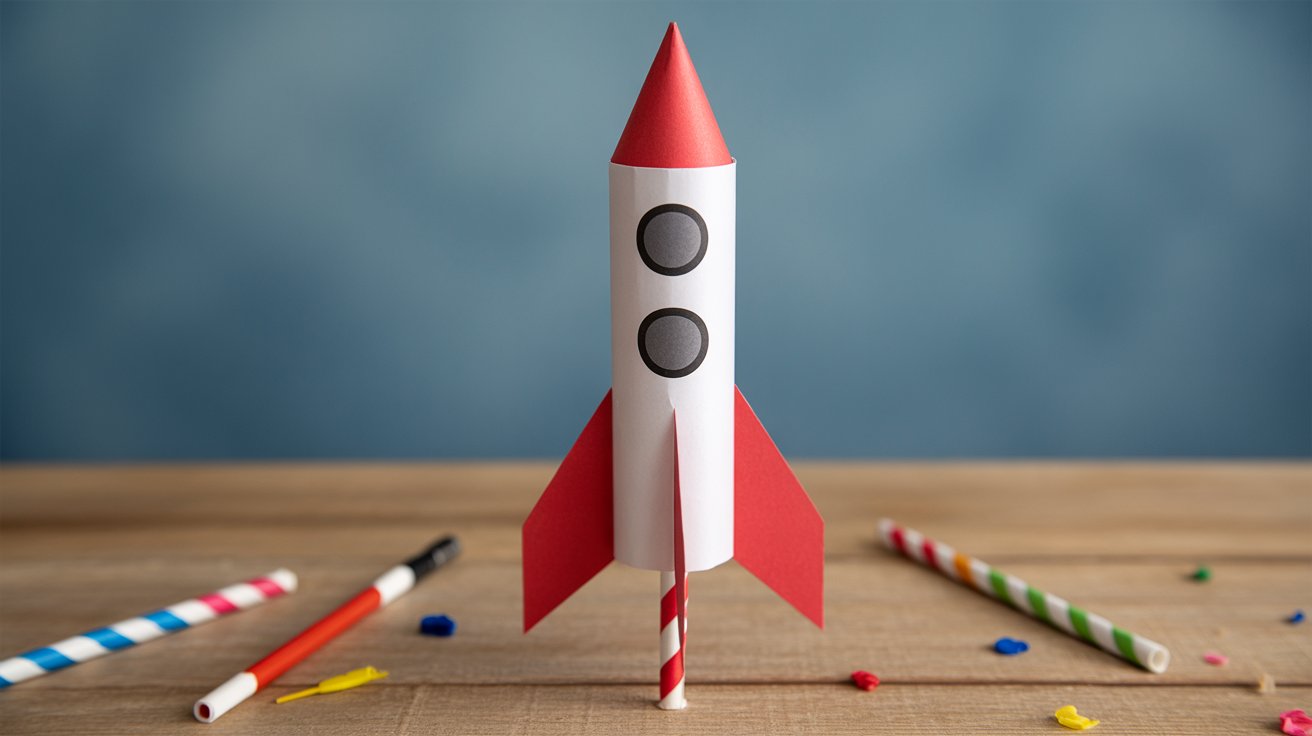
2. Make the Rocket Cone

Grab your cardstock or construction paper. Place a drinking glass on it and trace a circle. Cut out the circle. Now, cut a straight line from the edge to the center of the circle.
Hold one cut edge and overlap it with the other edge. This creates a cone shape. Keep adjusting until it fits the top of your tube. Add glue to secure it. Attach the cone to the top of your rocket body.
3. Add Windows
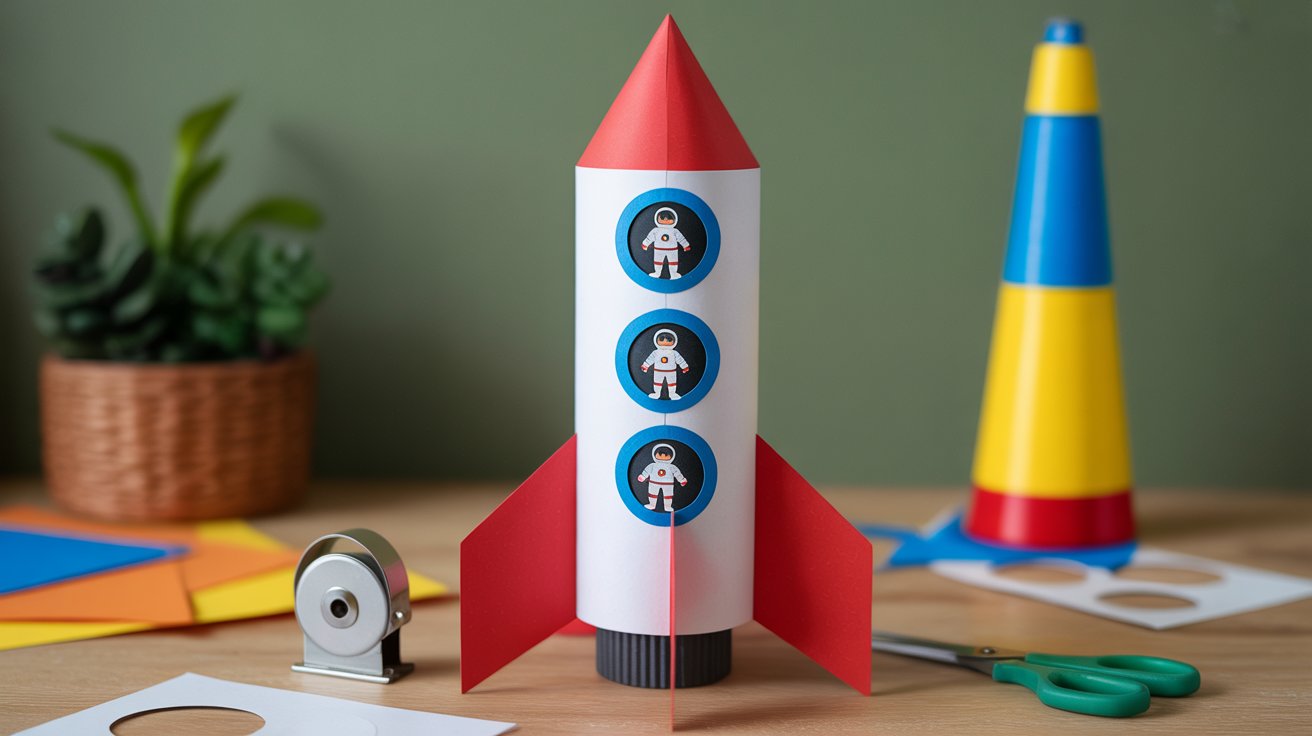
Cut small circles about 1 inch wide. A hole punch makes this super easy. You can also draw circles and cut them by hand. Make two or three windows.
Glue these circles onto the rocket body. Kids love adding tiny astronaut stickers inside the windows. You can draw faces,s too.
4. Create Wings
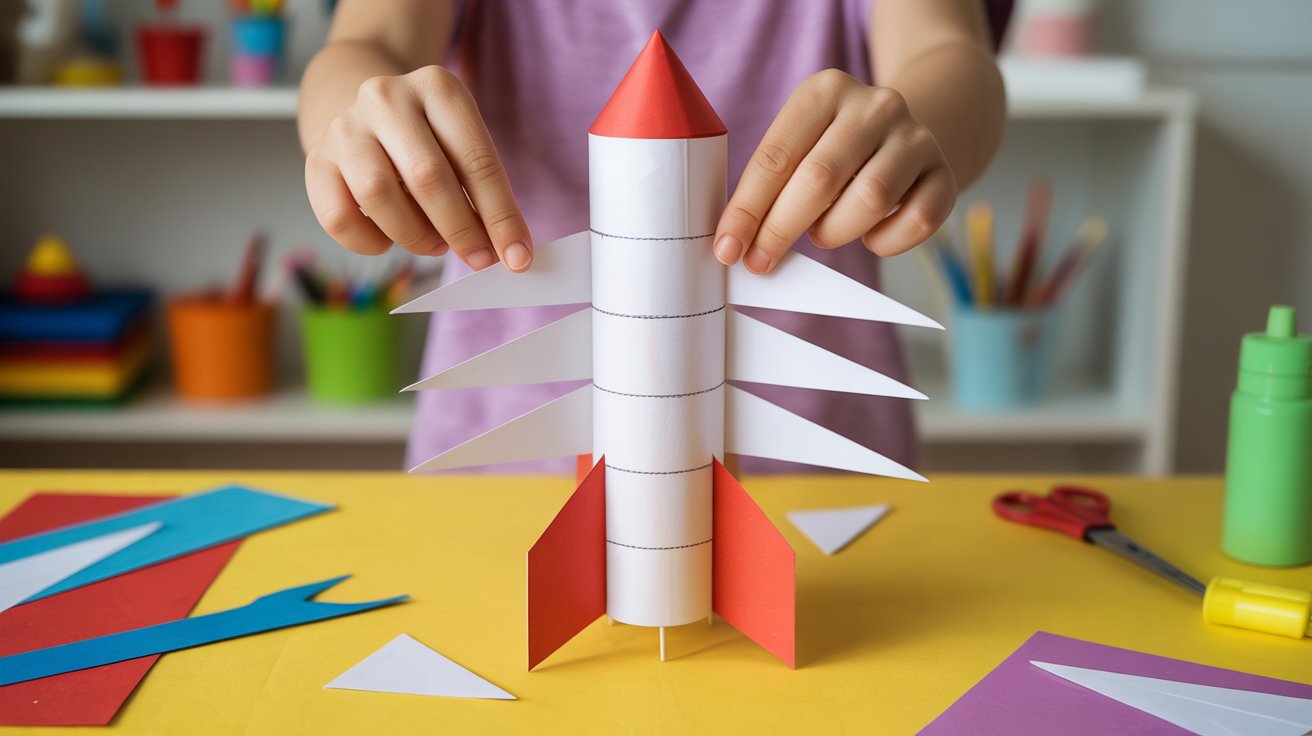
Cut triangles from cardstock. Make sure the top of each triangle is flat, not pointed. You’ll need this flat edge to attach the wings.
Fold about half an inch along the flat top. This creates a flap. Put glue on the flap and press it against the rocket sides. Make three or four wings spaced evenly around the rocket.
5. Add Flames and Handle
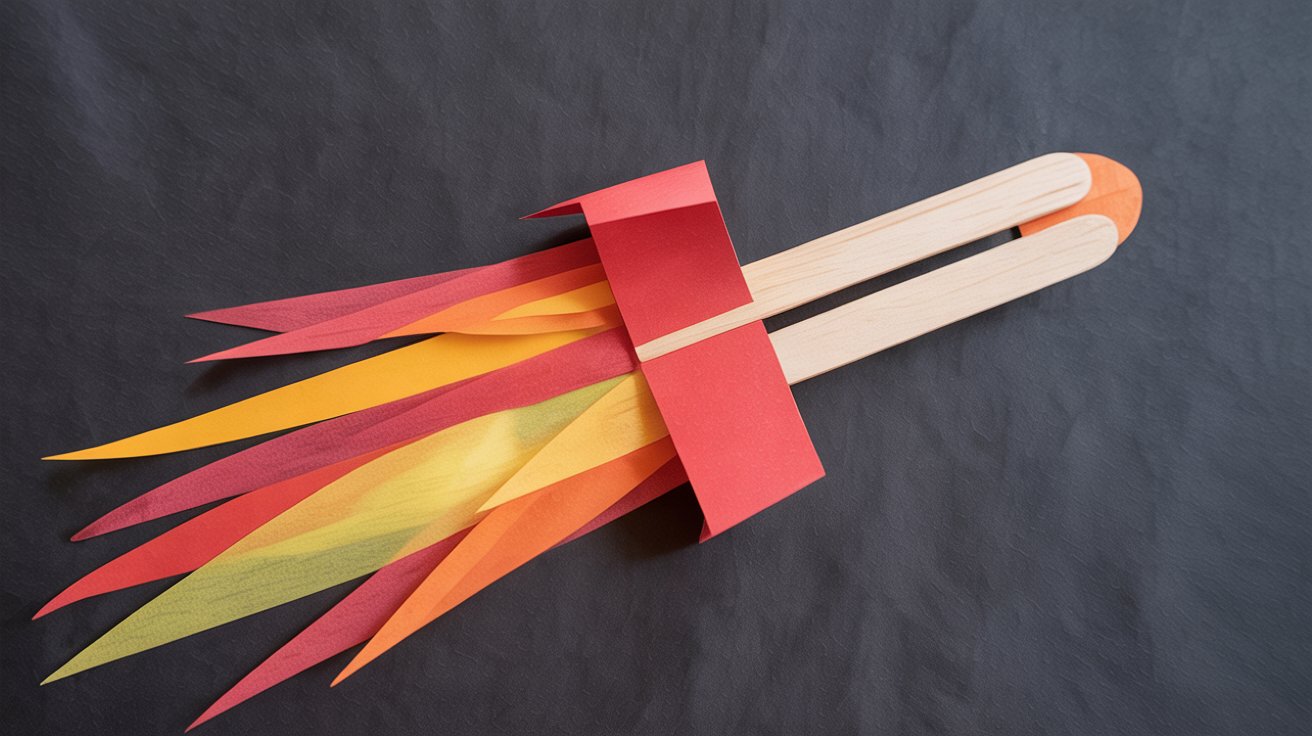
Cut long strips of tissue paper or streamers. Red, orange, and yellow look like real flames. You can also use just one color. Glue these strips inside the bottom of the tube. Let them hang down like fire shooting out.
Glue a popsicle stick to one side as a handle. This makes it easy to hold during play.
If you want, glue the finished rocket onto black paper. This creates a space background.
Creative Variations and Alternative Rocket Ship Crafts
Try these fun rocket craft ideas to keep the creativity going beyond the basic design.
Foil Rocket Collage
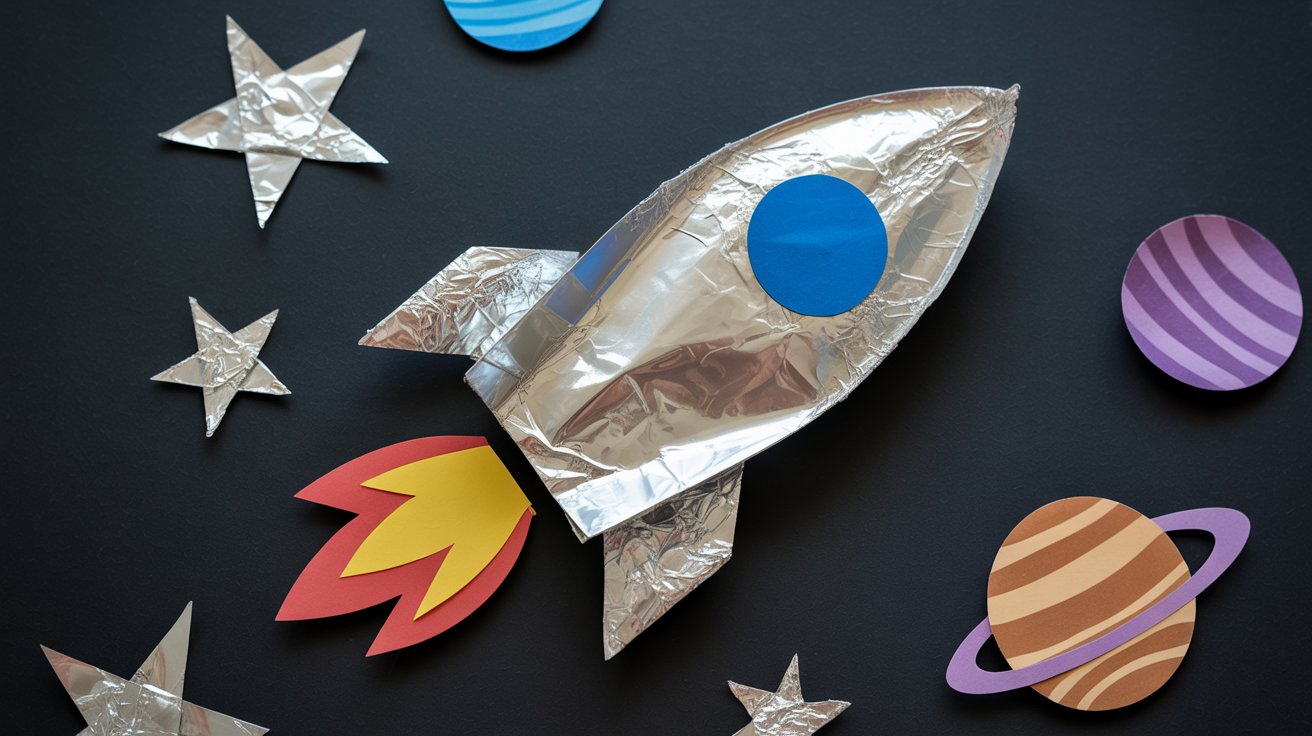
Create a shiny space scene using aluminum foil and black paper. Cut out rocket shapes from foil and glue them onto black cardstock. Punch star shapes from extra foil pieces. Add planets cut from colored paper.
Kids can crumple foil for texture or keep it smooth and flat. This works great as wall art for a space-themed bedroom. The contrast between black and silver makes everything pop.
Paper Plate Rockets

Paper plates make easy rockets for younger children. Cut a paper plate in half. Decorate one half with crayons or markers. Roll it into a cone shape and staple or tape it closed.
Add a popsicle stick handle at the bottom. Cut small triangles for wings from another plate. Glue streamers to the bottom for flames. This craft takes only 10 minutes and uses supplies you likely already have.
Preschoolers love how fast they can make these. The cone shape is simple to hold.
Straw Rockets (STEM Activity)
Make rockets that actually fly using paper and straws. Cut a rectangle from paper about 3 inches by 4 inches.
Wrap it tightly around a straw and tape it closed. Remove the straw. Fold one end closed and tape it to make a nose cone.
Decorate your rocket with markers. Slide it back onto the straw. Blow hard through the straw and watch your rocket launch. Kids love experimenting with different sizes and weights.
This teaches basic physics about air pressure and force. Try making longer rockets or shorter ones to see which flies farther.
Recycled Material Rockets
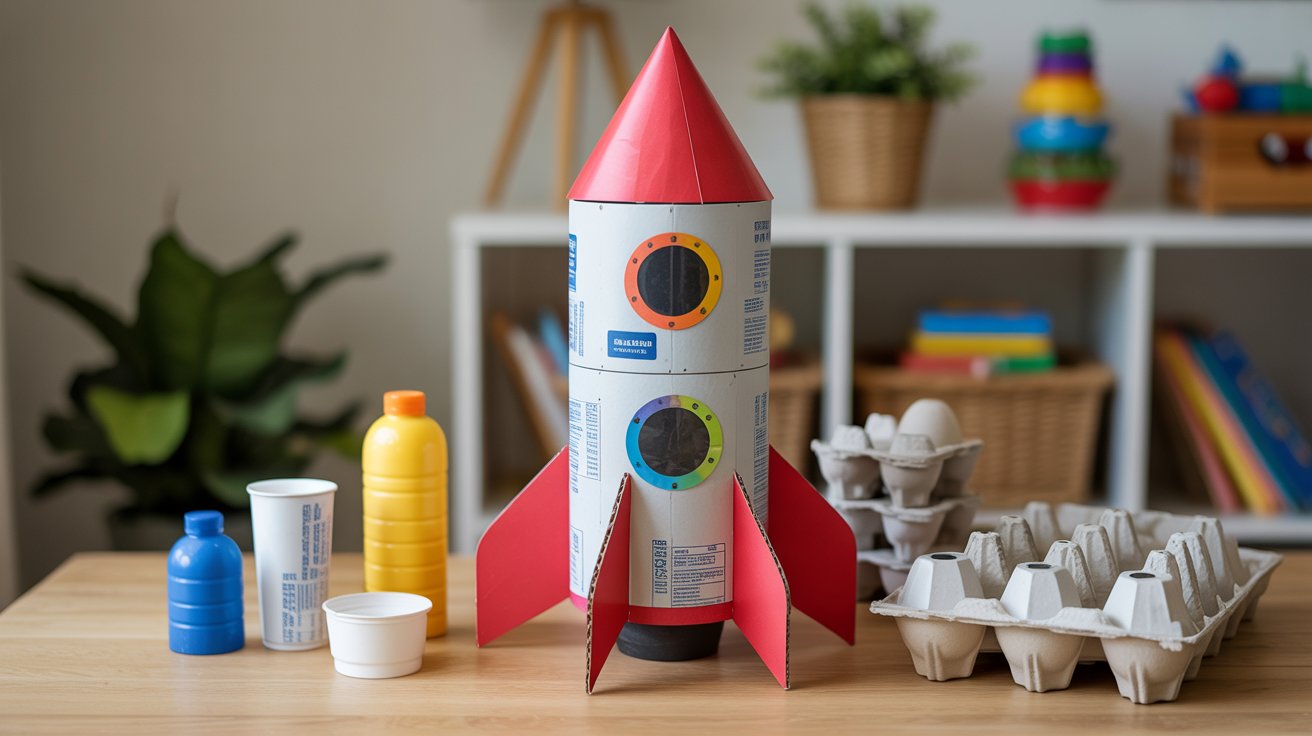
Look around your recycling bin for rocket-building supplies. Plastic bottles make great large rockets. Bottle caps become rocket engines or decorative details. Cereal boxes provide sturdy cardboard for wings and bodies.
Egg cartons can be cut into sections for rocket boosters. Old CDs make shiny circular windows. Yogurt cups work as rocket tops or bases. This approach teaches resourcefulness and creativity at the same time.
Every rocket looks different because everyone has different materials at home. That’s part of the fun.
Decorative Rockets
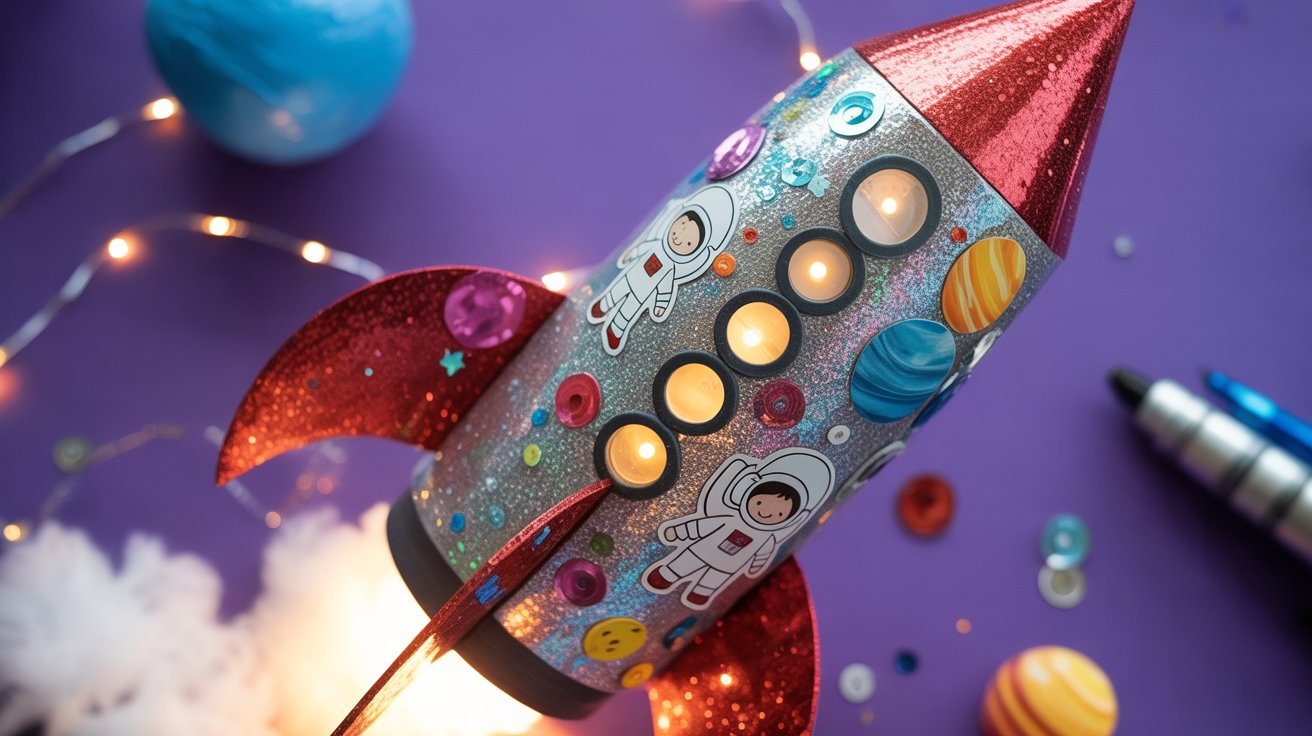
Take your rocket to the next level with special additions. Sprinkle glitter on wet glue for a sparkly effect. Press sequins onto the body for a fancy look. Stickers of astronauts, aliens, or planets add personality.
Try wrapping thin wire around the rocket with beads threaded on it. For older kids, add small battery-operated LED lights inside. Poke small holes for the light to shine through like windows. Use clear tape over the holes to hold the lights in place.
Metallic markers create cool designs on dark paper. Puffy paint adds dimension and texture. Let kids mix different techniques for one-of-a-kind creations.
Tips for a Fun Craft Experience
Set yourself up for success with these helpful hints from my craft sessions.
- Get everything ready before calling the kids over. Cut complex shapes ahead of time if your children are very young. Older kids can handle cutting themselves.
- Let children pick their own colors and designs. Their rocket doesn’t need to look like yours. Personal choices make them more excited about the project.
- Turn on space music or read a rocket book during craft time. This builds the mood. After finishing, encourage pretend play with the new rockets. Make sound effects together. Count down from ten and blast off.
- Cleaning up is easier when everyone helps. Make it part of the activity.
Conclusion
Making a rocket ship craft at home is easier than you think. This simple project brings so much joy to kids while teaching them creativity and science.
I’ve watched my own children play with their handmade rockets for weeks after making them. The proud look on their faces when they finish is priceless.
Grab those toilet paper rolls and get started today. Share your rocket creations with me in the comments below. I’d love to see what colors and designs your kids choose.
Frequently Asked Questions
What age is this rocket craft?
Kids ages 3 to 10 can enjoy this project. Younger children need more help with cutting and gluing. Older kids can work more independently and add detailed decorations.
Can I make this craft without paint?
Yes, you can skip paint completely. Use colored paper, markers, or crayons instead. Aluminum foil also creates a finished look without any paint needed.
How long does this craft take to complete?
Most kids finish in 20 to 30 minutes. This depends on how much decorating they want to do. Drying time for paint or glue adds extra minutes.
What if I don’t have a toilet paper roll?
Roll up cardstock or construction paper into a tube shape. Tape or glue it closed. You can also use paper towel rolls cut in half.
Can we make these rockets for a classroom activity?
This craft works great for groups. Prepare materials ahead of time in individual bags. Each child gets their own supplies to reduce sharing and speed up the process.