


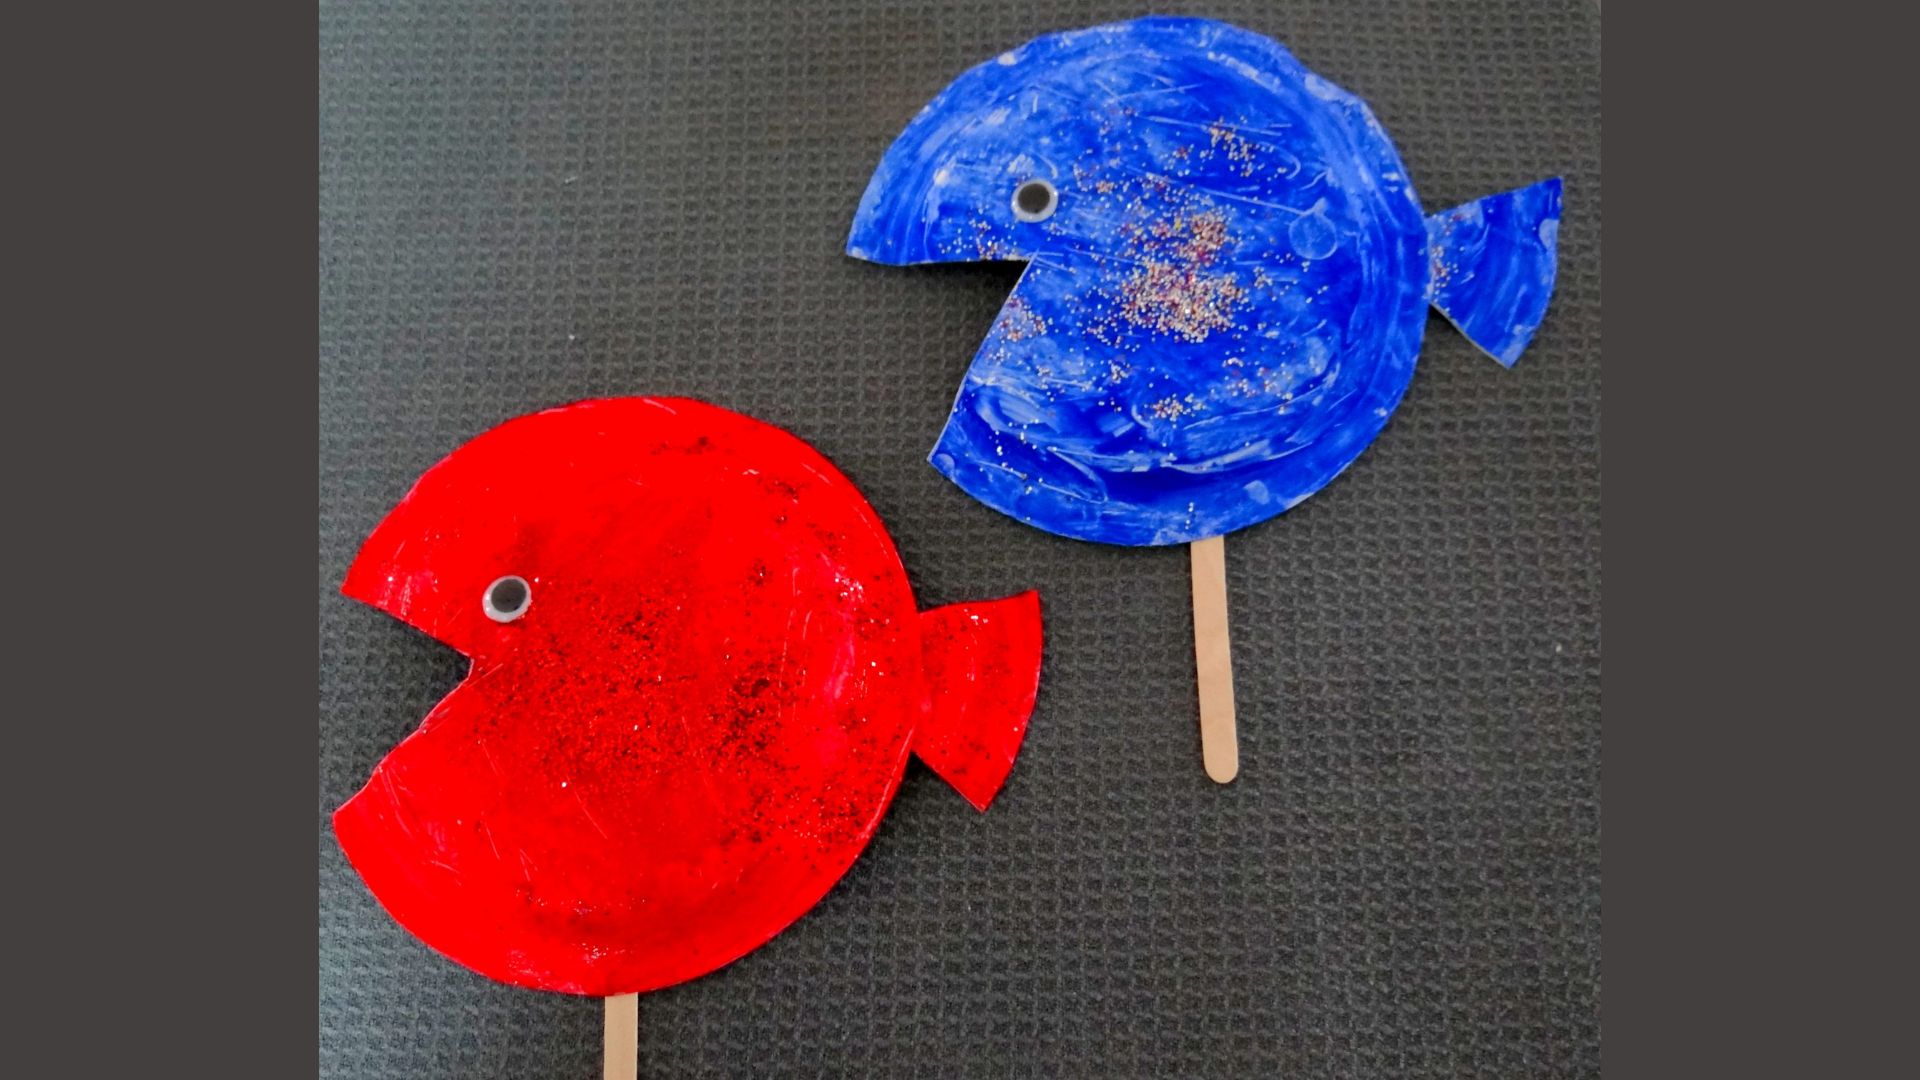
ALT TEXT Two colorful fish paper crafts created with colored pencils, inspired by the “Red Fish Blue Fish” theme.
I’ve done these crafts with kids more times than I can count, and the mess is always worth it.
If you’re looking for red fish blue fish craft ideas that are simple, fun, and hold a child’s attention, you’re in the right place.
This post covers paper plate fish, muffin paper fishbowl crafts, and printable activities that work for toddlers and preschoolers.
I’ll walk you through each one step by step. No confusing instructions. No hard-to-find supplies.
Let’s get started.
Why Red Fish Blue Fish Crafts Work So Well for Kids

These crafts connect directly to a story kids already know, which makes them excited before the activity even starts.
When children recognize the characters, they stay focused longer and feel more confident about what they’re making.
The supplies are simple, the steps are short, and every project ends with something kids can hold or show off. These crafts fit almost any setting without a lot of extra planning.
Materials You’ll Need

Good news, you likely already have most of these at home or in the classroom. Here’s what to gather before you start.
For paper crafts: grab paper plates, muffin papers, and cardstock.
For art supplies: you’ll need paints, markers, crayons, glitter, and wiggly eyes. Basic tools like scissors, glue, tape, popsicle sticks, yarn, and pipe cleaners will also come in handy.
For learning activities: have pom poms, tweezers, and printable worksheets ready for color sorting, do-a-dot, and counting.
Red Fish Blue Fish Paper Plate Craft: Step-by-Step
This one is my favorite. It’s hands-on, low-prep, and great for little ones.
Step 1: Paint
Paint the Plates Give each child a paper plate. Use red and blue paints. Let them finger paint for a sensory experience. Cover the whole plate.
Step 2: Decorate
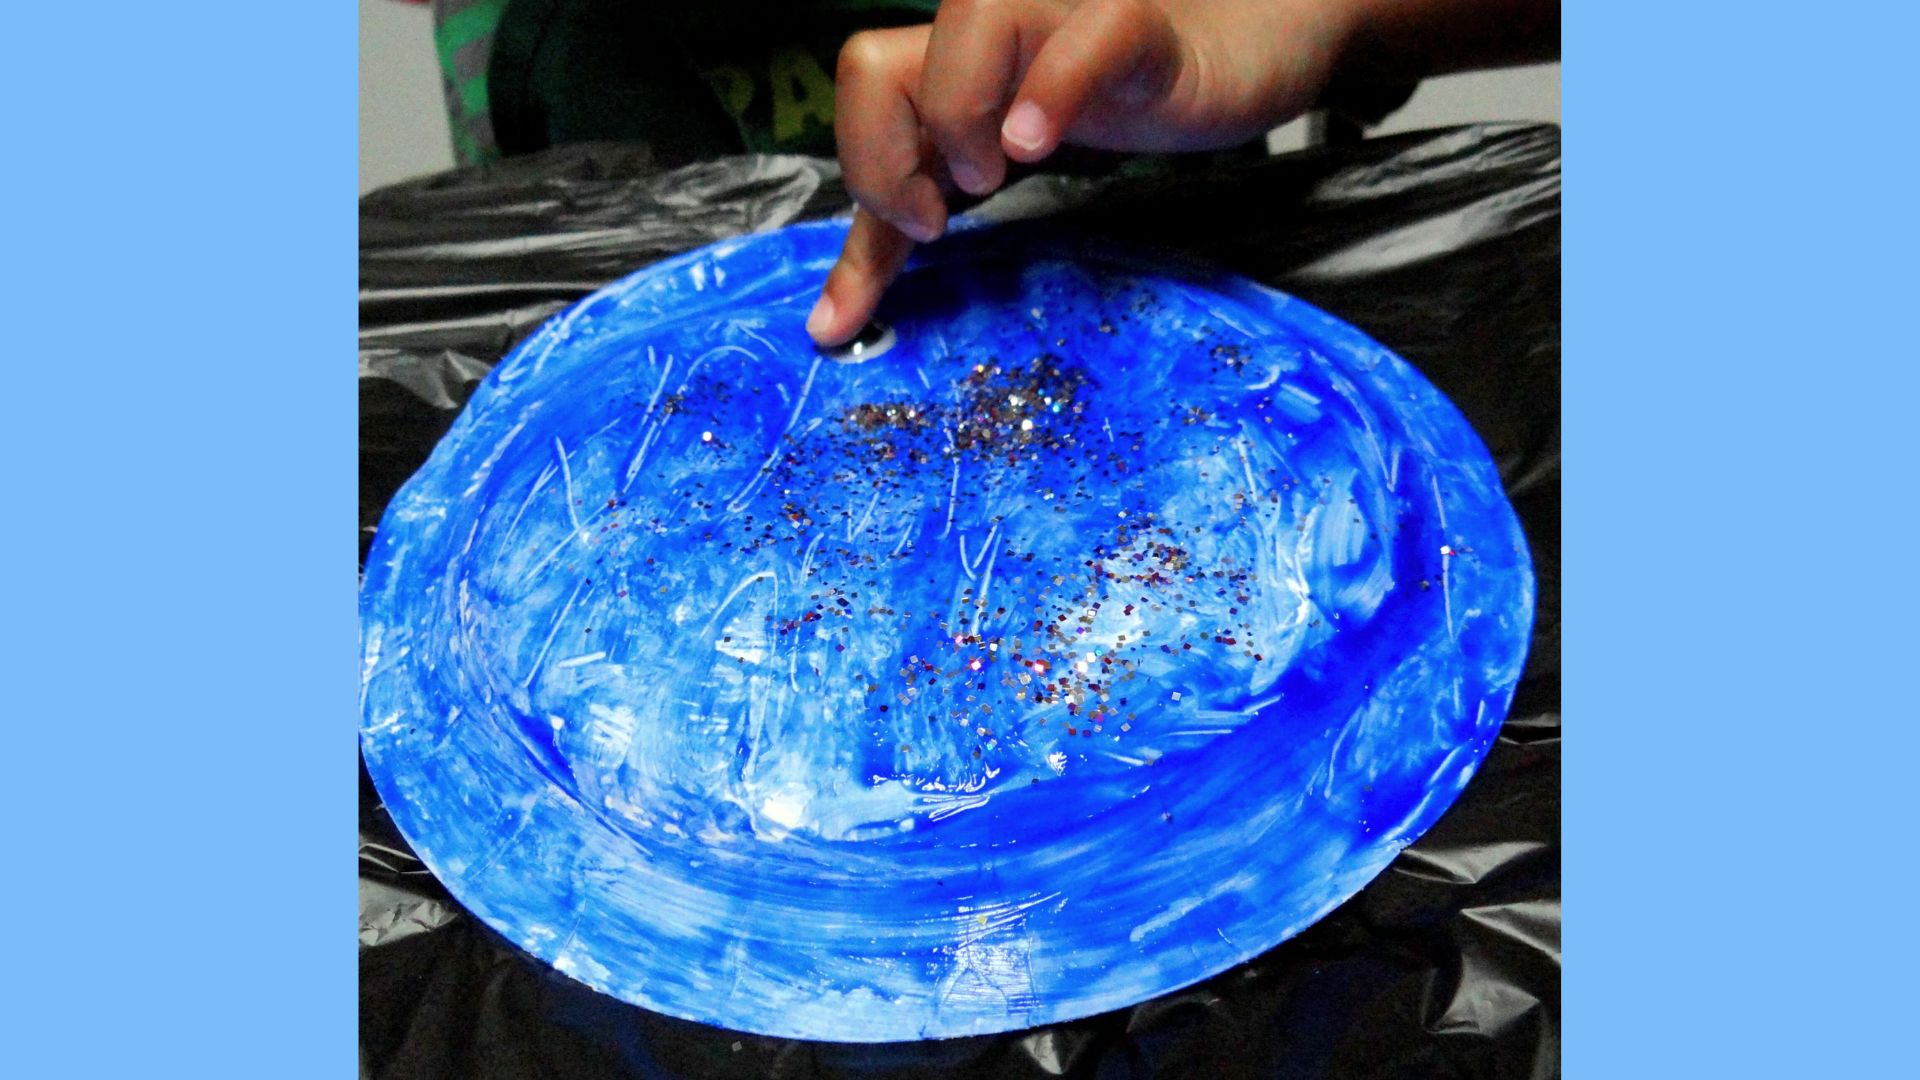
Add Texture and Features While the paint is still wet, sprinkle on glitter if you’d like. Then let the child press on wiggly eyes. Kids love this part.
Step 3: Snip
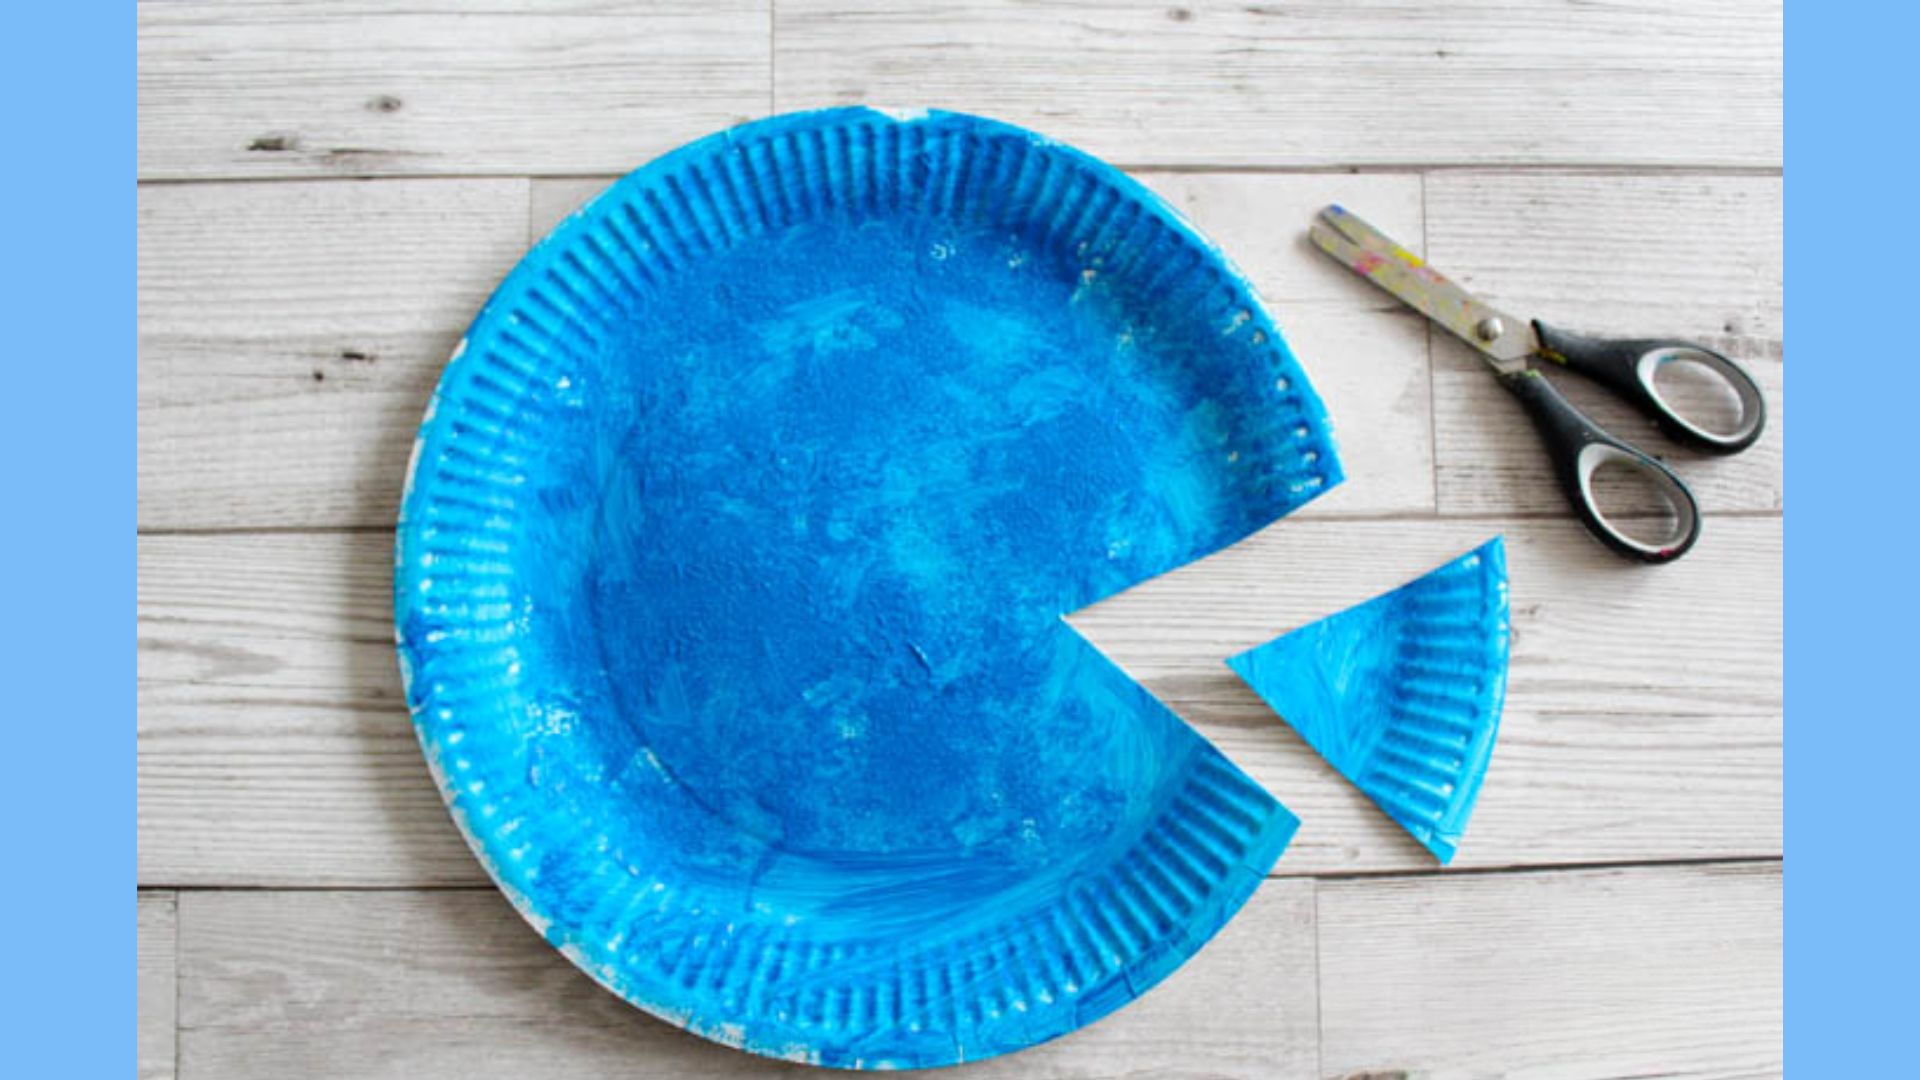
Create Tails Once the plates dry, cut small triangles from leftover paper or cardstock. Tape them to the back of each plate to make a fish tail.
Step 4: Perform

Make Puppets Tape a craft stick to the back of each fish. Now kids can hold them up and act out the story during read-aloud time.
Muffin Paper Red Fish Blue Fish Craft :Step-by-Step
This version is bright, colorful, and easy to put together with kids.
Step 1 : Watercolor
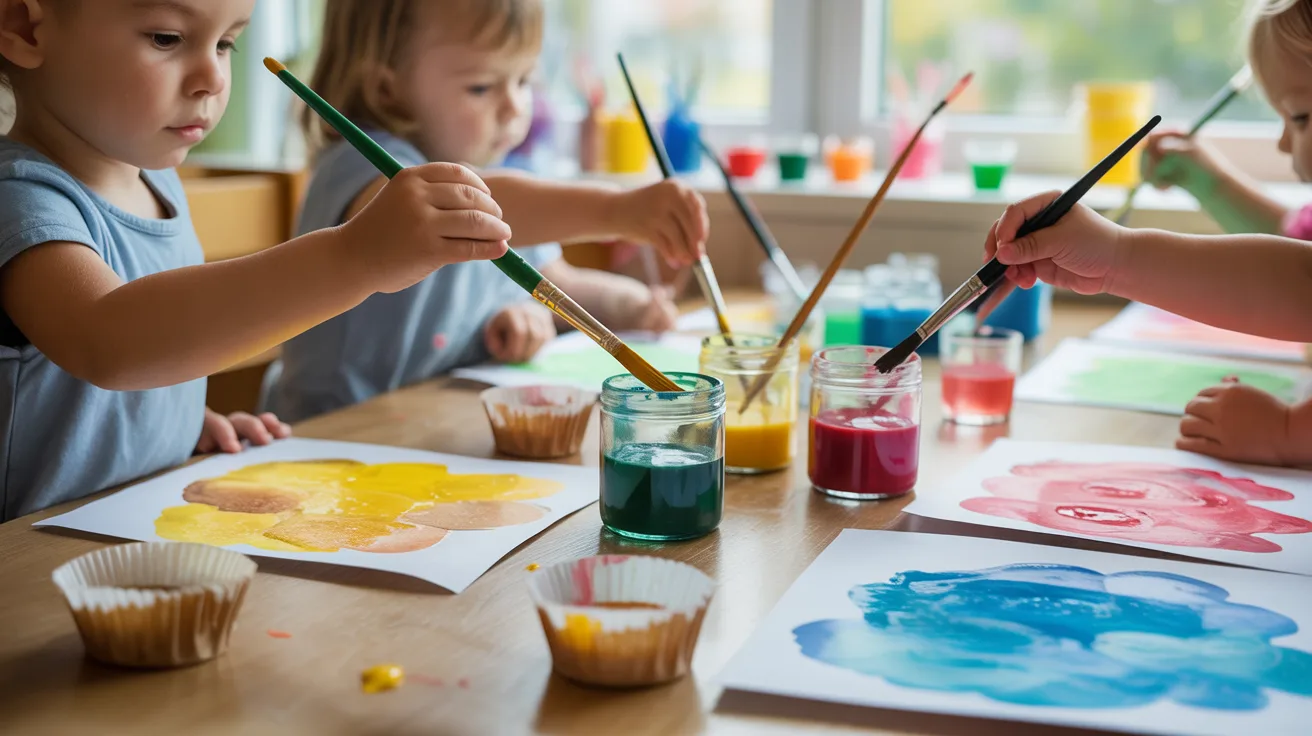
Watercolor the Muffin Papers Paint the muffin papers in different colors, 1 yellow, 2 green, 1 red, and 1 blue. Let them dry fully before moving on.
Step 2: Cut
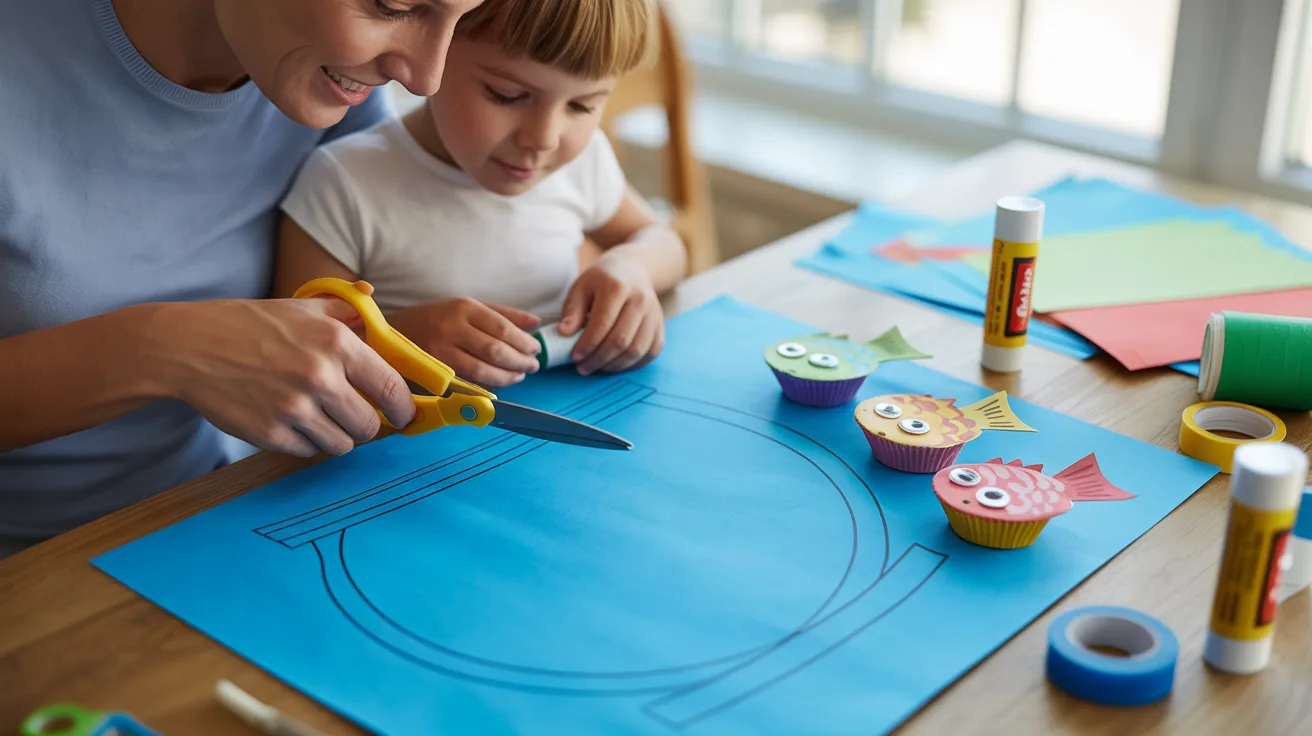
Prepare the Fishbowl Background Cut a large fishbowl shape from cardstock. This becomes the base where all the fish will go.
Step 3: Assemble
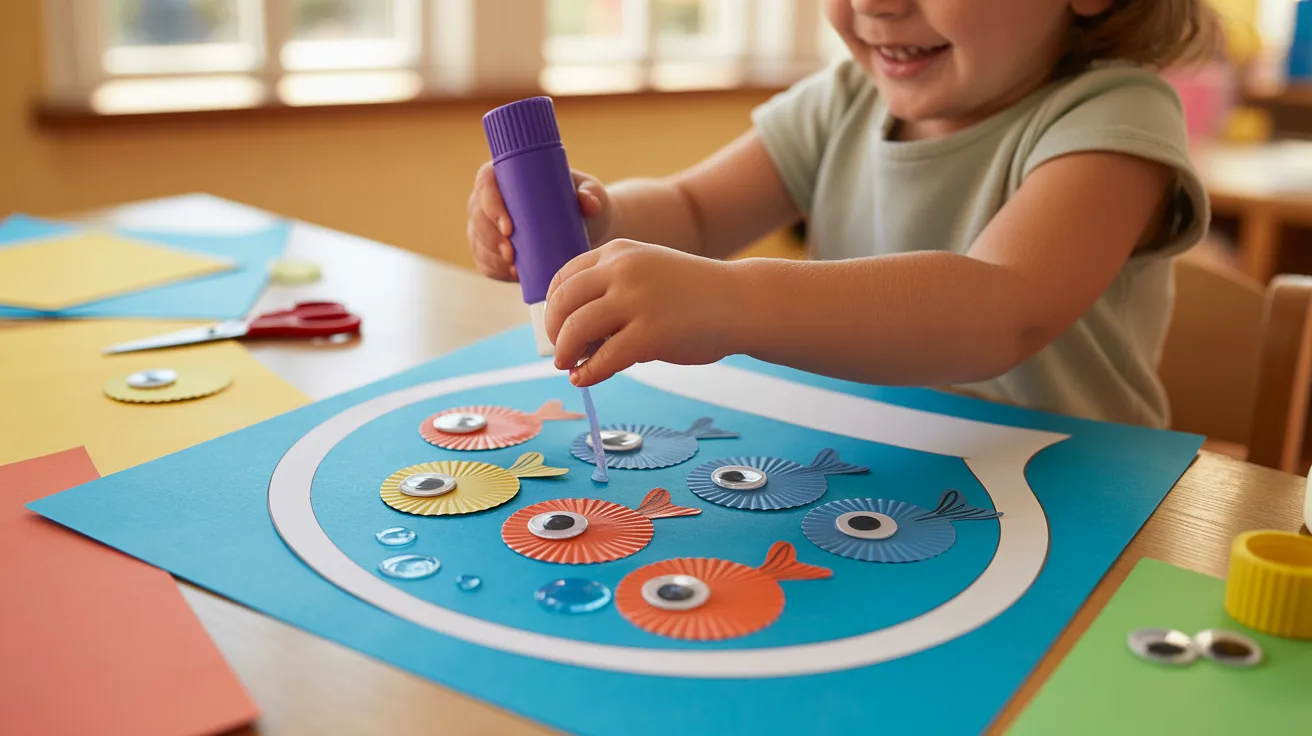
Assemble the Fish Glue each muffin paper fish onto the fishbowl cutout. Lay them out in order and press them down firmly.
Step 4: Detail
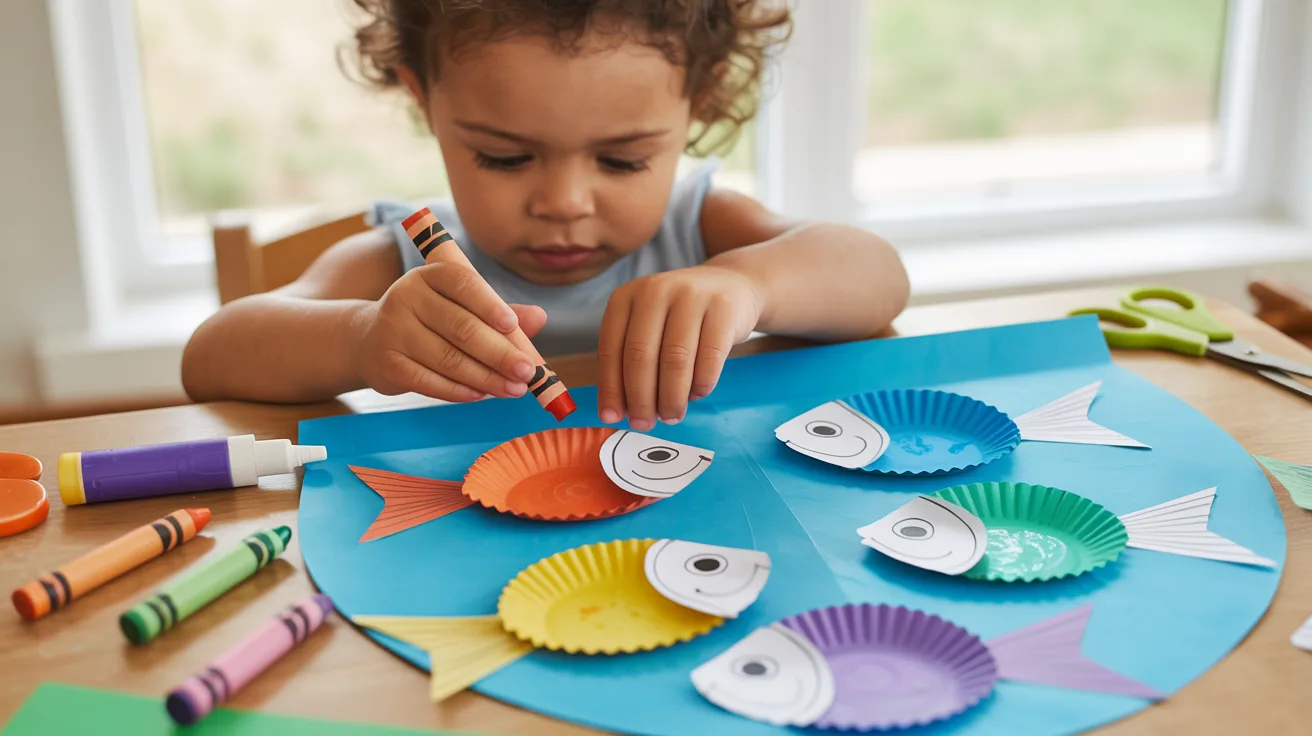
Add Details Draw or cut out tails, fins, and eyes. Add a little smile to each fish. Simple details make a big difference.
Red Fish Blue Fish Printable Activities
Printables make learning feel like play. Here are three that work well alongside the crafts.
Do-a-Dot Printables
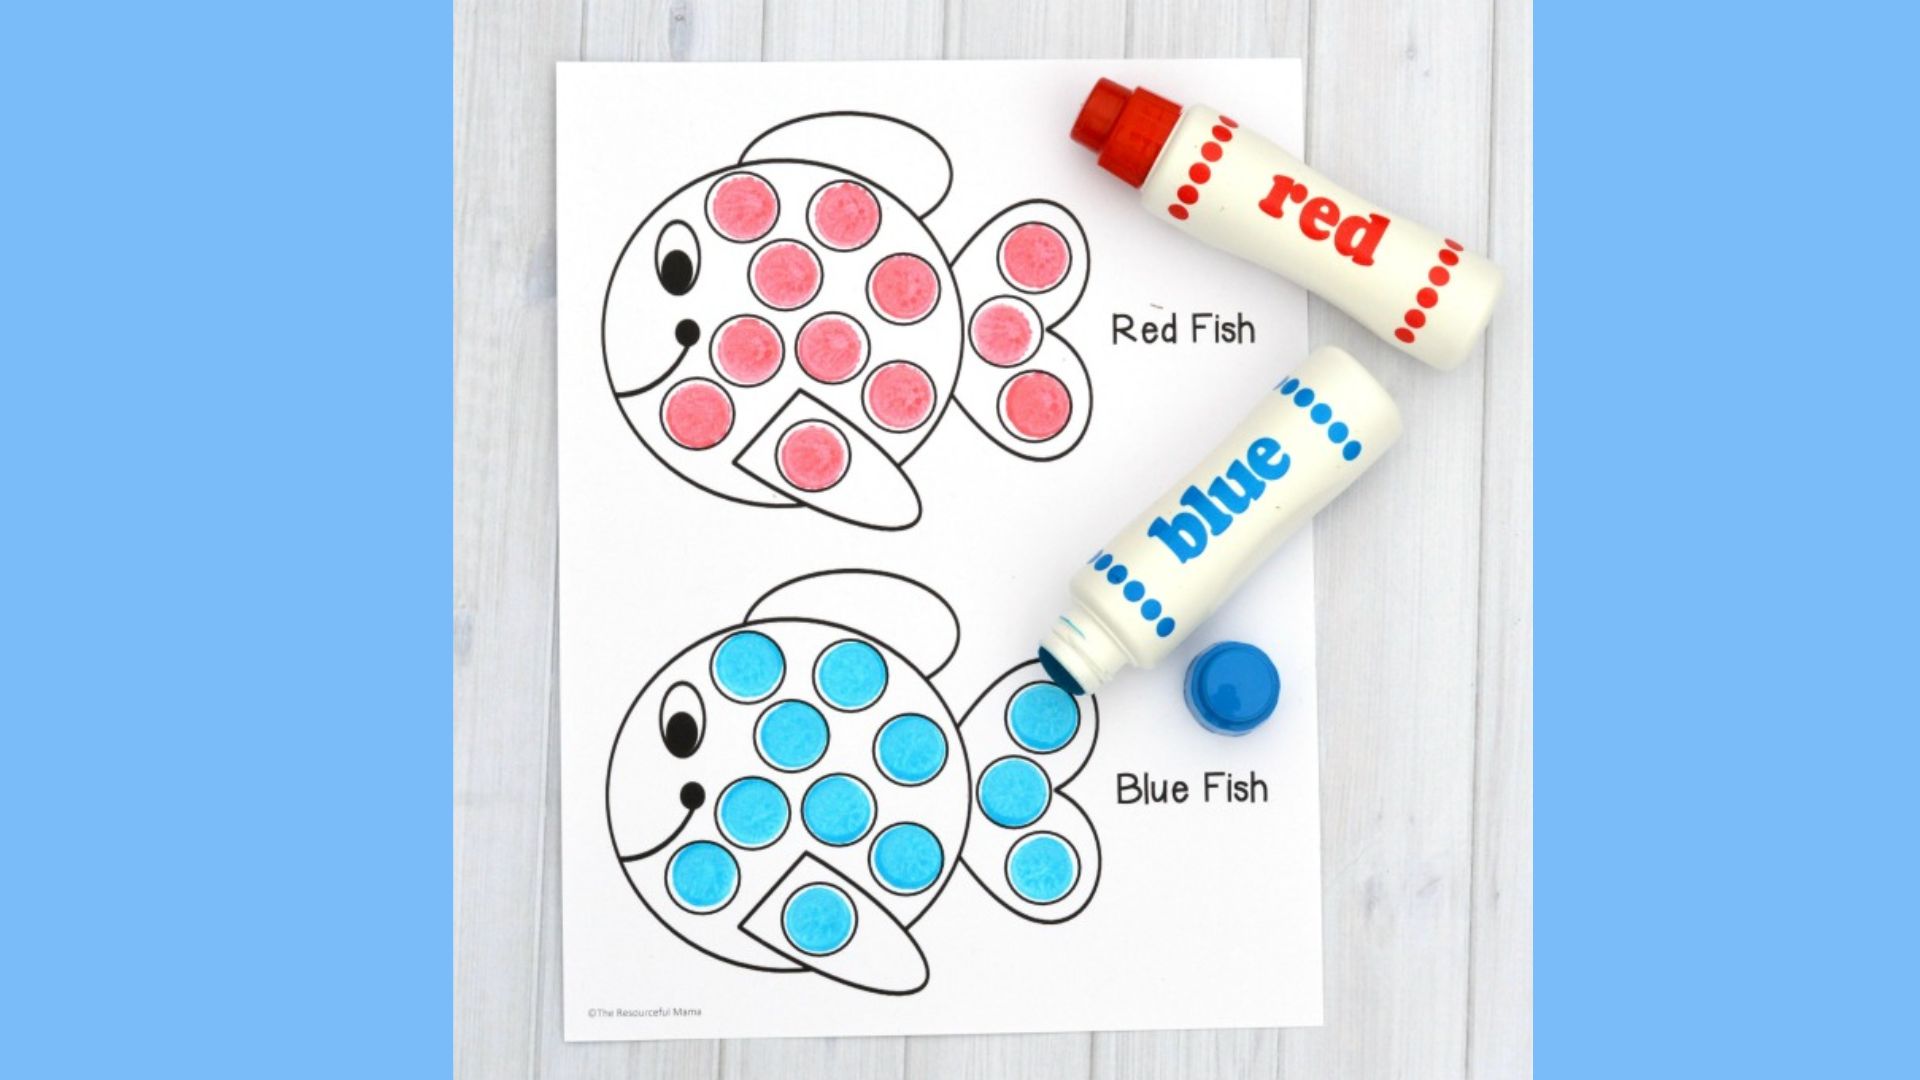
Kids use dot markers to fill in fish outlines. It builds fine motor skills and keeps them focused. Great for ages 2 and up.
Print a few extra sheets because kids always want to do it more than once. It keeps them busy and builds hand strength at the same time.
Color Sorting Mats
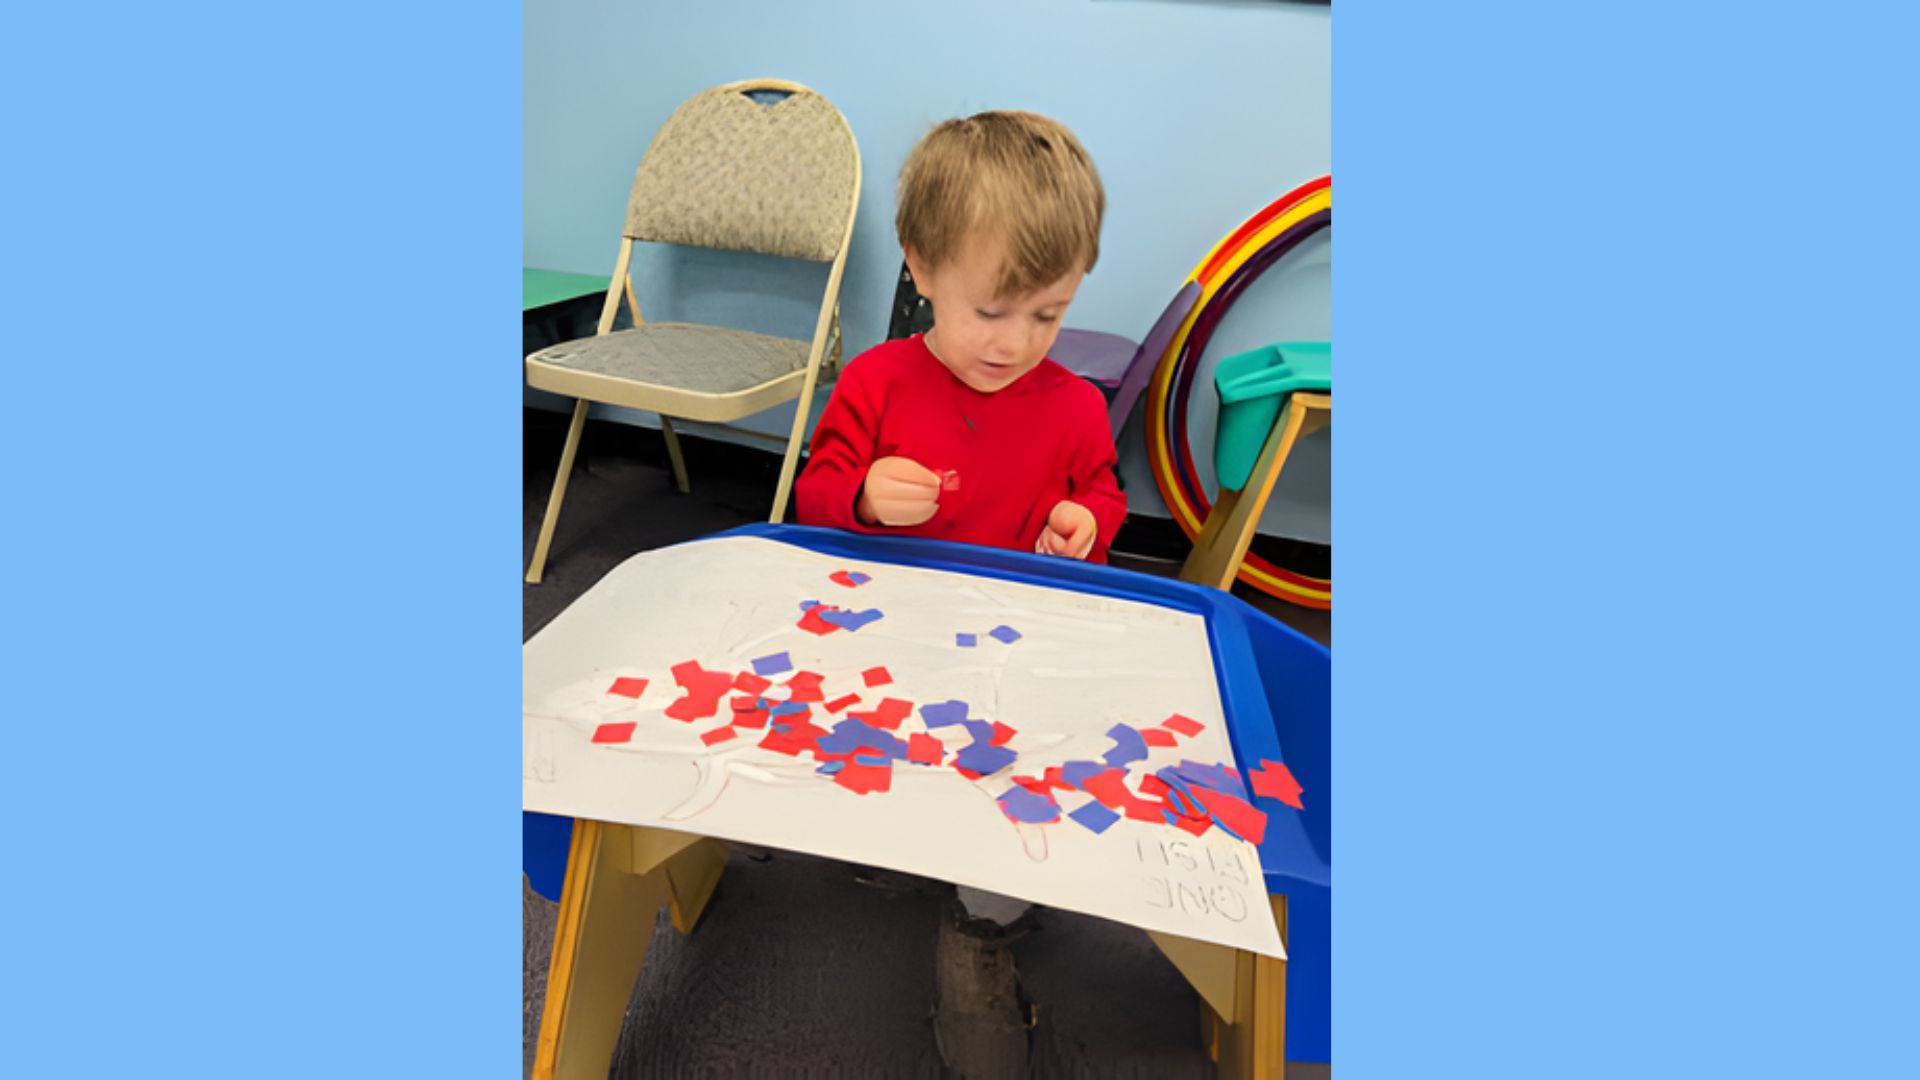
These mats help kids sort red and blue fish into the right spots. Simple and clear, a solid early math and literacy skill builder.
I like to laminate these so they can be used again and again without reprinting. A dry erase marker makes them even more reusable.
Counting Mats
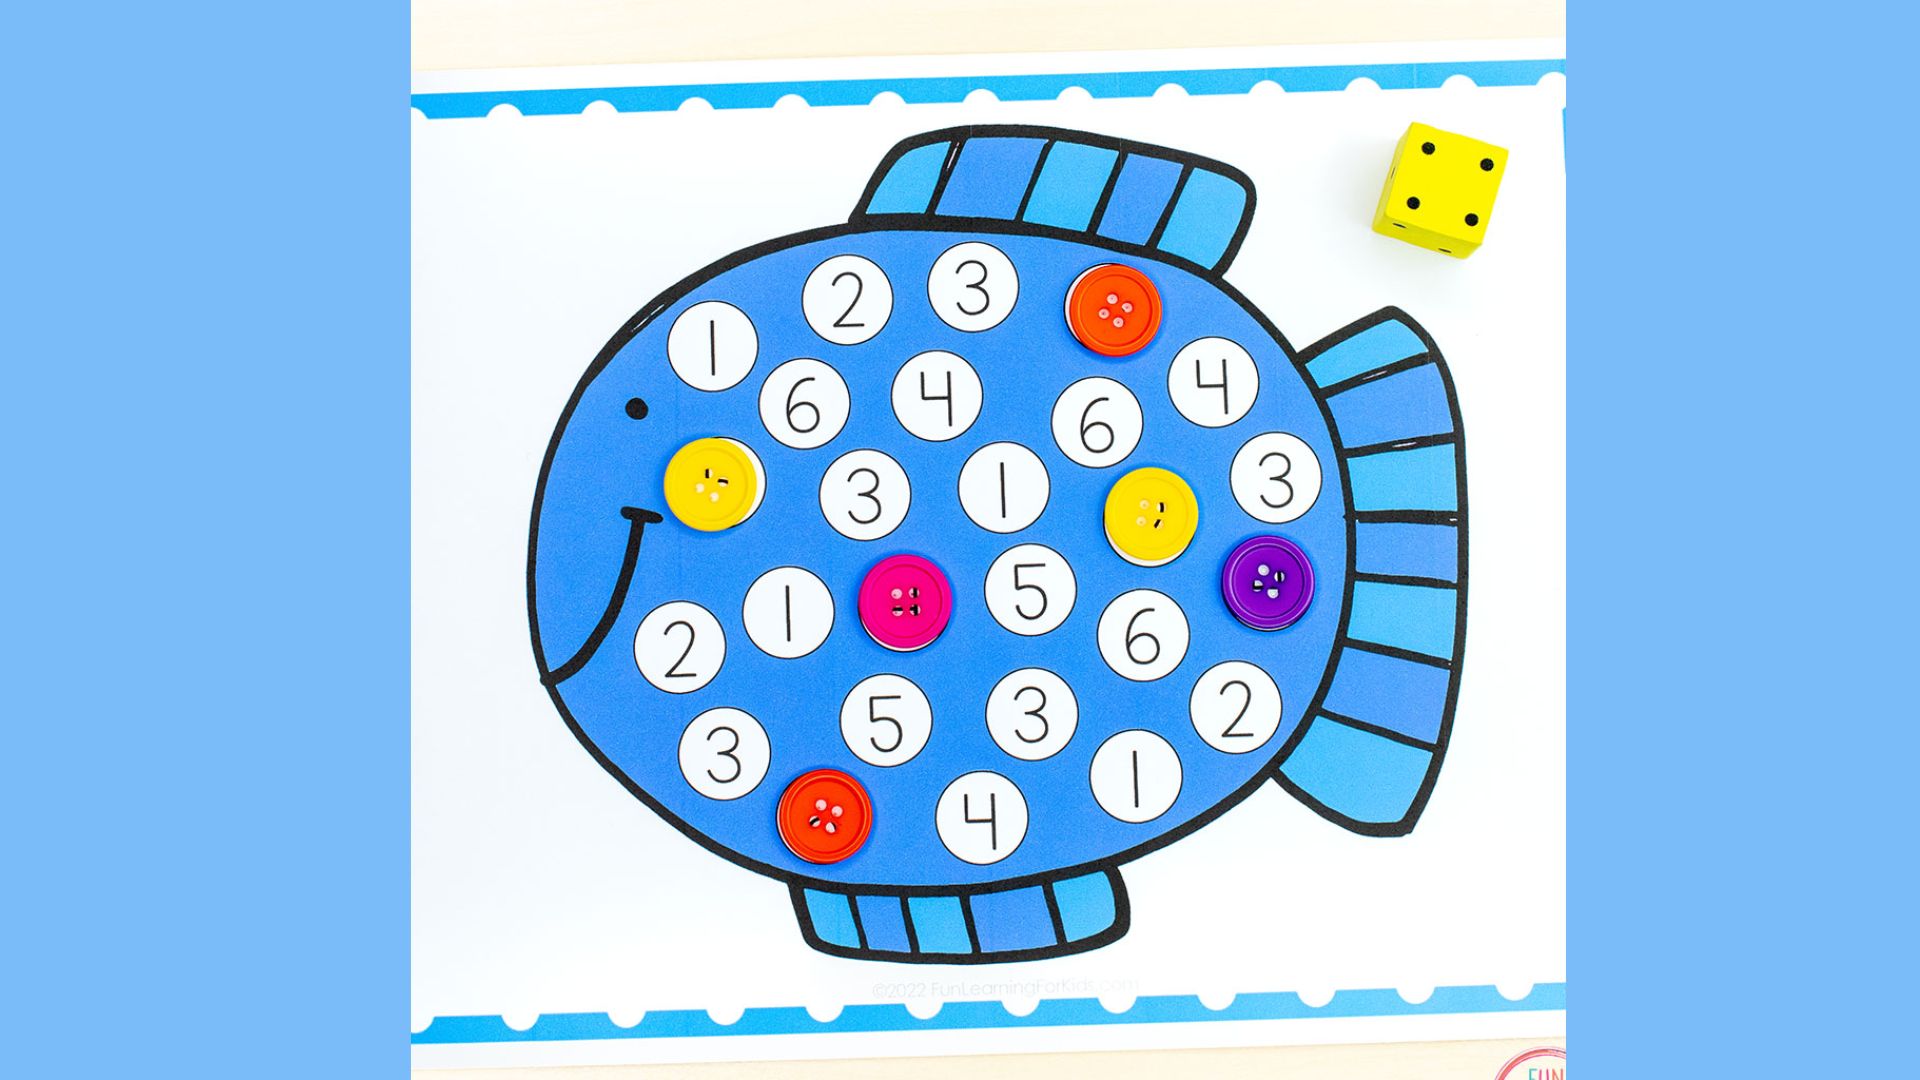
Place fish cutouts or pom poms on the numbered mats. Kids count, match, and practice number recognition in a hands-on way.
You can also use small candies or stickers instead of pom poms to make it more exciting. Kids stay engaged much longer when there’s a little surprise involved.
Mistakes to Avoid With Red Fish Blue Fish Crafts
Small slip-ups can slow things down, so keep these in mind before you start.
- Let each step dry fully or pieces will slide and stick together.
- Use a thin glue layer only, too much causes wrinkling.
- Pre-cut tails and fins since scissors are tricky for little hands.
- Lay all materials out before kids sit down to avoid distractions.
- Write names on the back right away so nothing gets mixed up.
A little prep goes a long way and keeps the whole activity running smoothly.
Conclusion
I hope this gives you everything you need for a fun, low-stress craft session.
Red fish blue fish craft ideas work great because kids already love the story, the crafts just give that love a place to go.
Try one this week and see how it goes. I’d love to hear which activity your child enjoyed most.
Drop a comment below or share this post with another parent or teacher who might find it helpful.
Frequently Asked Questions
What age group is the red fish blue fish craft best for?
These crafts work best for kids ages 2 to 6, with a little adult help for younger ones.
Can I do these crafts without paint?
Yes, crayons or markers work just as well and make cleanup much easier.
How long does the paper plate fish craft take?
Most kids finish in about 20 to 30 minutes, not counting drying time.
Are the printable activities free to use?
Yes, many free versions are available online, including do-a-dot sheets, sorting mats, and counting pages.
What if I don’t have wiggly eyes?
No problem, kids can simply draw eyes on with a black marker.
