

I once spent four hours on a portrait that looked completely wrong. The problem was not the nose or the jawline. It was the eyes.
That one experience pushed me to study realistic eye drawing seriously, and it changed everything about how I draw faces.
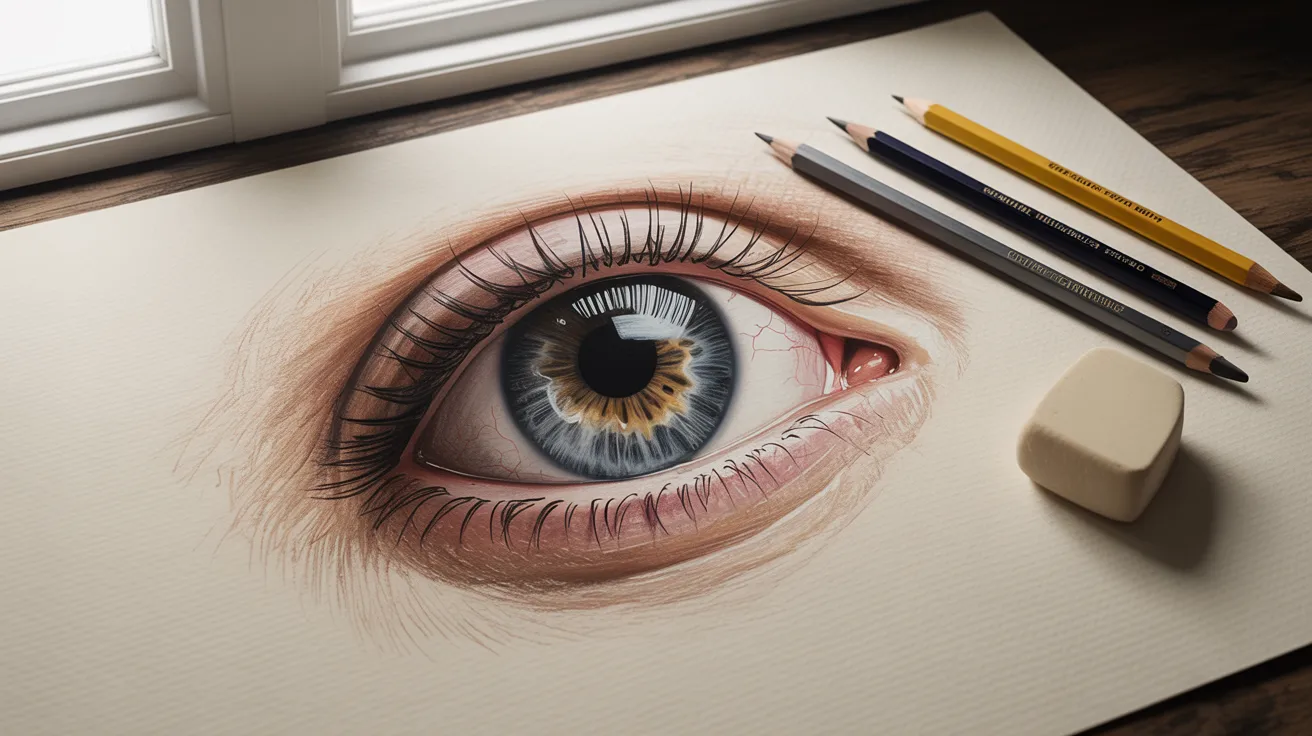
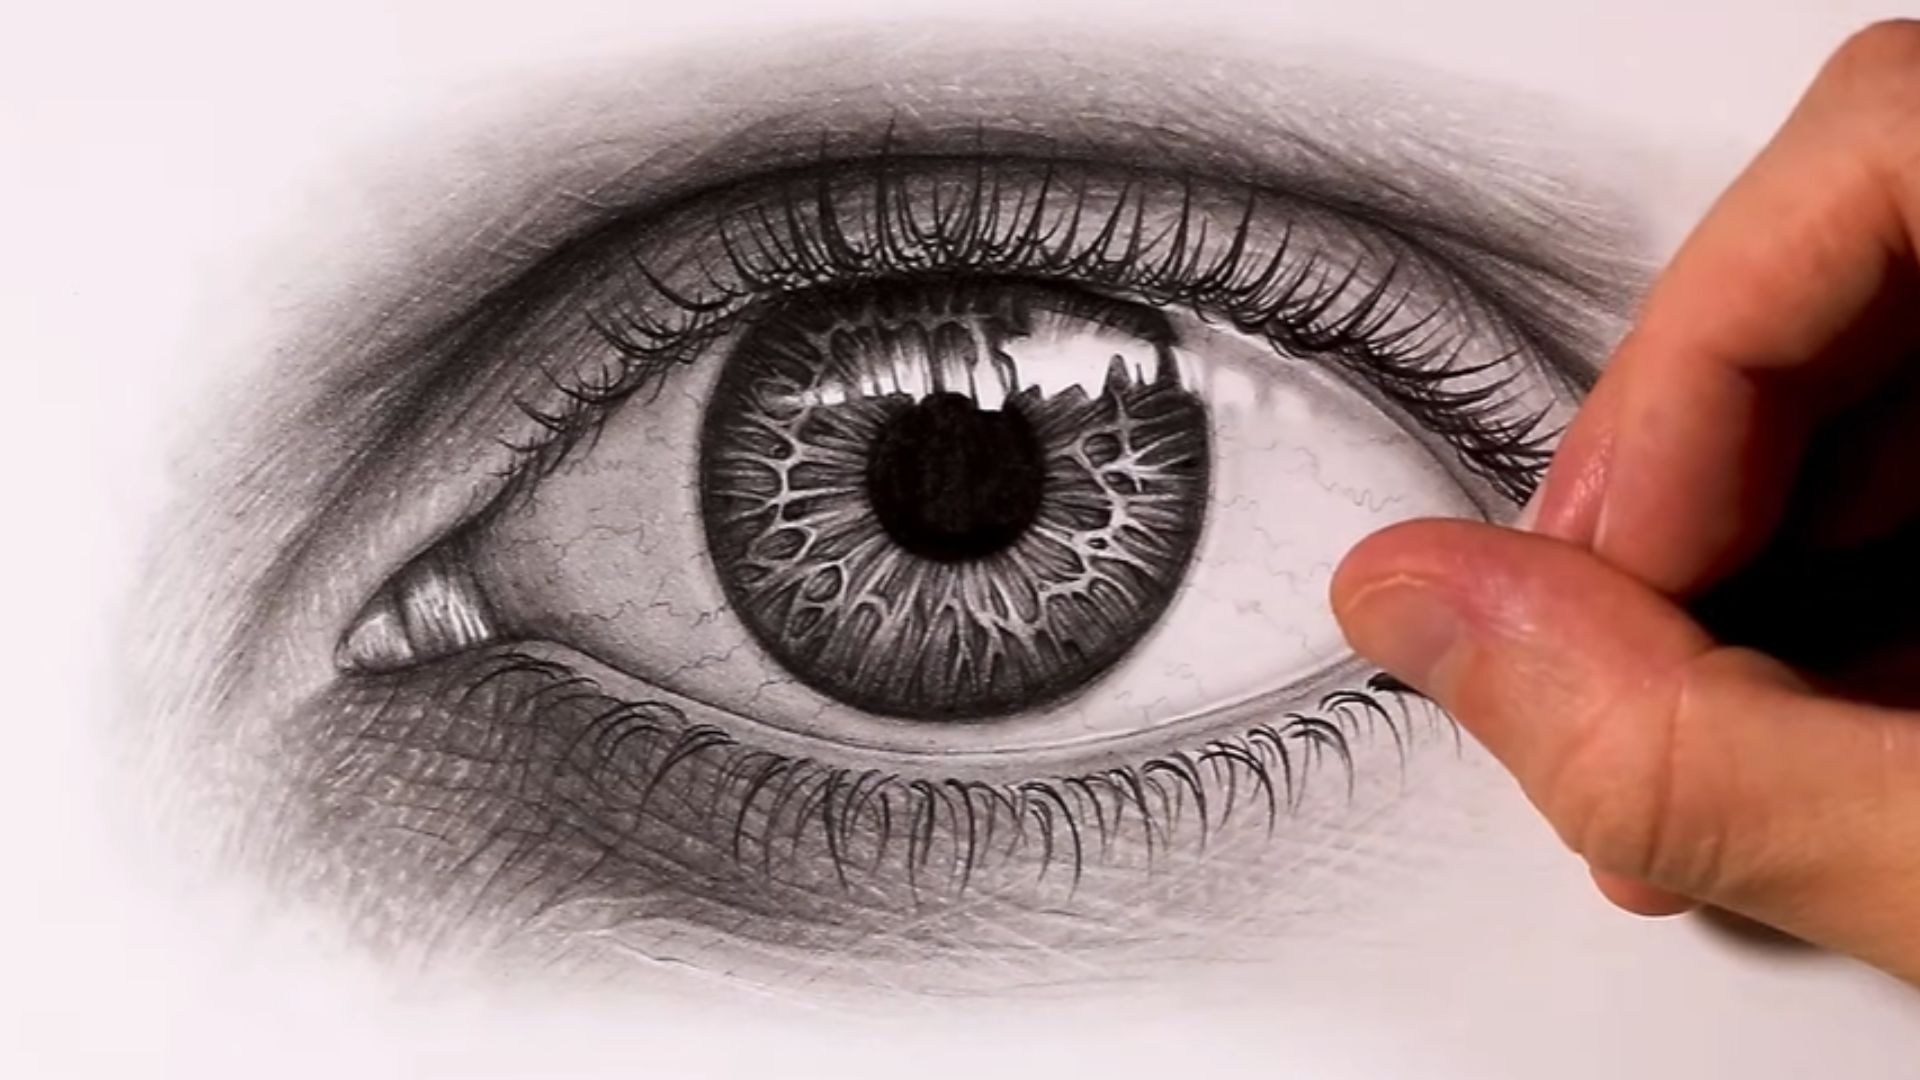
This is a full realistic eye drawing tutorial covering every stage, from basic shapes to a hyper realistic eye drawing finish.
I will show you a clear realistic eye drawing step by step method that works whether you are a complete beginner or already have some drawing experience.
What will your eyes look like after this? Let’s find out
Why Learning Realistic Eye Drawing Is Important for Portrait Artists
The eye is the first place a viewer looks in any portrait. Get it right and the whole drawing comes alive. Get it wrong and nothing else matters.
Realistic eyes carry emotion. Depth. A sense that there is a real person behind the pencil strokes. That quality does not happen by accident.
Most beginners make the same mistakes: eyes that are too symmetrical, irises that look like they are floating, or shading so flat the eye has no dimension at all.
There is a big difference between an easy realistic eye drawing and a fully detailed, hyper realistic eye drawing. This guide covers both ends of that range and shows you how to move from one to the other with structured, manageable steps.
Realistic Eye Drawing Step by Step (17 Detailed Steps)
These 17 steps take you from a blank page to a finished, lifelike eye. Work slowly, stay light with your pencil early on, and build everything in layers. That is how realism happens.
Step 1: Draw a Light Guideline for Proportions
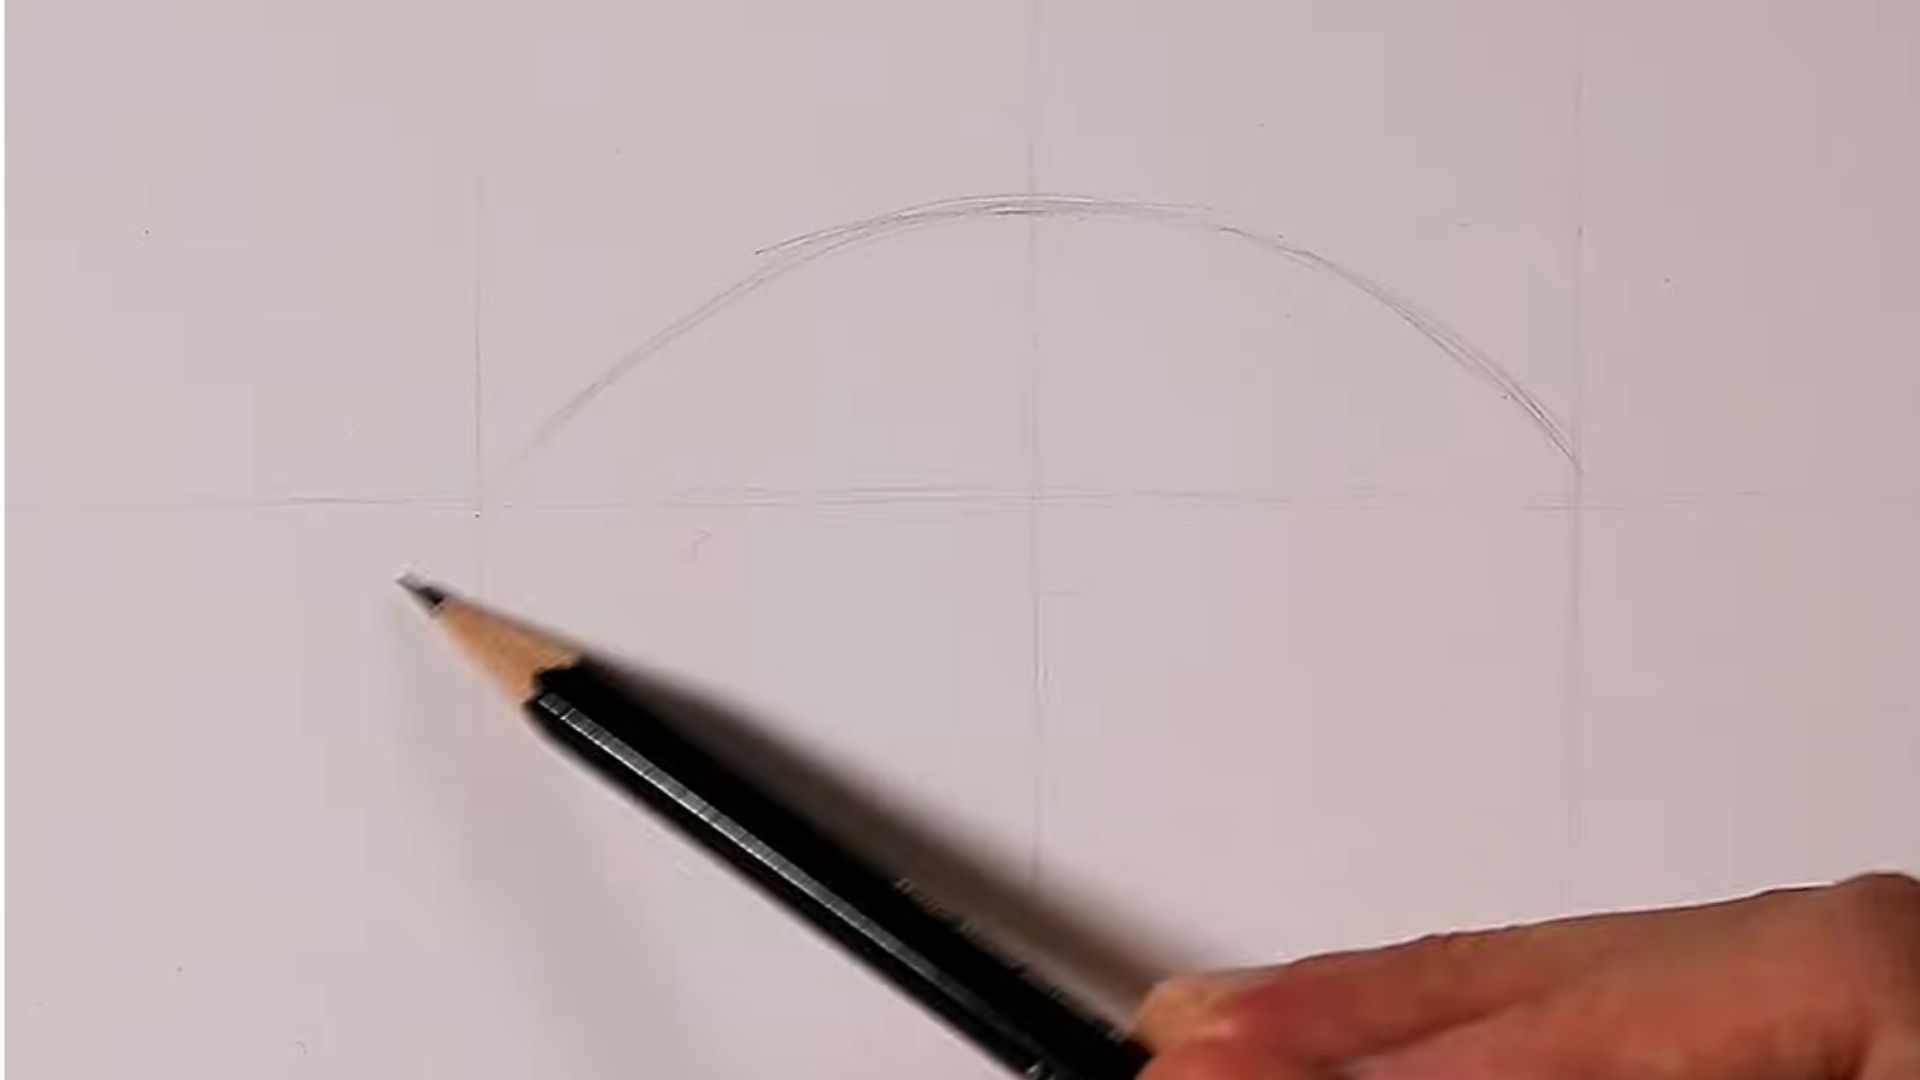
Start with a faint horizontal line. This is your anchor. Everything you draw will align to it.
Add a vertical line at the center to help balance the eye left to right. These two lines keep the shape from drifting.
Keep the pressure very light. These are guides, not part of the final drawing.
Step 2: Sketch the Basic Almond Shape
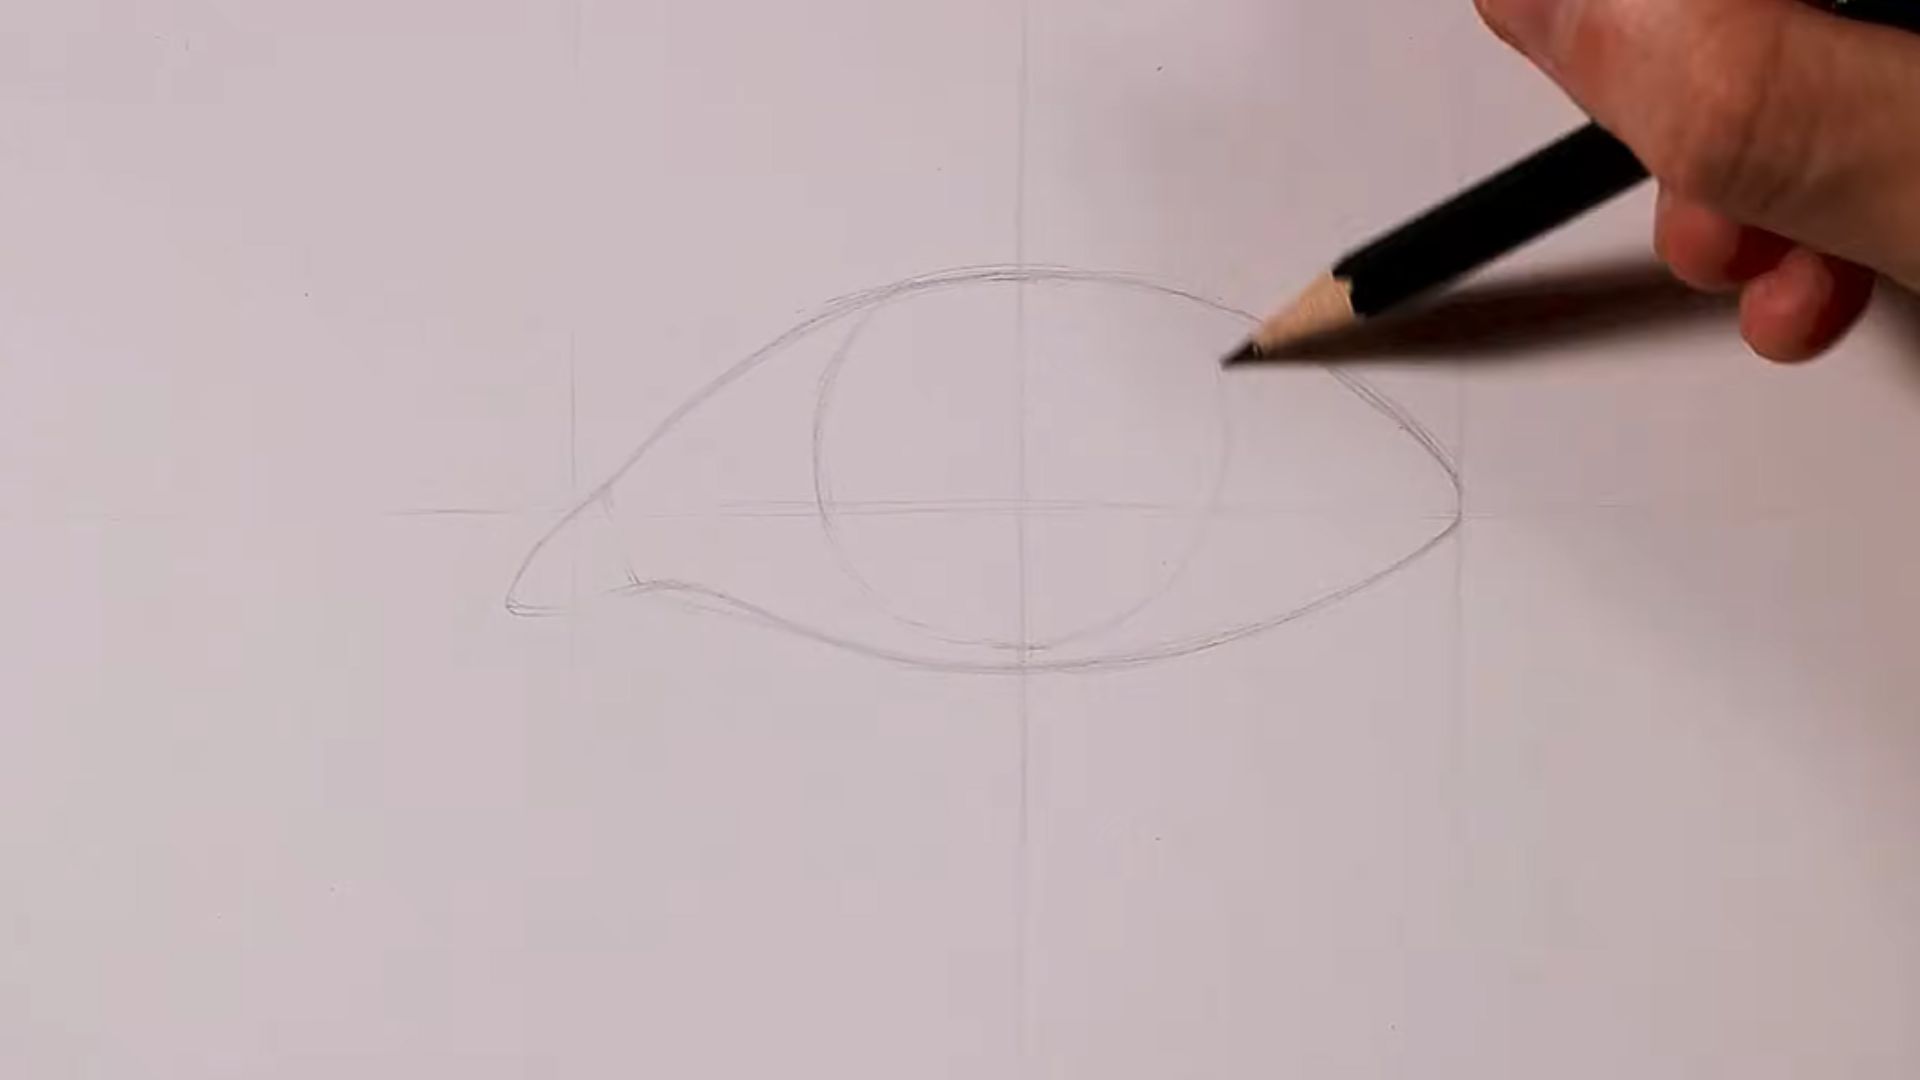
Draw the outer almond shape of the eye along your horizontal guideline. Do not try to make it perfectly symmetrical. Real eyes are not.
The inner corner sits lower than the outer corner in most faces. That slight angle is what gives the eye a natural look.
Keep your lines loose at this stage. You are mapping, not finishing.
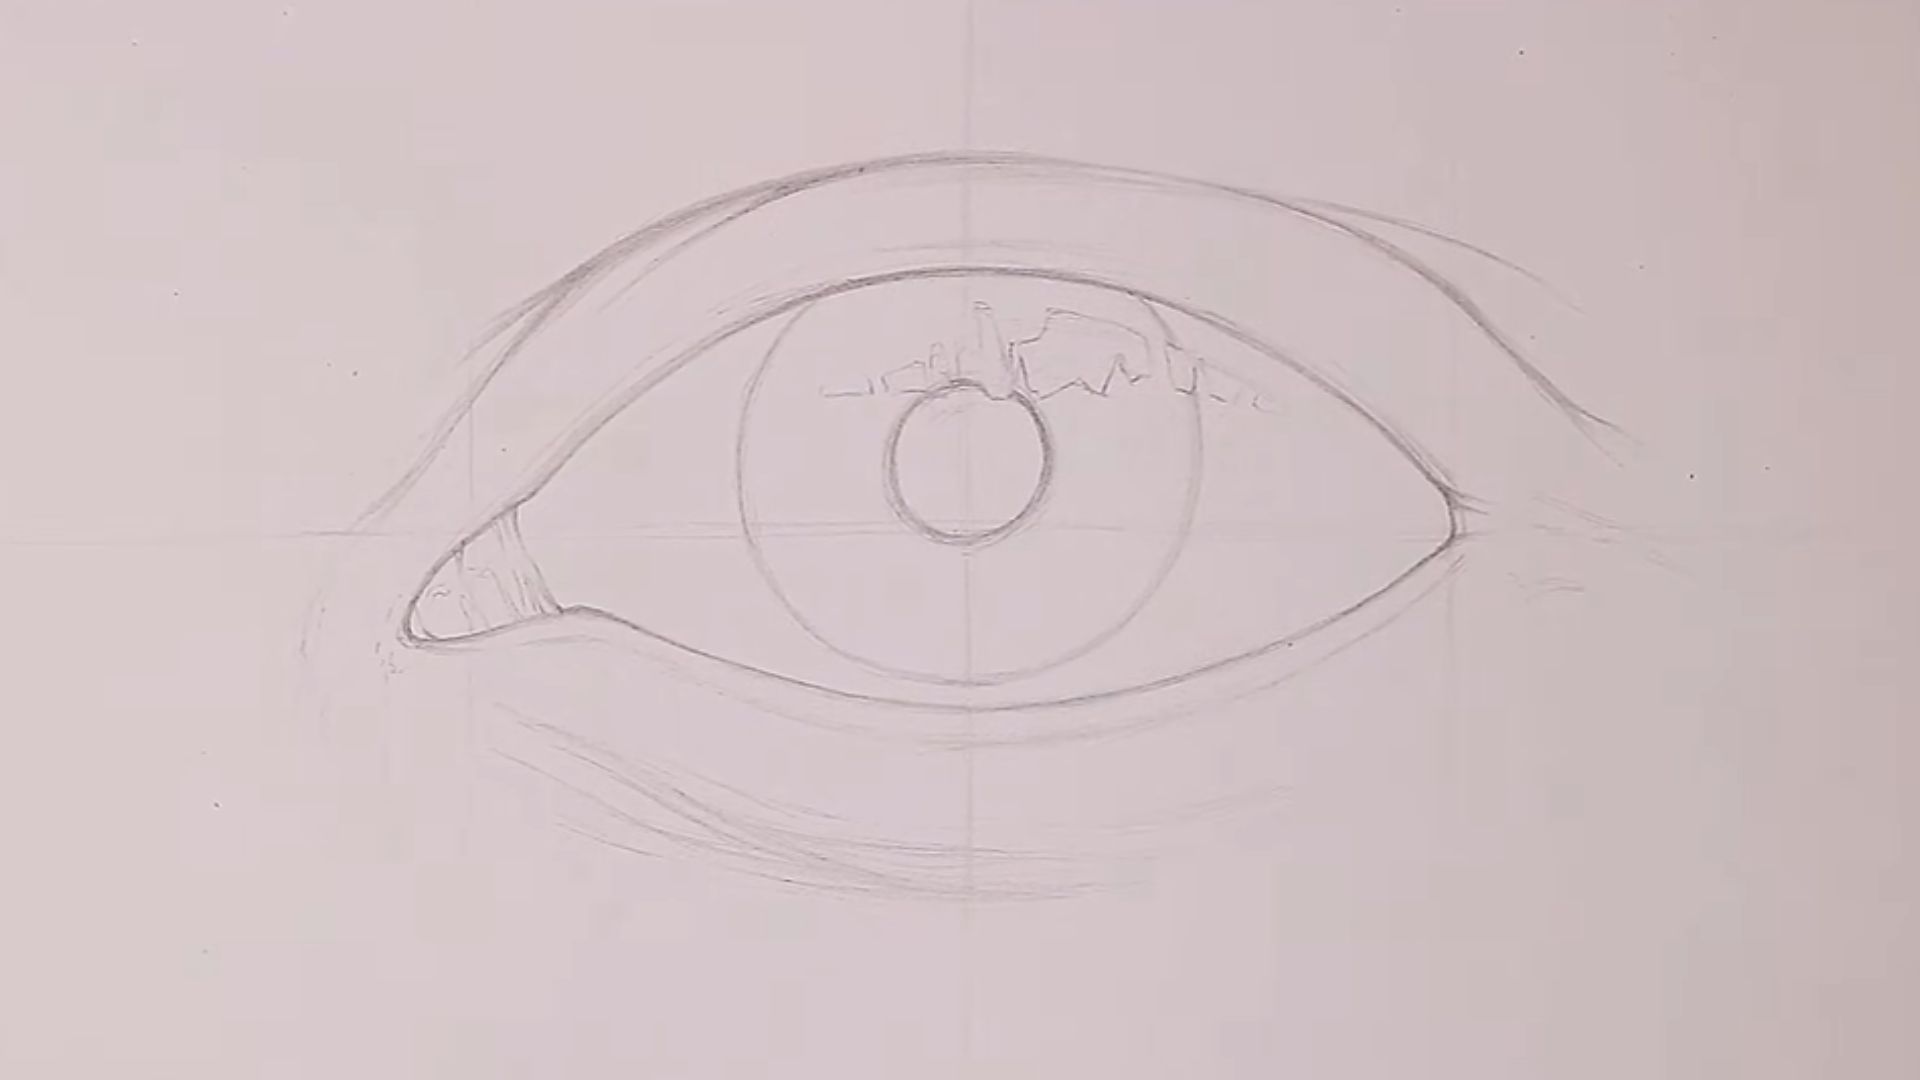
Step 3: Define the Tear Duct
\
The tear duct sits in the inner corner of the eye. It is a small, rounded triangular shape, not a sharp point.
Place it slightly below the center line. Getting this detail right adds immediate realism to the whole drawing.
Most beginners skip this entirely. Do not. It makes a noticeable difference.
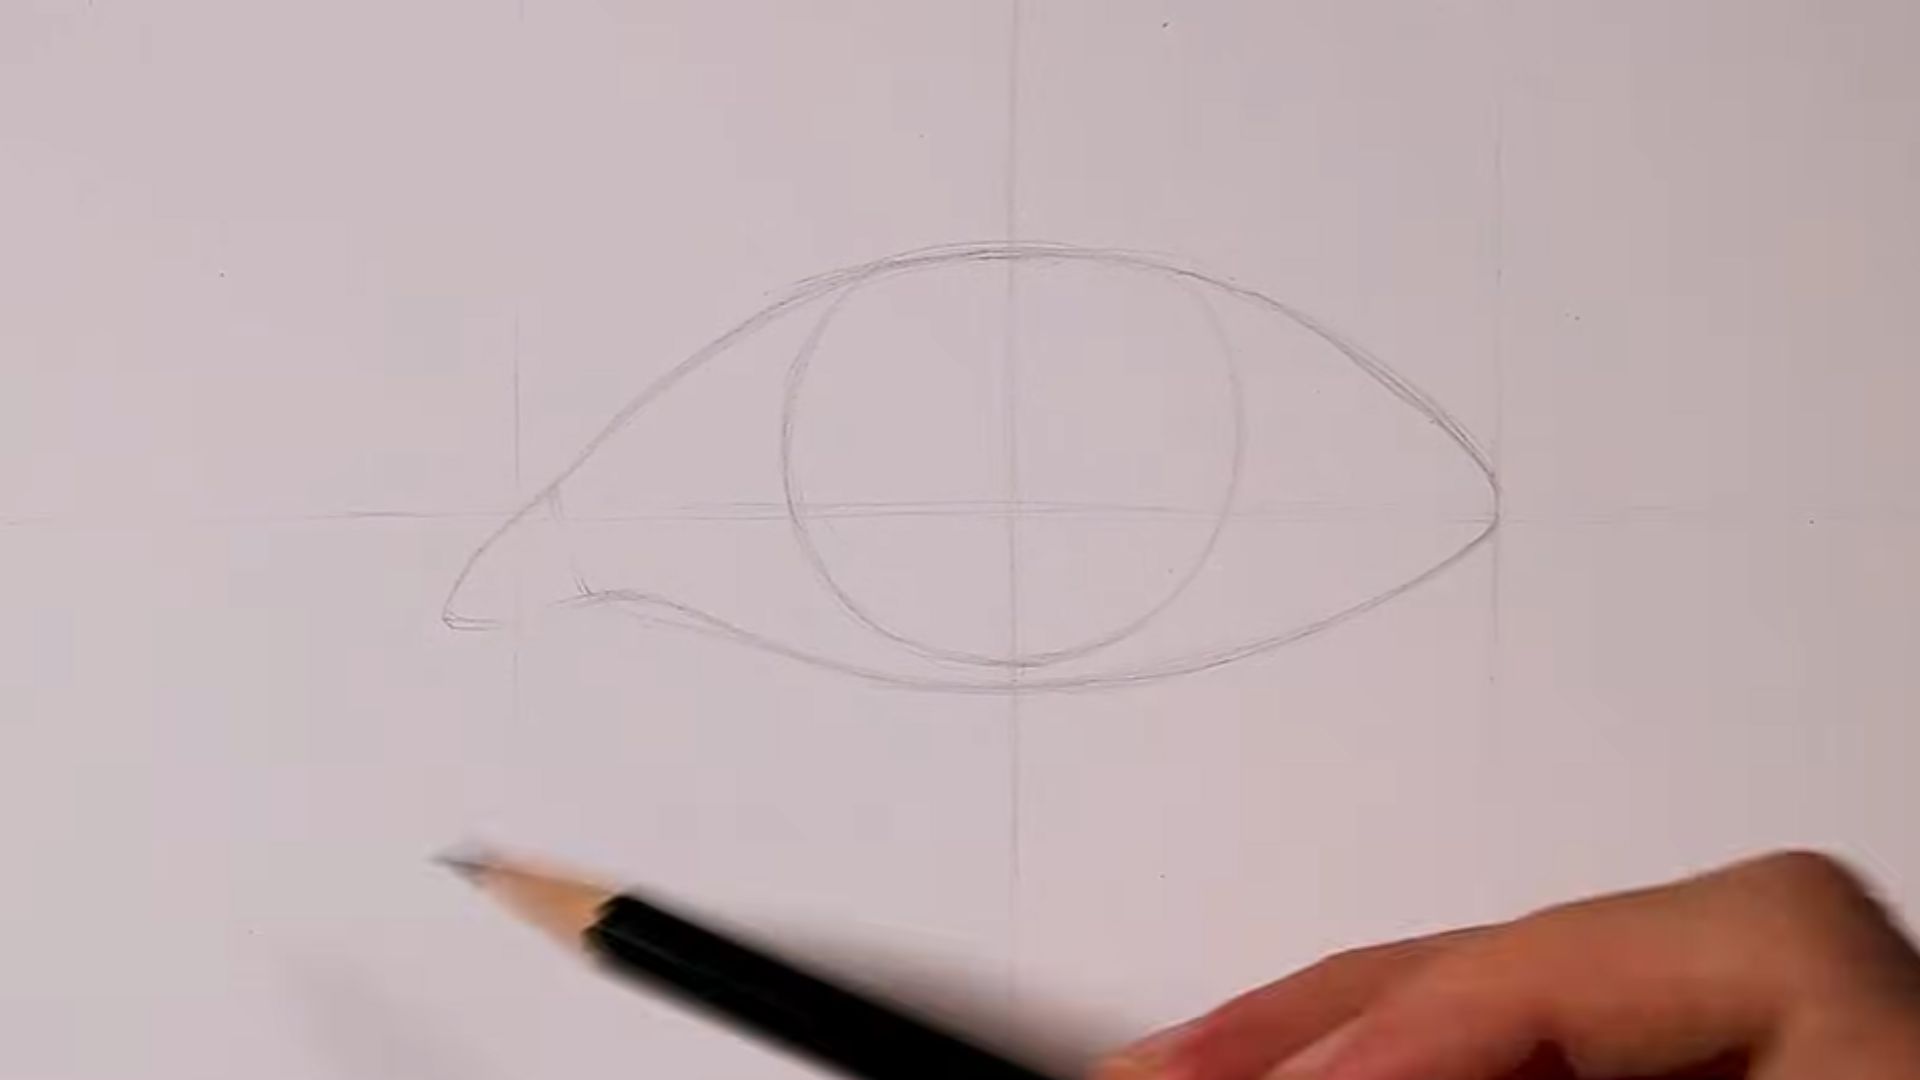
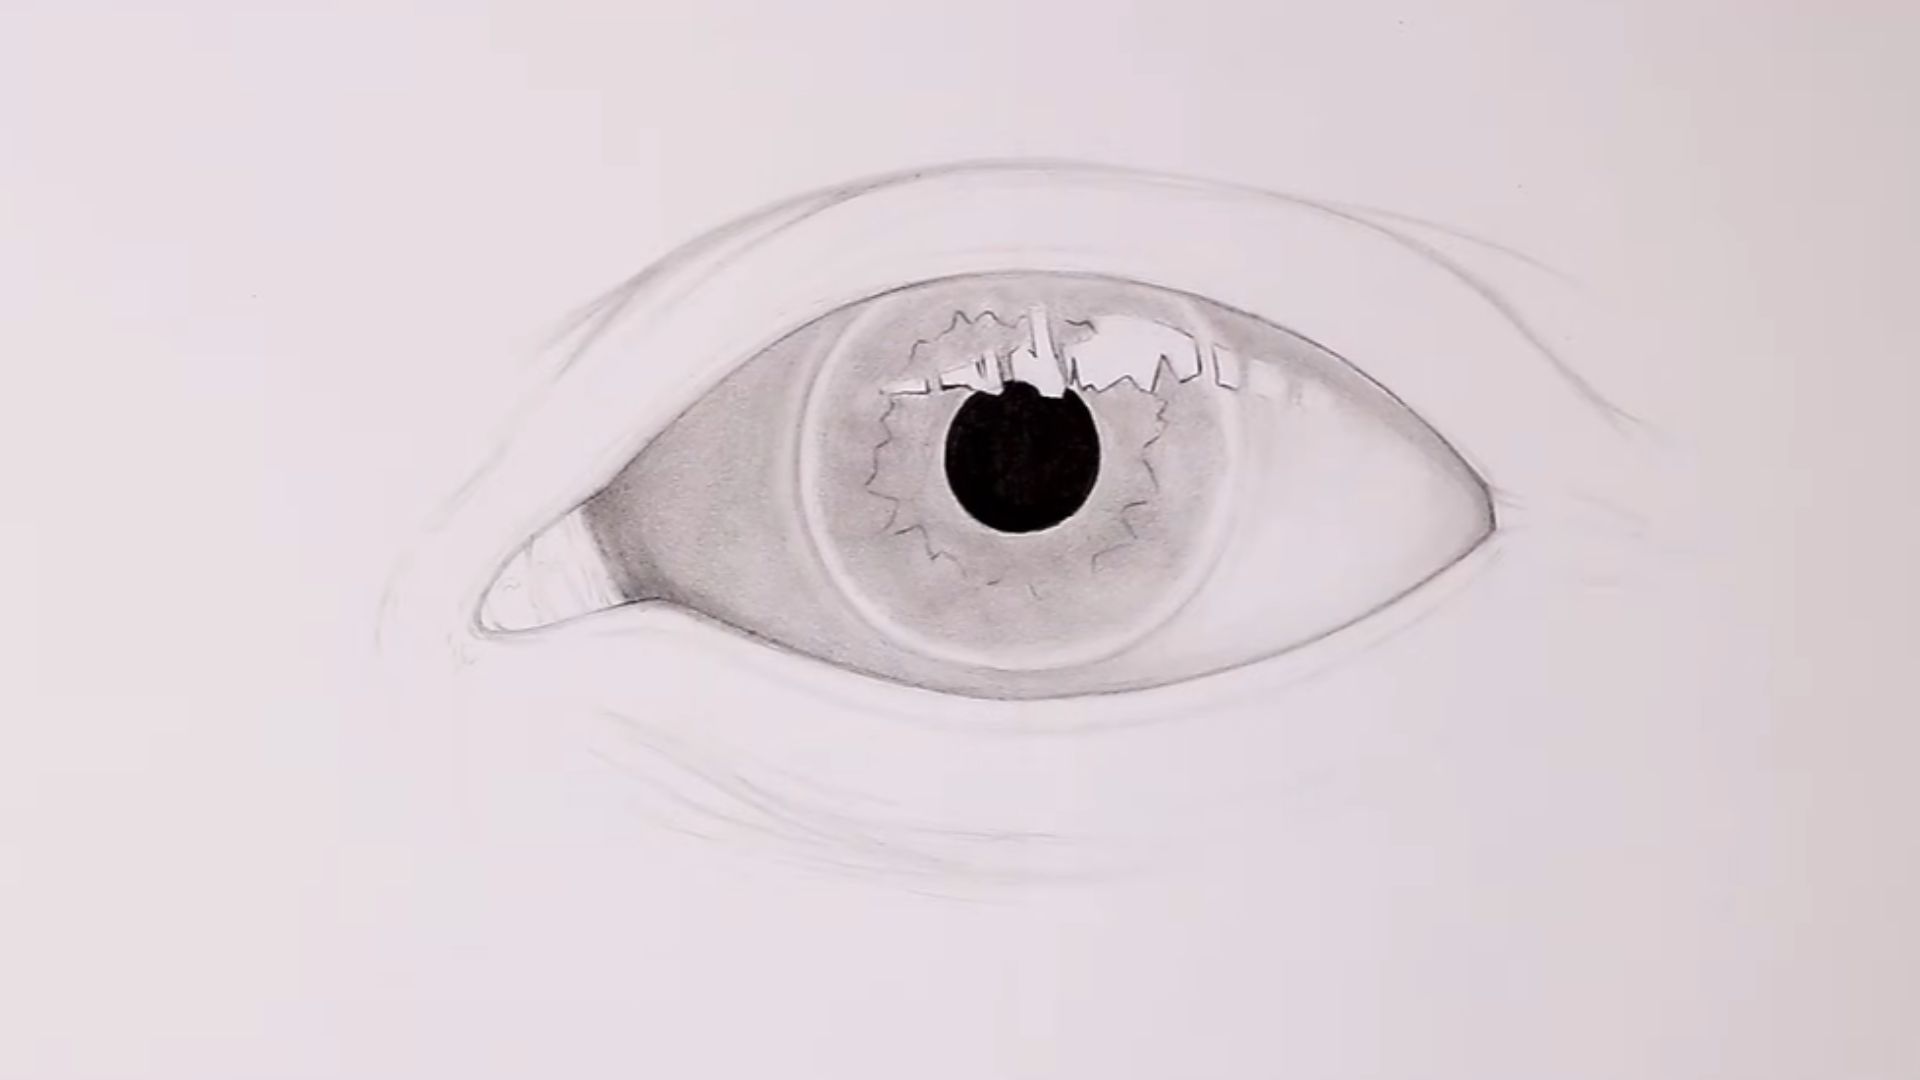
Step 4: Outline the Iris Correctly
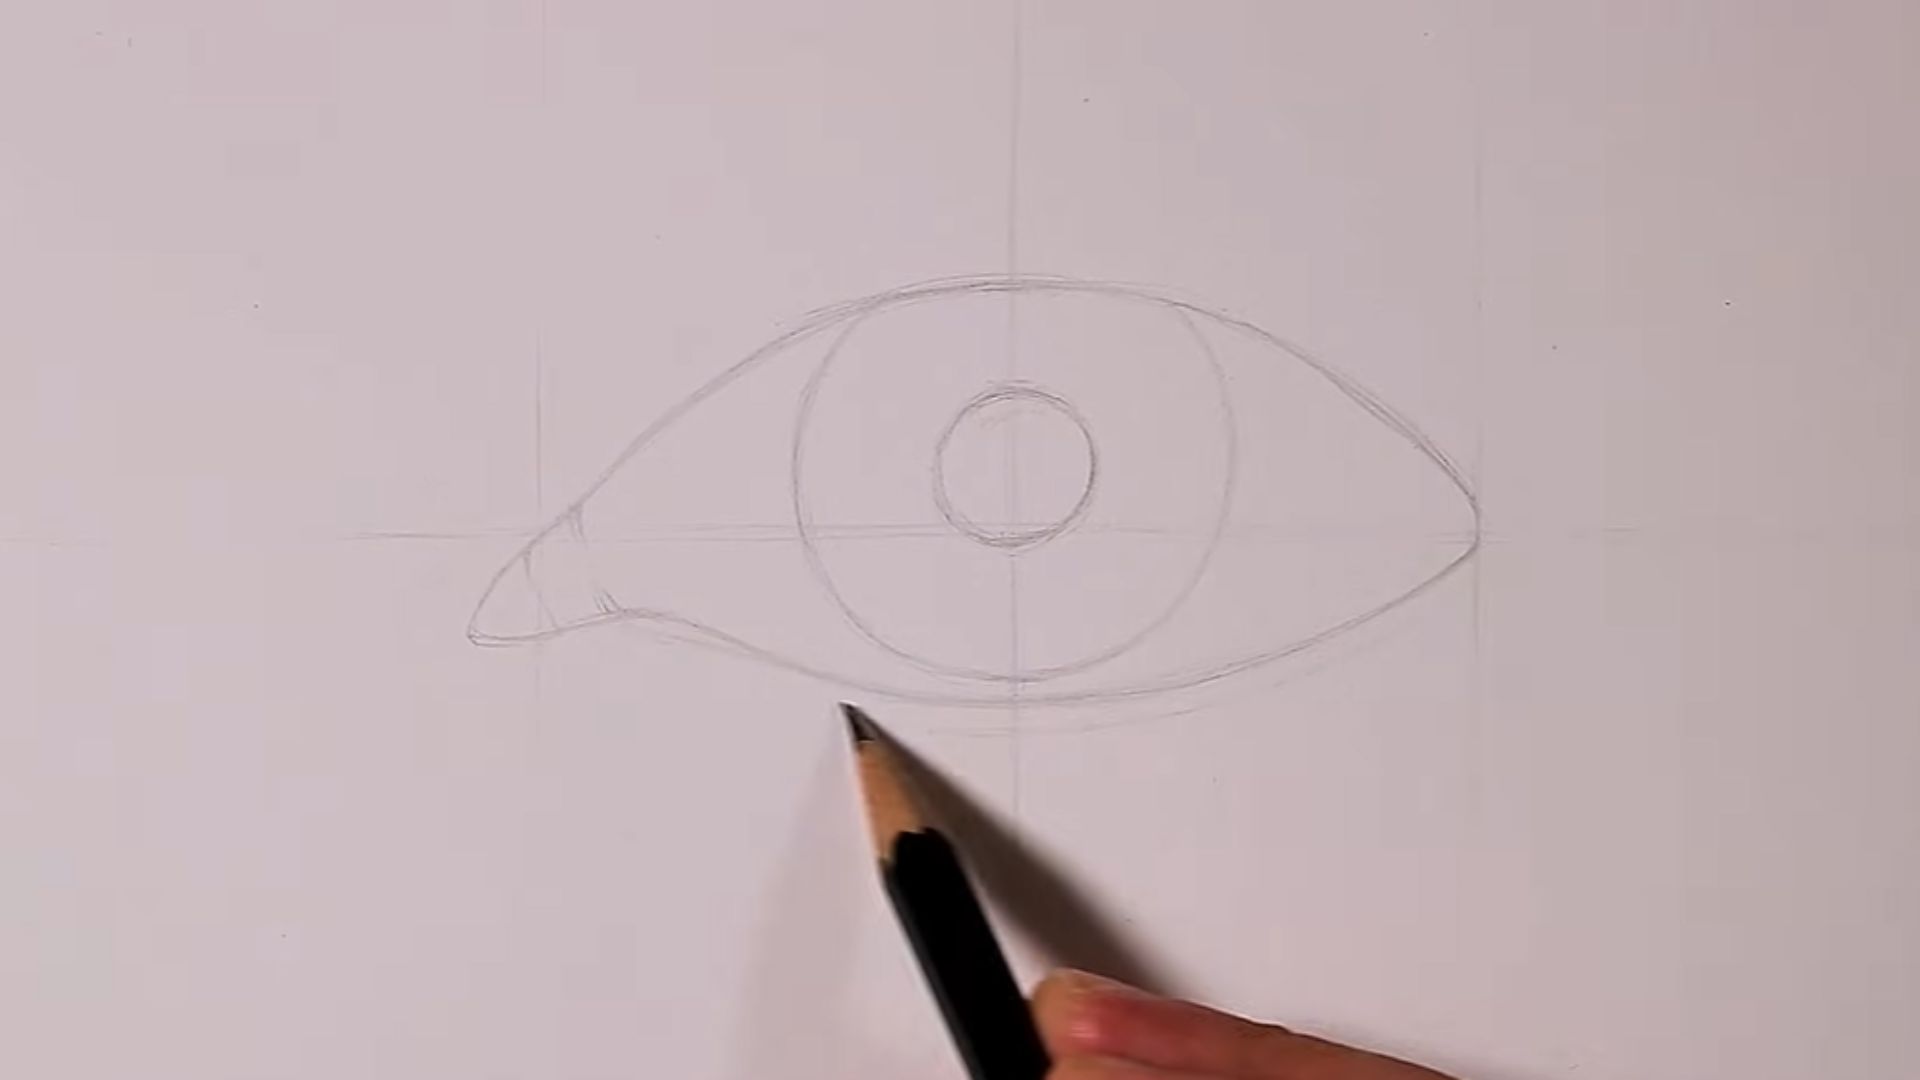
Draw the iris as a full circle first. Then let the upper eyelid cut across the top of it. The iris is almost never fully visible.
This is one of the most common mistakes I see: a fully exposed iris that looks cartoon-like. Let the eyelid cover a portion of it.
The lower eyelid may also slightly overlap the bottom of the iris. Keep that in mind.
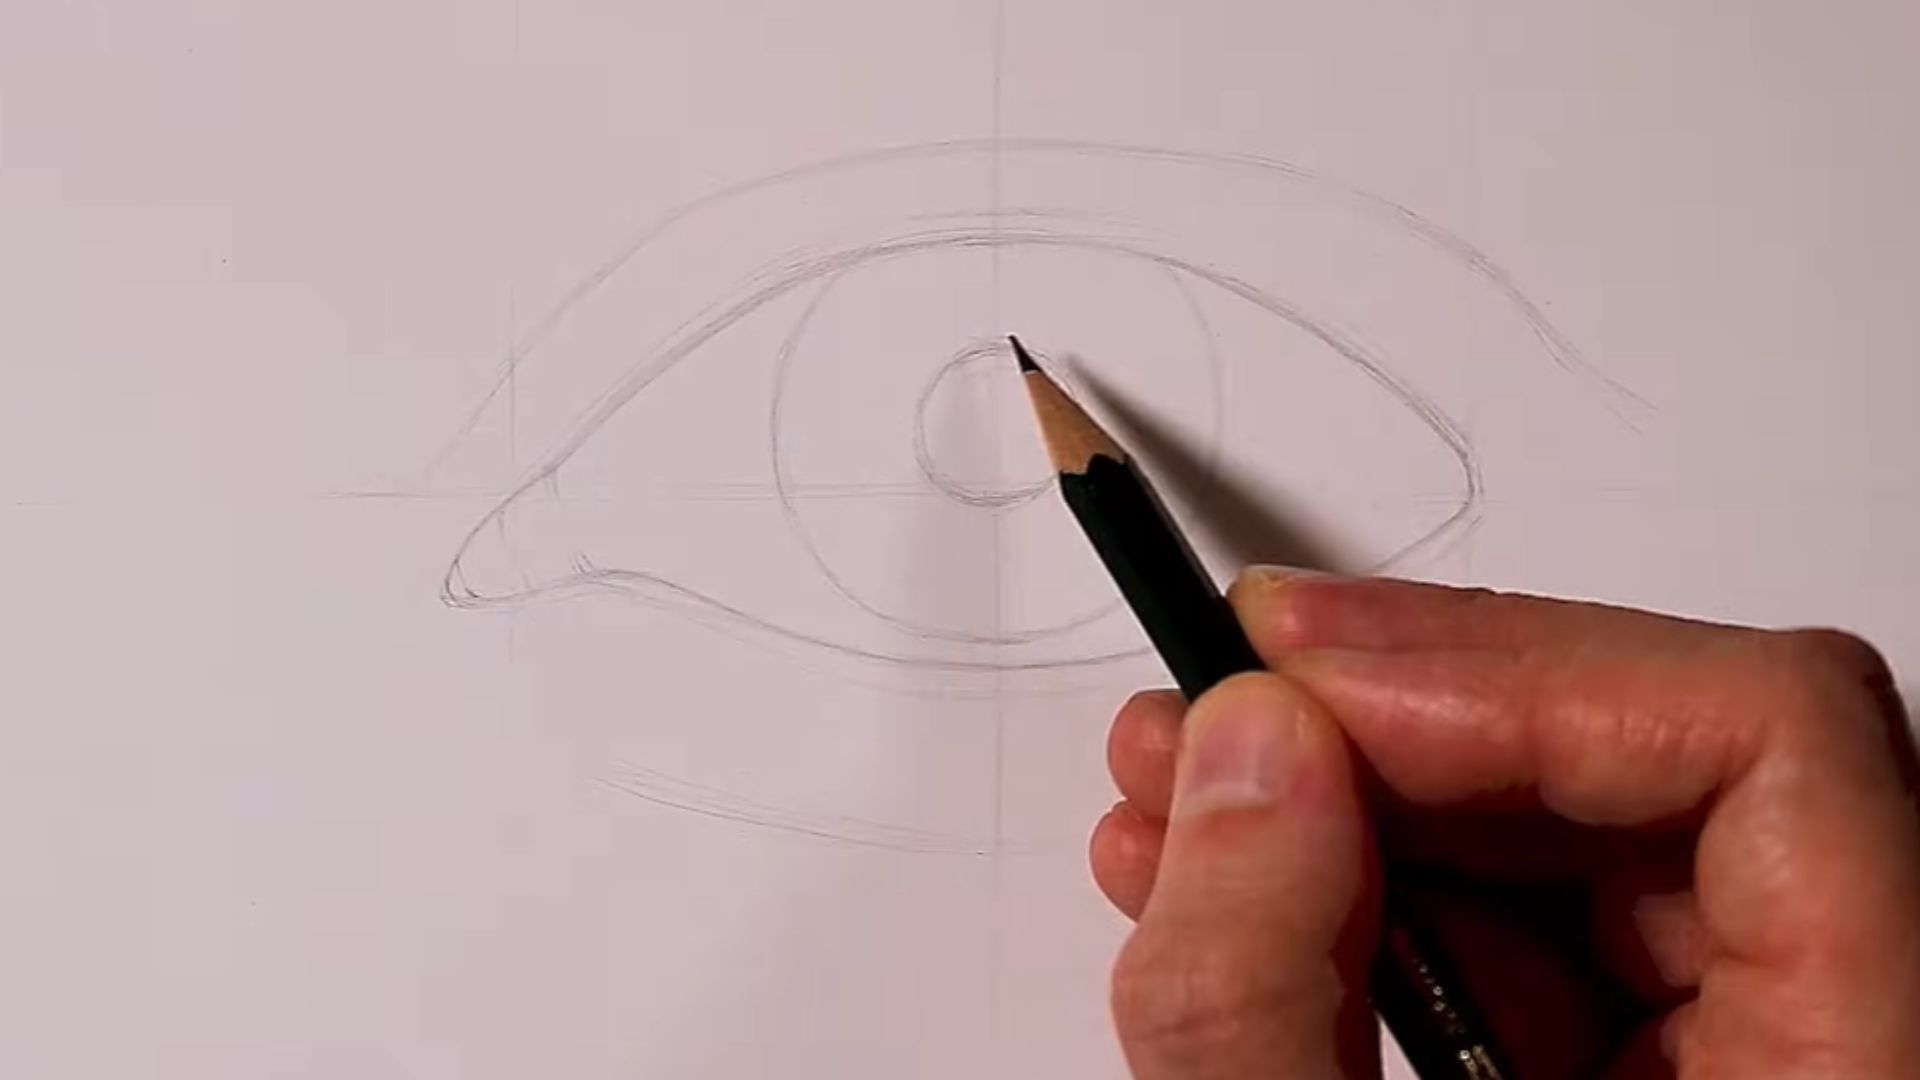
Step 5: Add the Pupil
Place the pupil directly in the center of the iris. Use your guidelines to check alignment before committing.
The pupil should be large enough to look real but not so large it takes over the iris. In normal light, it covers roughly one third of the iris width.
Fill it in dark, but leave space for the highlight you will add later.
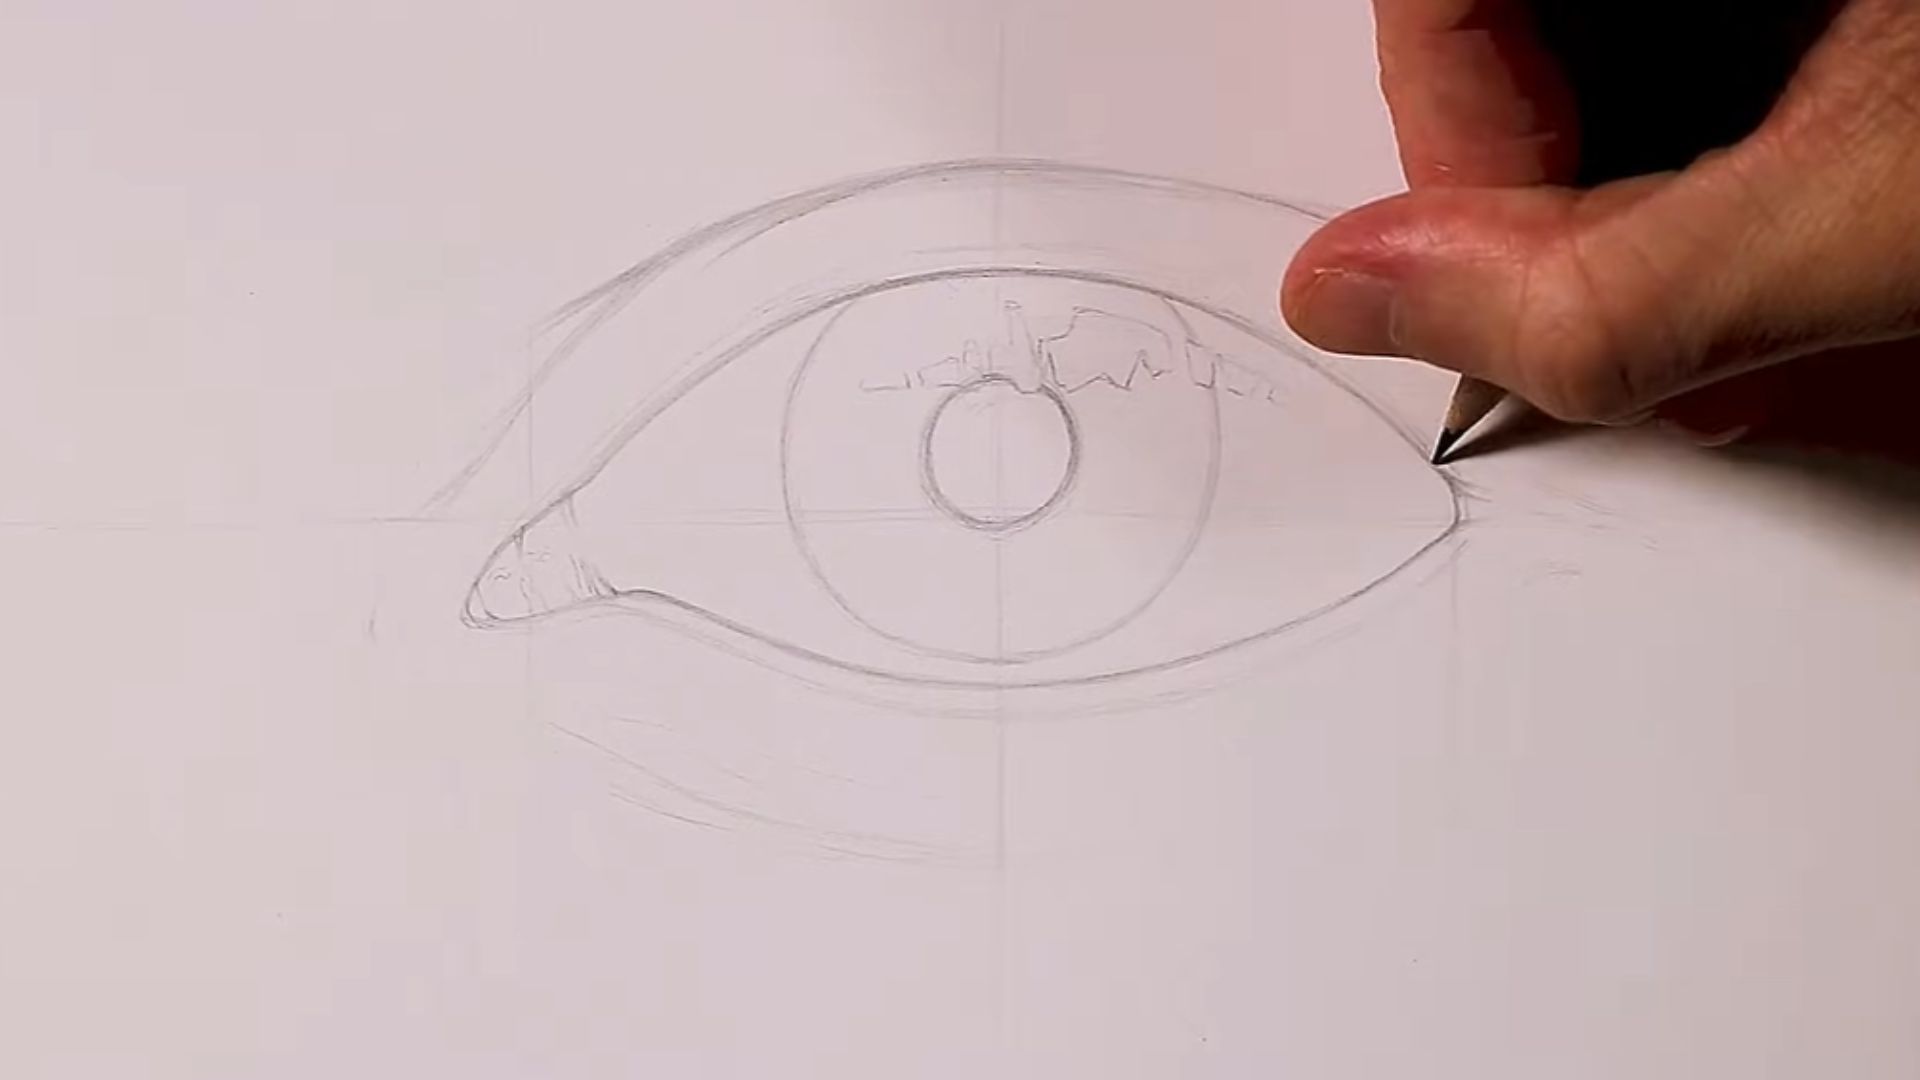
Step 6: Mark the Highlight Area
Before any shading, mark where your light source hits the eye. This is usually a small shape sitting across the edge of the pupil and iris.
Do not shade over this area. Protect it from the start. The highlight is what makes the eye look wet and alive.
This step is the foundation of any hyper realistic eye drawing. Plan it early and protect it throughout.
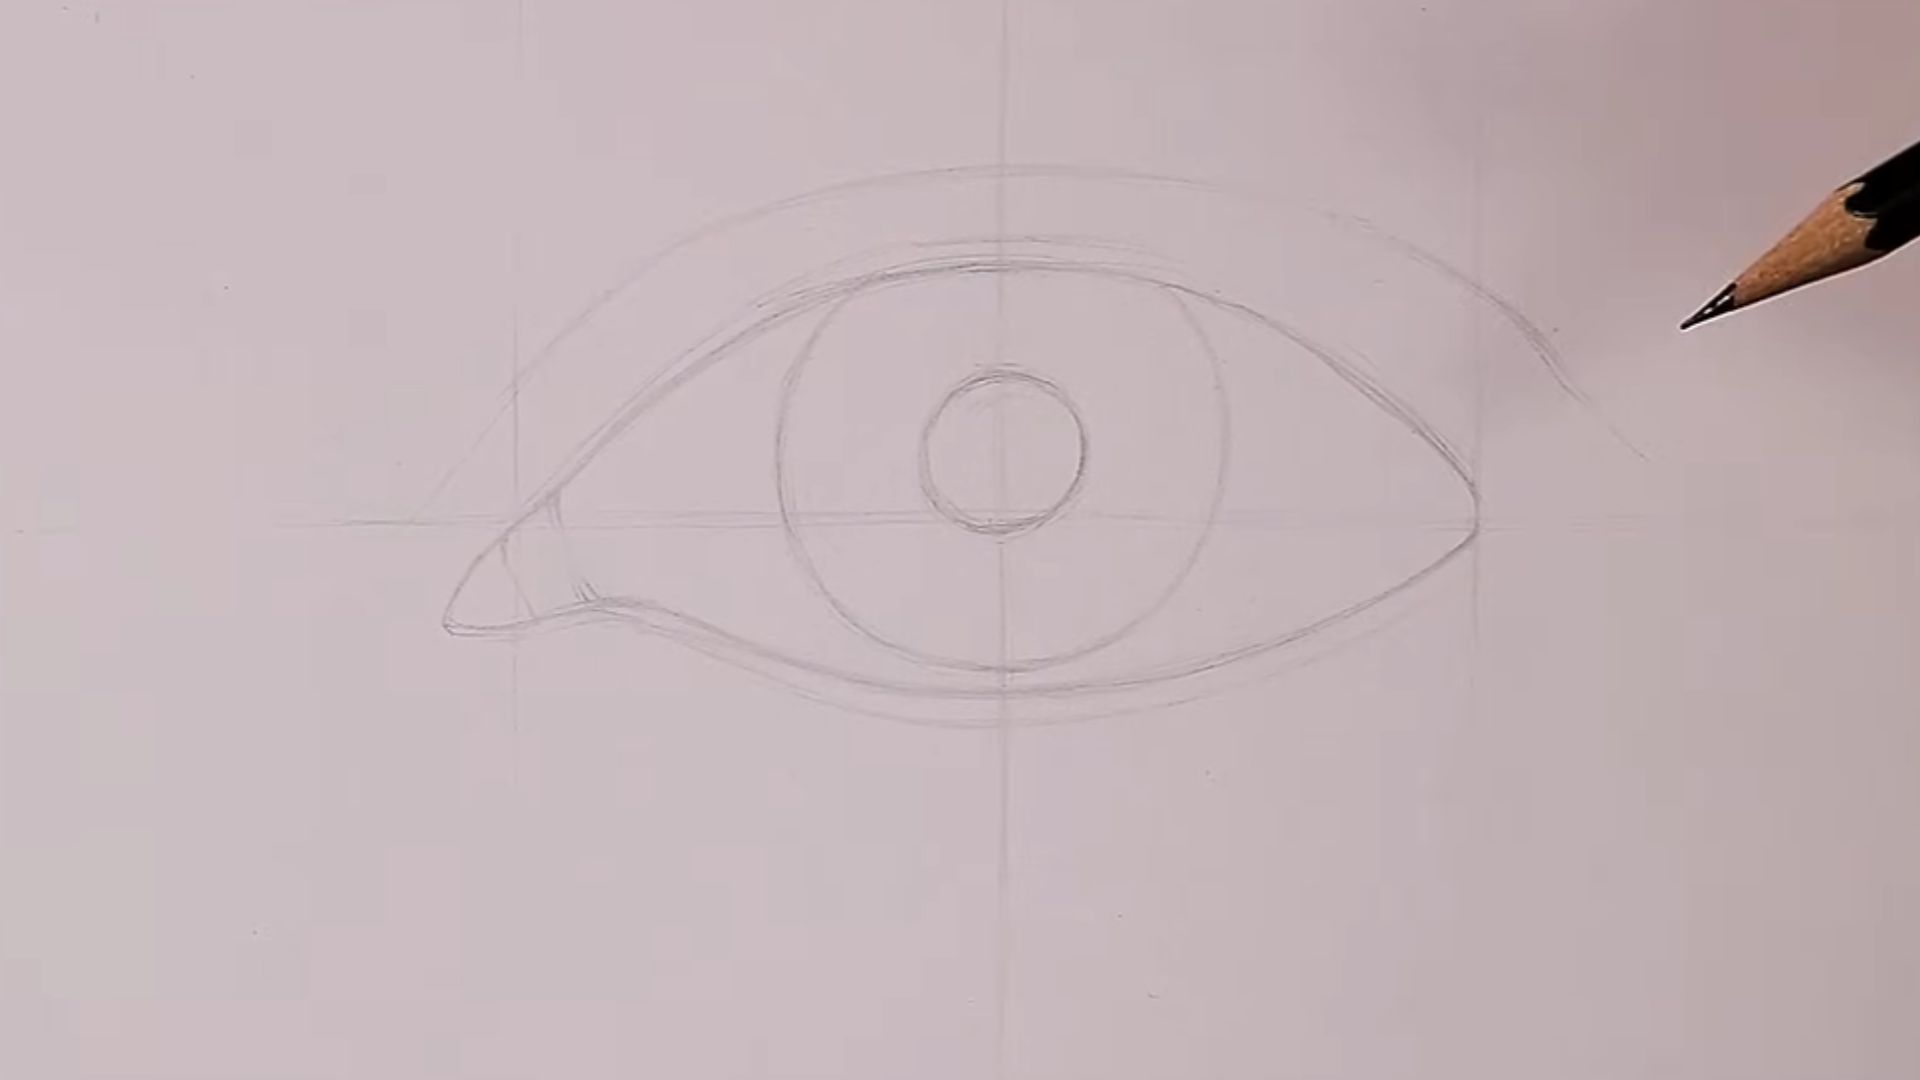
Step 7: Refine Upper and Lower Eyelids
Go back to your eyelid outlines and add thickness. The upper eyelid has a visible edge that casts a shadow downward onto the eyeball.
The lower eyelid has a subtle rim of skin that catches light. Draw it with a softer line than the upper lid.
Avoid flat, uniform outlines. Vary your pressure to give the lids weight and depth.
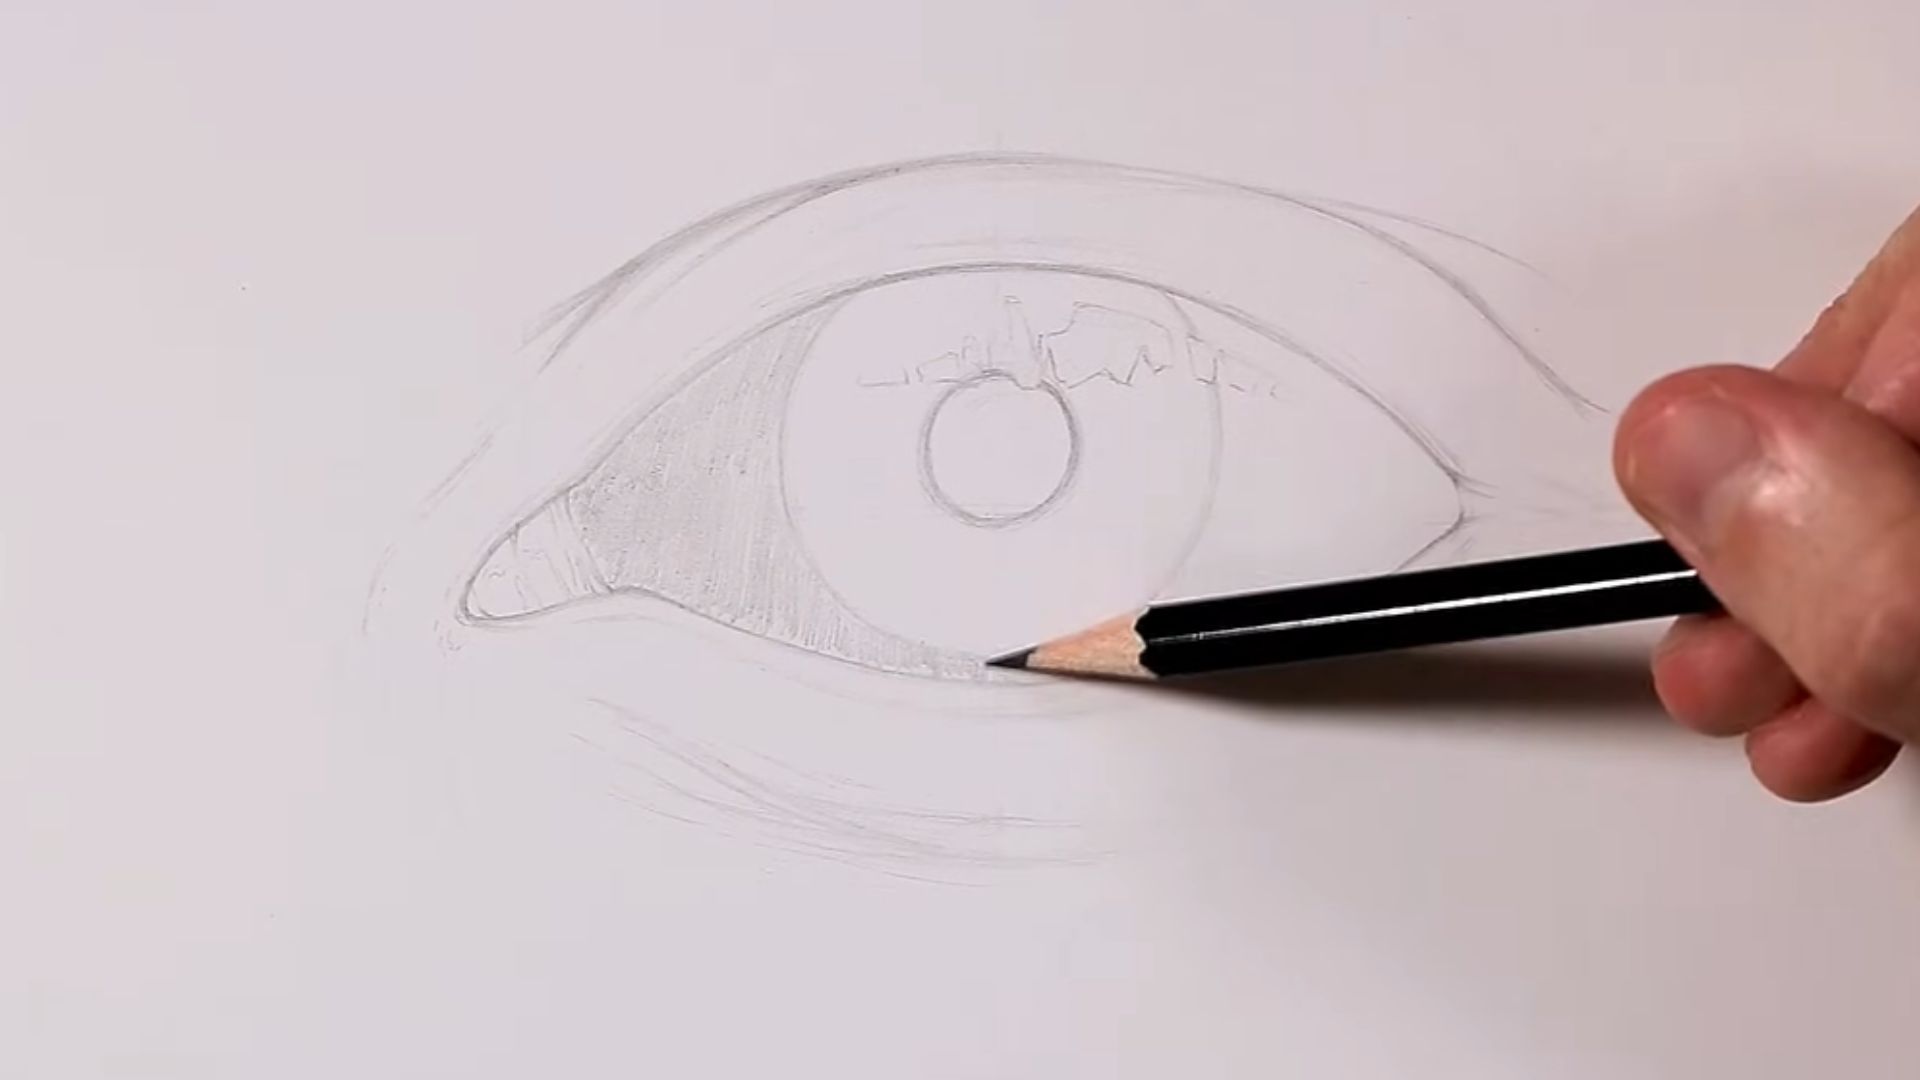
Step 8: Start Light Shading in the Iris
Use short, radial strokes that fan outward from the pupil toward the outer edge of the iris. Think of it like the spokes of a wheel.
Keep the pressure light at first. You are laying the base layer of texture, not the final one.
Leave the highlight area completely untouched.
Step 9: Deepen the Pupil and Outer Iris Ring
Darken the pupil further and add a dark ring around the outer edge of the iris. This ring, called the limbal ring, is one of the most overlooked details in eye drawing.
That dark outer ring creates contrast that makes the iris look round and full, not flat.
Build this up gradually with multiple light passes rather than pressing hard once.
Step 10: Blend for Smooth Transitions
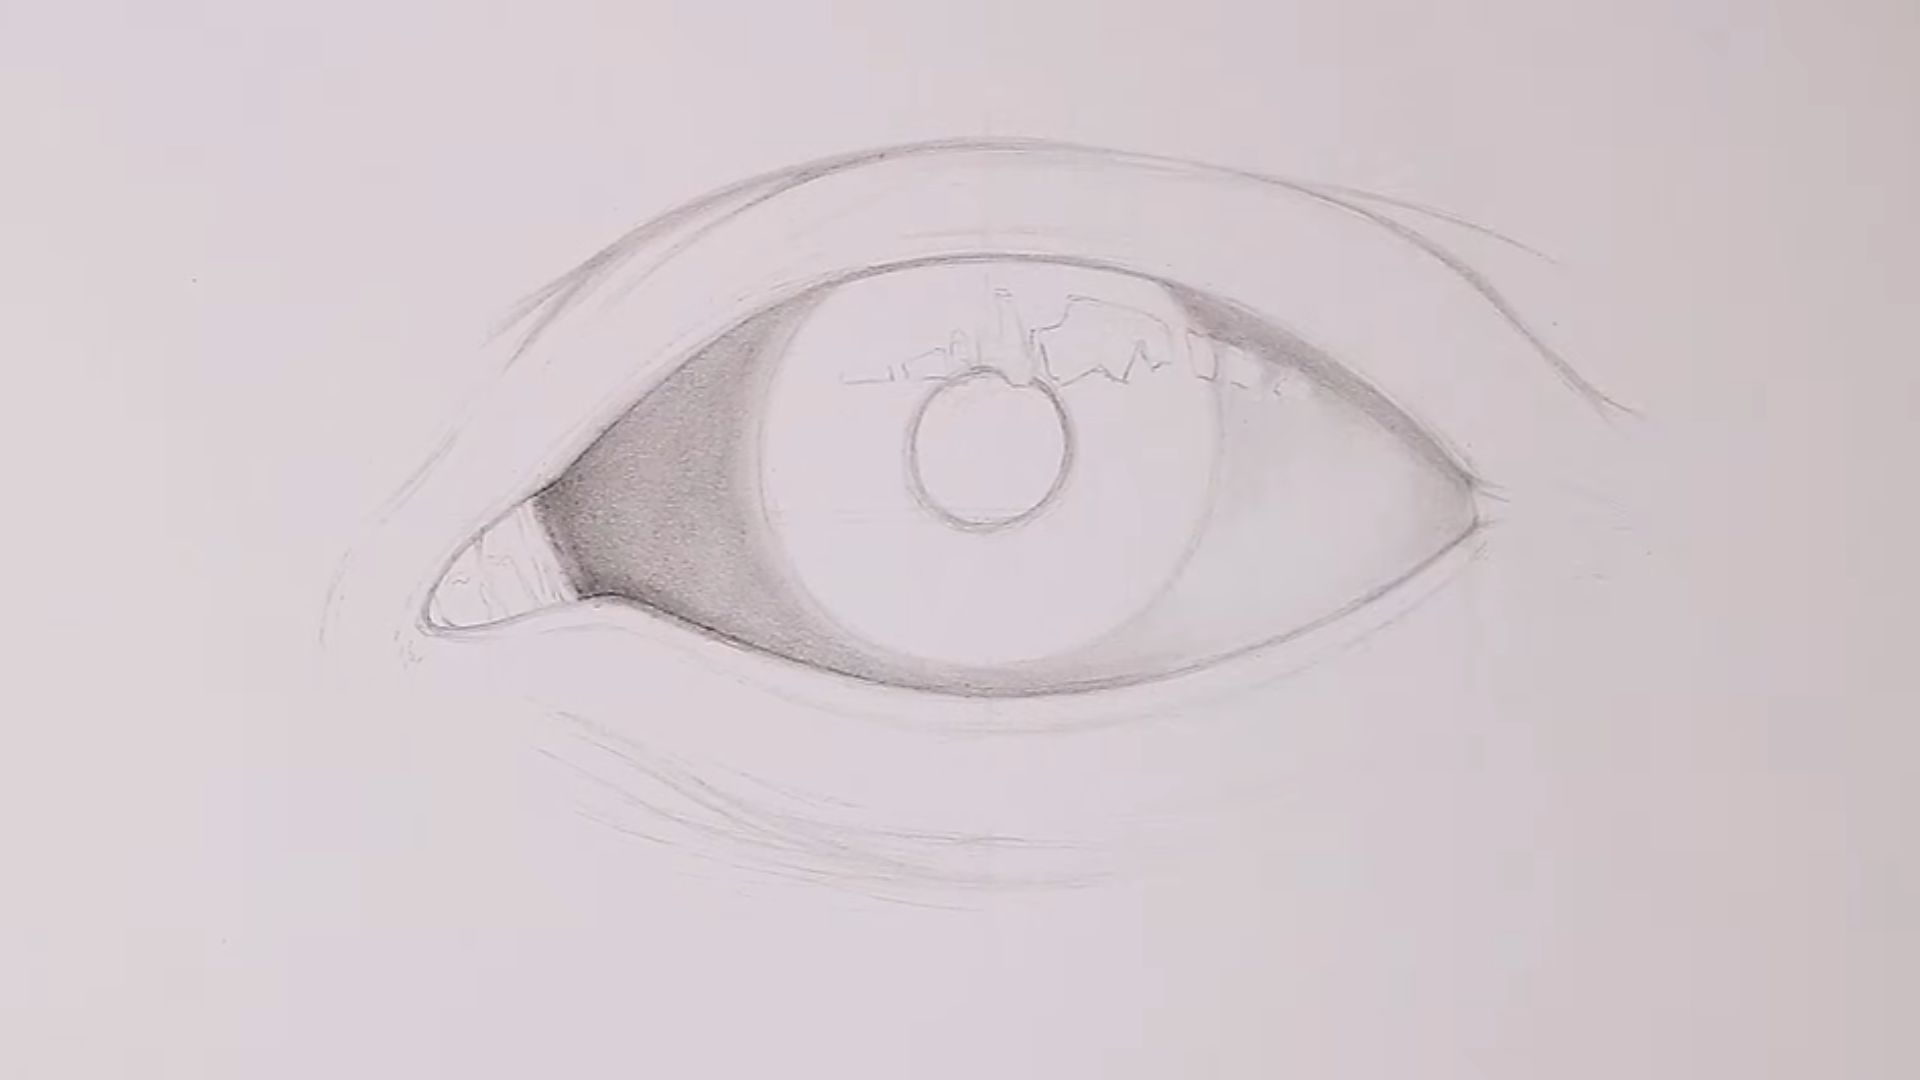
Use a blending stump or a rolled piece of tissue to smooth out the iris shading. Work in circular motions, following the shape of the eye.
Be careful around the highlight. Do not let the blending tool drag graphite into that area.
A clean highlight after blending is what separates a polished drawing from a muddy one.
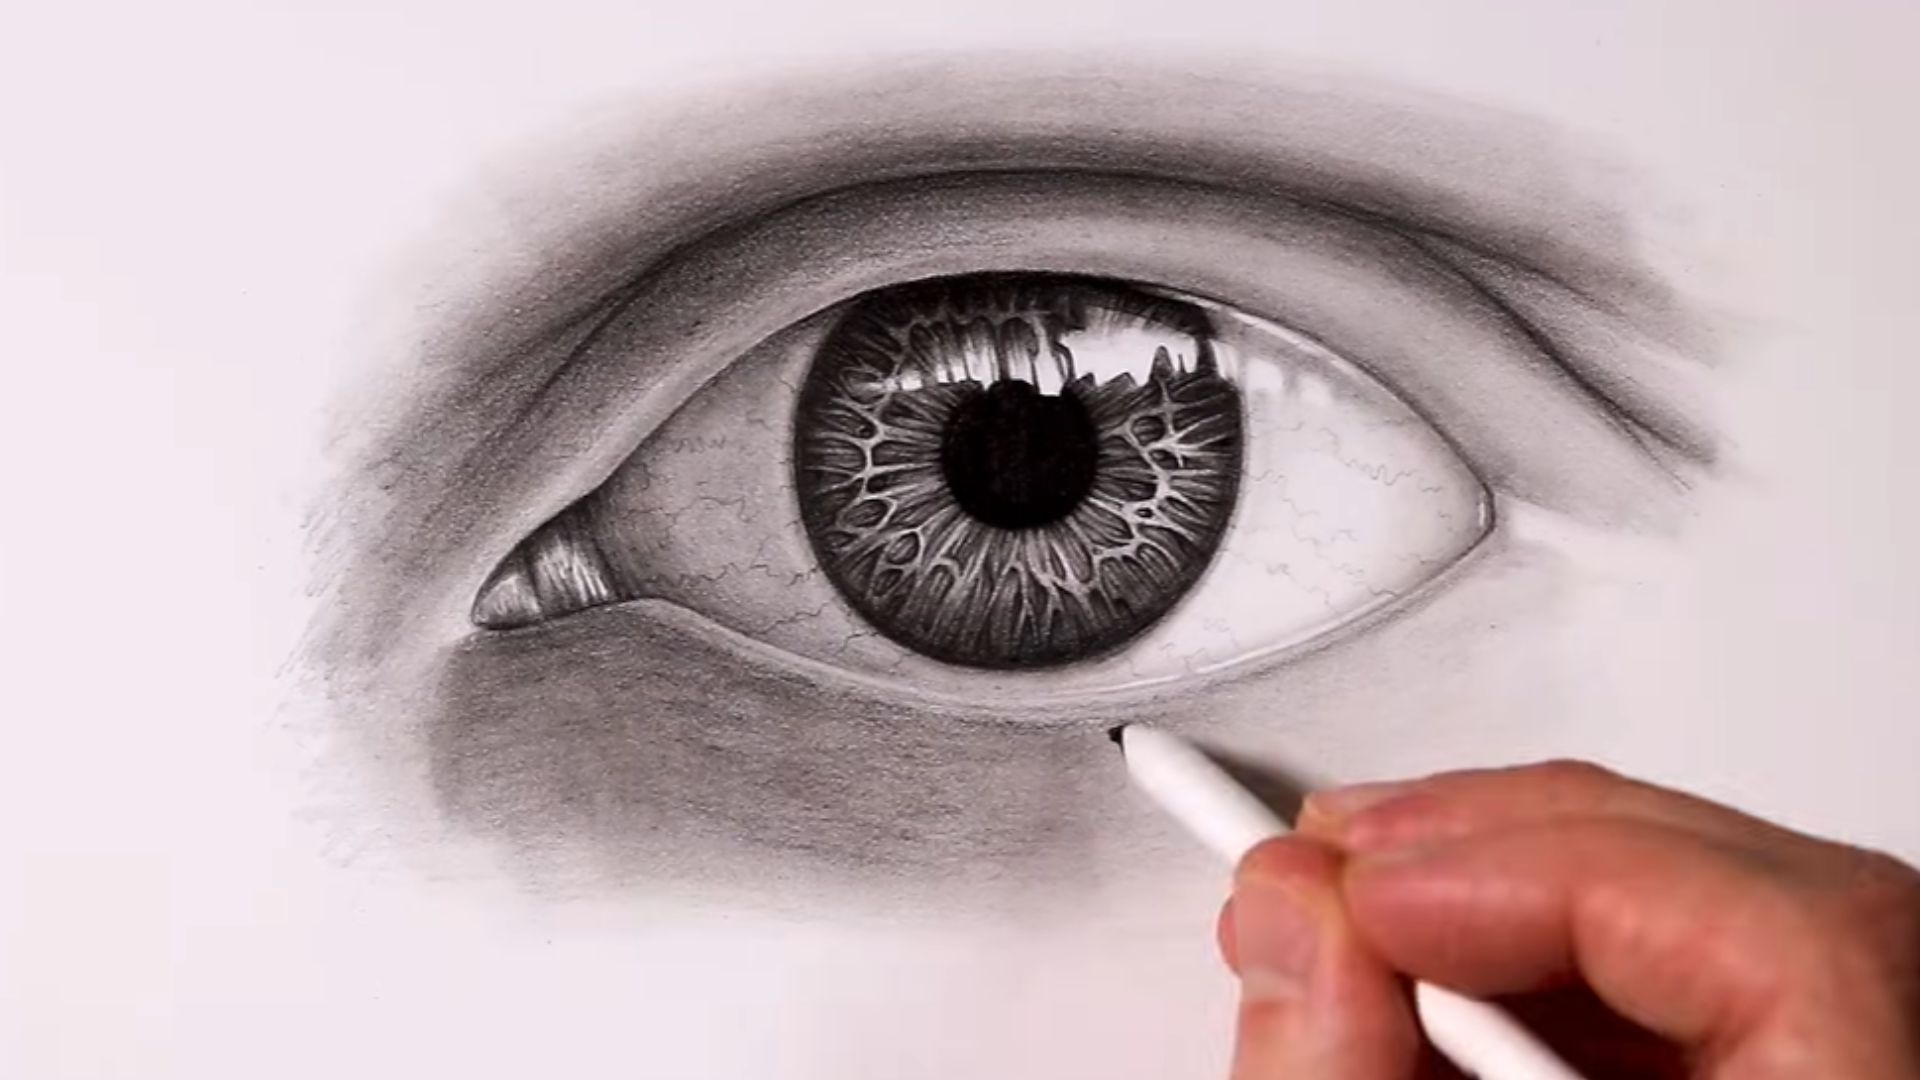
Step 11: Add Detailed Iris Texture
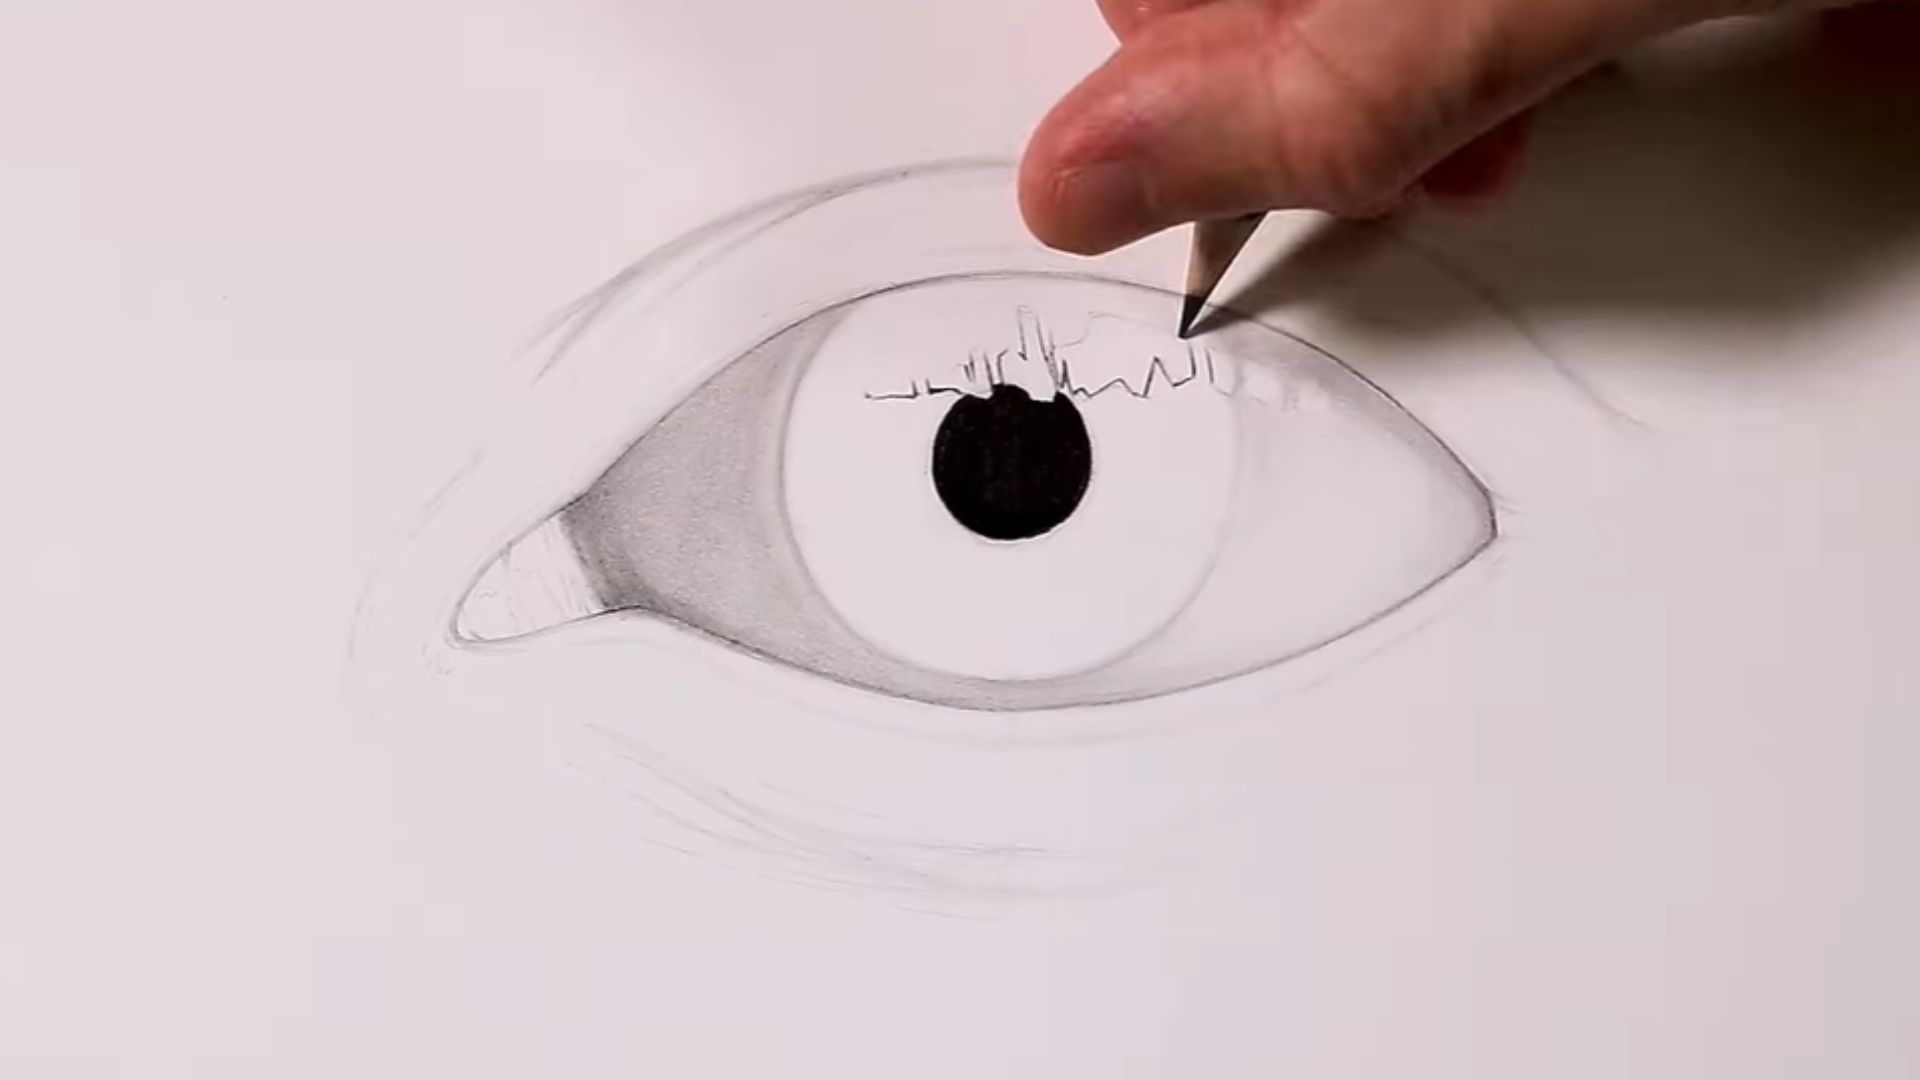
Now go back in with a sharp pencil and add fine, irregular lines over the blended base. These should vary in length and direction slightly. Real irises are not perfectly uniform.
Add small dark flecks and lighter streaks. This layered texture is what pushes the drawing toward a hyper realistic eye drawing finish.
Step back and check from a distance. Realism reads from across the room, not just up close.
Step 12: Shade the Eyeball (Sclera) Properly
The white of the eye is not white. It picks up shadow from the eyelids above and curves away from the light on the sides.
Add a light layer of shading along the top of the sclera, directly under the upper eyelid. This shadow is what makes the eyeball look round.
Keep the shading subtle. A heavy hand here will make the eye look bruised or unwell.
Step 13: Draw Upper Eyelashes
Eyelashes grow from the eyelid edge and curve outward and upward. Draw them individually, not as a single thick line.
Vary the length and spacing. Some clump slightly. Some separate. That random quality is what looks natural.
Start each lash from the lash line and taper toward the tip. Avoid the “spider lash” look that comes from drawing every lash the same length and angle.
Step 14: Add Lower Eyelashes Carefully

Lower lashes are shorter, finer, and more spread out than upper lashes. Use a lighter pressure for these.
They grow downward and slightly outward. Draw them sparingly. Too many lower lashes make the eye look overdone.
A few well-placed lower lashes look more realistic than a dense row of them.
Step 15: Build Skin Texture Around the Eye
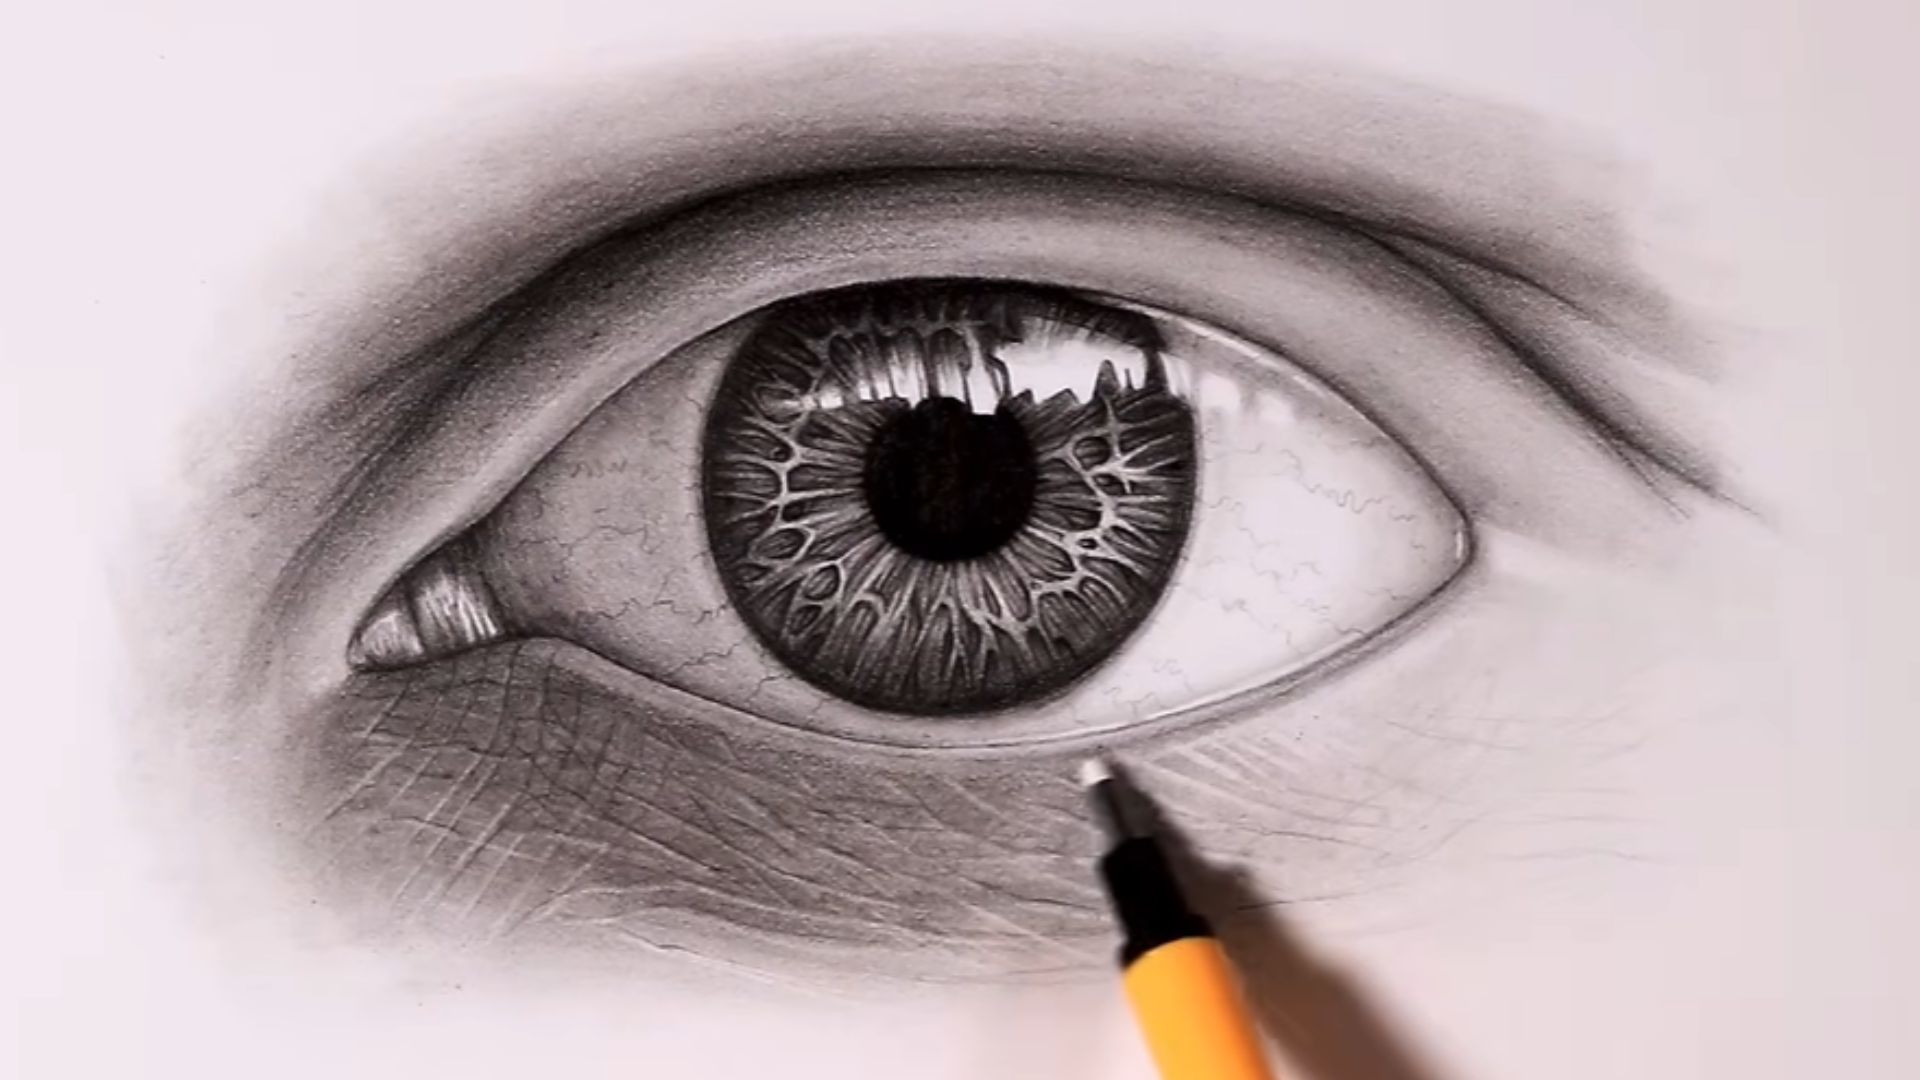
Shade the crease above the eye with soft, curved strokes that follow the fold of skin. This crease gives the eye its hooded, three-dimensional quality.
Under the eye, keep shading very soft. The under-eye area catches some light and should not be too dark.
Blend the skin areas smoothly. Harsh edges in the skin break the realism of the eye itself.
Step 16: Strengthen Contrast and Depth
This is the step that makes everything pop.
Go back into your darkest areas: the pupil, the lash line, the outer iris ring, the crease above the eye.
Deepen these with your darkest pencil. Then check your highlights. They should be the brightest areas on the page.
Strong contrast is the single biggest difference between a flat drawing and a convincing one.
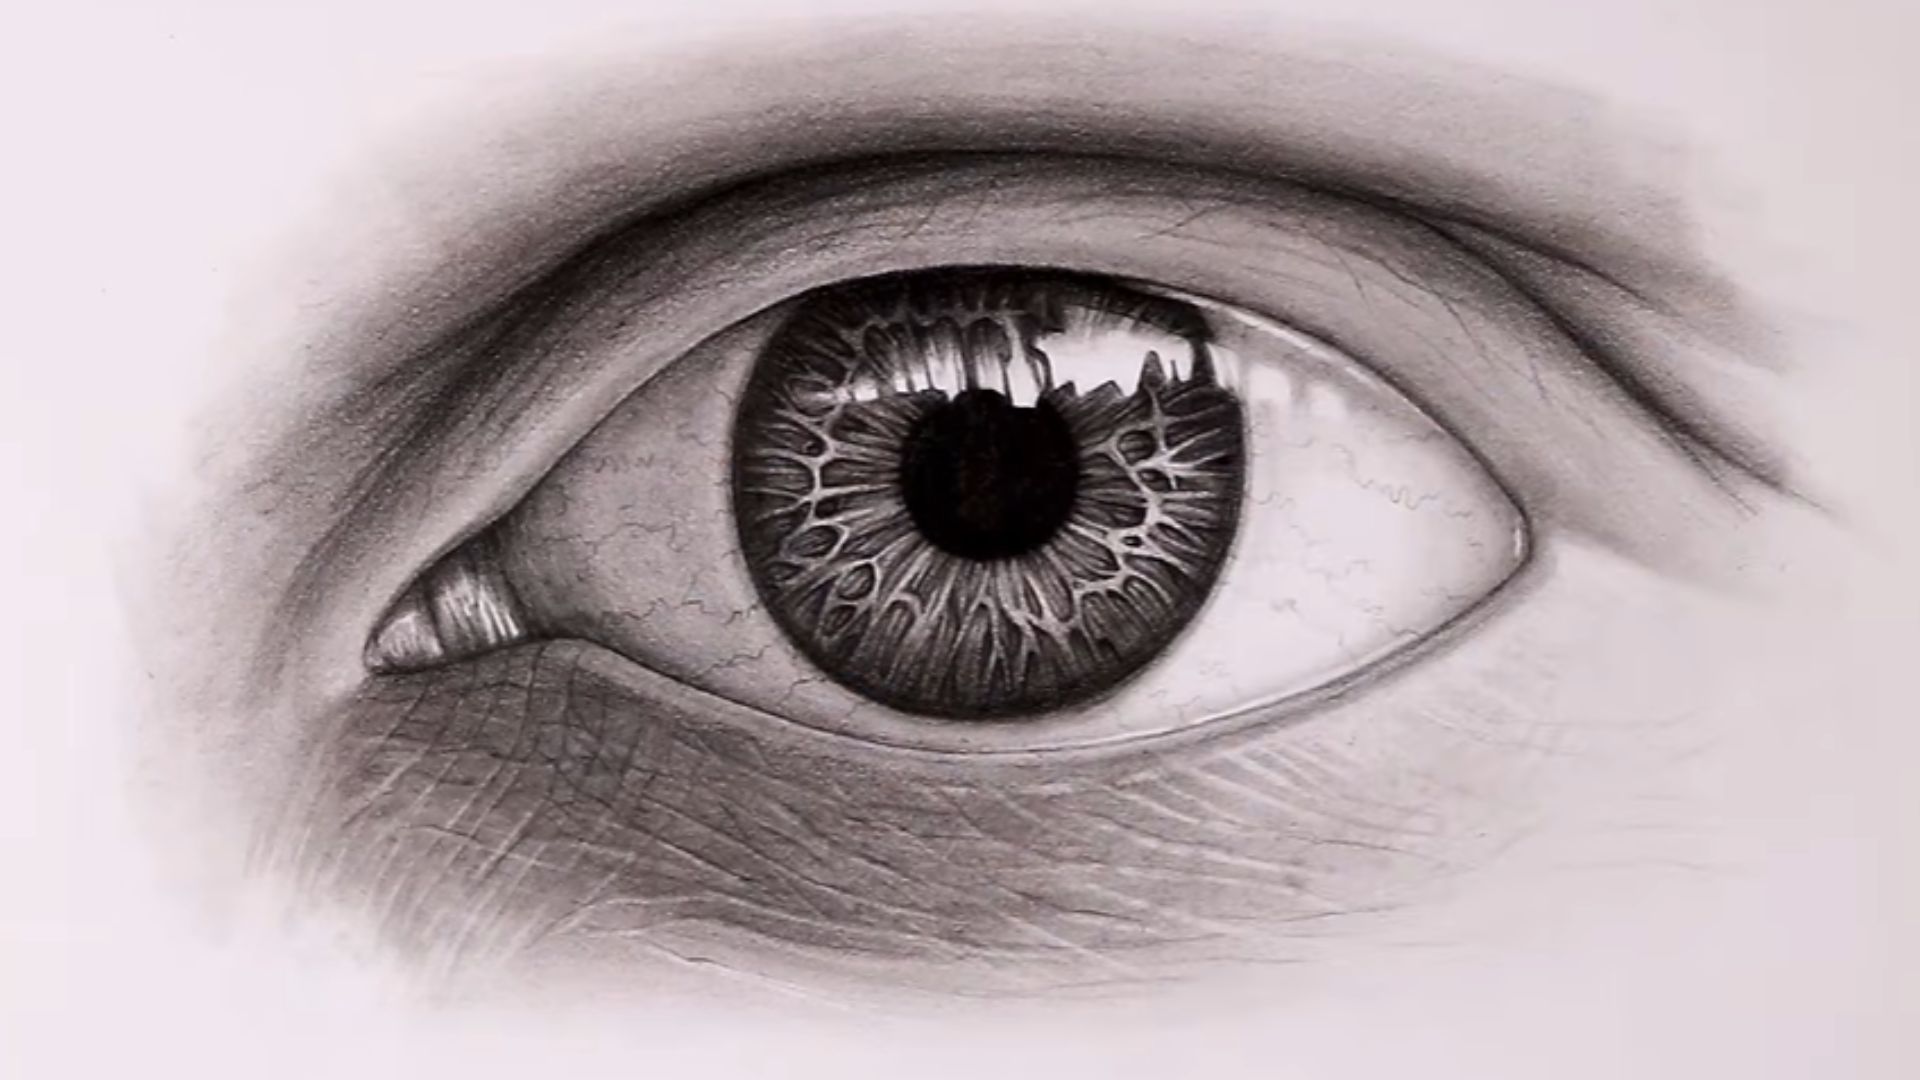
Step 17: Final Touches and Realism Check
Refine any edges that look rough. Sharpen the lash line if needed. Use a kneaded eraser to brighten the highlight and pull out any small light points in the iris.
Step back and look at the whole drawing.
Ask yourself: does the eye look like it is sitting inside a face, or floating on a page?
Use this quick checklist for an easy realistic eye drawing finish: clean highlight, dark limbal ring, visible eyelid thickness, varied lashes, soft sclera shading, and smooth iris texture.
Tools You Need for a Realistic Eye Drawing Tutorial
Having the right tools does not replace skill, but it does make the process significantly smoother.
I have drawn eyes with basic supplies and professional ones, and the difference in control is real.
- Graphite pencils ranging from HB to 8B for full value range
- Blending stumps or rolled tissue for smooth transitions
- A kneaded eraser for lifting highlights without damaging paper
- A precision vinyl eraser for clean edge corrections
- Quality drawing paper with a slight tooth to hold graphite well
- Optional: a mechanical pencil for fine iris detail and a gel ink pen for sharp highlight dots in hyper realistic eye drawing work
Start with what you have. As your skill grows, invest in better pencils and paper. You will notice the difference immediately.
Easy Realistic Eye Drawing Tips for Beginners
If you are just starting out, the process can feel like a lot to hold in your head at once. I felt the same way. These tips helped me simplify it without cutting corners.
- Always work from a clear reference photo, preferably a high-resolution close-up
- Use light pressure for the first three or four layers and build darkness gradually
- Focus on getting values right before adding fine detail
- Practice drawing just the iris separately before tackling the full eye
- Break the full process into the 17 steps above and complete one at a time
The goal is to turn a complex subject into a repeatable, easy realistic eye drawing method you can come back to with any reference. Once you have done it five or six times, the steps start to feel natural.
Conclusion
Every artist I know who draws convincing eyes will tell you the same thing: it clicked only after they stopped rushing it.
You now have the full 17-step process. The only thing left is to actually use it.
Grab your pencil. Pull up a reference photo. Draw one eye today, even if it is rough.
Then come back and share it in the comments. I want to see where you are starting from and how far you go with your realistic eye drawing practice.
Frequently Asked Questions
How long does it take to master realistic eye drawing?
It depends on how consistently you practice and how well you understand shading fundamentals. Most artists see significant improvement within a few months of regular, focused practice.
What pencil is best for realistic eye drawing?
Use an HB for initial structure and light shading, then move to 6B or 8B for deep shadows and the darkest areas of the pupil and lash line.
How do I make my realistic eye drawing look more 3D?
Increase your contrast between the darkest darks and lightest lights, and make sure your highlight placement is accurate to your chosen light source.
Why does my eye drawing look flat?
The most common cause is a lack of value variation. Pay particular attention to the shadow cast by the upper eyelid onto the eyeball, as this single detail adds significant depth.
Can beginners create a hyper realistic eye drawing?
Yes. By following a realistic eye drawing step by step approach and building up layers gradually, beginners can reach a high level of realism with patience and structured practice.