

Perler beads are small, colorful plastic beads that fuse when heated. You might know them as Hama beads, melty beads, or fuse beads.
In this article, I’ll show you 15 simple crafts you can make at home using these fun beads.
These projects work great for both kids and adults. They help improve hand-eye coordination and offer a relaxing way to spend your time.
I’ve been making Perler bead crafts for years, and I can tell you they’re perfect for beginners.
You’ll learn how to make coasters, ornaments, jewelry, and more. Each project is easy to follow and uses basic supplies you probably already have.
Why Perler Beads Are Perfect for Home Crafts
Perler beads work great for home projects because they’re cheap and simple to use. You can find them at most craft stores and online for just a few dollars. These beads suit all ages. Young kids can make basic shapes while adults can create detailed designs.
Working with Perler beads builds creativity and problem-solving skills. You learn to plan patterns and fix mistakes as you go. The process teaches patience, too. Some projects take just minutes while others can keep you busy for hours.
You can finish a quick keychain in one sitting or spend weeks on a large wall piece. The choice is yours. This makes Perler beads flexible for any schedule or mood.
Preparing Your Beads and Workspace
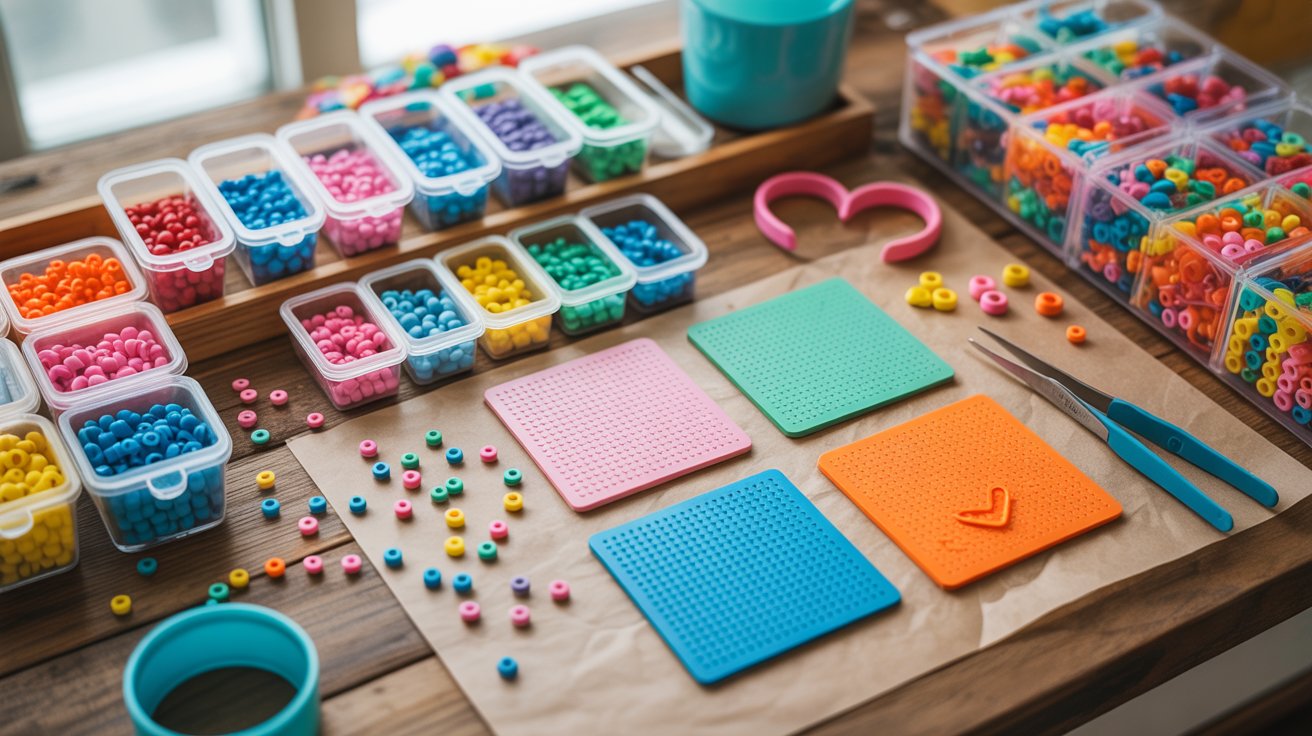
Sort your beads by color before you start. This saves time when you’re working on a project. Put each color in a small container or bag. Some people also group beads by size if they use different types.
Choose the right pegboard for your design. Square boards work for most projects. Circular boards are good for coasters. Heart-shaped boards make cute decorations. Pick the shape that matches what you want to create.
Here’s what you need:
Tweezers (helpful but not required), parchment paper, an iron, and a heat-safe surface like a cutting board
Safety tips for kids:
Adults should handle the iron. Kids can arrange the beads, but should step back during ironing.
Always use parchment paper between the iron and beads. This stops beads from sticking to the iron. Keep the iron on a stable surface that won’t burn.
15 Easy Perler Bead Craft Ideas
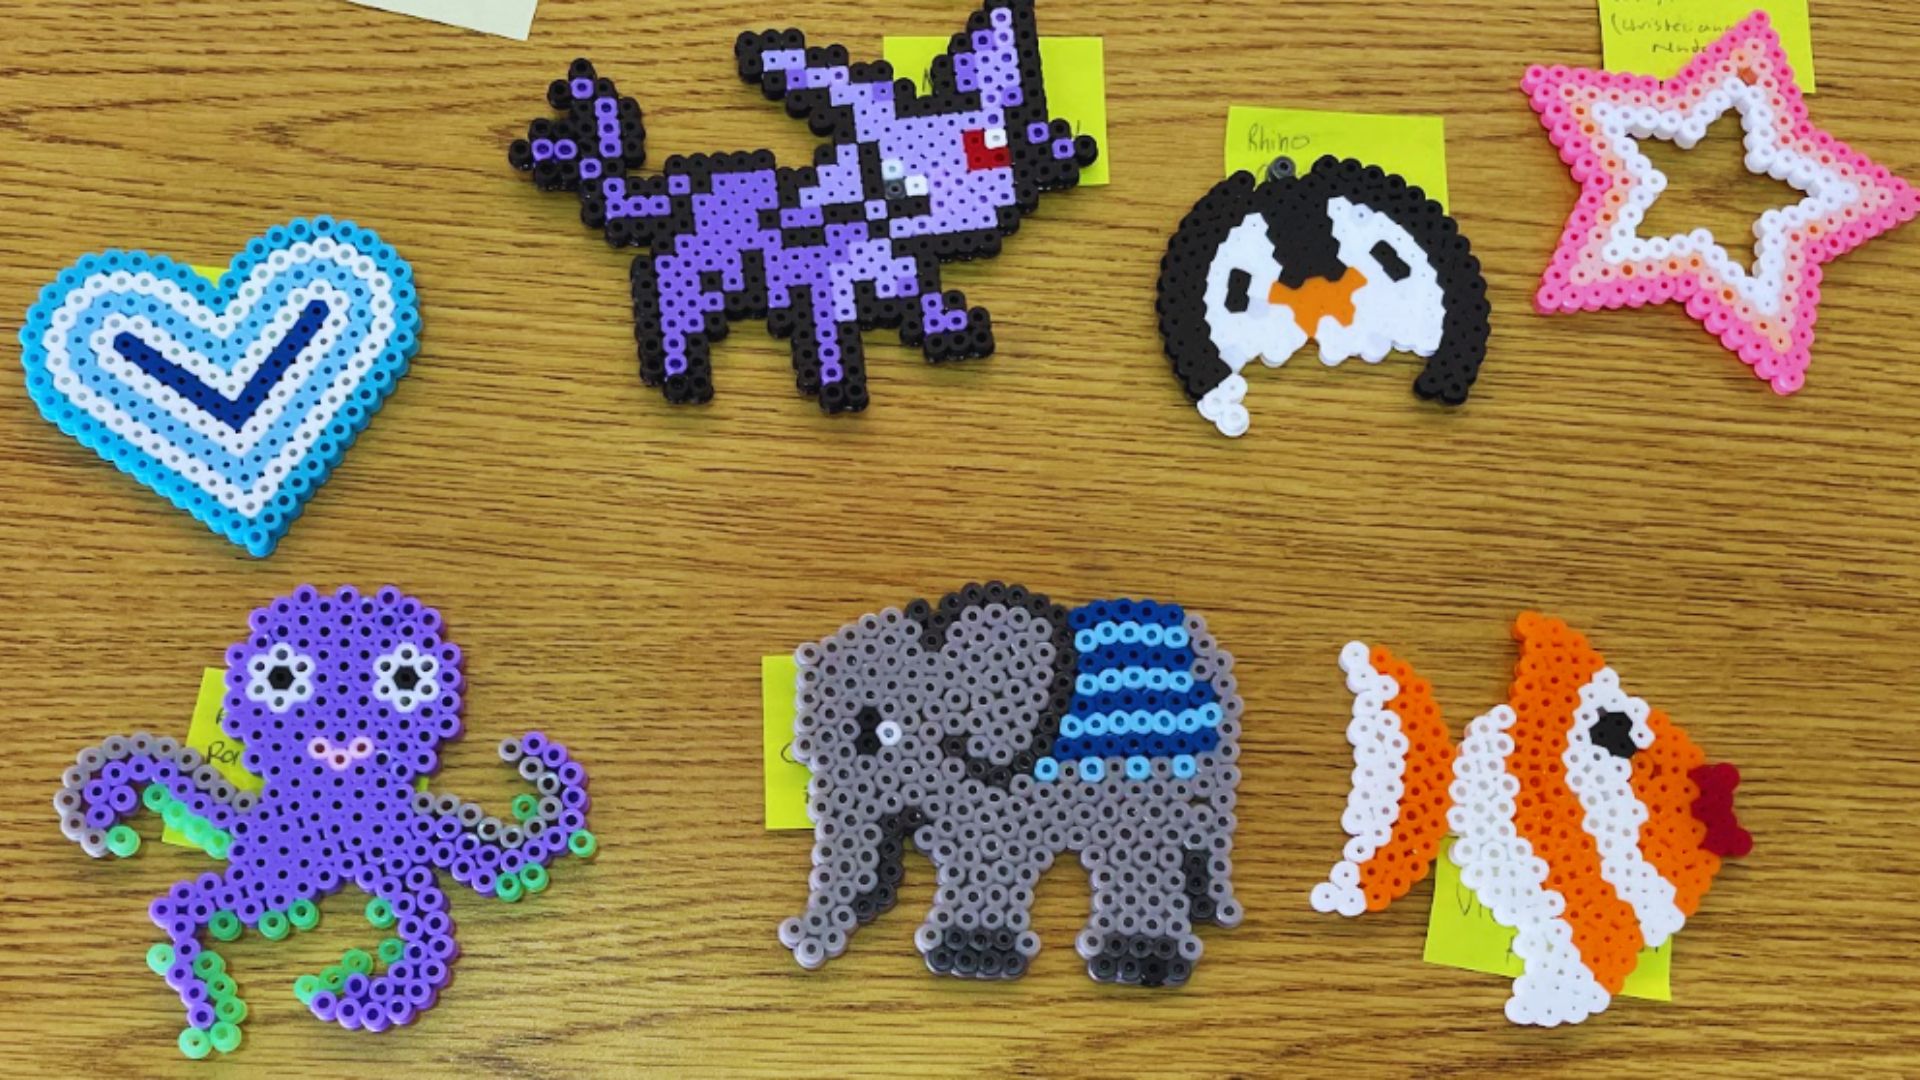
Here are 15 fun and simple projects you can try with Perler beads at home.
1. Drink Covers / Coasters
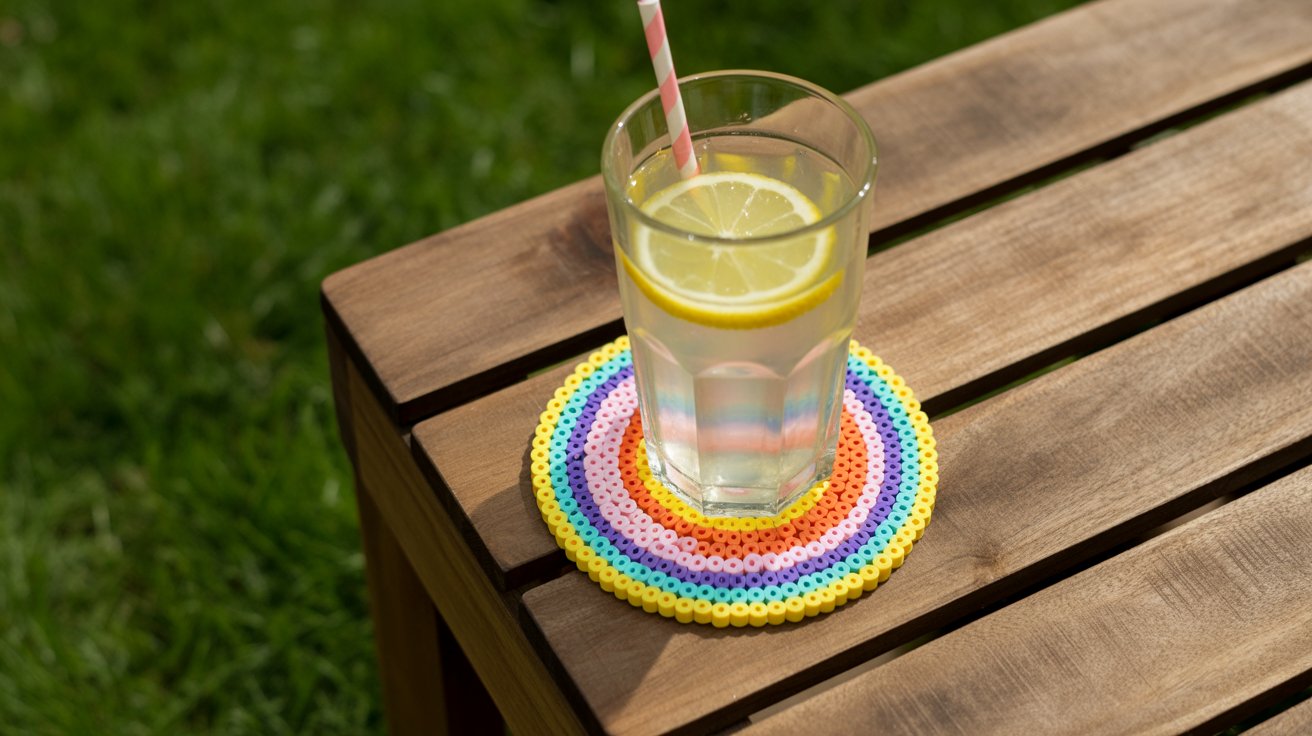
Make round designs that protect your table from water rings. These also keep bugs out of outdoor drinks.
Use a circular pegboard and create simple patterns with different colors. Iron both sides for durability.
2. Easter Egg Decorations
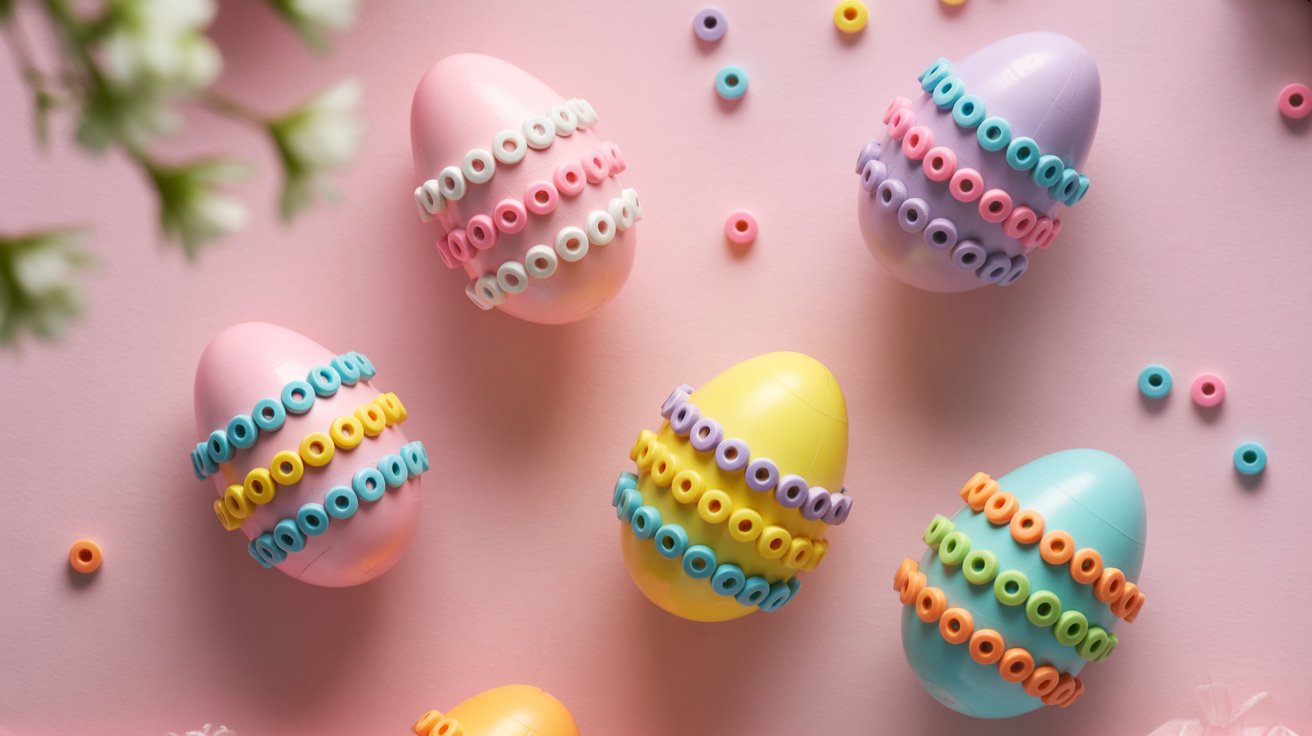
Glue Perler beads directly onto plastic or foam eggs. You don’t need to iron these. Just arrange colorful patterns and attach them with craft glue. This makes great festive decor for spring.
3. Patterned Wire Baskets
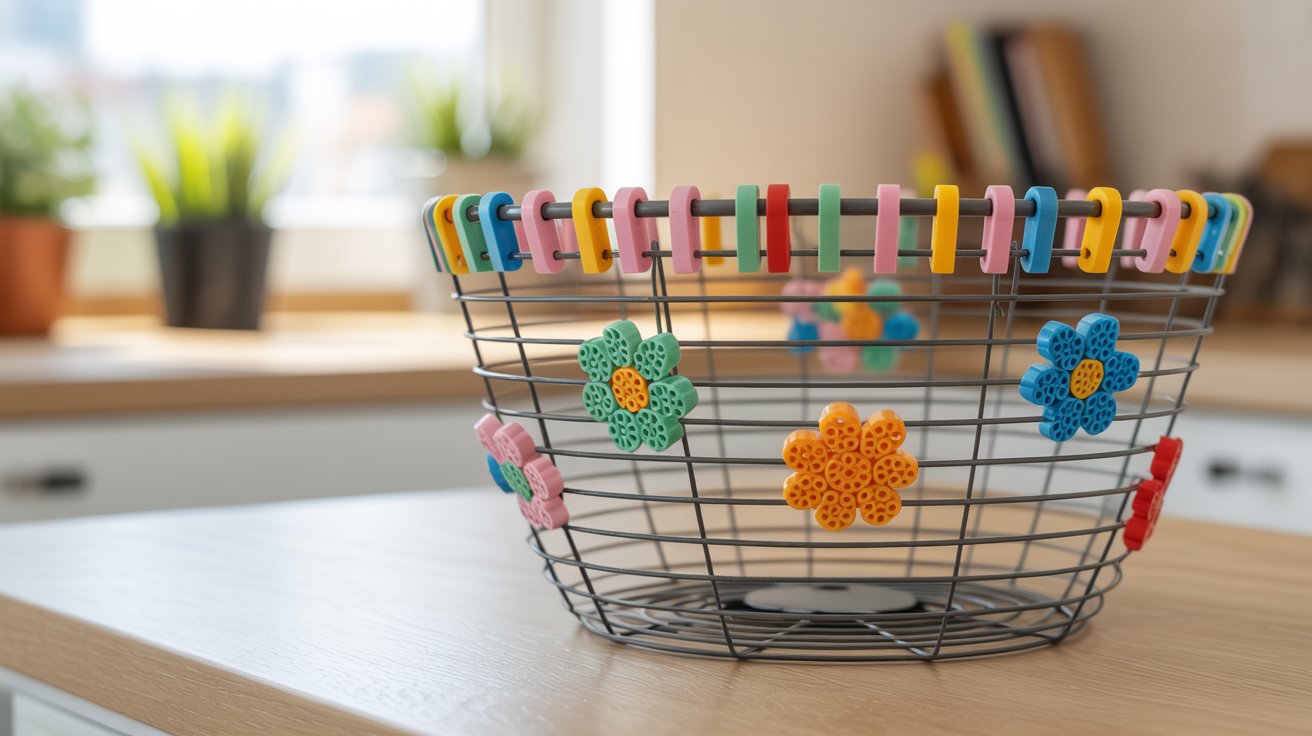
Clip individual beads onto wire baskets to add color. You can make stripes, flowers, or random patterns. This gives plain baskets a fun look without any ironing needed.
4. Christmas Tree Ornaments
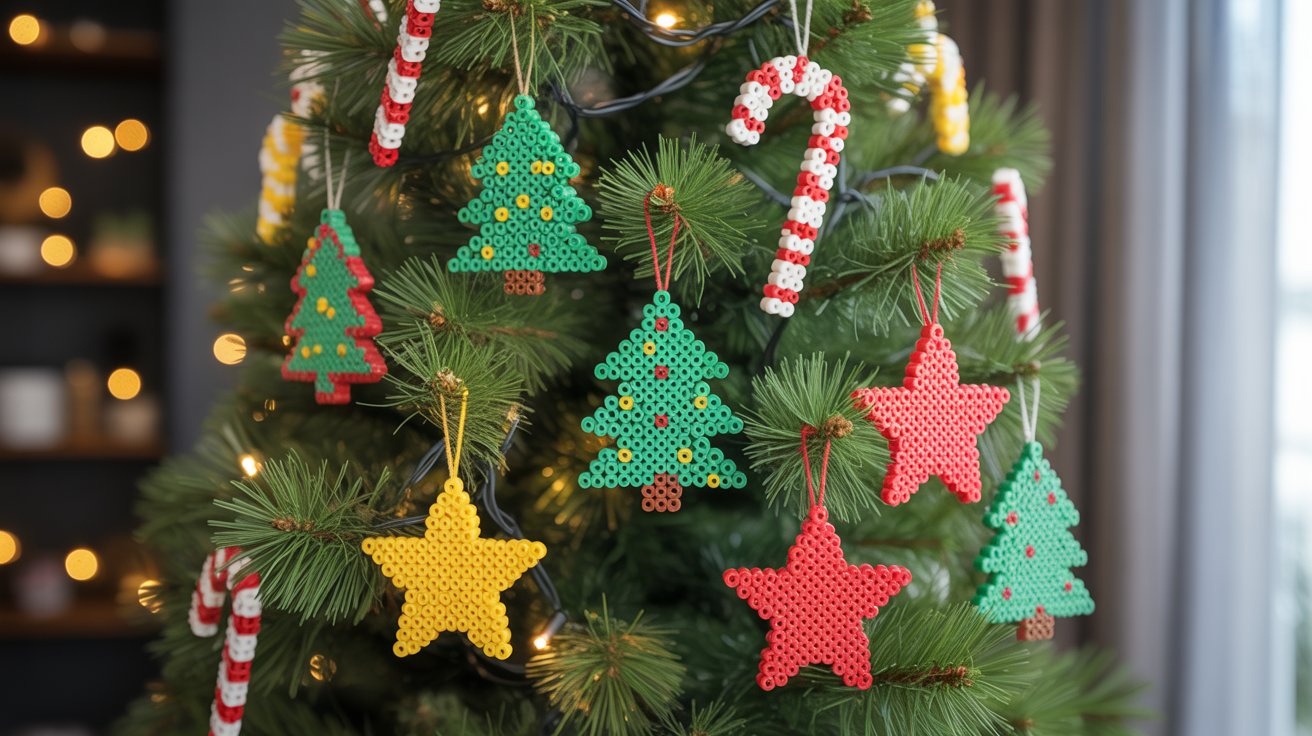
Create holiday shapes like stars, trees, snowflakes, or candy canes. Add a loop of string before ironing so you can hang them. These make great gifts or decorations for your own tree.
5. Perler Bead Bracelets
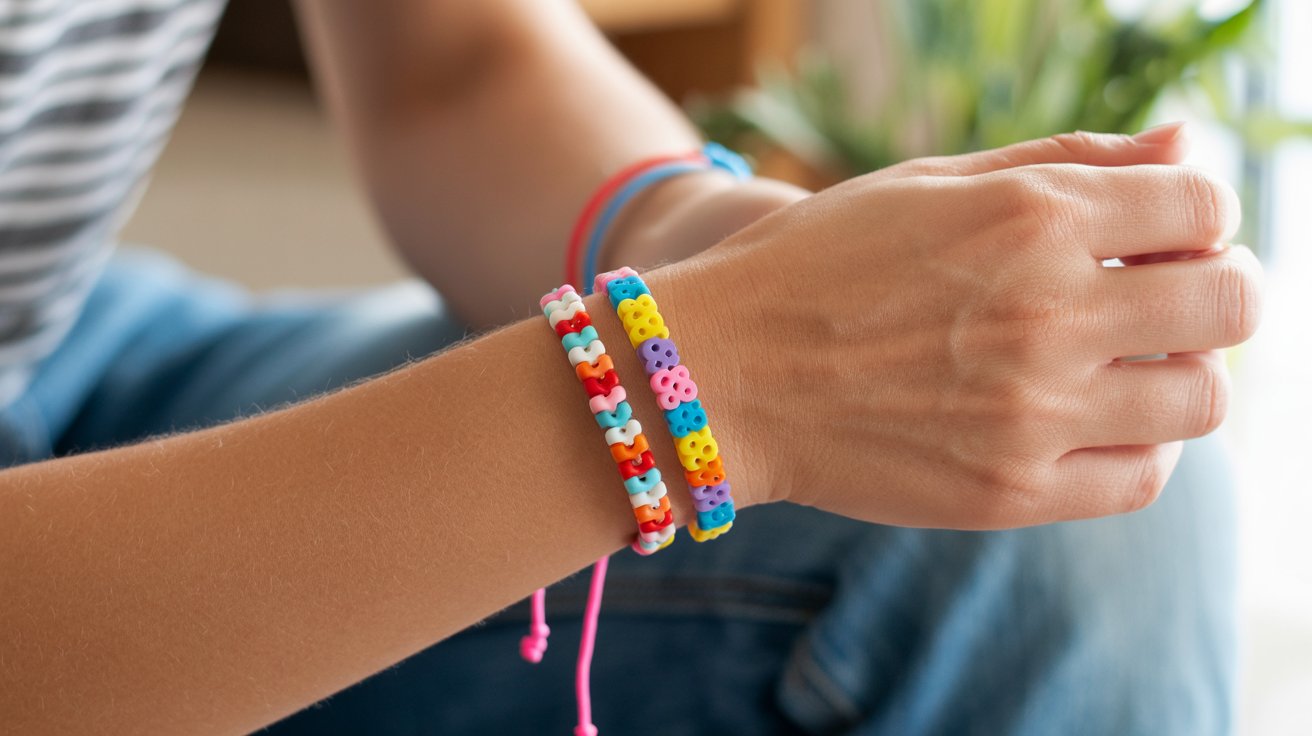
Thread beads onto elastic cord or string. Tie the ends together to make simple jewelry. No ironing required for this project. Kids love wearing these colorful bracelets.
6. Jar Art
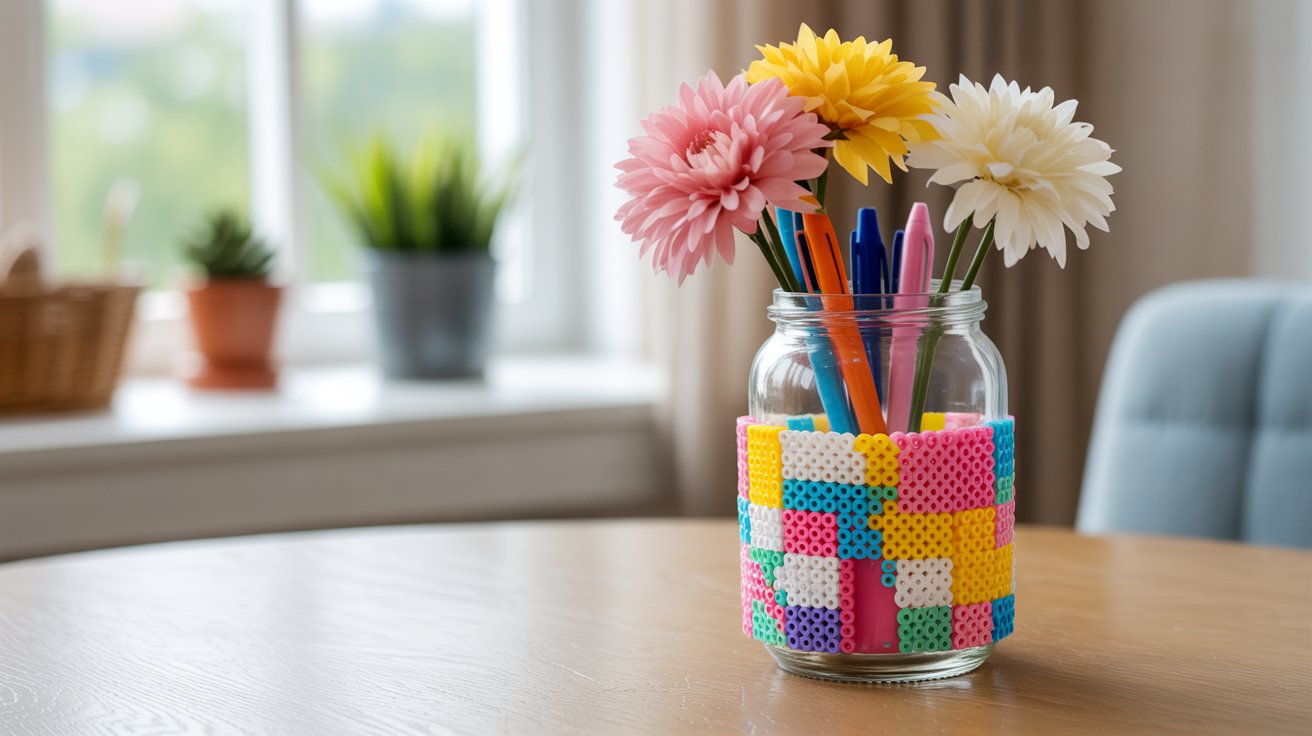
Glue-fused Perler bead designs onto glass jars. Use these decorated jars to hold flowers, candles, pens, or craft supplies. You can also glue loose beads directly to the jar surface for texture.
7. Keychains
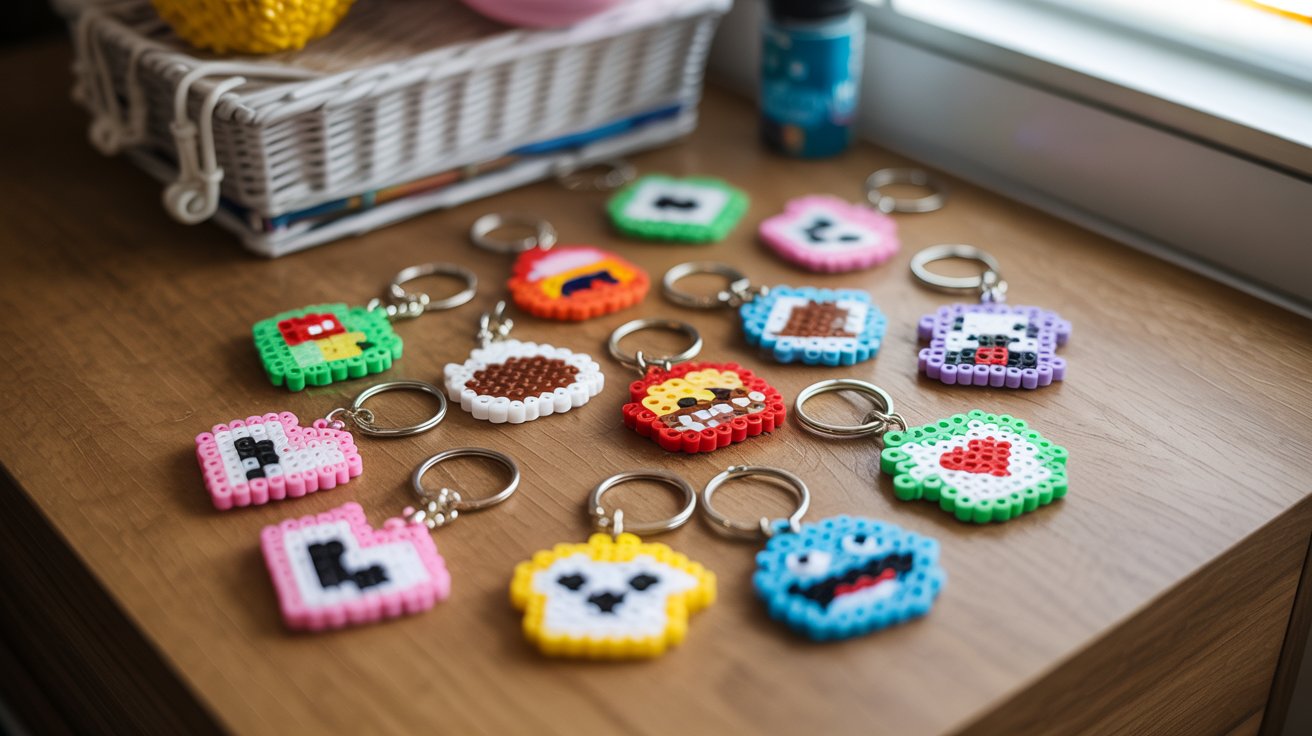
Make small designs and add keychain rings through a corner hole. Popular shapes include hearts, game characters, food items, and initials. These are perfect for backpacks, keys, or luggage tags.
8. Monogrammed Pouches
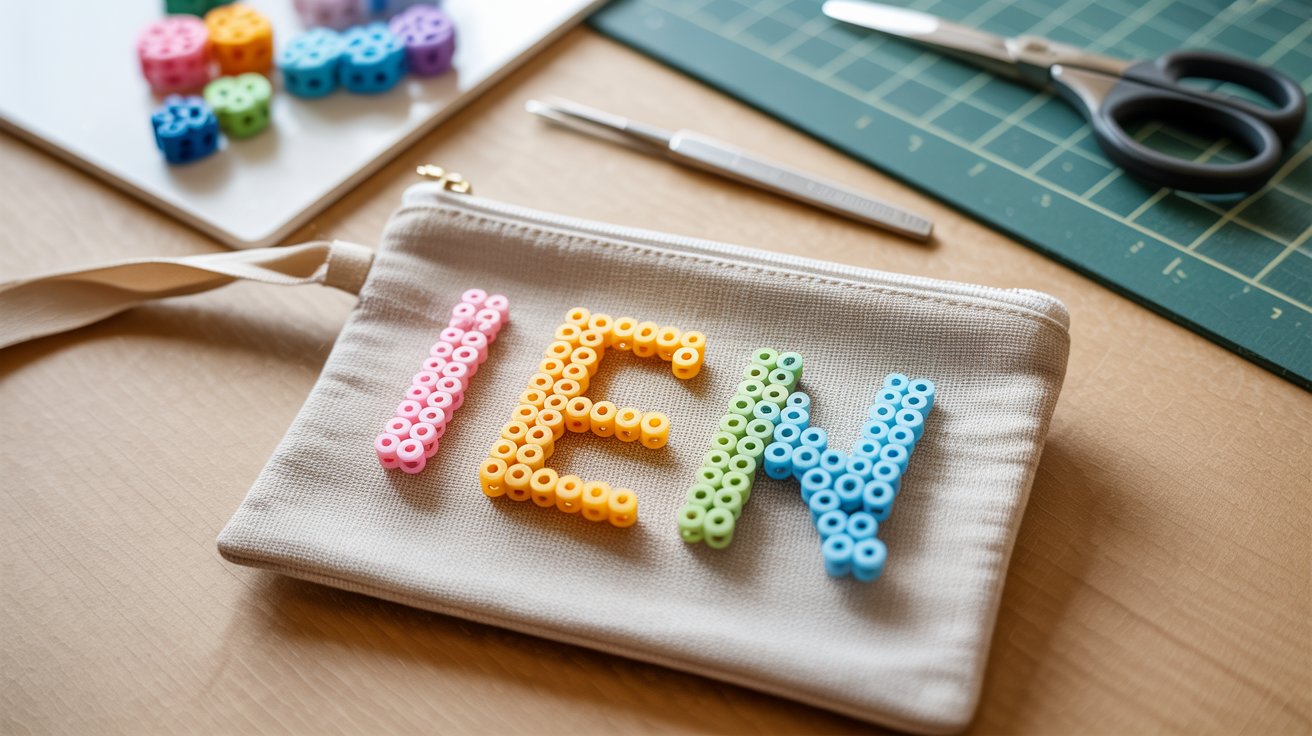
Create your initials with Perler beads, then sew or glue them onto fabric pouches or bags. Use embroidery thread to attach them securely. This personalizes plain pencil cases or makeup bags.
9. Wind Spinners
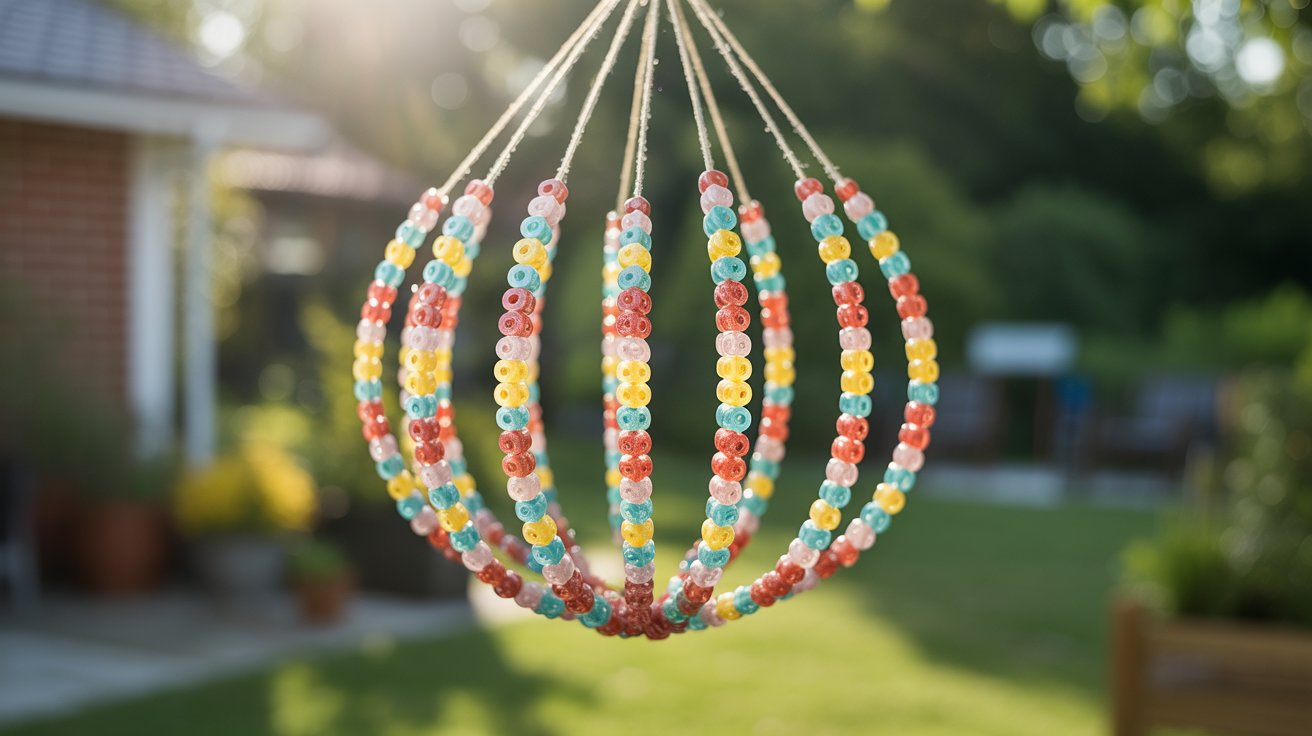
Make lightweight hanging decorations that spin in the breeze. Use a fishing line to connect several small fused pieces. Hang them near windows or on your porch where they catch sunlight.
10. Flower Pot Decor
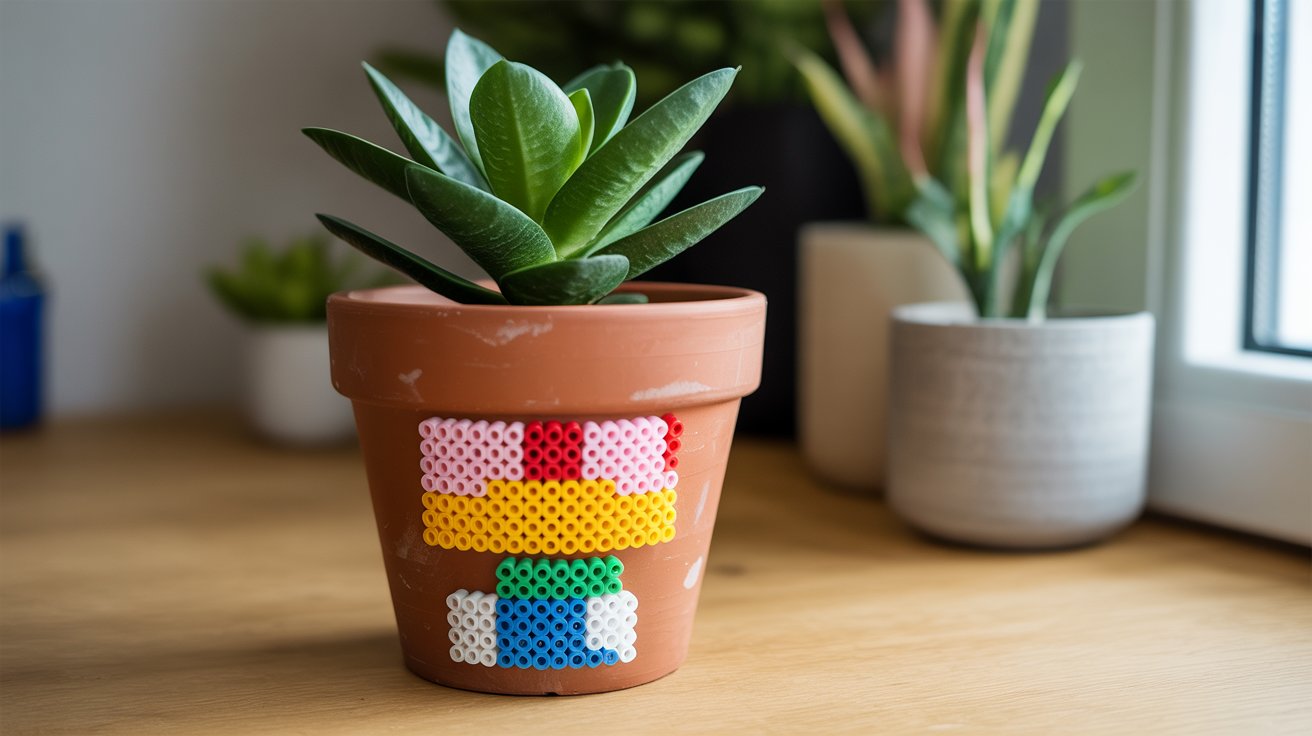
Glue fused designs onto terracotta or plastic pots. Make flowers, geometric patterns, or your favorite characters. This brightens up indoor plants or adds personality to patio gardens.
11. Picture Frame Decorations

Decorate plain photo frames with fused Perler bead designs. Create borders, flowers, geometric shapes, or themed accents. Glue the finished bead pieces onto wooden or plastic frames to display photos or artwork.
12. Star or Heart Wall Art

Use shaped pegboards to make wall hangings. Stars and hearts work well for bedroom decor. You can also spell words or make pixel art designs to frame and hang.
13. 3D Figures
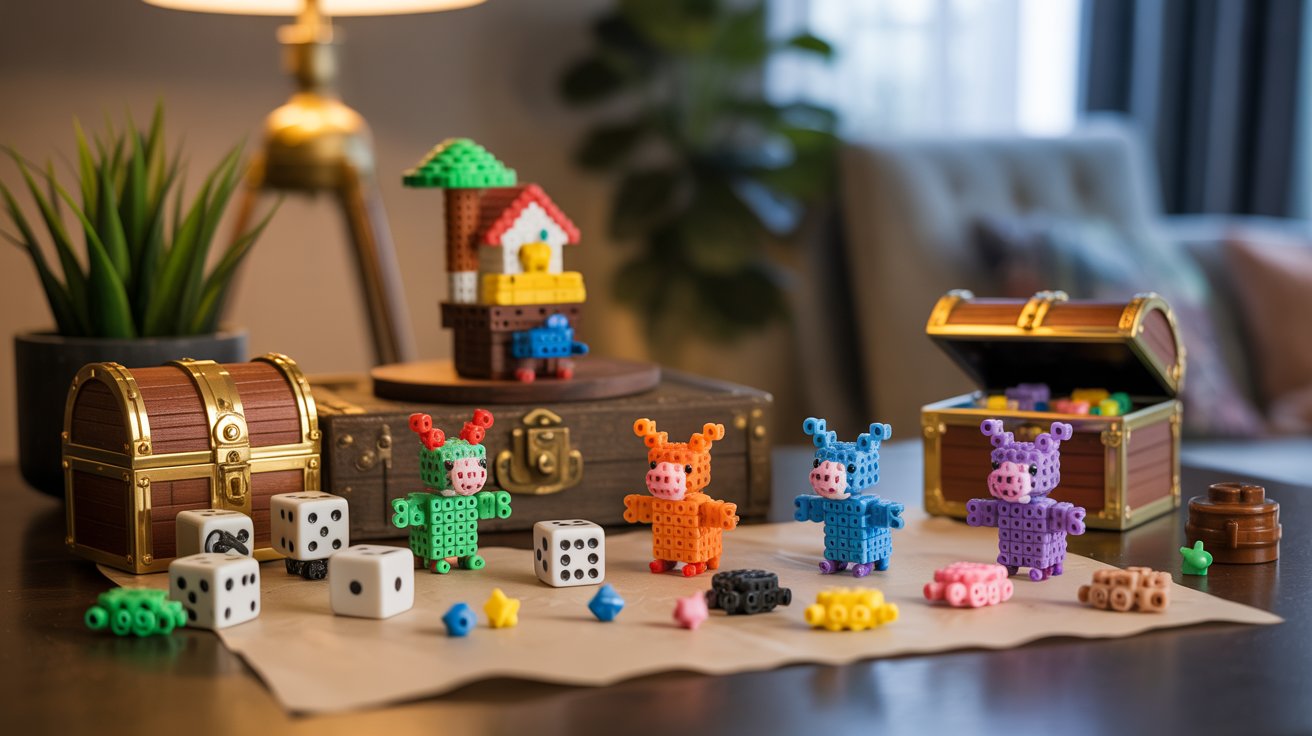
Build small three-dimensional animals, boxes, or characters. Make separate flat pieces, then glue them together at right angles. Popular projects include dice, treasure chests, and tiny houses.
14. Magnets
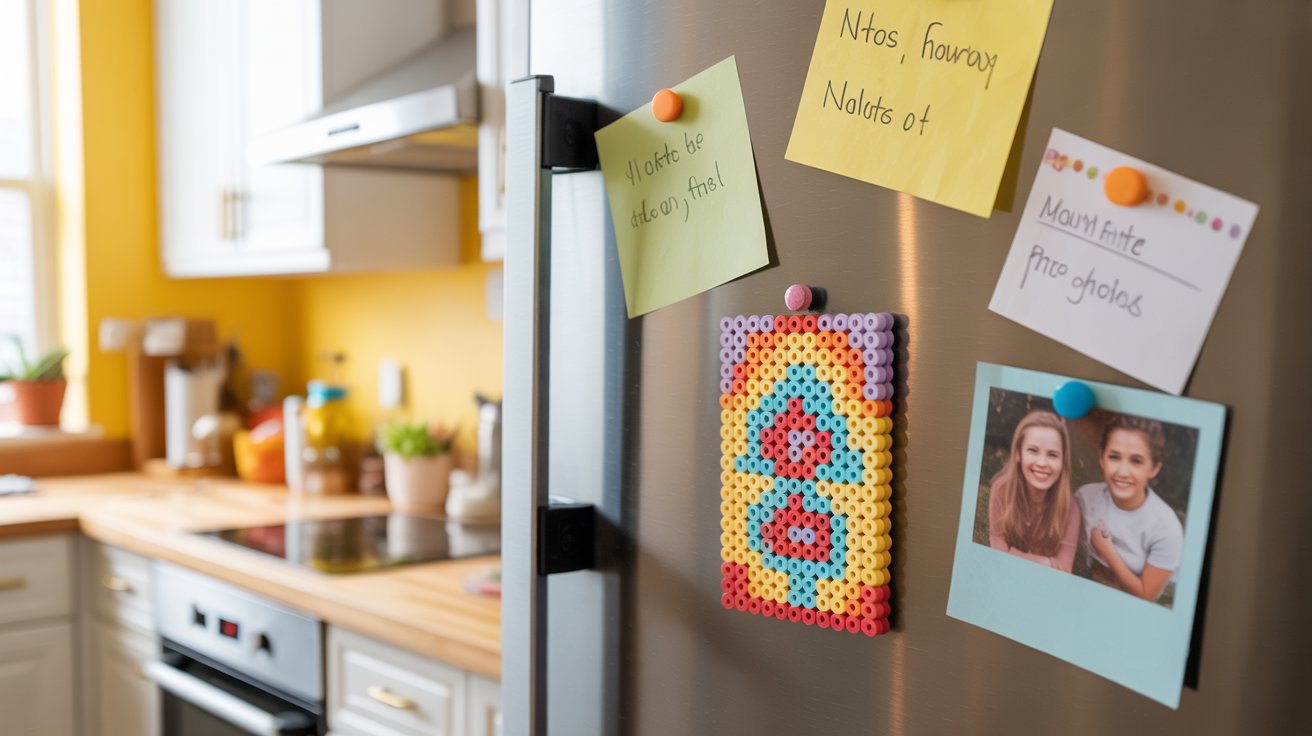
Glue finished designs onto adhesive magnet strips. Cut the magnet to fit your design. These make fun refrigerator decorations or can hold notes and photos.
15. Mini Game Pieces or Toys
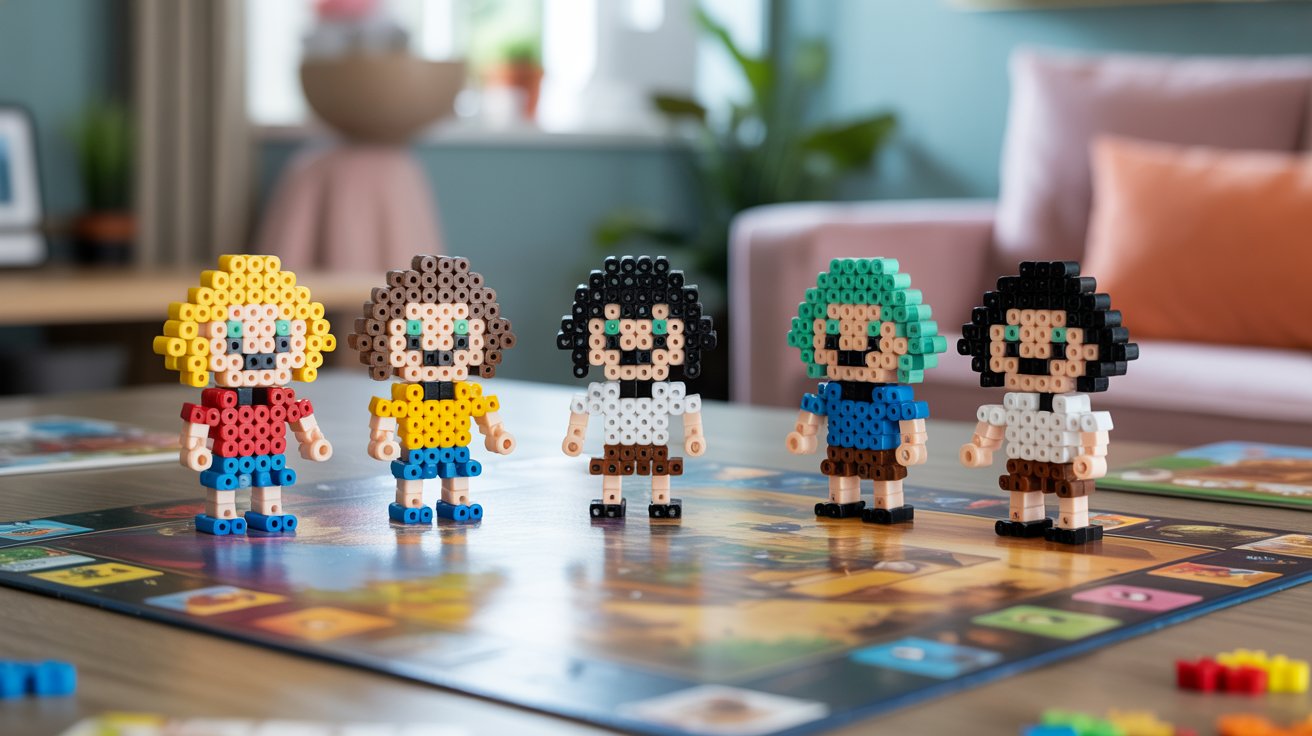
Create tiny pixel art versions of video game characters or board game pieces. Make your own custom game tokens. Kids enjoy arranging these as small toys or collectibles.
Tips for Successful Perler Bead Projects
These simple tips will help you create clean, professional-looking Perler bead projects every time.
- Keep your iron moving in small circles. Don’t press down in one spot too long, or you’ll melt the beads unevenly. Set the iron to medium heat. Too hot will melt the beads too much and ruin the shape. Too cool won’t fuse them properly, and they’ll fall apart.
- Check all edges before you flip your design. Make surethe beads have melted together at the borders and corners. If some spots look loose or separated, iron those areas a bit more. This prevents your design from breaking when you turn it over.
- Use tweezers to place small beads or fix mistakes. This gives you better control than using your fingers, especially for detailed work. Your designs will look neater and more accurate. Tweezers also help you adjust beads without messing up the surrounding pattern.
- Store beads in labeled containers with lids. Small plastic boxes with dividers work great for organization. This keeps colors from mixing together and saves you sorting time. You’ll find the exact shade you need quickly for your next project without digging through mixed beads.
- Iron on parchment paper for easy removal. Never iron beads directly or they’ll stick to your iron. Use fresh parchment paper for each side of your design. Let your project cool completely before removing it from the pegboard or it might warp or bend.
Conclusion
Perler bead crafts offer so many options for fun at home. You can make practical items like coasters or create decorative pieces for your walls. Try different color combinations and patterns to see what works best for you.
I love how relaxing it feels to arrange these tiny beads after a long day. There’s something calming about picking colors and watching your design come together.
Grab some supplies and start with a simple project today. Maybe try a keychain or coaster first.
Share your finished crafts with family or host a crafting session together. Get the kids involved too. What will you make first?
Frequently Asked Questions
What age is safe for Perler bead crafts?
Kids as young as 5 can arrange beads with adult supervision. Only adults should handle the hot iron. Younger children might need help with tiny beads and detailed patterns.
Can I reuse Perler beads if I make a mistake?
You can reuse beads before ironing them. Just pick them off the pegboard and try again. Once beads are ironed and fused together, you cannot separate or reuse them.
How long should I iron Perler beads?
Iron for about 10 to 30 seconds per side. Move the iron in circles with light pressure. The beads should look slightly melted together but still show their individual shapes.
Do I need special pegboards for different projects?
Basic square pegboards work for most crafts. Special shapes like circles, hearts, and hexagons help with specific designs. You can start with just one or two board shapes.
Can Perler bead projects get wet?
Finished projects can handle light moisture but shouldn’t soak in water. The beads are plastic and water-resistant. However, prolonged exposure might weaken the fused connections over time.