

I’m going to show you exactly how to fold a paper boat that actually floats.
You’ll learn the step-by-step process, common mistakes to avoid, and tricks to make your boat last longer on water.
Folding paper boats is one of those simple crafts that feels like magic the first time it works.
After folding hundreds of these boats and teaching this craft to both kids and adults, I’ve tested these techniques and know they work.
The best part? You only need one piece of paper and about five minutes.
Whether teaching kids or just want a quick creative break, this timeless craft never gets old. Let’s get folding.
What Is Paper Boat Origami?
Paper boat origami is a folded paper creation shaped like a small boat. You make it using just one piece of paper and your hands.
No scissors needed. No glue either.
The art comes from Japan, where origami means folding paper into different shapes. The paper boat is one of the most popular designs because it’s easy to learn and fun to use.
Kids love them because they float on water. Adults make them too, remembering their own childhood.
These boats work anywhere. At home, in school, or while waiting at a restaurant. All you need is a rectangular piece of paper.
These boats have been passed down through families for generations. Simple crafts like this stick around because they actually work.
Materials Needed for Paper Boat Origami
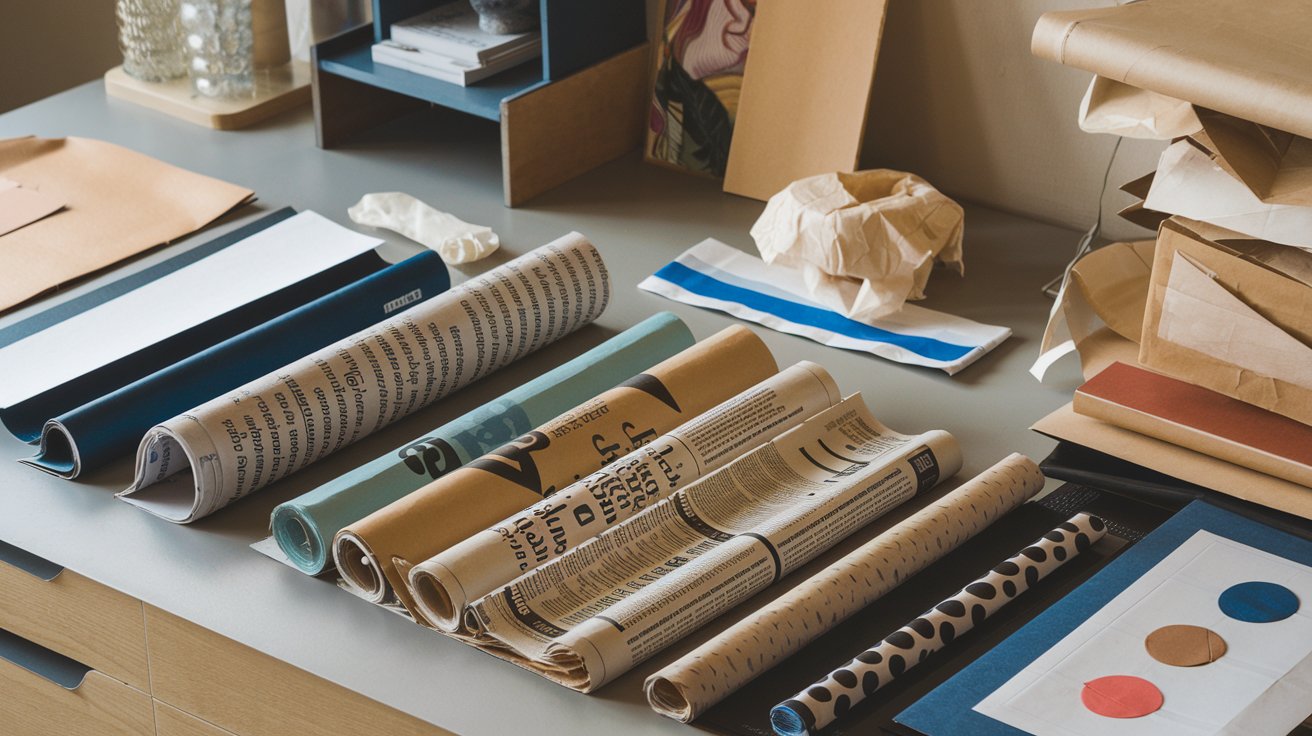
You don’t need much to make a paper boat. Here’s what works best:
- Standard printer paper (8.5 by 11 inches)
- Newspaper
- Magazine pages
- Wax paper or parchment paper
- Wrapping paper
- Your hands
That’s it. No fancy supplies required.
I keep a stack of paper on my desk just for folding. You never know when you’ll want to make a quick boat.
How to Make a Paper Boat Origami Step by Step
Making a paper boat takes about five minutes once you know the steps. Here’s the complete process.
Step 1: Prepare the Paper
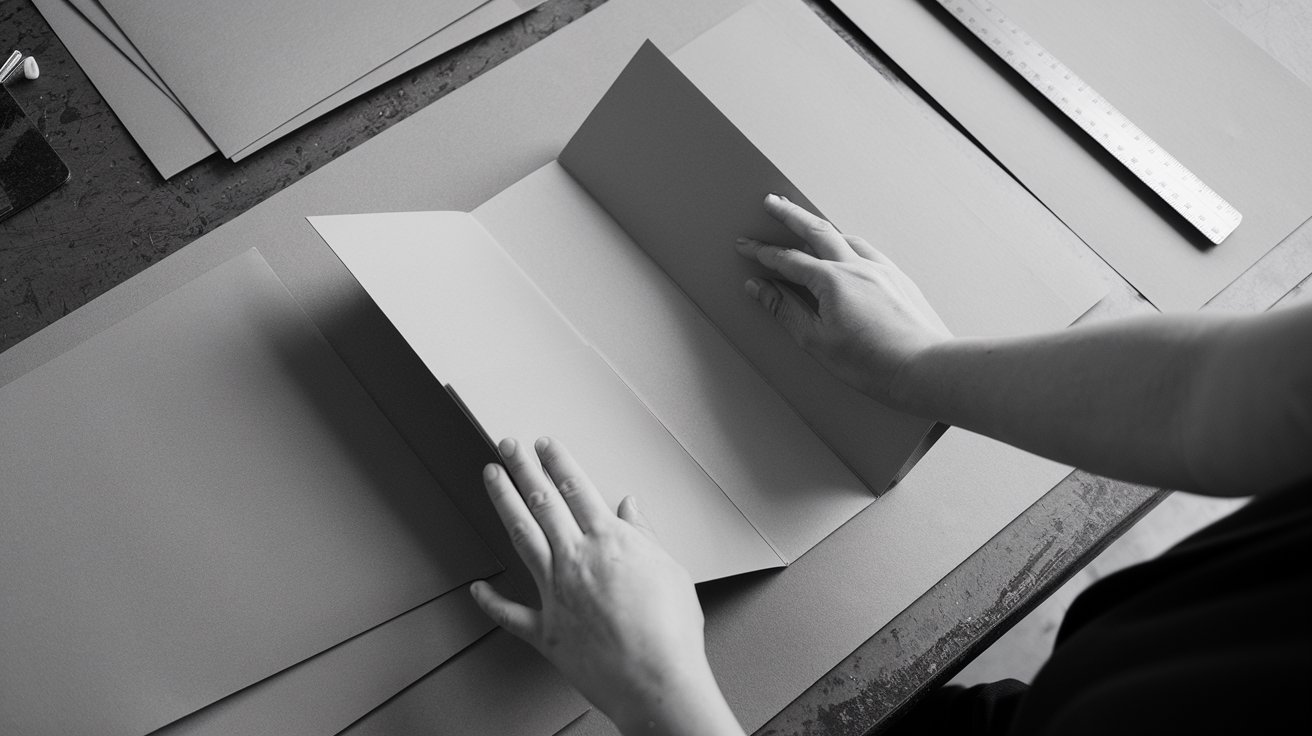
Start with your rectangular paper laid flat on a table. Position it vertically, like a portrait.
Fold the paper in half horizontally. Bring the top edge down to meet the bottom edge. Crease it well with your finger or thumb.
The crease needs to be sharp. A weak crease makes the rest harder.
Now you have a smaller rectangle with the fold at the top. Keep the folded edge at the top for the next steps.
Make sure the corners line up perfectly. If they don’t, your boat will be lopsided.
Step 2: Create the Base Folds
Take the top left corner and fold it down to the center. The corner should touch the middle of the bottom edge.
Do the same with the top right corner. Both corners now meet in the middle, forming a triangle shape on top.
You’ll have a rectangular flap at the bottom. This flap is important for later steps.
Press down on all the folds firmly. Weak folds lead to boats that fall apart.
At this point, your paper looks like a house with a pointed roof.
Step 3: Shaping the Boat
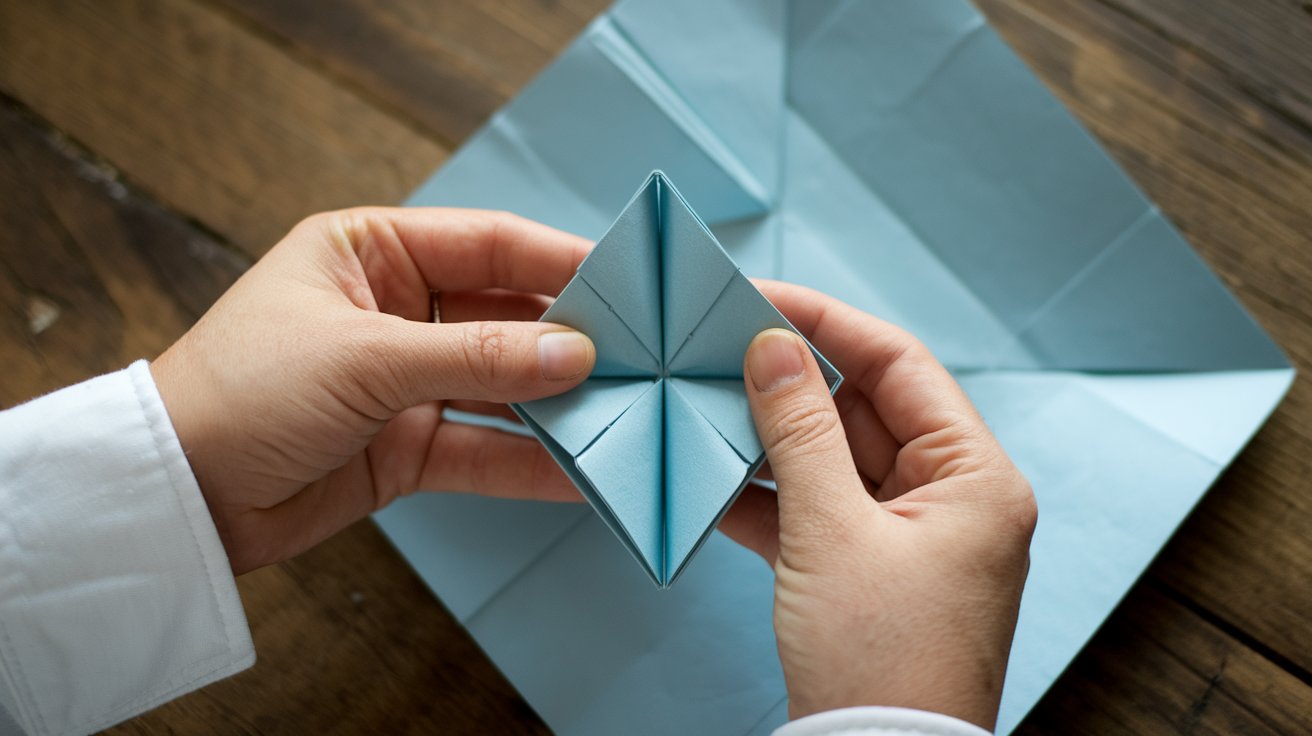
Grab the bottom flap on the front side. Fold it up against the triangle above it. Crease it well.
Flip the whole thing over. Fold the other bottom flap up the same way. Now you have a triangle with flaps on both sides.
Hold the triangle at the bottom center. Pull the two sides apart gently. The triangle will start to open.
Keep pulling until it forms a diamond or square shape. Flatten it down.
You should see two flaps at the bottom point of the diamond. Fold one flap up to meet the top point.
Flip it over and fold the other flap up the same way. You’re back to a triangle, but smaller this time.
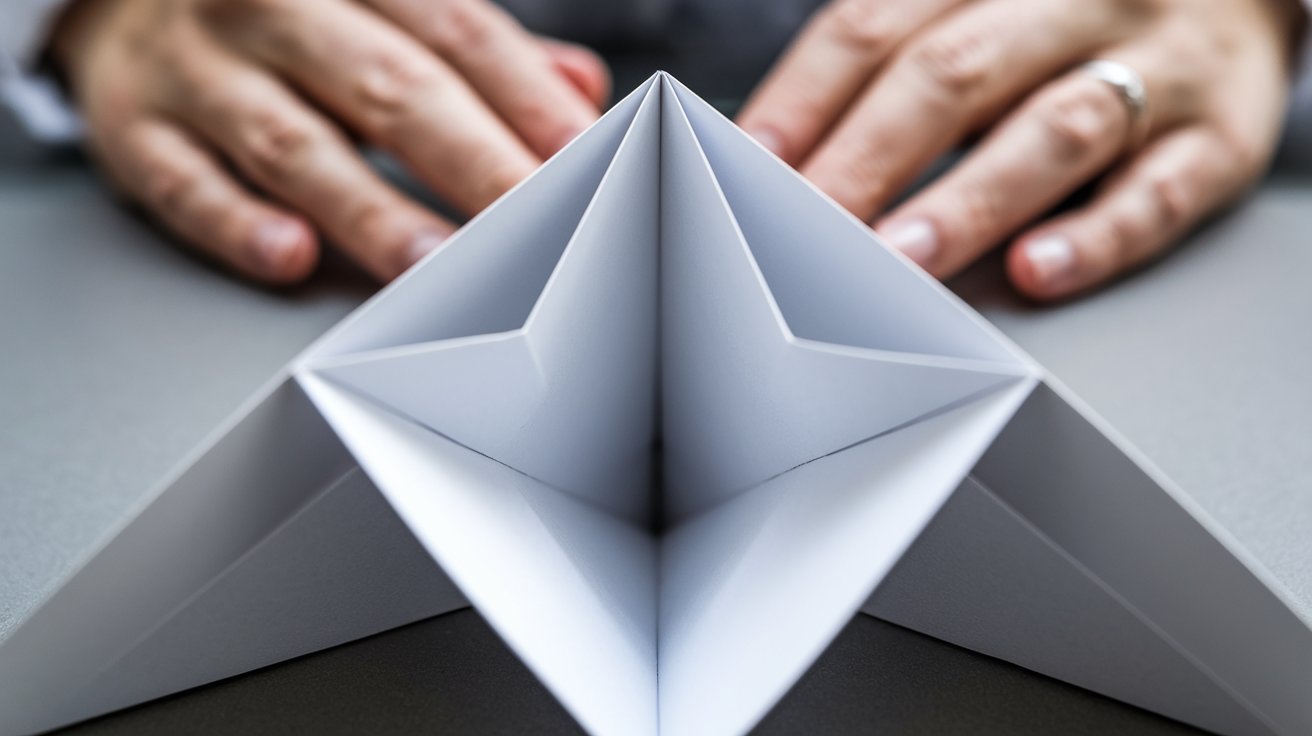
Step 4: Final Adjustments
Hold the bottom center of your triangle again. Pull the two sides apart just like before.
The shape opens into a diamond. Keep pulling gently.
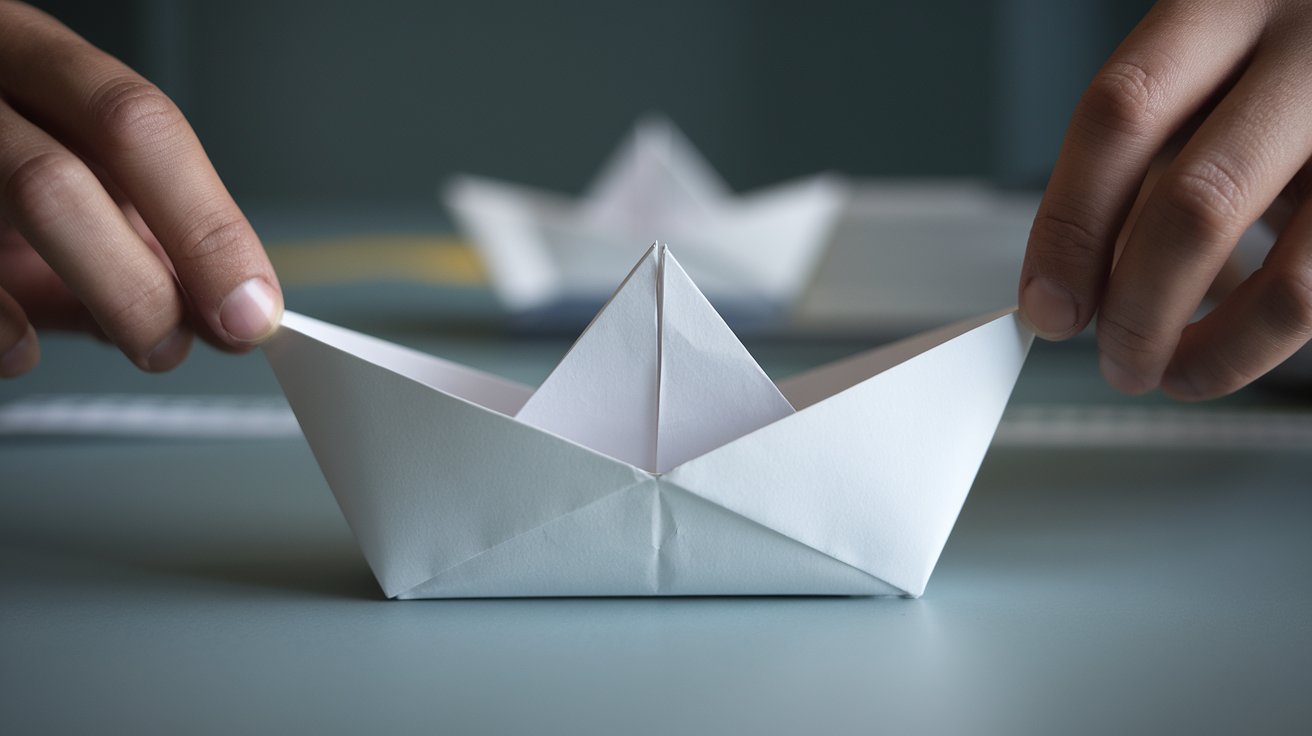
Now grab the two top points of the diamond. Pull them away from each other slowly and carefully.
Your boat will pop into shape. The bottom will flatten, and the sides will rise up. Adjust the sides to make them even. Press the bottom flat so the boat can sit on a surface.
Open the top slightly to give your boat more depth. This helps it float better.
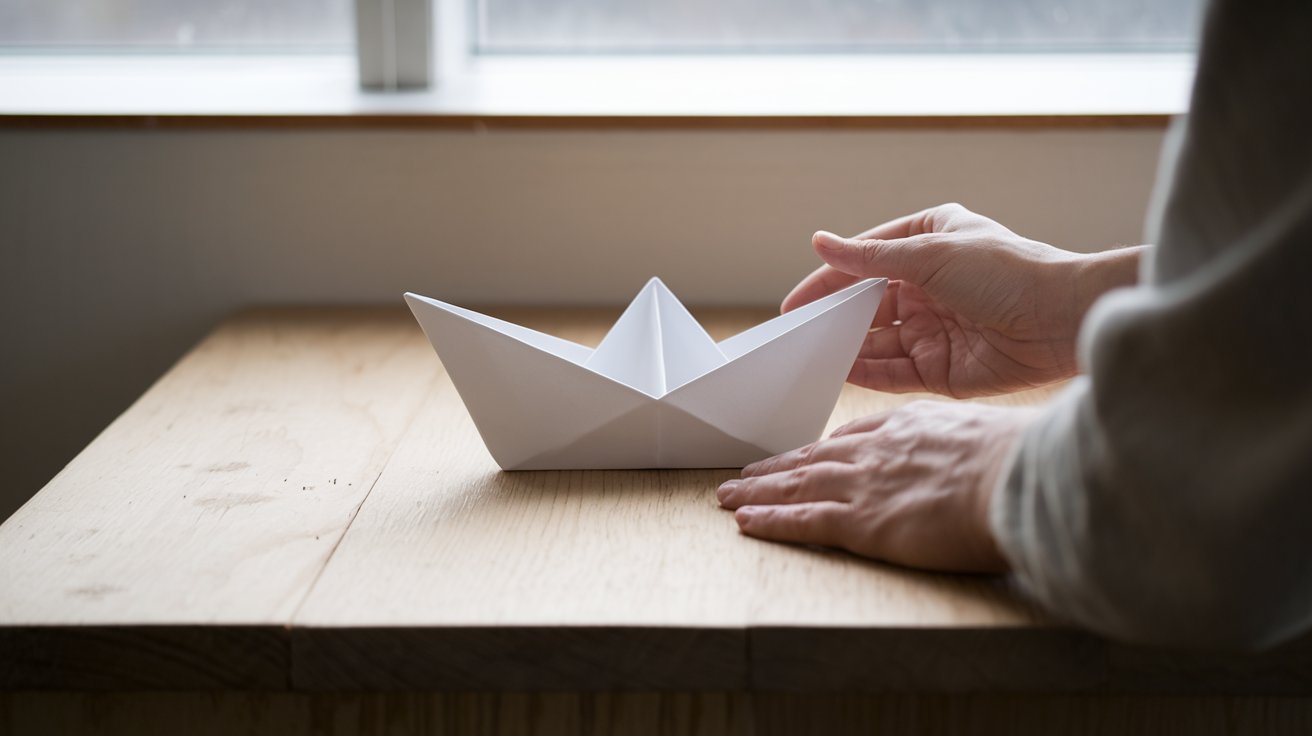
Your paper boat is done.
Paper Boat Origami That Floats Longer
Getting your paper boat to float longer takes a few tricks. These methods have been tested many times.
Use wax paper or parchment paper. The waxy coating keeps water out. Your boat will float for several minutes instead of seconds.
Rub a crayon on the bottom and sides of a regular paper boat. The wax from the crayon creates a waterproof layer. This actually works pretty well.
Spray the boat lightly with cooking spray. Just a quick spray on all surfaces helps repel water. Don’t use too much or the boat gets soggy.
Make tighter folds. The firmer your creases, the less water seeps in. Loose folds let water through the gaps.
Don’t overfill your boat. An empty boat floats better than one carrying cargo. If you want to add weight, use something light like a small toy or candy.
Some boats can last almost ten minutes in calm water. The secret is wax paper and very tight folds.
Common Paper Boat Origami Mistakes (and How to Fix Them)
Even experienced folders make mistakes sometimes. Here are the most common ones.
- Using paper that’s too thick: Cardstock doesn’t fold well for boats. Stick with regular weight paper.
- Not creasing firmly enough: Weak creases mean weak boats. Press down hard on every fold.
- Rushing through the steps: Going too fast leads to crooked boats. Take your time.
- Pulling too hard when opening the boat: The paper can rip if you yank the sides apart. Pull gently and evenly.
- Skipping the bottom flap folds: Those flaps are what give the boat its structure. Don’t skip them.
If your boat doesn’t look right, unfold it and start over. The paper might have a few extra creases, but it usually still works.
Creative Variations of Paper Boat Origami
Once you master the basic boat, different versions open up. Here are some fun ideas to try.
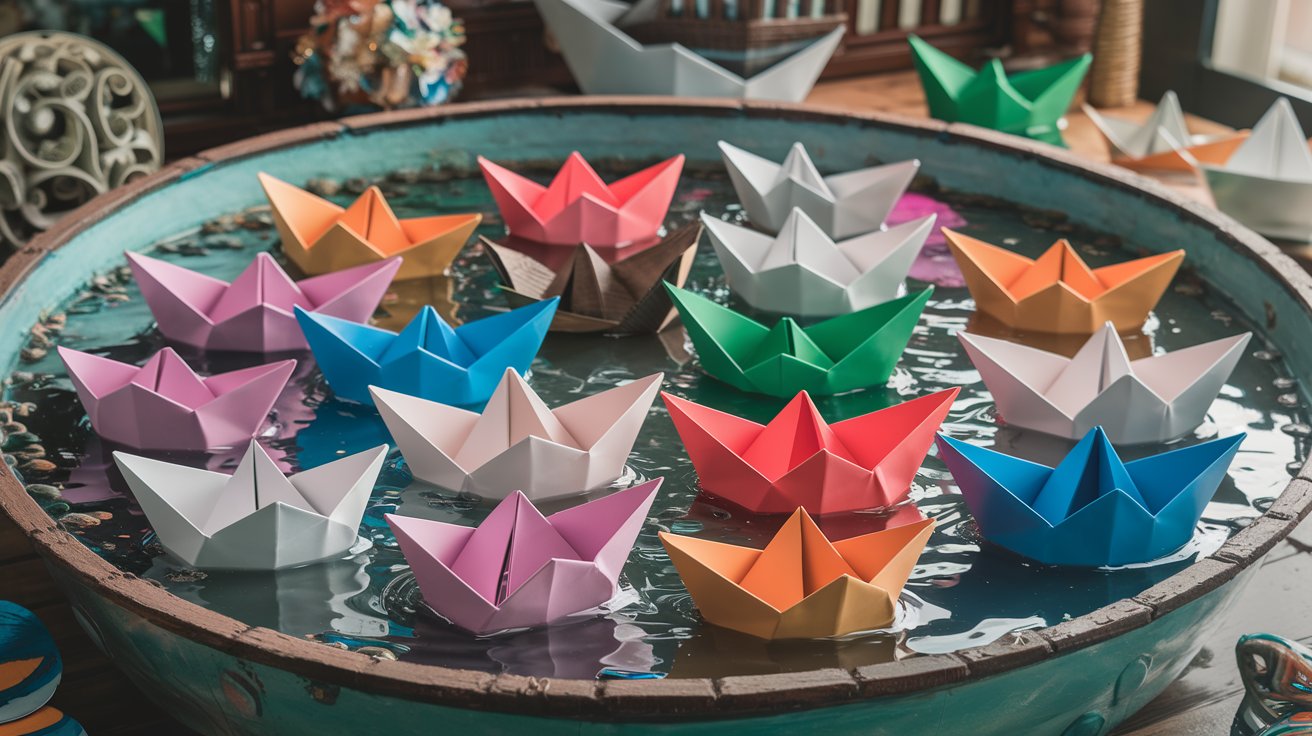
Make a fleet of tiny boats. Use sticky notes or small squares of paper. Mini boats look cute floating together in a bowl.
Fold boats from maps. Old maps create boats that tell a story. Each boat shows a different place.
Make double-decker boats. Stack two boats by placing one inside another. They don’t float as well but look cool.
Create sailboats by adding a toothpick and paper sail. Poke a small hole in the bottom, stick in a toothpick, and attach a triangular paper sail.
Write messages inside before folding. Open the boat to reveal a secret note. Kids love this version.
Make seasonal boats. Use red and green paper for holidays, or pastels for spring.
Host a boat decorating contest. Give everyone the same paper and let them add their own style with markers or paint after folding.
Final Thoughts
Paper boat origami is a simple craft that anyone can master.
You’ve learned the complete folding process, how to make boats float longer, and creative ways to customize them.
The real fun starts when you share this skill with kids or friends who’ve never tried it before.
Don’t worry if your first few boats aren’t perfect. Practice makes the folds smoother and faster.
Try different papers to see which ones work best for you. Grab some paper right now and fold your first boat.
Then make it with someone else and watch their face light up when it actually floats.
Frequently Asked Questions
What type of paper works best for paper boat origami?
Regular printer paper works great for beginners. It folds easily and holds its shape well. Wax paper or parchment paper makes boats that float longer because they resist water better.
How long does a paper boat float?
A regular paper boat floats for 30 seconds to 2 minutes before getting too soggy. Wax paper or treated boats can float for 5 to 10 minutes or longer depending on the paper quality.
Can you reuse a paper boat after it gets wet?
No, once a paper boat gets wet, it loses its shape and strength. The paper becomes soft and tears easily. You’ll need to fold a fresh boat each time you want to float one.
Is paper boat origami suitable for young children?
Yes, kids aged 5 and up can make paper boats with adult help. Younger children might need assistance with the trickier folds. Using larger paper makes it easier for small hands to manage.
Can you make paper boats with newspaper?
Yes, newspaper works well for paper boats. The boats end up larger and more fragile than ones made from printer paper. They also get soggy faster, but they’re perfect for quick fun in puddles or bathtubs.