

Making a party hat out of paper is easier than you think. No store run needed. No fancy tools required.
In this article, I'll show you exactly how to make one at home, step by step. You'll also find decoration ideas, common mistakes to skip, and quick tips for a better result.
I've made dozens of these for kids' birthdays and school events, so trust me, this works. Whether it's a last-minute party or a fun craft afternoon, this guide has you covered.
What Is a Paper Party Hat and Why Make One
A paper party hat is a cone-shaped hat made from paper, held in place by a string or elastic band. You've seen them at birthdays, New Year's parties, school events, and baby showers.
They are light, colorful, and easy to make at home with paper you already have. Making your own saves money and gives you full control over colors, sizes, and designs.
Kids love helping with the process, and homemade hats feel far more personal than anything bought from a store. Whether it's a classroom party, a holiday craft session, or a last-minute birthday celebration, paper party hats are always a good idea.
Materials Needed to Make a Party Hat Out of Paper
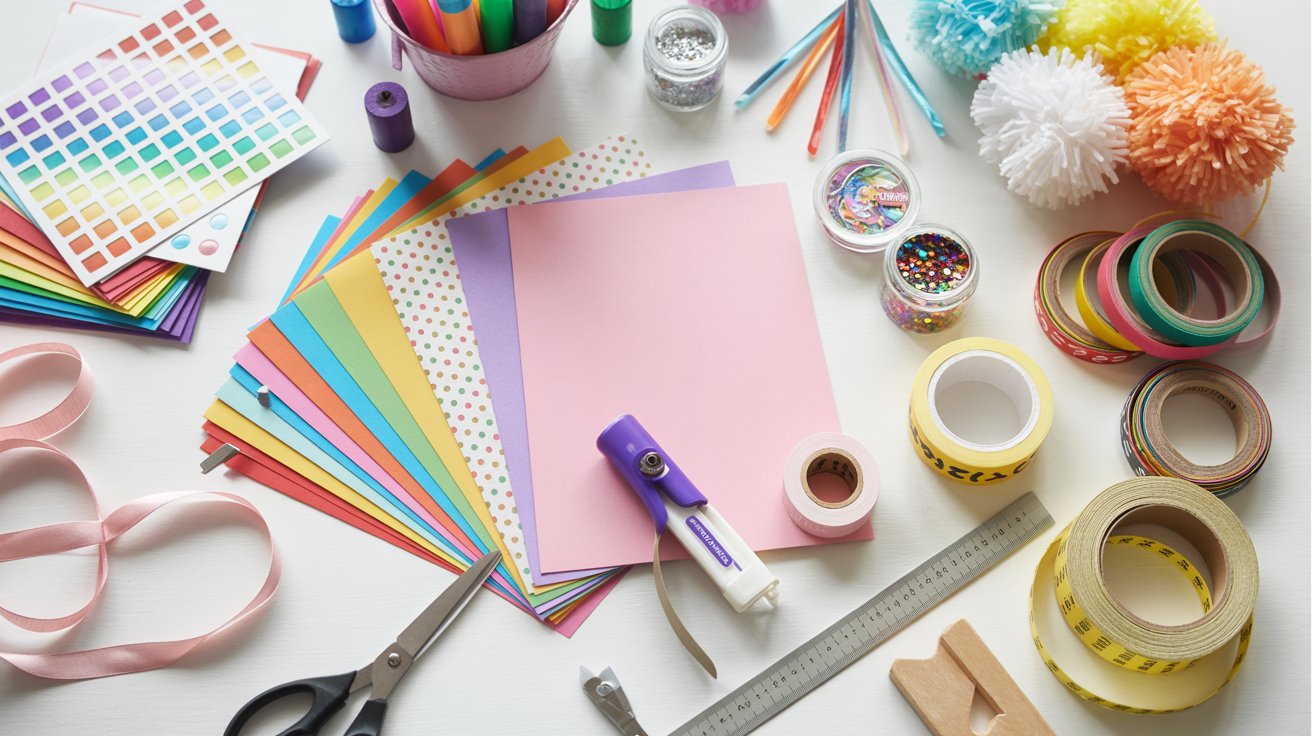
Gather these simple supplies before you start. Most of them are already in your home.
Essential Supplies
- Cardstock or construction paper
- Scissors
- Glue or double-sided tape
- Hole punch
- Elastic string or ribbon
Optional Decoration Items
- Stickers
- Markers
- Glitter, pom-poms
- Ribbons, washi tape
You don't need all of these. Start with the basics. Add decorations based on what you have at home.
Step-by-Step Guide to Make a Party Hat Out of Paper
Follow these simple steps carefully and you'll have a perfect paper party hat in no time.
Step 1: Choose and Prepare Your Paper
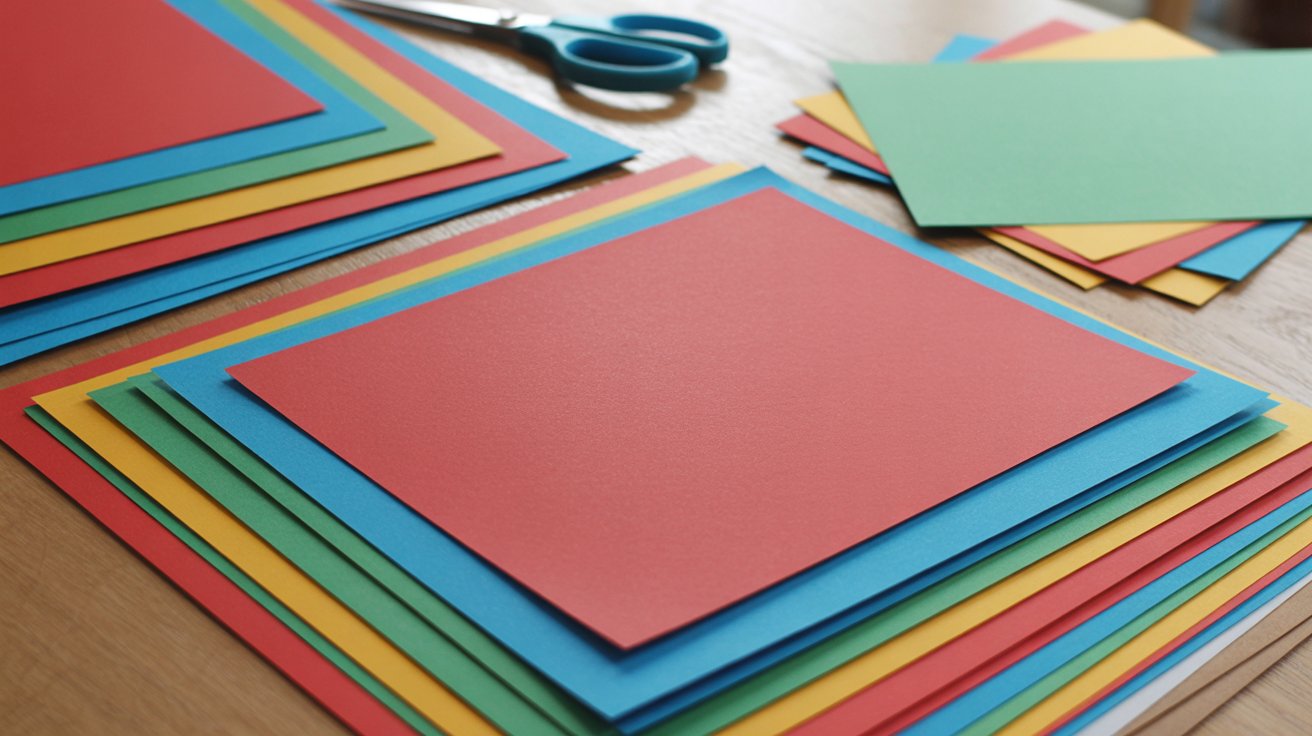
Start by picking your paper color or theme. Bright colors like red, blue, yellow, and green work well for birthdays. You can also use patterned paper. Make sure the paper is not too thin.
Thin paper tends to tear or lose its shape when rolled into a cone. Cardstock is the best choice. It is firm but still easy to roll. Cut your paper into a large square shape before you start.
Step 2: Draw and Cut the Circle Template
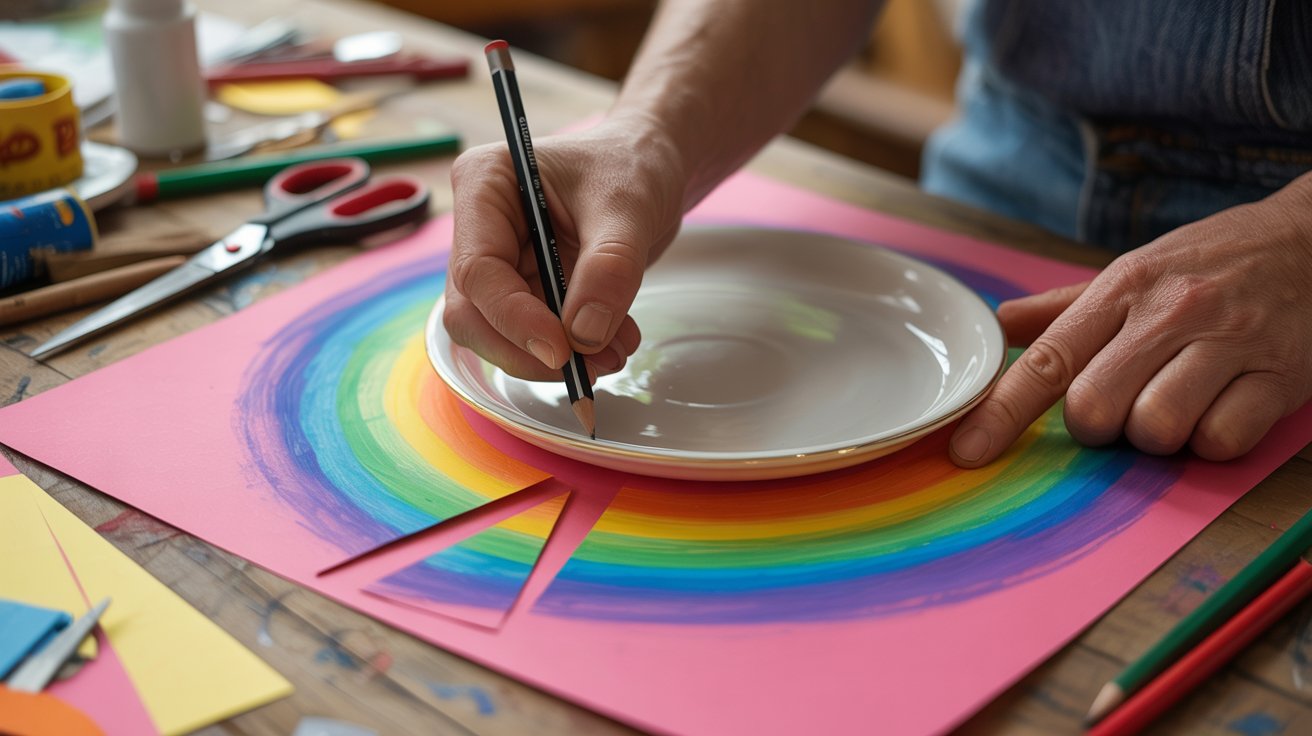
Place a large round object on your paper. A dinner plate or a bowl works well. Trace around it with a pencil. Cut out the circle. Now, cut a straight line from the edge of the circle to the center point.
Think of it like cutting one slice out of a pizza. This wedge cut is what allows the paper to form a cone shape. The size of the wedge you cut out will affect how tall or wide the hat turns out.
Step 3: Form the Cone Shape
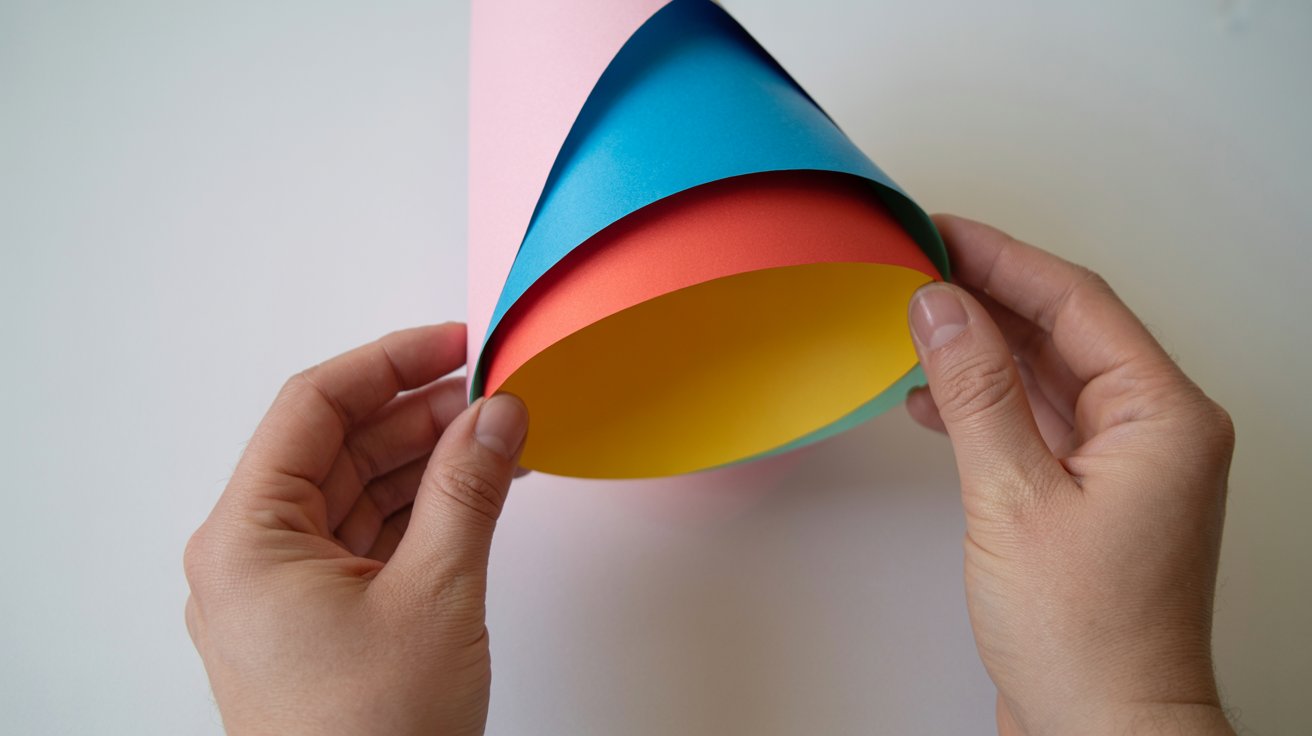
Hold the circle with the cut section in front of you. Gently pull one side of the cut over the other. Start rolling it into a cone shape. Keep adjusting until the cone fits comfortably on the head.
A good fit means it sits snugly but does not squeeze. The point at the top should be tight. The open end at the bottom should be wide enough to rest on the head without falling off.
Step 4: Secure the Hat
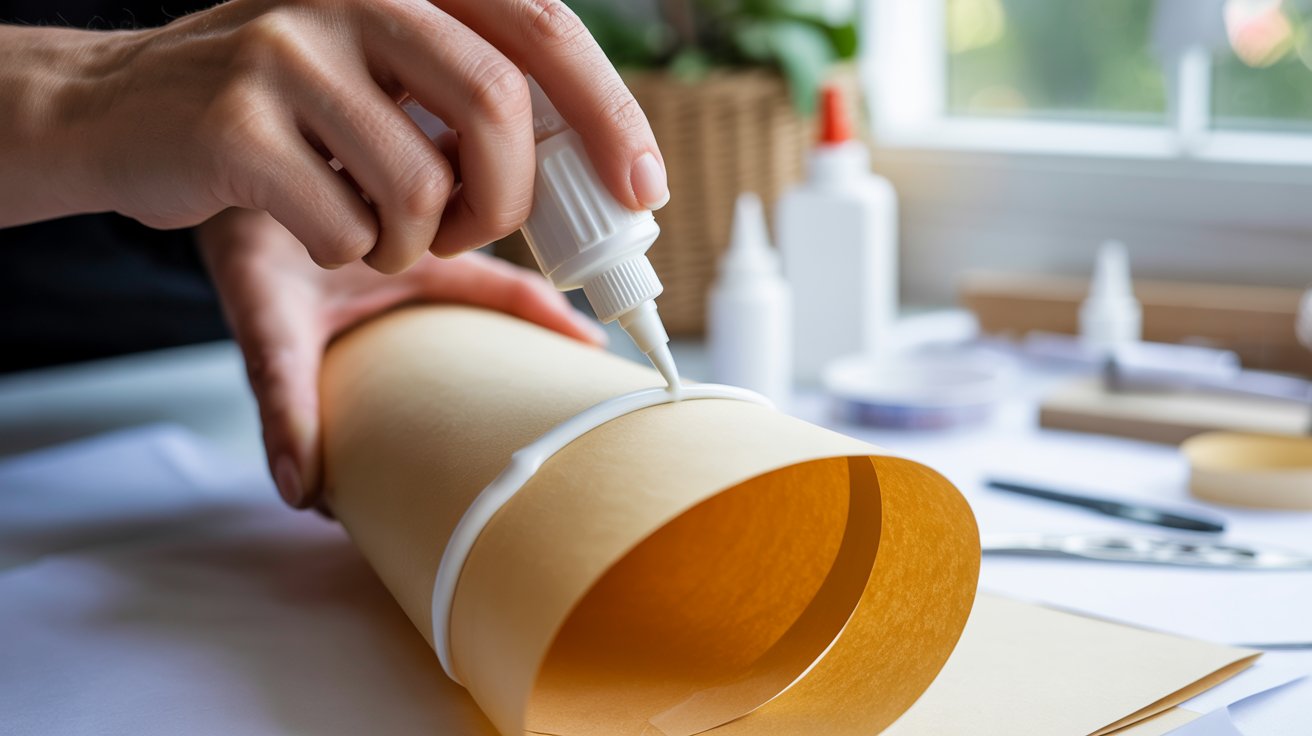
Once you are happy with the cone shape, hold it in place. Apply glue along the edge where the two sides of the paper overlap. Press firmly and hold for about 30 seconds.
You can also use double-sided tape for a quicker and cleaner result. Make sure the overlap section is fully sealed. If there are any gaps, apply a second layer of glue.
Let it dry fully before moving to the next step.
Step 5: Add Elastic or Ribbon Strap
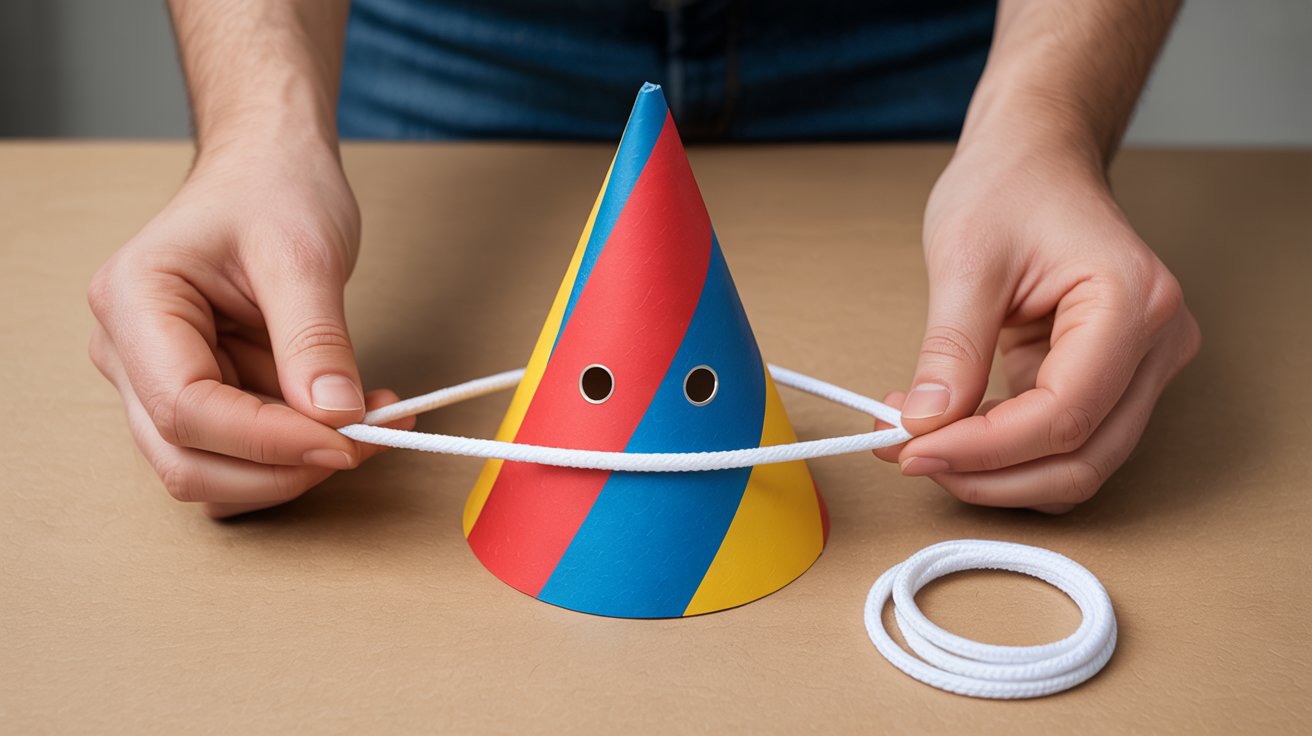
Use a hole punch to make one small hole on each side of the hat. The holes should be near the bottom open edge. Cut a piece of elastic string long enough to go under the chin comfortably.
Thread one end through each hole. Tie a small knot on both ends to keep the string in place. Test the fit by placing the hat on the head. Adjust the string length if needed.
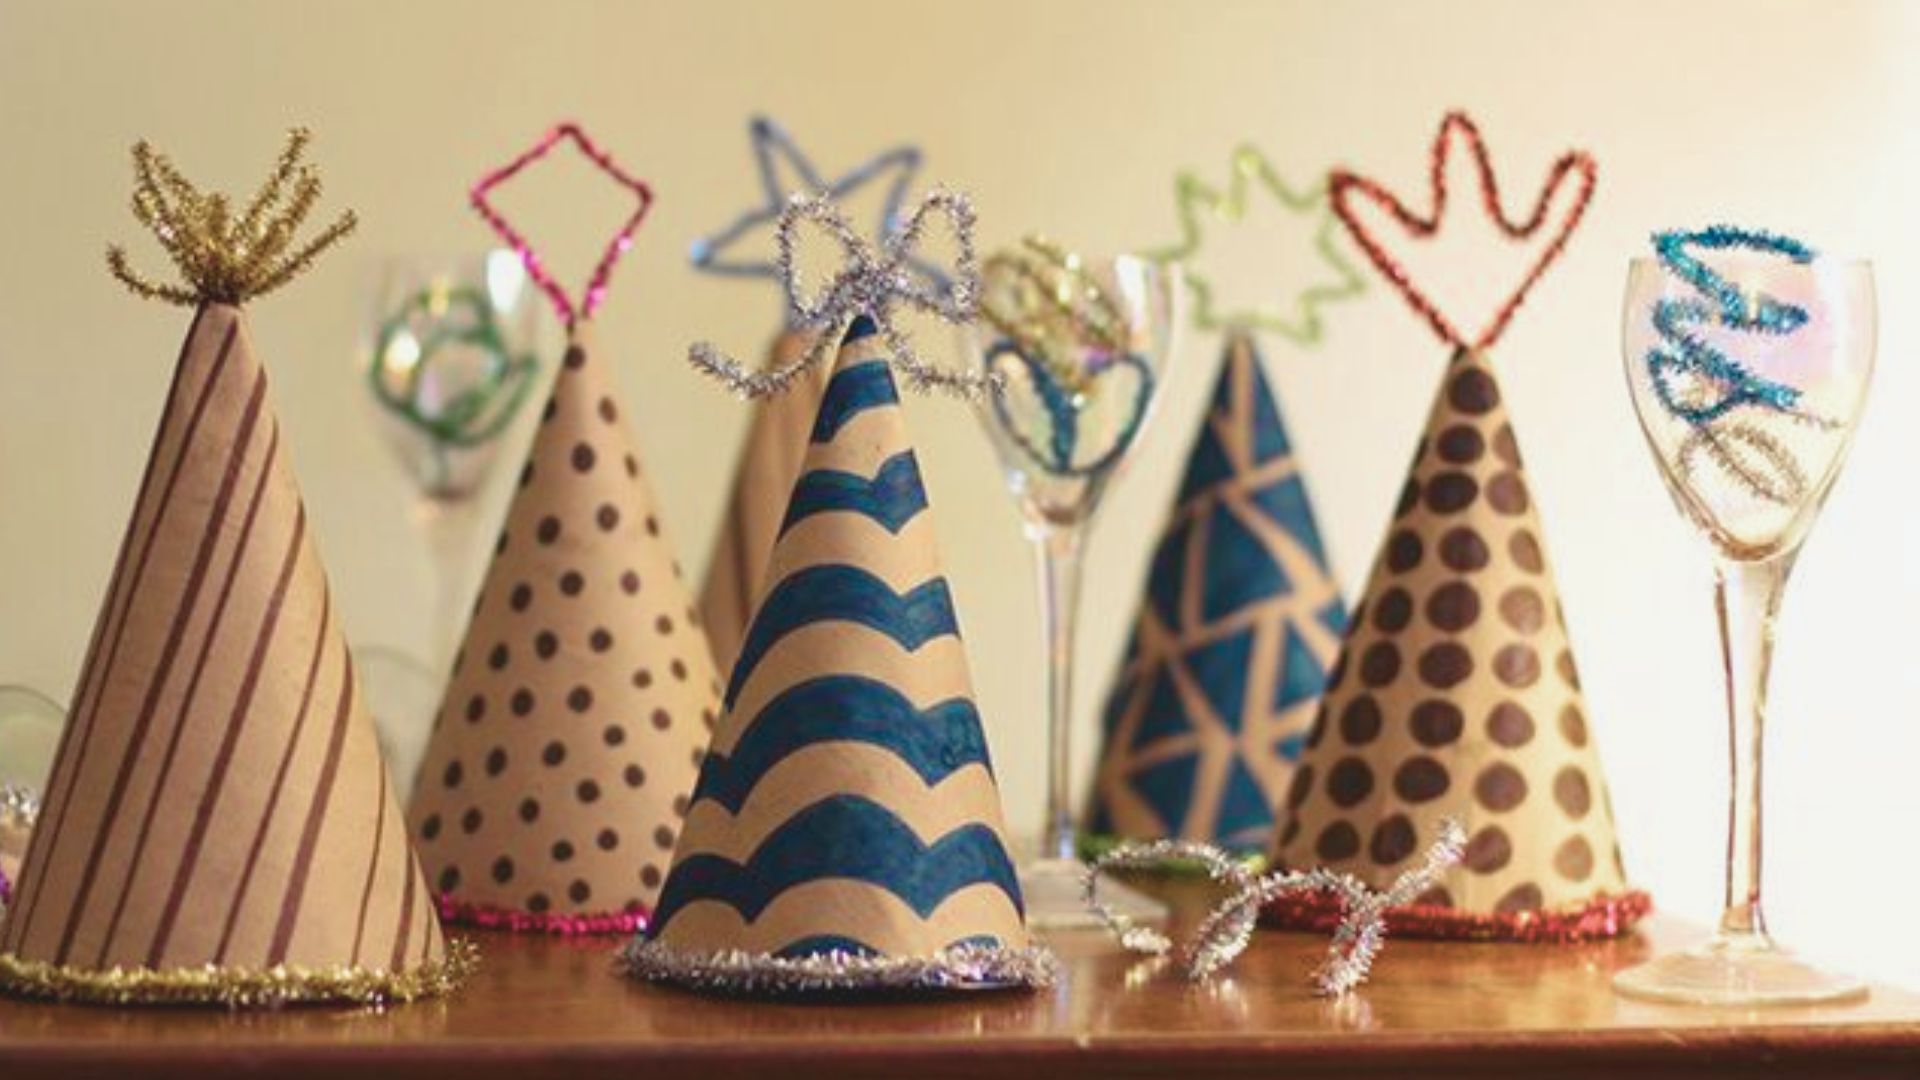
Step 6: Decorate Your Party Hat
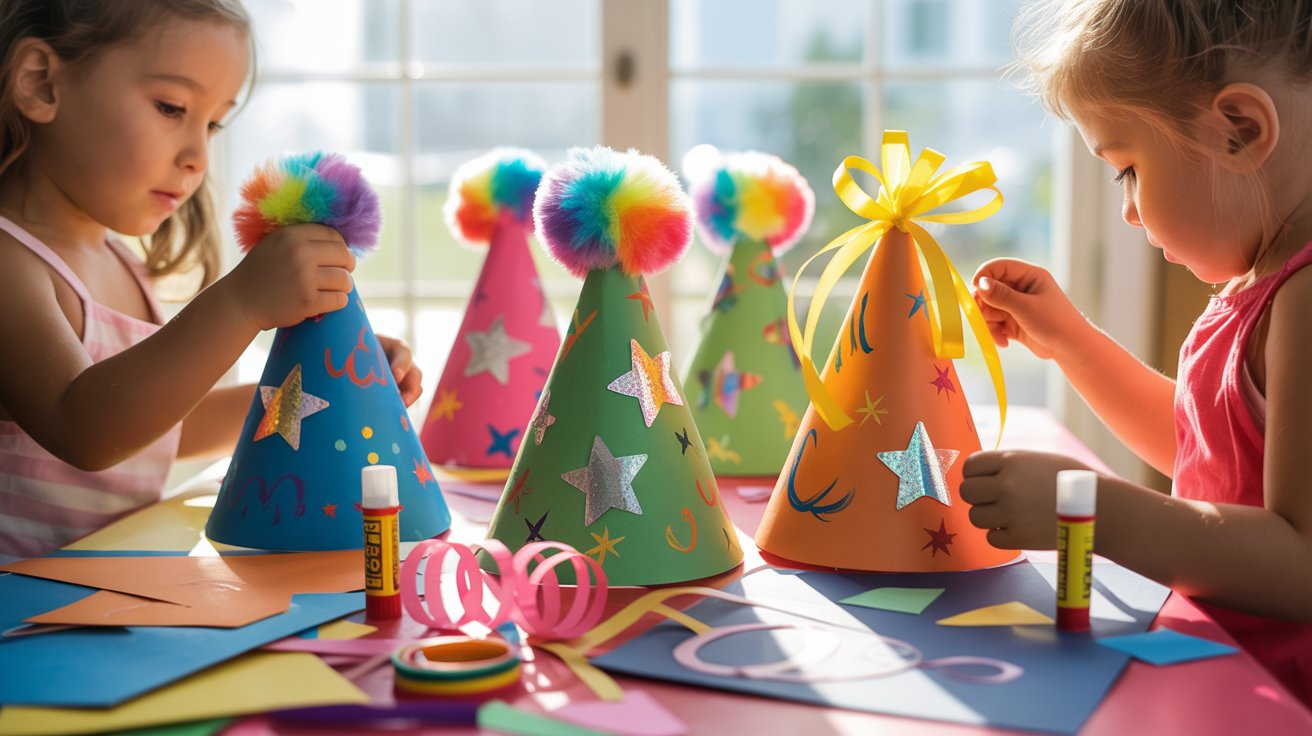
Now the fun part begins. Use markers to draw patterns, names, or fun designs. Add stickers, glitter, or pom-poms on the outside. Glue a ribbon around the base. You can even add a tissue paper pom-pom to the tip of the cone.
Let your creativity lead the way. If you are making hats for kids, let them decorate their own. It makes the party feel more personal and fun.
Quick Tips for Best Results
Small tips can make a big difference in how your hat looks and holds together.
- Use cardstock or heavy construction paper. Thin paper tears easily and loses shape when rolled.
- Measure the head size before cutting. The cone base should be about 20 to 22 centimeters wide for an adult.
- Use just enough glue to seal the edges. Too much makes the paper soggy and slow to dry.
- Double-sided tape is a cleaner option. It bonds instantly and keeps the paper smooth.
- Let the glue or tape fully dry before decorating. Rushing this step can cause the cone to pop open.
Easy Decoration Ideas for Party Hats
Get creative with these fun and simple decoration ideas that work for any theme or age group.
Simple Designs for Kids
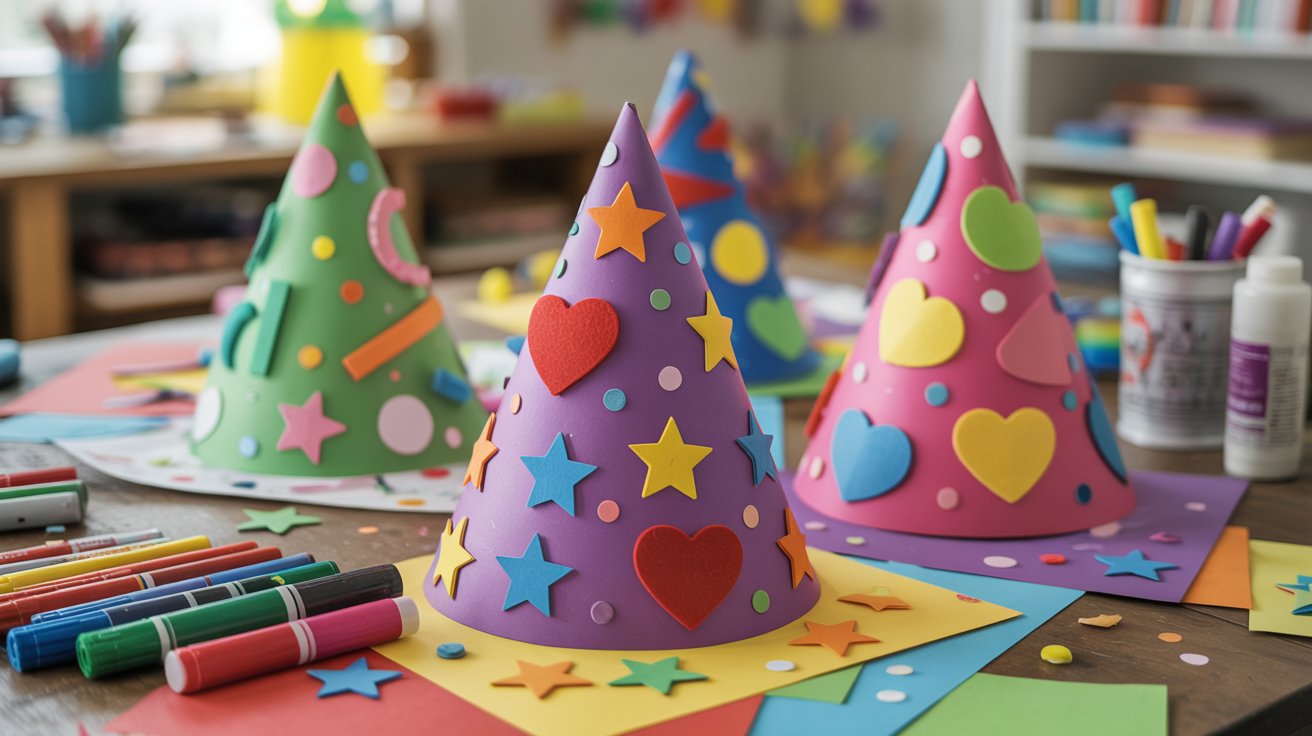
Kids love bright colors and simple patterns. Use thick markers to draw stars, hearts, or polka dots. Let them add stickers of their favorite characters.
You can also use foam stickers for a 3D effect. Keep it simple and fun. The more colorful, the better for younger children.
Theme-Based Party Hats
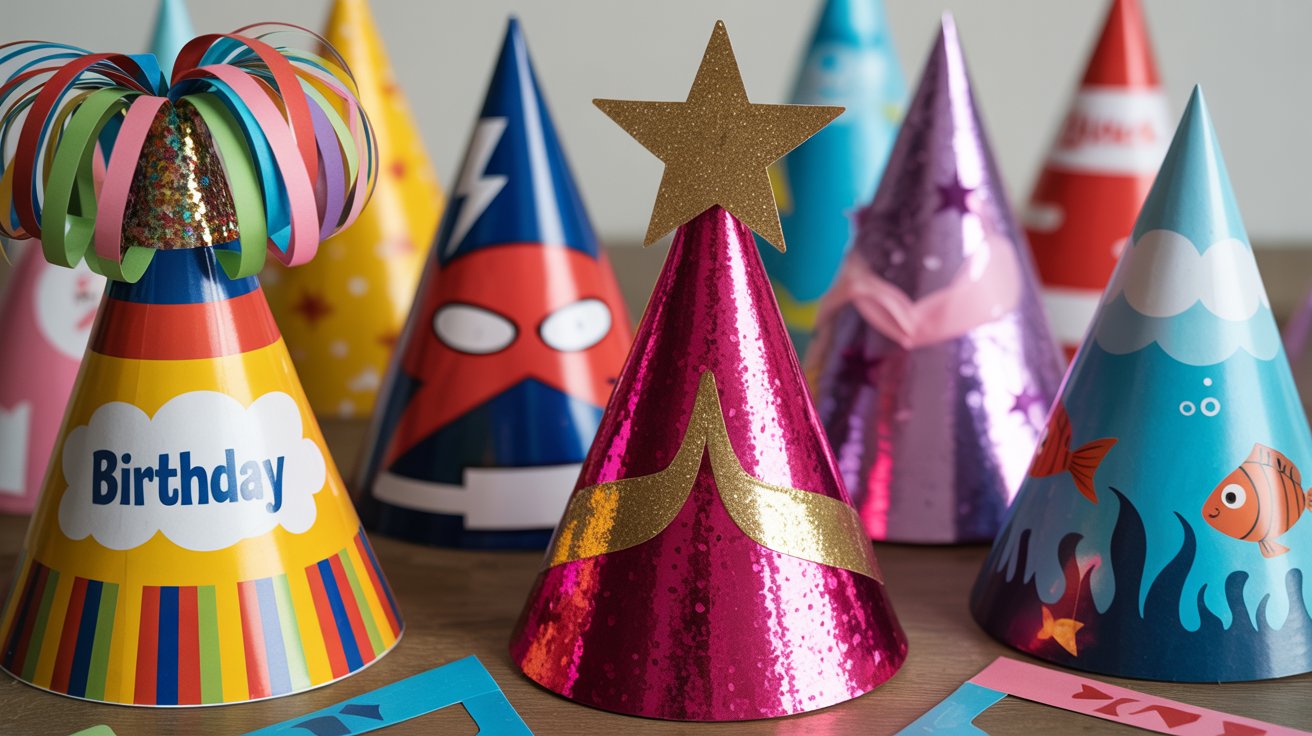
Theme hats make parties more exciting.
Here are some popular ideas:
- Birthday: Add the age number with glitter glue and colorful streamers at the tip.
- Superhero: Use red and blue paper with lightning bolt cutouts.
- Princess: Use pink or purple paper with a silver star at the tip.
- Under the Sea: Use blue paper and add fish or wave stickers.
You can pick any theme and build the design around it.
Personalized Party Hats
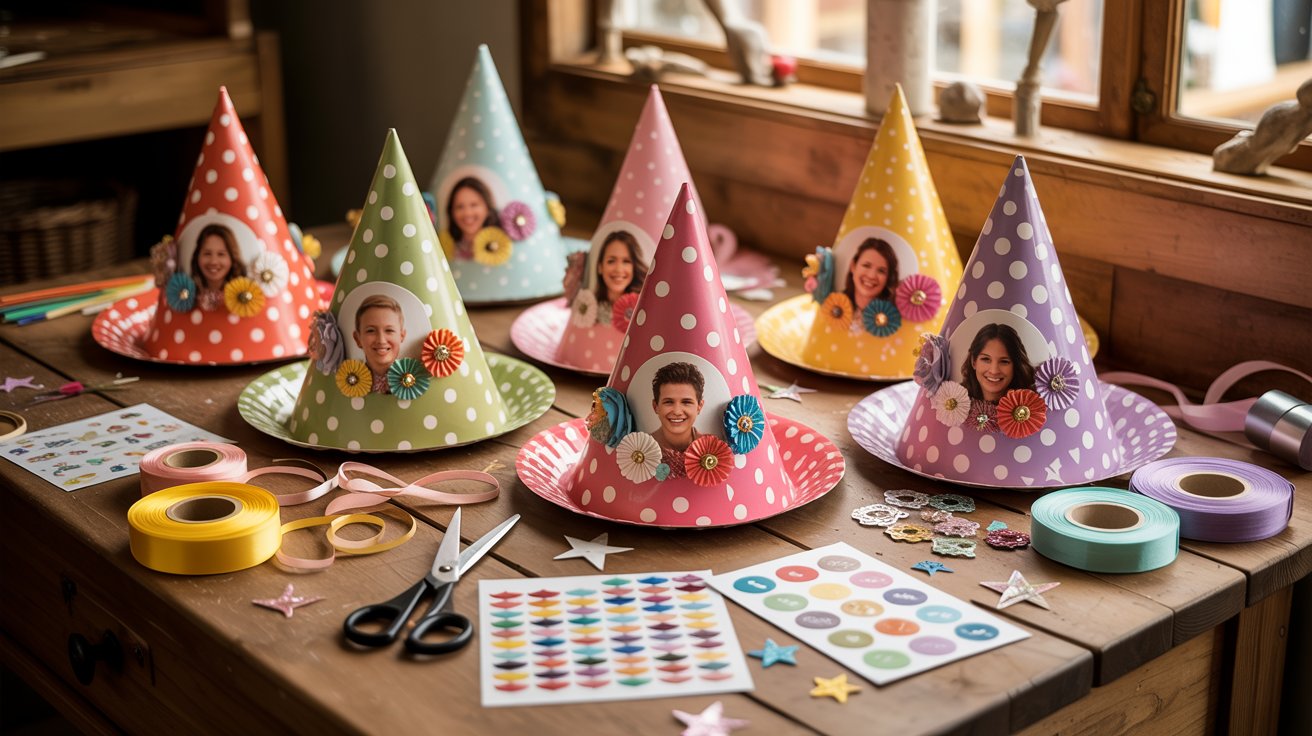
Write the guest's name on the hat with a bold marker. Add their favorite color or a number that represents their age.
Use custom stickers or small printed photos as decorations. Personalized hats make guests feel special. They also double as a fun keepsake from the party.
Common Mistakes to Avoid
Avoiding these simple mistakes will save you time and help your hat turn out right the first time.
Using Paper That Is Too Thin
Regular printer paper is too thin for party hats. It wrinkles when you roll it and loses shape quickly. It also tears at the hole punch points. Always use cardstock or construction paper.
The extra thickness gives the hat strength and helps it keep its cone shape all through the party.
Cutting the Wrong Template Size
If your circle is too small, the hat will not fit on the head. If it is too large, the cone will be too wide and floppy. Use a plate as a guide for an adult-size hat.
For a child's hat, use a smaller bowl or lid. Always test the fit before gluing.
Not Securing the Cone Properly
If you rush the gluing step, the hat may pop open. Press the overlapping edges firmly together. Hold them in place for at least 30 seconds.
Let the glue dry completely before decorating or adding the strap. A loose cone will fall apart quickly, especially if kids are wearing them.
Conclusion
I hope this guide made it easy for you to make a party hat out of paper at home. I still remember making my first batch the night before a birthday party. I was nervous, but they turned out better than anything from the store.
That moment made me fall in love with simple DIY crafts. Now it is your turn. Grab some paper and give it a try. You might surprise yourself.
Leave a comment below and tell me how yours turned out. Share this post with a friend who loves easy, fun crafts!
Frequently Asked Questions
What type of paper is best to make a party hat out of paper?
Cardstock or heavy construction paper works best. It is firm enough to hold the cone shape and does not tear easily when you roll or punch holes into it.
How big should the circle be when making a paper party hat?
For an adult-size hat, use a circle about 30 to 35 centimeters wide. For a child's hat, a circle of 25 centimeters works well. Always test the fit before gluing.
Can I make a paper party hat without glue?
Yes. Double-sided tape works just as well as glue. It bonds instantly and keeps the cone shape firm without making the paper soggy or adding drying time.
How do I keep the party hat from falling off the head?
Punch a small hole on each side near the base of the hat. Thread elastic cord through both holes and tie knots at each end. Adjust the length so it fits snugly under the chin.
How long does it take to make a paper party hat?
A basic hat takes about 10 to 15 minutes to make. If you plan to add detailed decorations, give yourself 20 to 30 minutes. Making several hats at once for a group takes about an hour.