

I’ve seen students light up the moment they realize their name can become a work of art. That’s the power of name art lessons for schools.
In this article, I’m sharing 13 creative ideas that work in real classrooms. You’ll find activities that build fine motor skills, spark self-expression, and make literacy feel fun.
These lessons are easy to set up and hard to mess up.With over a decade of teaching art content, I’ve seen what actually works.
This blog covers creative ideas for all grade levels, tips for teachers, and helpful FAQs. Keep reading. The best idea might be one scroll away.
Why Name Art Works So Well in Schools

Name art is one of the few activities that connects to every student personally.
Every child has a name, and turning that name into art makes the lesson feel meaningful from the start.
It builds fine motor skills, supports letter recognition, and gives students a real reason to stay focused. Teachers love it because it fits into art, literacy, and even math lessons.
Parents love it because the results come home as something worth keeping. It works at every grade level and needs very little prep time.
List of 13 Name Art Lesson Ideas for Students
Simple, fun ways to turn any name into a creative classroom project.
1. Object Letters

Ask students to draw each letter of their name using their favorite objects or hobbies. A “K” made of kites, a “T” shaped like a tennis racket.
This makes the lesson feel personal. It also connects art to identity. Works well for grades 2 through 6.
Students stay engaged because they choose their own objects. Keep it simple and let them lead.
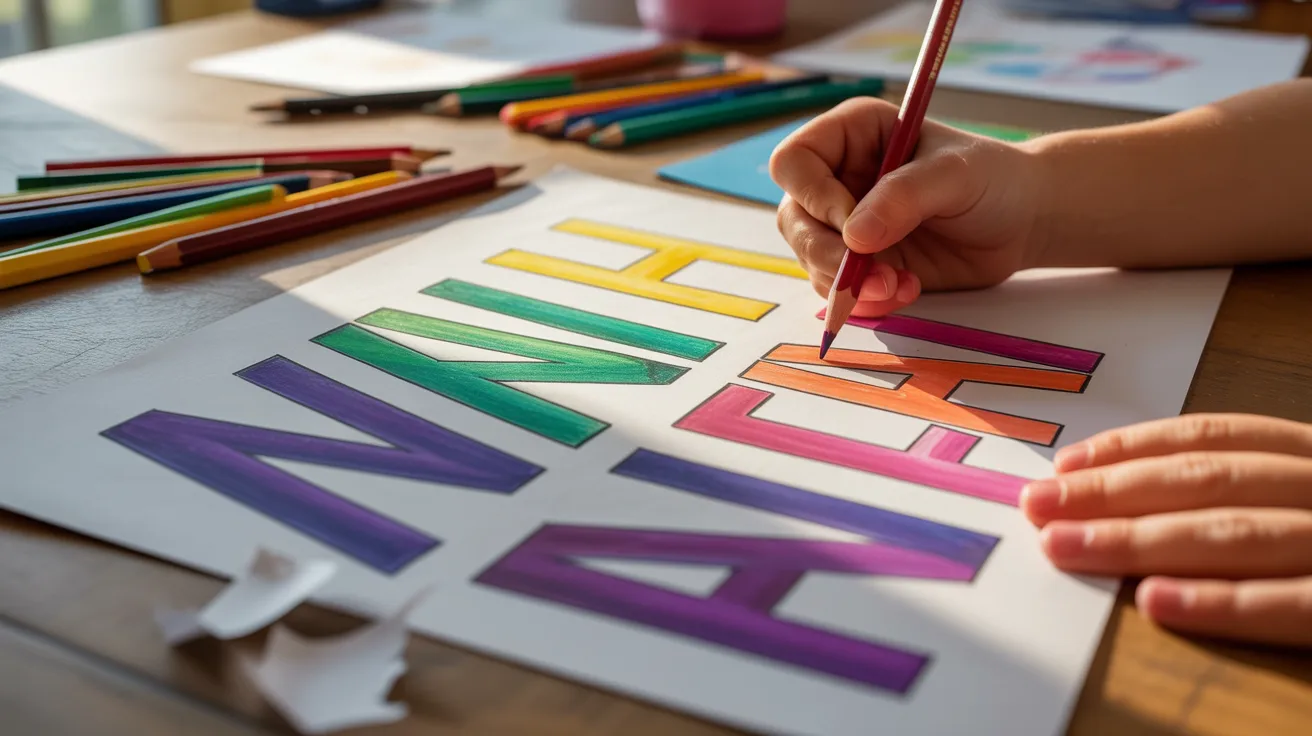
2. Graffiti Names

Students use bubble or block letters and add bold colors and 3D effects. This style feels exciting, especially for older kids.
Teach them how to add shading on one side to create depth. Use markers or colored pencils. No spray paint needed.
Great for middle school students who want to try something bold and expressive.
3. Symmetrical Aliens

Fold a piece of paper in half. Draw half a letter on one side. Then open it up and mirror the design.
The result looks like a fun creature. Students love the surprise element.
It also teaches symmetry in a hands-on way. Works great with younger students. Pair this with a science lesson on symmetry in nature.
4. Negative Space Names

Instead of coloring the letters, students color everything around them. The name shows through the patterns.
Teach them to fill the background with shapes, lines, or textures.
This builds an understanding of positive and negative space. It also looks impressive when finished. Works well for grades 3 and up.
5. Pop Art Names

Think comic books. Students write their names in bold letters and fill them with Ben-Day dots, bright colors, and thick outlines.
Reference artists like Roy Lichtenstein for inspiration.
This works well when paired with a short lesson on pop art history. Fun, fast, and very visual. Great for any grade level.
6. Perspective Names

Teach students to draw their name using a one-point perspective. All lines lead to a single vanishing point on the horizon.
The letters appear to stretch into the distance.
This is a great intro to perspective drawing. Works best with grades 5 and up. Simple rulers and pencils are all you need.
7. Kaleidoscope Names

Students write their name, then rotate and repeat the design around a center point. The result looks like a kaleidoscope.
It teaches symmetry and pattern in a creative way.
Use a compass or folded paper to help with spacing. Works for all ages with some guidance.
8. Watercolor Resist Names

Students write their name with a white crayon or wax candle first. Then they paint over it with watercolors.
The name appears like magic as the paint hits the wax. Kids always love this reveal moment.
It teaches the wax-resist technique in a simple way. Great for younger students. Very low mess, easy to manage.
9. Stacked Doodle Names

Students write each letter large and then fill the inside with small doodles. Stars, hearts, zigzags, whatever they like.
Then they stack the letters on top of each other slightly offset.
The finished piece looks detailed and layered. Works for all grades. Encourage students to fill every inch.
10. Alphabet Collage Names

Students use old magazines, foam stickers, or letter cutouts to spell their name. Then they layer in other images or patterns that represent them.
It becomes a mixed media piece that tells a story. Great for students who may struggle with drawing. Builds fine motor skills through cutting and gluing.
11. Culinary Name Art

Students spell their name using food. Pancake batter, fruit slices, cookie dough, or even vegetables.
This works well as a fun Friday project or a cross-curricular activity with home ec. It’s playful and memorable. Take a class photo before eating. A crowd favorite every time.
12. Shadow and Highlight Names
Students write their name in thick block letters. Then they add a light source from one direction. One side gets a highlight color. The other gets a shadow color.
The letters look like they are popping off the page. Teaches shading and light in a simple, hands-on way. Great for grades 4 and up.
13. Nature-Inspired Names

Students write their name and then fill each letter with leaves, flowers, bark rubbings, or pressed plants. Real leaves can be glued on or traced.
Textures from nature add a natural, organic feel to the artwork. Works well in spring or fall. Connects art with science and the outdoor world.
Tips for Teachers and Parents
Here are five quick tips to keep in mind.
- Adapt for age groups. Simple techniques for younger kids, complex ones for older students.
- Focus on process, not perfection. Feeling good about creating matters more than a flawless result.
- Use group work. It builds teamwork and communication.
- Display the finished work. It shows students their effort counts.
- Connect to other subjects. Tie name art into reading, math, or art history.
Every student has a name. Make it mean something.
Conclusion
I still remember the first time a student held up their finished name art and said, “That’s actually me.” That moment stuck with me.
Name art lessons for schools do more than teach technique. They help students feel seen.
Now it’s your turn. Try one of these ideas this week and see how your students respond.
Drop a comment below and tell me which lesson worked best. Share this post with a teacher who needs a fresh idea. More art lesson guides are waiting for you.
Frequently Asked Questions
What age group works best for name art lessons?
Name art works for all grades, with simpler projects for younger kids and detailed styles for older students.
Do I need special art supplies for these lessons?
No, just basic supplies like markers, crayons, and paper are enough.
How long does a name art lesson typically take?
Most projects fit into one to two class periods.
Can name art be used for students who struggle with writing?
Yes, college and food-based lessons work great for students who find writing hard.
How can I make name art part of a bigger lesson plan?
Pair it with a pop art, math symmetry, or literacy lesson.