


I remember feeling unsure about where to even begin with embroidery. The needles, the threads, the hoops felt like a lot at first.
But honestly, it is much simpler than it looks.
All you need is a needle, some thread, and a piece of fabric. That is it. In this guide, I am walking you through 6 simple steps that made embroidery click for me.
By the end, you will feel ready to pick up that needle and start stitching.
Why Learning the Basics First Makes Embroidery Easier
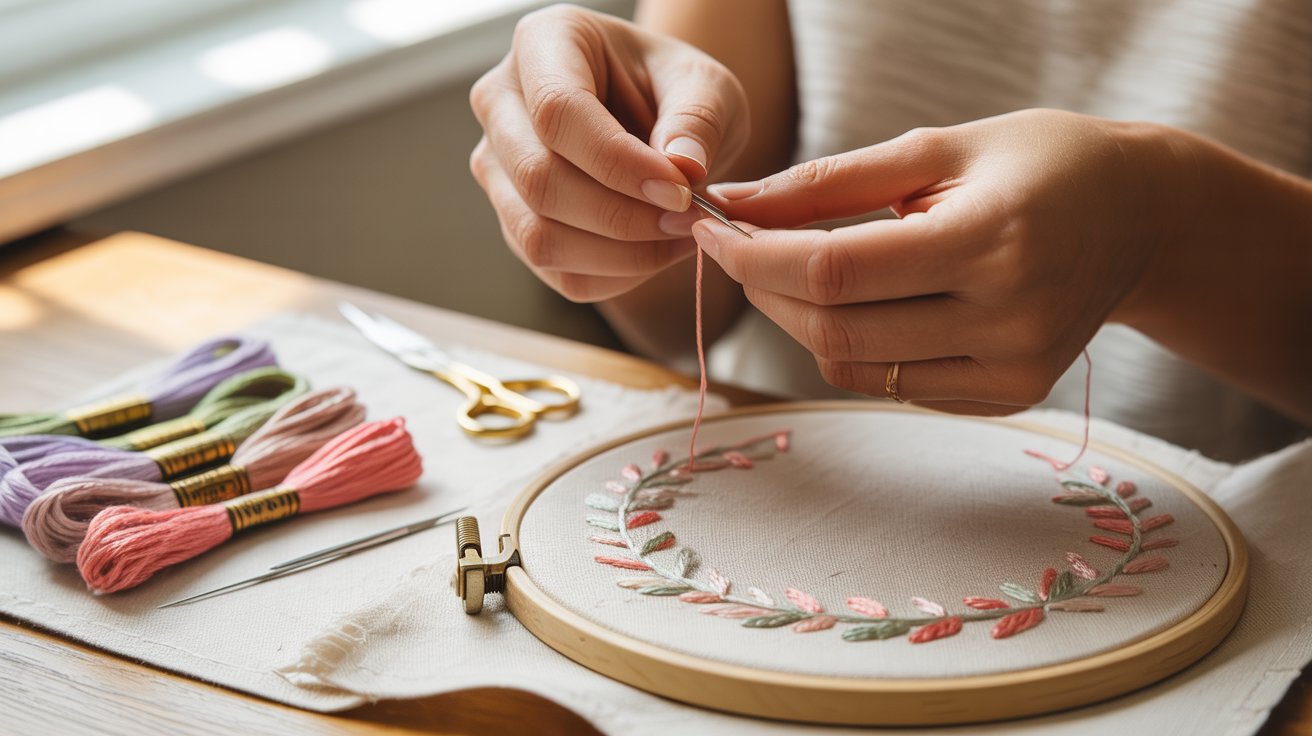
Skipping the basics is the fastest way to get frustrated with embroidery. When your setup is wrong, your stitches look messy and your thread keeps tangling.
Learning how to start and end your thread correctly saves you from undoing hours of work. It keeps everything neat and secure from the beginning.
As a beginner, simple projects work best. A small floral design or a basic pattern gives you real results without overwhelming you. Build your skills slowly and the progress will surprise you.
Essential Tools and Materials for Embroidery
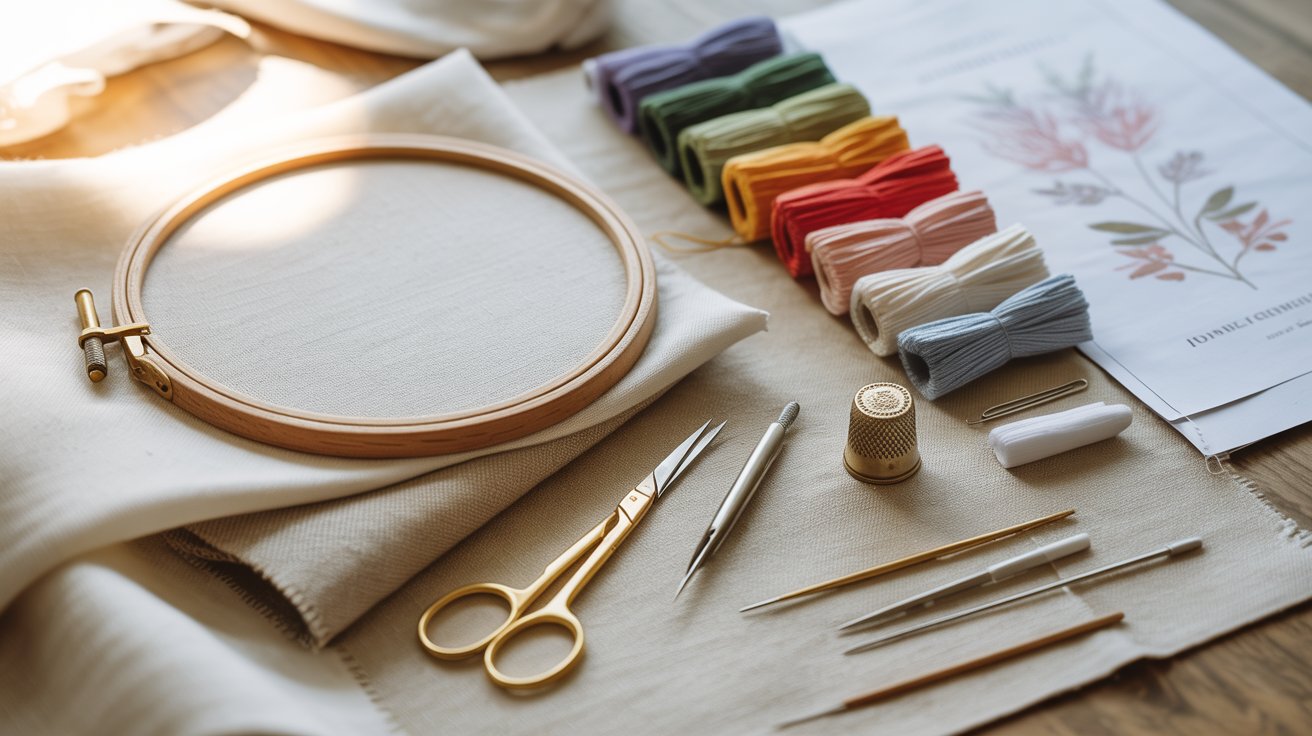
Getting the right tools from the start makes your embroidery experience smoother and more enjoyable. Here is everything you need.
Basic Embroidery Supplies Checklist
- An embroidery hoop holds your fabric firmly in place. Wood or plastic both work well for beginners.
- Embroidery needles come in various sizes. Pick one with a wide eye for easy threading.
- Cotton embroidery floss is the go-to thread for most projects. It comes in hundreds of colors and is simple to use.
- Cotton or linen fabric is ideal for beginners. Both hold stitches well and are easy to find.
- Small sharp scissors give you clean, precise cuts. Keep a dedicated pair just for your embroidery work.
- A water-soluble pen lets you mark your design on fabric. The lines wash away cleanly once you are done.
Optional but Helpful Supplies
- A needle threader makes threading quick and easy. It saves more time than you would expect.
- Fabric stabilizer prevents puckering on thinner fabrics. It keeps your work looking neat and flat.
- Printed embroidery patterns give you a ready-made design to follow. Great for anyone not yet drawing their own.
- A thimble protects your fingertip during longer stitching sessions. It takes getting used to but is genuinely helpful.
Step-by-Step Guide
These six steps take you through everything from picking up your first tool to finishing your project neatly.
Follow them in order and the whole process becomes clear and manageable.
Step 1 – Gather Basic Embroidery Supplies
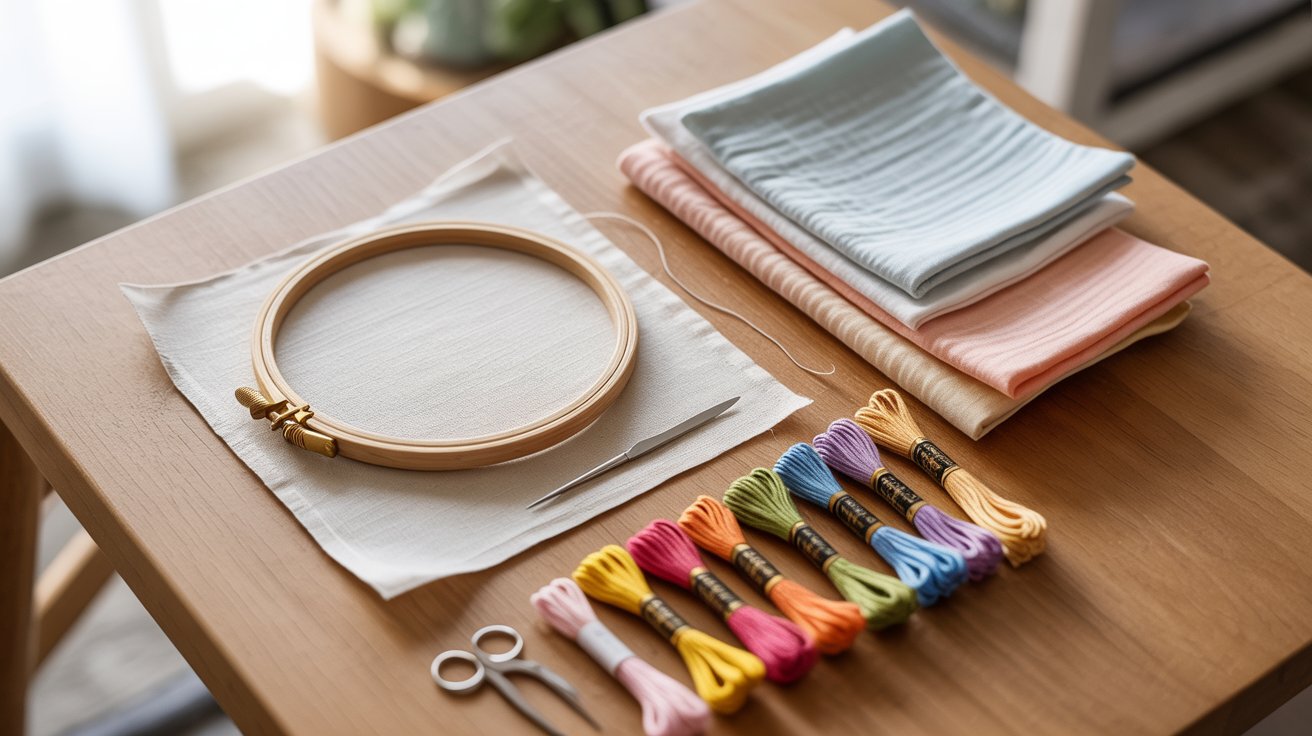
You do not need much to begin. A 4 to 8 inch hoop holds your fabric steady. Use cotton floss with 2 to 3 strands for clean stitches.
Pick a wide-eye needle for easy threading. Cotton muslin or quilter’s cotton is the most beginner-friendly fabric you can start with.
Step 2 – Choose a Simple Beginner Pattern
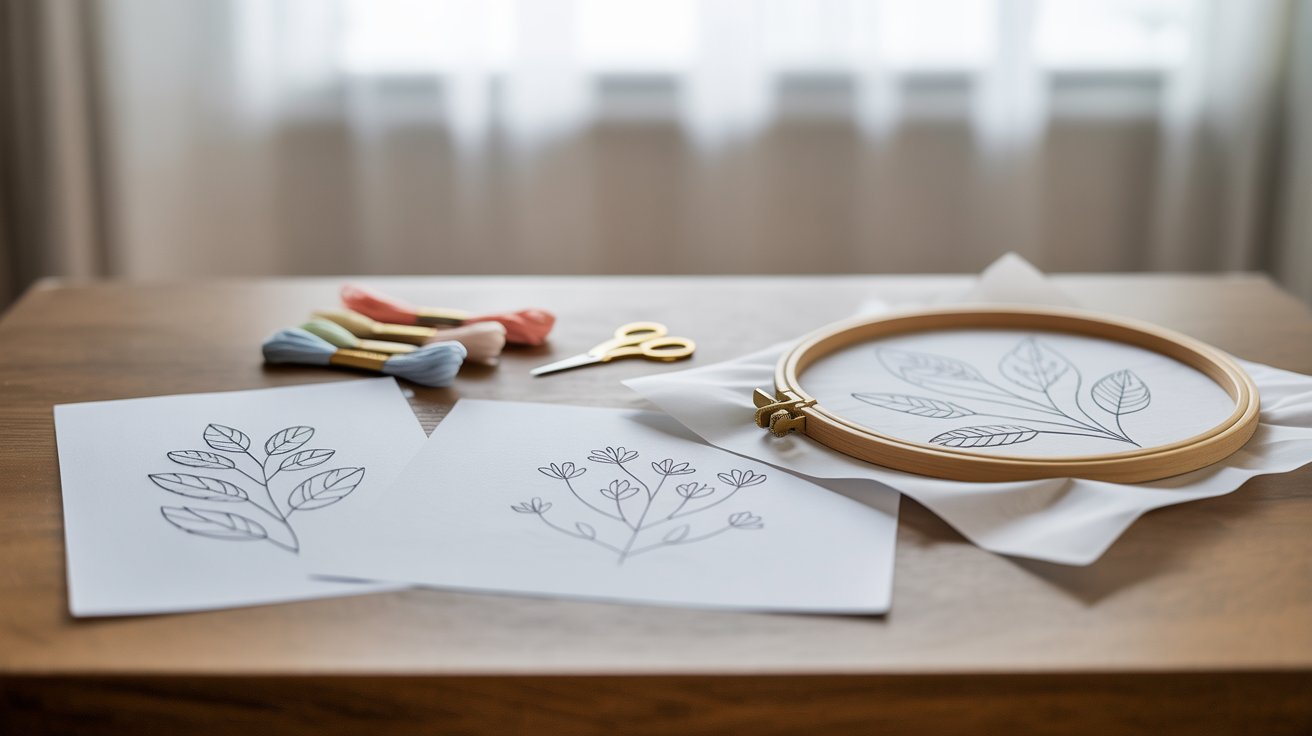
Your first pattern should be simple and low pressure. Look for clean line designs with open spacing and minimal detail.
Free printable PDFs, pre-printed fabric, and stick-and-stitch stabilizer are all great starting points. Simple patterns let you focus on building your stitching technique without feeling overwhelmed by a complicated design.
Step 3 – Transfer the Pattern to Fabric
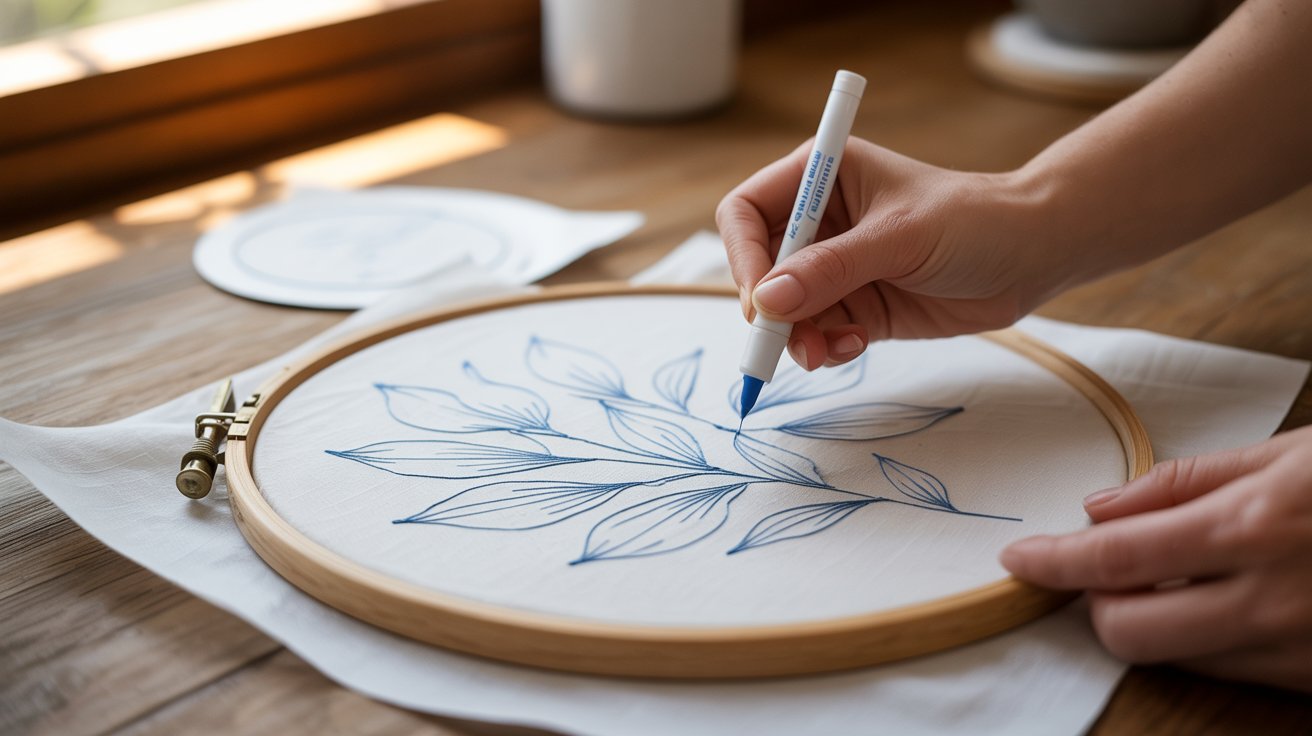
Getting your design onto fabric is easier than it sounds. Trace with a water-soluble pen, use an iron-on transfer, or try the stick-and-stitch method.
Keep your fabric flat before tracing. Skip steam when using iron transfers as it blurs lines. Keep markings light but clear enough to follow while stitching.
Step 4 – Prepare Your Fabric and Thread
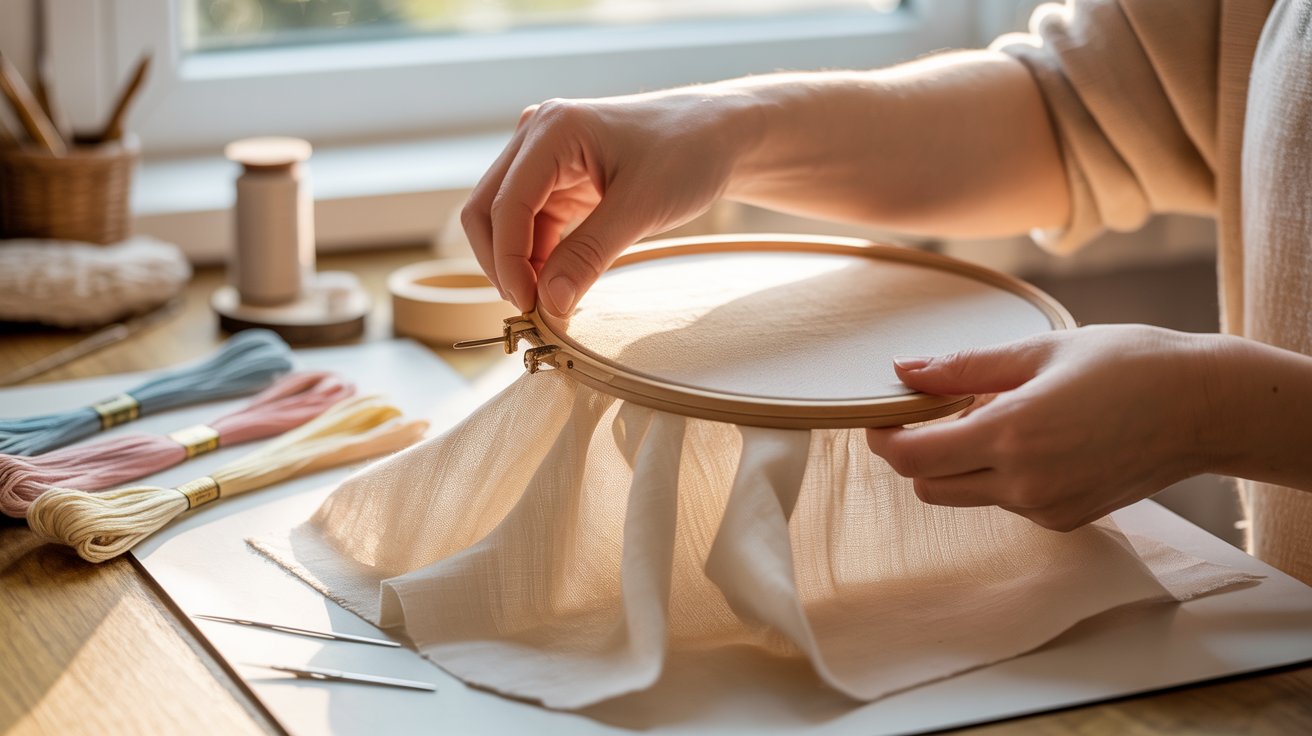
Place the inner hoop down, lay your fabric over it, then press the outer hoop on top and tighten gently.
Pull the fabric taut before stitching. For your floss, cut 18 to 24 inches, separate one strand at a time, then recombine 2 to 3 strands before threading your needle.
Step 5 – Start Stitching (Beginner Basics)
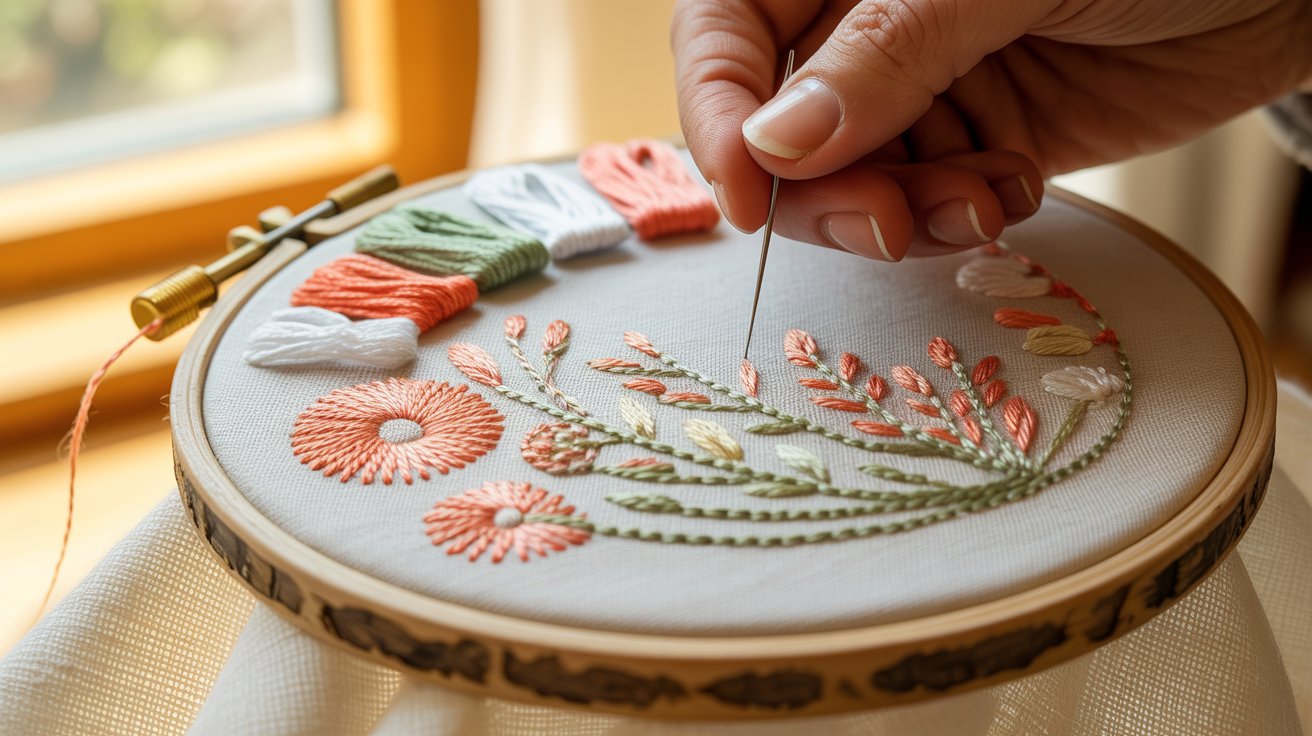
Thread your needle using the pinch method or a needle threader. Start without bulky knots by using the waste knot or long tail method.
Learn three basic stitches to cover most projects. The back stitch creates outlines, the French knot adds texture, and the lazy daisy stitch forms simple petals.
Step 6 – Finish and Secure Your Embroidery
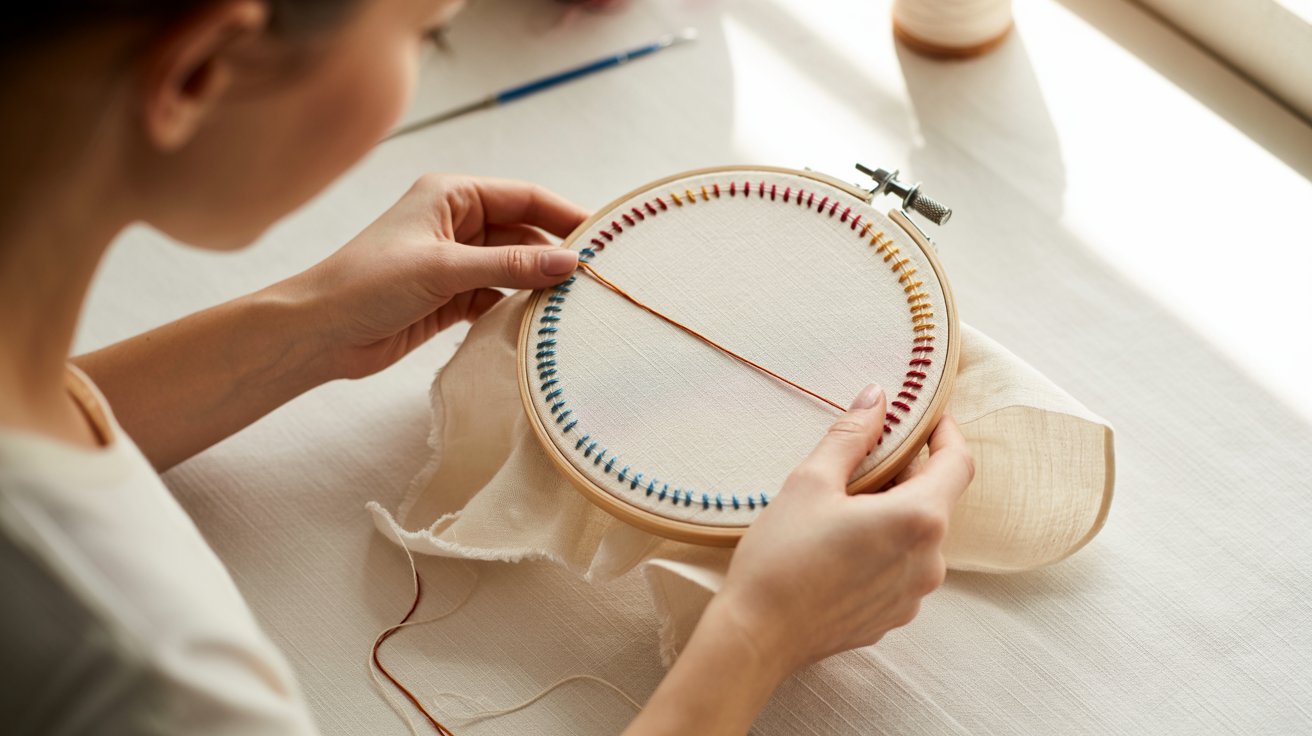
Do not tie a knot to end your thread. Weave it through the back stitches and trim the tail close to the fabric.
To finish in the hoop, trim excess fabric, run a running stitch around the edge, pull to gather, tighten, and tie off. Your piece is ready to display.
Beginner Embroidery Tips for Faster Progress
- Start with small projects like a simple flower or basic shape. Finishing something small builds real confidence fast.
- Keep your thread length between 18 and 24 inches. Shorter lengths prevent tangling and make stitching much smoother.
- Tighten your hoop enough to keep fabric firm but not stretched out of shape. Overstretched fabric distorts your finished stitches.
- Before starting your actual project, practice new stitches on a scrap piece of fabric. It saves your main work from mistakes.
- Focus on keeping your stitches consistent in size and spacing. Perfection is not the goal when you are just starting out.
- Take breaks when your thread starts to twist or bunch up. A quick pause helps you reset and stitch more cleanly.
Conclusion
Embroidery is one of those skills that quietly gets better every time you sit down with a needle and thread. Start with something simple. A small flower, a basic outline, anything that feels manageable.
The more you practice, the more natural it feels. Over time it stops being a task and becomes something you genuinely look forward to.
Pick up your hoop today and stitch your first design. Share your progress in the comments. We would love to see what you create.
Frequently Asked Questions
What do I need to start embroidery as a complete beginner?
You only need a hoop, embroidery floss, a needle, and a piece of cotton fabric. These four basics are enough to complete your first project.
How long does it take to learn basic embroidery stitches?
Most beginners pick up the basic stitches within a few hours of practice. The back stitch, French knot, and lazy daisy stitch are simple enough to learn in one sitting.
What is the best fabric for beginner embroidery?
Cotton muslin and quilter’s cotton are the top choices for beginners. Both are easy to stitch through, hold their shape well, and are affordable to buy.
How do I stop my embroidery thread from tangling?
Cut your thread to 18 to 24 inches and separate the strands before stitching. Shorter lengths and proper separation prevent most tangling issues from the start.
Can I teach myself embroidery without taking a class?
Yes, absolutely. Thousands of people learn embroidery through free online guides, video tutorials, and printed patterns. With consistent practice, you can build strong skills entirely on your own.
