


A zipper pouch is a small fabric bag with a zip closure that you can use for just about anything. Think makeup, coins, cables, or craft supplies.
And here is the best part. It is one of the easiest things you can sew as a beginner.
In this guide, you will learn every step clearly, from cutting your fabric to sewing in the zipper. No confusing terms. No skipped steps.
This guide is written for absolute beginners and those who have sewn a little but want to build real confidence.
Why Sew Your Own Zipper Pouch?
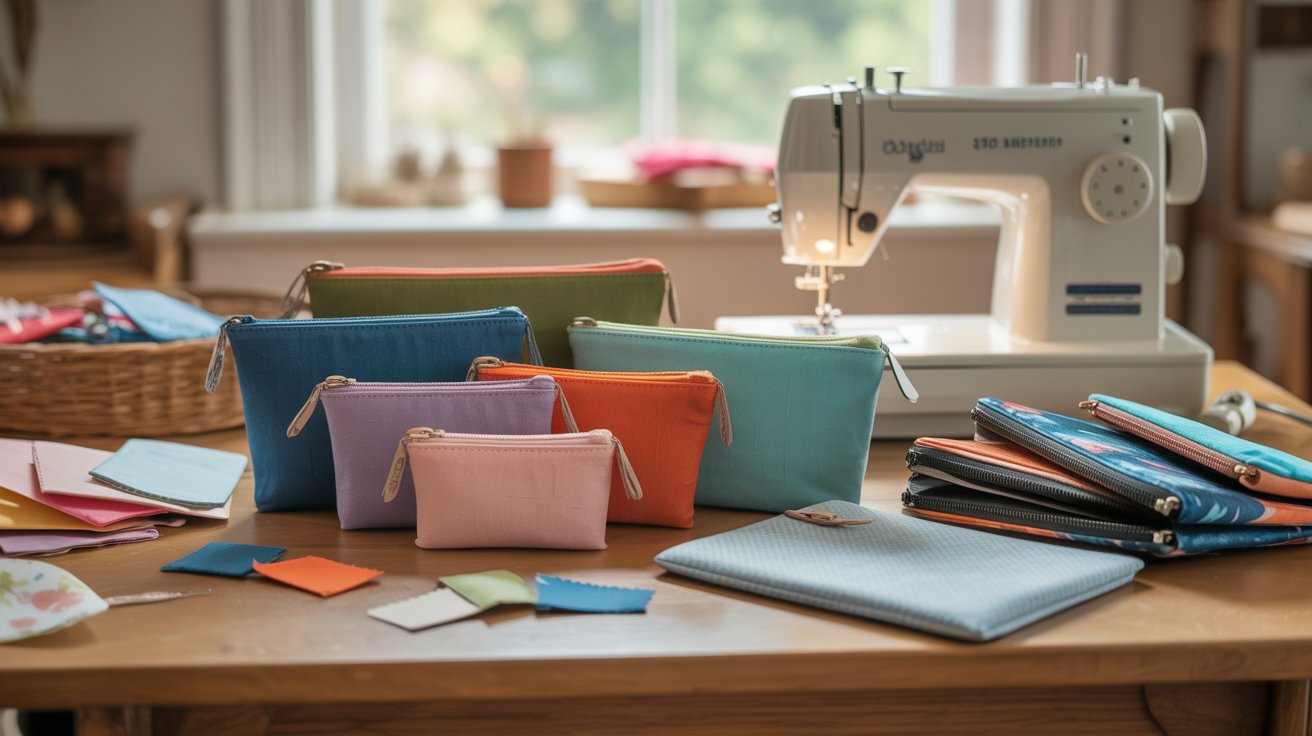
Sewing your own zipper pouch is a smart place to start. It does not take long, and you do not need much fabric.
In fact, it is a great way to use up leftover fabric scraps sitting in your stash.
Once you get the hang of it, you can make pouches in any size you want. Small ones for coins, bigger ones for makeup or pencils, or flat ones for travel documents.
They also make really thoughtful handmade gifts. Personal, useful, and made with care.
Supplies and Tools You’ll Need
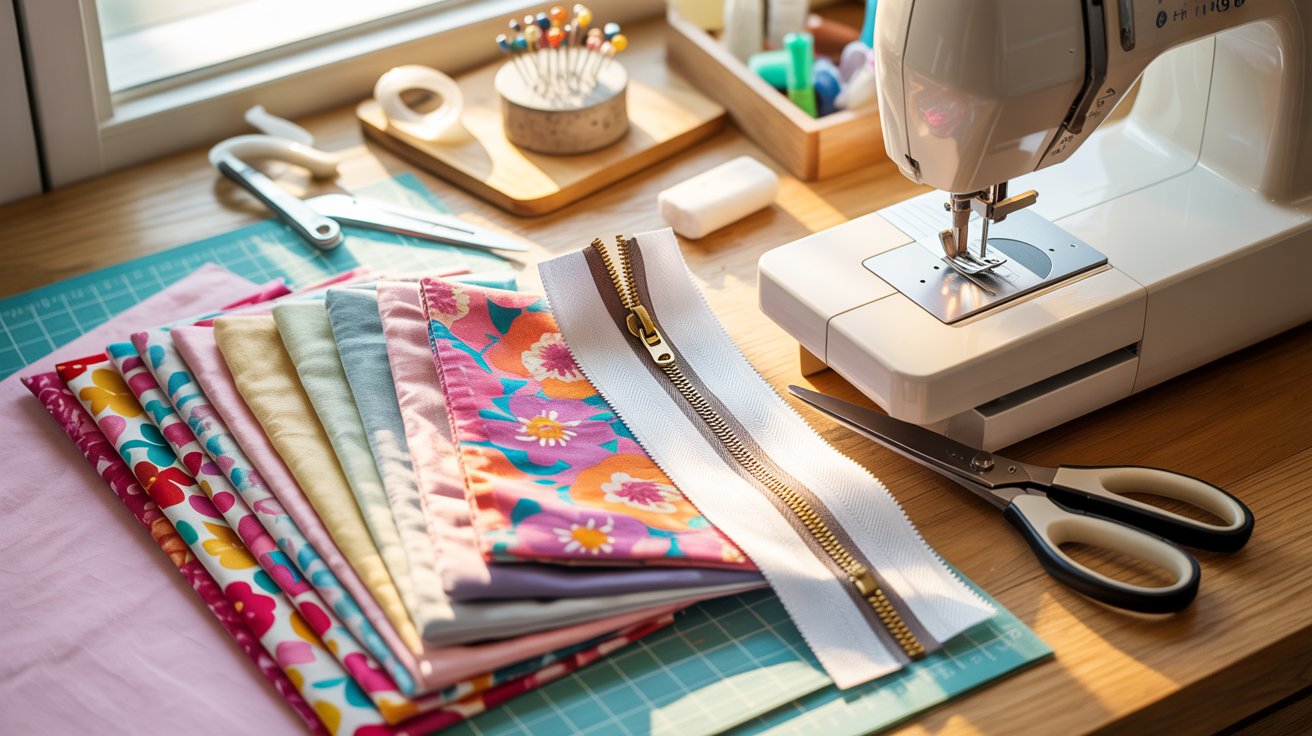
Before you start sewing, get everything ready on your table. Here is what you need:
Fabric:
- Outer fabric (cotton works best for beginners)
- Lining fabric (any light to medium weight fabric)
- Fusible interfacing (optional, adds structure)
Zipper:
- A nylon zipper in the size that matches your pouch width
- 9-inch or 12-inch zippers work well for most pouches
Tools:
- Sewing machine with a zipper foot
- Fabric scissors or rotary cutter
- Pins or sewing clips
- Iron and ironing board
- Fabric marker or chalk
How to Sew a Zipper Pouch
Follow these steps one at a time and you will have a finished pouch before you know it. Each step is simple and builds on the last.
Step 1 – Cut and Prepare Your Fabric
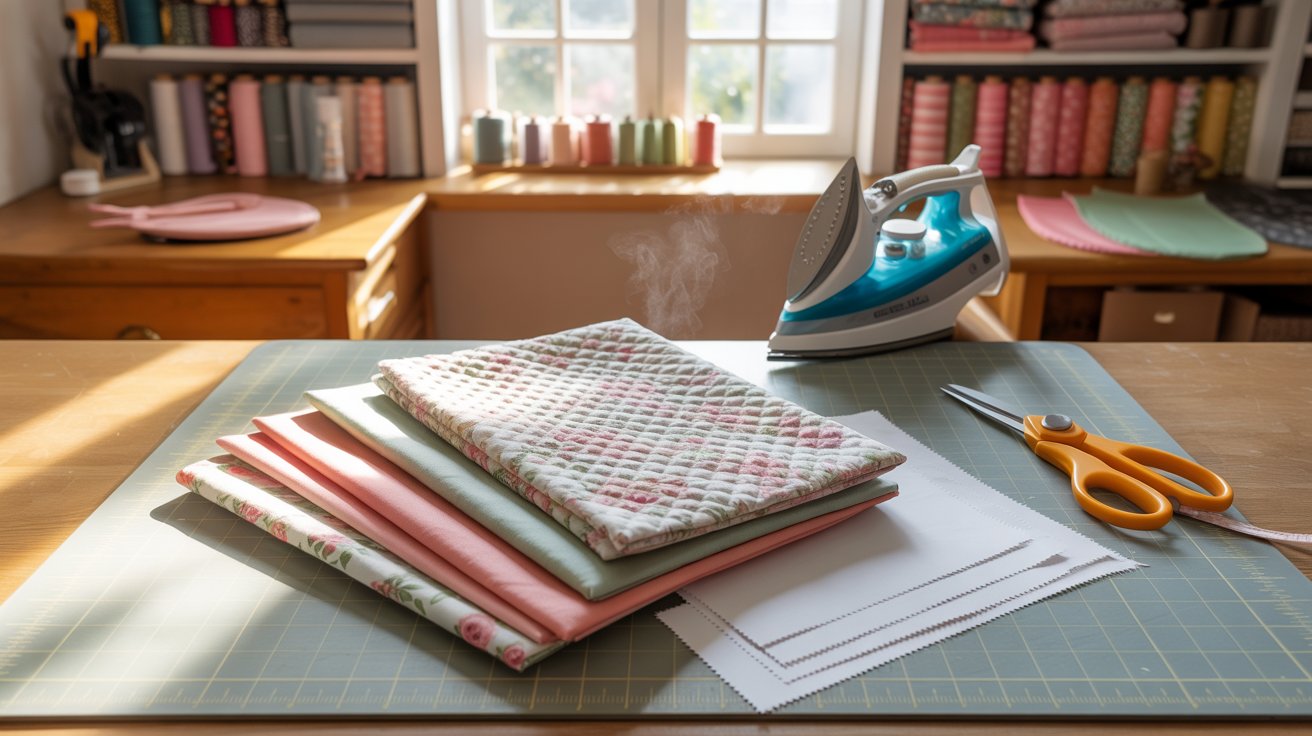
Cut your outer fabric and lining pieces to the same size. If you want a firmer pouch, iron fusible interfacing onto the wrong side of your outer fabric before cutting.
You can also quilt your outer fabric at this stage for extra texture. Press everything flat and trim any loose threads before moving forward.
Step 2 – Attach the Zipper (First Side)
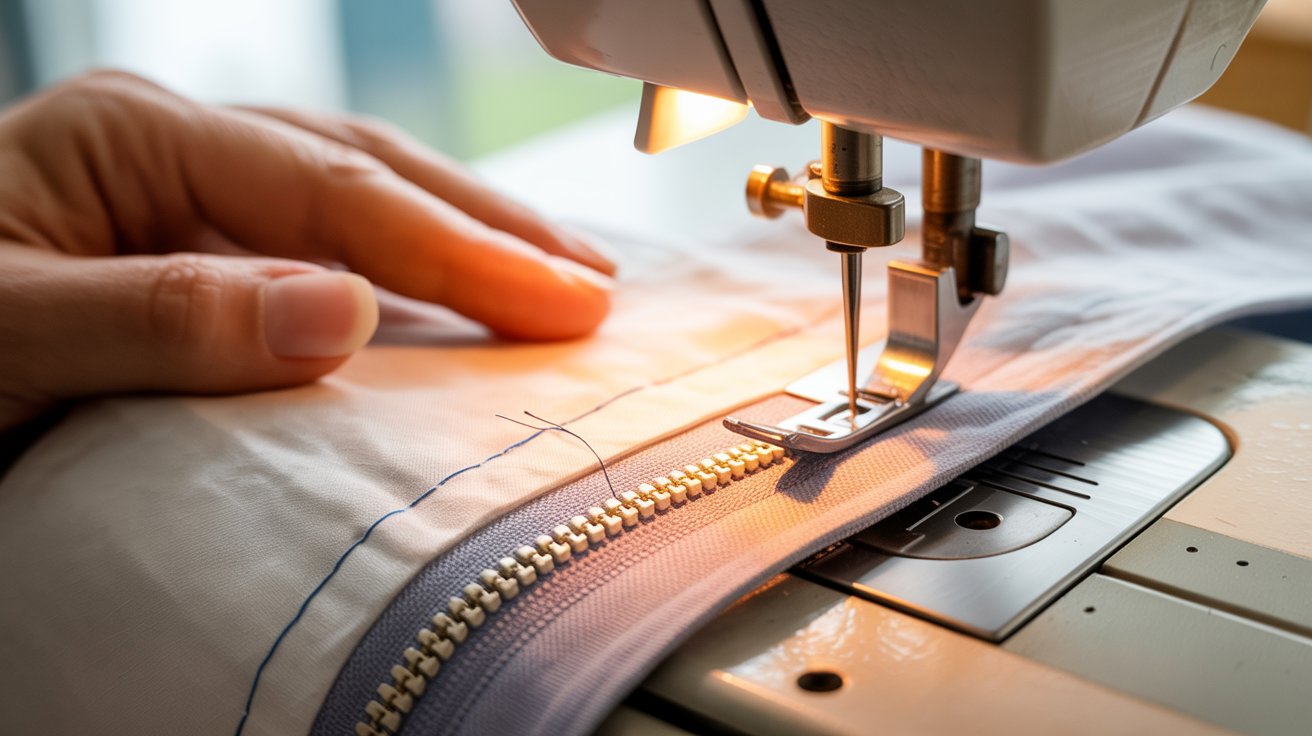
Place your outer fabric face up on a flat surface. Lay the zipper face down on top, then place the lining fabric face down over that.
This layering is called a zipper sandwich. Pin everything in place carefully and sew along the zipper edge using your zipper foot attachment.
Step 3 – Attach the Zipper (Second Side)
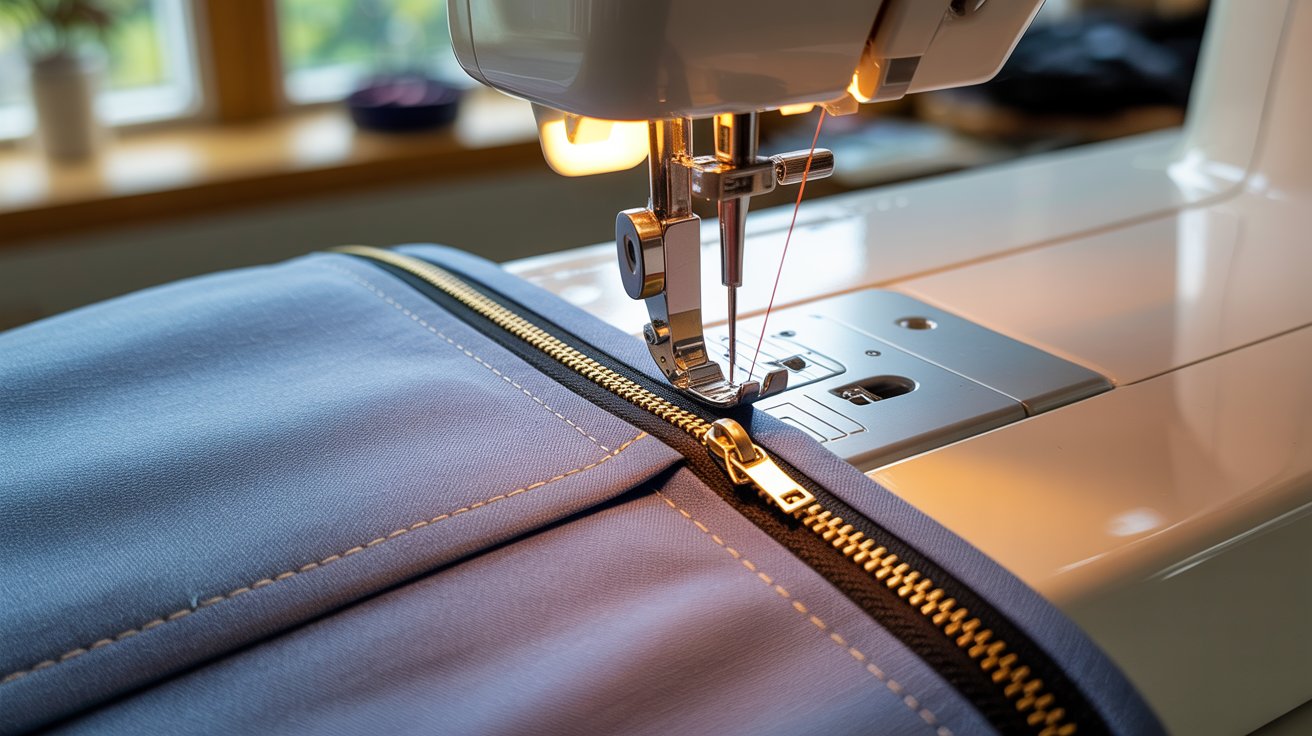
Take the remaining outer and lining pieces and repeat the same zipper sandwich layering on the other side of the zipper.
Make sure all edges line up neatly before pinning. Sew along this side just as you did before, keeping a straight and even stitch line throughout.
Step 4 – Topstitch Along the Zipper
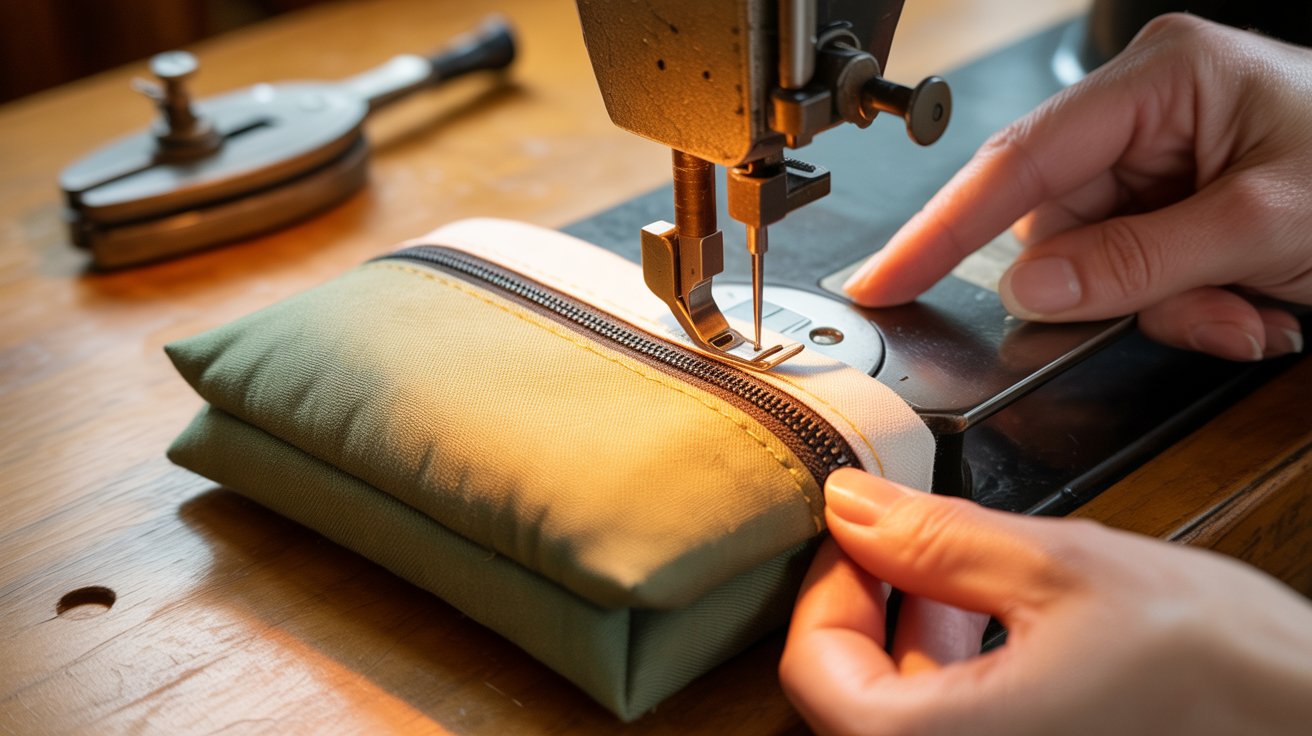
Open both fabric panels flat and press them away from the zipper using your iron. Topstitch close to the zipper tape on both sides.
This small step makes a big difference. It keeps the fabric lying flat and stops it from folding inward and getting caught when you use the zipper.
Step 5 – Sew the Pouch Together
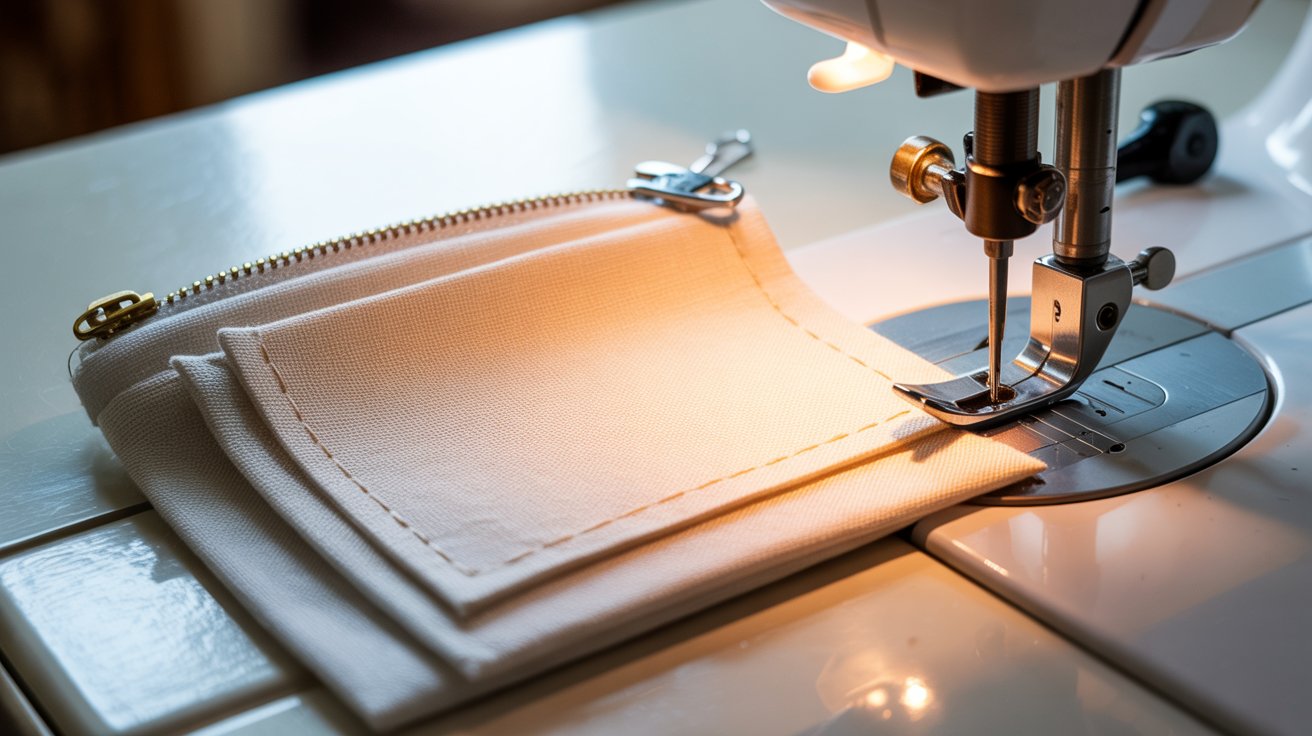
Arrange the pouch so the outer fabric pieces face each other and the lining pieces face each other.
Open the zipper at least halfway before you start sewing. This is important. Sew around all four edges and leave a small gap at the bottom of the lining for turning.
Step 6 – Turn the Pouch Right Side Out
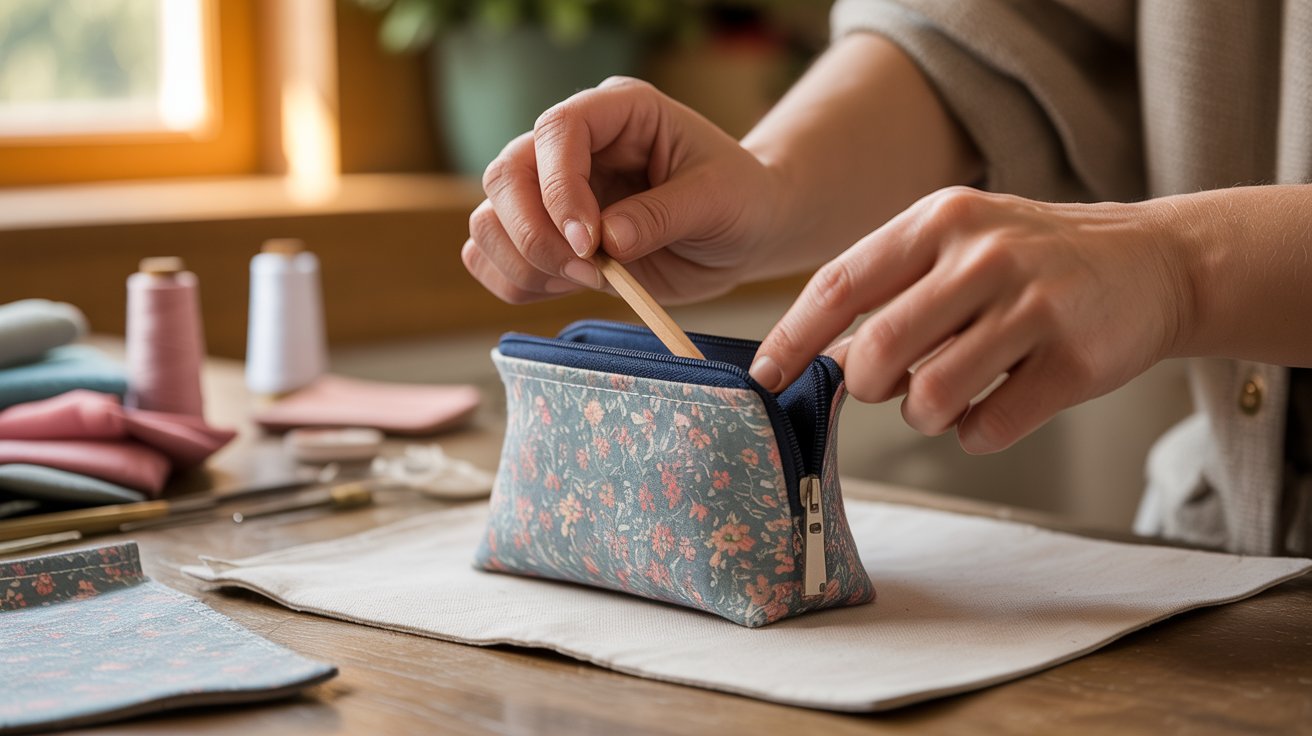
Reach through the gap in the lining and pull the entire pouch through it. Work slowly and carefully.
Use a blunt pencil or your finger to push the corners out from the inside. Take your time with this step so all four corners look neat, sharp, and fully turned out.
Step 7 – Close the Lining Opening
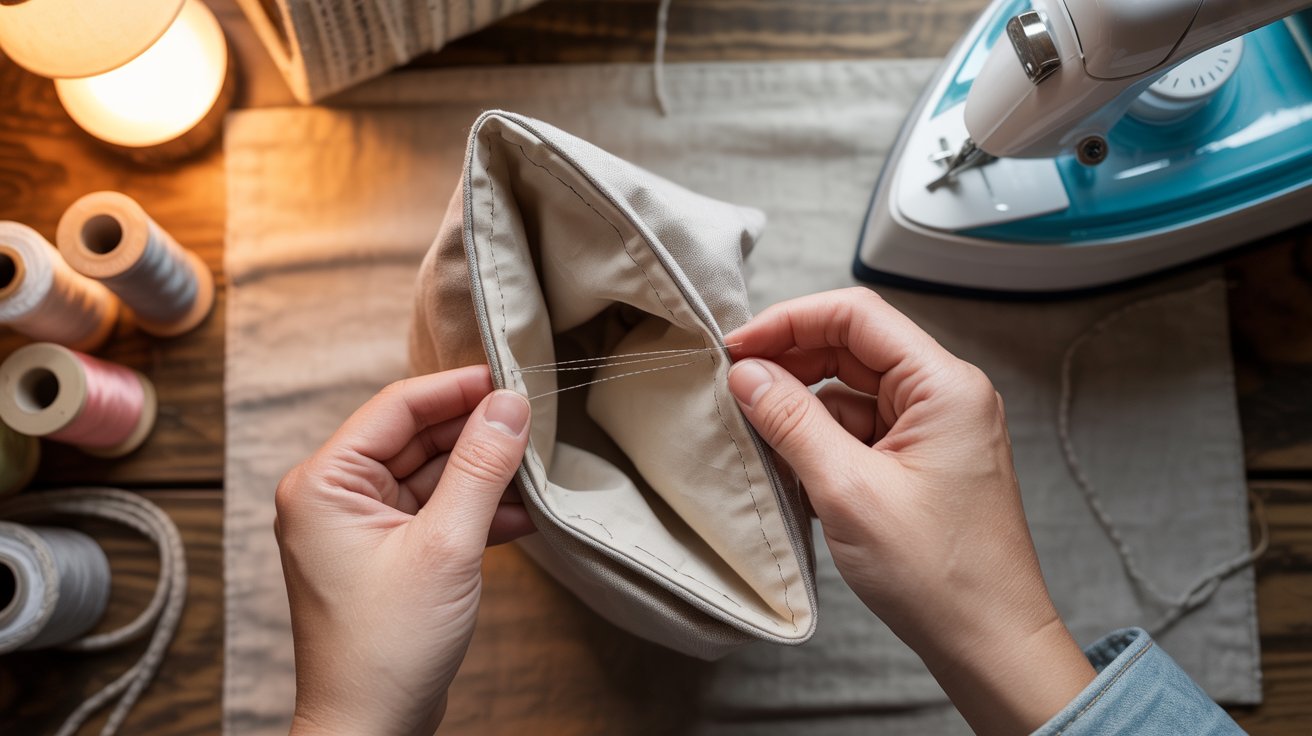
Push the lining inside the pouch and press everything flat with your iron. Tuck the raw edges of the gap inward so they are hidden.
You can machine stitch the opening shut close to the folded edge or use a small hand stitch for a neater finish on the inside.
Common Beginner Mistakes and How to Avoid Them
- Always open your zipper at least halfway before sewing the pouch shut. If you forget, you will not be able to turn the pouch right side out without cutting a seam open.
- Keep your stitches a little away from the zipper teeth. Sewing too close can jam the zipper or make it hard to open and close smoothly.
- Line up your fabric edges carefully before pinning. Even a small shift can leave you with uneven seams that are difficult to fix once sewn.
- Trim the corners of your seam allowance before turning the pouch out. This reduces bulk and helps your corners look clean and flat instead of rounded or stuffed.
- Press your fabric with an iron at each stage. Skipping this step is one of the most common reasons a finished pouch looks wrinkled or unprofessional.
Conclusion
You just made your first zipper pouch, and that is something to feel good about. Every stitch you sewed was a skill you built from scratch.
Now try making a few more in different sizes. A small coin pouch, a wider pencil case, a flat travel pouch. Each one will feel easier than the last.
Once you feel confident, try adding pockets, boxed corners, or a wrist strap.
Share your finished pouch in the comments. We would love to see what you made.
Frequently Asked Questions
What size zipper do I need for a zipper pouch?
A 9 inch or 12 inch zipper works well for most basic pouches. Match the zipper length to the width of your fabric for the best fit.
Do I need a special sewing machine to sew a zipper pouch?
Any basic sewing machine will work fine. You just need a zipper foot attachment, which usually comes included with most beginner sewing machines.
Can I sew a zipper pouch by hand?
Yes, you can sew one by hand, but it will take more time and effort. A sewing machine gives you stronger, neater seams and a more finished look overall.
What fabric is best for a beginner zipper pouch?
Cotton fabric is the easiest to work with when you are just starting out. It is easy to cut, press, and sew without slipping around on your machine.
Why does my zipper pucker or look uneven after sewing?
This usually happens when the fabric is not pressed flat before sewing. Always iron your fabric and use pins or clips to hold everything in place before you stitch.
