

Want to know how to make playful activities LWMFCrafts style? You’re in the right place. I’ll show you exactly how to transform boring crafts into exciting adventures.
This guide covers everything you need:
- 5 step-by-step craft projects with playful twists
- Essential supplies checklist
- Game-based add-ons that work
- Stress-free crafting tips
Here’s my promise: By the end of this article, you’ll have real projects that keep kids engaged for hours.
I’ve been helping parents create memorable craft experiences for years. These aren’t random ideas, they’re tested methods that actually work. No more “I’m bored” complaints. No more 5-minute craft disasters. Just fun activities that combine creativity with play. Your kids will love them.
Ready to discover the LWMFCrafts secret?
Why Choose LWMFCrafts for Fun Play-Based Projects?
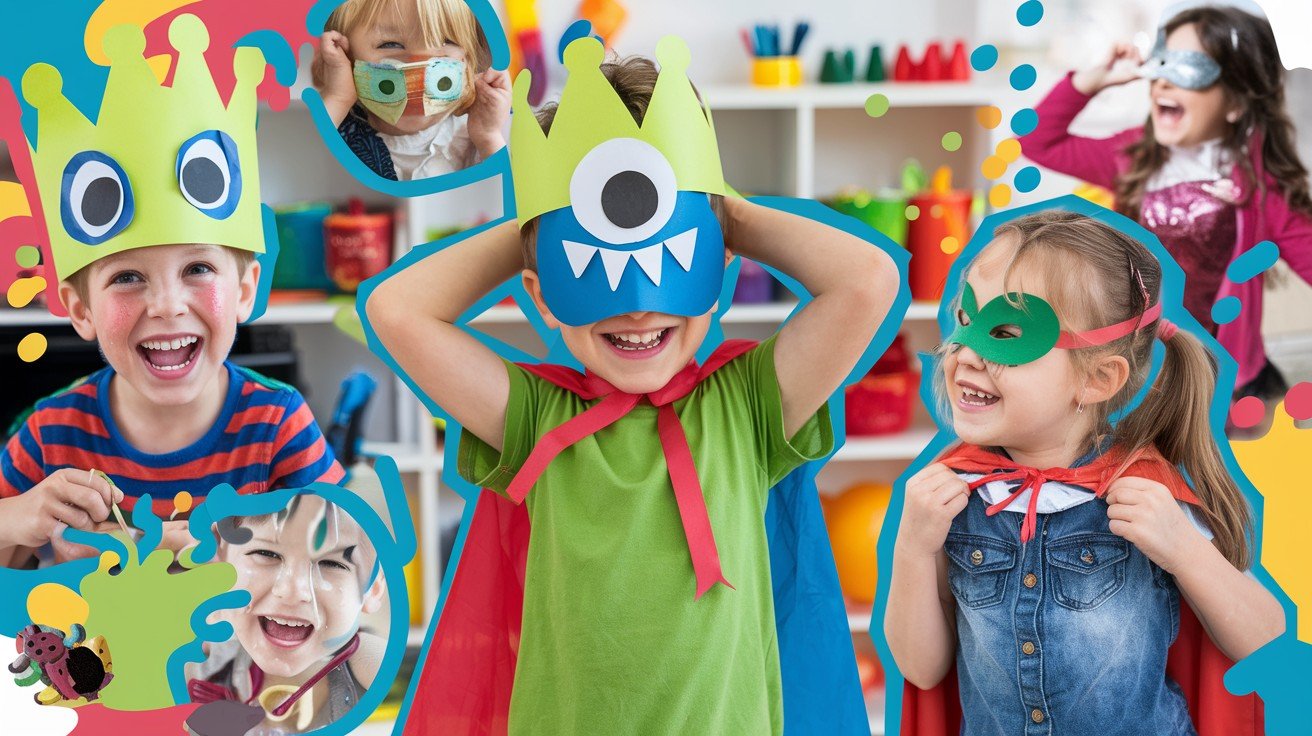
Here’s the thing about regular crafts: they’re predictable. Kids make something, they’re done in 10 minutes, then what? LWMFCrafts changes everything by turning every project into a mini-adventure.
We add games, stories, and pretend play to basic crafts. Your kids won’t just make art, they’ll live it. Think of it as crafting meets imaginative play.
The result? Projects that last longer, kids who stay focused, and way less “I’m bored” moments. Plus, you get to be the coolest adult in the room.
Essential Supplies Checklist for Playful Activities
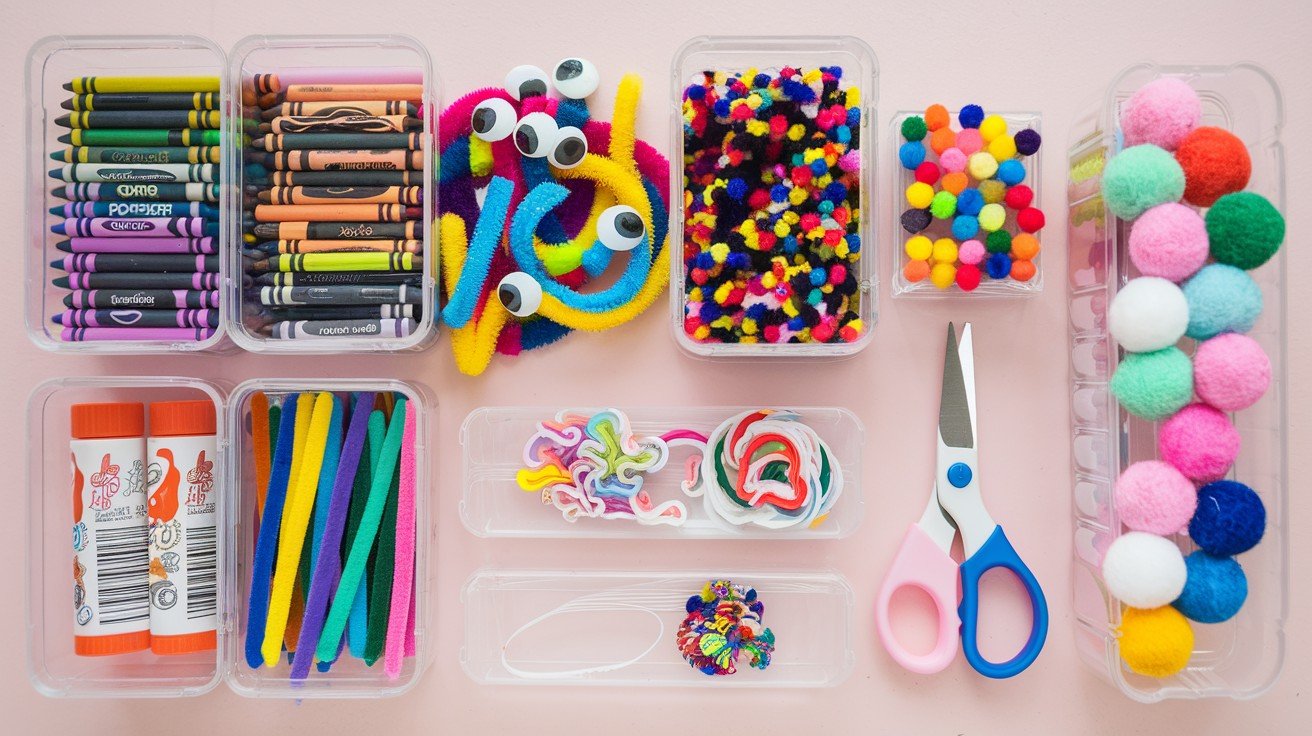
Before we dive into the fun stuff, let’s get organized. Here’s what you need in your LWMFCrafts toolkit:
Basic Craft Supplies
- Construction paper (all colors)
- Child-safe scissors
- Glue sticks
- Washable markers
- Crayons
- Tape
Game Elements
- Dice (regular and foam)
- Small bells
- Stickers
- Cotton balls
- Pipe cleaners
- Googly eyes
Storytelling Props
- Small figurines
- Craft sticks
- Mini mirrors
- Felt pieces
- Yarn scraps
Pro tip: Keep everything in clear containers. Kids can see what’s available and grab what they need. Don’t buy everything at once. Start with basics and add as you go.
How to Make Playful Activities LWMFCrafts Style: Step-by-Step Guide
Ready for the magic formula? Here are five amazing projects that show you exactly how LWMFCrafts works:
Project 1: Monster Emotion Masks
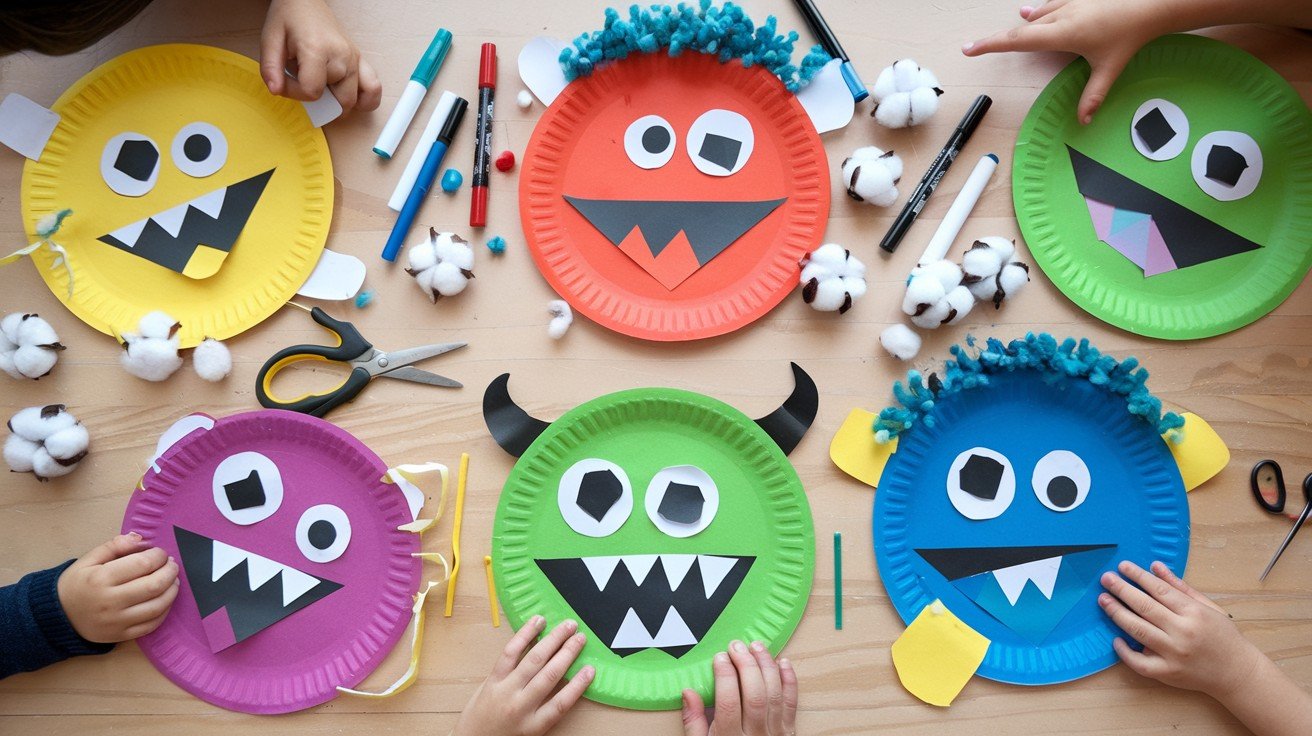
Who says monsters can’t have feelings? This project combines art with emotional learning. Kids create their own monster characters while exploring different emotions through play.
Age: 4-8 years old
Materials Needed:
- Paper plates
- Markers or paint
- Elastic string
- Cotton balls
- Scissors
Instructions:
- Cut eye holes in paper plate
- Let kids draw monster faces
- Glue cotton balls for texture
- Attach elastic string
Playful Twist: Turn it into an emotion guessing game! Kids wear masks and act out feelings. Others guess the emotion.
Quick Tips:
- Make multiple masks for variety
- Add different textures like sandpaper or fabric
- Create a “monster family” with different personalities
Project 2: Treasure Hunt Maps
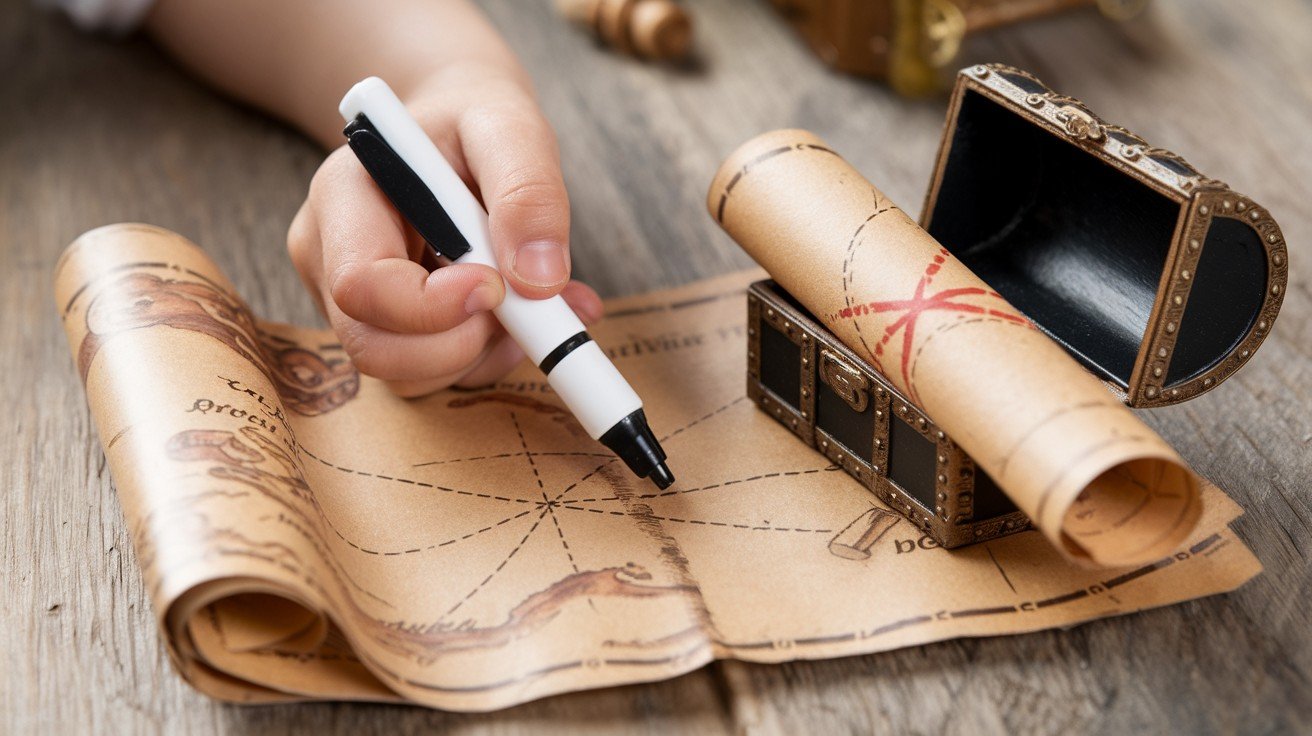
Every kid dreams of finding buried treasure. This project turns that fantasy into reality with handmade maps and real hidden prizes. Its geography, art, and adventure rolled into one exciting activity.
Age: 5-10 years old
Materials Needed:
- Brown paper bags
- Tea bags (for aging effect)
- Markers
- Small treasures or treats
- Stickers
Instructions:
- Tear paper bag edges for old look
- Dab with damp tea bag to age
- Draw simple map of your space
- Mark treasure spots with X
Playful Twist: Create an actual treasure hunt! Hide small prizes where the X marks are. Kids follow their handmade maps.
Quick Tips:
- Start with simple maps of one room
- Use symbols instead of words for non-readers
- Let kids hide treasures for each other
Project 3: Magic Wand Workshop
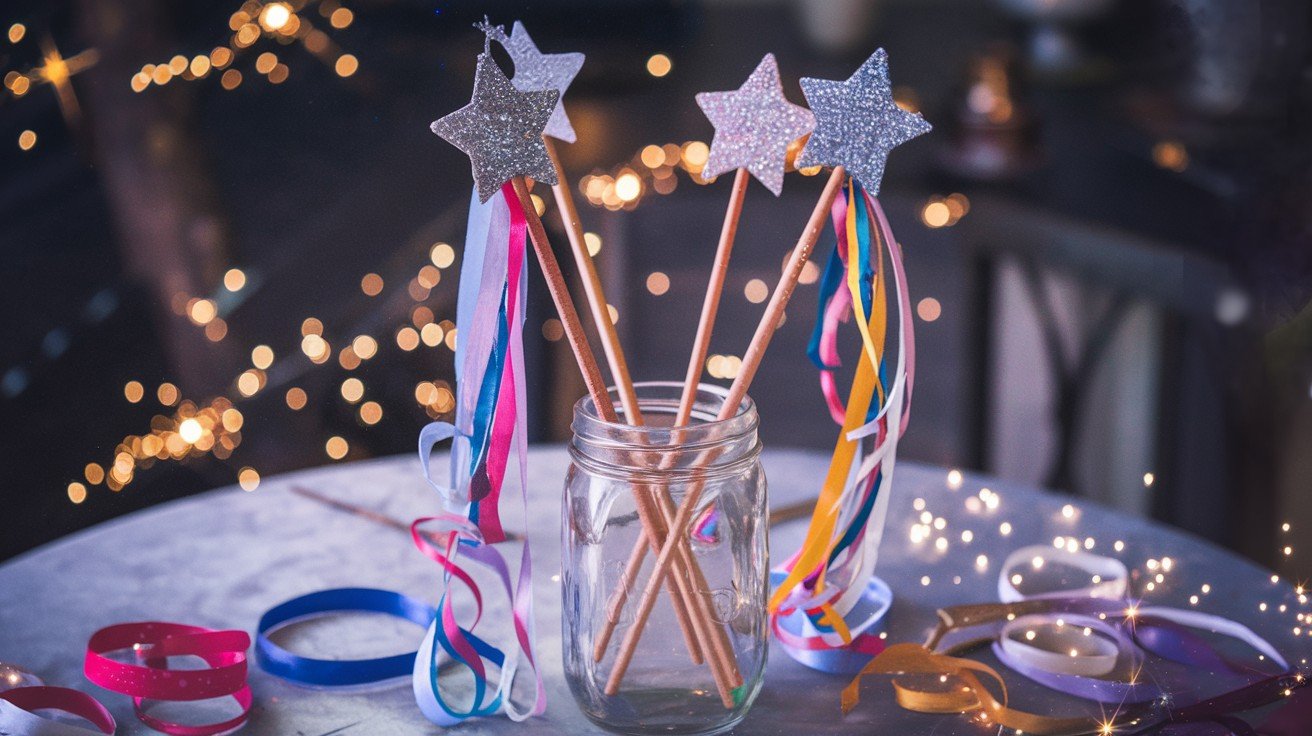
Magic isn’t just in fairy tales, it’s in your craft room too. Kids create their own magical tools and learn simple tricks to amaze family and friends. This project builds confidence while sparking imagination.
Age: 3-7 years old
Materials Needed:
- Wooden dowels or long craft sticks
- Ribbons
- Stars (foam or cut paper)
- Glue
- Glitter (optional)
Instructions:
- Glue star to top of stick
- Wrap ribbons around handle
- Add glitter if desired
- Let dry completely
Playful Twist: Teach simple magic tricks! Show kids how to make objects “disappear” behind their backs or pull ribbons from sleeves.
Quick Tips:
- Make different colored wands for different “powers”
- Create spell words together
- Set up a magic show for family
Project 4: Story Stones Adventure
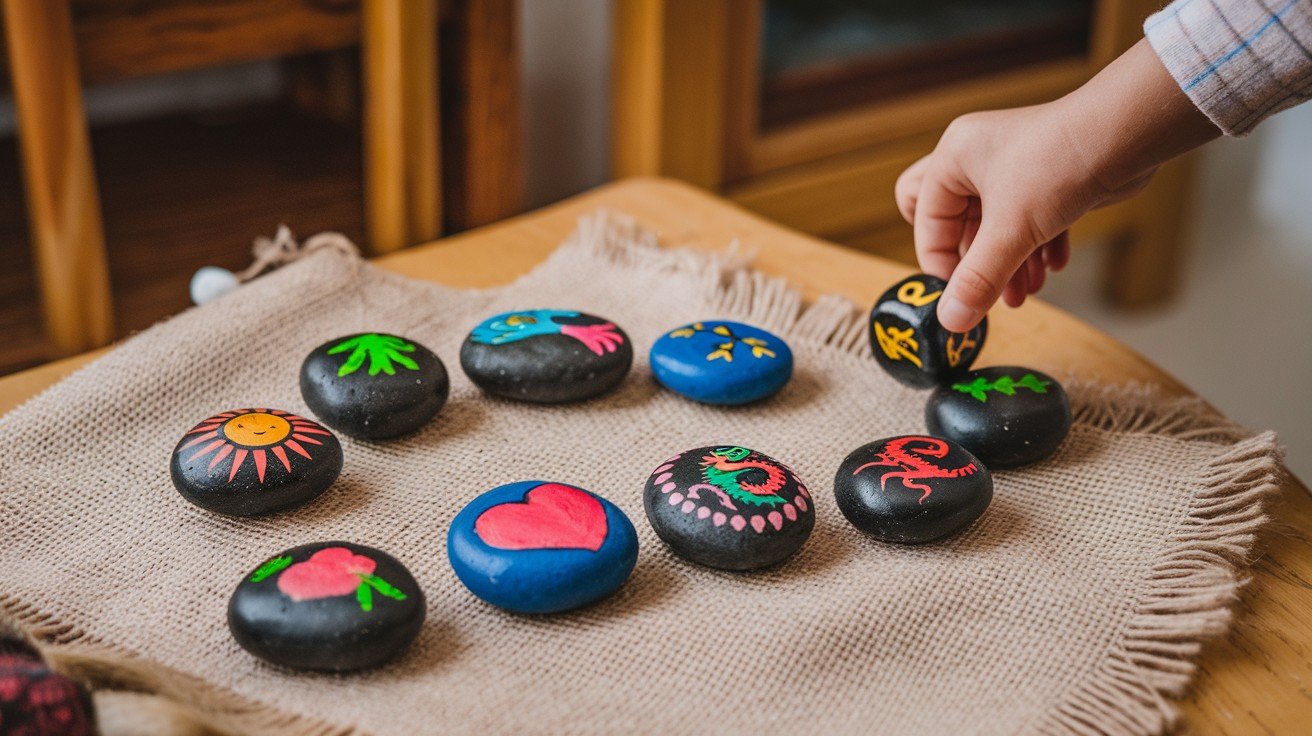
Sometimes the best stories come from the most unexpected places. These painted rocks become powerful storytelling tools that create endless adventures. No two stories will ever be the same.
Age: 4-12 years old
Materials Needed:
- Smooth stones
- Acrylic paint
- Small brushes
- Clear sealant spray
Instructions:
- Clean stones thoroughly
- Paint simple pictures on each stone
- Let dry between coats
- Spray with sealant when done
Playful Twist: Use stones to create spontaneous stories! Roll stones like dice. Whatever pictures land face-up become part of your tale.
Quick Tips:
- Paint simple shapes (sun, tree, house, animal)
- Make 6-8 stones for good variety
- Let kids paint their own designs
Project 5: Superhero Cape Factory

Every child has a hero inside waiting to emerge. This project helps bring out their inner superhero with custom capes and heroic missions. Watch ordinary kids transform into extraordinary heroes right before your eyes.
Age: 3-10 years old
Materials Needed:
- Large fabric pieces or old sheets
- Fabric markers
- Velcro strips
- Iron (adult use only)
- Scissors
Instructions:
- Cut fabric into cape shape
- Hem edges for safety
- Add velcro closure at neck
- Let kids design their symbols
Playful Twist: Create superhero missions around the house! Kids wear capes and complete “heroic” tasks like organizing toys or helping with chores.
Quick Tips:
- Use old pillowcases for easy capes
- Make matching masks
- Create superhero names together
Make It More Playful: Creative Game-Based Add-Ons
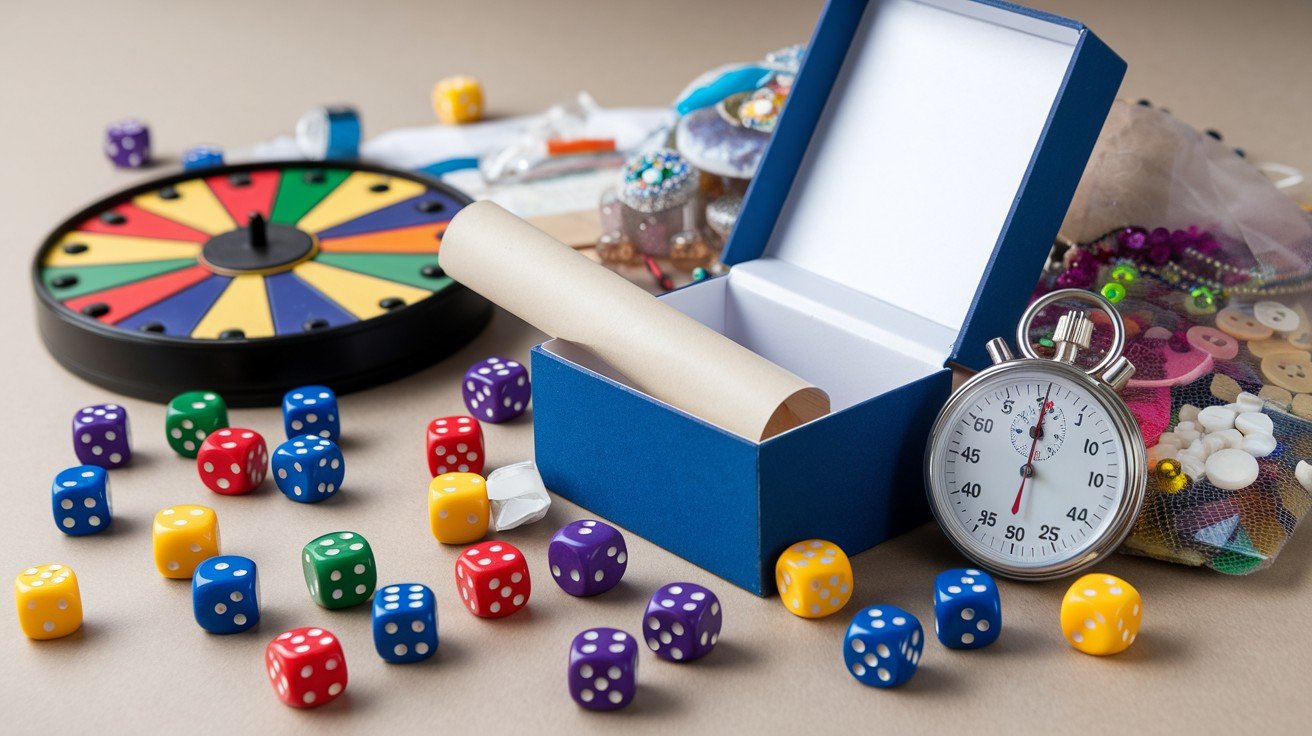
Want to level up any craft project? Try these game elements:
Timer Challenges
Set a timer for different craft steps. Can you finish coloring before the bell rings?
Why it works: Adds excitement without pressure.
Mystery Box Materials
Put supplies in a covered box. Kids reach in and grab materials without looking.
The twist: They must use whatever they pick in their project.
Craft Dice Games
Make dice with different craft actions on each side:
- Add glitter
- Use three colors
- Make it sparkle
- Add texture
- Draw a face
- Create patterns
Roll before starting each project.
Story Building
Every craft becomes part of a bigger story. Today’s dragon puppet meets yesterday’s castle drawing.
Result: Projects connect and kids stay engaged longer.
Tips for Crafting with Kids (Without the Stress)
Let’s be honest. Crafting with kids can be messy. Here’s how to keep your sanity:
Set up smart:
- Cover surfaces with newspaper
- Keep wet wipes nearby
- Use washable everything
Manage expectations:
- Perfect isn’t the goal
- Process matters more than product
- Let kids lead their creativity
Stay flexible:
- Projects might change direction
- That’s totally okay
- Roll with their ideas
Clean as you go:
- Put away supplies after each step
- Make cleanup part of the activity
- Kids can help too
Most importantly: Remember why you’re doing this. It’s about connection and fun, not Instagram-worthy results.
Conclusion
You now know how to make playful activities LWMFCrafts style. The secret isn’t complicated. Add games, stories, or pretend play to any craft project. Start with one project from our list today. Pick the monster masks or treasure maps, both work great for beginners.
Watch what happens when crafting becomes an adventure. Your kids will stay focused longer. They’ll ask to do more projects. And you’ll finally have activities that actually work.
Here’s the bottom line: LWMFCrafts transform regular craft time into memorable experiences.
No more failed projects. No more bored kids. Just pure creative fun that brings families together.
Ready to try it? Your craft supplies are waiting.
Frequently Asked Questions
What makes LWMFCrafts different from regular crafts?
Regular crafts end when the project is done. LWMFCrafts projects become toys and games that kids keep playing with long after crafting time ends.
Can I use LWMFCrafts methods with toddlers?
Yes, but keep it simple. Focus on sensory play elements like textures and sounds. Always supervise closely and use safe materials only.
How do I handle kids who don’t follow craft instructions?
That’s actually perfect for LWMFCrafts! Let them lead their creativity and adapt the playful elements to match their ideas. The mess often creates the best memories.
What if my child loses interest halfway through a project?
Switch to the playful element immediately. Start the game or story portion even if the craft isn’t finished. You can always return to crafting later.
Do these activities work for kids with different skill levels?
Absolutely. Older kids can help younger ones during the craft portion, then everyone plays together during the game elements. It brings siblings closer together.