

I’ve been making mini books for years, and I can tell you they’re way easier than they look. You don’t need fancy equipment or special skills.
In this guide, I’ll show you exactly how to create tiny books using materials you already have at home.
We’ll cover two simple methods: the one-sheet fold and stapled pages. I’ll also share decoration ideas, common mistakes to avoid, and fun projects you can try.
I started making these for my journal, and now I make them weekly.
By the end of this article, you’ll have all the steps you need to make your first mini book today.
What Are Mini Books? (And Why People Love Making Them)
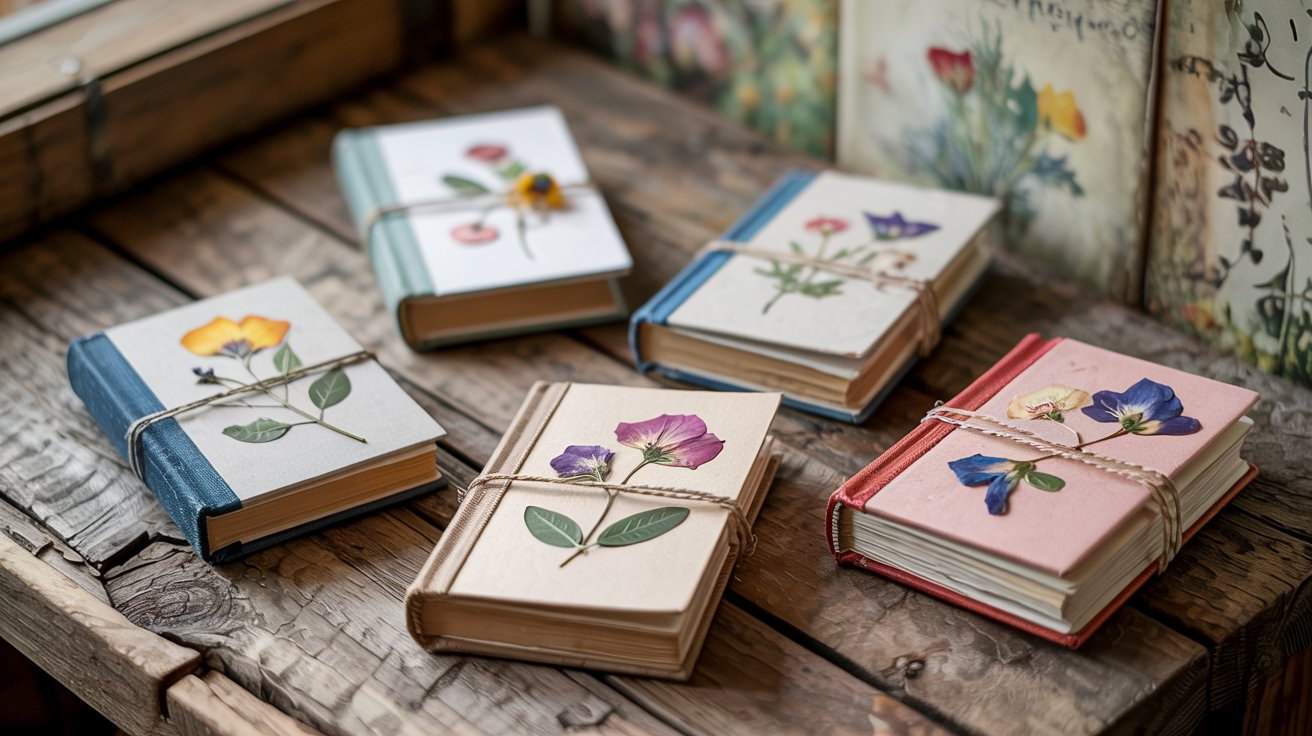
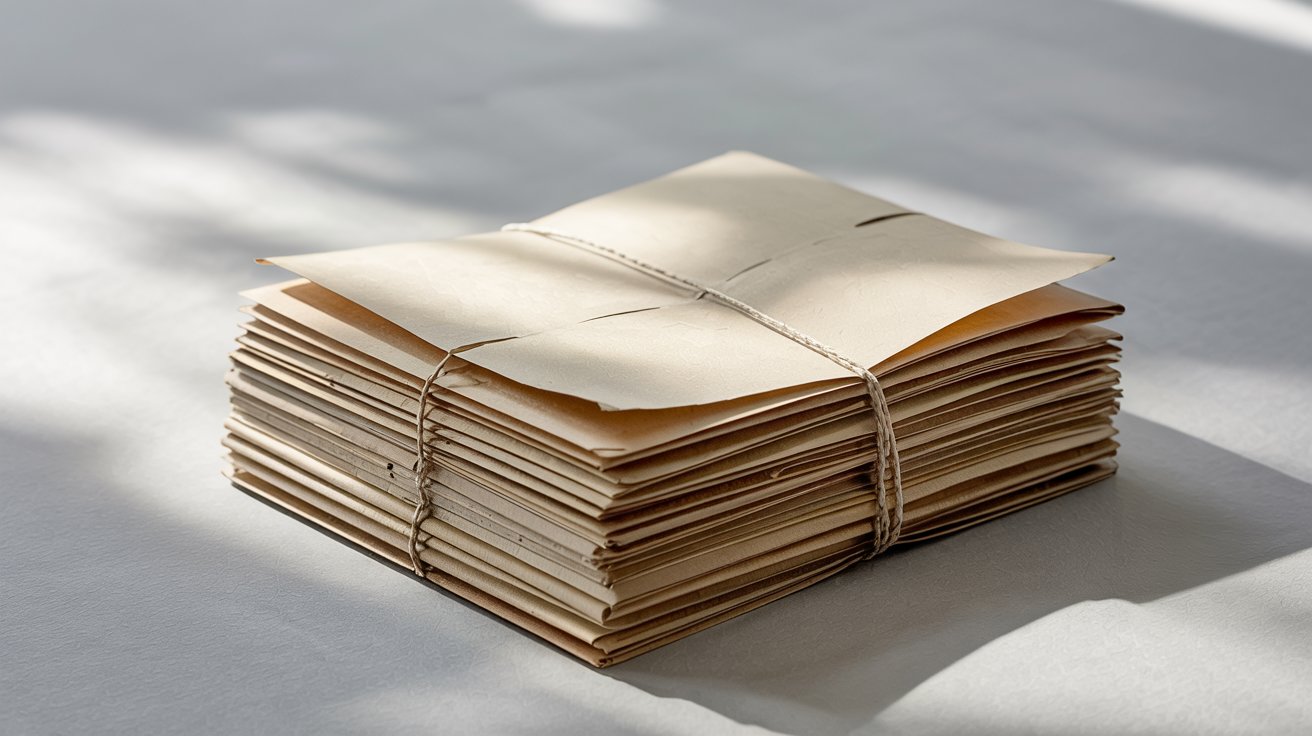
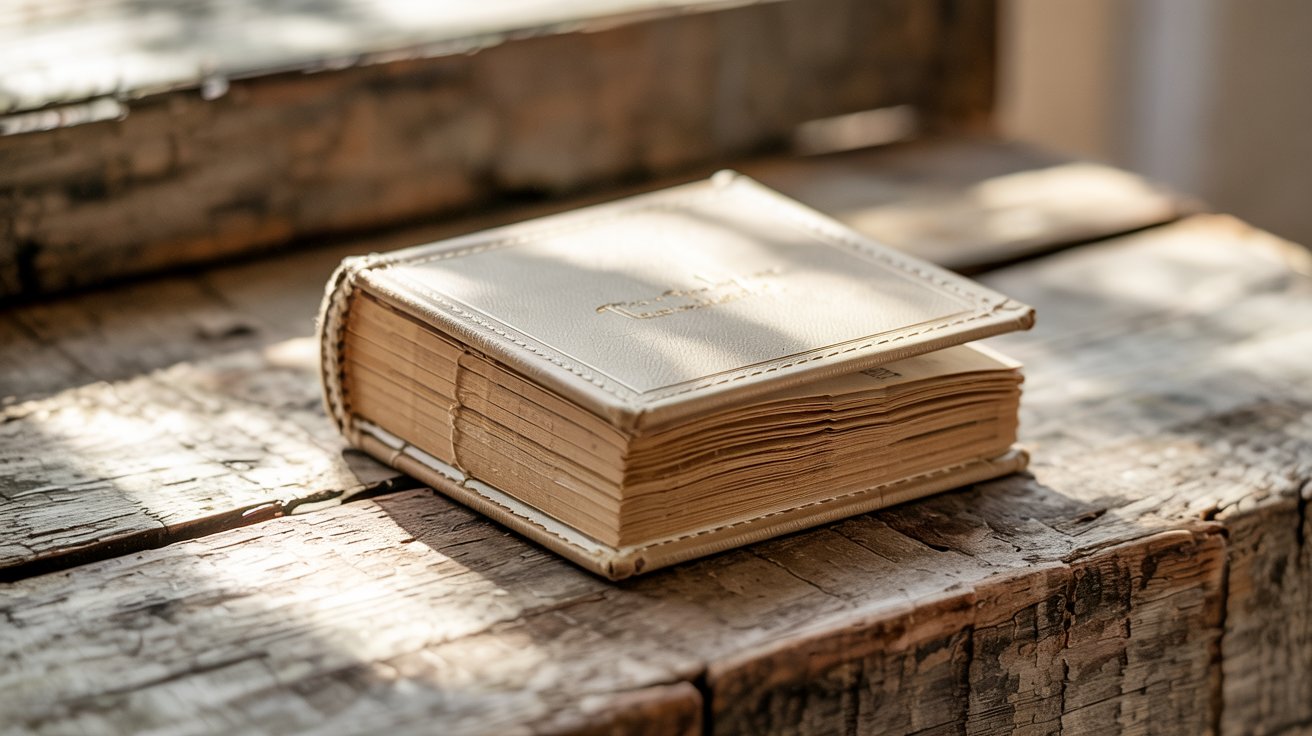
Mini books are exactly what they sound like. Small books. Really small. They can fit in your palm, slip into your pocket, or sit on a shelf as decoration.
Most mini books range from 2 to 4 inches in size. Some people make them even smaller.
I love making them because they’re quick. You can finish one in under 30 minutes. And you don’t need to buy anything special.
They’re also great gifts. I made one for my friend’s birthday last month. She loved it.
The best part is you can customize everything. The size. The pages. The cover design. It’s all up to you.
Materials You Need to Make Mini Books (Simple & Budget-Friendly)
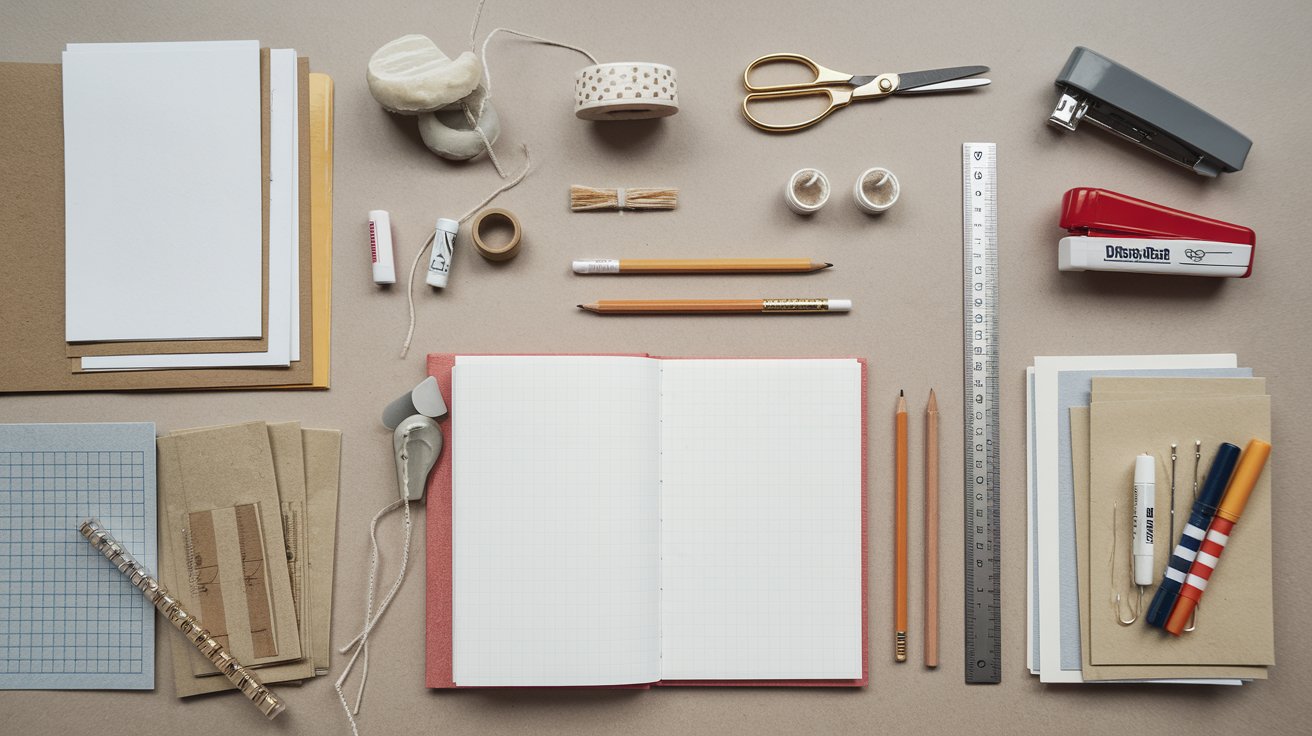
I keep all my supplies in one box. That way, I can grab everything when I want to make a new book.
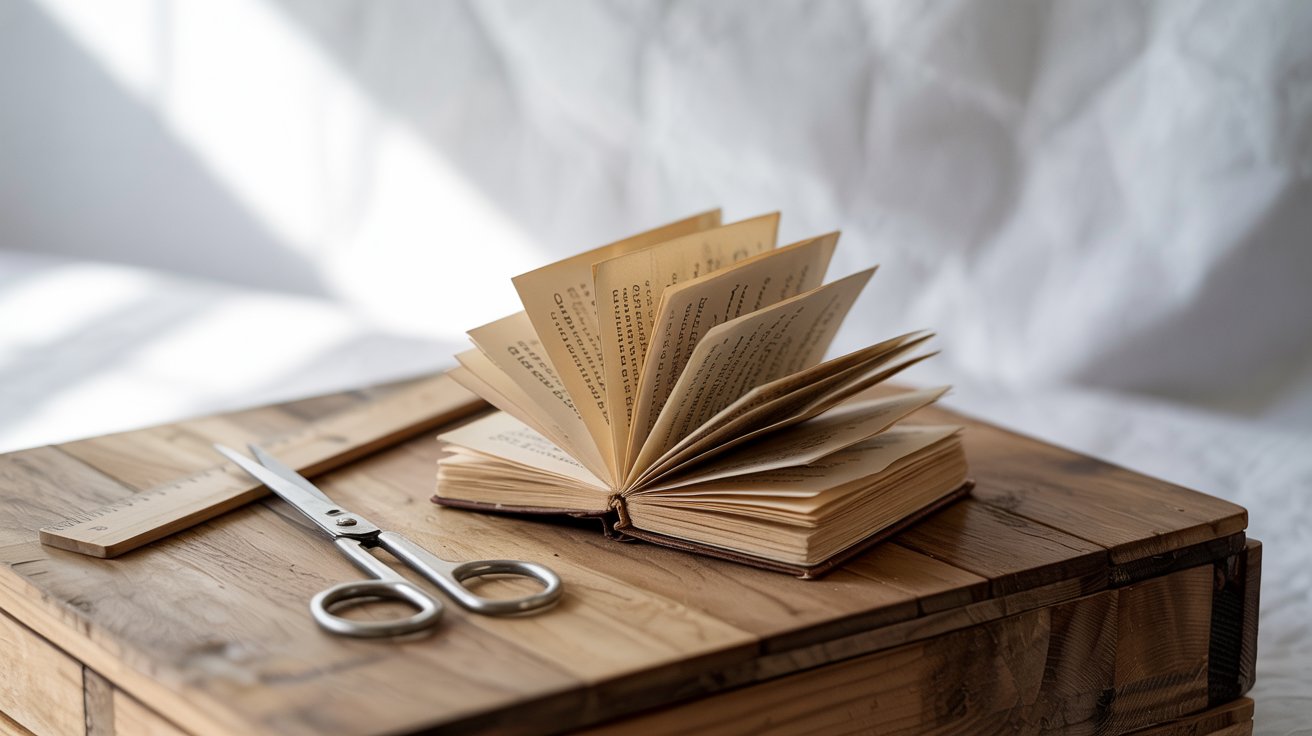
Here’s what I use:
- Paper
- Scissors
- Ruler
- Pencil
- Glue stick or white glue
- Thread and needle
- Stapler
Optional items: Markers, stickers, washi tape, stamps, colored pencils.
You probably have most of these items already. If not, they’re cheap to buy.
How to Make a Mini Book with One Sheet of Paper (No Cutting)
This is my favorite method. It’s fast and needs zero cutting.
Step 1: Fold the Paper Lengthwise
Take one sheet of 8.5 x 11 inch paper. Fold it in half the long way.
Press down hard on the crease with your fingers or a ruler. A sharp crease makes all the difference.
Step 2: Fold it in Half Again
Take your folded paper and fold it in half once more. You should now have a small rectangle.
Make sure all the edges line up nicely. Press down firmly on this crease too.
Step 3: Fold it One More time
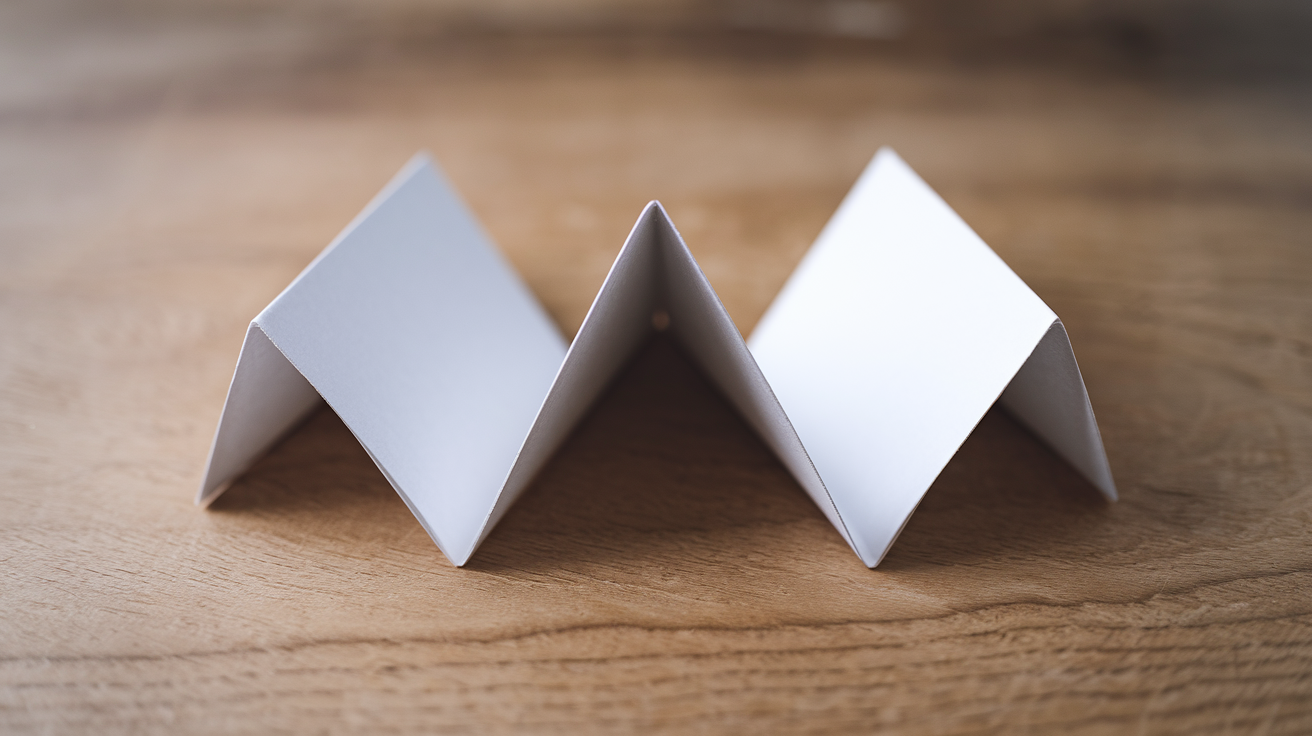
Fold the paper in half a third time. You’ll have a tiny folded piece now.
This creates all the page sections you need. Press hard to make a clean fold line.
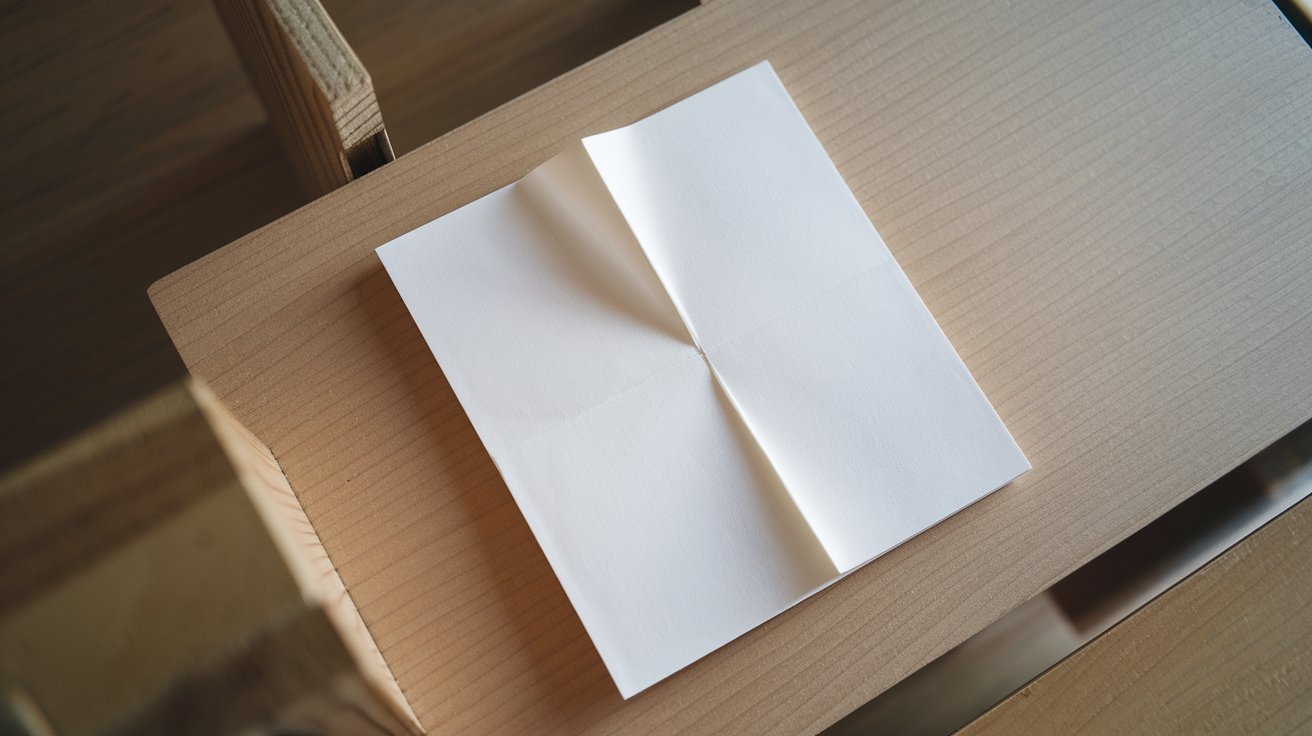
Step 4: Unfold the Paper Completely
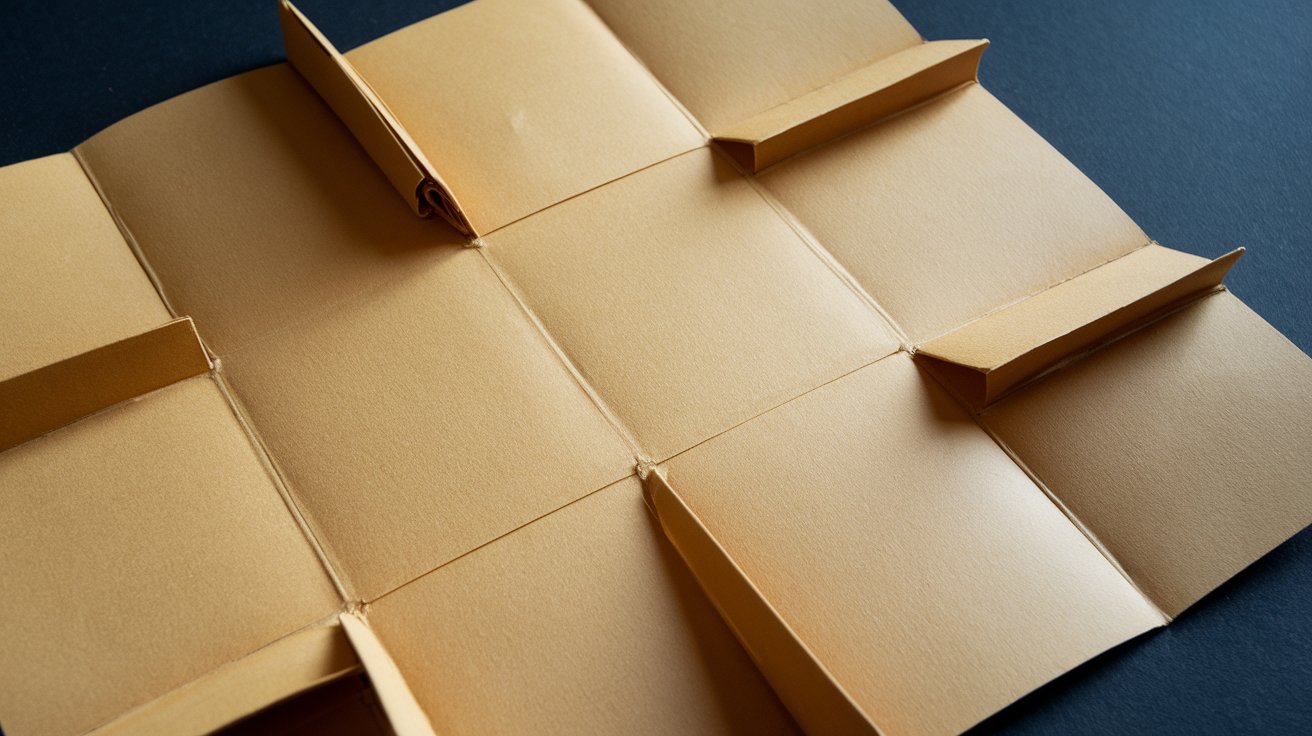
Open up the paper so it’s flat again. You’ll see eight rectangles created by the fold lines.
These will become your book pages. Count them if you want to check.
Step 5: Fold Lengthwise and Cut the Center
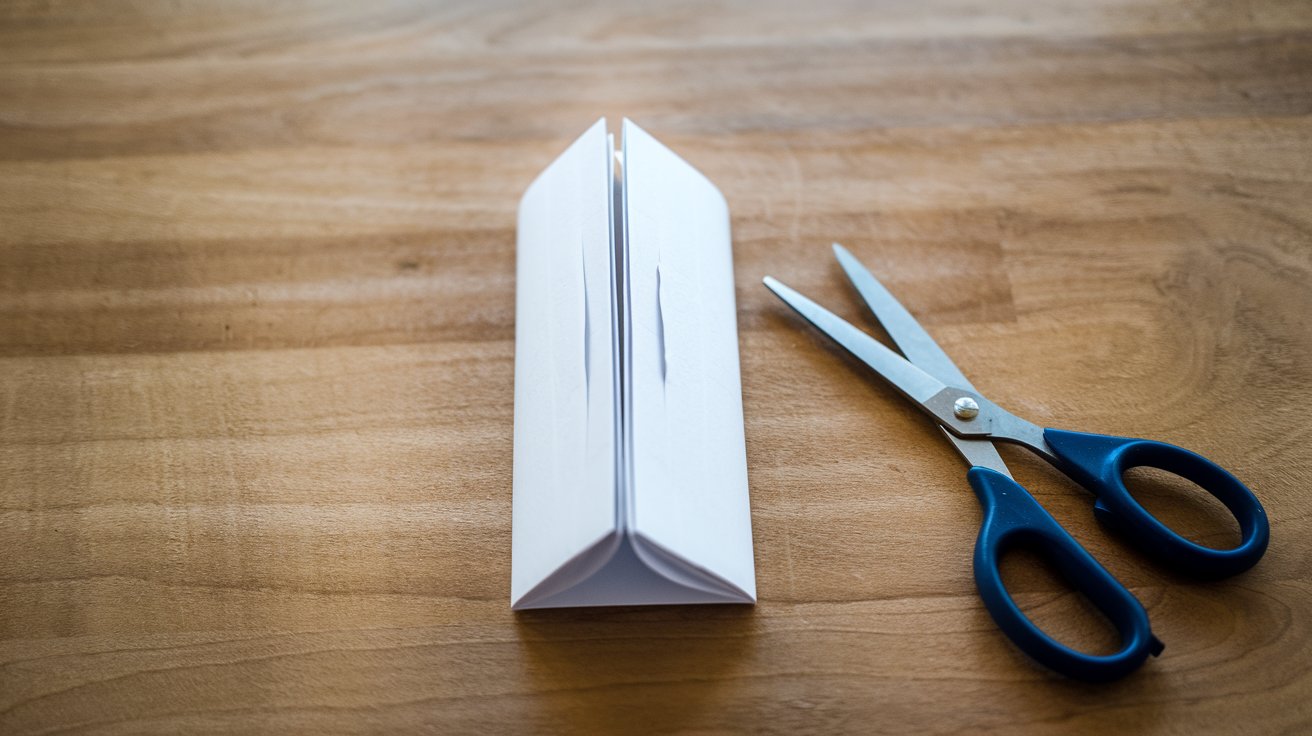
Fold the paper in half lengthwise again like in step one. Use scissors to cut along the center crease, but only through the middle two rectangles.
Stop before you reach the end. This slit is important for the next steps.
Step 6: Unfold and Refold the Short Way
Unfold the paper completely again. Now fold it in half the other direction.
This is the short way instead of the long way. You should see the slit you cut in the middle.
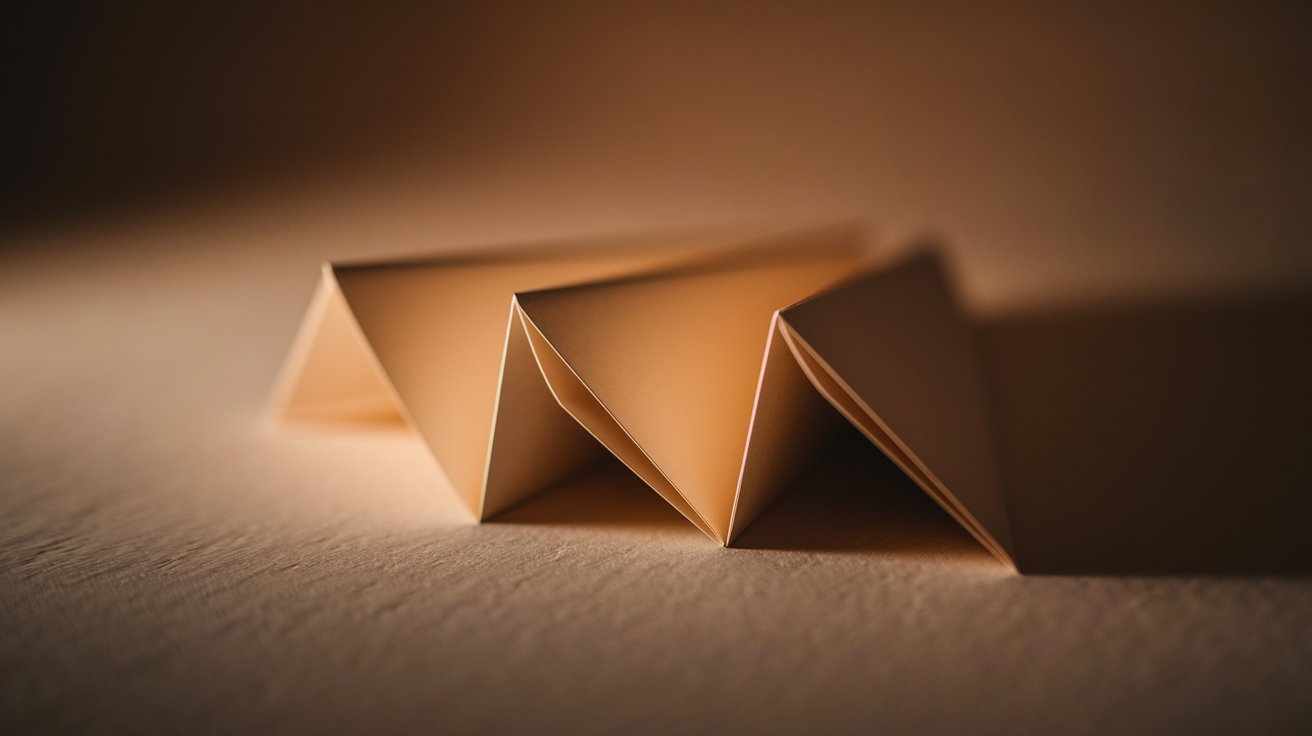
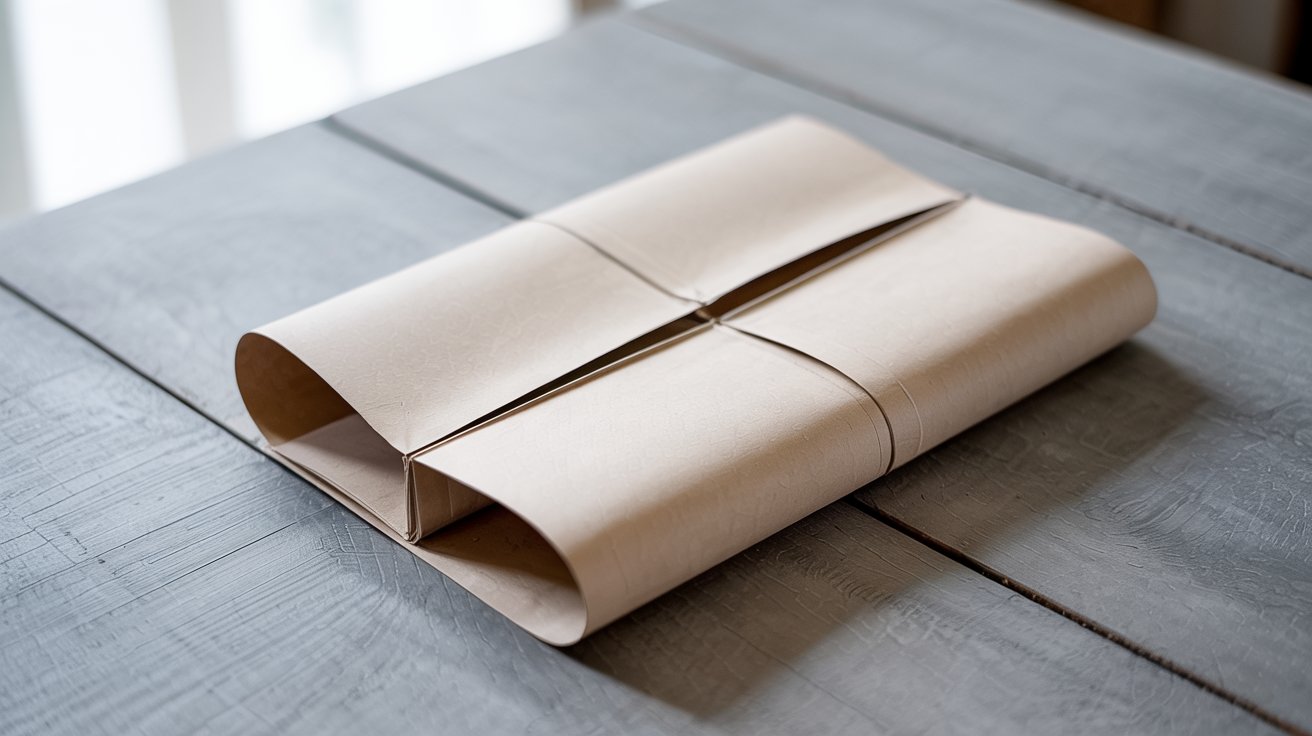
Step 7: Push the Ends Together
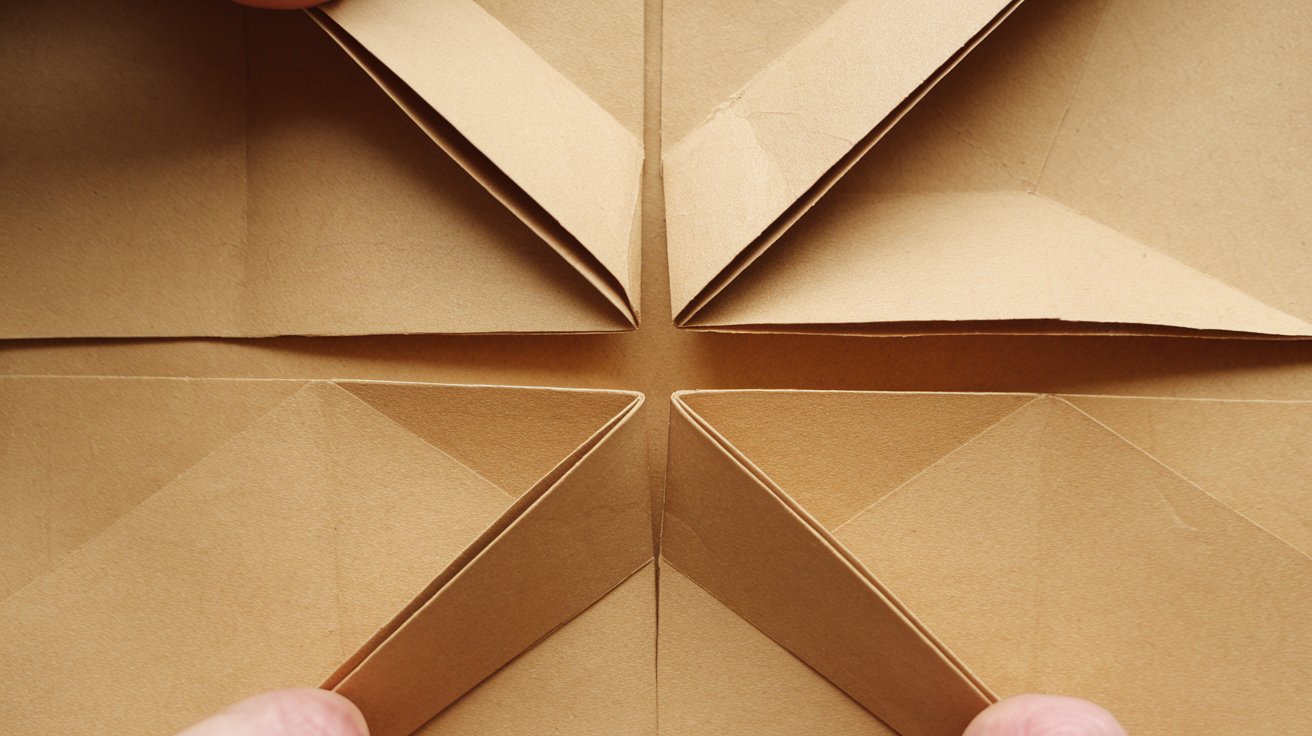
Hold the paper at both short ends. Push them toward each other gently.
The slit will open up and the paper will start forming a cross or plus shape. Keep pushing until it’s clear.
Step 8: Fold into Book Form
Bring all the sections together to form a book. You’ll have a mini book with eight pages total.
Press down on the spine to set it. I make these all the time. They take about five minutes once you get the hang of it.
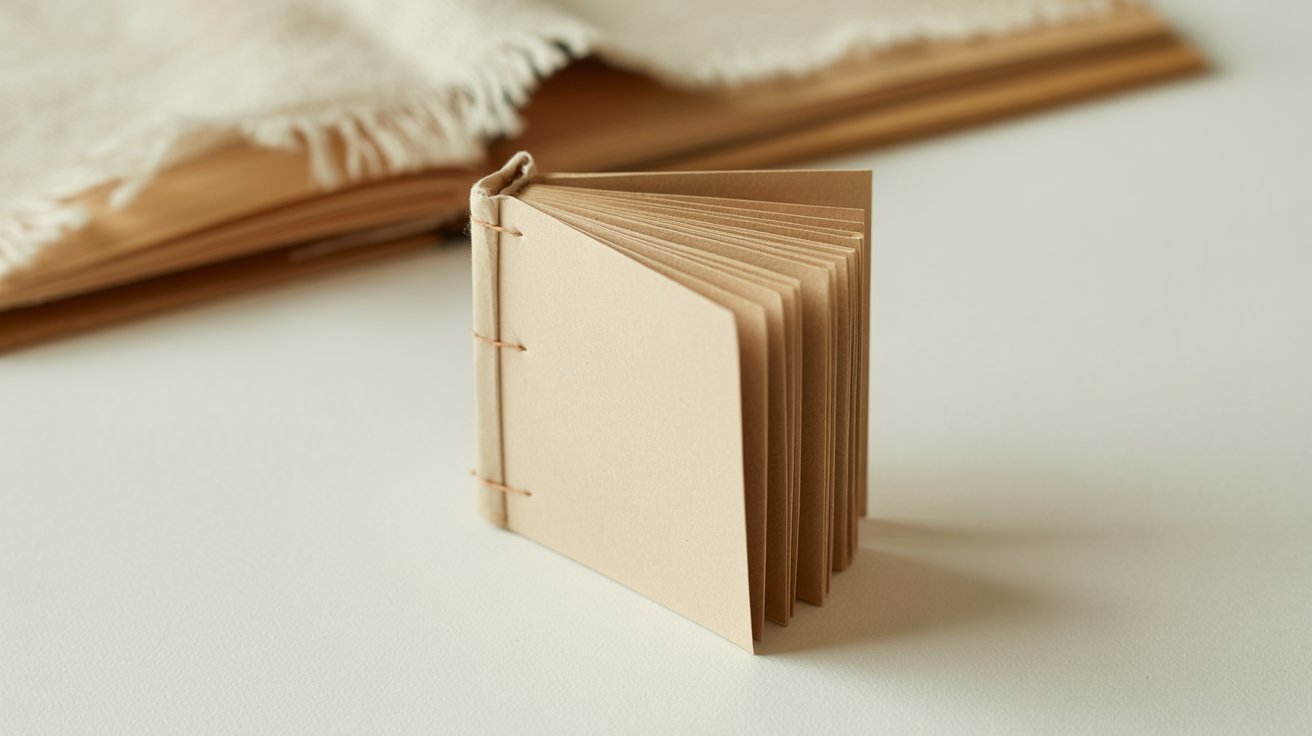
How to Make Mini Books Using Stapled Pages
This method gives you more control over page count.
Step 1: Cut Your Paper to Size

Decide how big you want your book. I usually cut rectangles that are 4 x 6 inches.
Use a ruler and pencil to mark your measurements first. Then cut carefully with scissors for clean edges.
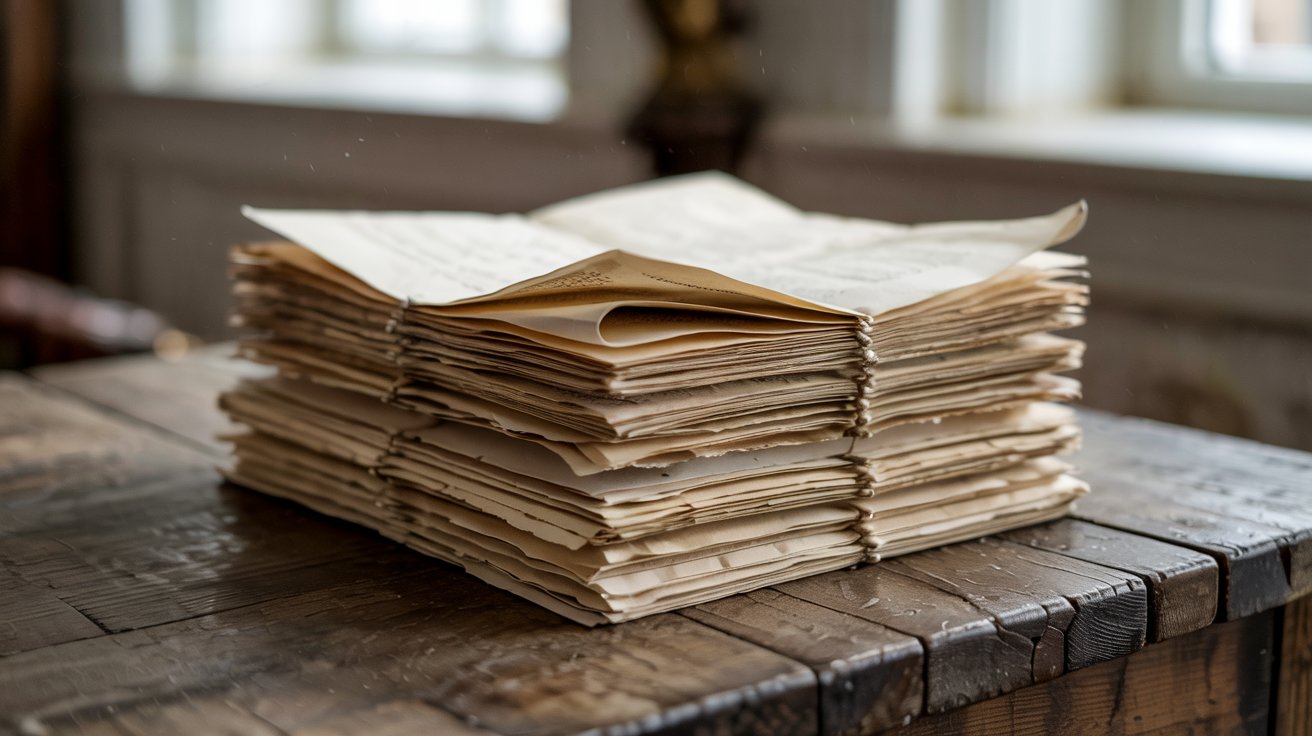
Step 2: Stack Your Pages Together
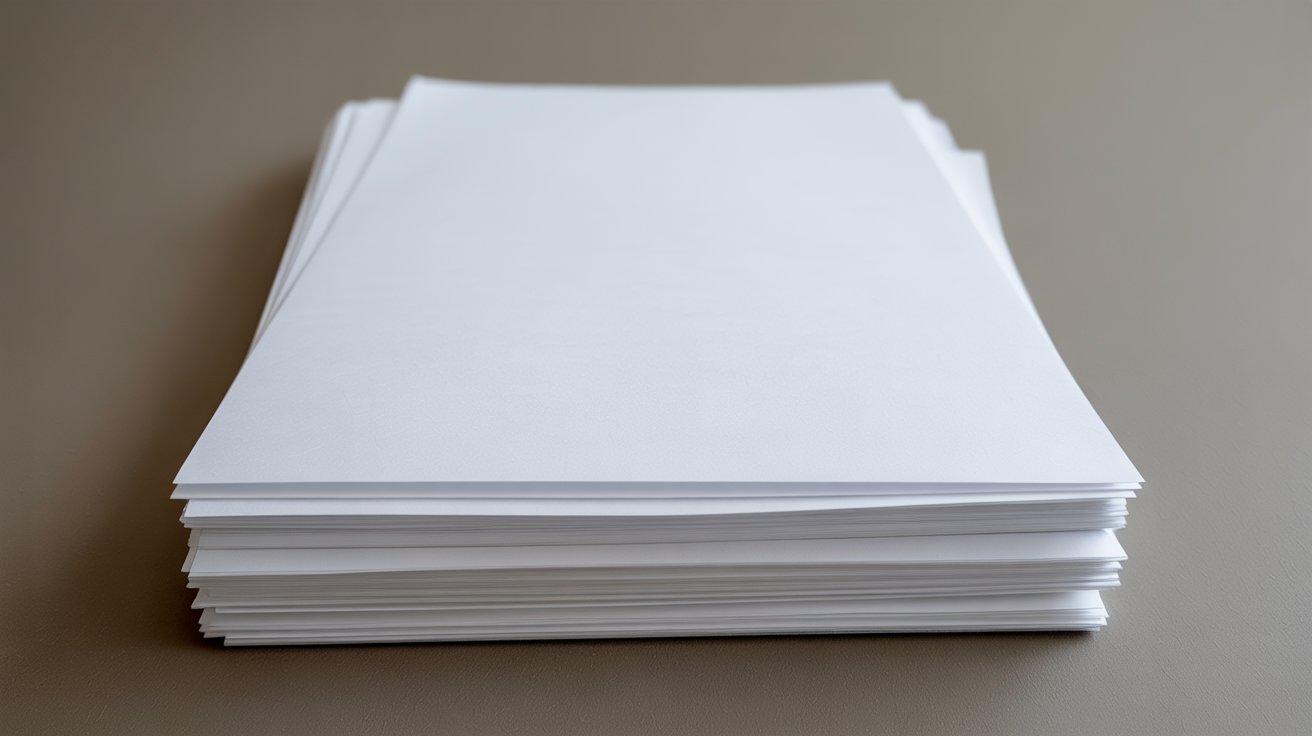
Gather 5 to 10 pieces of cut paper. Stack them neatly on top of each other.
More than 10 pages gets hard to staple through. Make sure all the edges line up before moving to the next step.
Step 3: Fold the Stack in Half
Hold the stack firmly and fold it exactly in half. Line up the edges as precisely as you can.
Press down hard on the fold to create a sharp spine. This will be the center of your book.
Step 4: Staple Along the Center Fold
Open up the folded stack so you can see the inside. Place two staples along the center crease.
Put one near the top and one near the bottom. Push down firmly so the staples go through all the layers.
Step 5: Close and Flatten the Book
Close your book and press down on the fold again. Run your finger along the spine to make it flat.
Check that all the pages are secure and the staples are holding everything together.
Step 6: Trim Uneven Edges
Sometimes the edges don’t line up perfectly. Use scissors or a paper cutter to trim them if needed.
This gives your book a clean, professional look. Just cut a little bit at a time.
Step 7: Add a Cover
Cut a piece of cardstock to match your book size. You can make it slightly larger if you want.
Glue it to the front and back of your stapled pages. This protects your book and makes it sturdier. I use this method for my longer projects.
Creative Mini Book Ideas You Can Try
Here are some ideas I’ve tried:
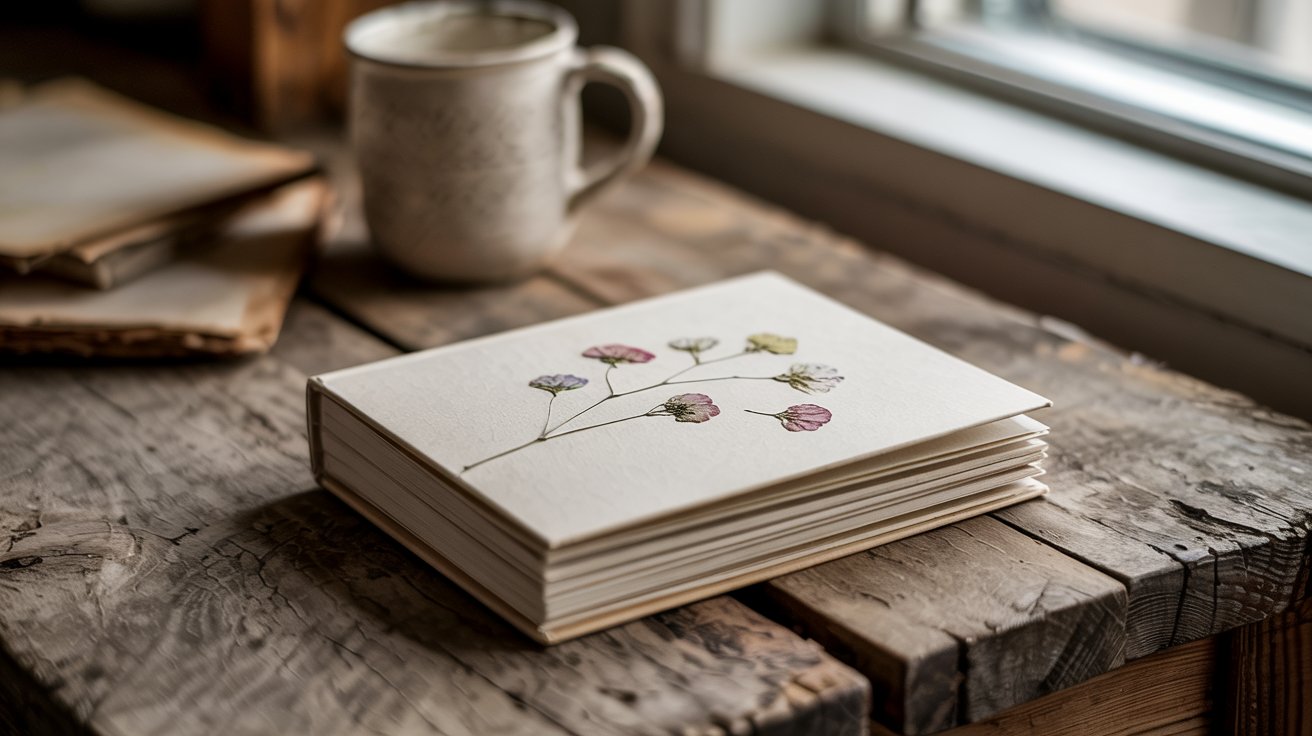
Mini journals: I keep one in my purse. I jot down thoughts and reminders.
Storybooks: Write a short story. Add illustrations. Give it to someone special.
Flipbooks: Draw simple animations. Flip through the pages to see movement.
Recipe books: Write down your favorite recipes. One per page. Keep it in the kitchen.
Travel notes: Document trips. Paste in ticket stubs and small photos.
Dollhouse books: Make tiny books for dollhouses. These are super cute.
You can also make quote books. Gratitude journals. Password keepers (but hide it well). The options are endless.
Common Mistakes When Making Mini Books (And How to Avoid Them)
I’ve made every mistake. Let me save you some trouble.
Using too many pages: More pages mean harder folding and stapling. Stick to 10 pages or less for stapled books.
Not creasing folds properly: Press hard on your folds. Use a bone folder or the edge of a ruler. Weak creases make wobbly books.
Cutting unevenly: Measure twice. Cut once. Use a ruler as a guide.
Using flimsy paper for covers: Regular printer paper tears easily. Use cardstock or heavier paper.
Skipping the planning stage: Think about what you want before you start. It saves time.
Mini Book Sizes Explained
Your book can be of various sizes depending on your need and preference.
Let’s have a look at the table below:
| Size | Best Used For | Notes |
|---|---|---|
| 2 x 3 inches | Dollhouse books, charms, tiny notepads | Really small, needs thin paper and steady hands |
| 2.75 x 4.25 inches | One-sheet folded books | Standard size from 8.5 x 11 inch paper |
| 3 x 3 inches | Tiny journals, quick notes | Square shape, easy to carry |
| 4 x 6 inches | Recipe books, photo albums, larger journals | Good balance of size and functionality |
| 5 x 7 inches | Storybooks, sketchbooks, writing projects | Larger format, more room for content |
I usually make mine between 3 and 5 inches. That size is easy to work with and still functional.
Final Thoughts
Making mini books is one of my favorite crafts. It’s simple, cheap, and fun.
You don’t need special tools or years of practice. Just grab some paper and start folding.
Try the one-sheet method first. Then move on to stapled or sewn books once you’re comfortable.
I’ve made hundreds of these over the years, and I still get excited each time. They make great gifts, personal journals, or creative projects for kids.
The best part is seeing your finished book. You made that. With your own hands.
So go ahead and make your first mini book today. Which method will you try first?
Frequently Asked Questions
Can I make a mini book without glue or staples?
Yes. The one-sheet folding method needs no glue or staples. Just fold the paper and you’re done. It’s the simplest way to start.
What’s the smallest mini book I can make?
You can make them as small as 1 x 1 inch. I’ve seen people make them even tinier. Just use thin paper and steady hands for very small sizes.
How many pages can a mini book have?
It depends on the method. One-sheet books have 8 pages. Stapled books can have up to 20 pages. Sewn books can hold 30 or more if bound carefully.
Can kids make these safely?
Yes. Use the folding method for younger kids. Older kids can handle staplers with supervision. Pre-cut materials and skip sharp tools for little ones.
What paper works best for mini books?
Regular printer paper works fine. Cardstock is better for covers. Scrapbook paper adds color. Old book pages give character. Try different types and see what you like.